
✨ This article was AI edited. Editorial responsibility: Shed-Plans.biz.
Produced with AI. This article was artificially generated. Editorial responsibility: Shed-Plans.biz.
Building your own roof trusses for a backyard structure is one of the most rewarding milestones of DIY construction. A 6/12 shed truss represents the gold standard pitch for residential outbuildings, delivering an ideal 26.57-degree slope that effortlessly sheds torrential rain, resists heavy snow accumulation, and provides substantial overhead clearance for loft storage or ceiling insulation.
Whether you are constructing a compact 8×10 garden shed, a 10×12 workshop, or a sprawling 12×16 storage building, this engineering guide walks you through the precise mathematics, cut angles, jig assembly, and structural gusset plate installation required to construct professional-grade 6/12 trusses that satisfy International Residential Code (IRC) standards.
Understanding 6/12 Roof Pitch Mathematics & Geometry
Roof pitch is defined as the vertical rise over a standard 12-inch horizontal run. For a 6/12 pitch, the roof ascends 6 inches vertically for every 12 inches it travels horizontally toward the center ridge line.
- Slope Angle: (arctan(6/12) = 26.57^circ)
- Plumb Cut Angle (Ridge & Tail): (90^circ – 26.57^circ = 63.43^circ) (set miter saw to (26.5^circ))
- Seat Cut Angle (Birdsmouth): (26.57^circ) horizontal reference
- Rafter Slope Factor (Multiplier): (sqrt{6^2 + 12^2} / 12 = sqrt{180} / 12 approx 1.11803)
To calculate the exact rafter length (top chord) from the building centerline to the outer wall line, simply multiply the half-span (total run) by the slope factor 1.118, then add your desired eaves overhang length.
6/12 Shed Truss Dimension & Angle Reference Table
The following table outlines the exact lumber cut dimensions and lumber specifications across the most popular shed spans using standard #2 or better SPF (Spruce-Pine-Fir) or Douglas Fir 2×4 framing lumber spaced 24 inches on center:
| Shed Width (Span) | Half-Span (Run) | Peak Rise Height | Top Chord (Rafter) Length | Truss Type Recommended |
|---|---|---|---|---|
| 8 Feet (96″) | 48 inches | 24.0 inches | 53.67 inches (plus overhang) | King Post Truss |
| 10 Feet (120″) | 60 inches | 30.0 inches | 67.08 inches (plus overhang) | King Post or Fink Truss |
| 12 Feet (144″) | 72 inches | 36.0 inches | 80.50 inches (plus overhang) | Fink (W) Truss / Queen Post |
| 14 Feet (168″) | 84 inches | 42.0 inches | 93.91 inches (plus overhang) | Fink Truss (2×6 Top Chords) |
| 16 Feet (192″) | 96 inches | 48.0 inches | 107.33 inches (plus overhang) | Howe / Fink Truss (2×6 Lumber) |
Essential Tools & Materials Checklist
Before cutting framing lumber, ensure you have gathered all necessary materials on site:
- Framing Lumber: Kiln-dried 2×4 (or 2×6 for spans over 12 feet) SPF Grade #2 or better, free of large edge knots.
- Gusset Plate Material: 1/2-inch CDX exterior-grade plywood or 7/16-inch OSB (oriented strand board), or 20-gauge galvanized metal mending truss plates.
- Fasteners: 8d (2-1/2 inch) hot-dipped galvanized common nails or framing nailer ringshank nails, plus structural exterior wood adhesive (such as Gorilla Heavy Duty or Titebond III).
- Layout Tools: Speed square (framing square), 25ft tape measure, chalk snap line, fine-tip carpenter pencil.
- Cutting Equipment: Compound miter saw, circular saw, and safety goggles with ear protection.
Step-by-Step: How to Build 6/12 Shed Trusses Using a Floor Jig
Step 1: Build a Full-Scale Layout Jig on the Shed Subfloor
The secret to building 10 to 15 identical, perfectly aligned roof trusses is constructing a physical framing jig on your level shed subfloor:
- Snap a baseline chalk line across the width of your subfloor corresponding exactly to the outside wall span (e.g., exactly 120 inches for a 10ft wide shed).
- Locate and mark the exact center point (60 inches). From this midpoint, draw a 90-degree perpendicular line upward measuring your calculated peak height (30 inches for 6/12 on 10ft span).
- Snap diagonal lines from the apex down to both baseline ends.
- Screw scrap 2×4 blocks into the subfloor alongside these lines to create tight perimeter stops where lumber will drop into position repeatedly.
Step 2: Cut the Top and Bottom Chords
Set your compound miter saw to 26.5 degrees:
- Ridge Plumb Cut: Cut the top end of both top chords at 26.5 degrees so they fit together flush at the center ridge apex.
- Eaves Overhang / Heel Cut: At the lower end, make a compound cut or plumb tail cut based on whether you prefer a boxed soffit or exposed rafter tails.
- Bottom Tie Chord: Cut a 2×4 bottom chord to match the exact exterior building width.
Step 3: Fabricate Plywood Gusset Reinforcement Plates
Structural gusset plates transfer tension and compression forces across the lumber joints:
- Apex Gusset: Cut triangular 1/2-inch exterior plywood plates measuring 12 inches high by 24 inches wide.
- Heel / Eaves Gussets: Cut trapezoidal plywood plates measuring 8 inches by 16 inches to bridge the top rafter and bottom tie chord connection.
- King Post / Web Gussets: Cut rectangular plates (8×8 inches) for internal webbing intersections.
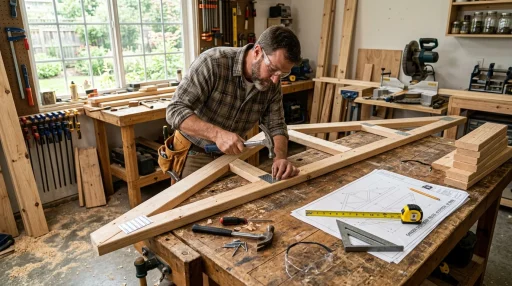
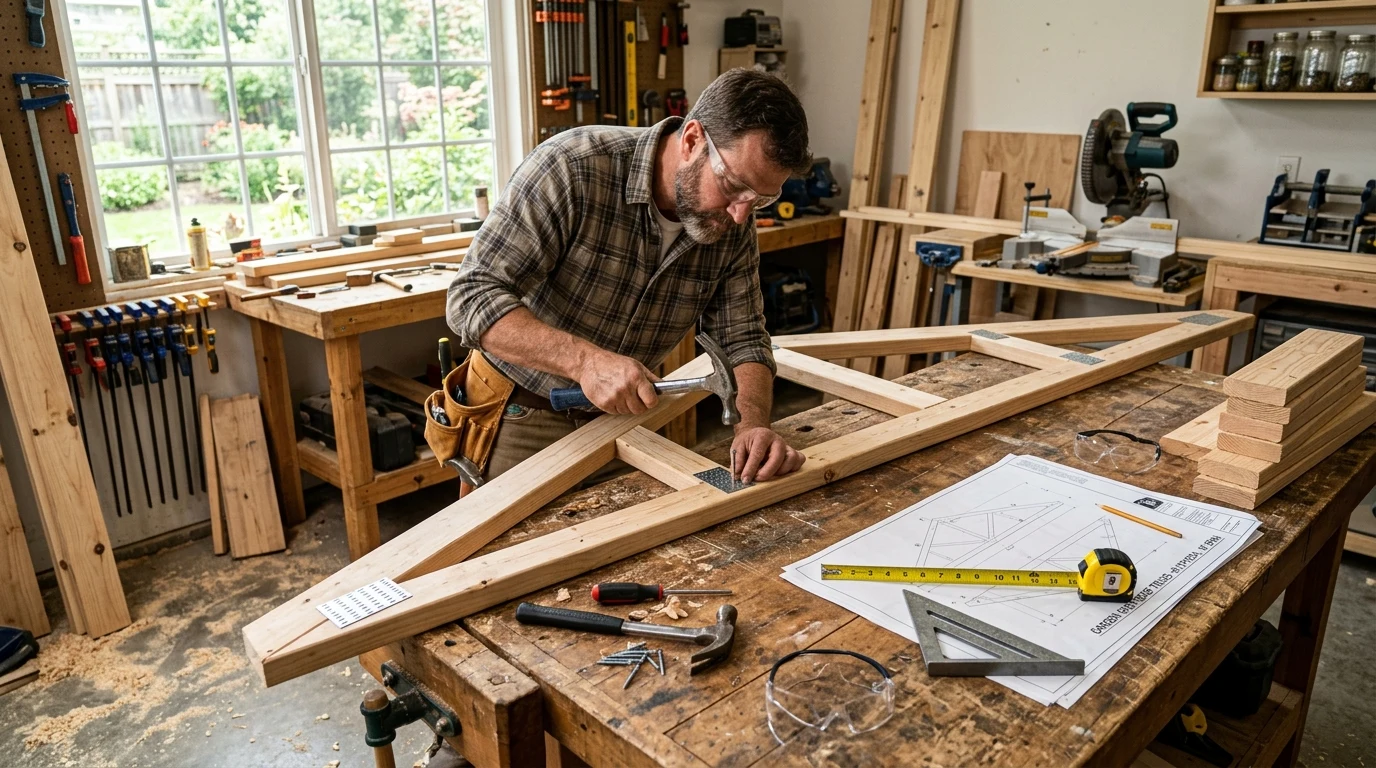
Step 4: Assemble, Glue, and Fasten the Trusses
Drop your pre-cut 2×4 members into the subfloor jig blocks. Verify all joints fit seamlessly with zero gaps:
- Apply generous beads of polyurethane exterior wood adhesive across each joint contact area.
- Position the plywood gusset plate over the joint.
- Fasten using 8d galvanized nails driven in a staggered pattern (minimum 6 to 8 nails per joint member side), avoiding nail clusters near lumber edges to prevent grain splitting.
- Flip the truss assembly over within the jig and install matching gusset plates on the reverse side.
Erection, Spacing, and Lateral Bracing Best Practices
Once all trusses are constructed, store them vertically on dunnage until installation day. When raising trusses:
- Truss Spacing: Space trusses precisely 24 inches on center (or 16 inches OC in high snow-load regions exceeding 50 PSF).
- Hurricane Tie Anchors: Fasten every truss to the double top wall plate using Simpson Strong-Tie H2.5A or H1Z hurricane ties with rated structural connector screws.
- Temporary Gable & Ridge Bracing: Secure 2×4 diagonal sway braces from the end wall across the first 3 trusses while installing 1/2-inch OSB roof sheathing.
Frequently Asked Questions (FAQ)
Q: Why choose a 6/12 pitch over a flatter 4/12 pitch?
A: A 6/12 pitch offers significantly superior water drainage and snow-shedding capacity, qualifies for standard asphalt architectural shingles without requiring special double-underlayment waterproofing, and provides greater headroom for loft storage.
Q: Can I use screws instead of nails on plywood gusset plates?
A: Only use structural-rated wood screws (such as Simpson Strong-Drive SD screws). Standard drywall or decking screws have high shear brittleness and can snap under seasonal roof deflection and wind uplift.
Q: What is the maximum span for a 2×4 6/12 King Post truss?
A: Under normal residential snow loads (30 PSF live load, 10 PSF dead load), a 2×4 King Post truss can span up to 14 feet. For 16-foot spans or greater, upgrade top chords to 2×6 lumber or implement a Fink (W-web) engineering design.
For more framing insights and blueprint downloads, check our complete guides on how to build shed roof trusses and framing for backyard sheds.
Get our latest guides, news, and insights highlighted in your Google Search & AI Overviews.