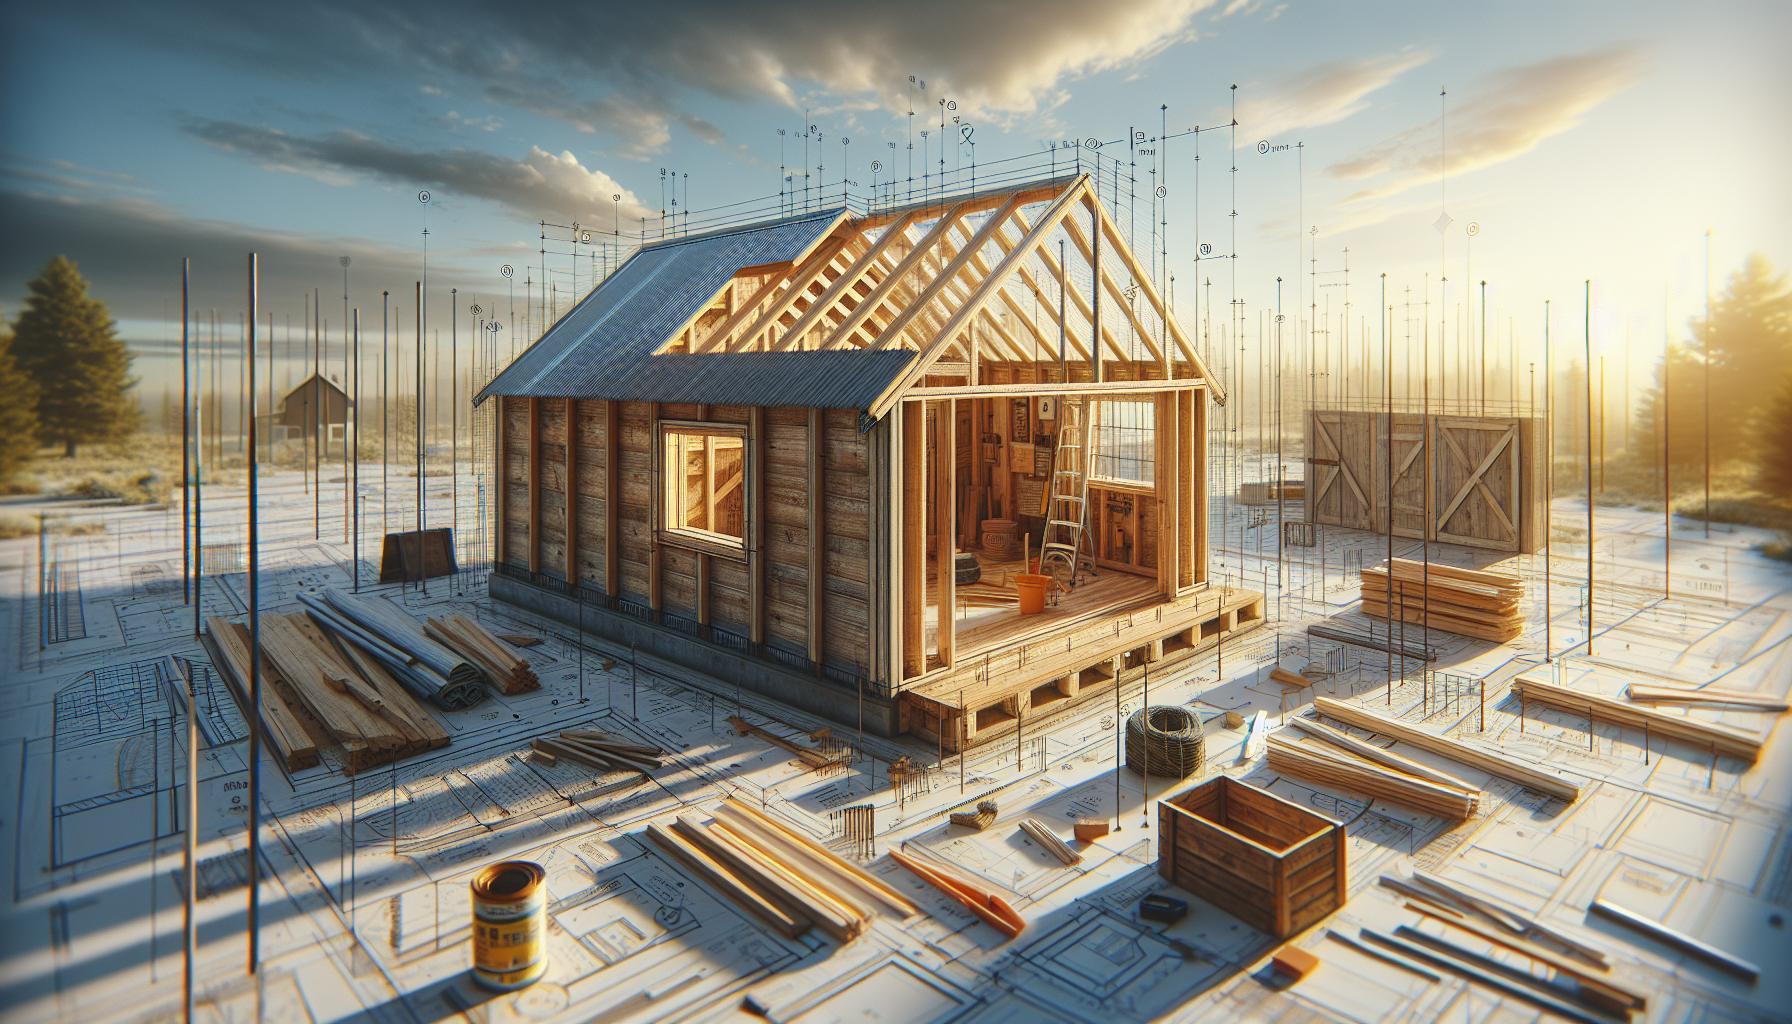
Wall Framing
Shed Wall Framing encompasses the structural carpentry of bottom sole plates, vertical 2×4 or 2×6 timber studs spaced 16 or 24 inches on-center, interlocking double top plates, engineered window/door headers, and structural sheathing that together resist downward roof loads and lateral wind shear.
Foundational Pillars (Start Here)
How to Build Framing for a Shed: Master the Essential Structure
Master stud layout, king/jack studs, cripple studs, and structural corner tying assembly.
How to Build Shed Walls: Structural Secrets for Weather-Tight Construction
Building weather-resistant walls with housewrap vapor membranes and rainscreen spacing.
How to Build Insulated Shed Walls: Transform Space for Year-Round Use
Insulating shed walls with rockwool or fiberglass for year-round thermal workshop comfort.
Structural Anatomy: Stud Spacing, Overlapping Plates & Racking Resistance
Shed walls must endure both vertical gravity loads (transferred from roof trusses and heavy snow accumulations) and horizontal shear loads caused by storm winds pushing against expansive exterior siding faces. Building strong, plumb, and square walls requires standardizing lumber dimensions and understanding load transfer mechanics.
While 24-inch on-center (OC) stud spacing is technically allowed for lightweight storage sheds, standard 16-inch OC framing provides dramatically superior rigidity, eliminates exterior siding deflection, and provides sturdy anchor points for interior shelving every 16 inches. Furthermore, the second (overlapping) top plate must always tie corner intersections and wall mid-spans together, locking all four walls into a unified, monolithic structural box.
| Framing Specification | Lumber Dimension | On-Center Spacing | Recommended Application |
|---|---|---|---|
| Standard Utility Framing | 2×4 SPF #2 | 16″ On-Center | Standard storage sheds up to 12×16; supports OSB + vinyl/metal |
| Economy Storage Framing | 2×4 SPF #2 | 24″ On-Center | Budget tool sheds < 100 sq ft; requires thicker 5/8″ siding panels |
| Insulated Studio / Workshop | 2×6 Douglas Fir | 16″ On-Center | Heated habitable outbuildings requiring high R-21 wall batts |
| Door & Window Headers | Double 2×6 or 2×8 with 1/2″ plywood core | Spans 36″ to 72″ | Carries roof load over double door entries and window rough openings |
Squaring Walls on the Deck: The Diagonal Measurement Rule
Wall assemblies should always be framed flat on the level shed subfloor deck before raising. Once the top and bottom plates are nailed to the studs, measure both corner-to-corner diagonals with a 25-foot tape measure. Tap the corner studs until both diagonal measurements match exactly to within 1/16 of an inch. Nailing the structural wall sheathing (OSB or plywood) while the wall is clamped square locks the geometry forever, preventing wall racking during erection.
Complete Wall Framing Directory
Is It Cheaper to Buy or Build a Shed? Cost Comparison Guide for 2025
Master stud layout, rough openings, shear wall bracing, and exterior cladding installation.
How Much Does a 10×12 Shed Cost? Compare DIY vs Pre-Built Options
Master stud layout, rough openings, shear wall bracing, and exterior cladding installation.
How Much Cost to Build a Shed: Price Breakdown from Materials to Labor
Master stud layout, rough openings, shear wall bracing, and exterior cladding installation.
Shed Wall Options: Compare Materials for Insulation, Cost & Look
Master stud layout, rough openings, shear wall bracing, and exterior cladding installation.
How to Build Framing for a Shed: Master the Essential Structure
Master stud layout, rough openings, shear wall bracing, and exterior cladding installation.
How to Build Shed Walls: Structural Secrets for Weather-Tight Construction
Master stud layout, rough openings, shear wall bracing, and exterior cladding installation.
How to Build Shed Walls: Strong, Square & Simple Construction Guide
Master stud layout, rough openings, shear wall bracing, and exterior cladding installation.
How to Build Insulated Shed Walls: Transform Space for Year-Round Use
Master stud layout, rough openings, shear wall bracing, and exterior cladding installation.
How to Build a Lean To Shed: Space-Saving Designs Against Existing Walls
Master stud layout, rough openings, shear wall bracing, and exterior cladding installation.
Frequently Asked Questions
Should shed wall studs be spaced 16 inches or 24 inches on center?
16 inches on-center (OC) is strongly recommended for virtually all DIY sheds. While 24-inch OC saves a minor amount of lumber, 16-inch OC provides 50% more structural rigidity, prevents siding panels from bowing, makes insulation batts easier to install, and supports heavy wall-mounted shelving without failure.
Why is a double top plate required on shed walls?
The first top plate holds the wall studs together. The second top plate overlaps the corner joints of adjacent walls, tying all four walls together into a rigid monolithic box. It also distributes downward point loads from roof rafters directly down through the wall studs.
How do you frame a double-door opening in a shed wall?
A double-door opening requires full-length king studs on each side, inner jack (trimmer) studs cut to the door height, a solid sandwich header (two 2x6s with a 1/2-inch plywood spacer between them) resting on top of the jack studs, and short cripple studs between the header and top plate spaced 16″ OC.
Can I use pressure-treated lumber for the entire wall frame?
No, pressure-treated lumber is only required for the bottom sole plate (which rests directly against the floor plywood or concrete slab). Standard untreated kiln-dried SPF (Spruce-Pine-Fir) or Douglas Fir lumber should be used for wall studs and top plates, as treated wood shrinks, twists, and warps significantly as it dries indoors.