
✨ This article was AI edited. Editorial responsibility: Shed-Plans.biz.
Produced with AI. This article was artificially generated. Editorial responsibility: Shed-Plans.biz.
Portable fabric canopy shelters and polyethylene tarp sheds are affordable temporary solutions for protecting vehicles, tractors, and firewood. However, after 2 to 3 seasons of harsh UV exposure, heavy snow loads, and wind buffeting, polyethylene covers stretch, tear, and degrade. Converting a tarp shed into a permanent shed with steel roofing is the most cost-effective structural upgrade available, giving you a rigid, permanent outbuilding for a fraction of the cost of building from scratch.
This structural retrofit blueprint details how to reinforce tubular steel or timber framework, calculate purlin spacing, install corrugated or ribbed metal roofing panels, and anchor the converted building to meet local wind uplift and snow load codes.
Evaluating Your Existing Canopy Frame: Steel Tube vs Timber
Before buying metal panels, determine whether your existing frame can safely support the static weight of lumber purlins and steel sheets plus dynamic snow loads:
- Heavy-Duty Commercial Frames (2″+ Galvanized Steel Tube): Ideal candidates for steel roof conversion. The tubular arches provide immense structural rigidity once braced with horizontal purlins.
- Light-Duty Pop-Up Canopies (1″ to 1-3/8″ Thin-Wall Conduit): Require supplemental 2×4 vertical stud supports and diagonal sway bracing beneath each hoop to prevent buckling under snow.
- Existing Foundation & Anchoring: A fabric canopy relies on ground auger anchors. Once enclosed with solid metal roofing and walls, wind sail area increases fivefold. You must install concrete pier footings or screw-in hurricane earth anchors rated for at least 1,200 lbs of pull-out resistance per post.
Structural Framing Specifications & Material Cut List
| Component | Material Profile & Dimensions | Placement & Spacing | Fastener Spec |
|---|---|---|---|
| Horizontal Roof Purlins | 2×4 SPF or Hem-Fir Dimensional Lumber | Spaced 24″ OC perpendicular to roof arches | U-Bolt Clamps or 3″ Self-Tapping Metal Screws |
| Diagonal Wind Bracing | 2×4 Lumber or 1/8″ Galvanized Steel Aircraft Cable | Cross-bracing on all four corner bays | Turnbuckles + Cable Clamps / 3-1/2″ Lag Screws |
| Metal Roofing Panels | 29-Gauge or 26-Gauge Galvalume Ribbed Steel Sheets | Installed with 1-corrugation overlap | 1-1/2″ Hex-Head Screws with EPDM Washers |
| Ridge Cap & Gable Trim | Matching 26-Gauge Formed Galvalume Flashing | Continuous along peak and rake edges | 1″ Stitch Screws with Neoprene Gaskets |
| Vapor / Condensation Barrier | DripStop Anti-Condensation Membrane or Tyvek Wrap | Directly beneath steel panels over purlins | Cap staples / Adhesive backing |
Step-by-Step Retrofit & Conversion Procedure
Step 1: Frame Stripping, Inspection & Foundation Anchoring
- Remove the degraded fabric tarp cover completely. Inspect all tubular metal arches for rust or bent connections.
- If the frame sits directly on dirt, square the perimeter diagonals. Install pressure-treated 4×6 skids along each side base and secure tubular uprights using heavy-duty galvanized conduit pipe straps.
- Drive 36-inch helical earth anchors or pour concrete corner pads to anchor the base against severe wind uplift forces.
Step 2: Installing Longitudinal 2×4 Wood Purlins
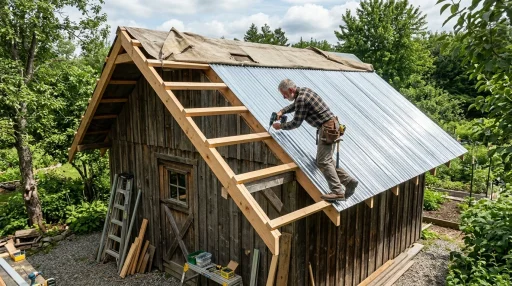
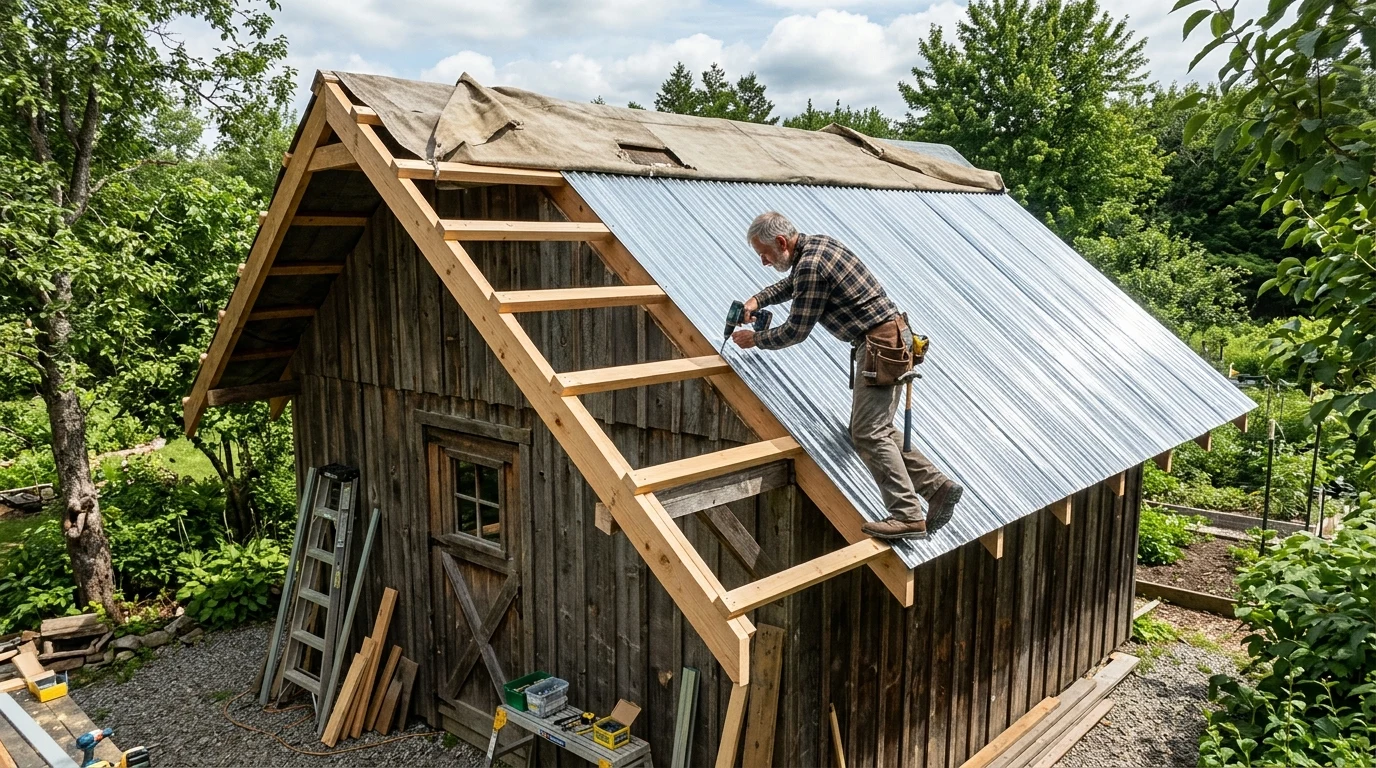
- Attach 2×4 horizontal purlins perpendicular across the exterior curvature of the steel arches, spaced 24 inches on center.
- Fasten purlins to the steel tubing using galvanized pipe conduit clamps (U-bolts) or heavy-duty #14 bi-metal self-drilling tek screws with locking washers.
- Ensure purlin ends extend 6 inches past the front and rear arches to create an attractive roof overhang that sheds rainwater away from end walls.
Step 3: Laying Condensation Barriers & Metal Sheets
- Unroll a breathable synthetic roofing underlayment or anti-condensation felt over the purlins to prevent under-metal condensation dripping onto tools.
- Start laying 29-gauge ribbed steel panels from the downwind end of the shed toward the prevailing wind direction.
- Fasten panels through the flats adjacent to ribs into the 2×4 purlins using color-matched screws with EPDM sealing washers. Drive screws snug until the rubber washer compresses slightly without deforming the metal flat.
Step 4: Installing Ridge Cap, Gable Rakes & Enclosing Walls
- Install pre-bent metal ridge cap flashing over the peak, sealing both sides with contoured foam closure strips to prevent wind-driven rain and wasps from entering.
- Enclose side and end walls using corrugated metal siding, T1-11 plywood, or horizontal cedar boards to complete the permanent transformation.
Frequently Asked Questions (FAQ)
Q: Will my metal tarp frame collapse under the weight of a steel roof?
A: Standard 29-gauge corrugated steel roofing weighs only about 0.65 to 0.85 lbs per square foot, which is easily supported by commercial 1.5″ to 2″ tubular frames once 2×4 purlins are properly spaced. However, in heavy snow country, add vertical 2×4 king posts beneath center roof arches for insurance.
Q: How do you stop steel roof condensation in a converted shed?
A: Single-skin metal roofs sweat when warm, humid air contacts cold metal. Always install a synthetic roof barrier or buy steel panels factory-laminated with an anti-condensation fleece (DripStop) and maintain cross-ventilation gable louvers.
Q: Do I need a building permit to convert a tarp shelter to a metal roof?
A: In many municipalities, once a temporary fabric canopy is clad in permanent metal sheeting, it is legally reclassified as an accessory structure. If the footprint exceeds 108 to 215 sq ft (depending on local bylaws), submit a simple accessory structure permit application.
For more outbuilding roofing ideas, see our guides on sloped roof drainage, shed roof truss construction, and durable shed roofing techniques.
Get our latest guides, news, and insights highlighted in your Google Search & AI Overviews.