✨ This article was AI edited. Editorial responsibility: Shed-Plans.biz.
Produced with AI. This article was artificially generated. Editorial responsibility: Shed-Plans.biz.
Selecting the optimal roof architecture for your backyard outbuilding is a foundational decision that impacts long-term weather resistance, internal storage capacity, and overall aesthetic appeal. This master guide to shed detail attached lean to shed plans and freestanding roof structures breaks down the architectural nuances of gable, gambrel, and attached mono-pitch lean-to roof designs.
Whether you need a space-efficient attached lean-to against an existing exterior home wall or a soaring barn-style gambrel roof with an overhead sleeping or storage loft, understanding pitch geometry, ledger board flashing, and rafter load paths ensures your shed stands resilient against heavy snow, torrential rain, and hurricane-force wind gusts.
Guide to Shed Detail Attached Lean to Shed Plans
Building an attached lean-to outbuilding requires precise structural integration with your primary home framing. By following a dedicated guide to shed detail attached lean to shed plans, DIY builders can avoid structural failure, exterior water infiltration, and siding rot.
| Roof Style Architecture | Structural Pitch Range | Attached Ledger Requirements | Key Architectural Advantage |
|---|---|---|---|
| Attached Lean-To Mono-Pitch | 3/12 to 5/12 Slope | 2×6 or 2×8 structural ledger lag-bolted to wall studs + metal step flashing | Maximizes narrow side yard setbacks with zero freestanding space loss |
| Traditional Gable Apex | 4/12 to 8/12 Slope | Freestanding double top plates + hurricane tie brackets | Universal snow shedding & matches residential house rooflines |
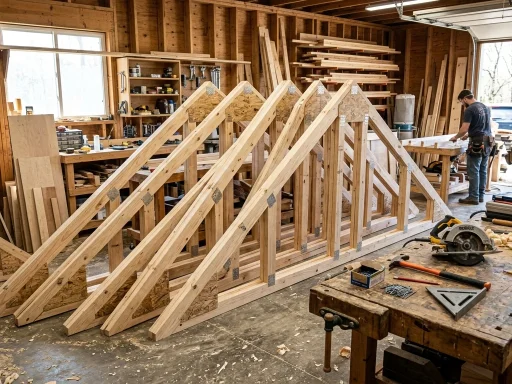
| Dutch Barn Gambrel | Dual Pitch (60° lower / 30° upper) | Plywood gusseted multi-chord truss framework | Provides 100% full-height standing room in overhead attic loft |
Critical Ledger Flashing & Wall Fastening Rules
To safely attach a lean-to roof ledger to an existing house wall:
- Remove Siding Carefully: Cut back vinyl or cedar siding 4 inches above where the new roof line lands to install continuous metal counter-flashing directly against house sheathing.
- Structural Lag Bolt Spacing: Fasten the 2×6 pressure-treated ledger using 1/2″ x 4-1/2″ hot-dipped galvanized lag screws or LedgerLOK structural fasteners spaced 12 inches on center in a staggered zigzag pattern directly into the house rim joist.
- Continuous Z-Flashing: Install pre-bent galvanized or aluminum Z-flashing over the top edge of the ledger board with a 2-inch vertical leg tucked under the house weather-resistant barrier (Tyvek).
Freestanding Gable & Gambrel Framing Breakdown
For standalone outbuildings, choosing between gable and gambrel determines your available vertical volume. Gable roofs provide straightforward DIY rafter cuts and excellent drainage, while gambrel roof trusses maximize interior cubic footage for overhead storage lofts without expanding the ground footprint.
Step-by-Step Rafter Installation & Hurricane Bracing
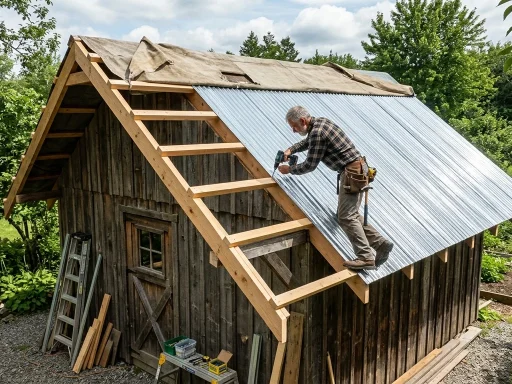
- Rafter Seat Cuts (Birdsmouth): Mark exact birdsmouth seat notches (typically 3-1/2″ flat bearing seat) to rest flush across the outer shed wall top plates.
- Joist Hanger Attachment: Secure rafter upper ends into heavy-duty galvanized joist hangers (Simpson Strong-Tie LUS26) nailed into the ledger board.
- Tie Down Brackets: Secure rafter lower seats to the exterior wall double top plate using H2.5A hurricane ties to prevent roof uplift during severe thunderstorms.
Frequently Asked Questions (FAQ)
Q: Does an attached lean-to shed require a separate foundation?
A: Yes. The outer wall of an attached lean-to must sit on frost-protected concrete footings or concrete deck blocks to prevent frost-heave differential movement from pulling the ledger off your house wall.
Q: What is the minimum slope for an attached lean-to roof?
A: For asphalt shingles, the minimum slope is 3/12 (14 degrees). If your roof slope is lower (2/12 or 1/12), use standing seam metal panels or rubber EPDM membrane.
Q: Can I attach a shed ledger to brick veneer?
A: No! Standard brick veneer is non-structural decorative cladding. You must drill through the brick into the structural wood framing studs or rim joist behind using threaded steel rod epoxy anchors with spacer sleeves.
Explore our related roofing guides on how to build shed roof trusses, sloped roof drainage design, and durable roofing techniques.
Get our latest guides, news, and insights highlighted in your Google Search & AI Overviews.