
✨ This article was AI edited. Editorial responsibility: Shed-Plans.biz.
Produced with AI. This article was artificially generated. Editorial responsibility: Shed-Plans.biz.
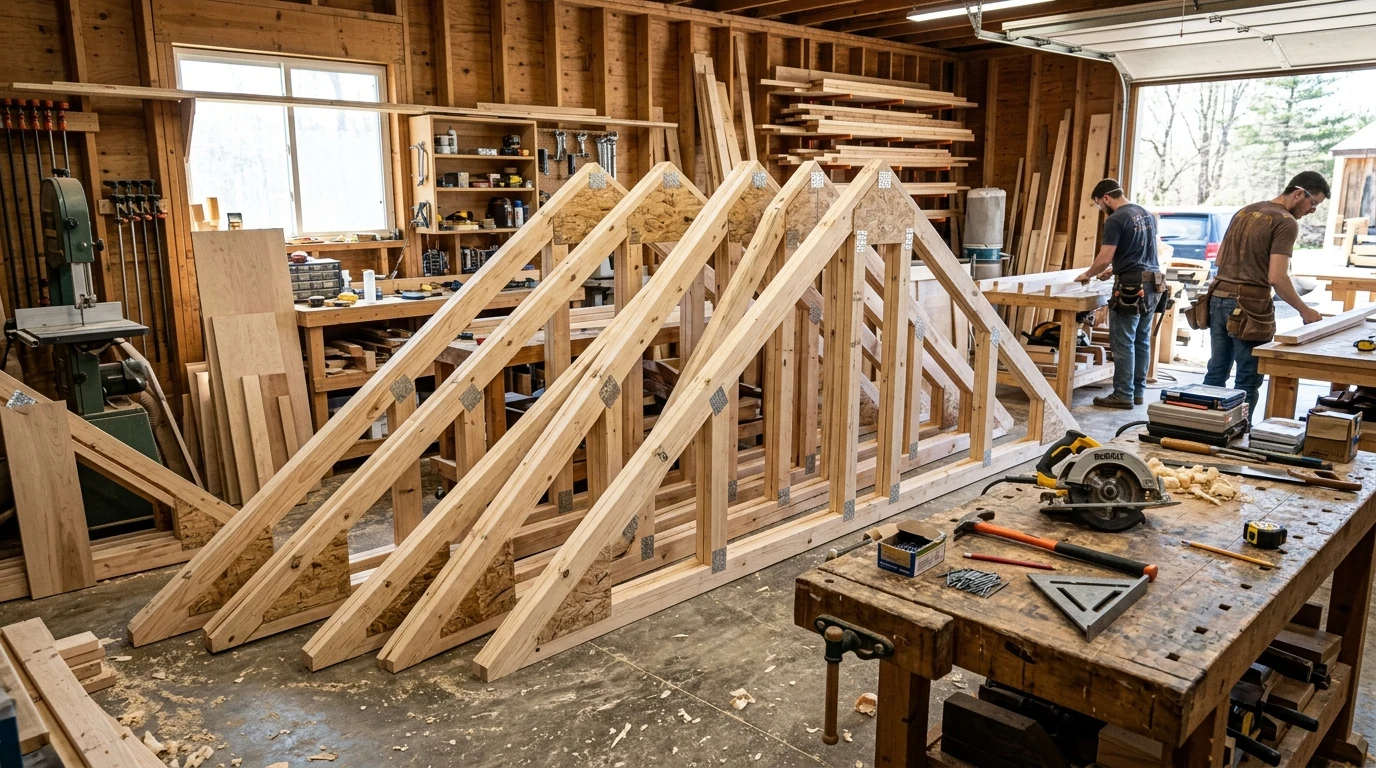
The roof structure is the most critical structural component of any 10-foot wide gable outbuilding. Prefabricated roof trusses deliver unmatched load-bearing capacity, uniform ridge alignment, and rapid assembly compared to traditional stick-framing with a ridge board. Building your own 10-foot gable shed trusses on a simple floor jig ensures every rafter pair is identical to within a millimeter, creating a rock-solid roof that easily supports heavy asphalt shingles, metal panels, and deep winter snow loads.
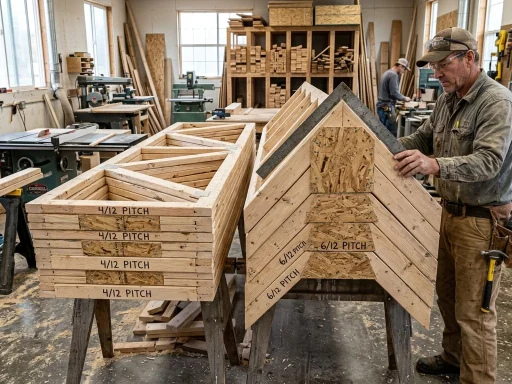
This step-by-step master framing guide provides full lumber cut lists, exact miter saw angle settings, plywood gusset plate sizing, structural load calculations, and assembly jig layouts for standard 10-foot span gable roof trusses at common pitches (4/12, 5/12, and 6/12).
Truss Geometry & Rafter Pitch Calculations (10-Foot Out-to-Out Span)
For a shed with an overall outside wall width of exactly 10 feet (120 inches), standard rafter dimensions and angle cuts are calculated as follows:
| Roof Pitch | Plumb Peak Cut Angle | Total Center Rise | Rafter Board Length (No Overhang) | Bottom Tie Chord Length |
|---|---|---|---|---|
| 4/12 Pitch | 18.4° (Miter 71.6°) | 20 inches (50.8 cm) | 63-1/4 inches (160.7 cm) | 120 inches (2×4 @ 10 ft) |
| 5/12 Pitch | 22.6° (Miter 67.4°) | 25 inches (63.5 cm) | 65 inches (165.1 cm) | 120 inches (2×4 @ 10 ft) |
| 6/12 Pitch (Recommended) | 26.6° (Miter 63.4°) | 30 inches (76.2 cm) | 67-1/8 inches (170.5 cm) | 120 inches (2×4 @ 10 ft) |
Materials & Fastener Cut List (Per Individual 10ft Truss)
- Top Chords (Rafters): 2 pcs 2×4 #2 or Better SPF Lumber @ 72″ (allows for 6″ to 8″ eave overhang).
- Bottom Tie Chord: 1 pc 2×4 #2 SPF Lumber @ 120″ (10 feet exact length).
- Center King Post (Optional but Recommended for Snow Loads): 1 pc 2×4 @ 26″ (cut to fit center vertical).
- Apex Peak Gusset Plates: 2 pcs 1/2″ CDX Plywood or OSB @ 12″ x 16″ triangular plates.
- Heel / Eave Gusset Plates: 4 pcs 1/2″ CDX Plywood or OSB @ 8″ x 16″ trapezoidal plates.
- Structural Fasteners: 1-1/2″ hot-dipped galvanized 8d ring-shank nails or Simpson Strong-Tie 20-gauge mending plates. Apply construction adhesive (Liquid Nails Subfloor) between wood and gussets.
Step-by-Step Truss Construction & Jig Assembly
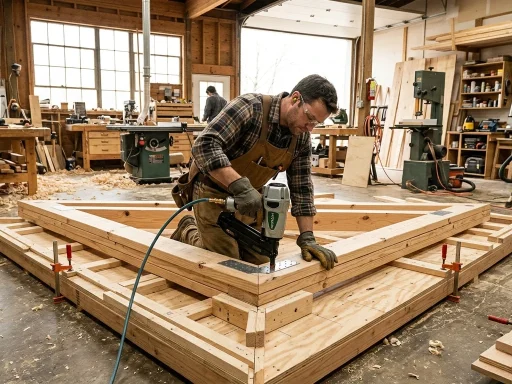
Step 1: Build the Master Floor Jig
- Use your finished shed plywood subfloor as an expansive, level layout table before erecting walls.
- Snap a chalk line representing the 10-foot bottom chord. Mark the exact center at 60 inches.
- From the center mark, measure vertically up 30 inches (for a 6/12 pitch) and mark the peak apex.
- Screw scrap 2×4 blocks to the plywood floor on both sides of the bottom chord and rafters to form rigid jig stops that hold every lumber piece in exact position during nailing.
Step 2: Cutting the Master Rafters & Bottom Chord
- Set your miter saw to 26.6 degrees for the top plumb cut where the two rafters meet at the peak.
- Mark the birdsmouth heel cut or rafter seat where the top chord rests on the shed wall top plate.
- Test-fit the components inside your floor jig stops. Once perfectly flush, use these master pieces to trace all remaining truss rafters.
Step 3: Applying Adhesive & Nailing Gussets
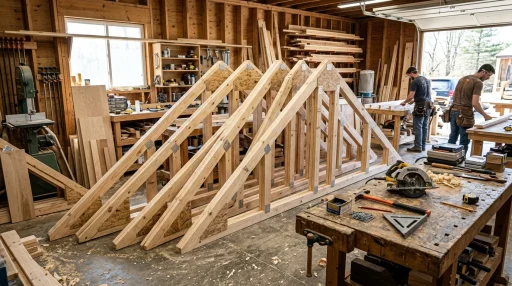
- Lay the two top chords and bottom chord into the jig stops.
- Apply a generous bead of polyurethane construction adhesive to the joint faces.
- Place 1/2″ plywood gusset plates over the peak and heel joints. Drive 8d ring-shank nails in an offset staggered pattern (minimum 6 to 8 nails per joint member, spaced at least 1-1/2″ from edges to prevent splitting).
- Flip the assembled truss carefully and install identical gusset plates on the reverse side.
Structural Load Ratings: Snow Loads & Hurricane Bracing
Understanding the engineering forces at play ensures your shed roof remains standing during severe storms:
- Live Load / Snow Load Capacity: When constructed from #2 SPF 2x4s spaced 24 inches on center with a 6/12 pitch and center king post, these trusses have an engineered ground snow load rating exceeding 45 lbs per square foot (PSF).
- Wind Uplift Resistance: Fasten each truss heel to the double top plate using Simpson Strong-Tie H2.5A hurricane ties with 1-1/2″ structural connector screws. This provides 550 lbs of vertical uplift resistance per connection, protecting against Category 2 hurricane gusts.
- Collar Ties vs Gusseted Bottom Chords: Unlike stick-built roofs that require individual collar ties in the upper third, a full web truss ties the rafter feet together at the bottom plate, entirely preventing wall outward thrust and spreading roof weight evenly down wall studs.
Erecting & Bracing Trusses on the Wall Plates
To ensure a straight, professional roofline during installation:
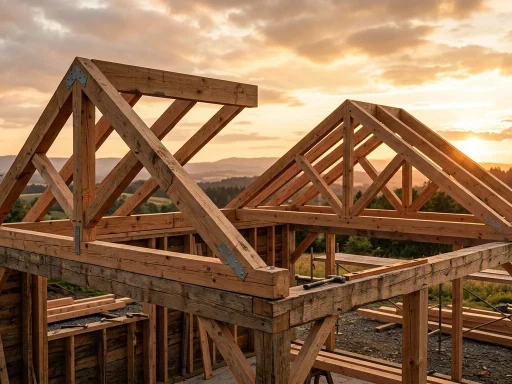
- Erect the two gable end trusses first, flush with exterior siding framing. Plumb with a 4-foot spirit level and brace with temporary 2×4 diagonal kickers.
- Run a tight mason’s nylon string line from peak to peak of the two end trusses.
- Install intermediate trusses on 24-inch centers, aligning each peak apex precisely to the string line.
- Install 2×4 horizontal lateral purlin braces (truss ties) across the interior webs to prevent longitudinal racking during high winds.
Frequently Asked Questions (FAQ)
Q: Can I use 2×4 lumber for a 10-foot span shed truss?
A: Yes! For a 10-foot span at 24-inch centers with a 4/12 to 6/12 pitch, standard 2×4 lumber with 1/2″ plywood gusset plates on both sides exceeds all residential roof snow load requirements up to 40 lbs per sq ft.
Q: Are plywood gussets as strong as metal truss plates?
A: When paired with structural construction adhesive and 8d ring-shank nails, 1/2-inch exterior CDX plywood gussets are actually stronger and more resilient than light-gauge DIY hammer-in metal mending plates.
Q: What is the best truss spacing for a 10×12 shed?
A: 24 inches on center is the industry standard. A 10×12 shed requires exactly 7 trusses (2 gable end trusses + 5 common interior trusses).
Q: How do you build an overhang on a shed truss?
A: Either cut the top chord rafters 6 to 10 inches longer so they extend past the bottom chord seat, or build ladder overhangs (outriggers) on the gable ends using 2×4 blocking nailed into the end trusses.
Read our full companion guides on how to build shed roof trusses, sloped roof drainage, and roofing installation techniques.
Get our latest guides, news, and insights highlighted in your Google Search & AI Overviews.