

✨ This article was AI edited. Editorial responsibility: Shed-Plans.biz.
Produced with AI. This article was artificially generated. Editorial responsibility: Shed-Plans.biz.
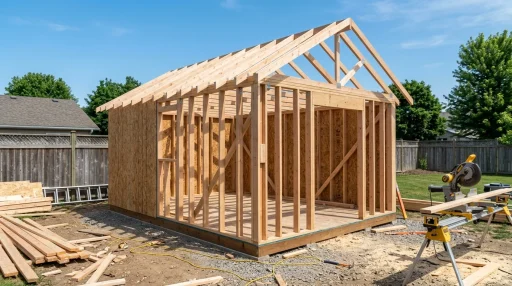
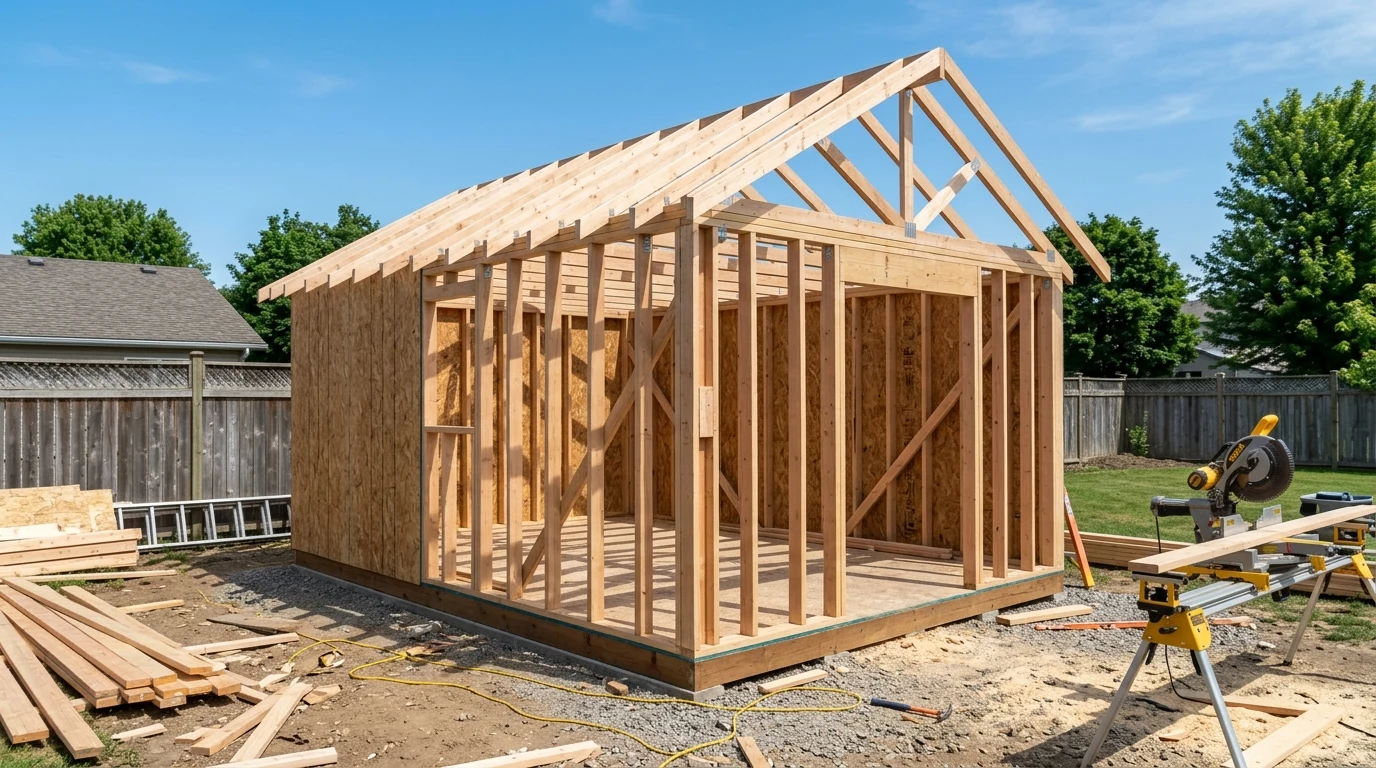
Framing is the skeletal backbone of any outdoor building project. A square, plumb, and properly braced shed frame guarantees that exterior siding hangs straight, windows and doors operate smoothly without binding, and the roof easily withstands heavy snow loads and gale-force wind gusts. Whether you are building an 8×10 tool shed or a 12×20 backyard workshop, mastering standard platform framing principles is the key to building an outbuilding that lasts for generations.
This master structural carpentry blueprint details platform floor framing, 16-inch on-center wall stud layout, advanced 3-stud corner construction (California corners), door and window structural headers, double top plate interlocking, and shear wall diagonal bracing.
Understanding the Platform Framing System
Modern sheds are built using platform framing (also known as western framing). In this method, the floor acts as a level, rigid working platform upon which all four wall frames are assembled flat on the ground and then tilted up into position:
- Subfloor Foundation Platform: Pressure-treated perimeter rim joists and floor joists sheeted with 3/4-inch tongue-and-groove exterior plywood.
- Bottom Sole Plate: 2×4 lumber nailed flat to the floor deck, anchoring studs to the platform.
- Wall Studs: 2×4 dimensional lumber spaced exactly 16 inches or 24 inches on center.
- Double Top Plates: Two layers of 2×4 lumber across wall tops that overlap at corners to tie adjoining walls together into a monolithic box.
Framing Specifications & Fastener Schedule
| Framing Component | Recommended Lumber Profile | On-Center (OC) Spacing | Fastener Spec & Nailing Schedule |
|---|---|---|---|
| Floor Joists | 2×6 Pressure-Treated #2 Grade | 16″ OC (12″ OC for heavy lawn tractors) | 3 pcs 16d (3-1/2″) galvanized nails per joist end |
| Subfloor Sheathing | 3/4″ Exterior Tongue & Groove OSB / CDX Plywood | Staggered 4ft seams across joists | 8d ring-shank nails @ 6″ edges / 12″ field + subfloor glue |
| Wall Studs & Plates | 2×4 SPF / Hem-Fir #2 or Better | 16″ OC (Standard residential rating) | 2 pcs 16d nails end-nailed through plates into studs |
| Door & Window Headers | Double 2×6 or 2×8 with 1/2″ plywood sandwich | Over all rough wall openings | 16d nails in staggered rows every 12″ |
| Corner Framing | California 3-Stud Corner Configuration | At all 4 wall junctions | 10d common nails every 12″ vertically |
Step-by-Step Wall Framing Procedure
Step 1: Floor Subfloor Framing & Squaring
- Construct the perimeter rim band using ground-contact pressure-treated 2×6 joists. Measure diagonal corners with a 100-foot tape measure (cross-measurements must match exactly to 1/16 inch).
- Install intermediate joists on 16-inch centers using Simpson Strong-Tie joist hangers.
- Apply heavy polyurethane subfloor adhesive across joist tops and screw 3/4-inch tongue-and-groove plywood with 2-1/2 inch star-drive screws.
Step 2: Marking Stud Layout on Top and Bottom Plates
- Cut matching pairs of 2×4 top and bottom plates to exact wall length. Clamp them together face-to-face.
- Hook your tape measure on the end and pull along the plates. Mark 15-1/4 inches for your first stud layout line, then pull subsequent marks every 16 inches on center (31-1/4″, 47-1/4″, 63-1/4″).
- Draw an “X” to the right of each line using a speed square to indicate where the stud body sits. This guarantees 4×8 exterior plywood sheathing edges always land on the center of a stud.
Step 3: Assembling California 3-Stud Corners
- Traditional solid 3-stud corner posts waste lumber and create un-insulated cold voids. Instead, use the California 3-stud corner: nail two standard studs together with 2×4 blocking, leaving an open 1-1/2″ interior drywall backing lip.
- This provides rigid exterior structural fastening while giving you a solid interior nailing surface for hanging drywall or pegboard shelves later.
Step 4: Framing Rough Openings: Headers, Jacks & Cripples
- Frame door openings 2-1/2 inches wider and 2 inches taller than the door manufacturer’s nominal size to allow room for jamb shimming.
- Install double 2×6 headers supported on both ends by full-height jack studs (trimmers) nailed alongside king studs.
- Add vertical cripple studs on 16-inch center spacing above the header to transfer roof loads continuously to the foundation.
Step 5: Tilting, Plumbing & Interlocking Double Top Plates
- Tilt the completed wall frame upright. Nail the bottom sole plate into the floor joists with two 16d nails per stud bay.
- Check vertical plumb using a 6-foot carpenter’s level on both ends. Nail temporary 2×4 diagonal braces from the wall studs down to the floor deck.
- Erect all four walls, then install the second double top plate. Ensure the top plates overlap at all four corners by at least 4 inches to lock adjoining walls rigidly together.
Frequently Asked Questions (FAQ)
Q: Should I frame my shed with 16″ or 24″ stud spacing?
A: 16-inch on-center spacing is strongly recommended for all storage sheds and workshops. It allows full-weight wall hanging of heavy tools, provides superior wind resistance, and prevents siding waviness compared to 24″ spacing.
Q: What size header do I need for a 6-foot shed double door?
A: For a 72-inch wide double door opening supporting standard roof trusses, use a double 2×8 header sandwiched with 1/2-inch plywood core supported by double jack studs on each side.
Q: How do you prevent a shed frame from racking in high winds?
A: Installing 1/2-inch CDX plywood or 7/16-inch OSB exterior wall sheathing fastened with 8d ring-shank nails every 6 inches on edges provides structural shear wall racking resistance that easily exceeds 110 mph wind standards.
Continue exploring our master carpentry tutorials on how to build shed roof trusses, sloped roof drainage design, and level shed base construction.
Get our latest guides, news, and insights highlighted in your Google Search & AI Overviews.


