
✨ This article was AI edited. Editorial responsibility: Shed-Plans.biz.
Produced with AI. This article was artificially generated. Editorial responsibility: Shed-Plans.biz.
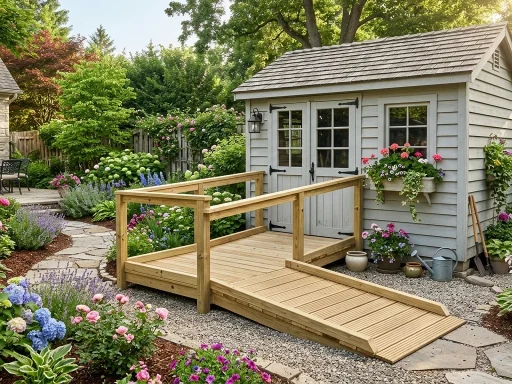
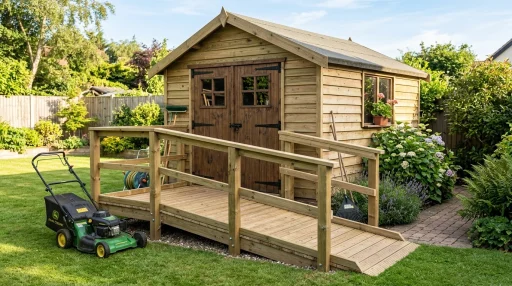
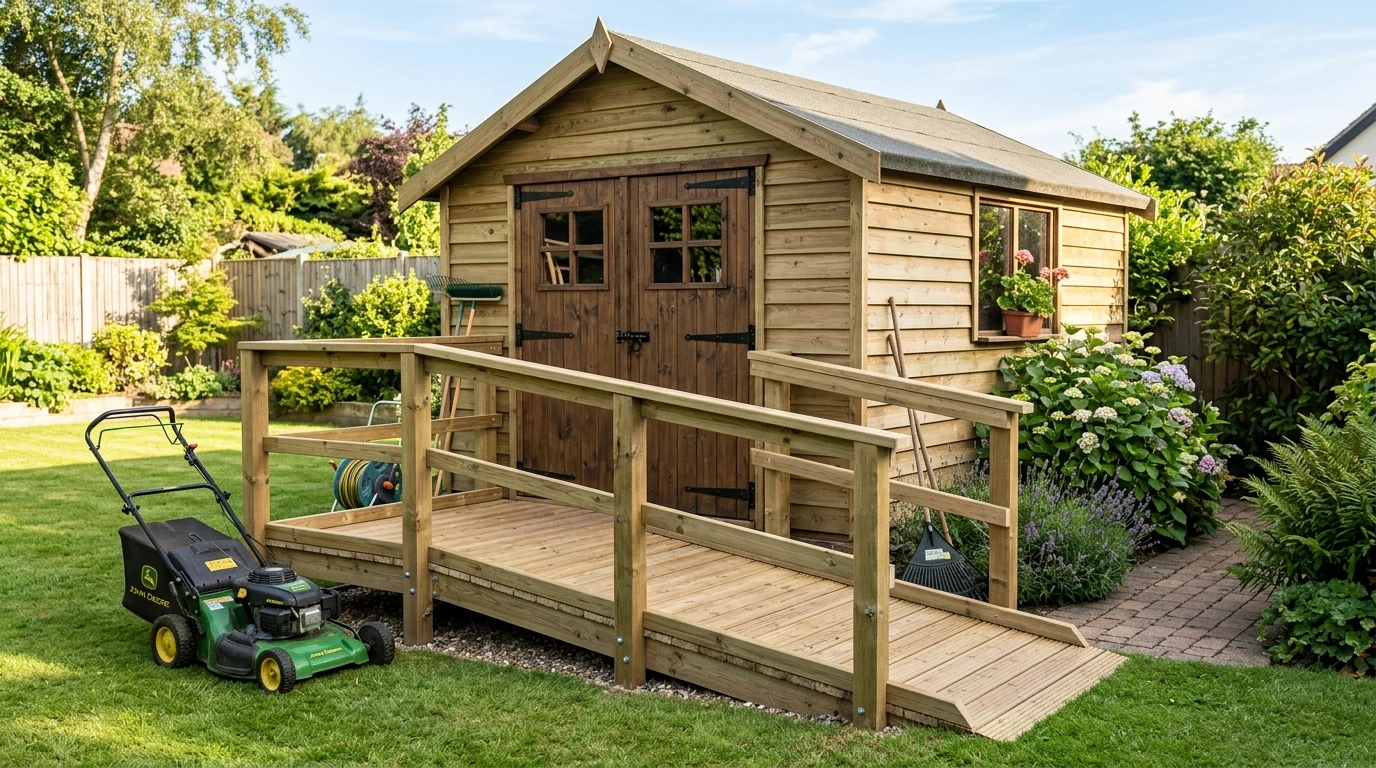
Moving heavy lawn tractors, commercial zero-turn mowers, loaded wheelbarrows, and bulky power equipment into an elevated outbuilding without a sturdy incline is both hazardous and physically exhausting. Building your own entry incline using our free storage shed ramp plans provides a durable, slip-resistant, and high-capacity bridge between your lawn and shed subfloor that lasts for decades.
This engineering blueprint provides complete material cut lists, slope angle calculations, ground ledger details, structural framing techniques, and load-bearing reinforcement steps to construct a heavy-duty ramp engineered to support dynamic wheel loads exceeding 1,500 pounds.
Ramp Slope Geometry: Calculating the Ideal Incline Angle
The single most common mistake in DIY ramp construction is building an incline that is too steep. A steep ramp causes lawnmower cutting decks to bottom out (high-center) on the door threshold, slips in wet weather, and makes pushing heavy wheeled equipment physically dangerous.
- Standard Slope Ratio: 1:4 to 1:6 (For every 1 inch of threshold rise, provide 4 to 6 inches of horizontal ramp run).
- Maximum Incline for Riding Mowers: Do not exceed a 1:4 slope (approximately 14 degrees). For an 8-inch shed floor elevation, build a ramp length of at least 36 to 48 inches.
- Gentle Slope for Wheelbarrows & Hand Trucks: 1:6 to 1:8 ratio provides effortless roll-in without straining your back.
- Ramp Width Rule: Ensure total ramp width extends at least 6 to 12 inches wider than the shed door opening to allow safe steering clearance when backing up.
Materials & Fastener Cut List (48″ Wide x 60″ Long Heavy-Duty Ramp)
| Component | Specification & Dimensions | Quantity | Load Function |
|---|---|---|---|
| Ramp Stringers (Joists) | 2×8 Pressure-Treated (Ground Contact UC4A) @ 60″ long | 4 pcs (spaced 12″ to 16″ OC) | Primary weight-bearing structural ribs |
| Ledger Attachment Board | 2×6 Pressure-Treated Lumber @ 48″ long | 1 pc | Secures ramp to shed rim joist |
| Ground Landing Pad | 4×4 Pressure-Treated Skid or Solid Concrete Pavers | 1 pc 4×4 @ 48″ / 3 pavers | Prevents ground rot and sinking |
| Decking Surface Boards | 5/4×6 Pressure-Treated Premium Decking @ 48″ long | 11 pcs | Non-slip wheel traction surface |
| Structural Fasteners | 3″ Ceramic-Coated Deck Screws + Simpson LUS28 Joist Hangers | 1 lb screws + 4 hangers | Corrosion-resistant connections |
Step-by-Step Construction Procedure
Step 1: Beveling and Cutting the Master Stringers
The strength of your ramp relies entirely on uniform stringer cuts. Follow this procedure:
- Take your first 2×8 pressure-treated stringer board and lay it flat across saw horses.
- Mark the top plumb cut angle where the stringer abuts the shed threshold ledger (typically 10 to 14 degrees depending on total rise).
- Mark the bottom ground bevel cut where the stringer tapers flush to meet the lawn or concrete landing pad.
- Cut the first stringer carefully using a circular saw with a framing blade. Test-fit against the shed threshold, then use this master stringer as a template to trace all remaining stringers identically.
Step 2: Securing the Ledger and Joist Hangers
- Fasten the 2×6 ledger board directly to the shed rim joist beneath the door opening using 3-1/2 inch structural lag screws every 8 inches.
- Install heavy-duty galvanized joist hangers (Simpson Strong-Tie LUS28 or adjustable slope hangers) at 12-inch or 16-inch center intervals.
- Slide the top end of each stringer into the hangers and nail securely with 1-1/2 inch 10d structural connector nails.
Step 3: Ground Bed Preparation & Toe Anchoring
- Excavate a shallow 4-inch trench beneath the bottom ramp toe. Backfill with 3/4-inch crushed gravel to provide frost-free drainage.
- Set a 4×4 pressure-treated ground runner or solid 4x8x16 concrete patio blocks into the gravel bed to rest the stringer toes upon, eliminating direct soil contact.
- Toe-screw the lower stringer ends into the ground runner using structural exterior screws.
Step 4: Fastening Deck Boards and Traction Cleats
- Lay 5/4×6 decking boards perpendicular across the stringers, leaving a 1/8-inch expansion gap between boards for rainwater drainage.
- Fasten each deck board with two 3-inch exterior deck screws into each stringer.
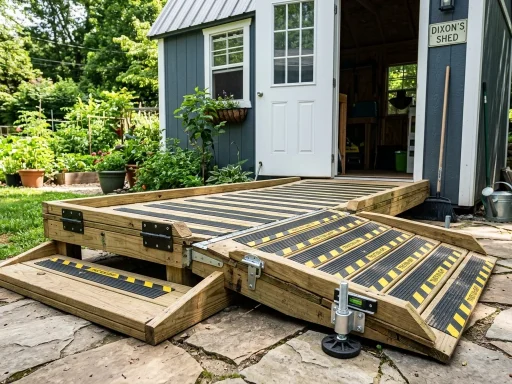
- For maximum wet-weather traction with rubber lawnmower tires, rout shallow 1/8-inch traction grooves or install anti-slip aluminum grip tape along tire tracks.
Load Capacity & Structural Safety Guidelines
Ensure your ramp framing matches your anticipated equipment loads:
- Light Duty (Wheelbarrows, Hand Mowers up to 400 lbs): 3 stringers spaced 24″ OC, 1/2″ exterior plywood deck.
- Medium Duty (Riding Lawn Mowers up to 900 lbs): 4 stringers spaced 16″ OC, 5/4×6 decking boards.
- Heavy Duty (Commercial Zero-Turn Mowers, ATVs, UTVs up to 2,000 lbs): 5 stringers spaced 12″ OC, 2×6 pressure-treated decking with mid-span blocking.
Frequently Asked Questions (FAQ)
Q: What is the minimum thickness for shed ramp decking?
A: For riding lawnmowers and equipment weighing over 500 lbs, use at least 5/4-inch (1-inch actual) pressure-treated decking or 2×6 dimensional lumber. Standard 1/2-inch plywood is too flexible and will bow under heavy point loads.
Q: How do I prevent the bottom of the ramp from rotting?
A: Never let bare timber stringer ends touch soil. Always seat the ramp bottom on a leveled crushed gravel bed or concrete pavers, and treat all end-grain saw cuts with copper naphthenate wood preservative.
Q: Can I build a removable or hinged shed ramp?
A: Yes! By mounting heavy-duty gate hinges (rated for 500+ lbs) to the top ledger board, you can fold the ramp upright against the shed doors when not in use, locking out rodents and preventing lawn mower obstruction.
For more exterior add-on ideas, browse our guides on how to build a shed ramp, wheelbarrow ramp designs, and shed base leveling techniques.
Get our latest guides, news, and insights highlighted in your Google Search & AI Overviews.