
✨ This article was AI edited. Editorial responsibility: Shed-Plans.biz.
Produced with AI. This article was artificially generated. Editorial responsibility: Shed-Plans.biz.
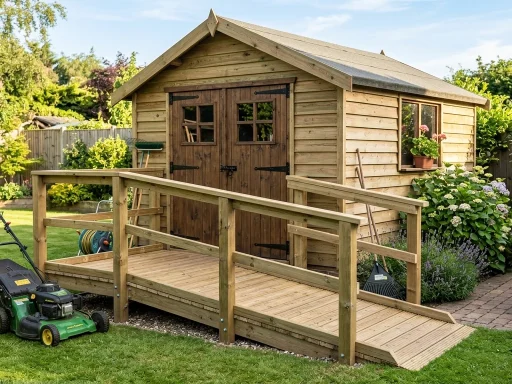
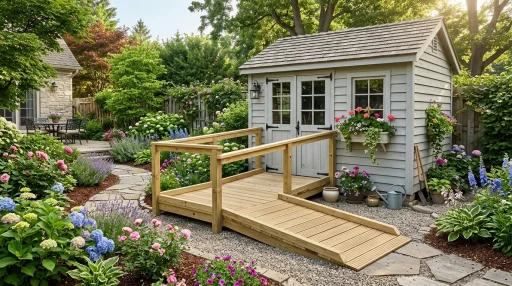
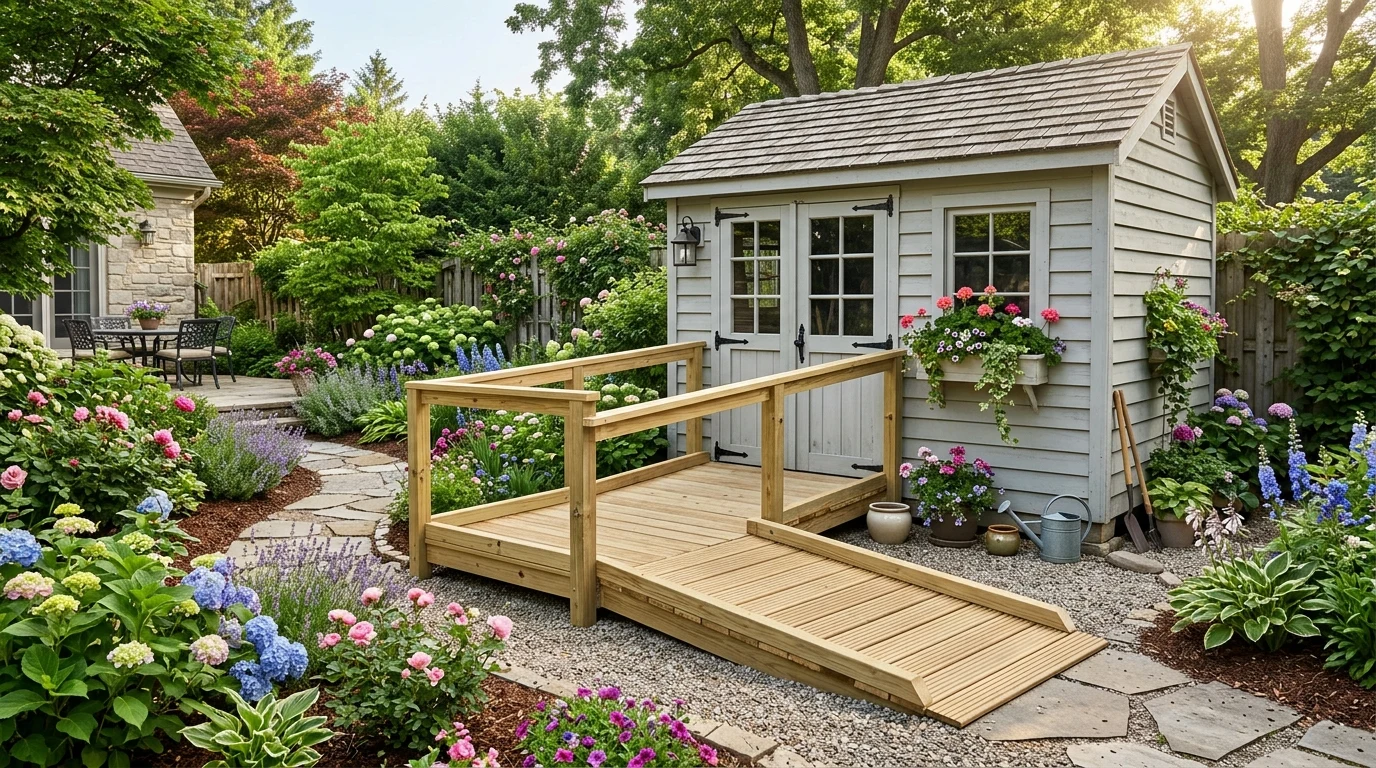
Getting motorized garden equipment, heavy tool chests, zero-turn mowers, and loaded wheelbarrows safely into an outbuilding requires a properly engineered incline. Installing a dedicated entry ramp for an outdoor shed eliminates threshold tripping hazards, protects the door sill from impact damage, and prevents strained backs from lifting heavy machinery over elevated framing lips.
This master construction blueprint covers critical incline angle calculations, ground contact rot protection, structural stringer layouts, heavy-duty joist fastening methods, and non-slip surface treatments designed for all-season exterior reliability.
Calculating Ramp Slope & Dimensions: Avoiding Equipment High-Centering
The primary reason DIY shed ramps fail in practice is excessive slope. When a ramp is too steep, the cutting deck of a lawn tractor bottoms out (high-centers) on the door threshold, lifting drive wheels off the ground and leaving you stuck. Follow these engineering guidelines:
- Standard Slope Ratio: 1:4 to 1:6 (For every 1 inch of threshold rise from ground, provide 4 to 6 inches of horizontal run).
- Lawn Tractor & Mower Incline: Do not exceed a 1:4 slope (14 degrees maximum). For a typical 9-inch elevation rise, build a ramp length of at least 48 to 54 inches.
- Manual Push Mower & Wheelbarrow Slope: 1:6 to 1:8 ratio provides effortless roll-in without straining calf and back muscles.
- Width Clearance: Construct the ramp width at least 8 to 12 inches wider than your shed door opening to give ample steering tolerance when backing out.
Materials & Fastener Cut List (48″ Wide x 60″ Long Heavy-Duty Ramp)
| Component | Material Profile & Dimensions | Placement & Spacing | Fastener Spec |
|---|---|---|---|
| Main Stringers (Joists) | 2×8 Pressure-Treated (Ground Contact UC4A) @ 60″ | 4 pcs spaced 16″ OC (12″ OC for heavy commercial mowers) | Simpson LUS28 Joist Hangers + 10d Nails |
| Top Ledger Board | 2×6 Pressure-Treated Lumber @ 48″ | Bolted beneath shed door threshold rim joist | 3-1/2″ Structural Lag Screws every 8″ |
| Ground Landing Pad | 4×4 Pressure-Treated Timber or 4x8x16 Solid Concrete Pavers | Recessed into 4″ crushed gravel bed | Exterior Galvanized Toe-Screws |
| Decking Planks | 5/4×6 Premium Pressure-Treated Radius-Edge Decking | 11 pcs @ 48″ length, 1/8″ gap spacing | 3″ Ceramic-Coated Star-Drive Deck Screws |
| Side Safety Guard Curbs | 2×4 Pressure-Treated Lumber @ 60″ | Mounted flush along outer perimeter edges | 3-1/2″ Deck Screws from underneath |
Step-by-Step Construction Procedure
Step 1: Cutting Stringers and Setting Plumb Angles
- Lay your 2×8 pressure-treated stringer timber flat on saw horses.
- Mark the top plumb cut angle (typically 10 to 14 degrees) where the stringer butts flush against the shed ledger board.
- Mark the bottom ground bevel cut where the stringer tapers flat to meet the landing pad.
- Cut the first master stringer using a circular saw. Test fit against the shed door opening, then trace the remaining stringers identically.
Step 2: Securing the Structural Ledger & Joist Hangers
- Fasten the 2×6 ledger board directly to the shed rim joist beneath the door sill using 3-1/2 inch structural lag screws every 8 inches.
- Install heavy-duty galvanized joist hangers (Simpson Strong-Tie LUS28) spaced 16 inches on center (or 12 inches for heavy zero-turn mowers).
- Seat each stringer into its hanger and secure with 1-1/2″ 10d galvanized structural connector nails.
Step 3: Excavating the Ground Bed & Toe Anchoring
- Dig a 4-inch deep trench directly under where the ramp bottom lands. Backfill with 3/4-inch crushed drain rock and compact firmly.
- Bed a 4×4 pressure-treated runner or solid concrete patio blocks into the gravel to provide a rot-proof, level footing for the stringer toes.
- Toe-screw the lower stringer ends securely into the ground runner.
Step 4: Installing Decking, Safety Curbs & Anti-Slip Texturing
- Fasten 5/4×6 decking boards perpendicular across stringers with a 1/8-inch expansion gap between boards.
- Mount 2×4 safety curbs along the outer edges to prevent lawnmower tires from sliding off the edge in wet weather.
- Apply high-traction aluminum grip strips or broadcast silica sand into outdoor polyurethane deck enamel along the primary tire tracks.
Load Capacity & Structural Safety Guidelines
Match your framing configuration to your intended machinery weights:
- Light Duty (Wheelbarrows, Hand Mowers up to 400 lbs): 3 stringers spaced 24″ OC, 1/2″ exterior plywood deck.
- Medium Duty (Riding Lawn Mowers up to 900 lbs): 4 stringers spaced 16″ OC, 5/4×6 decking boards.
- Heavy Duty (Commercial Zero-Turn Mowers, ATVs, UTVs up to 2,000 lbs): 5 stringers spaced 12″ OC, 2×6 pressure-treated decking with mid-span blocking.
Frequently Asked Questions (FAQ)
Q: What is the best wood to use for an outdoor shed ramp?
A: Always use UC4A Ground Contact pressure-treated lumber (Southern Yellow Pine, Douglas Fir, or Hem-Fir) or marine-grade composite decking. Standard untreated lumber will rot within 2 to 3 years when exposed to ground dampness.
Q: Can I build a detachable shed ramp?
A: Yes! By mounting an extruded aluminum French cleat or heavy-duty gate hinges to the ledger board, you can fold or lift the ramp away during winter months to prevent snow plow damage and eliminate under-ramp rodent nesting.
Q: How do you prevent lawnmower blades from hitting the threshold?
A: Ensure your slope ratio is 1:5 or gentler (at least 5 feet of run for a 10-inch rise), and install an aluminum transition plate across the door threshold to smooth the breakover angle.
For more detailed outdoor carpentry projects, explore our guides on how to build a shed ramp, wheelbarrow ramp blueprints, and level shed base construction.
Get our latest guides, news, and insights highlighted in your Google Search & AI Overviews.