
✨ This article was AI edited. Editorial responsibility: Shed-Plans.biz.
Produced with AI. This article was artificially generated. Editorial responsibility: Shed-Plans.biz.
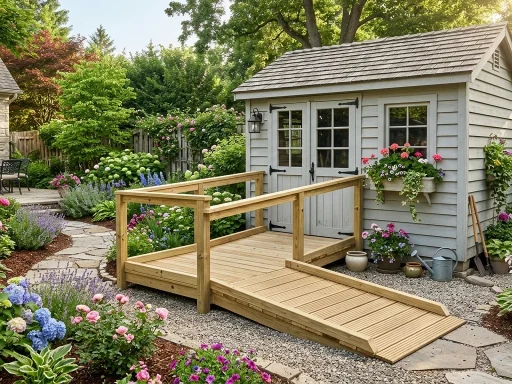
Building a standard wooden ramp is fine, but everyday use quickly exposes frustrating pain points: slick wet surfaces, lawnmower deck scraping, rotting ground stringers, and ramps that block lawn mowers or trap debris against shed doors. Implementing smart shed ramp hacks transforms a basic wooden incline into a high-traction, multi-functional, and ultra-durable access system that makes rolling heavy equipment effortless.
Whether you need a folding ramp that stows out of the way, adjustable leveling feet for uneven ground, or zero-cost DIY traction strips, these 10 field-tested carpentry and engineering hacks solve every common ramp problem.
Hack 1: The Heavy-Duty Hinged Folding Ramp
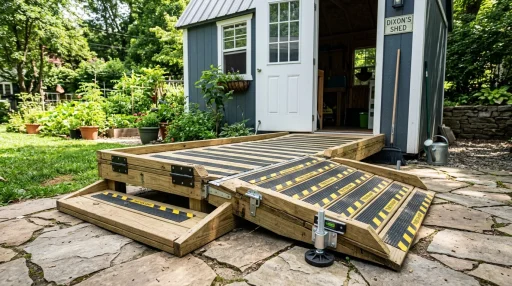
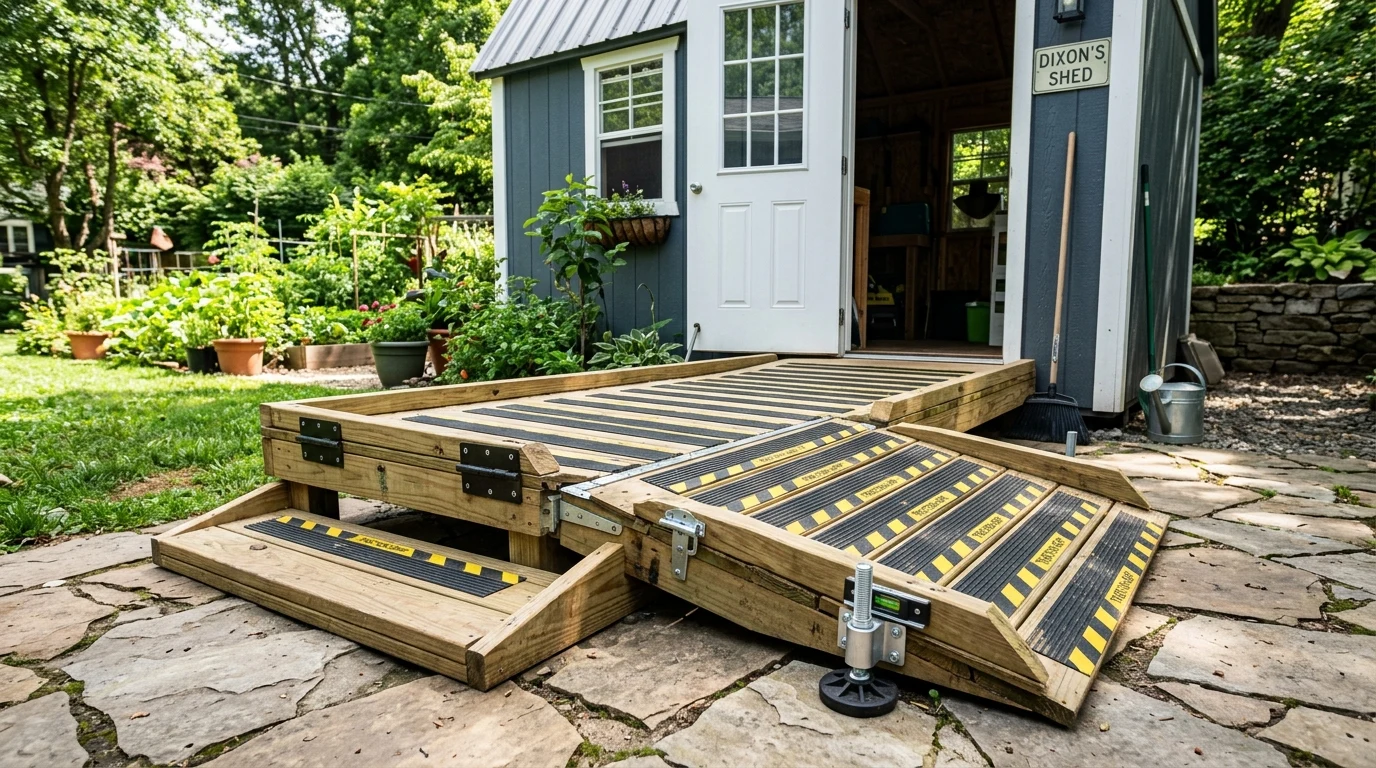
If your shed sits near a garden walkway or property fence, a permanent 5-foot ramp is an annoying trip hazard and lawnmowing obstruction. Solve this by installing heavy-duty 8-inch strap gate hinges (rated for 600+ lbs) along the top ledger board. When not in use, simply fold the ramp upright against the shed doors and latch it with a slide bolt. This keeps the ramp off wet grass and prevents rodents from nesting underneath.
Hack 2: Recessed Aluminum Transition Threshold Plate
Lawnmower wheels often catch on the 1/2-inch to 3/4-inch lip where the ramp meets the shed door subfloor. Install a 4-inch wide extruded aluminum diamond-plate transition threshold strip across the seam. This creates a zero-clearance, completely seamless roll-in surface for small caster wheels and delicate hand trucks.
Hack 3: The 3-Piece Modular Removable Incline
For large 12-foot to 16-foot sheds with double doors, building a massive 60-inch wide single ramp creates a heavy, unmovable beast. Instead, build three separate 20-inch wide ramp sections that hook onto an aluminum French cleat ledger rail beneath the doors. You can remove individual sections in seconds to access under-shed storage or store them indoors for the winter.
Comparison of Shed Ramp Hacks & Performance Upgrades
| Ramp Hack / Upgrade | Primary Benefit | Cost Level | DIY Skill Level |
|---|---|---|---|
| Hinged Fold-Up Mechanism | Eliminates lawn mowing obstruction and rodent nesting | Low ($25 – $40) | Beginner |
| Diamond Plate Transition Lip | Seamless zero-bump roll-in for small wheels | Low ($15 – $30) | Beginner |
| Recycled Rubber Tread Cleats | 100% slip-proof traction in rain, snow, and mud | Minimal ($10 – $20) | Beginner |
| Threaded Steel Leveling Feet | Compensates for uneven sloped ground without excavating | Moderate ($30 – $50) | Intermediate |
| French Cleat Quick-Release Rail | Instant tool-free ramp removal for winter storage | Moderate ($25 – $45) | Intermediate |
| Solar Motion-Sensor Guide Strips | Nighttime visibility and safe footing after sunset | Low ($18 – $30) | Beginner |
Hack 4: DIY Zero-Slip Rubber & Asphalt Shingle Traction Grips
Pressure-treated wood becomes dangerously slick like ice when wet or covered in morning dew. Implement one of these three low-cost traction hacks:
- Recycled Rubber Stall Mat Strips: Cut 3-inch wide strips from heavy-duty 3/4-inch recycled rubber equine stall mats. Screw them across the ramp decking every 6 inches to create indestructible, ultra-grippy tire cleats.
- Inverted Asphalt Shingle Strips: Staple strips of heavy architectural asphalt shingles along the wheel tracks with the coarse mineral-grit surface facing up.
- Sand-Infused Polyurethane Deck Stain: Mix fine silica masonry sand into exterior deck enamel and apply two heavy coats to create a sandpaper-like non-skid surface.
Hack 5: Adjustable Threaded Leveling Feet for Uneven Lawns
If your yard slopes to one side, one corner of your ramp toe will dig into the turf while the other hangs in mid-air. Bolt heavy-duty M16 or 3/4-inch galvanized threaded swivel leveling caster pads to the bottom of the outer stringers. Turn the adjustment nuts with a wrench to achieve a laser-level ramp landing pad without any shovel excavation.
Hack 6: Flared Rake Edges for Safer Mower Steering
Backing a zero-turn mower down a narrow straight ramp is nerve-wracking. Build your ramp with a 15-degree outward flare on both bottom corners (increasing width from 48″ at the threshold to 64″ at the ground). This wide funnel shape gives you a forgiving target when reversing large machinery.
Hack 7: Integrated Low-Voltage Solar LED Edge Lighting
Navigating wheelbarrows into a shed after dusk is a prime cause of twisted ankles. Drill 1-inch diameter recessed holes along the outer edge stringers and insert flush-mount solar LED deck lights. They charge automatically during the day and illuminate the ramp borders at night without any electrical wiring.
Frequently Asked Questions (FAQ)
Q: What is the easiest way to make a wooden shed ramp non-slip?
A: The quickest and most durable method is attaching textured rubber runner strips or routing shallow 1/8-inch kerf grooves across the decking boards perpendicular to wheel travel.
Q: How do you keep a shed ramp from rotting at the ground contact point?
A: Rest the stringer toes on a 4-inch deep crushed pea-gravel trench or solid 2-inch concrete patio pavers, and treat all cut end-grains with copper naphthenate wood preservative.
Q: Can I build a shed ramp out of pallets?
A: While shipping pallets can be used for very light wheelbarrows, standard pallet slats are too thin (1/2″) and brittle for riding mowers. Always use 2×6 stringers with 5/4″ pressure-treated decking for motorized equipment.
Q: How steep is too steep for a lawn tractor ramp?
A: An incline greater than 1:4 (14 degrees) is dangerous. For a shed floor 10 inches off the ground, your ramp should be at least 48 to 60 inches long to ensure the mower deck does not scalp the threshold.
Explore our companion guides on how to build a shed ramp, wheelbarrow ramp blueprints, and shed foundation leveling techniques.
Get our latest guides, news, and insights highlighted in your Google Search & AI Overviews.