
✨ This article was AI edited. Editorial responsibility: Shed-Plans.biz.
Produced with AI. This article was artificially generated. Editorial responsibility: Shed-Plans.biz.
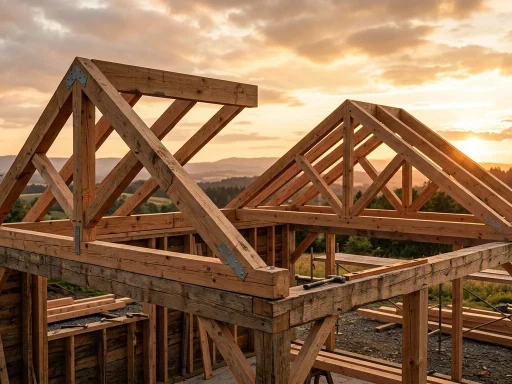
Building roof trusses for a 10-foot wide outbuilding offers immense structural and economic benefits over traditional stick framing. A pre-assembled truss creates a self-supporting, rigid triangular structure that distributes live snow and wind loads directly to exterior bearing walls without requiring interior load-bearing partitions or heavy center ridge beams. Learning how to build a 10-foot shed truss allows any DIY woodworker to construct professional-grade rafters with exact consistency.
This master guide covers fundamental trigonometry for 10ft spans, plywood gusset vs metal mending plate structural performance, pneumatic nailing patterns, wind uplift resistance, and building an accurate layout floor jig.
Truss Geometry & Trigonometry for 10-Foot Spans (120″ Out-to-Out)
For a 10-foot building (120 inches exterior wall to exterior wall), the half-span run is exactly 60 inches (5 feet). Depending on your chosen roof slope, rafter lengths and angle cuts are determined by standard right-angle trigonometry:
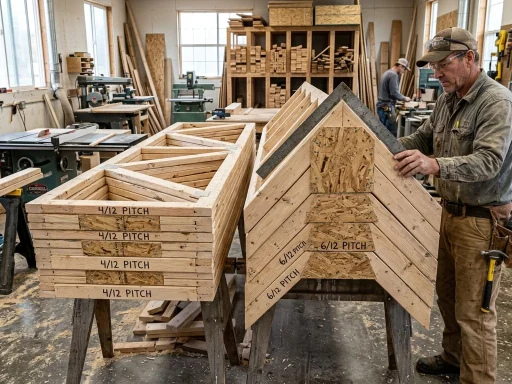
| Roof Slope Pitch | Peak Plumb Cut Angle | Apex Rise (Center Height) | Rafter Slope Length | Recommended Shingle Type |
|---|---|---|---|---|
| 4/12 Slope | 18.4° | 20 inches (50.8 cm) | 63-1/4 inches | Architectural Asphalt / Ribbed Metal |
| 5/12 Slope | 22.6° | 25 inches (63.5 cm) | 65.0 inches | Asphalt Shingles / Standing Seam |
| 6/12 Slope (Optimal) | 26.6° | 30 inches (76.2 cm) | 67-1/8 inches | Asphalt Shingles / Cedar Shakes / Metal |
| 8/12 Steep Slope | 33.7° | 40 inches (101.6 cm) | 72-1/8 inches | All Roofing Materials (High Snow Shedding) |
Lumber & Fastener Cut List (Per Individual Truss Assembly)
- Top Chords (2 pcs): 2×4 #2 or Better SPF Lumber @ 72″ (allows 6″ overhang past wall plates).
- Bottom Tie Chord (1 pc): 2×4 #2 SPF Lumber @ 120″ (10 feet exact length).
- Vertical Center King Post (1 pc): 2×4 SPF Lumber @ 26″ (beveled 26.6° at apex).
- Peak Apex Gusset (2 pcs): 1/2″ Exterior CDX Plywood @ 12″ x 16″ triangular plate.
- Heel Corner Gussets (4 pcs): 1/2″ Exterior CDX Plywood @ 8″ x 16″ trapezoidal plate.
- Fasteners & Glue: 1-1/2″ hot-dipped galvanized 8d ring-shank nails (or 2-3/8″ pneumatic framing nails) + heavy-duty polyurethane subfloor adhesive.
Step-by-Step Framing & Assembly Protocol
Step 1: Setting up the Floor Layout Jig
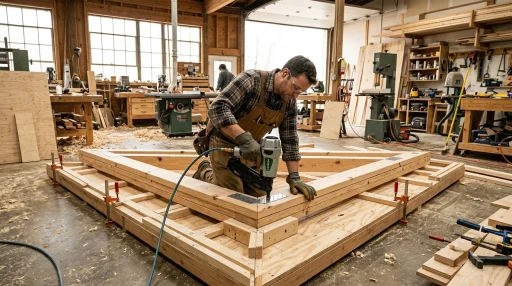
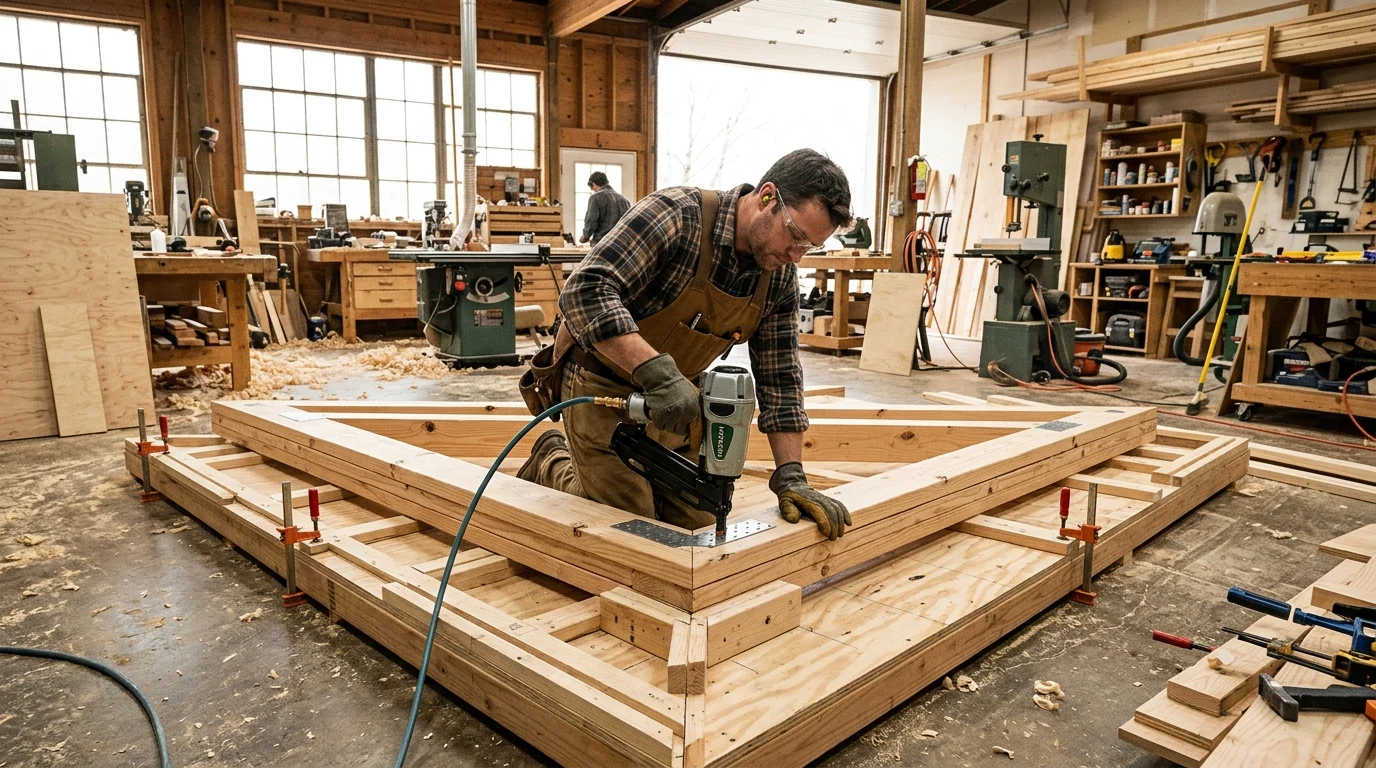
- Snap a baseline chalk line exactly 120 inches long on your plywood shed subfloor.
- Mark the midpoint at 60 inches, and measure perpendicular upward 30 inches to mark the apex peak.
- Position 2×4 stop blocks along the outer edges of the triangle and screw them firmly into the subfloor. These blocks lock your lumber in identical alignment for every truss you assemble.
Step 2: Cutting the Master Patterns
- Set your compound miter saw to 26.6 degrees for the top plumb peak cut.
- Cut birdsmouth notches (or rafter seat overhang cuts) at the bottom heel points.
- Test-fit the rafters into the jig stops. Once perfectly snug, mark these boards as “MASTER TEMPLATES” and trace all subsequent rafters from them.
Step 3: Fastening Plywood Gusset Plates
- Lay lumber members into the jig. Apply a heavy zigzag bead of subfloor adhesive to all wood joint faces.
- Place 1/2-inch CDX plywood gussets over the peak and heel joints.
- Drive 8d ring-shank nails in a staggered grid pattern (8 nails per joint member, keeping nails 1.5″ away from wood edges to avoid splitting).
- Flip the truss over and repeat the gusset installation on the reverse side.
Structural Engineering: Tension, Compression & Wind Uplift
In a standard king post truss configuration:
- Top Chords: Subjected to massive downward compression forces from roof dead load (sheathing and shingles) and dynamic live loads (snow and maintenance workers). The 2×4 SPF rating easily resists up to 1,200 lbs of compressive force.
- Bottom Chord: Acts strictly in tension, pulling the outer walls together and neutralizing outward thrust on the side wall studs.
- King Post: Acts in vertical tension, holding the bottom chord flat and eliminating middle sagging when heavy equipment or ceiling storage lofts are hung.
Truss Hoisting & Wall Attachment
To safely install completed trusses on top of shed wall plates:
- Erect gable end trusses first, flush with exterior siding framing. Plumb with a 4-foot spirit level and brace with temporary 2×4 diagonal kickers.
- Run a mason’s string line between the two gable peaks to ensure laser-straight alignment.
- Fasten each truss heel to the double top plate using Simpson Strong-Tie H2.5A hurricane ties with 1-1/2″ structural connector screws.
- Install 2×4 lateral braces along the interior king posts to tie all trusses together into a monolithic diaphragm.
Frequently Asked Questions (FAQ)
Q: What is the maximum rafter spacing for a 10-foot shed truss?
A: Standard spacing is 24 inches on center (OC). For areas with extreme snow loads (greater than 50 PSF), decrease spacing to 16 inches OC.
Q: Can I build a truss without a center king post?
A: For a 10-foot span with a 6/12 pitch, a simple open triangle (King post free) with 1/2″ plywood gussets is structurally sound for light storage. However, adding a vertical king post increases load capacity by over 40% for negligible extra cost.
Q: How do I store trusses before wall raising day?
A: Stack assembled trusses vertically or flat on 4×4 dunnage timber off the ground, covered with a breathable tarp to prevent moisture warping.
Read our full companion guides on how to build shed roof trusses, sloped roof drainage, and roofing installation techniques.
Get our latest guides, news, and insights highlighted in your Google Search & AI Overviews.