
Struggling to reclaim your shed from chaos adn clutter? Effective vertical storage solutions, like custom shelving, can transform your space into an organized haven. This guide will walk you through building practical and durable shelving units,maximizing every inch of vertical space while showcasing your tools and outdoor gear neatly and accessibly.
understanding Your Shed Space: Measuring and Planning for Vertical storage
It’s not uncommon for sheds to become cluttered storage zones as they often house tools, gardening supplies, and seasonal items. Understanding the dynamics of your shed’s space is critical for implementing effective vertical storage solutions. Maximizing your shed’s vertical space can significantly enhance institution and accessibility, allowing you to create a functional environment rather than a chaotic one.
To begin with, a careful measurement of your shed is essential. Start by assessing the dimensions: measure the height,width,and depth of the interior space. It’s also vital to note any obstructions like windows, doors, or electrical outlets that might influence your storage plans. Having these measurements in hand will guide you in determining the types of shelving units or wall-mounted systems that can fit within the available space. As a rule of thumb, consider leaving at least 12 to 18 inches of clearance from the ceiling to avoid a cramped look and allow for easy access to items stored at higher levels.
Planning Your Vertical Storage Layout
Once you have your measurements,create a basic layout of your shed using your notes. You can use graph paper or a digital tool to plot out where each shelf or rack will go. Some effective tips to keep in mind include:
- Group Similar Items: Store items that belong together, such as gardening tools with soil and pots, to minimize searching time.
- Consider Load-Bearing Capacities: Ensure that the shelves you choose can withstand the weight of the items you intend to store.
- Accessibility: Place frequently used items on lower shelves and the less frequently accessed items higher up.
Planning also involves selecting the right materials for your shelving. For outdoor sheds, use weather-resistant materials such as marine-grade plywood or metal racks that can withstand varying humidity and temperatures. Utilize adjustable shelving systems to customize your space over time as your storage needs change.
it may be beneficial to inventory your shed items before building your shelving. This step allows you to decide what needs to stay and what can be removed or relocated. You can create a simple table to categorize items, which will also help streamline your organization efforts:
| Item Type | Storage Location | Frequency of Use |
|---|---|---|
| Gardening Tools | Lower Shelves | Weekly |
| Seasonal Decorations | Upper Shelves | Annually |
| Cleaning Supplies | Middle Shelves | Monthly |
By applying these strategies of measurement and planning, you can significantly enhance the functionality of your shed while effectively implementing vertical storage solutions. This thoughtful approach will not only improve organization but also save you time and frustration when searching for items in the future. As you consider how to build shelving in your shed, remember that with the right planning, you can turn even the smallest shed into a highly efficient storage area.
Choosing the Right Materials for Your Shelving Project
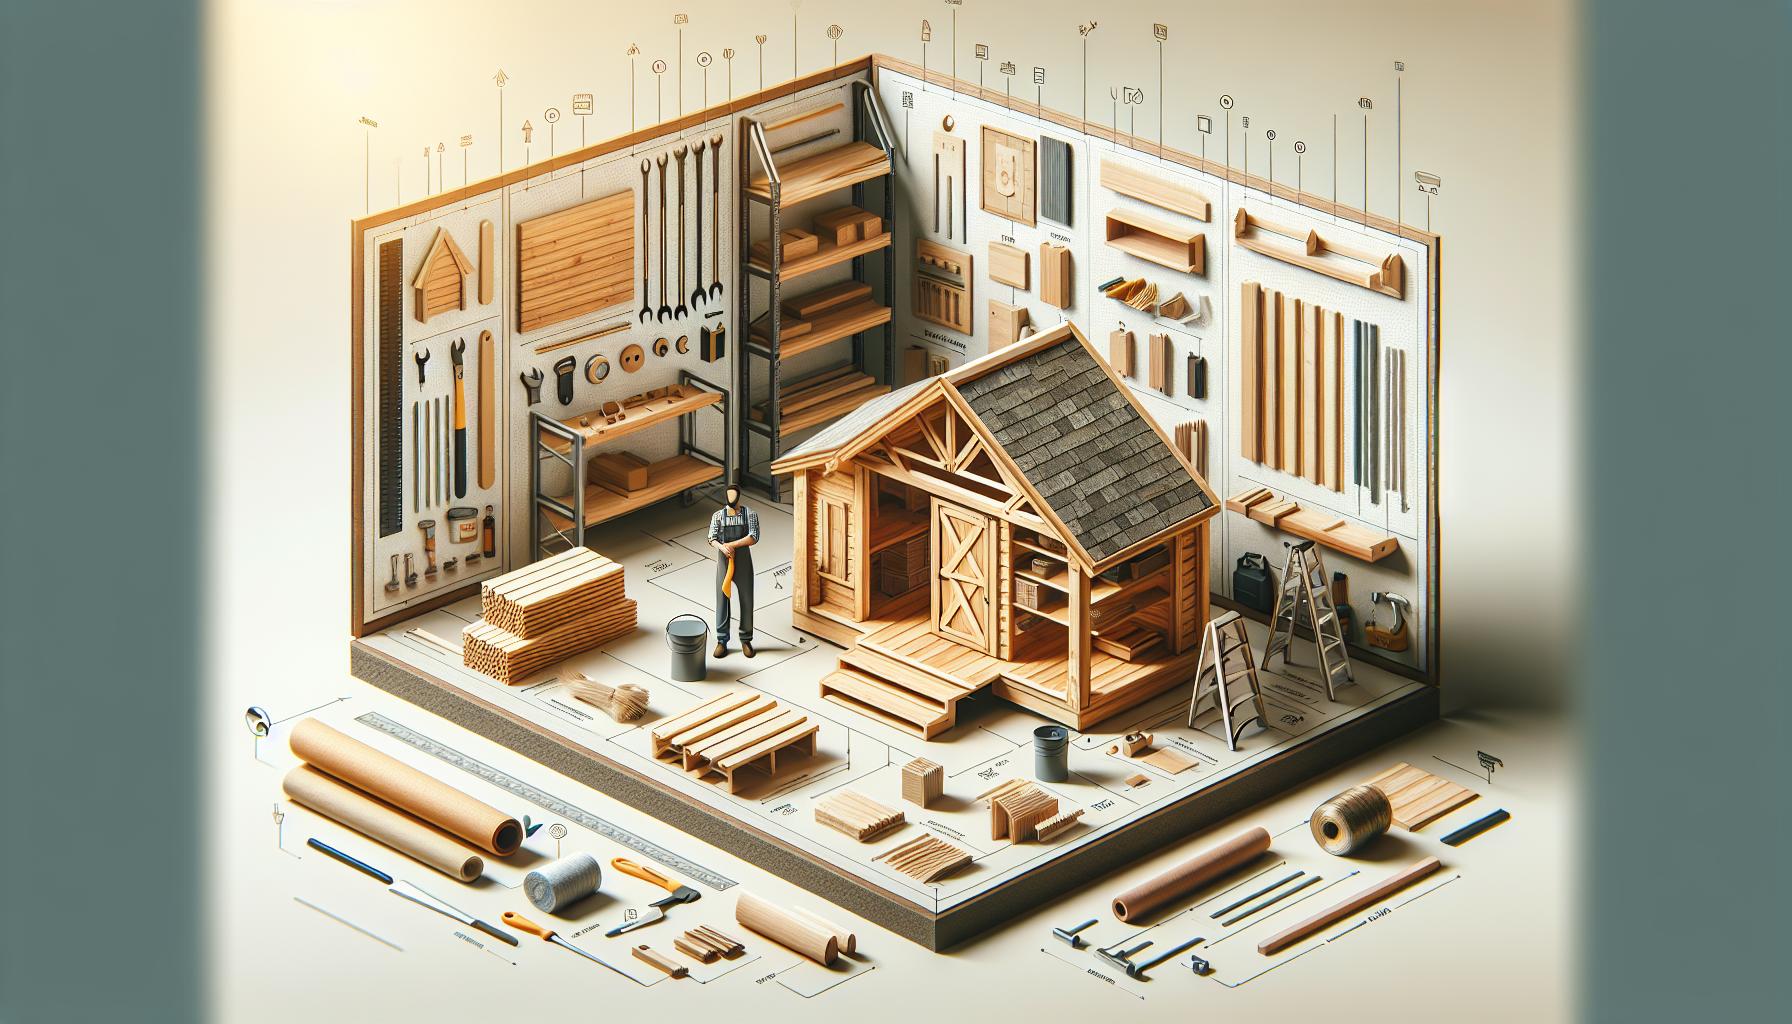
When embarking on a shelving project in your shed, the choice of materials can significantly impact the overall functionality, aesthetics, and durability of your storage solution. Many overlook the importance of materials in favor of design or size, but selecting the right components can mean the difference between a robust shelving unit that stands the test of time and one that collapses under pressure.Understanding the unique demands of your space is essential for making informed decisions.
Types of Materials to Consider
Different materials offer varying levels of weight capacity, resistance to moisture, and ease of maintenance. Below are some options that are commonly used in shed shelving projects:
- Wood: Naturally versatile and aesthetically pleasing, wood is frequently enough the go-to choice for shelving. options range from pine and plywood to more durable hardwoods. Keep in mind that untreated wood can warp or rot if exposed to moisture, so consider sealing it with a protective finish.
- Metal: If you’re looking for strength and longevity,metal shelving is a fantastic option. Steel or aluminum shelves are particularly resistant to wear and tear, making them ideal for heavier items. They also often come in a variety of finishes to match your shed’s decor.
- Plastic: Plastic shelves are lightweight and resistant to moisture, making them suitable for outdoor environments like sheds. While they might not hold as much weight as metal or wood, they can be a good option for lighter items and are usually easy to clean.
Weight Capacity and Structure
Before finalizing your material selection, always consider the items you’ll be storing. Each type of material has its weight limits, and exceeding them can compromise safety.
| Material | Weight Capacity per Shelf | Best Use |
|---|---|---|
| Wood (Pine) | 200 lbs | Light to moderate storage, decorative |
| Wood (Plywood) | 250 lbs | Heavier items, tools |
| Steel | 500 lbs | Heavy tools, equipment |
| Plastic | 100 lbs | Light items, gardening supplies |
By evaluating the specific needs of your space and the weight of the items you’ll store, you can ensure your shelving unit remains sturdy and functional for years to come. Always remember to balance aesthetics with practicality; your shelving should not only enhance storage but also complement the overall design of your shed. Whether you’re constructing from wood, metal, or plastic, informed material choices will set the foundation for maximizing vertical storage effectively.
Step-by-Step Guide to Building Sturdy Shelves

To create shelving that can withstand the rigors of a shed environment while maximizing your vertical storage space,you need a detailed approach. Crafting sturdy shelves requires precise planning and execution. here’s a thorough guide to help you transform your shed into a model of organization and efficiency.
Gather Your Materials
Before diving into construction, it’s crucial to gather all necessary materials. This not only streamlines the build process but also ensures that you have everything on hand.
- Wood: Select high-quality plywood or solid wood boards for durability.
- Brackets: Heavy-duty shelf brackets provide essential support.
- Screws and anchors: Choose appropriate fasteners based on your shelf dimensions and wall material.
- Measuring tape: Precision is key—measure twice, cut once.
- Level: Ensure your shelves are even to prevent items from sliding off.
- Power drill: An essential tool for fastening shelves securely.
- Sandpaper or sander: For smoothing rough edges and preparing the wood finish.
Design Your Shelves
Once your materials are ready, it’s time to design your shelf layout. Consider the following dimensions and placements based on your needs:
| Level (Height) | Recommended Depth | Comments |
|---|---|---|
| 1st (Lowest) | 18″-24″ | For larger items or bins. |
| 2nd | 12″-18″ | Ideal for medium-sized boxes or tools. |
| 3rd | 10″-12″ | Best for smaller tools and accessories. |
Aim to leave sufficient headspace between each shelf for easy access. Once you have a design,sketch it out to visualize how your shelving will fit into the available space.This plan will serve as your guide through the construction process.
Construct Your Shelves
With a clear design in hand, you can begin assembling your shelves. Follow these steps for optimal results:
- Cut the Wood: Using your measuring tape, mark the wood according to your design.
- Smooth and Prepare: Sand the edges of your cut wood to avoid splinters.
- Install Brackets: Securely attach your brackets to the wall at the predetermined heights. Use a level to ensure they are straight.
- Place the Shelves: Once the brackets are installed, lay your wood planks across them.Make sure they are flush and stable.
- Secure the Shelves:** Use screws to attach the shelves to the brackets. This extra step ensures that they can hold considerable weight without sagging.
While building, always keep safety in mind, utilizing protective eyewear and gloves as appropriate. Following these steps not only aids in constructing durable shelving but also helps you maximize vertical storage space within your shed effectively, turning it into a well-organized haven.
Creative Shelf Designs to optimize Every Inch of Your Shed
The secret to a well-organized shed is effectively utilizing every inch of available space, particularly when it comes to shelving. With the right creative shelf designs, you can transform your shed into a model of efficiency, leaving you plenty of room for tools, gardening supplies, or outdoor gear.Not only does a well-organized shed save you time, but it also makes your workspace much more enjoyable to use.
Layered Shelving Units
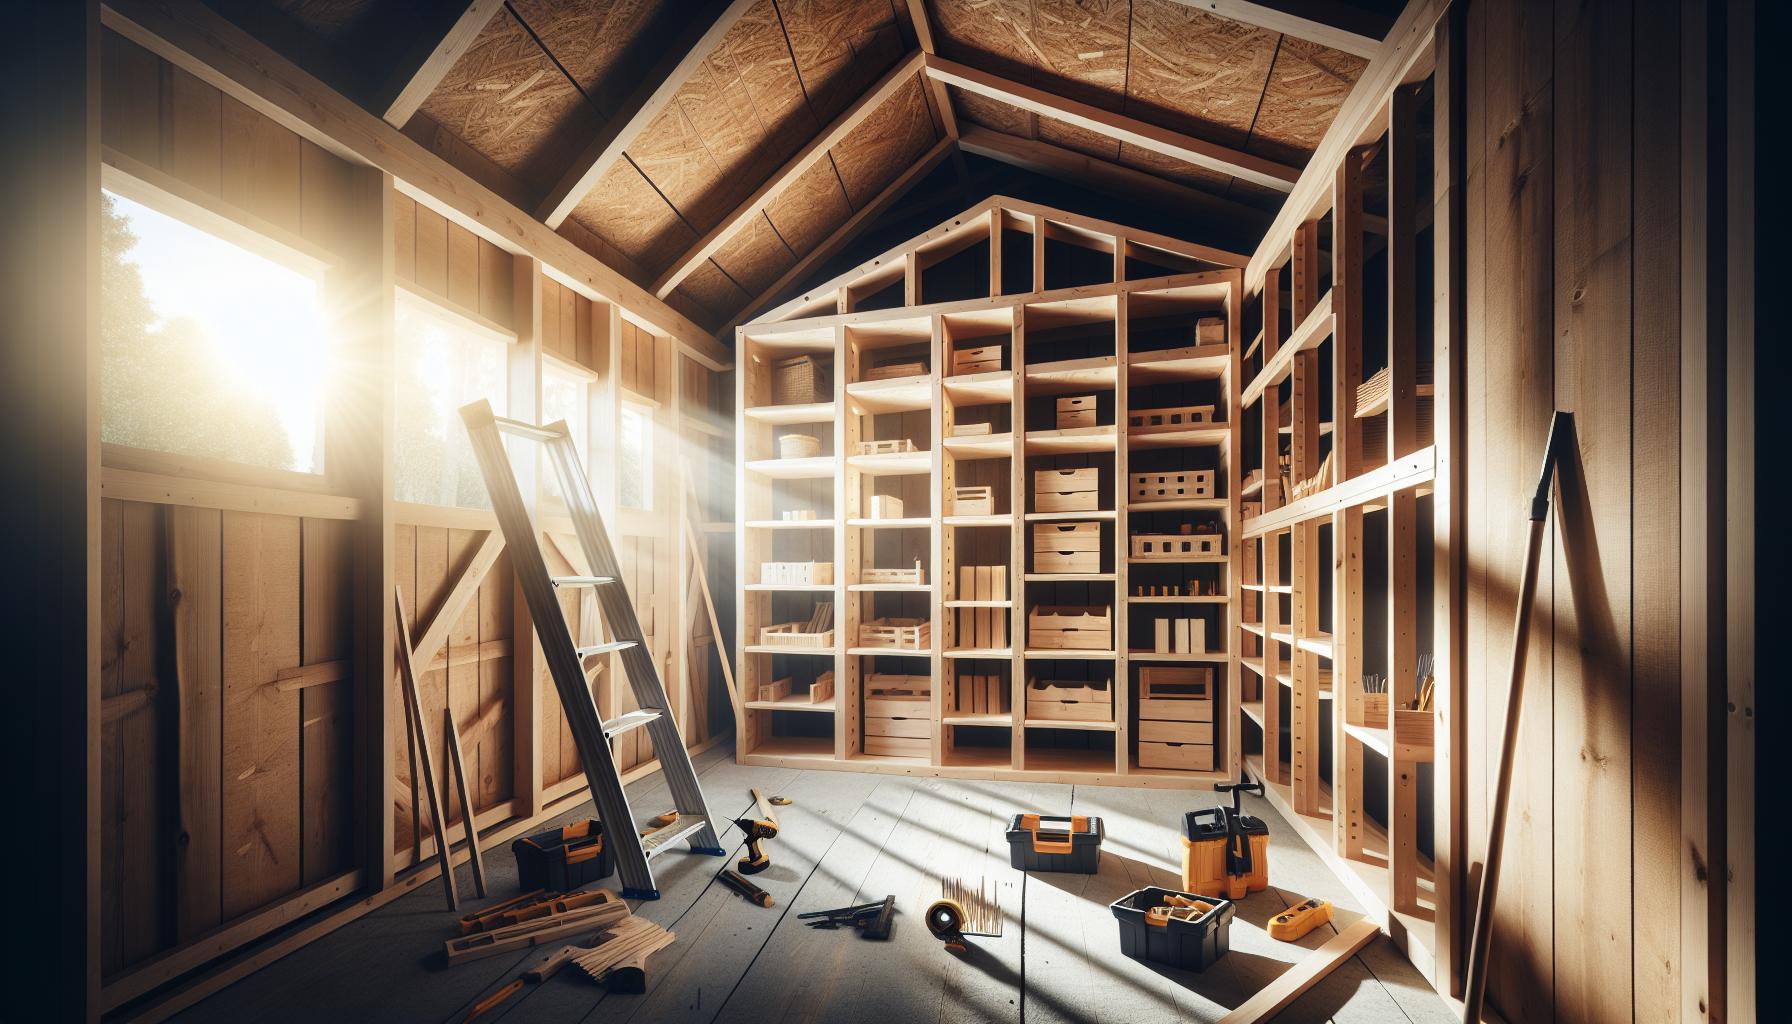
One clever way to maximize vertical storage is by creating layered shelving units that stack vertically. This approach is essential for storing items like paint cans, gardening supplies, or miscellaneous tools.You can build adjustable shelves that allow for easy customization, making it simple to accommodate items of varying sizes. A simple design idea involves using brackets and plywood to build shelves that span the width of your shed’s walls.
- Adjustable Heights: Make the shelves easy to reposition, so you can store taller items without any hassle.
- Sturdiness: Use high-quality materials to ensure stability, especially for heavier items like multiple gas cans.
- Easy Access: Use pull-out bins on lower shelves for items you need to access frequently.
Corner Shelves for Space Maximization
Don’t overlook corner spaces—installing corner shelves can significantly enhance your shed’s storage capacity. These shelves make use of areas that often go neglected, turning them into functional storage solutions. L-shaped shelves can fit snugly into corners, providing ample space for gardening tools or seasonal items. Consider the following tips to make the moast of corner shelving:
- Utilization of Height: Extend corner shelves all the way up to the ceiling to free up space on the floor.
- Customize Size: Adapt the dimensions based on what you need to store and the specific shape of the corner.
- Wall-Mounted or Freestanding: Choose between wall-mounted options and freestanding units based on your preference and shed design.
Vertical Cubby storage
For smaller items, consider building vertical cubby storage. This type of shelving can be ideal for organizing smaller tools, screws, or even jars of herbs or plant seeds. Each cubby can be tailored to your specific needs. Here’s how to get started:
- Measurements: Measure the dimensions of items that will go in your cubbies to ensure a proper fit.
- Open and Closed Designs: Use both open cubbies for quick access and closed ones with doors for items you want to keep dust-free.
Using Hooks and Pegboards
Along with customary shelving, incorporating hooks and pegboards can optimize space dramatically. Hang tools, hoses, or garden implements vertically off the walls.to organize these hanging items:
- Curate by Type: Group similar items together, allowing for easy retrieval.
- Easy to Adjust: Use adjustable hooks to rearrange your setup as needed.
Implementing these creative shelf designs allows you to effectively optimize vertical storage space within your shed, ensuring a tidy and efficient work environment.
Organizing Your Shed: Tips for Effective Storage Solutions
When it comes to maximizing the efficiency of your shed, strategic organization is key.An often overlooked aspect of shed storage is the vertical space that can be harnessed through shelving. By building shelves, you not only create a dedicated space for your tools, gardening supplies, and seasonal items, but you also free up valuable floor space, allowing for easier navigation and access to your belongings.Understanding how to build shelving in your shed effectively will transform it into an organized haven rather of a chaotic catch-all.
Utilizing Wall Space
One of the most effective methods for maximizing vertical storage is to capitalize on wall space. Consider installing sturdy, adjustable shelves that can accommodate various sizes of items. Industrial-grade shelves are particularly beneficial as they can hold heavier tools and equipment, while also providing versatility as your storage needs evolve. Additionally, pegboards can be an excellent companion to shelves, allowing you to hang tools and keep frequently used items within easy reach.
Creative Storage Solutions
Incorporating different types of storage solutions can enhance your shed’s functionality.
- Clear Storage Bins: These bins are ideal for organizing small items. Label each bin clearly to help you find exactly what you need without sifting through everything.
- Magnetic Strips: Use these to store metal tools like screwdrivers and small hardware, keeping them visible and accessible.
- Rolling Carts: A mobile cart can be useful for items that you frequently transport in and out of the shed, making your workflow more efficient.
Design and Layout Planning
Before constructing your shelves, consider the layout of your shed. Take measurements of both your shed and the items you plan to store. Using a table may help:
| Item Type | Recommended Shelf Height | Notes |
|---|---|---|
| Gardening Tools | 4 feet | Place hooks for easy access |
| Boxes of Supplies | 3 feet | Store heavier boxes on lower shelves |
| Seasonal Decorations | 6 feet | Place on higher shelves |
This thoughtful planning will ensure that you take full advantage of your shed’s height, preventing clutter and promoting a tidy environment. Remember, the objective is to create a logical and functional space where everything has its place.
By focusing on these effective storage solutions and understanding how to build shelving in your shed,you’ll not only enhance the functionality of your space but also ensure that it remains an organized retreat for all your outdoor needs.
Maximizing Flexibility: Adjustable shelving Systems Explained
When it comes to optimizing storage space in your shed, versatile and adjustable shelving systems are game-changers. These solutions allow you to make the most of every inch, catering to changing needs and items of various sizes. Adjustable shelving systems not only enhance accessibility but also promote a tidy and organized environment. Whether you’re storing bulky gardening tools or small boxes of screws, this flexibility ensures that your storage solutions evolve with your requirements.
Benefits of Adjustable Shelving
One of the key advantages of adjustable shelving is its ability to customize heights according to your specific items. You can easily shift the shelves up or down using built-in clips or brackets, allowing for maximum vertical utilization of your shed. Here are a few reasons to consider adjustable shelving:
- Tailored Storage Solutions: Each shelf can be set according to the size of the items you’re storing, minimizing wasted space.
- Enhanced Accessibility: Well-organized shelves make it easier to find and retrieve items quickly, saving you time.
- Future-Proof Design: As your storage needs change, you can reconfigure the shelves to accommodate new tools or supplies.
Popular Types of adjustable Shelving
Several options exist to suit various preferences and styles. Such as, metal shelving units are durable and strong, capable of supporting heavier loads while offering sleek designs that fit modern sheds. Here are some popular adjustable shelving types:
| Type | Material | Weight Capacity |
|---|---|---|
| Metal wire Shelving | Steel | Up to 150 lbs per shelf |
| Wooden Shelving | plywood or Solid Wood | varies based on construction |
| Plastic Shelving | Polymer | Up to 40 lbs per shelf |
By implementing adjustable shelving systems in your shed, you’re not just building functional space; you’re crafting a dynamic storage environment that adapts to your lifestyle. When following tutorials on how to build shelving in your shed to maximize vertical storage space, consider these adjustable options to ensure that your organization is both effective and flexible. Whether you’re tackling a DIY project or investing in pre-made units, these systems provide the adaptability necessary for an efficient workspace.
Maintaining Your Shelves: Best Practices for Long-Lasting Use
To ensure your shelving remains an effective storage solution for years to come, maintenance is key. Proper care not only preserves the functionality and aesthetics of your shelving but also maximizes your vertical storage space in the shed.discover practical strategies to keep your shelves in prime condition so you can continue organizing efficiently.
Regular Inspection
Implementing a routine inspection process can help you identify potential issues before they escalate. Check for:
- Damaged Boards: Look for signs of wear or warping that may affect the shelf’s stability.
- Fastener Integrity: Ensure all screws, nails, and brackets are secure and not rusting.
- Weight Distribution: Confirm that heavy items are stored on lower shelves to maintain balance and prevent tipping.
Performing these checks semi-annually can go a long way in preserving your shelving unit’s longevity.
Cleaning Practices
Dust and debris can accumulate on your shelves over time, detracting from their visual appeal and potentially damaging the surface. Here are some pointers on effective cleaning:
- Routine Cleaning: Use a damp cloth to wipe down shelves every few months, ensuring to remove any buildup.
- deep Cleaning: For tougher stains or dirt, consider using a mild detergent, followed by thorough rinsing and drying.
In addition,consider utilizing a vacuum with an attached brush to reach tough areas and keep your storage space tidy.
Optimal Weight Management
one common oversight is overloading shelves, which can lead to sagging or complete failure. To maximize vertical storage effectively while keeping your shelving intact, follow these guidelines:
| Type of Shelf | Recommended Weight Limit |
|---|---|
| Wooden Shelves | 30 to 50 lbs per square foot |
| Metal Shelves | 75 to 100 lbs per square foot |
| Wire Shelving | 20 to 30 lbs per square foot |
Understanding weight limits tailored to the type of shelving you constructed will help maintain their integrity and appearance. Store heavier items toward the back and lighter items at the front for better accessibility.
By adhering to these best practices, you can effectively prolong the life of your shelving and sustain an organized workspace in your shed that supports your vertical storage needs.
Common Mistakes to Avoid When Building Shed Shelves
When embarking on the journey of building shelving in your shed, it’s essential to avoid common missteps that can hinder your vertical storage ambitions.Many enthusiasts dive into the project eager to maximize their available space, only to find that insufficient planning or careless execution results in shelves that fail to meet their needs. Here’s how to sidestep these pitfalls and ensure your shelving project is a true success.
Planning and measuring Incorrectly
One of the greatest errors made when constructing shed shelves arises from inadequate planning and measuring. Before you cut a single board, spend time sketching out your design and determining the dimensions of your shelves. A well-documented plan will not only help you visualize the final product but also minimize wasted materials. Common issues include:
- Using inaccurate measurements, leading to shelves that are too large or small.
- Neglecting to factor in the height of large items that will be stored.
- Overlooking the weight capacity required for different storage items.
Taking the time to measure twice and cut once can save you from the frustration of reworking your shelving project down the line.
Choosing the Wrong Materials
Selecting inappropriate materials is another frequent mistake that can undermine your shelving’s integrity. Such as, opting for flimsy plywood or untreated lumber for load-bearing shelves can lead to sagging or even failure under weight. When considering how to build shelving in your shed that maximizes vertical storage space, prioritize durability and strength by opting for:
- 4×4 or 2×4 lumber for the framework
- High-quality plywood or MDF for the shelves themselves
- Metal brackets for added support, especially for larger shelves
Improper Installation and Support
Even the sturdiest materials can falter if installed incorrectly. one common issue involves not securing shelves properly,leading to instability. Ensure each shelf is anchored correctly to the shed’s walls with brackets or screws. Also, consider using a level during installation to keep everything even.
| Common Installation Problems | Solutions |
|---|---|
| Shelves sagging or bowing under weight | Use thicker materials or add additional supports in the middle. |
| Instability when loaded | Ensure all brackets and screws are secure and that shelves are bolted to wall studs. |
Avoid these common mistakes to create a functional and durable shelving system that truly enhances your shed’s organizational capabilities. By prioritizing careful planning, quality materials, and proper installation, you can create a space that maximizes vertical storage potential while also standing the test of time.
Frequently asked questions
How to Build shelving in Your Shed: Maximize Vertical Storage Space?
to build shelving in your shed and maximize vertical storage space,start by measuring the available wall area,choosing suitable materials like plywood or MDF,and using sturdy brackets for support.
Become familiar with your shed’s layout and identify the areas where shelving could be most effective. Use quality materials that can hold the weight of your stored items, and ensure that your shelves are anchored properly to avoid sagging. For step-by-step plans, consider checking out resources on how to design efficient shelving.
What is the best material for building shelves in a shed?
The best materials for building shelves in a shed are typically plywood, MDF, or solid wood, as they provide strength and durability.
Plywood offers great weight capacity and is resistant to warping, making it a popular choice.MDF is easy to work with and provides a smooth finish, but may not hold heavy items as well. if you choose solid wood, ensure it is indeed treated to resist humidity. Choosing the right materials can significantly enhance your shed’s functionality.
Why does vertical storage matter in a shed?
vertical storage in a shed is crucial as it maximizes available space, making it easier to organize and access your tools and supplies.
When you utilize vertical space, you free up valuable floor areas for larger items or allow for better movement within the shed. This approach decreases clutter and helps maintain a tidy environment. By employing shelving units that reach up to the ceiling, you can significantly enhance your shed’s storage capabilities.
Can I customize my shelving design for specific items?
Yes,you can customize your shelving design to fit specific items by adjusting the height,width,and spacing of the shelves.
Consider the types of items you will store. For example, if you have large bins, ensure the shelves are adequately spaced. Likewise, for smaller tools, incorporate pegboards or hooks alongside shelving to optimize storage. Tailoring your shelving design allows you to address your unique storage needs effectively.
What tools do I need to build shelving in my shed?
To build shelving in your shed, you’ll need essential tools such as a circular saw, drill, level, and measuring tape.
Using these tools will help ensure precise cuts and stable structures.A circular saw or jigsaw is perfect for cutting your shelf materials to size, while a drill will help you secure brackets and screws. Having a level ensures that your shelves are even, providing a more professional finish to your project.
How to ensure the shelves can hold weight?
To ensure that your shelves can hold weight, use sturdy materials and secure them properly with quality brackets and anchors.
Calculate the weight load each shelf will bear, and choose appropriate bracing techniques like installing L-brackets or using shelving units designed to share weight evenly. Maintain a lower weight limit than your shelf’s capacity by spreading out heavier items, which can help prevent sagging and keep everything organized.
Is it necessary to paint or finish my shed shelves?
While not absolutely necessary, painting or finishing your shed shelves can enhance their durability and resistance to moisture.
Applying a sealant or water-resistant varnish can protect materials like wood from moisture damage, especially if your shed is not climate-controlled. Additionally, painting shelves can give a cleaner appearance and allow you to incorporate color into your shed’s organization system. Investing in this step can prolong the life of your shelving.
The Way Forward
As we wrap up our guide on building shelving in your shed to maximize vertical storage space,it’s clear that this project not only enhances organization but also contributes to a more efficient and enjoyable workspace.We’ve explored the key principles of measuring, materials selection, and sturdy construction techniques, all designed to empower you in your DIY journey.
Remember, tackling challenges like uneven walls or limited space can be managed with a little creativity and perseverance. Don’t hesitate to experiment with different shelving styles or configurations to truly make the space your own. Every step you take not only builds your shed but also your confidence as a craftsman.
Now that you’re equipped with the right knowledge and tools, we encourage you to dive into this project. Embrace the process, and don’t hesitate to share your progress or any questions you have along the way! the joy of transforming your shed awaits, and your newly organized space is just around the corner. happy building!
Get our latest guides, news, and insights highlighted in your Google Search & AI Overviews.