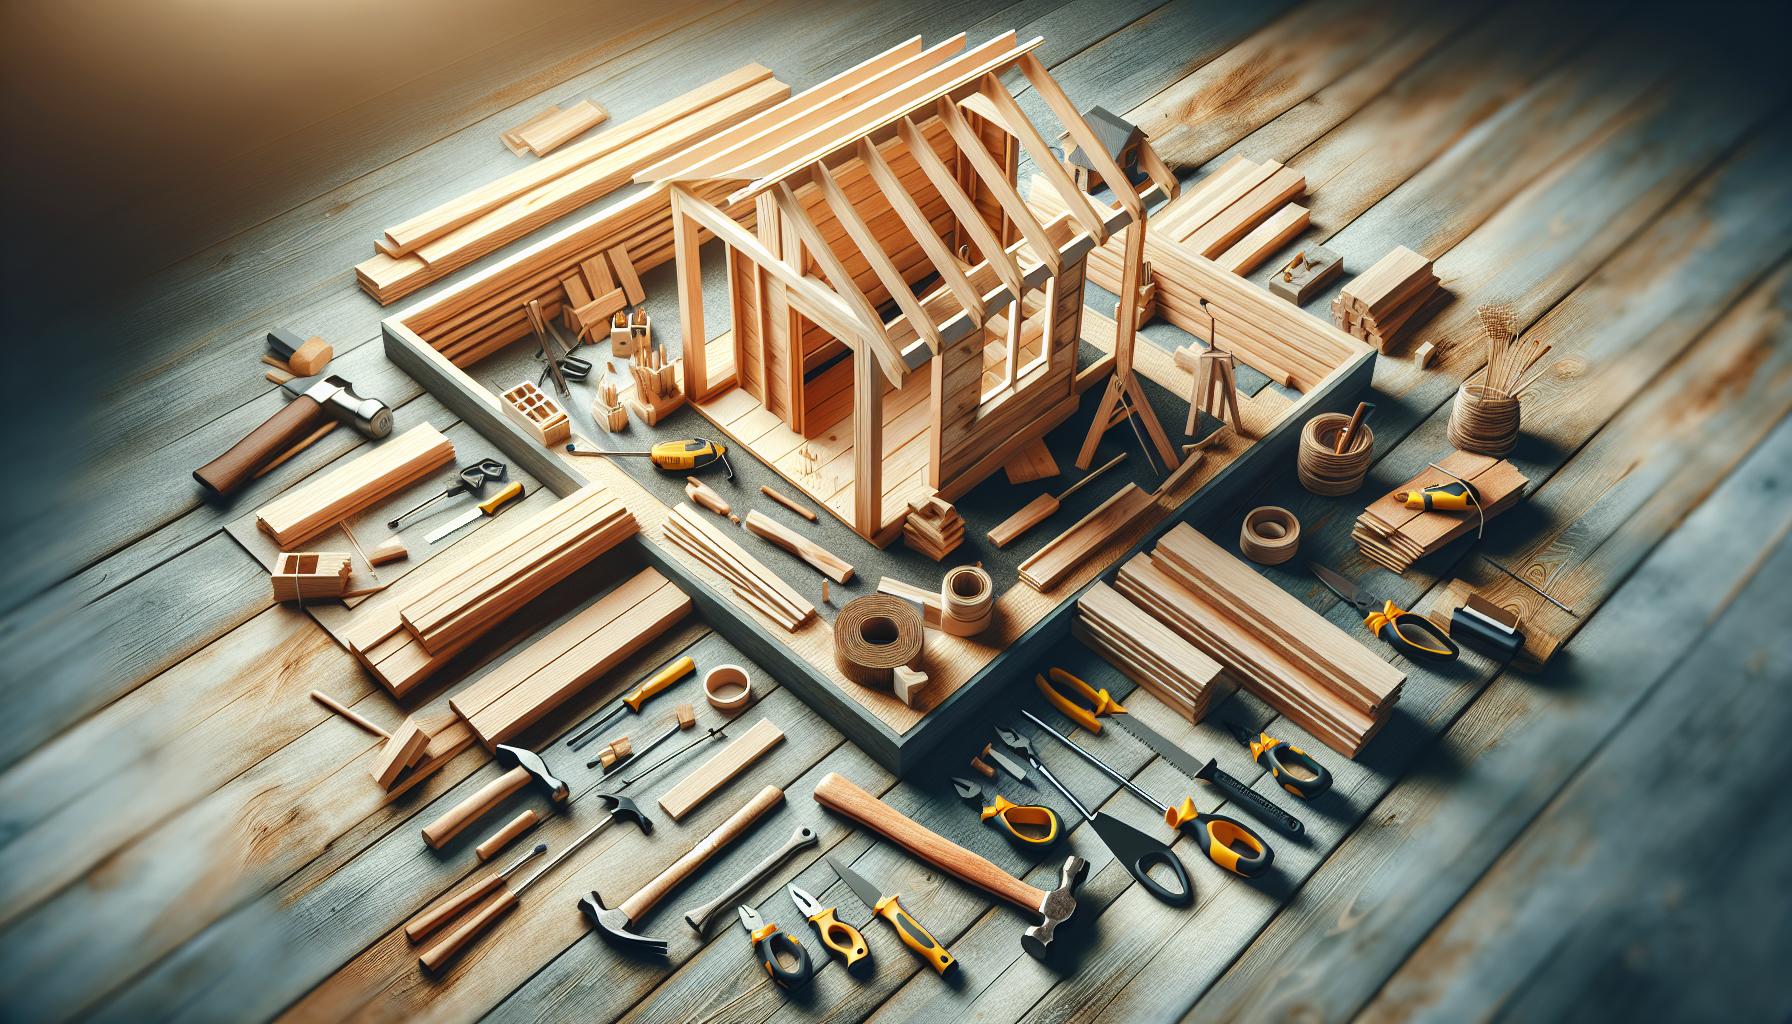
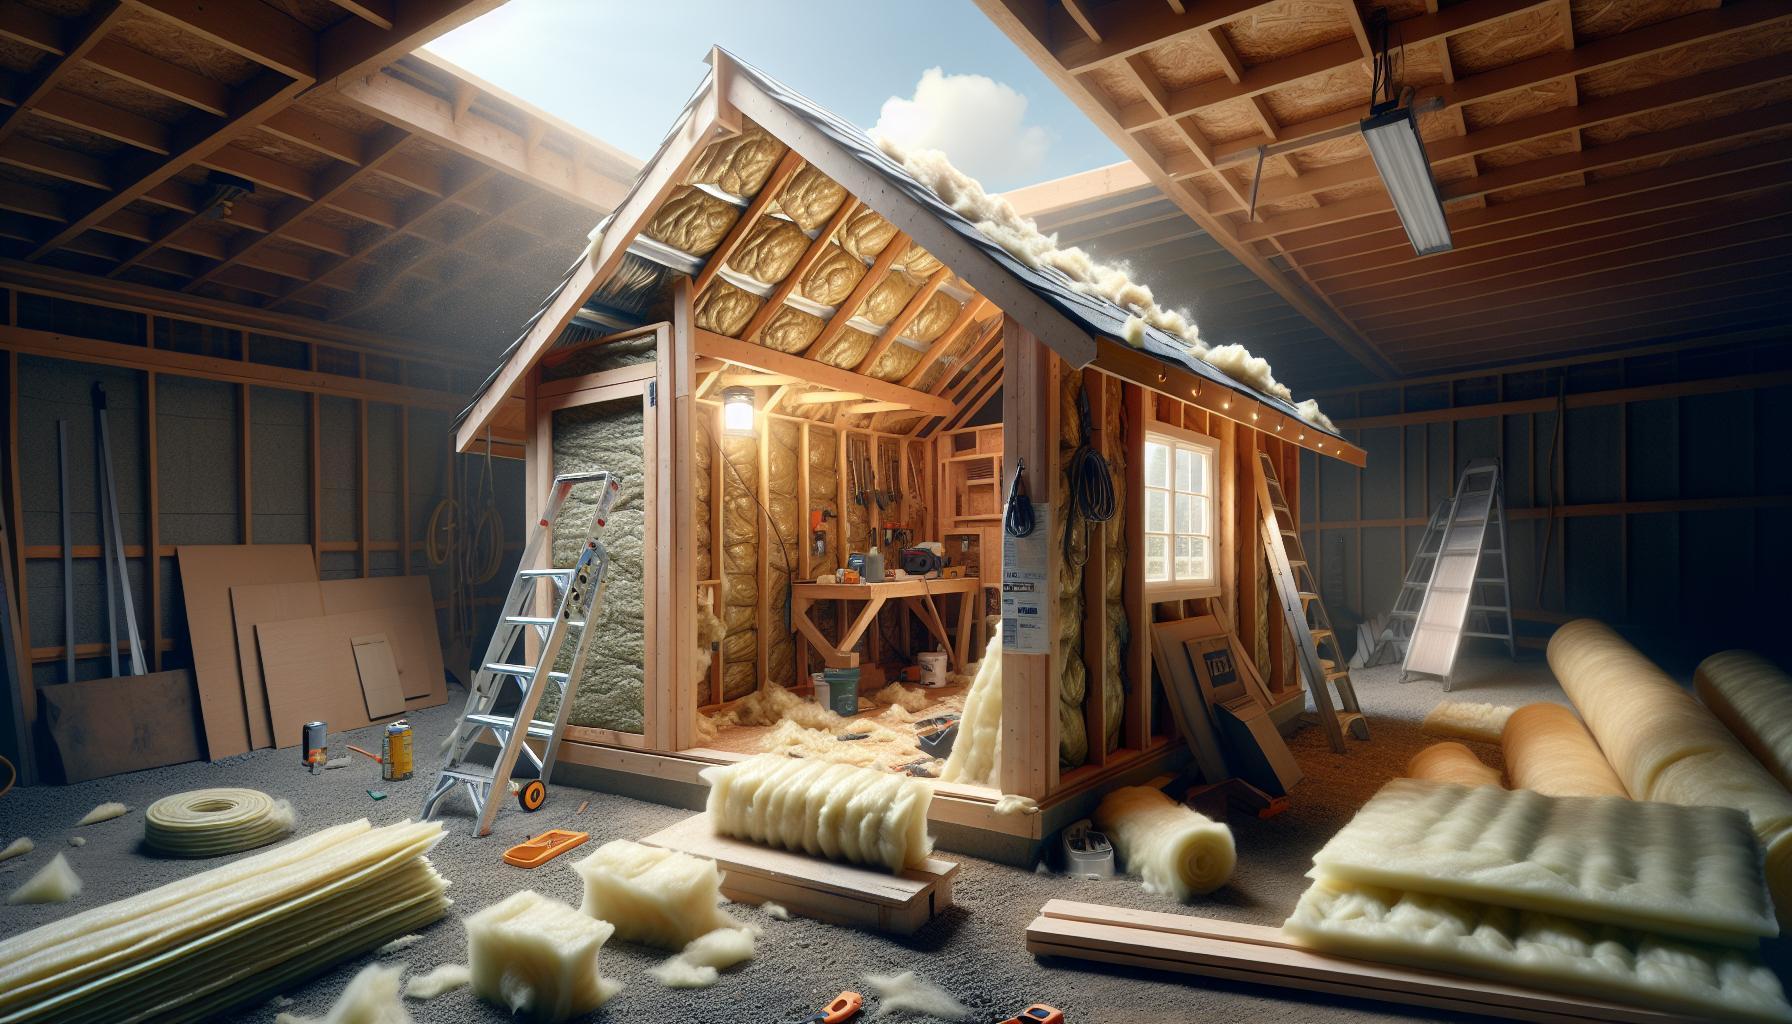
Building sturdy and weather-tight shed walls can often feel overwhelming, especially when facing unpredictable elements. Properly constructed walls are vital for ensuring durability and protection of your valuable tools and equipment. Discover essential techniques and insider tips that will transform your shed into a resilient and cozy space, safeguarding your investments against the harshest conditions.
Understanding Shed Wall Basics: Materials and Framework Essentials
When embarking on the journey of constructing a shed,understanding the foundational elements of wall materials and framework is essential for ensuring longevity and durability. The walls are not just barriers; they are protective shields against environmental elements and structural stressors. A well-built shed can be a reliable storage solution or a creative workspace, but it all begins with making informed decisions about the materials and framework utilized.
Material Choices for Shed Walls
Selecting the right materials for your shed walls can make a significant difference in their performance and resilience. Below are some common options:
- Plywood: This versatile material is widely used for shed walls due to its strength and ease of installation. ItS also relatively cost-effective. However, to ensure it stands the test of weather, protective coatings or treatments are recommended.
- OSB (Oriented Strand Board): Often cheaper than plywood, OSB is made from strands of wood compressed and glued together. While it provides adequate strength, it’s significant to remember that OSB can swell when exposed to moisture.
- Metal: Galvanized steel or aluminum panels offer remarkable durability and are resistant to rot and pests. However, they can be more expensive and typically require a stronger framework to support their weight.
- Vinyl and Composite Materials: increasingly popular for their low maintenance needs and aesthetic appeal, these materials often mimic wood but come with added resistance to weather-related damage.
Framework Essentials for Structural Integrity
The framework of shed walls is what gives them their strength and stability, and the choice of framing techniques can vastly influence the overall structure. Here are a few principles to keep in mind:
- Stud Spacing: Wall studs are typically spaced either 16 or 24 inches apart, depending on the intended use of the shed and the load-bearing requirements. For heavier loads or insulation, closer spacing is preferable.
- Top and Bottom Plates: Ensure your framework includes strong top and bottom plates to distribute weight evenly and maintain structural integrity. Use pressure-treated lumber for ground-level plates to prevent rot.
- Sheathing: Adding a layer of sheathing—such as plywood or OSB—over the framing not only provides additional siding support but also adds insulation and a barrier against moisture penetration.
| Material | Strength | Cost | Weather Resistance |
|---|---|---|---|
| Plywood | High | Medium | Requires treatment |
| OSB | Medium | Low | Swells when wet |
| Metal | Very High | High | Excellent |
| Vinyl/Composite | Medium | Medium to High | Excellent |
By taking the time to carefully consider the materials and framework for your shed walls, you are laying the groundwork for a structure that not only meets your present needs but also withstands the tests of time and the elements. This knowledge is crucial when diving into the practicalities of how to build shed walls, ensuring the first steps of construction set a strong precedent for what is to come.
Designing for Durability: Tips for Strong and Resilient Walls
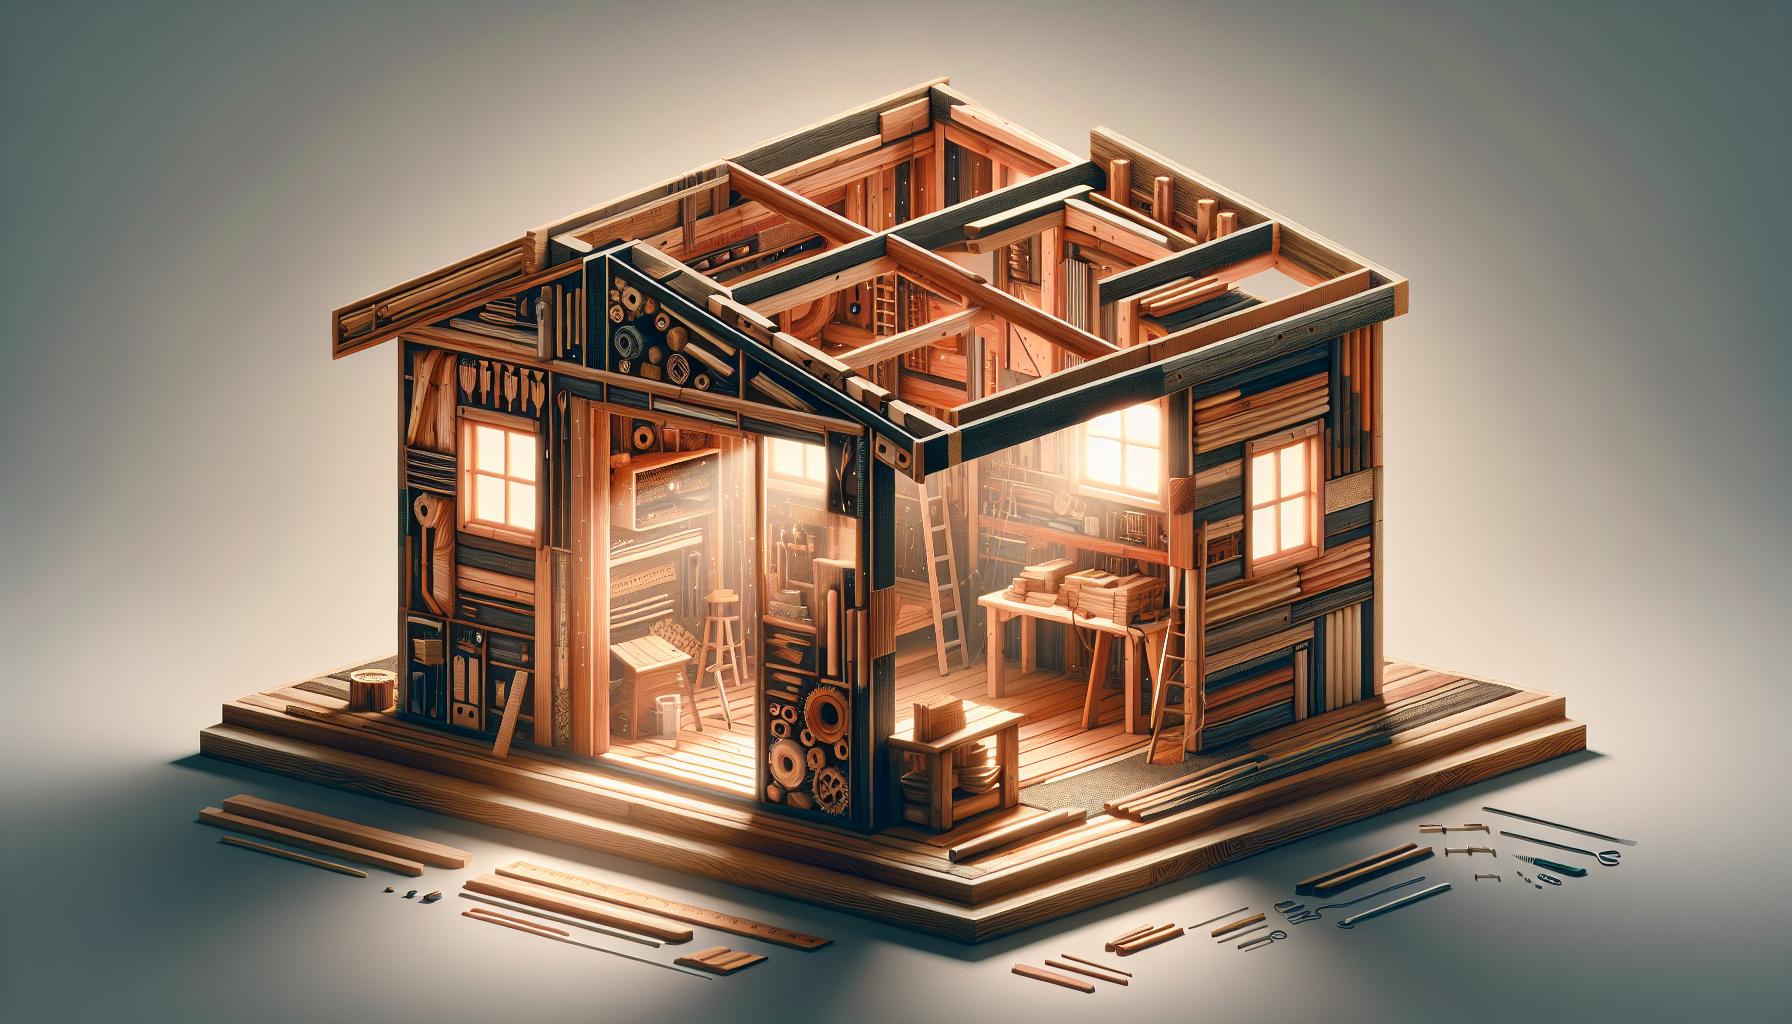
when it comes to building strong and resilient walls for your shed, the materials and methods you choose can considerably influence the longevity and durability of the structure. Walls that can withstand the elements are your first line of defense against weather conditions,pests,and wear over time. The right approach not only ensures that your shed remains sturdy but can also enhance its aesthetic appeal. Here are essential tips to guide you in designing walls that provide both strength and resilience.
Selecting the Right Materials
Choosing materials that are conducive to durability is crucial. Investing in high-quality products can save you money and time in the long run.Consider these options:
- Pressure-treated lumber: Ideal for frames, as it resists decay and insect damage.
- OSB or plywood: Both are excellent choices for sheathing, providing structural support while being cost-effective.
- Vinyl or metal siding: These can offer exceptional protection against moisture and pests compared to conventional wood siding.
Using a combination of these materials can yield walls that are robust enough to weather storms while resisting deterioration from humidity and pests.
Implementing effective Building Techniques
The way in which materials are assembled plays a critical role in the structural integrity of shed walls. Here are some effective techniques:
- Cross-bracing: Add diagonal braces within the walls to improve stability and help distribute load evenly.
- Proper anchoring: Ensure that the bottom plates are securely anchored to a solid foundation or concrete slab to prevent shifting during high winds.
- Sealing and insulation: Apply a weather-resistant barrier to prevent water intrusion and insulate to protect against temperature fluctuations.
These methods create more resilient walls that can better withstand both environmental stresses and everyday wear.
Understanding Environmental Impact
Location plays a pivotal role in your design choices. If you live in an area prone to heavy snow or strong winds,consider additional reinforcements. Below is a brief comparison of wall reinforcements based on environmental conditions:
| Environment | Recommended Reinforcements |
|---|---|
| High Winds | Upgrade to thicker sheathing, use hurricane ties, and strengthen the roof-to-wall connections. |
| Heavy Snow | Reinforce walls with additional studs and consider sloping roofs to prevent snow buildup. |
| High Humidity | Choose mold-resistant materials and ensure excellent ventilation. |
By taking into account your specific environment, you can design walls that truly stand the test of time, aligning perfectly with the structural secrets of weather-tight construction in shed building. These focused strategies not only safeguard your investment but also assist in creating a functional space that can work for you year after year.
Insulation Insights: Keeping Your Shed Comfortable Year-Round
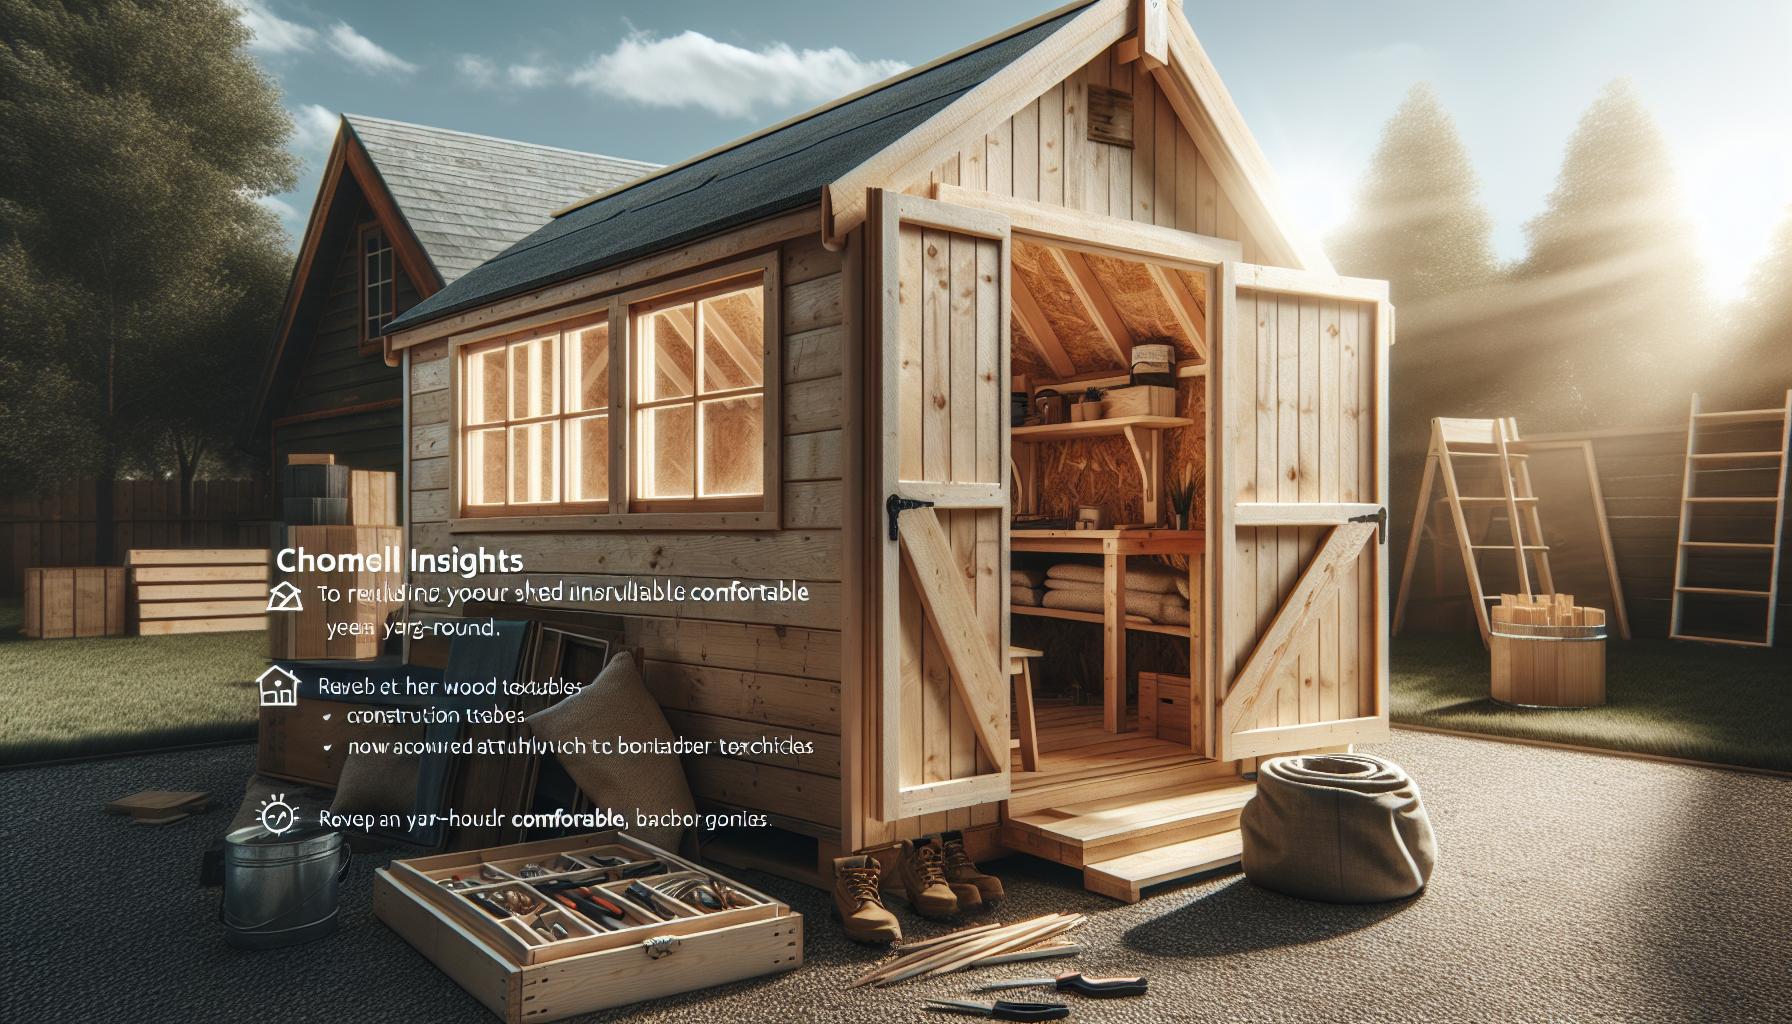
Creating a comfortable workspace or storage area doesn’t end with sturdy walls; insulation is essential in maintaining a stable environment throughout the year. Whether you plan to use your shed as a workshop,a remote office,or simply a storage unit for garden supplies,effective insulation can enhance its usability and protect your belongings against temperature fluctuations and moisture.
The Importance of Insulation
Insulation serves two primary roles: it keeps heat in during the winter and blocks it out during the summer. When considering how to build shed walls with structural integrity, accounting for insulation options can significantly improve your structure’s energy efficiency. Remember that a well-insulated shed can save you money on heating and cooling costs, making it a wise investment.
- Temperature Regulation: A properly insulated shed helps maintain a stable temperature, reducing the risk of damage to sensitive items like tools, bikes, or materials.
- Moisture Control: Insulation helps prevent condensation, which can lead to mold growth and decay, especially in wood structures.
- Noise Reduction: Insulation also serves to muffle sound, creating a quieter workspace if your shed is located near noisy areas.
Choosing the Right Insulation Material
Depending on your climate and how you plan to use your shed, different insulation materials can be more effective. Here are some popular options:
| Insulation Material | R-Value | Pros | Cons |
|---|---|---|---|
| Fiberglass Batts | R-11 to R-38 | Cost-effective, easy to install | Can be irritating to skin, requires vapor barrier |
| foam Board | R-4 to R-6 per inch | High R-value, moisture-resistant | Higher cost, requires precise cutting |
| spray Foam | R-6 to R-7 per inch | Great air barrier, conforms to spaces | Most expensive option, complex installation |
When planning your shed walls, be sure to include insulating techniques that align with the materials and structure you’ve chosen. If you’re utilizing a traditional wooden frame, consider fitting insulation between the studs and securing it with a vapor barrier to enhance moisture protection. For metal sheds, consider exterior foam board insulation to mitigate heat absorption during summer.
Utilizing insulation doesn’t just stop at the walls. You can also insulate ceilings and floors, ensuring a complete approach to climate control. Take the time to evaluate your specific needs based on your shed’s function, and choose the insulation that suits your budget and climate for year-round comfort.
Water Resistance Techniques: Preventing Moisture Damage
Building a shed that can withstand the elements requires careful attention to moisture control. Water damage can lead to mold, rot, and structural failure, making it crucial to implement effective water resistance techniques. When examining best practices from the article on constructing weather-tight shed walls, several strategies stand out that can ensure your shed remains dry and secure, safeguarding your investment for years to come.
Effective Sealing and Insulation
One of the primary techniques to prevent moisture intrusion is the use of appropriate sealing materials. Caulking around windows, doors, and any joints in the shed’s exterior is essential. It’s critical to select high-quality, weather-resistant caulk that can withstand temperature fluctuations and moisture. Likewise,installing weather strips on doors and windows adds an additional layer of protection against drafts and water ingress.
Proper insulation not only helps regulate temperature but also acts as a barrier to moisture when installed correctly. Use vapor barriers made from polyethylene sheeting on the interior sides of walls, especially if your shed will house sensitive equipment.This simple addition can significantly reduce the amount of moisture that permeates the walls from the ground or climate exposure.
Choosing the Right Materials
The materials selected for your shed can significantly impact its resistance to water damage. Opt for wood treatments such as pressure-treated lumber that resist rot, or consider composite materials that offer greater durability and resistance to moisture. Utilizing water-resistant siding materials, like vinyl or fiber-cement board, can minimize the risk of moisture absorption that frequently enough leads to decay.
To illustrate the differences in moisture resistance,refer to the following table that outlines common building materials and their water resistance levels:
| Material | Moisture Resistance | Notes |
|---|---|---|
| Pressure-Treated Wood | Moderate | Resistant to rot but should be sealed |
| vinyl Siding | High | Non-porous and easy to maintain |
| Composite Materials | High | Durable and resistant to moisture |
| Fiber-cement Siding | High | Stable and long-lasting in wet conditions |
Proper Drainage and Grading
Moreover,establishing proper drainage around the shed is essential. Ensure that the ground slopes away from the foundation to prevent water pooling,which can lead to moisture issues over time. Utilizing gutters and downspouts directs rainwater away from the shed, while French drains or gravel beds can further enhance drainage in areas prone to flooding.
Incorporating these water resistance techniques from How to Build Shed Walls: Structural Secrets for Weather-Tight Construction can dramatically improve your shed’s longevity and performance. By meticulously planning and executing your moisture control strategies, you can create a secure, weather-tight structure that protects your belongings and stands the test of time.
Framing Methods: Building a Solid Structure for Your Shed
When it comes to constructing your shed, the methods you use for framing are crucial to ensure a solid and durable structure. A well-framed shed can withstand harsh weather conditions, maximizing its lifespan and reducing the need for repairs. This section delves into various framing techniques and tips that can greatly impact the overall integrity and weather resistance of your shed walls.
Choosing the Right Framing Method
There are several framing methods to consider, each offering distinct benefits and suitability depending on the type of shed you plan to build. The two most popular approaches include:
- Stick Framing: This traditional method involves constructing walls using vertically placed wooden studs, horizontally placed plates, and diagonal bracing. Stick framing is highly flexible and allows for easy modifications.
- Panelized Framing: In this approach, walls are pre-built into panels, which are then transported to the construction site for assembly. This method can save time and labor while providing uniformity and strength.
Each technique has its place in the construction realm, so it’s essential to assess your project requirements when deciding which to use.
Key Considerations for Weather-Resistance
To ensure your shed remains weather-tight, adopting specific framing practices is vital. Here are crucial factors to bear in mind:
- Pressure-Treated Lumber: Utilize pressure-treated wood for the bottom plates or any part of the structure that comes in contact with the ground to prevent decay.
- Insulation and Vapor Barriers: If the shed will be used for storing temperature-sensitive items, incorporating insulation between the studs can greatly improve energy efficiency. A vapor barrier will also help in preventing moisture from seeping into the walls.
- Sealed Joints: It’s critical to seal all joints and gaps with caulk or spray foam. This reduces air leaks and protects against water infiltration.
Consider real-world examples of buildings in your area that have successfully withstood severe weather conditions. When determining your framing method, evaluate how their structures have performed and what materials were utilized for optimal results.
Materials and Tools for Effective Framing
Employ the right materials and tools for a robust shed frame. Here is a concise overview of what you’ll need:
| Material/Tool | Purpose |
|---|---|
| 2×4 or 2×6 Lumber | Main framing members for walls |
| Wood Screws or Nails | Fastening materials |
| Level and Square | Ensuring walls are plumb and square |
| Stud Finder | Locating studs in walls for added stability |
| Safety Gear | Protective equipment for safe construction practices |
Investing in quality materials and proper tools will pay off in the longevity and strength of your shed. Following these tips and utilizing the right framing methods are essential structural secrets for creating a weather-tight and resilient shed, ensuring it serves its purpose for years to come.
Tools of the Trade: Essential Equipment for wall Construction
To construct sturdy and weather-tight shed walls, having the right tools and equipment is crucial.Each tool serves a specific purpose and contributes to the integrity of your structure. Whether you’re a seasoned builder or a DIY enthusiast, knowing what you need can streamline the process and elevate the quality of your work.
Basic Hand Tools
Essential hand tools are the backbone of any wall construction project. Here’s a rapid overview of what you’ll need:
- Measuring Tape: Vital for accurate dimensions, ensuring every cut is precise.
- Square: Helps maintain right angles and ensures walls are plumb.
- level: Guarantees that your walls are perfectly horizontal or vertical.
- Hammer: Necessary for driving in nails and securing boards.
- Utility Knife: perfect for scoring and cutting materials accurately.
Power Tools
While hand tools are indispensable, power tools can significantly speed up the process, especially for larger projects. Note the following essentials:
- Table Saw: Ideal for making long, straight cuts to timbers or plywood.
- Miter Saw: Essential for producing angled cuts on framing pieces for corner joints.
- Drill/Driver: Necessary for pre-drilling holes and driving screws quickly.
- Reciprocating Saw: Useful for making quick cuts in tight spaces or removing existing structures.
Materials and Fasteners
Selecting the right materials and fasteners can significantly affect the durability of your shed walls. Here’s a compact guide:
| Material | Description |
|---|---|
| wood (Plywood/OSB) | Commonly used for wall sheathing; provides structural support and insulation. |
| Framing Lumber | Typically 2×4 or 2×6 lumber for constructing the wall frame. |
| Insulation | Helps regulate temperature inside the shed, improving energy efficiency. |
| Nails and Screws | Choose galvanized or weather-resistant options to prevent rust. |
These tools and materials form the foundation for a reliable and weather-resistant shed structure. Understanding how to wield these tools effectively will provide you with the confidence to tackle wall construction tasks with precision and skill, as outlined in the broader context of the construction process.
Common Pitfalls: Mistakes to Avoid for a Weather-Tight Shed
Building a shed that stands the test of time and weather is no small feat. Many people enter the project with enthusiasm, only to find themselves facing leaks and dampness due to missteps along the way. To ensure your hard work pays off, it’s essential to be aware of common blunders that can undermine your efforts in constructing weather-tight shed walls.
One of the most prevalent mistakes is skimping on materials. Choosing inferior wood or insulation may save you money upfront, but it coudl lead to significant costs in repairs later on. Make sure to invest in high-quality, moisture-resistant materials, particularly for areas exposed to the elements. For instance, using pressure-treated lumber can help protect against rot, while high-quality plywood sheathing can provide better insulation and support.
another frequent pitfall involves neglecting ventilation. Contrary to what some may believe, a completely sealed structure isn’t always ideal. Without proper airflow, moisture can build up inside, leading to mold growth and structural damage. Incorporate ventilation options, such as soffit vents or gable vents, to allow for air exchange. This not only helps maintain a dry environment but also regulates temperature, protecting tools and othre stored items.
many builders overlook the importance of proper sealing and caulking. Inadequate sealing around joints, windows, and doors can create easy access points for water. investing time in applying a high-quality sealant, particularly in seams and where different materials meet, creates a more impenetrable barrier against the elements.
By avoiding these common pitfalls,you can create a shed that is not just functional but resilient against outdoor conditions,ultimately enabling your structure to provide reliable service for years to come.
Local Regulations and Permits: What You Need to Know before Starting
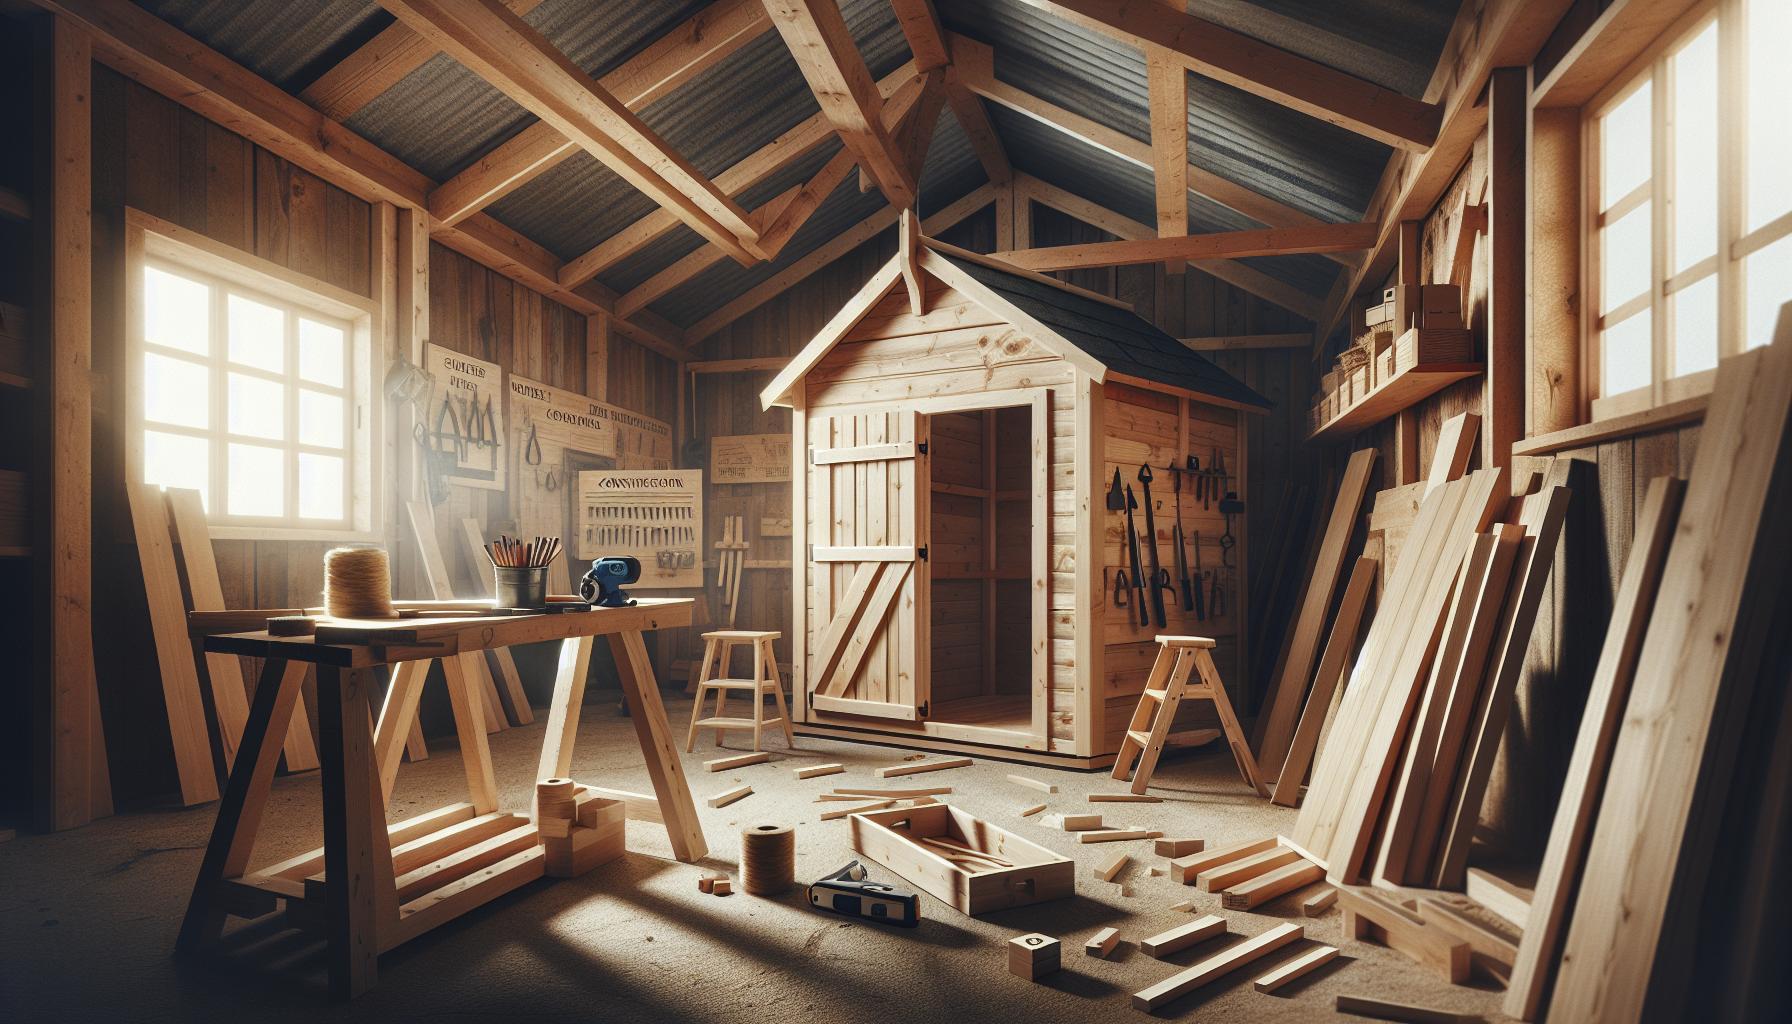
When embarking on the exciting journey of building your own shed, many might overlook a crucial step that can save headache and money down the line: understanding local regulations and permits. Every community has its own set of rules governing home construction, and failure to comply can lead to fines or, worse, the dismantling of your hard work. Before diving into your project on how to build shed walls, it’s vital to familiarize yourself with these regulations to ensure a smooth build process.
Why You Need Permits
When constructing a shed, local authorities frequently enough require permits to ensure that the project complies with zoning laws, building codes, and safety regulations. These elements are designed to protect both you and your neighbors. Here are a few reasons why obtaining the right permits is crucial:
- Safety Compliance: ensures your structure meets safety standards and can withstand local weather conditions.
- Property Value protection: Properly permitted structures can definitely help maintain or increase property value.
- Prevention of legal Issues: Avoid fines or legal troubles associated with non-compliance.
- Zoning Regulations: Guarantees your shed doesn’t violate local land use and zoning regulations.
Types of Permits and Regulations
Depending on your location, you may need a variety of permits before starting your project. Common permits include:
| Permit Type | Description | Typical Requirements |
|---|---|---|
| Building Permit | Required for any new structure or significant modifications. | Detailed plans, site plans, and sometimes inspections. |
| Zoning Permit | Ensures compliance with local land use ordinances. | Facts on property lines, dimensions, and intended use. |
| Site Plan Approval | Reviews the progress plan to ensure it won’t disrupt local ecosystems. | Environmental impact assessments, site layout details. |
How to Navigate Local Regulations
To ensure that you’re on the right side of the law, it’s important to take a few actionable steps:
- Consult Local Government Resources: Begin by checking your local government’s website or visiting the building department to see what specific permits are required for shed construction in your area.
- Plan Your Shed’s Location: Consider property lines, easements, and potential zoning restrictions when deciding where to place your shed. Many areas have setback requirements which must be adhered to.
- Prepare Required Documentation: Gather all necessary documents, including construction plans and site evaluations, before submitting your permit applications. This preemptive work can speed up the approval process.
By taking these proactive measures, you can pave the way for a prosperous shed-building experience that not only meets structural integrity but also adheres to local requirements. Ensuring compliance with local regulations is not just a box to check; it’s a critical step in the journey of transforming your shed-building plans into reality.
faq
How to build shed walls for weather-tight construction?
To build weather-tight shed walls,start by selecting sturdy materials like plywood or OSB,and frame them with pressure-treated lumber. Ensure proper insulation and seal all joints with caulk or weatherproof tape. This prevents moisture and provides stability.
What is the best material for building shed walls?
The best materials for shed walls include plywood, oriented strand board (OSB), and pressure-treated lumber. Plywood is versatile and strong, while OSB is cost-effective. Pressure-treated lumber resists moisture, making it ideal for the lower frame.
Why does wall insulation matter in shed construction?
Wall insulation is crucial for temperature regulation and energy efficiency in shed construction. Insulating reduces heat loss in winter and keeps the interior cooler in summer. This contributes to a more comfortable workspace or storage area.
Can I build shed walls without prior experience?
Yes, beginners can build shed walls with patience and the right resources. Start with clear instructions and follow a step-by-step guide. Consider watching tutorials online or consulting with experienced builders to gain confidence and skills.
How do I ensure my shed walls are level and square?
To ensure shed walls are level and square, use a carpenter’s level and measuring tape. First, frame the bottom plate, then measure diagonally across corners.Adjust until measurements are equal for a stable structure. This foundational step is key to overall wall strength.
What are some common mistakes to avoid when building shed walls?
Avoid common mistakes like neglecting to seal joints and using improper materials. Ensure all cuts are precise and keep your workspace organized. These oversights can lead to structural issues or weatherproofing failures down the line.Thorough planning is essential!
How can I make shed walls more durable?
To enhance durability, use high-quality materials and apply a weatherproof finish or coating. Moreover,incorporate a strong framing system that can withstand external forces. Regular maintenance, including checking for rot or damage, is critical for longevity.
Where can I find detailed plans for building shed walls?
Detailed plans for building shed walls are available through woodworking books, online resources, and instructional videos. Websites like woodworking forums offer valuable insights, while local home betterment stores may provide workshops. Consider creating a personalized blueprint that fits your specific needs.
in summary
As we wrap up our exploration of building shed walls and the structural secrets behind weather-tight construction,it’s clear that this project is more than just a physical task—it’s an chance to create something enduring and functional. By understanding critical elements such as wall framing, insulation, and moisture barriers, you’re well-equipped to tackle the challenges that may arise. Remember,whether you’re a novice or a seasoned builder,each step you take deepens your skills and enriches your experience.Don’t let the learning curve deter you; embrace it as part of your journey! Be sure to familiarize yourself with local building codes and regulations to ensure your shed stands the test of time. The joy of constructing your own space is amplified by the satisfaction of knowing you’ve adhered to best practices.
We encourage you to dive deeper into your shed-building adventure! Explore advanced techniques, consider user-friendly design options, or connect with fellow enthusiasts in forums and community groups. Each engagement opens up new avenues for creativity and growth. With the right knowledge and a bit of perseverance, your dream shed can become a reality. Happy building!
Get our latest guides, news, and insights highlighted in your Google Search & AI Overviews.