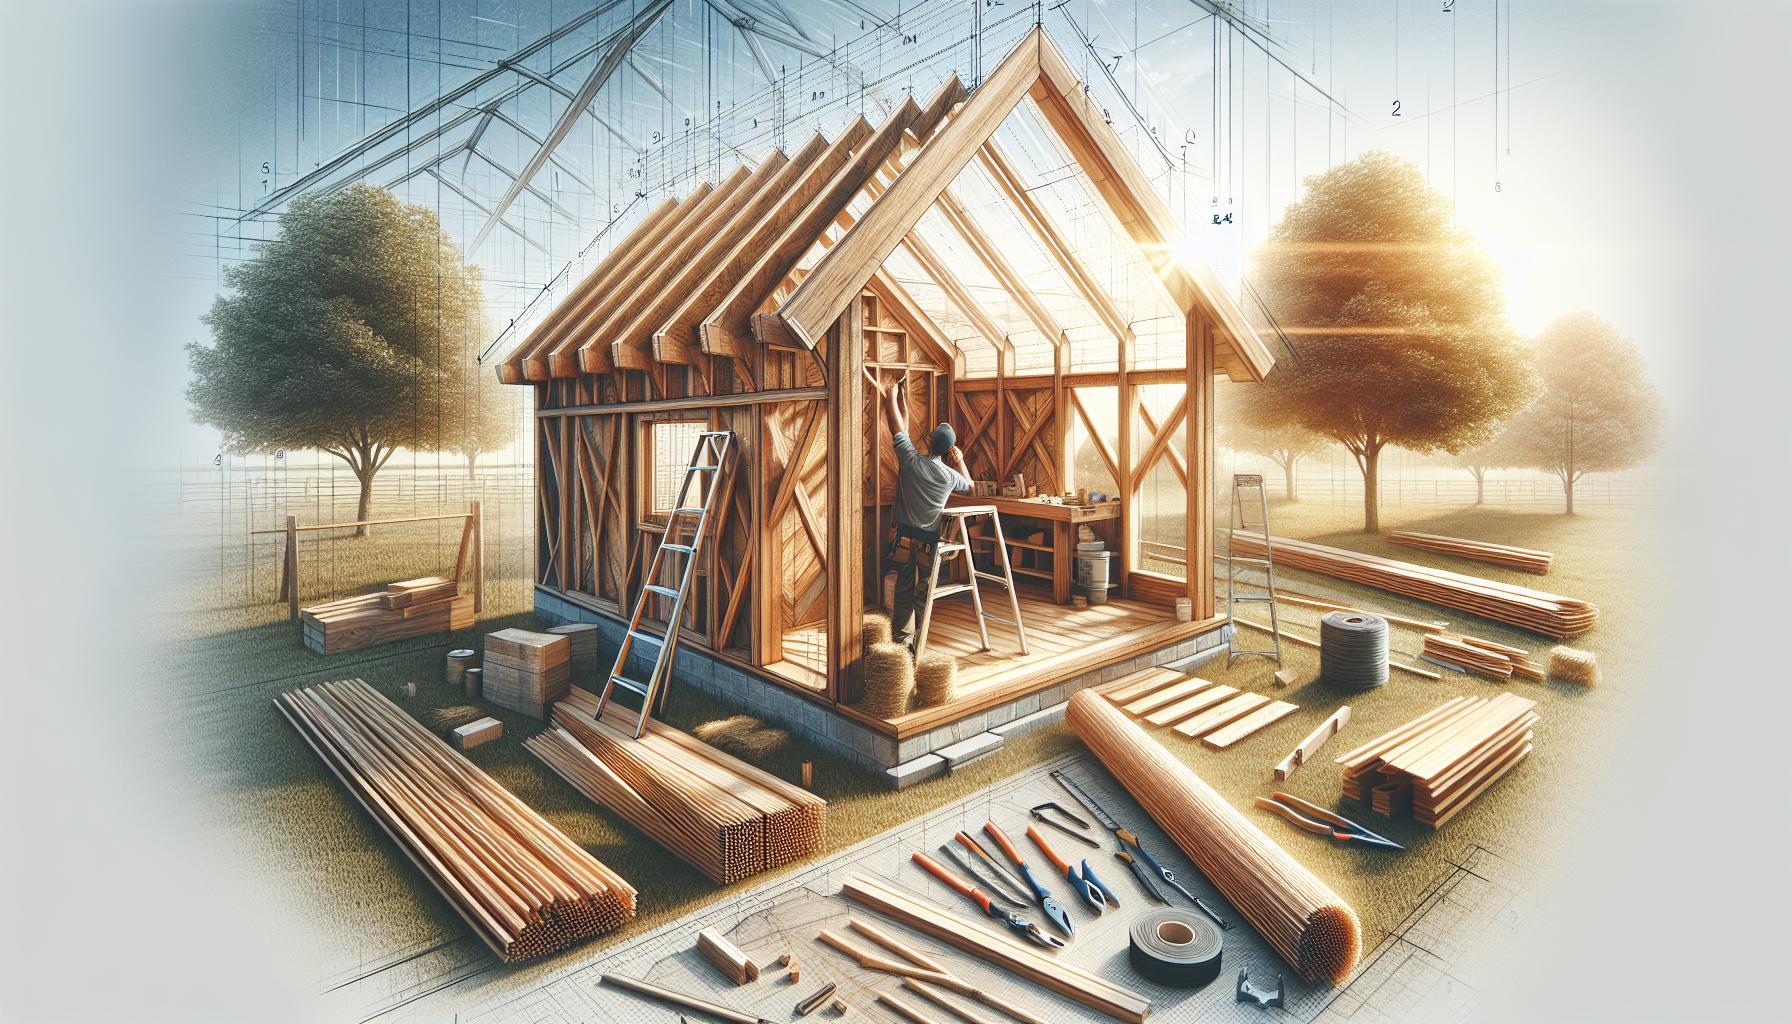
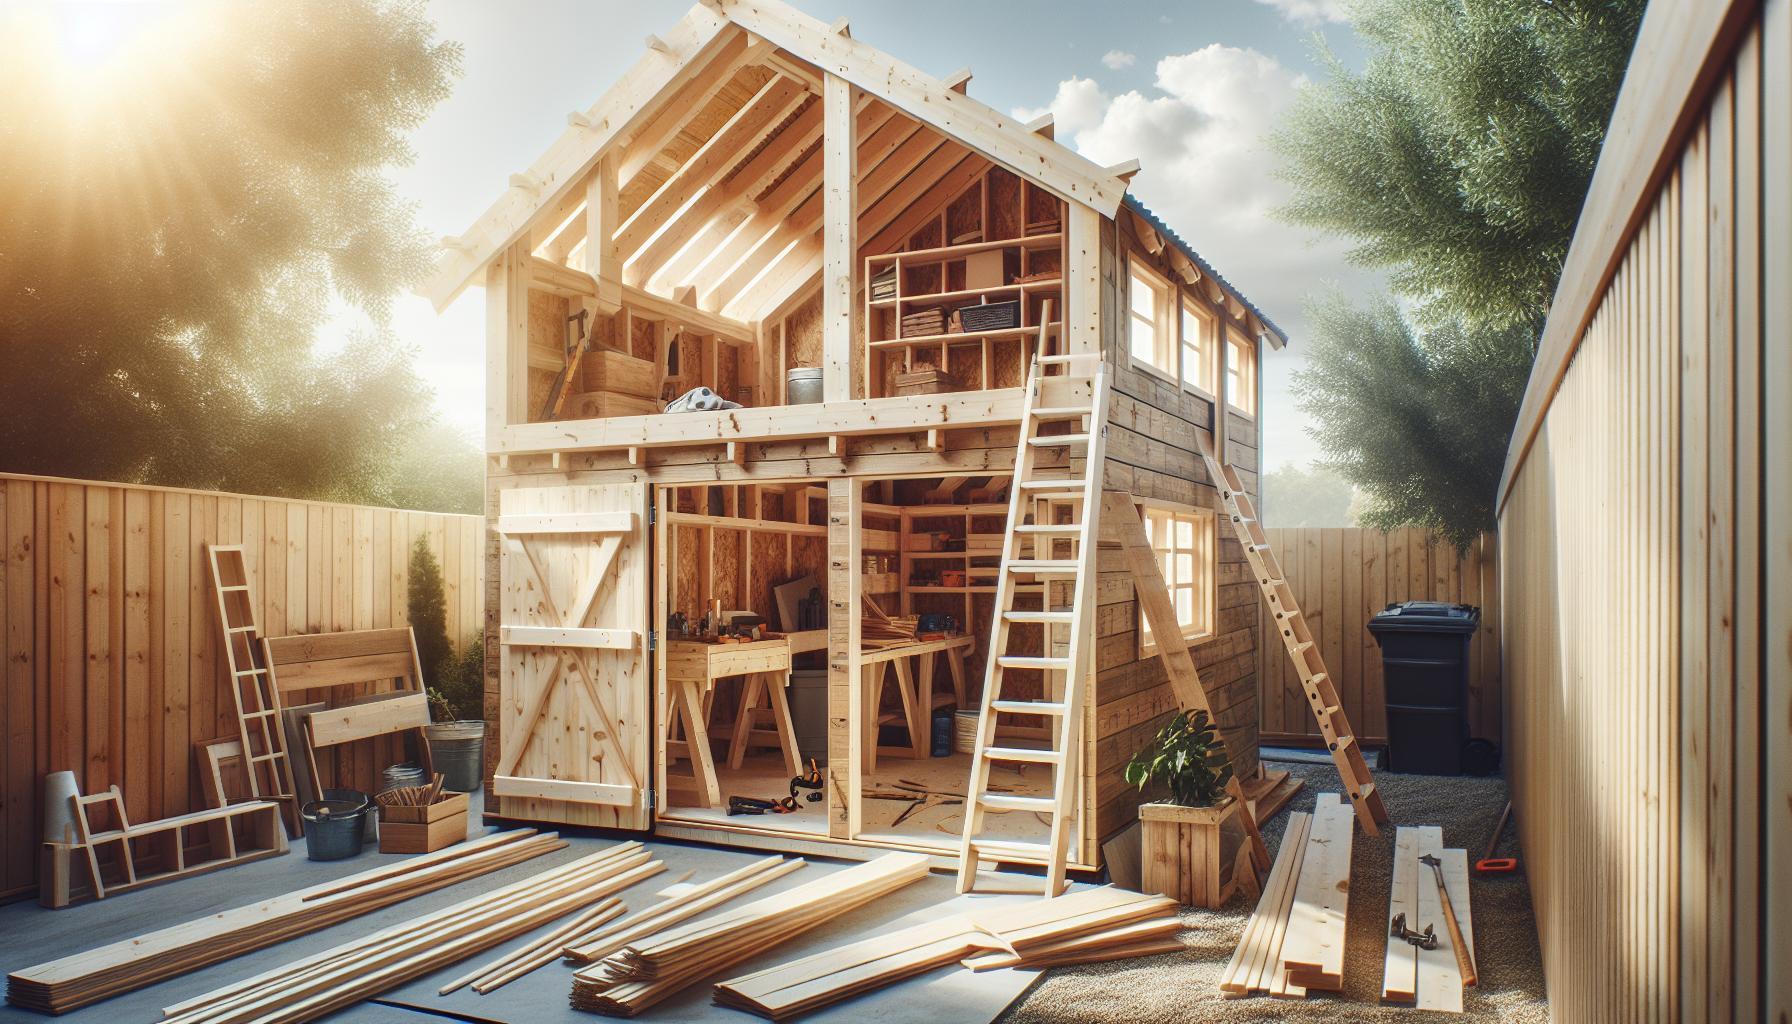
A sturdy shed roof is essential for protecting your belongings from the harshest of weather conditions. understanding how to construct a reliable and watertight shelter not only extends the life of your storage but also enhances the functionality of your outdoor space. This guide will walk you through the techniques necessary to achieve a long-lasting, weather-tight roof that ensures decades of protection.
Understanding the Basics: what Makes a Shed Roof Weather-Tight?
Creating a shed roof that stands the test of time and weather requires more than just basic construction skills. A properly designed and built shed roof acts as the first line of defense against elements like rain, snow, and UV exposure. Understanding the key components that make a roof weather-tight can save you from costly repairs down the road and ensure that your hard work is protected.
Key Components of a Weather-Tight Shed Roof
Several elements play crucial roles in achieving a weather-tight shed roof. Each component must work seamlessly together to prevent leaks, water damage, and structural degradation. Here’s a closer look at the essentials:
- Pitched Design: A sloped roof allows for efficient water drainage. A minimum pitch of 4/12 is recommended to ensure that rain or snow does not accumulate.
- Quality Roofing Materials: Choose durable materials such as metal, shingles, or rubberized roofing that offer excellent water resistance and durability.
- proper Flashing: Correctly installed flashing around joints,vents,and chimneys prevents water from seeping into vulnerable areas.
- Sealing and Caulking: Use high-quality sealants on joints and seams to prevent moisture infiltration.
How These Elements Work Together
When planning how to build a shed roof, integrating these components effectively is vital. For instance, the slope allows water to run off quickly, reducing the risk of pooling. A table outlining the material choices with their respective strengths can be a good reference:
| Material | Durability | Water resistance | Cost |
|---|---|---|---|
| Metal | 20-50 years | Excellent | High |
| Asphalt Shingles | 15-30 years | Good | Medium |
| EPDM Rubber | 20 years | Excellent | Medium |
Implementing these recommendations ensures that each element enhances the overall robustness of your shed roof. For example, by selecting metal roofing, you benefit from its longevity while flashing protects seams and joints, keeping water from penetrating your roofing structure. Investing time and effort into understanding these factors is essential for any DIY enthusiast aiming to construct a shed that offers decades of protection against the elements.
Essential Materials: Choosing the Right Components for Durability
When it comes to creating a weather-tight roof for your shed, the materials you choose play a crucial role in ensuring durability against the elements. Selecting high-quality components can significantly extend the lifespan of your roofing project, thereby safeguarding your investments and belongings over the years. Understanding the unique characteristics of these materials allows builders to implement effective strategies for long-lasting protection, making it essential to be informed.
Choosing the Right Materials
The success of your roofing endeavor hinges on the selection of appropriate materials. Here are some key components to consider:
- Roofing Panels: Opt for metal roofing panels, which offer superior resistance to wind, rain, and snow compared to conventional asphalt shingles. Metal panels also reflect sunlight, helping to reduce internal temperatures during hot months.
- Underlayment: A quality underlayment acts as a secondary barrier against moisture. Synthetic options are particularly effective due to their durability and resistance to tearing.
- Fasteners: Use stainless steel screws or coated fasteners to prevent rusting and ensure a secure attachment of roofing panels. This choice enhances the overall integrity of your roof.
- Sealants: Incorporate high-performance sealants on edges and penetrations to prevent leaks. look for products with good adaptability and adhesion to accommodate temperature fluctuations.
Real-World Examples and Techniques
Implementing effective techniques can further enhance your roofing project. For instance, installing metal panels with a proper overlap and securing them with robust fasteners can create a tight seal that withstands high winds. Additionally, using a breathable membrane beneath your roofing can help prevent trapped moisture, which is vital for preventing mold and structural degradation.
Material Performance Table
To further illustrate your choices, consider this comparison table highlighting various roofing materials and their attributes:
| Material Type | Durability | Water Resistance | Maintenance |
|---|---|---|---|
| Metal Panels | High | Excellent | Low |
| Asphalt Shingles | Moderate | Good | Medium |
| Composite Roofing | High | Good | Low |
effective planning and material selection are critical steps in constructing a shed roof that provides enduring protection against the weather. By prioritizing high-quality components and applying strategic building techniques, you can achieve a roof that stands the test of time, ensuring that your shed remains a reliable storage space for years to come.
Step-by-Step Guide: Constructing Your Shed Roof with Confidence
Constructing a shed roof may seem daunting, but with the right techniques and confidence, it can be a rewarding project that enhances the functionality of your outdoor space. When executed properly, a well-built roof not only improves the aesthetic appeal of your shed but also provides lasting protection against the elements. A storm-resistant, weathertight roof is essential for ensuring your shed serves its purpose for years to come.
To start, it’s crucial to determine the roof style that best fits your shed design and regional weather conditions. Common styles include gable, flat, and shed roofs, with variations in their angles and materials. Prioritize durable materials like plywood, asphalt shingles, or metal sheeting that can withstand local weather patterns. Below is a basic outline of steps to take:
Materials needed
- Rafters or trusses
- Plywood or OSB sheathing
- Roofing underlayment
- Roofing materials (shingles,metal,etc.)
- Flashing to seal joints
- Caulk or sealant for waterproofing
- Tools: saw, hammer, drill, measuring tape, level
Step-by-step Instructions
- Measure and Cut Rafters: Begin by measuring the span of your shed.Cut your rafters to length based on the desired pitch of the roof. For a gable roof, a standard pitch is around 15 degrees.
- Build the Frame: Assemble the rafters onto the top plate of your walls. It’s essential to maintain consistent spacing (typically 16 inches apart) to ensure structural integrity.
- Install Sheathing: Once the framework is secure, lay plywood or OSB sheathing over the rafters. This layer adds strength and provides a base for your final roofing material. Overlap seams to minimize water infiltration.
- Add Underlayment and Roofing: After installing the sheathing, apply roofing underlayment to create a barrier against moisture. attach your chosen roofing material, whether tiles, shingles, or metal sheets, following the manufacturer’s recommendations.
- Seal and Protect: To ensure your roof remains weather-tight, apply flashing around vents and joints where water could potentially seep through. Use roofing sealant to fill in any gaps or seams.
By following these steps, you can confidently build a shed roof that not only complements your outdoor space but also guarantees enduring protection against the elements.Remember, thorough planning and quality materials are the keys to mastering how to build a shed roof with weather-tight techniques that ensure decades of reliability.
Insulation and Ventilation: ensuring Longevity and Efficiency
The right insulation and ventilation choices can significantly enhance the performance and longevity of your shed roof, ensuring it withstands the test of time against the elements. Considering how to build a shed roof with weather-tight layers is essential, but understanding the implications of insulation and ventilation brings this knowledge to the forefront of effective shed construction. Properly insulated roofs maintain internal temperatures, reducing energy costs and preventing moisture accumulation, which can led to expensive repairs or structural damage.
Why Insulation Matters
When constructing a weather-tight shed, insulation plays a pivotal role in enhancing energy efficiency and protecting your belongings. Here are a few key benefits:
- Temperature Regulation: Insulation helps in maintaining a stable surroundings, whether it’s a hot summer day or a frigid winter night.
- Mold Prevention: By regulating temperature, insulation reduces moisture levels, preventing mold growth and protecting the structural integrity.
- Noise Reduction: Quality insulation can also serve as a sound barrier, creating a quieter space for work or relaxation.
For an effective insulation approach, consider using materials such as foam boards or spray foam for their outstanding R-values, which indicate thermal resistance, helping to keep your shed weather-tight over the decades. Additionally, incorporating a vapor barrier can further prevent moisture infiltration, ensuring the longevity of your shed roof.
The Importance of Ventilation
While insulation is vital for temperature control, adequate ventilation cannot be overlooked. ventilation is essential to avoid stale air and excessive humidity, particularly in sheds used for storage or hobby purposes. Here’s how you can achieve this balance:
- Ridge Vents: Installing ridge vents at the peak of your roof allows hot air to escape, significantly lowering the chance of condensation.
- Soffit Vents: Paired with ridge vents, soffit vents enable cool air to enter from the eaves, promoting a continuous airflow cycle.
- Windows: Adding operable windows can improve ventilation while also providing natural light, making your shed a more pleasant workspace.
To maximize the efficiency of your shed’s ventilation system,consider a layout that combines high and low vents,creating a draft that actively circulates air. When implemented alongside appropriate insulation, this ensures that your shed not only remains weather-tight but also serves its purpose effectively for many years.
| Insulation type | Benefits |
|---|---|
| Foam Board | High R-value,easy to install,moisture-resistant |
| Spray foam | Best air sealant,expands on request,versatile |
| fiberglass Batt | Cost-effective,good thermal performance,available in various thicknesses |
Integrating remarkable insulation and effective ventilation strategies can lead to long-term success in building a protective shed roof,maximizing efficiency and ensuring your investment lasts for decades.
Maintenance Tips: Keeping Your Shed Roof in Top Condition
Maintaining the roof of your shed is crucial for ensuring that it remains a durable shelter capable of withstanding the elements. Proper upkeep not only protects your stored items but also extends the lifespan of your shed. Just like adopting weather-tight techniques when constructing your shed roof, regular maintenance is essential for long-term protection. Here are some effective tips to keep your roof in excellent condition.
Regular Inspections
Conducting routine inspections is the first step in preventative maintenance. Aim to check your roof at least twice a year, ideally in spring and fall, to catch any issues before they escalate. During your inspection, look for the following:
- Leaks or Damp Spots: Check for water stains on the interior or exterior, which may indicate potential leaks.
- Shingle Condition: Inspect shingles for cracks, warping, or missing pieces that could compromise the roof’s integrity.
- debris build-Up: Remove leaves, branches, or debris that can trap moisture and accelerate deterioration.
cleaning and Maintenance
Keeping your shed roof clean is vital for preventing mold and mildew growth. Clear away debris and use a soft brush or broom to sweep the surface. For more stubborn grime, a mixture of water and mild detergent can work wonders. It’s importent to rinse thoroughly to avoid soap residue that can be slippery and harmful.
Gutter Maintenance
Don’t overlook your shed’s gutters! Clogged gutters can cause water to overflow and damage the roof and surrounding structure.Clean them out seasonally and check for signs of rust or leaks. Consider installing leaf guards to minimize future blockages.
Repairing Damage Promptly
If you find any signs of damage during inspections, address them immediately. Small cracks or issues can often be repaired with roofing sealant or patches, avoiding the need for a costly total roof replacement later on.Here’s a rapid reference table for DIY repair options:
| Issue | Repair Method | Suggested Material |
|---|---|---|
| Loose Shingles | Re-nail or replace | Adequate roofing nails or replacement shingles |
| Small Leaks | Apply roofing sealant | Flexible roofing cement |
| Moss & algae | Scrub with cleaning solution | Mild detergent or specialized roof cleaner |
By regularly inspecting, cleaning, and promptly repairing your shed roof, you can utilize the weather-tight techniques you’ve learned when building it. This not only enhances your shed’s durability through various seasons but also protects the valuable items stored within, ensuring a secure and weather-resistant environment for years to come.
Enhancing Aesthetics: Design Choices That Offer Protection and Style
Incorporating aesthetic appeal into your shed design doesn’t just elevate its visual charm; it also enhances its functionality and durability. When exploring weather-tight techniques for decades of protection, consider how your choices can merge beauty with resilience. A shed roof, for instance, serves as a protective barrier against the elements, but with the right materials and designs, it can also become a highlight of your outdoor space.
Materials That Marry Form and Function
When choosing materials for your shed roof, opt for those that not only withstand harsh weather conditions but also complement your landscape. Here are some options that offer both protection and style:
- Metal Roofing: Known for its longevity and resistance to rust, metal roofing comes in various colors and styles that can enhance any shed aesthetic.
- Architectural Shingles: These provide a classic look with improved durability compared to traditional three-tab shingles, perfect for homeowners seeking a more refined appearance.
- Green roofs: For an eco-pleasant option, consider a green roof that allows for vegetation to grow, promoting biodiversity while delivering insulation and protection against UV rays.
Design Features for added Appeal
Beyond materials, the design aspects of your shed roof can significantly impact its overall aesthetics. Here are some effective design choices:
- Roof Pitch: A steeper pitch not only adds character but also improves water runoff and prevents snow accumulation, which can enhance the structure’s durability during harsh winters.
- Overhangs: Incorporating overhangs can shield the walls from rain and snow while providing shaded areas, creating a cozy space that invites use.
- Color Coordination: Choose colors that reflect or complement your garden landscape, ensuring the shed becomes an integrated part of your outdoor environment rather than a mere utility feature.
Real-World Examples
Consider the unique shed designs throughout various neighborhoods. For instance, a coastal area may embrace a light-colored metal roof for a beachy aesthetic, while a forested region might opt for a rustic wooden design that melds seamlessly with its surroundings. such choices underscore the versatility of roof designs and materials as they align with your environment and personal style.
By integrating these protective yet stylish design choices, your shed will not only serve as a practical storage solution but also as a significant enhancement to your property’s overall appeal. Implementing the weather-tight techniques discussed in “How to Build Shed Roof: Weather-tight Techniques for Decades of Protection” can ensure that your investment remains both functional and aesthetically pleasing for years to come.
Q&A
How to build Shed Roof: Weather-Tight Techniques for Decades of Protection?
What is the best roofing material for a shed roof?
The best roofing material for a shed roof is typically metal roofing or asphalt shingles, as both offer durability and weather resistance. Metal roofing can last up to 50 years,while asphalt shingles provide effective protection for about 20-30 years.
Choosing between these options depends on your budget and design preference. As a notable example, metal roofs are lightweight and reflective, reducing summer heat, while asphalt shingles come in various colors and styles, enhancing aesthetics. Consider your local climate and typical weather patterns when deciding, as this impacts how well each material performs over time. For more details on roofing materials, see our guide on shed roofing.
How do I ensure my shed roof is weather-tight?
To ensure your shed roof is weather-tight,focus on proper installation and maintenance techniques. Start by using high-quality materials, sealing all joints with waterproof sealants, and installing a reliable underlayment.
Additionally, proper ventilation helps to prevent moisture buildup, which can cause rot over time. Regularly inspect your roof for damages and clear debris to maintain its integrity. These steps will prolong your shed roof’s lifespan and protect the contents, enabling you to enjoy your work for years to come.
Why does my shed roof leak?
Your shed roof may leak due to a variety of reasons, including deteriorated materials, improper installation, or clogged gutters. Identifying the source of the leak is essential for effective repairs.
Common issues to check for include missing or damaged shingles, gaps in flashing, and poorly sealed joints. Conduct regular inspections, especially after heavy rainfall, to catch leaks early. If you find significant damage, consider resealing or replacing the compromised sections of your roof.
Can I build a shed roof on my own?
Yes, you can build a shed roof on your own, even if you’re a beginner. With the right tools, materials, and a solid plan, DIYers can successfully tackle this project with confidence.
Start by researching and gathering all necessary materials, including beams, roofing panels, and fasteners. Following step-by-step instructions and safety guidelines will help you through the process. Don’t hesitate to ask for help if you encounter challenges—many local building supply stores offer workshops for hands-on assistance.
What are the key steps in building a shed roof?
The key steps in building a shed roof include planning your design, measuring and cutting materials, assembling the frame, and installing roofing. Proper planning ensures that your roof meets aesthetic and functional needs.
Begin by drafting a layout that considers pitch, ventilation, and drainage. Assemble the frame using beams and rafters, ensuring they are structurally sound. cover the frame with your chosen roofing material, taking care to seal all joints properly. Following these steps will help you achieve a strong, weather-tight roof.
How long does it take to build a shed roof?
Building a shed roof typically takes 1 to 3 days,depending on your experience level and the roof design. Factors such as weather conditions and complexity of the roof can also affect the timeline.
If you’re working solo and choose a simple design,you might complete it in a day. Though, intricate designs or working with more durable materials might extend the timeframe. Always allow extra time for unexpected challenges and consider enlisting a friend for assistance to speed up the process.
Wrapping Up
building a weather-tight shed roof is not just about choosing the right materials; it’s about understanding the techniques that ensure durability and performance for decades to come. Remember to start with a solid design, consider the pitch of your roof, and select materials that will withstand the elements. Effective framing techniques, such as those highlighted in various guides, can simplify the process and improve the quality of your work. Don’t shy away from asking for help or seeking out additional resources—there’s a wealth of knowledge available to support your journey.
Embrace the challenges of DIY construction with confidence! Each step you take towards building a sturdy shed roof not only enhances your skills but also empowers you to tackle future projects with ease. For more detailed guidance and tips, feel free to delve deeper into the resources available, and join our community of DIYers who share your passion for quality craftsmanship. Happy building!

