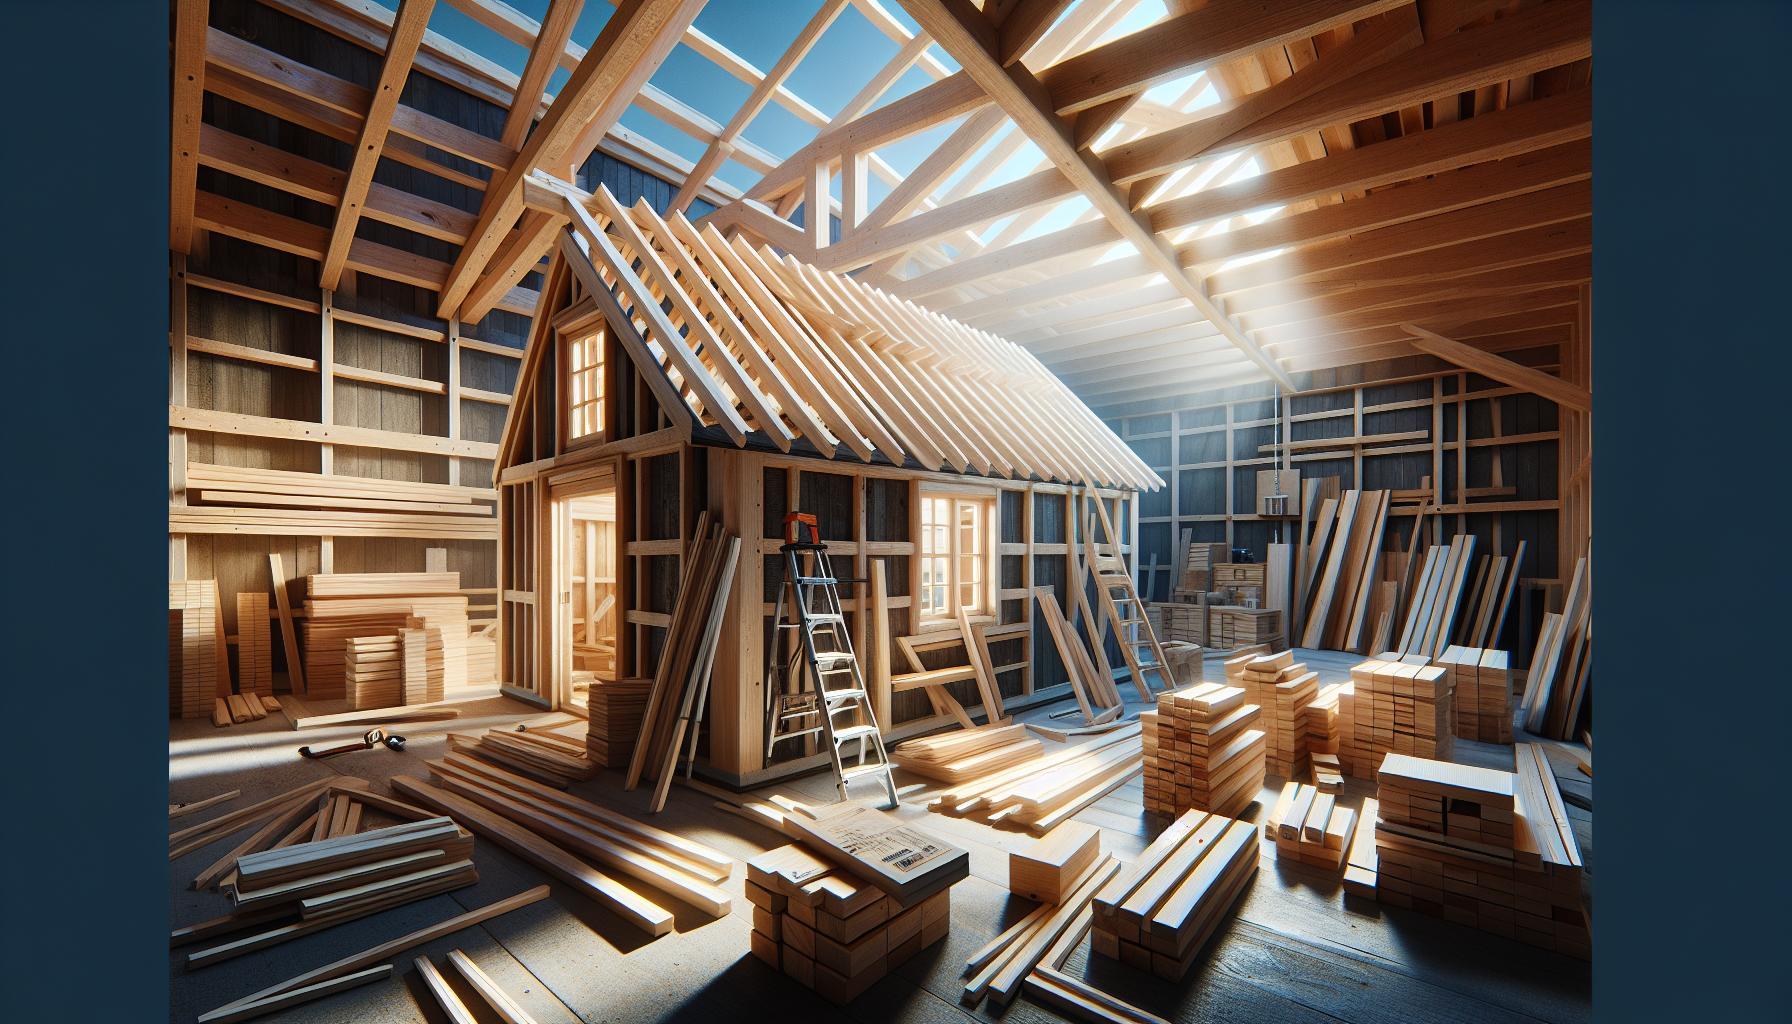
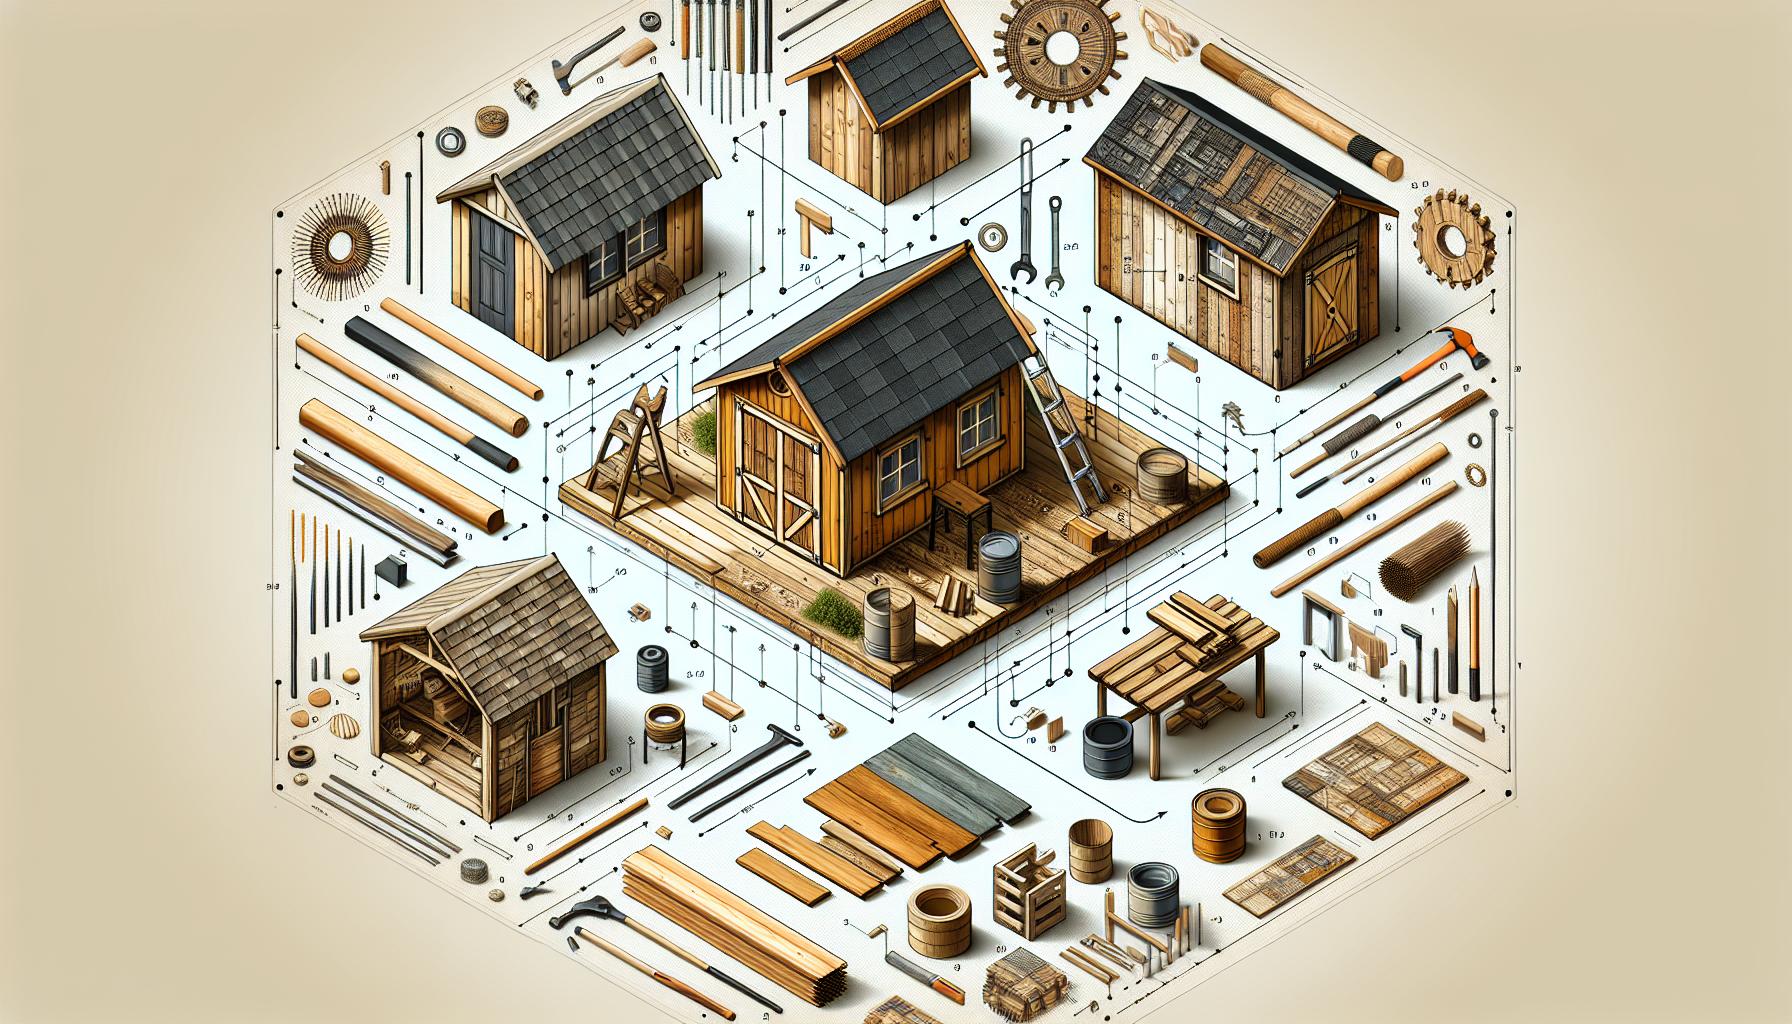
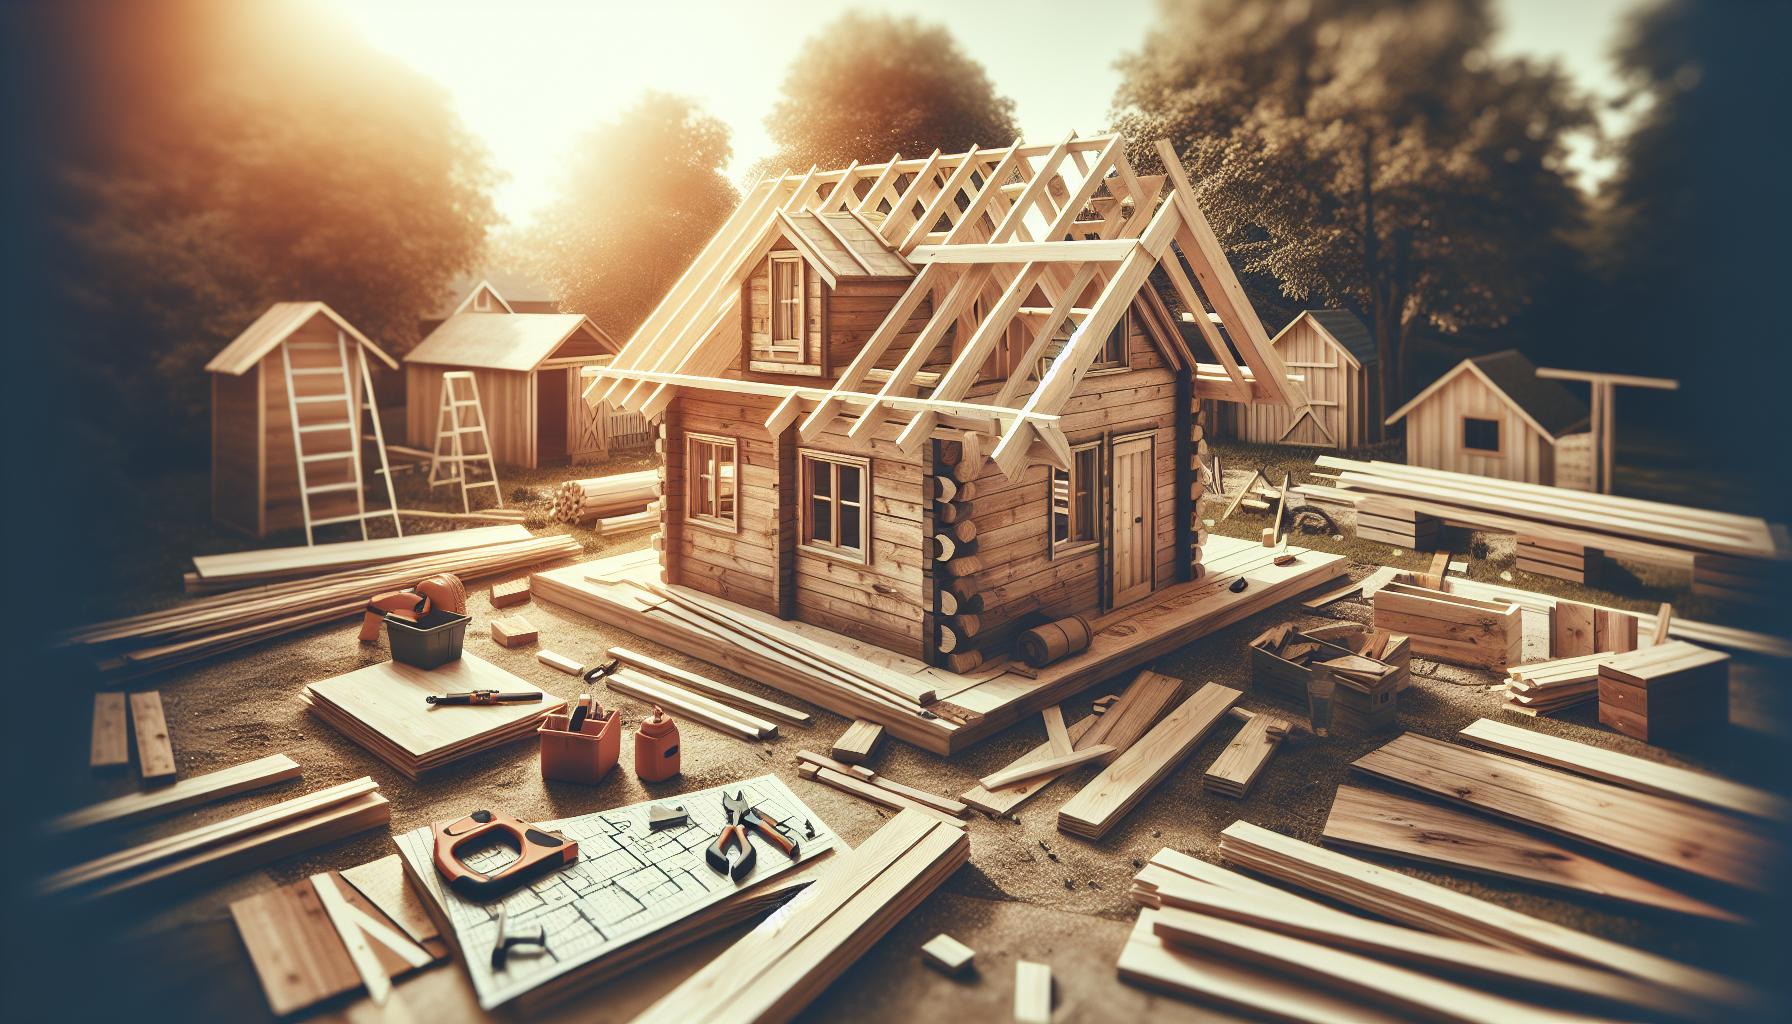
Building a durable and weather-proof roof for your shed is essential to protecting your tools and storage from the elements. With the right materials and techniques, anyone can create a sturdy roof that ensures longevity and visual appeal. This guide will walk you through practical designs and steps to achieve a reliable roof that stands up to rain, snow, and sun.
Choosing the Right Roofing Material for Your Shed
is crucial to ensure durability, weather resistance, and aesthetic appeal.With a variety of options available,understanding the characteristics of each material can help you make an informed decision that aligns with your budget,maintenance capabilities,and design preferences.
One of the most popular and economical choices is roll roofing. This material is lightweight and easy to install, making it ideal for DIY enthusiasts planning to build a shed roof. It’s available at a lower cost compared to traditional shingles or more robust materials. For those looking for a balance between durability and style, composite shingles are an excellent option. these shingles not only provide good protection against weather elements but also come in a variety of colors and styles that can complement your home’s exterior. Metal roofing is another standout option due to its longevity and resistance to pests and rot. Available in sleek corrugated panels or sleek metal sheets, it offers a modern look and can withstand harsh environments.
When considering durability, wood shingles, particularly cedar or pine, stand out for their natural insulation properties and aesthetic appeal. Though, they may require more maintenance to prevent decay and damage from pests. on the other end of the spectrum, materials like galvanized steel and fiberglass panels provide excellent weatherproofing, even though they might come at a higher initial investment. ultimately,your choice should consider factors like local climate,intended use of the shed,and personal aesthetic.
To assist in your decision-making process, here’s a comparison of popular roofing materials for sheds:
| Material | Cost | Durability | Maintenance | Installation Ease |
|---|---|---|---|---|
| Roll Roofing | Low | Moderate | Low | Easy |
| Composite Shingles | Moderate | high | Moderate | Moderate |
| Wood Shingles | Higher | High | High | moderate |
| metal Roofing | Higher | Very High | Low | Moderate |
the choice of roofing material for your shed will greatly influence its functionality and longevity. By considering factors such as weather conditions, budget constraints, and aesthetic requirements, you can select a material that not only protects your investment but also enhances the overall look of your property. Whether you lean towards inexpensive roll roofing or opt for elegant metal panels, understanding each option’s advantages will guide you to a prosperous shed-building project.
Essential Tools and Supplies: What You Need to Get Started
Constructing a roof for your shed is a critical phase in the building process, and having the right tools and supplies can make all the difference. A well-made roof not only enhances the aesthetic appeal of your shed but also ensures it will withstand the elements, providing a protective cover for the contents within. to successfully tackle this essential task, it’s crucial to gather a comprehensive set of tools and materials before you begin.
Essential Tools
Having the right tools at your disposal will streamline the process and improve the quality of your work. Here’s a list of essential tools you should have:
- Measuring Tape: Accurate measurements are crucial for a weather-proof roof.
- Level: To ensure a uniform pitch and prevent water pooling.
- Circular Saw: For cutting roofing materials to the required dimensions.
- Nail Gun: Speeds up the installation of roofing materials.
- Hammer: A fundamental tool for both framing and roofing tasks.
- Safety Gear: Goggles and gloves to protect against injuries.
Supplies Required
In addition to the tools, you’ll need a variety of materials suited for constructing a weather-resistant roof. The selection of materials can depend on your design preferences and local climate conditions. Here’s a breakdown of the key supplies:
| Material | Description |
|---|---|
| Roofing Felt: | A barrier that protects the wood from moisture. |
| Shingles: | Common roofing material available in various styles (asphalt, wood, metal). |
| Plywood or OSB: | Used as a base layer for your roofing system. |
| Drip Edge: | Metal flashing that prevents water from seeping under the roof. |
As you prepare to build your roof, remember that proper planning and organization of your tools and supplies will not only enhance your efficiency but also significantly increase the durability of the shed roof. This forethought will pave the way for successful construction, ensuring that your shed’s rooftop will stand strong against nature’s elements. For further insight on crafting a roof that can withstand harsh weather, explore more about roofing designs and materials that suit your needs.
step-by-Step Guide to Constructing a Weather-Proof Roof
Constructing a weather-proof roof for your shed is essential for protecting your tools and equipment from the elements. A well-built roof not only enhances the longevity of your shed but also ensures that it remains a reliable storage space. If you’re looking to learn how to fortify your shed against rain, snow, and harsh sunlight, following a structured approach will make the process manageable and effective.
Materials You’ll Need
Before starting, gather your materials. Here’s a list of essentials:
- Plywood or OSB (Oriented Strand Board): These form the base of your roof.
- Roofing felt: Acts as an additional barrier against moisture.
- Shingles or metal roofing: Choose based on your aesthetic preferences and budget.
- Roofing nails: Essential for fastening everything securely.
- Sealant or flashing: To prevent leaks at joints and edges.
Step-by-Step Construction Process
- Create a strong Frame: Start by constructing a robust frame that can support your chosen roofing material. Use treated lumber for durability. Ensure that the framework is level and square to prevent issues down the line.
- Install the sheathing: Attach plywood or OSB sheets to the frame. Ensure that edges are staggered and securely fastened using nails or screws. This provides a solid base and adds insulation.
- Add the underlayment: Roll out your roofing felt over the sheathing. Overlap the edges to create a protective barrier that redirects water. Secure it with roofing nails to prevent shifting during installation.
- Apply the Roofing Material: Depending on your choice, lay down shingles or metal sheets. For shingles, start from the bottom and work upward, overlapping each row. For metal, follow the manufacturer’s guidelines for fastening and overlapping.
finishing Touches
Once the roofing material is in place, inspect all seams and edges carefully. Apply sealant or flashing where necessary, particularly around edges and intersections. this step is crucial for preventing water from seeping through any gaps.
Additionally,consider enhancing your roof’s durability by regularly inspecting it for wear and conducting maintenance as needed. By following these guidelines, you’ll be well on your way to mastering how to build a roof for a shed with weather-proof designs that are not only functional but also stylish.Your tools—and your peace of mind—will thank you.
Common Roofing Styles for Sheds: Pros and Cons
When constructing a shed,the roofing style significantly impacts its durability and function. Choosing the right design not only enhances aesthetics but also influences maintenance levels and protection from the elements. Understanding the pros and cons of various roofing styles ensures you make an informed decision, setting the stage for an effective project.
Common Roofing Styles for Sheds
- Gable Roof: This classic design features two sloping sides that meet at a peak. It allows for excellent water drainage and ventilation, making it a popular choice. Though, it might require more materials and structural support compared to simpler designs.
- Lean-To Roof: A single slope that is easy to build, ideal for small sheds or those placed against a wall. Its straightforward structure reduces material costs,but it can struggle with drainage in heavy rain if not designed correctly.
- Skillion Roof: Similar to a lean-to but more pronounced, this style offers a modern look and excellent drainage. While it allows for high ceilings on one end, it may limit usable wall space.
- Gambrel Roof: This barn-style roof features two sides with different slopes, providing an attractive appearance and extra overhead space. Its complexity can increase labor costs and may require special considerations for wind resistance.
Comparative Table of Shed Roof Styles
| Roof Style | Pros | Cons |
|---|---|---|
| Gable | Great water drainage and ventilation | More materials needed |
| Lean-To | Cost-effective and easy to construct | Poor drainage if sloped incorrectly |
| Skillion | Modern look with excellent drainage | Limited wall space |
| Gambrel | extra overhead space | Higher installation complexity |
Incorporating a well-chosen roofing style contributes significantly to how to build a roof for a shed using weather-proof designs anyone can make. Each option presents unique advantages and challenges, making it essential to align the design with your specific needs, local climate, and personal preferences. Always consider the long-term maintenance implications and initial costs when making your choice.
Tips for Overcoming Common Roofing challenges
Constructing a roof for a shed is a task that can present a variety of challenges, but with the right strategies, anyone can overcome them and achieve durable, weather-proof designs. One of the most common issues is ensuring proper drainage to prevent water accumulation, which can lead to leaks and structural damage. Selecting the appropriate pitch for your roof is essential not only for aesthetics but also for functionality. A steeper pitch can help shed water and snow more efficiently, so consider your local climate when making this decision.
To tackle potential roofing challenges effectively, it’s crucial to utilize quality materials that are well-suited for your shed’s intended use and location. Whether you choose asphalt shingles, metal roofing, or another option, ensure they are durable and resistant to the elements. Here are some practical tips:
- Perform Regular Inspections: Regularly check your roof for any signs of wear, damage, or debris buildup which can obstruct drainage.
- Weather-Proof your Design: Incorporate features such as overhangs and proper flashing around edges to prevent leaks.
- Install Ventilation: Ensure that your roof has adequate ventilation to reduce humidity buildup inside the shed, which can lead to mold and rot.
- Use Quality Sealants: Apply high-quality sealants around joints and penetrations to create a waterproof barrier.
It’s advisable to plan your shed roof carefully, taking into account factors such as local weather patterns and building codes. For instance, if you live in an area with heavy snowfall, opting for a roof design that can withstand the weight is paramount. Using tools like roof pitch calculators can aid in determining the best slope for your design.
Lastly, consider consulting with a roofing professional if you face more complex issues or if you are unsure about certain decisions during your construction journey. With thoughtful planning and high-quality materials, you can successfully create a roof that will protect your shed and its contents for years to come.
ensuring Proper Drainage: Key Considerations for Your Shed roof
To achieve a functional and long-lasting shed roof, understanding and ensuring proper drainage is pivotal.Good drainage not only protects your structure from water damage but also enhances its overall lifespan. When rainwater collects on a shed roof, it can lead to leaks, rot, and structural weaknesses.Thus, incorporating effective drainage solutions is a critical aspect of building a weather-proof shed.
Optimizing Roof Pitch
First and foremost, the pitch of your shed roof is a vital factor in drainage. A roof with an adequate slope allows water to flow towards gutters rather than pooling. A minimum pitch of 3:12 (for every inch of vertical rise, there should be 12 inches of horizontal run) is advisable for efficient drainage. If you’re constructing your roof, ensure the materials used can effectively shed water. As a notable example, metal roofs are excellent choices due to their smooth surfaces that direct water away.
Integrating Gutters and Downspouts
Installing gutters is another essential step towards maintaining proper drainage. Gutters collect rainwater and channel it away from the foundation of your shed, preventing erosion and moisture buildup. Here are some key tips for installing gutters:
- Choose the right size: Ensure gutters are adequately sized based on the surface area of your roof and expected rainfall.
- Regular maintenance: Clean your gutters regularly to prevent clogs caused by leaves, twigs, and debris.
- Downspout placement: Position downspouts away from your shed and direct water towards a safe drainage area to minimize standing water.
Managing Ground Drainage
It’s not just the roof that needs attention; the surrounding ground also plays a critical role in drainage. If your shed is in a low-lying or poorly draining area, consider implementing a ground drainage system. Strategies include:
- Creating swales: Dig shallow trenches to direct water away from your shed.
- Installing French drains: These systems use perforated pipes covered with gravel to slowly disperse water underground.
- Using permeable surfaces: If you’re laying pathways or driveways near your shed, consider using permeable paving to allow water to soak through.
By addressing drainage comprehensively in your shed design, you contribute significantly to the longevity and durability of the structure. Effective management of both roof and ground drainage will not only protect your investment but also create a safe and dry habitat for all your shed’s contents.
How to Inspect and Maintain your Shed Roof for Longevity
Proper inspection and maintenance of your shed roof can significantly extend its life and ensure it remains weatherproof and functional. Regular checks not only detect potential problems early but also keep the aesthetics of your shed intact. When considering how to build a roof for a shed with weather-proof designs, maintenance becomes a crucial component that shouldn’t be overlooked.
Regular Inspections
To start, conduct visual inspections of your shed roof at least twice a year—preferably in spring and autumn. Look for signs of damage such as:
- Cracked or missing Shingles: These can lead to water leaks and should be replaced promptly.
- Moss Growth: This can trap moisture, so use appropriate treatments to clean it off.
- Water Stains or Puddles: Inside your shed, check for any water stains on the ceiling or puddles on the floor, which may indicate a leak.
Taking the time to catch these issues early can prevent more severe damage and costly repairs later on.
Maintenance Tips for Longevity
once you’ve inspected your roof, it’s essential to follow up with some best practices to maintain it effectively.These include the following actions:
- Clear Gutters and Downpipes: Ensure that your shed’s gutters are free from debris to prevent water overflow.
- Apply Wood Preservative: Use a quality wood preservative annually to protect wooden roofs from moisture and rot.
- Reinforce Seals: Check the seals around any vents, chimneys, or skylights and replace any that look worn.
Taking these proactive measures not only helps you maintain the roof’s durability but also aligns with the principles of designing a weatherproof shed.
Document Your Inspections
maintain a log of your inspections and maintenance activities. This could help track issues over time and assist in planning future maintenance.Keeping a record of when you last cleaned gutters,applied preservatives,or made repairs allows you to create a maintenance schedule that fits seamlessly into your seasonal routines.
By understanding how to build a roof for a shed with weather-proof designs and coupling that knowledge with robust inspection routines and maintenance practices, you can ensure the longevity and reliability of your shed for years to come.
Enhancing Your Shed’s aesthetic: Design Ideas That Work
Transforming the aesthetic appeal of your shed can significantly enhance both its functionality and visual charm. By incorporating thoughtful design elements,you can create a space that serves more than just storage,but also as a lovely retreat or workspace. Whether it’s integrating natural materials or using bold architectural features, simple adjustments can result in profound effects. Here are some practical ideas to consider when aiming to beautify your shed while ensuring it remains weather-proof and resilient.
Add Greenery for a Natural Touch
One of the most effective ways to enhance your shed’s aesthetic is by incorporating greenery. Living roofs, which feature succulent plants, grass, or low-growing flora, can blend your shed harmoniously into its surroundings. This not only looks stunning but also provides additional insulation. For those living in urban areas, vertical gardens or hanging planters filled with vibrant flowers can add a splash of color and bring life to your shed’s walls, creating an inviting outdoor atmosphere.
Opt for a Modern Look with Industrial Materials
If you prefer a more contemporary flair,consider using industrial materials like metal and reclaimed wood.Sheds designed with these elements frequently enough feature clean lines and a minimalist aesthetic. As an example, exposed metal beams or metal siding can create a striking contrast against natural wood finishes. Incorporating large windows also enhances this look. Floor-to-ceiling glass panels not only brighten your shed but also provide a seamless connection between indoors and outdoors,making it feel spacious and airy.
Functional and Decorative Details
Don’t overlook the small architectural details that can elevate your shed’s appearance. Adding unique door styles, such as Dutch doors or sliding barn doors, can infuse personality into your structure.Consider embellishing windows with flower boxes or custom shutters to create a cottage feel. Choosing a color scheme that complements your home and garden can tie everything together. For example, a light and airy palette can help your shed stand out while maintaining a cohesive look.
Materials to Consider for Aesthetic Appeal
| Material | Aesthetic Effect | Durability |
|---|---|---|
| Wood | Natural,Warm | Moderate |
| Metal | Industrial,Modern | High |
| Vinyl | Various Finishes | High |
Incorporating these design ideas into your shed not only enhances its beauty but can also boost its function and longevity. By focusing on elements that align with natural settings and embracing modern design principles, you can create an outdoor structure that is both practical and aesthetically pleasing.
FAQ
How to build a roof for a shed: what materials do I need?
To build a roof for a shed, you typically need plywood, roofing felt, shingles or metal sheets, and various hardware like nails or screws. Start by selecting materials based on your shed’s size and local weather conditions for optimal protection.
Such as, a wooden shed may require plywood for the roof deck and asphalt shingles for water resistance, while a metal shed might use corrugated metal roofing for durability. Ensure all materials are weather-proof to extend the longevity of your shed.
What is the best slope for a shed roof?
The ideal slope for a shed roof is usually between 2:12 and 4:12. This means that for every 12 horizontal inches, the roof should rise 2 to 4 inches, promoting effective drainage.
An appropriate slope helps prevent water ponding, which can lead to leaks or structural damage. When planning, consider your local climate; areas with heavy snowfall may benefit from a steeper slope to shed snow effectively.
Can I add insulation to my shed roof?
Yes, you can add insulation to your shed roof to improve temperature regulation. This is particularly beneficial if you plan to use your shed for activities requiring climate control.
Such as, installing rigid foam board insulation between roof joists can significantly enhance energy efficiency.Ensure you cover the insulation with a vapor barrier to prevent moisture buildup, which can lead to mold.
how do I reinforce my shed roof?
You can reinforce your shed roof by adding additional rafters or trusses. This supports heavier loads, especially in areas exposed to harsh weather conditions.
Using braces or cross supports can also enhance stability. Choose materials such as engineered wood or metal connectors to improve load-bearing capacity. Regularly inspect and maintain your roof structure to ensure long-term durability.
Why does my shed roof leak and how to prevent it?
Leaking shed roofs can result from damaged shingles, poor installation, or inadequate flashing. Regularly inspect your roof and address any issues promptly.
To prevent leaks, ensure proper installation of all roofing materials and consider applying a waterproof membrane beneath the roofing felt. Regular maintenance,such as checking for loose or missing shingles,can also keep your roof leak-free.
What is the best roofing material for a shed?
The best roofing material for a shed depends on your budget,aesthetics,and local weather. Common choices include asphalt shingles, metal roofing, and EPDM rubber.
Asphalt shingles are cost-effective and available in various colors, while metal roofing offers durability and longevity.EPDM rubber is ideal for flat roofs,providing excellent resistance to water. Evaluate these options in relation to your needs for a cohesive and functional shed design.
How to make my shed roof more energy-efficient?
To make your shed roof more energy-efficient, consider adding reflective roofing materials and insulation. Reflective roofs can keep the interior cooler in summer, while insulation regulates temperature all year round.
Additionally, installing ventilation systems can help manage heat build-up, further improving energy efficiency. Following these tips as part of your “How to Build roof for a Shed: Weather-Proof Designs Anyone Can make” project can enhance comfort and reduce energy costs.
Key Takeaways
building a weather-proof roof for your shed not only enhances its durability but also ensures that your investment is protected against the elements. By focusing on quality materials, proper construction techniques, and thoughtful design, you can create a roof that stands the test of time. Remember to take your time,measure carefully,and don’t hesitate to seek guidance if needed—every project is an opportunity to learn and improve your skills. Embrace the process, enjoy the craftsmanship, and take pride in creating a functional and aesthetically pleasing addition to your outdoor space. For more tips and inspiration, explore our other articles and resources to assist you in your DIY journey. Happy building!

