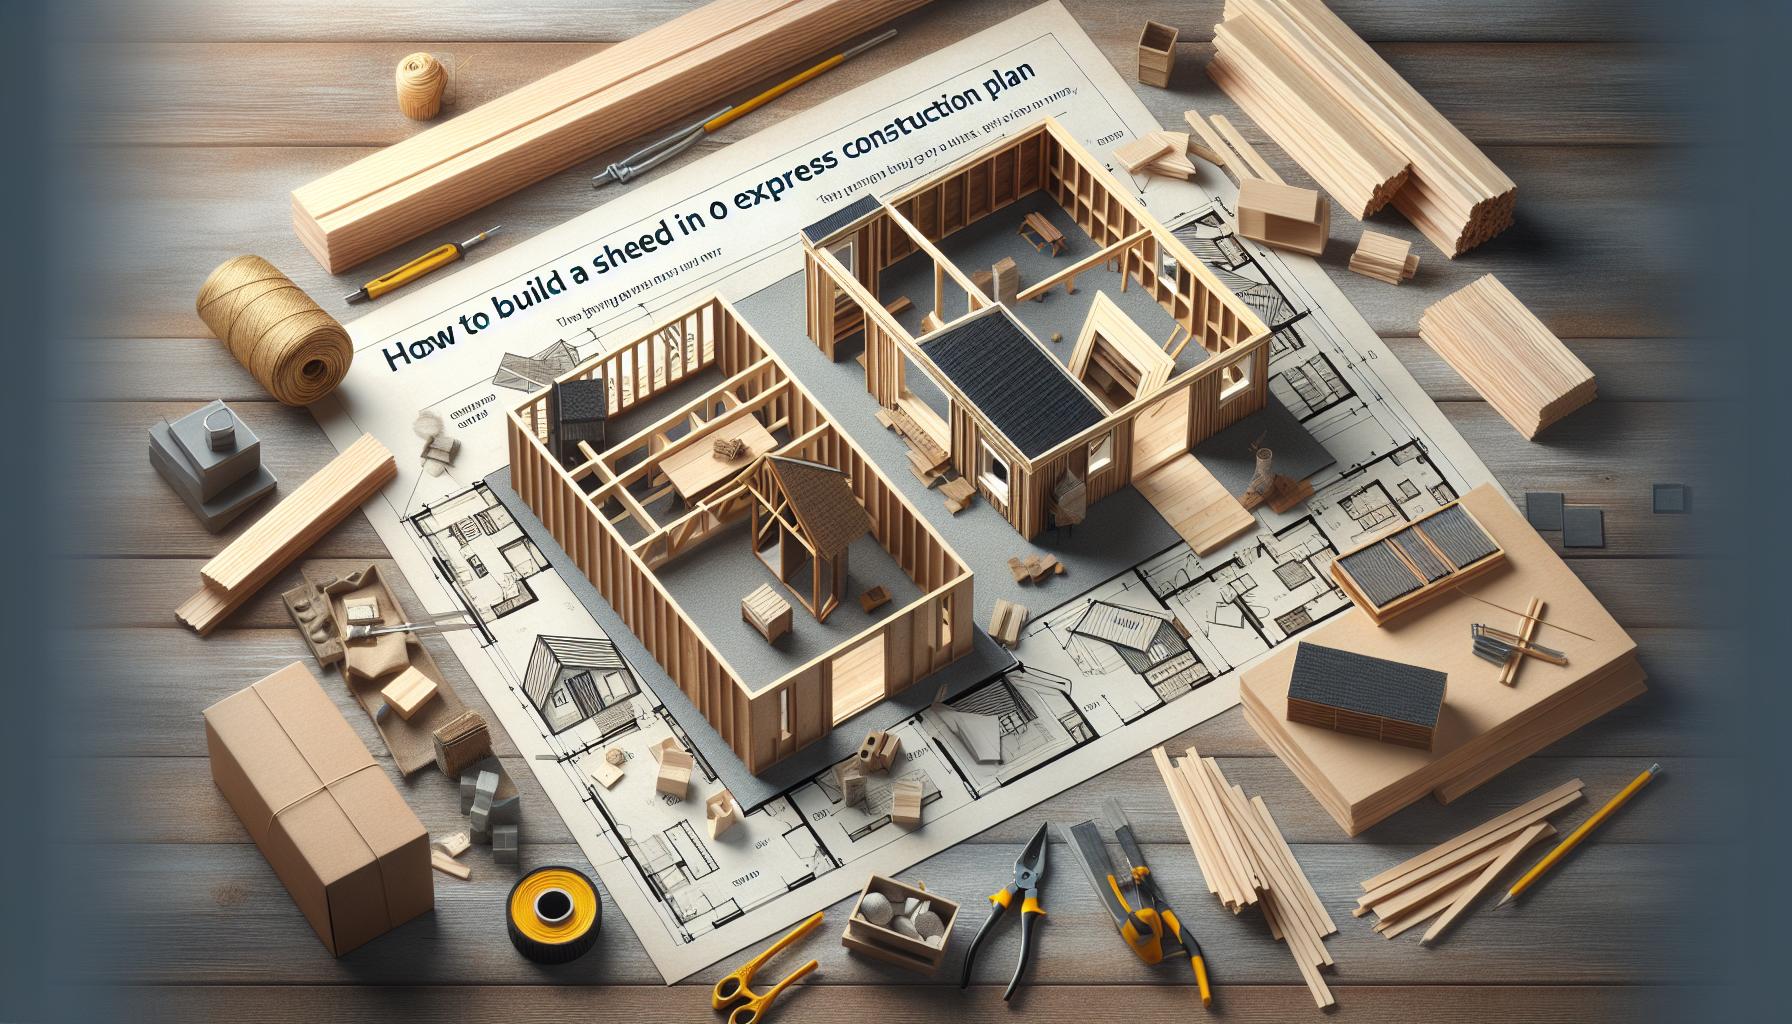
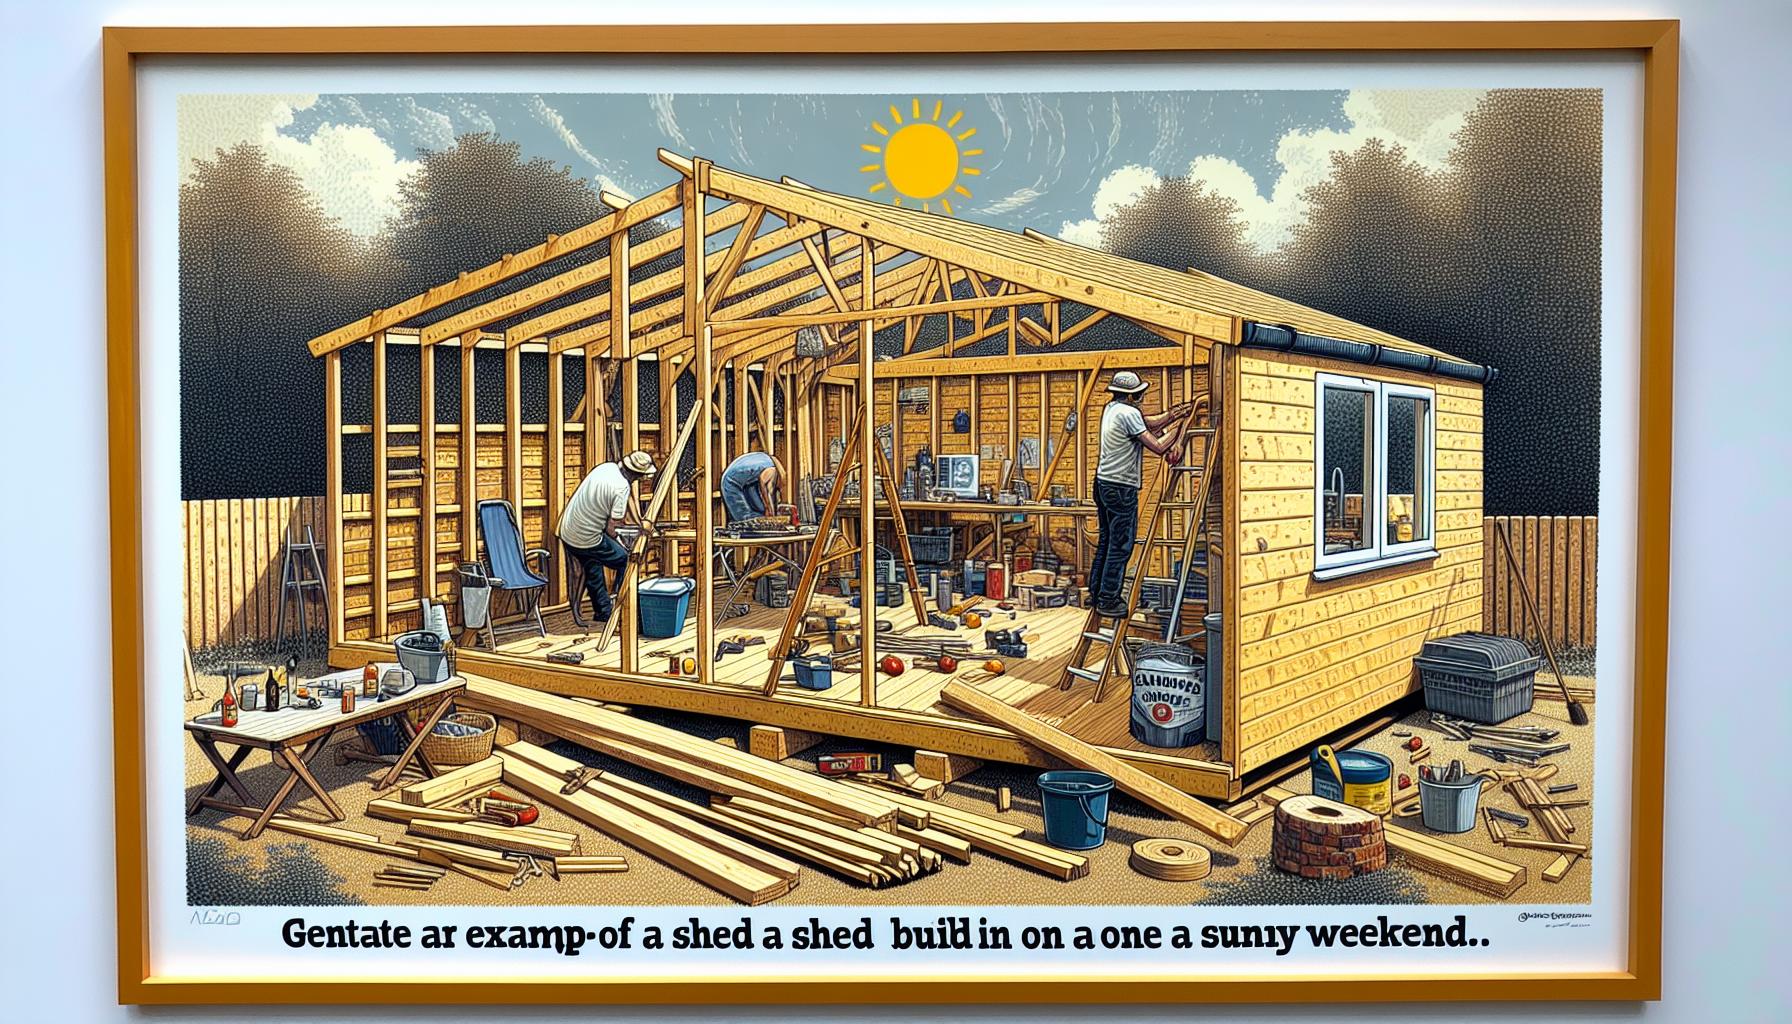
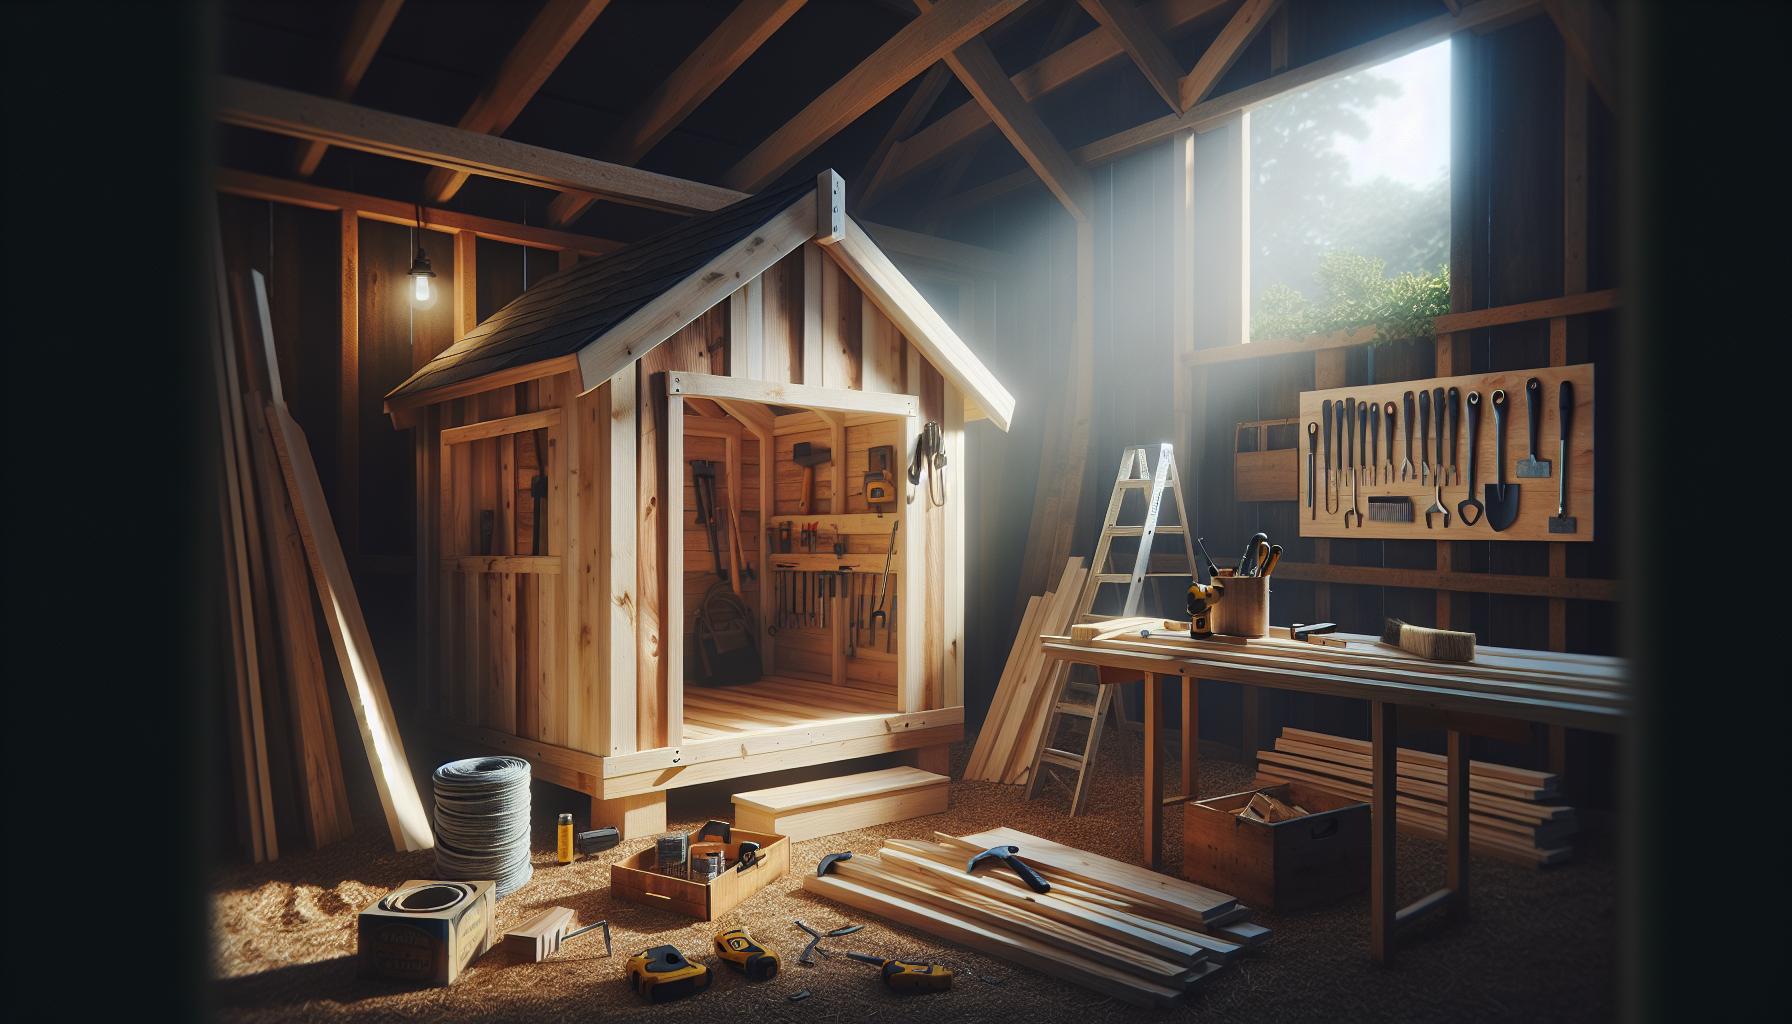
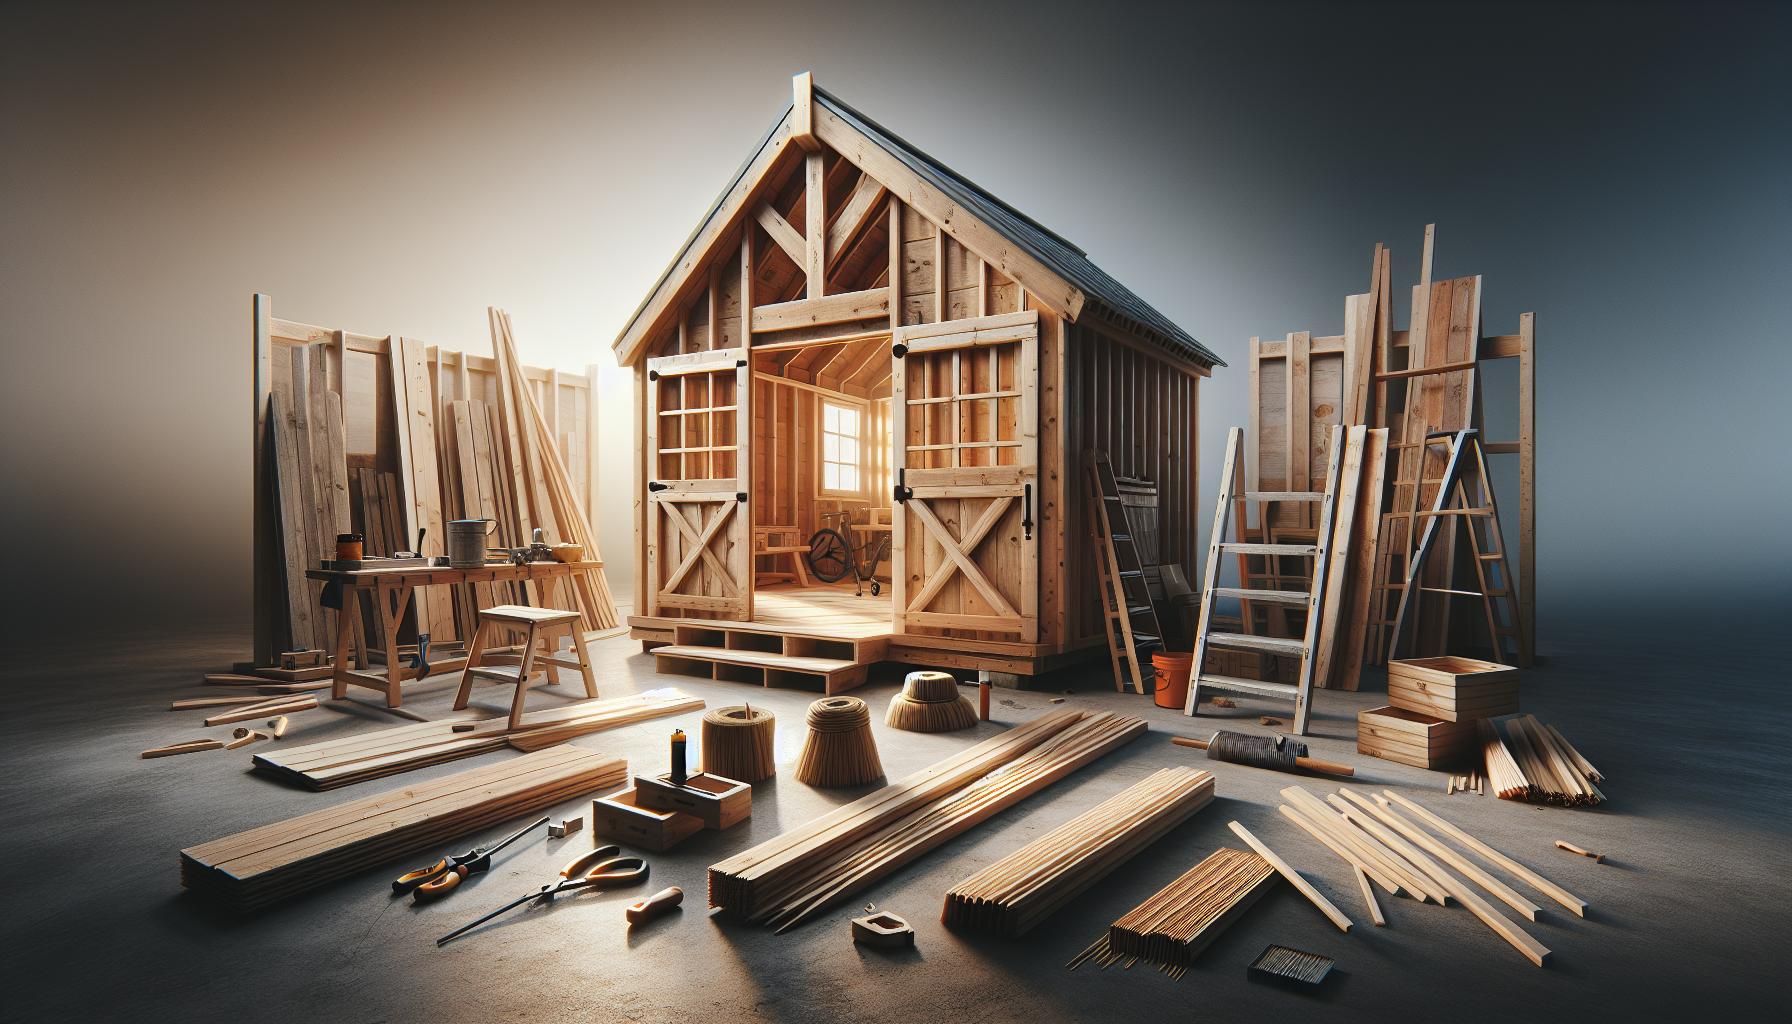
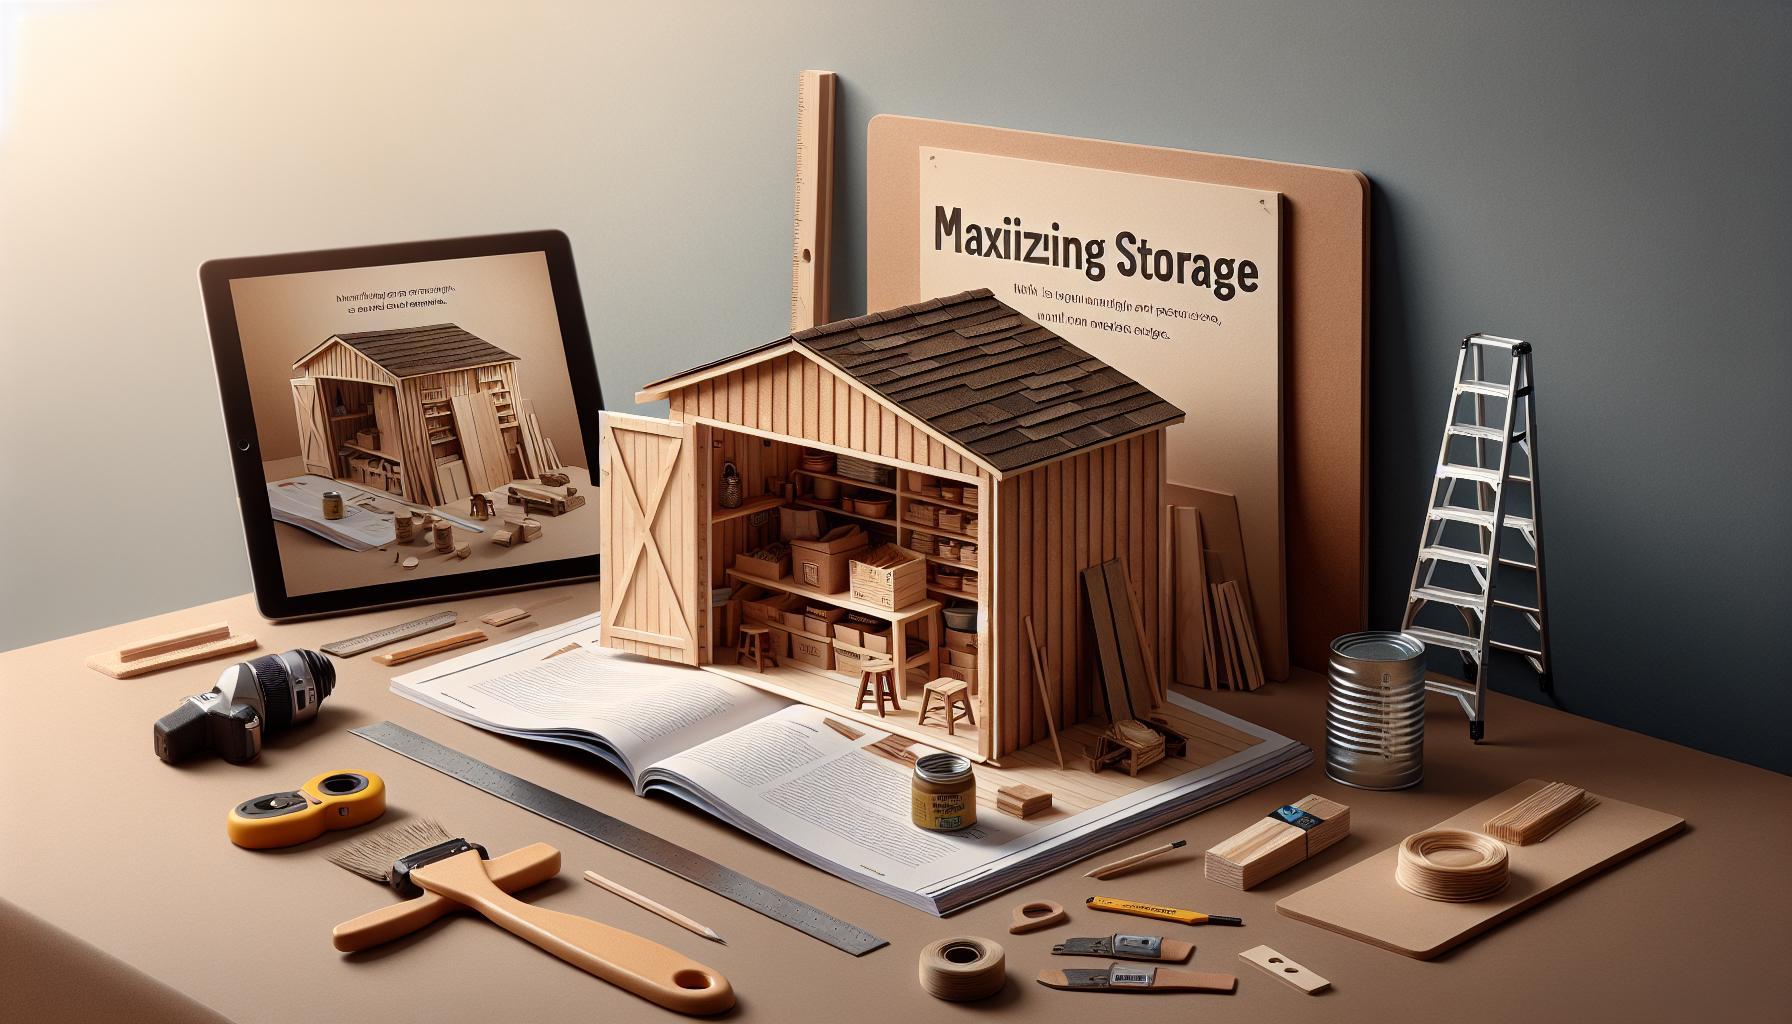
Transforming your outdoor space can be a daunting task, especially when time is tight. Building a practical storage solution in just a weekend not only enhances your garden but also provides a functional space for tools and equipment. With a clear,step-by-step express construction plan,you can achieve this goal efficiently,making it a rewarding DIY project that’s both accessible and satisfying.
Choosing the Right Shed Design for Your Needs
When embarking on the journey of constructing a shed, selecting a design that aligns with your specific needs is essential. A well-chosen shed not only enhances the aesthetic of your property but also serves its intended purpose effectively, whether it’s for storage, gardening, or even a workspace. The versatility of shed designs allows you to cater to your requirements while enabling efficient use of space.
Assessing Your Needs
Before delving into designs, take a moment to evaluate what you’ll use the shed for. Common uses include:
- Storage: Storing tools, gardening supplies, or seasonal items.
- Workspace: A dedicated area for hobbies, crafts, or DIY projects.
- Outdoor Equipment: Safeguarding larger items like bikes, lawnmowers, or sports gear.
- Greenhouse or Potting Shed: Cultivating plants or starting seeds.
Determining the primary function will guide decisions regarding size, style, and features that your shed will require.
Size and Space Considerations
Once you’ve confirmed the intended use,consider the size of the shed. Measure the area were the shed will be located, ensuring that you have adequate space for both the structure and accessibility.As a notable example, if the shed is meant for storage, assess the volume of items you plan to store to determine the necessary dimensions, such as:
| Purpose | Recommended Size |
|---|---|
| Garden Tools and Supplies | 4’ x 8’ or 8’ x 8’ |
| Outdoor Furniture | 10’ x 12’ or larger |
| Dedicated Workshop | 12’ x 16’ or larger |
Choosing the right dimensions will prevent overcrowding and make for a more usable space.
Design and aesthetic Appeal
Think about how the shed will complement your home and landscape. There are various styles to choose from, including gable, lean-to, and barn-style. Each offers its distinct advantages and visual appeal. for example, gable roofs provide better drainage and more vertical space, which might be ideal if you plan to use shelving or heavy-duty storage. In contrast, a lean-to might suit a more compact area or become an extension of your home’s structure.
Ultimately, the design should reflect not only practical functions but also contribute to the overall look of your property.Remember, employing the right design principles is key in learning how to build a shed in one weekend effectively. By taking time to consider your needs and the shed’s role in your outdoor habitat, you’ll ensure that your construction project is accomplished and satisfying.
Essential Tools and Materials for Weekend Construction
For any successful weekend construction project, notably when it comes to building a shed, being equipped with the right tools and materials is crucial. Having a well-curated toolkit can considerably streamline your process, helping to avoid delays and ensuring that your shed is both functional and sturdy. Whether you’re a seasoned builder or a weekend warrior diving into the “How to Build a Shed in one Weekend: Express Construction Plan,” understanding the essentials is key to achieving your goal within a tight timeframe.
Start with the basics: a solid set of hand tools. Thes will include a good quality hammer, a level, a measuring tape, and a square to ensure that your angles are precise.Investing in a circular saw for cutting wood and a power drill for driving screws or drilling holes will also save you time and effort. It’s advisable to have a set of screwdrivers on hand, as well as a ladder to help you reach higher areas safely. safety gear, such as gloves and eye protection, should not be overlooked as you work with various materials.
Essential Materials to Gather
In assembling your shed, the type of materials you choose is equally crucial. Here’s a fast list of essential materials you’ll need:
- Pressure-treated lumber: Ideal for the foundation and framing as it offers durability against rot.
- Plywood: Used mainly for the walls and flooring, ensuring your shed has a solid structure.
- Roofing material: Depending on your style, options like shingles or metal roofing can protect your shed from the elements.
- Paint or sealant: this will help preserve your shed and improve its appearance.
- Fasteners: High-quality screws and nails are essential for assembly; choose weather-resistant options for longevity.
To help you visualize your project and ensure nothing is overlooked, consider creating a materials checklist. Below is a simple template to guide you:
| Material | Quantity Needed |
|---|---|
| Pressure-treated lumber | 12 pieces |
| Plywood sheets | 6 sheets |
| Roofing material | 1 bundle |
| Paint or sealant | 1 gallon |
| Fasteners | As needed |
By ensuring you have both the right tools and materials on hand before you start your construction, you can focus on following the streamlined steps of the express construction plan without unneeded interruptions. this preparation not only enhances your efficiency but also boosts the overall outcome of your project,making your goal of building a shed within one weekend achievable and enjoyable.
Step-by-Step Guide to Preparing Your Build Site
For those ready to embark on a weekend shed-building adventure, preparing your site is a pivotal first step. A well-prepared site not only ensures a smoother construction process but also enhances the longevity and stability of your new shed. Whether it’s a cozy she-shed or a robust storage unit, getting the ground right sets the foundation for success. Here’s how you can get started on the right foot.
Assess the Location
Begin by selecting the ideal location for your shed. Look for a spot that is level and has good drainage to prevent water pooling around your structure. Avoid low-lying areas where moisture is likely to collect. Consider accessibility as well—your shed should be easy to reach for both construction and future use.Additionally, make sure to check local zoning regulations and property lines to avoid potential disputes.
Clear and Prepare the Ground
Once you’ve chosen your location, it’s time to clear the site. Remove any grass, debris, or obstacles that might interfere with your construction. Here’s a simple checklist to follow:
- clear away vegetation and rocks.
- Level the ground, using a shovel or a landscaping rake.
- Compensate for any dips by adding fill dirt or gravel.
- check with a level to ensure the area is as flat as possible.
After clearing, consider your foundation options. A gravel pad is a popular choice, providing excellent drainage and stability. If you opt for a concrete slab, ensure the forms are set correctly and the concrete is leveled before proceeding to the shed assembly.
Lay the foundation
The next step in your preparation involves establishing a solid foundation. Whether using gravel, a concrete slab, or treated wood, the foundation should extend beyond the shed’s footprint to allow for overhangs.
| Foundation Type | Pros | Cons |
|---|---|---|
| Gravel Pad | Excellent drainage, easy to install | May shift or settle over time |
| Concrete Slab | Very stable, durable | Higher cost, requires more time to set |
| Treated Wood Foundation | Simple, customizable | Can rot if not properly maintained |
After laying the foundation, it’s crucial to reinforce the area. For a gravel pad, compact the gravel to establish a solid base. If using concrete, be patient; allow ample curing time as specified in your shed plans.With these steps completed, you will have a prepared site ready for the assembly of your shed, setting you on the fast track detailed in the “How to Build a Shed in One Weekend: Express Construction Plan.” this prep work not only guarantees a sturdy structure but also instills confidence that your weekend project can be achieved with minimal hiccups.
Framing and Foundation: The Backbone of Your Shed
Building a sturdy and durable shed starts from the ground up. The framing and foundation are not just structural elements; they are the backbone that supports everything else. A solid foundation prevents moisture from seeping into your shed and protects against pest invasions. When exploring how to build a shed in one weekend, focusing on proper framing techniques and foundation types can significantly impact the longevity and functionality of your project.
Choosing the Right Foundation
The foundation you select will depend on several factors including the size of your shed, the ground type, and the local weather conditions. Here are the most common types of foundations for sheds:
- Concrete Slab: Offers the most stability, particularly in areas prone to heavy rain.
- Wooden Skids: Ideal for smaller, portable sheds, allowing for easy relocation.
- Concrete Blocks: A cost-effective option that provides adequate elevation and air circulation.
Nonetheless of the type you choose, ensure the ground is level and clear of debris before laying down your foundation. For a quick installation, concrete blocks can be a grate solution as they require minimal preparation and allow for easy adjustments if needed.
Framing Techniques
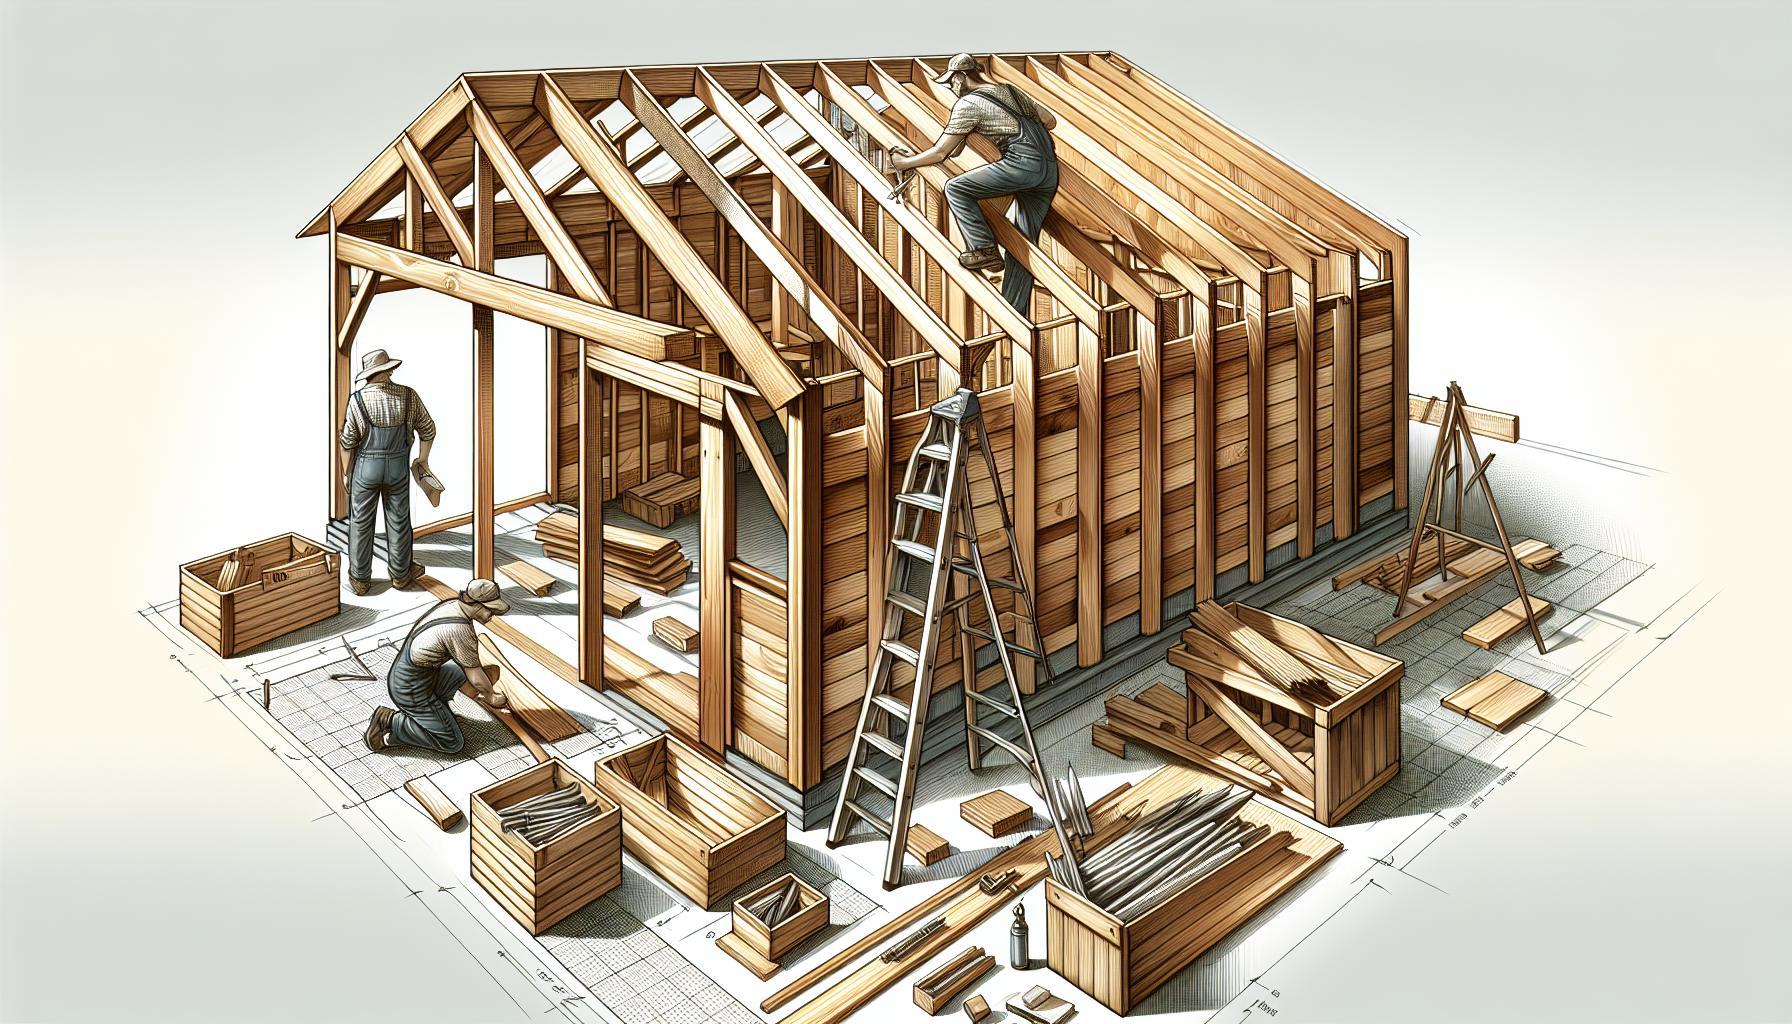
Once the foundation is set, the framing process begins. This is where the structure of your shed really takes shape. Use high-quality lumber (typically 2x4s) to construct the walls, and consider these tips:
- Measure Twice, Cut Once: Proper measurements ensure all panels fit securely.
- Use Proper Fasteners: Galvanized nails or screws will resist corrosion.
- Check for Level: Use a level to ensure every frame is even to maintain a straight structure.
Keep in mind that robust framing is vital, especially if you plan to store heavier items. A common approach is to frame the walls separately and then raise them into place, which can be completed efficiently over a weekend.
Ultimately, the framing and foundation of your shed are crucial steps in the construction plan, directly influencing the strength and durability of the entire structure. By following the steps outlined here, you will ensure a stable base for your shed—paving the way for a successful build within your weekend timeframe.
Efficient Roofing Techniques to Keep You On Track
Building a shed in a weekend can seem daunting, but with the right roofing techniques, you can streamline your project and stay on schedule. Efficient roofing is not just about putting on a cover; it’s about adopting methods that enhance speed and effectiveness. By prioritizing preparation and employing smart strategies, you can achieve a sturdy and appealing roof without the stress.
preparation is Key
Before you start laying down shingles or sheathing, ensure that you have all your materials ready. This not only minimizes downtime during construction but also keeps you focused on the task at hand. Gather the following tools and materials:
- Rafter boards
- Plywood sheathing
- Felt roofing paper
- Shingles or roofing material of your choice
- Circular saw
- Nail gun or hammer
- Measuring tape and level
Having everything organized allows you to quickly move between tasks, ensuring that each step of the roofing process is completed without unnecessary interruptions.
Implementing Effective Techniques
One of the most efficient techniques when building your shed roof is to cut your rafters accurately before you start assembly. Use a circular saw for precise cuts and ensure all rafters are uniform in size. This uniformity helps maintain structural integrity and simplifies the installation process.
Once your rafters are ready, use plywood gusset plates for added support at the joint connections. These plates distribute the load evenly and strengthen the overall framework, making the installation of the sheathing much easier. When fixing the roof sheathing, stagger your seams. This not only adds durability but also helps prevent leaks in your roof structure.
Quick Installation Tips
For those working under time constraints, consider these quick installation tips:
- Work Smart: Start from one end of the shed and work your way across to maintain an organized workflow.
- Use a nail Gun: If you have access to one, a nail gun can significantly speed up the roofing process compared to a hammer.
- Team Up: Having an extra set of hands can help in maneuvering heavy materials and can expedite the installation of the roofing components.
By adopting these efficient roofing techniques, your project on how to build a shed in one weekend will not only be attainable but also enjoyable. With proper planning, the right tools, and effective methods, you will soon find yourself admiring your new structure before the weekend is even over.
Organizing Your Time: How to stay on Schedule
Building a shed can seem like a daunting task,especially when you’re striving to complete it in just one weekend. The key to achieving this ambitious goal lies in effective time management and organization. By breaking down the process into manageable steps and prioritizing your tasks, you can ensure that everything runs smoothly, keeping you on schedule and enhancing your efficiency.
Start with a well-thought-out plan that outlines each phase of construction. this includes gathering materials, laying foundations, constructing the frame, and finishing touches.Consider creating a checklist to keep track of tasks. An organized approach not only helps in visualizing the project but also reduces the chances of overlooking crucial steps.Here’s a simple checklist to guide your weekend project:
- Gather all materials and tools before starting.
- Set a timeline for each phase of construction.
- Schedule breaks to stay refreshed and focused.
- Double-check local building regulations, if applicable.
in this express construction plan, time estimation is vital. For instance, allocate specific time slots for tasks such as digging the foundation or assembling the walls.Keeping a timer can be a handy way to track progress and create a sense of urgency. Here’s a suggested time allocation for a typical shed build:
| Task | Estimated Time |
|---|---|
| Gathering Materials | 2 hours |
| Foundation Work | 3 hours |
| Walls Construction | 4 hours |
| Roof Installation | 2 hours |
| Finishing Touches | 1 hour |
with this structure in place, it’s essential to maintain focus and avoid distractions during your build. Set up a dedicated workspace and inform family or friends of your schedule to minimize interruptions. Remember, the goal is to transform your vision of “how to build a shed in one weekend” into reality, and effective time management can make all the difference in achieving that goal.
Finishing Touches: Painting, Siding, and More
Completing your shed is an exhilarating achievement, but the finishing touches—painting, siding, and sealing—are what truly define its character and longevity.The right exterior not only enhances aesthetics but also protects your investment against the elements. Whether you’re following a straightforward guide like building a shed in one weekend or opting for a more custom approach, consider the following essential steps in the final stages of your shed’s construction.
Painting Your Shed
Choosing the right paint is crucial for long-lasting protection. A high-quality, 100% acrylic latex paint specifically formulated for outdoor use is highly recommended. If your shed’s exterior wood is unprimed,applying a suitable primer is essential before painting to ensure adherence and durability. Make sure to calculate the quantity of paint needed based on your shed’s dimensions to avoid mid-project runs to the store.
- Tip: Always check local weather conditions before painting, as ideal temperatures can significantly impact drying time and overall finish.
Siding Options: Shield and Style
The type of siding you select will greatly influence both the functionality and visual appeal of your shed. Here are a few popular options to consider:
- Wood Siding: Provides a classic look and can be customized with paint or stain, though it requires regular maintenance.
- Vinyl Siding: Low maintenance and available in various colors, it offers ease but might be less sturdy during extreme weather conditions.
- Metal Siding: Known for its durability and modern aesthetic, it’s crucial to ensure proper insulation to combat temperature extremes.
These materials each have unique benefits, so choose one that aligns with your maintenance preferences and desired aesthetic.
Caulking for Seal and Security
Once your paint and siding are applied, the next step is to caulk joints, seams, and any areas vulnerable to water infiltration. Using a high-quality outdoor caulk will not only enhance the appearance of your shed but also provide much-needed protection against moisture, which can lead to rotting and structural issues over time. Focus on edges where different materials meet, such as around windows, doors, and trim.
Final inspection
After completing these tasks, take a moment to step back and assess your work. Ensure the paint is even and any excess caulk is neatly smoothed out. This final inspection will help catch any areas needing touch-ups before you fully utilize your new shed.
Incorporating these finishing touches will not only extend the life of your shed but will also ensure it becomes a stunning addition to your property.Following a well-structured plan like “How to Build a Shed in One Weekend: Express Construction Plan” can simplify the overall project timeline and help you achieve professional-grade results.
Troubleshooting Common Issues During Construction
Building a shed in a weekend can be an exhilarating challenge, but like any construction project, it’s not without its hiccups. Being prepared for common issues can ensure that your project runs smoothly and is completed within your ambitious timeframe. Among the typical obstacles are delays, miscalculations, and unexpected weather conditions.By developing a troubleshooting mindset, you can tackle these issues head-on and maintain momentum on your shed-building adventure.
Identifying and Addressing Common Delays
Delays can stem from various sources, often leading to frustration and potentially halting progress.Here are some strategies to mitigate these issues:
- Late Material Deliveries: Always double-check your order dates and allow extra time for deliveries. Establish a relationship with local suppliers who can provide needed materials quickly, should you encounter issues.
- Weather Interruptions: Keep an eye on the forecast. If rain is predicted, have a backup plan such as setting up a temporary tent to protect materials and work areas.
- resource Availability: Ensure that any helpers or subcontractors are confirmed well in advance to avoid last-minute cancellations.
Financial Mismanagement and Budgeting
Surprisingly, financial issues can emerge even in a small project like a shed build. To avoid these pitfalls:
- Create a Detailed Budget: Break down your costs into materials, tools, and any rental equipment.Factor in a buffer of about 10-15% for unexpected expenses.
- Track Spending: Use a spreadsheet or an app to monitor your expenses in real-time. This practice helps you stay within budget and make adjustments if necessary.
Preventing Construction Errors
Errors in measurements or assembly can set back progress considerably. To ensure accuracy:
- Double-Check Measurements: Before cutting or assembling, always measure twice. This can save time and materials in the long run.
- Follow a Clear Plan: Utilize a step-by-step guide, like the “How to Build a Shed in One Weekend: Express Construction Plan,” and make sure you understand each phase before executing it.
| Issue | solution |
|---|---|
| Material delays | Order in advance and confirm deliveries. |
| weather Problems | Monitor forecasts and have protective measures ready. |
| Budget Overruns | Set a detailed budget with a contingency fund. |
| Construction Errors | Measure thoroughly and follow the construction plan accurately. |
By preparing for these potential setbacks, you’ll not only enhance the efficiency of your project but also reduce any stress that comes with building your shed. Embrace the challenge with confidence, knowing that with careful planning and troubleshooting, you can achieve your goal of constructing a functional and beautiful shed in just one weekend.
Frequently asked questions
How to Build a Shed in One weekend: Express Construction Plan?
To build a shed in one weekend, you’ll need a clear plan, proper materials, and tools. Start with a pre-cut shed kit or detailed blueprints to save time. Prioritize organizing your workspace and prepare everything before the weekend. By gathering all materials and tools beforehand, you streamline the building process, allowing for maximum efficiency and focus during construction.
What materials do I need for the express construction plan?
Essential materials include wood (plywood and framing lumber), roofing materials (shingles or metal), screws, nails, and a foundation base (concrete blocks or pressure-treated wood). Make sure to gather these items prior to construction. Depending on your design,you might also need insulation,windows,and paint. Each of these materials plays a vital role in the durability and aesthetics of your shed.
Can I customize my shed in the express construction plan?
Yes, customization is absolutely possible, especially with pre-cut kits.You can add windows, shelving, and a personalized paint color, which enhances functionality and aesthetics while maintaining construction efficiency. Just ensure that any modifications do not compromise the structural integrity or lead to delays in your one-weekend timeline. Consider how these changes might impact your original plan.
What tools are necessary for building a shed in one weekend?
Key tools include a drill, circular saw, tape measure, level, and hammer. A ladder and safety gear like goggles and gloves are also essential for safety. Having the right tools on hand ensures you can execute the construction with precision and safety. Organize your tools beforehand to avoid searching during the build.
What are the common mistakes to avoid while building a shed?
Avoid poor planning, overlooking permit requirements, and rushing the foundation work. These mistakes can lead to larger issues down the line. Take your time to ensure that your measurements are accurate and that you follow local building regulations to avoid fines and unsafe conditions. Thorough checking will ultimately save you time and effort.
How to handle inspections for my new shed?
After building, schedule an inspection if required by local regulations. This ensures your shed meets safety standards. Familiarize yourself with local building codes and required permits before you start. This proactive approach will help you avoid potential issues after construction is complete.
Why is a foundation important for a shed?
A solid foundation prevents water damage and ensures structural stability for your shed. Skimping on this step can lead to significant long-term problems. Choosing the right base, like a concrete slab or wooden skids, not only enhances durability but also offers better insulation and avoids pest infestations. Proper foundation work is key to a successful shed build.
can I build a shed without a permit?
It depends on local regulations. Many areas require a permit for structures over a certain size. Always check local building codes before starting. Some small sheds may not require permits, but verifying ensures you avoid fines and teardown costs later. Understanding these requirements is crucial for a smooth construction experience.
Wrapping Up
As you can see, building a shed in just one weekend is entirely achievable with the right plans and preparation. By following our express construction plan, you’ll not only gain a practical structure for your outdoor space but also enhance your DIY skills and confidence. Remember, meticulous planning, gathering your materials beforehand, and enlisting a helping hand can make a world of difference in managing time effectively. Don’t be afraid to face common challenges—every DIY journey comes with its hurdles,but with persistence and the right guidance,you’ll overcome them.
Take pride in your craftsmanship, knowing that the shed you create will serve your needs for years to come. We encourage you to explore our resources further for detailed steps and tips, and consider sharing your progress or challenges you encounter along the way. Your adventure in building a shed is just the beginning of countless DIY projects you can tackle. Happy building!

