Looking to create extra storage space without breaking the bank? Building a wooden shed yourself may seem daunting, but with the right carpentry skills, it’s an achievable project. Understanding essential woodworking techniques not only empowers you to craft a durable shed but also enhances your DIY prowess—saving money while personalizing your outdoor space.
Understanding the Basics: What You Need to Know Before starting Your Shed Project
Before embarking on your shed-building journey, understanding the foundational aspects of your project is crucial. Proper planning can determine the success of your venture into constructing a wooden shed. Weather you’re looking to store tools, create a workspace, or even craft a cozy hideaway, knowing what you need and how to proceed can save you time, money, and frustration.
Choosing the right materials is a fundamental step. Wood is the primary choice for shed construction due to its availability, affordability, and superior insulation properties. When deciding on the type of wood, consider its resistance to rot and pests—cedar and redwood are great options but can be pricier. alternatively, pressure-treated lumber offers a cost-effective solution that withstands harsh weather conditions. Additionally, factoring in the type of siding—whether plywood, OSB (oriented strand board), or tongue and groove boards—can substantially impact the longevity and aesthetics of your shed.
Essential Tools and Skills
To successfully assemble a shed, familiarity with basic carpentry skills can make the process smoother. Start by gathering essential tools such as a circular saw,drill,level,and measuring tape. These tools will not only facilitate precise cutting and assembly but will also enhance the overall quality of your build. Here’s a basic overview of the skills you’ll want to develop:
- Measuring and Marking: accurate measurements ensure that each piece fits together properly. Use a measuring tape and carpenter’s square to mark your cuts.
- Cutting: be proficient in using a circular saw or miter saw, making straight cuts for a clean fit.
- Assembly: Familiarize yourself with wood joinery techniques such as using screws, nails, or brackets to join different elements securely.
- Finishing: knowing how to sand, paint, or treat wood will help protect your shed from the elements.
Understanding these basics equips you not only to answer the question, “Can you build a wooden shed yourself?” but also empowers you to turn your vision into reality with confidence. Start with smaller projects to hone these skills, gradually building up to the complexity of a shed. Through practice, you will gain essential carpentry skills that will serve you in this project and many others to come.
Essential Tools and Materials for Your DIY Shed Construction

When embarking on the rewarding journey of constructing your own wooden shed, having the right tools and materials on hand can make all the difference.Equipping yourself appropriately not only enhances efficiency but also ensures that you can tackle any challenge that arises during the building process. With the right resources,the question of “Can you build a wooden shed yourself?” transforms from a daunting task into an achievable project that you can take pride in.
Essential Tools
Before you start, gather the necessary tools that will serve as your trusted companions throughout the construction process. Below is a list of must-have tools:
- Measuring Tape: An accurate measuring tape is crucial for ensuring that all components of your shed fit together perfectly.
- Level: A level helps keep your structure straight and ensures that walls are perpendicular to the ground.
- Square: Utilize a speed square for cutting angles and checking for squareness in your frames.
- Power Drill: This versatile tool is essential for drilling holes and driving screws more efficiently than a manual screwdriver.
- Saw: A circular saw is ideal for cutting large sheets of plywood, while a miter saw can assist in making precise crosscuts.
- Hammer: The customary hammer remains irreplaceable for driving nails into wooden components.
- Safety Gear: Don’t forget your safety goggles,gloves,and dust mask to protect yourself while working.
Materials to Gather
Selecting the right materials is just as critical as having the right tools. You’ll need to choose components that balance durability, weather-resistance, and cost-effectiveness. Here’s a breakdown of essential materials for your DIY shed:
| Material | Description |
|---|---|
| Lumber: | Opt for treated wood like pine or cedar, which offers resistance to rot and insects. |
| Plywood: | Choose high-quality plywood for the walls, floor, and roof, ideally with weather-resistant properties. |
| Nails and Screws: | Use galvanized or stainless steel screws and nails to prevent rust, especially if your shed is exposed to moisture. |
| Roofing Material: | Consider asphalt shingles or metal roofing for a watertight finish that lasts for years. |
| Paint or Stain: | Finishing materials are essential for protecting the exterior of your shed against weather elements. |
By assembling these tools and materials prior to breaking ground, you set the stage for a smoother woodworking experience. You’ll be better equipped to answer the challenge that comes with building your own structure, and soon, you’ll have a wooden shed that not only meets your storage needs but also reflects your personal touch.
Step-by-Step Guide: From Planning to Building Your Wooden Shed
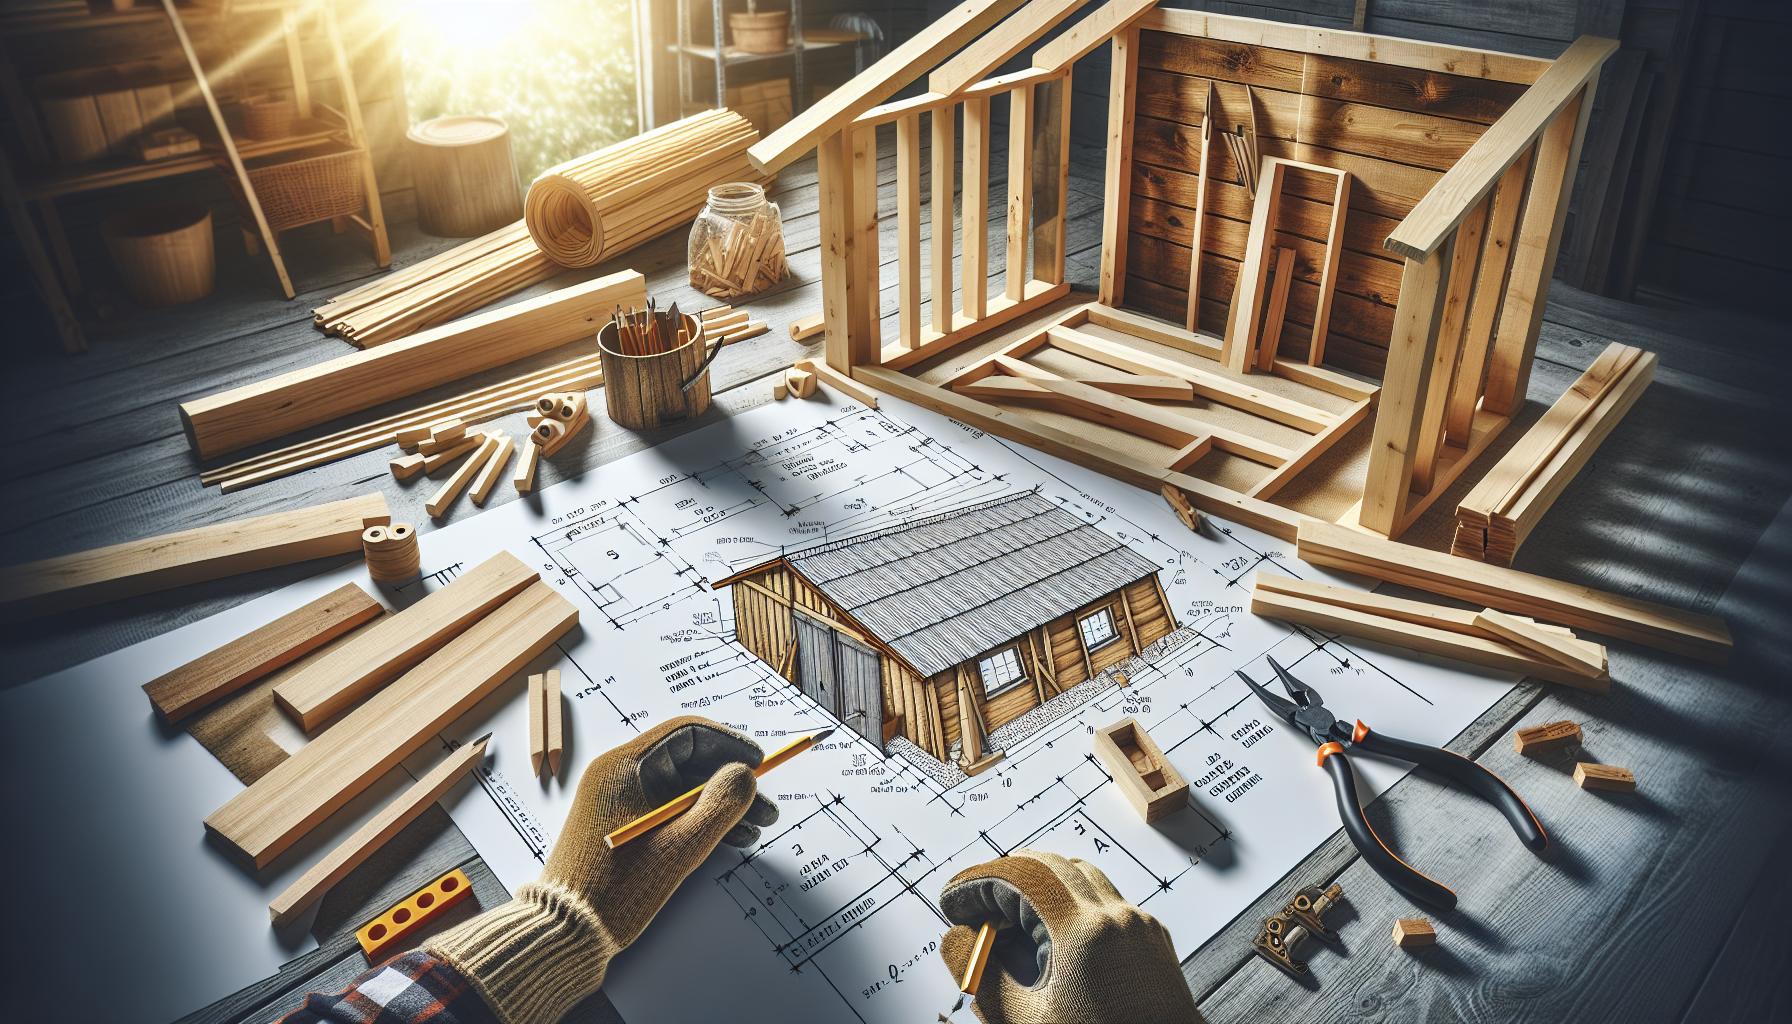
Building your own wooden shed can seem like an intimidating project, but with the right planning and approach, it can become a rewarding experience. Not only does it offer a hands-on approach to home enhancement, but it also cultivates essential carpentry skills that can come in handy for future ventures.Here’s a step-by-step guide to help you navigate through the process from the initial planning stages to the final construction.
planning Your Shed
The first step toward building your wooden shed is thorough planning. Kick off with defining the purpose of your shed—will it serve as a garden storage space, a workshop, or perhaps a mini home office? Once you have a clear vision, consider these elements:
- Dimensions: Decide on the size based on your needs and the available space.
- Design: Sketch a basic design or find inspiration online to visualize your shed.
- Materials: Choose high-quality wood, such as cedar or pine, that matches your aesthetic and withstands weather elements.
- Location: Select a level area in your yard that is not prone to flooding or too close to large trees.
gathering Your Tools and Materials
Before you start construction, ensure you have all the necessary tools and materials. Here’s a simple checklist of what to gather:
| tool/Material | Purpose |
|---|---|
| Measuring Tape | For accurate measurements of wood and space. |
| Saw | To cut wood to size. |
| Hammer/Nails | For assembling wood pieces together. |
| Screwdriver/Screws | For added durability in connections. |
| Level | To ensure your shed is built evenly. |
| Safety Gear | Includes gloves and goggles to protect yourself. |
Lastly, assess your carpentry skills; if you’re relatively new to carpentry, consider inviting a friend with experience or checking online tutorials for detailed guidance.
Constructing the Shed
Once the planning phase is complete,it’s time to roll up your sleeves and get to work.Follow these fundamental steps for a successful build:
- Lay the Foundation: Start with a strong base. A concrete slab or pressure-treated plywood can work.
- Build the Frame: Construct the walls according to your design,ensuring the corners are square.
- Add the Roof: Once the frame is up, install the roof, which could be pitched or flat based on your design. Make sure it’s waterproof.
- Install Doors and Windows: Position these elements to allow for natural light and ventilation.
- Finishing Touches: Consider painting or staining the wood to enhance durability and add a personal touch. Don’t forget to add interior shelving or hooks for organization.
Moving through these steps thoughtfully will not only make building your shed manageable but also empower you with invaluable carpentry skills. Remember, the question of “Can You Build a Wooden Shed Yourself?” often comes down to preparation, persistence, and a little passion for building!
Key Carpentry Techniques to Master for a Sturdy Shed
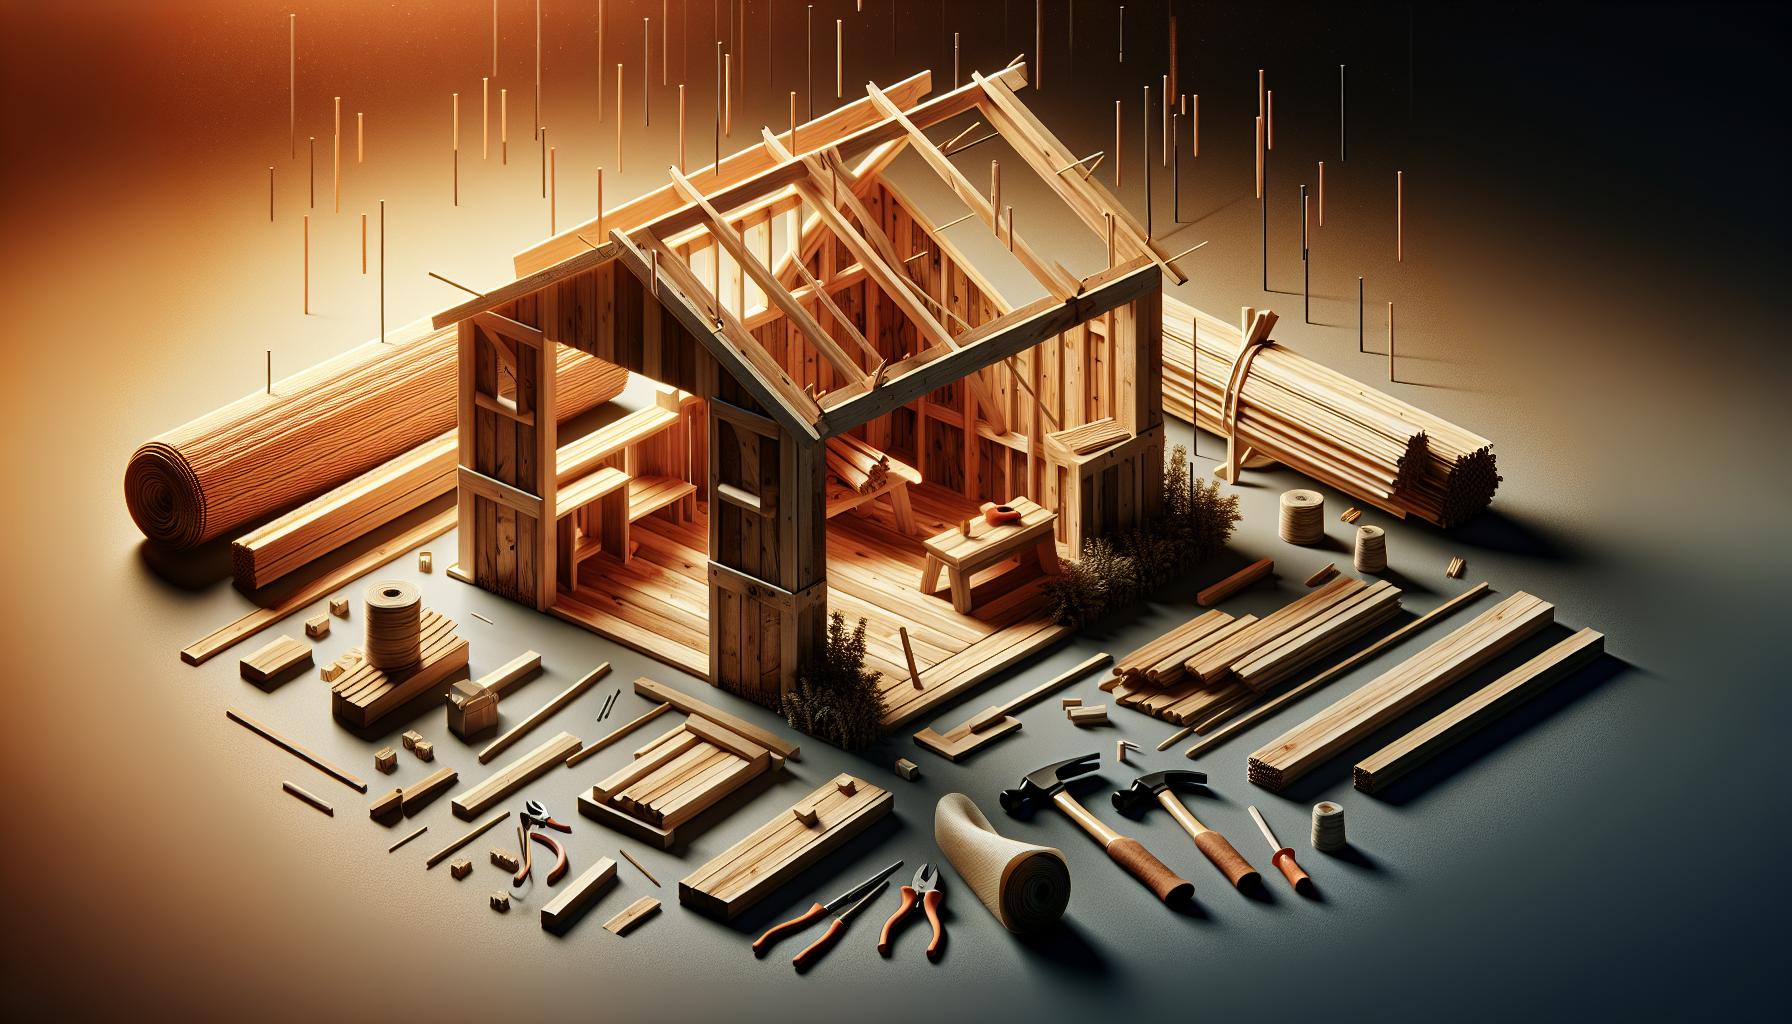
Building a wooden shed can seem daunting at first, but mastering a few core carpentry techniques can transform a challenging project into a straightforward home improvement task. Knowing how to properly handle wood and tools is crucial not only for creating a sturdy structure but also for ensuring the project is enjoyable and fulfilling. Here are some essential carpentry techniques that every DIYer should focus on to achieve a durable wooden shed.
Understanding Measurements and layout
One of the foundational skills in carpentry is the ability to take accurate measurements. Before you even cut your first piece of wood, understanding how to measure correctly can save time and materials. Utilize a reliable measuring tape and always double-check your measurements, as this can prevent costly mistakes.
- Marking: Use a pencil for marking lines on your lumber. A straight edge can definitely help ensure your lines are as straight as possible.
- Layout Planning: Create a detailed layout plan for your shed. This includes a floor plan with dimensions, rafter placements, and any windows or doors.
A helpful trick is to adopt the 3-4-5 triangle method to form right angles when laying out the foundation or floor of your shed. This simple mathematical rule involves measuring 3 feet along one side, 4 feet along another, and checking the diagonal distance, which should be exactly 5 feet.
mastering Cutting Techniques
once your layout is ready, accurate cutting becomes essential. A well-cut piece not only ensures fitting accuracy but also boosts the overall aesthetic of your shed. Depending on the type of cuts required, a variety of tools may be used:
| Cut Type | Recommended Tool | Tip |
|---|---|---|
| Straight Cuts | Table Saw | Use a guide for precision. |
| Angle Cuts | miter Saw | Adjust angles accurately before cutting. |
| Curved Cuts | Jigsaw | Make shallow cuts to control curves better. |
Each tool has its own learning curve,but optimal results come with practice. Always prioritize safety by wearing protective gear and familiarizing yourself with the tool’s manual.
Joins and Fasteners
Joinery is another vital skill in carpentry that ensures the durability of your shed. Knowing which type of join to use based on the structural requirements will impact the longevity and stability of your build.
- Dovetail Joints: Ideal for drawers but can be used for frame construction if aesthetics matter.
- Lap Joints: Great for building frames as they provide solid connections when loads are exerted.
- Screws vs. Nails: While nails are faster, screws provide better holding strength, especially in exterior applications.
Understanding how to select and use fasteners correctly is pivotal. As a notable example,consider using galvanized nails or screws when working with treated wood to prevent corrosion over time.
By honing these carpentry skills, not only will you increase the chances of successfully tackling the question, “Can you build a wooden shed yourself?”, but you will also find a new realm of confidence in your DIY abilities. with each technique mastered, your journey toward building a robust outdoor storage solution becomes just a little more achievable.
Overcoming Common Challenges in DIY shed Building
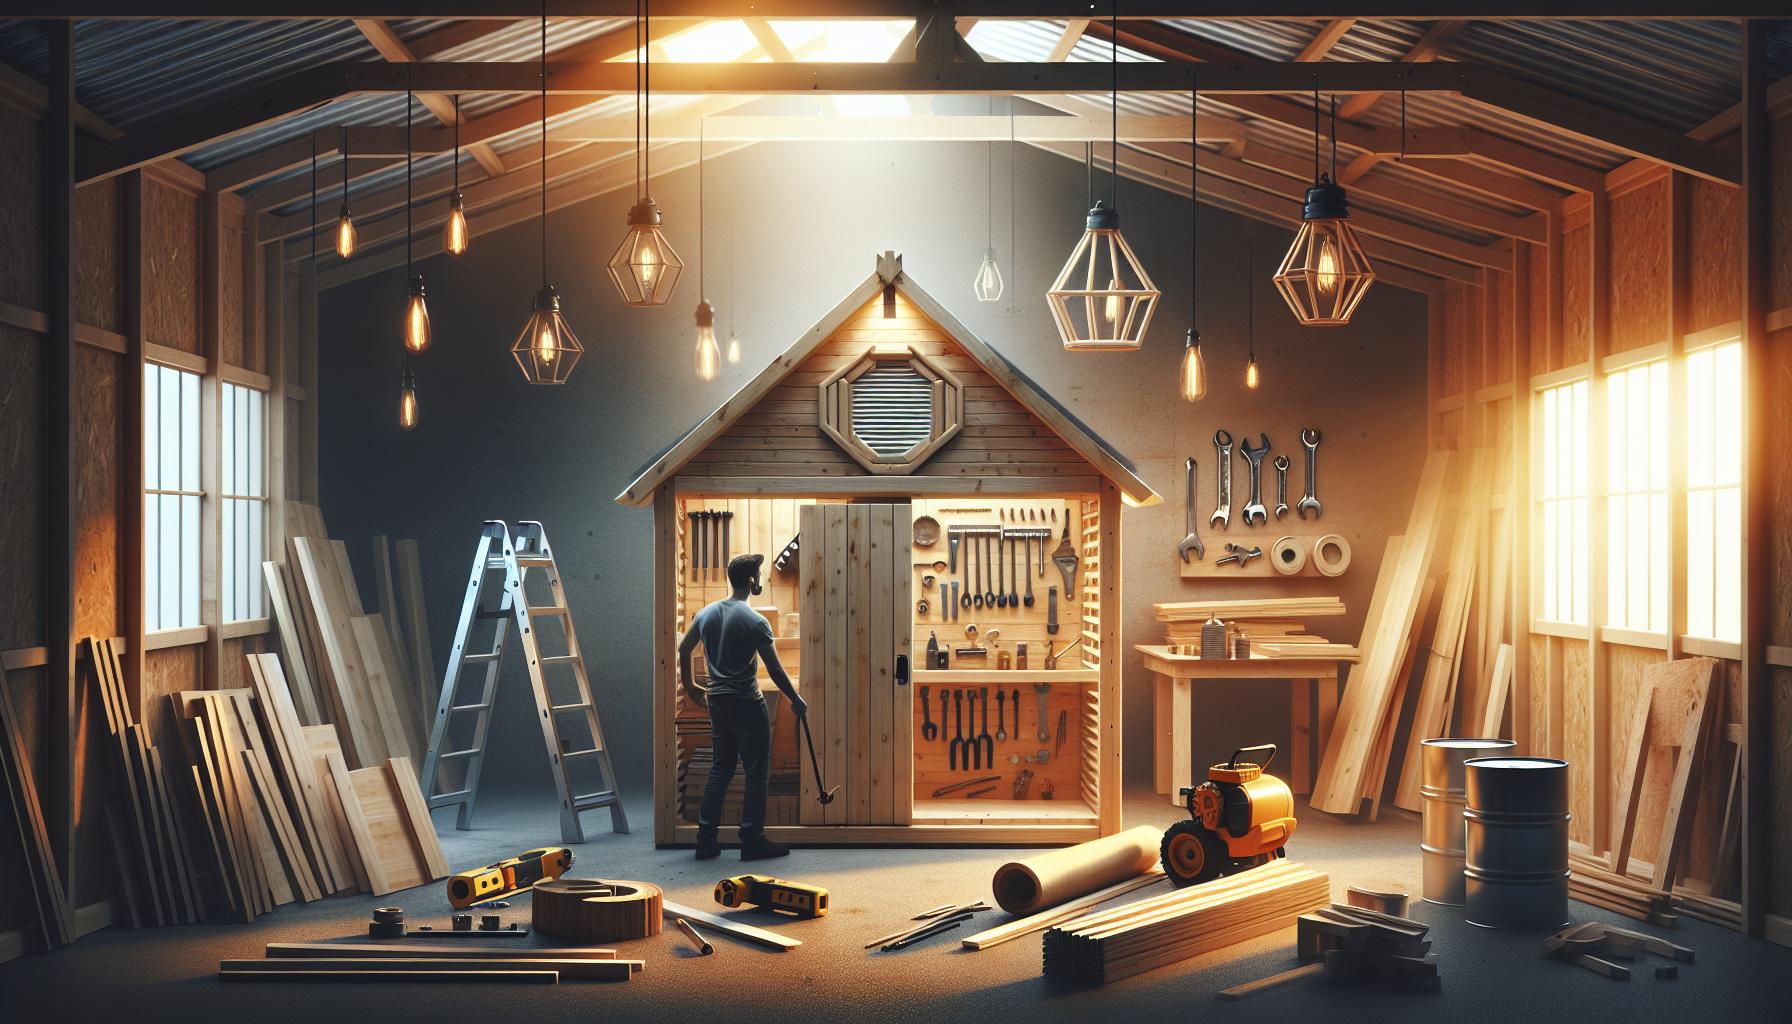
When embarking on the journey of constructing your wooden shed, challenges are bound to arise, irrespective of your carpentry skills. Whether you’re a novice eager to explore your creativity or an intermediate builder aiming to refine your techniques, understanding common obstacles will empower you to navigate the process with confidence and ease.
Addressing Design Complications
One of the initial hurdles many face is finalizing their shed design. The illusion of simplicity can swiftly fade when you confront the task of creating a blueprints. Inadequate planning can lead to structural issues and inefficiencies. To combat this, consider the following steps:
- research Shed Designs: Explore various styles that complement your outdoor space and meet your needs.
- Create Detailed Plans: Utilize digital design tools or traditional graph paper to draft out your vision. ensure dimensions are precise to prevent misalignments during construction.
- Consult with Experts: engage local builders or visit forums to gather insights that may not be included in DIY guides.
Navigating Material Sourcing
Securing the right materials can often be a daunting task, especially when faced with price variability or availability issues. To ensure you source what you need without breaking the bank, follow these practical tips:
- Compare Suppliers: Visit local lumber yards and home improvement stores. Often, prices can differ significantly.
- Consider Salvage Materials: Check online marketplaces or local recycling centers for reclaimed wood and supplies, which can offer both aesthetic appeal and cost savings.
- Create a Materials List: Being well-organized can definitely help prevent over-purchasing or running short mid-project.
managing Time Constraints
Another common challenge is managing your time effectively. Building a shed isn’t just about carpentry skills; it demands a considerable investment of your time. Familiarizing yourself with time management strategies can make the process smoother:
- Set Realistic Goals: Break the entire project down into smaller, manageable tasks, allowing you to celebrate small victories.
- Schedule Work Days: Try dedicating specific days or weekends solely for construction to maintain focus and momentum.
- Involve Friends or Family: Collaborating not only speeds up the process but also makes building more enjoyable.
Real-World example
Many DIY enthusiasts have shared their experiences regarding setbacks during shed construction. For instance, a builder named Jane found herself struggling with fluctuating material prices. By establishing good relationships with local suppliers and joining a community group for shared resources,she managed to significantly cut costs while also gaining valuable insights from experienced builders.
By anticipating these common challenges, you will not only enhance your carpentry skills but also ensure that your DIY shed project becomes a rewarding experience. Embracing this process, with its highs and lows, ultimately cultivates a deeper appreciation for the craft and an even stronger structure in your backyard.
Safety First: Best Practices for a Safe Construction Experience
Creating your own wooden shed is an exciting project that can boost your DIY confidence and provide valuable storage space. However, the thrill of building can be quickly overshadowed by accidents or injuries if proper safety measures are not taken. Understanding and implementing effective safety practices not only protects you but also ensures that your project proceeds smoothly.
Essential Safety Gear
Using the right safety gear is your first line of defense when engaging in any carpentry project, especially when constructing a wooden shed. Here are some must-have safety items:
- Safety Glasses: Protect your eyes from flying debris and dust.
- Ear Protection: Keep your ears safe from the noise of power tools.
- Gloves: Wear durable gloves to shield your hands from cuts and splinters.
- Hard Hat: If you’re working in an area where there is a risk of falling objects, a hard hat is essential.
- Steel-Toe Boots: these provide protection for your feet against heavy materials.
Always ensure you wear the proper gear before starting any task to minimize the risk of injury while exploring your carpentry skills.
Workplace Organization and Clear Pathways
Creating a safe workspace is crucial. A cluttered environment not only increases the likelihood of accidents but can also hinder your efficiency. Here are effective tips for organizing your construction area:
- Designate a Work Zone: Keep your workspace separate from areas where others might walk.
- Store Tools Properly: Return tools to their designated places after use to avoid tripping hazards.
- Maintain a Clear Path: Ensure pathways are free from obstacles and materials, allowing for safe movement.
A well-organized space not only enhances safety but also contributes to a more enjoyable building experience while you tackle your wooden shed project.
Tool usage and Handling
Understanding how to use your tools safely is paramount. Improper handling can lead to severe injuries. Here are some guidelines:
- Read the Manual: Always consult the user manual for the specific tool you’re using.
- Inspect Tools Regularly: Check for any damages or wear and tear before each use.
- use the right Tool for the Job: Avoid improvising with tools; choose the appropriate one for each task.
- stay Focused: Avoid distractions, such as using your phone or talking to others, while operating equipment.
Implementing these practices will ensure not only your safety but also the quality of your craftsmanship as you explore essential carpentry skills.
Remember, when considering the question of whether you can build a wooden shed yourself, prioritizing safety will empower your project and inspire you to gain more experience in carpentry. By embracing these safety practices, you pave the way for a rewarding and safe building experience.
Enhancing Your Shed: Tips for Customization and Finishing Touches
Creating a wooden shed is just the beginning of unlocking its full potential. Customizing your space not only enhances its functionality but also allows you to express your creativity. Whether you envision a rustic garden storage unit or an organized workspace, the finishing touches can truly transform your shed into something remarkable. Here are some practical tips to breathe new life into your wooden structure after the initial build.
Personalizing the Aesthetic
Investing time in the exterior design can significantly influence the shed’s appeal. Consider these elements to enhance the look:
- Paint or Stain: Choose colors that complement your garden or home. A fresh coat of paint or a rich wood stain can protect the wood while adding visual interest.
- Landscaping: Surround your shed with attractive plants or flower beds. This not only softens the structure but also integrates it into your garden’s overall look.
- Windows and Vents: Install decorative windows or functional vents to improve ventilation and natural light. Adding shutters or flower boxes can also add charm.
Maximizing Functionality
From storage solutions to workspace enhancements, there are numerous ways to make your shed more useful.
- Shelves and Storage Units: Installing shelves can help organize tools, gardening supplies, or seasonal decorations. Consider incorporating modular storage systems that can adapt as your needs change.
- Workbench Setup: If you’re using the shed as a workshop, a sturdy workbench is essential. Use reclaimed wood for a unique look, and consider adding a pegboard above for organized tool storage.
- Lighting: for nighttime use, install solar lights or LED strips. Not only do they improve functionality, but they can also create a cozy ambiance.
Making it Your Own
To truly personalize your shed, think about adding unique features that reflect your personality or hobbies.
- Decorative Touches: Add art pieces, such as wooden signs or a mural, that signify your hobbies or interests. These can serve as conversation starters.
- Functional Furniture: Consider adding pleasant seating or a small table for relaxation or project work. Indoor cushions and throws can also enhance comfort.
- Technology Integration: If your shed doubles as a workspace, think about installing power outlets for tools or adding Wi-Fi access for a connected workspace.
By integrating these customization options into your wooden shed, you not only increase its value but also create a space that reflects your personal style and meets your functional needs. Transforming a simple structure into a cherished retreat or a functional workspace is all about the details, and with a bit of creative thought, you’re bound to craft a unique environment that you will love for years to come.
The Benefits of Building Your Own Shed: Skill Development and Savings
Embarking on the journey of constructing your own wooden shed is more than just a means to gain extra storage space; it is a transformative experience that fosters personal growth and development.Not only does it challenge you to harness essential carpentry skills, but it can also lead to significant financial savings. By taking on such a hands-on project, individuals gain invaluable expertise while enjoying the satisfaction that derives from building something with their own hands.
Skill Development: more Than Just Basic Carpentry
Building a shed requires a variety of skills that extend beyond simple woodworking techniques. As you dive into the project, you’ll encounter challenges that will push you to learn and adapt. Here are some key skills you’ll develop:
- Measuring and Planning: Understanding how to take accurate measurements and create detailed blueprints is crucial. this skill can be applied to many DIY projects in the future.
- Tool Proficiency: Familiarizing yourself with tools such as saws,drills,and levels helps build confidence and efficiency in your work.
- Problem-Solving: Every building journey is riddled with unexpected challenges. Learning to troubleshoot effectively develops your critical thinking.
- Project Management: From budgeting to scheduling, managing a build from start to finish cultivates planning and time management skills.
As you gain proficiency in these areas, you’ll not only become more adept at construction tasks but also enhance your overall DIY capabilities, making future projects less intimidating.
Financial Savings: A Cost-Effective solution
one of the most compelling reasons to take on the challenge of building a wooden shed yourself, as explored in “Can you Build a Wooden Shed Yourself? Essential carpentry Skills,” lies in the cost-effectiveness of DIY projects. When you choose to construct your shed instead of hiring professionals,you can save a significant amount of money. Consider the following breakdown:
| Expense category | Estimated Cost (DIY) | Estimated Cost (Professional) |
|---|---|---|
| Materials | $500 | $600 |
| Labor | $0 | $1,000 |
| Permit Fees | $50 | $50 |
| Total | $550 | $1,650 |
In this scenario, you can see that opting for a DIY approach could save you over a thousand dollars.These financial savings can be used to invest in higher quality materials or other home improvement projects, adding further value to your property. The skills you develop throughout the process will not only benefit you now but will also serve as a foundation for future endeavors.Embracing the challenge of building your own shed can transform your backyard while nurturing your abilities, all while keeping your budget intact.
Q&A
Can You Build a Wooden Shed Yourself? Essential Carpentry Skills?
Yes, you can build a wooden shed yourself! With some essential carpentry skills, determination, and proper planning, even beginners can successfully tackle this project. Start by gathering the right materials and tools and follow a detailed step-by-step guide for construction.
Understanding the basics of woodworking,such as measuring,cutting,and assembling,will be crucial. You can improve your skills through practice and even consider attending local workshops or online courses. Don’t hesitate to ask for help from experienced friends or family if needed.
What essential carpentry skills do I need to build a wooden shed?
To build a wooden shed, you should be comfortable with basic carpentry skills like measuring, cutting, and using power tools. Its also helpful to understand how to read blueprints and follow step-by-step instructions.
Start with measuring materials accurately and using a level to ensure a square and stable structure. Familiarity with tools such as saws, drills, and nail guns will also aid in efficient shed construction. Practice makes perfect, so even simple projects can boost your confidence before tackling a shed.
Why does planning matter when building a wooden shed?
Planning is crucial when building a wooden shed as it helps you visualize the project and avoid costly mistakes. A well-thought-out plan ensures you have all necessary materials and tools, streamlining your workflow.
Without a clear plan, you risk miscalculating dimensions or overlooking essential structural elements. Consider using shed plans or design software to create a blueprint. Additionally,reviewing your local building codes can prevent legal hurdles down the line.
Can I customize my wooden shed design?
Absolutely, customizing your wooden shed is a great way to make it uniquely yours! You can alter the size, roof style, window placements, and features, tailoring it to your specific needs.
When customizing, consider functionality, such as whether you want shelves or workbenches inside. Sketch your ideas on paper and create a customized blueprint before starting construction. This allows for adjustments and ensures your vision becomes a reality throughout the building process.
What tools do I need to build a wooden shed?
Building a wooden shed requires several essential tools,including a saw,drill,measuring tape,hammer,level,and safety gear. These tools will help you with cutting, assembling, and securing the structure.
Power tools like circular saws and nail guns can speed up the process, but make sure you know how to use them safely. If you’re new to carpentry, you can often rent tools from local hardware stores. Consider looking at comprehensive tool checklists online to ensure you don’t miss anything.
Can beginners successfully build a wooden shed?
Yes, beginners can successfully build a wooden shed with dedication, patience, and the right guidance. many resources are available to help you learn the necessary skills and techniques.
Start with a simple design,gather detailed instructions,and don’t hesitate to ask for assistance when needed. Online tutorials, DIY guides, and even community workshops can significantly bolster your confidence and capability. Remember, every expert was once a beginner!
How long does it take to build a wooden shed?
The time it takes to build a wooden shed can vary significantly based on size, complexity, and your skill level. Typically, a basic shed can be completed in a weekend or two, while larger designs may take several weeks.
Factors such as weather conditions and available help also play a role in your timeline. Prepare by setting aside dedicated time each day for construction.You can check out various shed building guides that offer more detailed time estimates based on different designs.
in summary
building a wooden shed yourself is not only a rewarding project but also an excellent way to develop essential carpentry skills that can benefit you in future endeavors. By mastering the basics of planning, measuring, cutting, and assembling, you can transform your vision into a sturdy structure that meets your needs. Remember, challenges may arise—such as dealing with stubborn materials or achieving the perfect fit—but with patience and practice, you’ll learn to navigate these hurdles with confidence.
Don’t hesitate to explore the many resources available, whether they’re instructional videos, community forums, or DIY workshops. Engaging with others who share your passion can provide valuable insights and encouragement. Embrace the journey, take pride in your craftsmanship, and remember that every expert was once a beginner. So gather your tools, roll up your sleeves, and start your shed-building adventure—there’s a sense of accomplishment waiting for you just around the corner!

