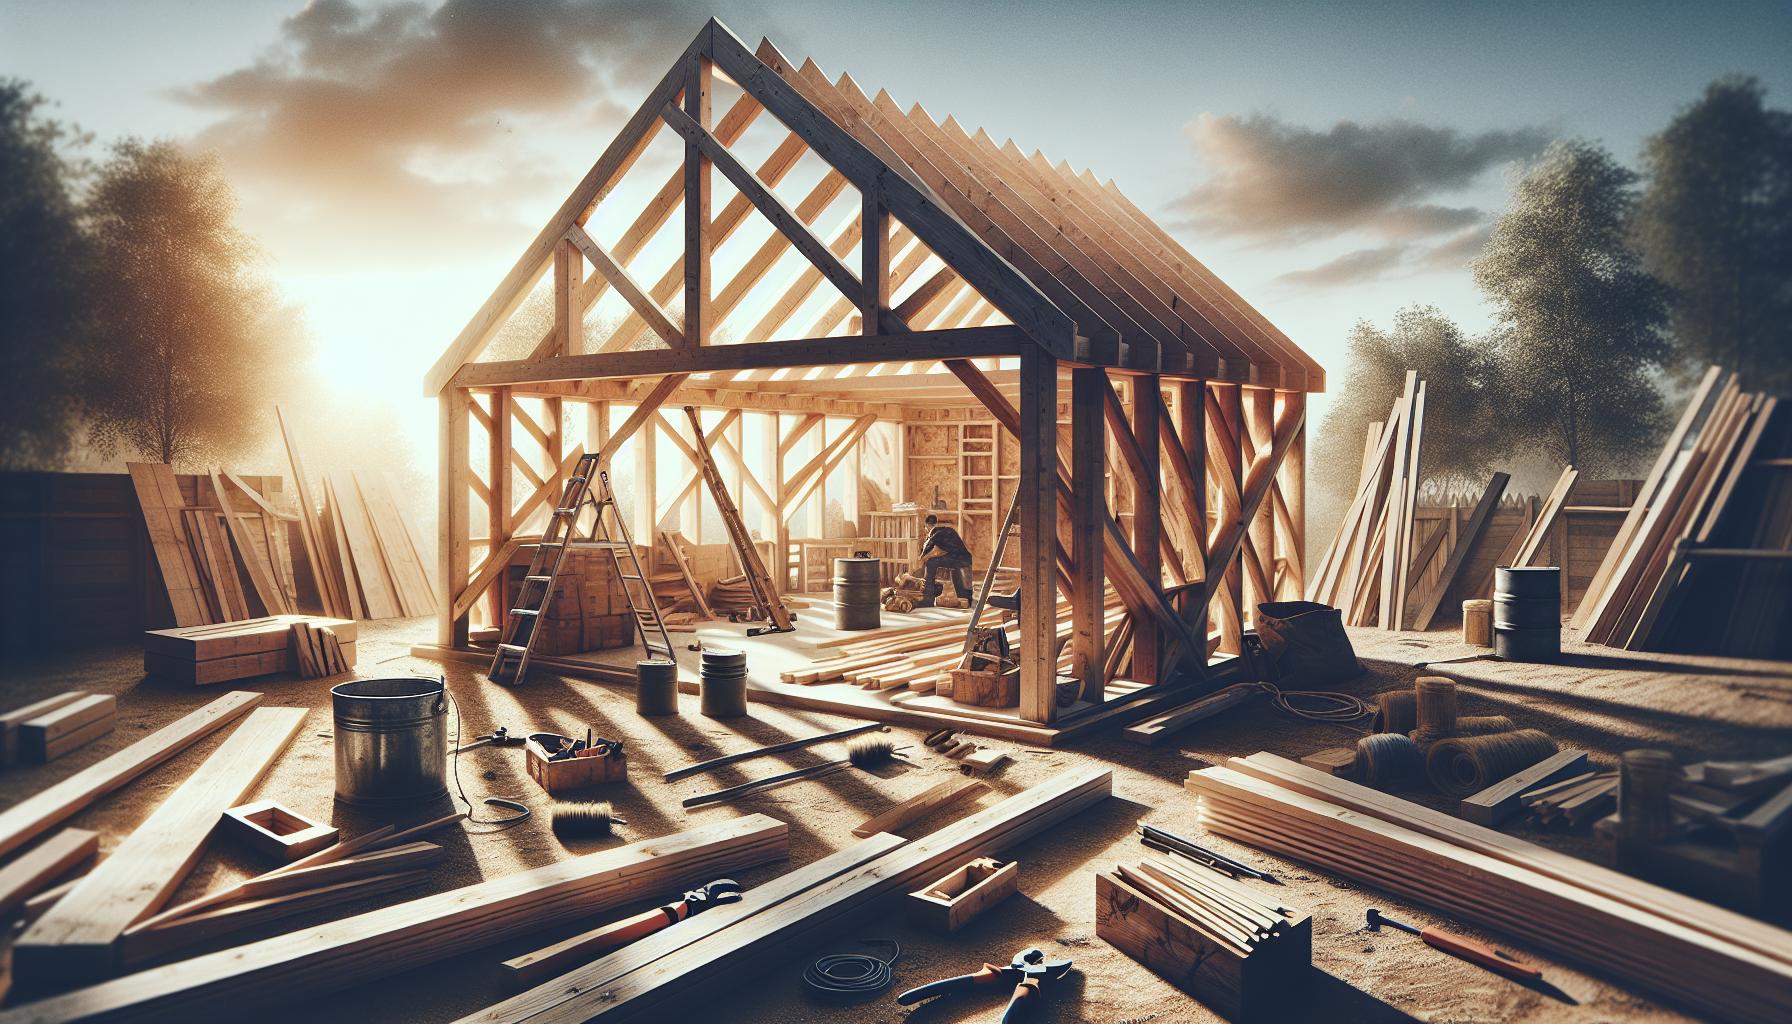
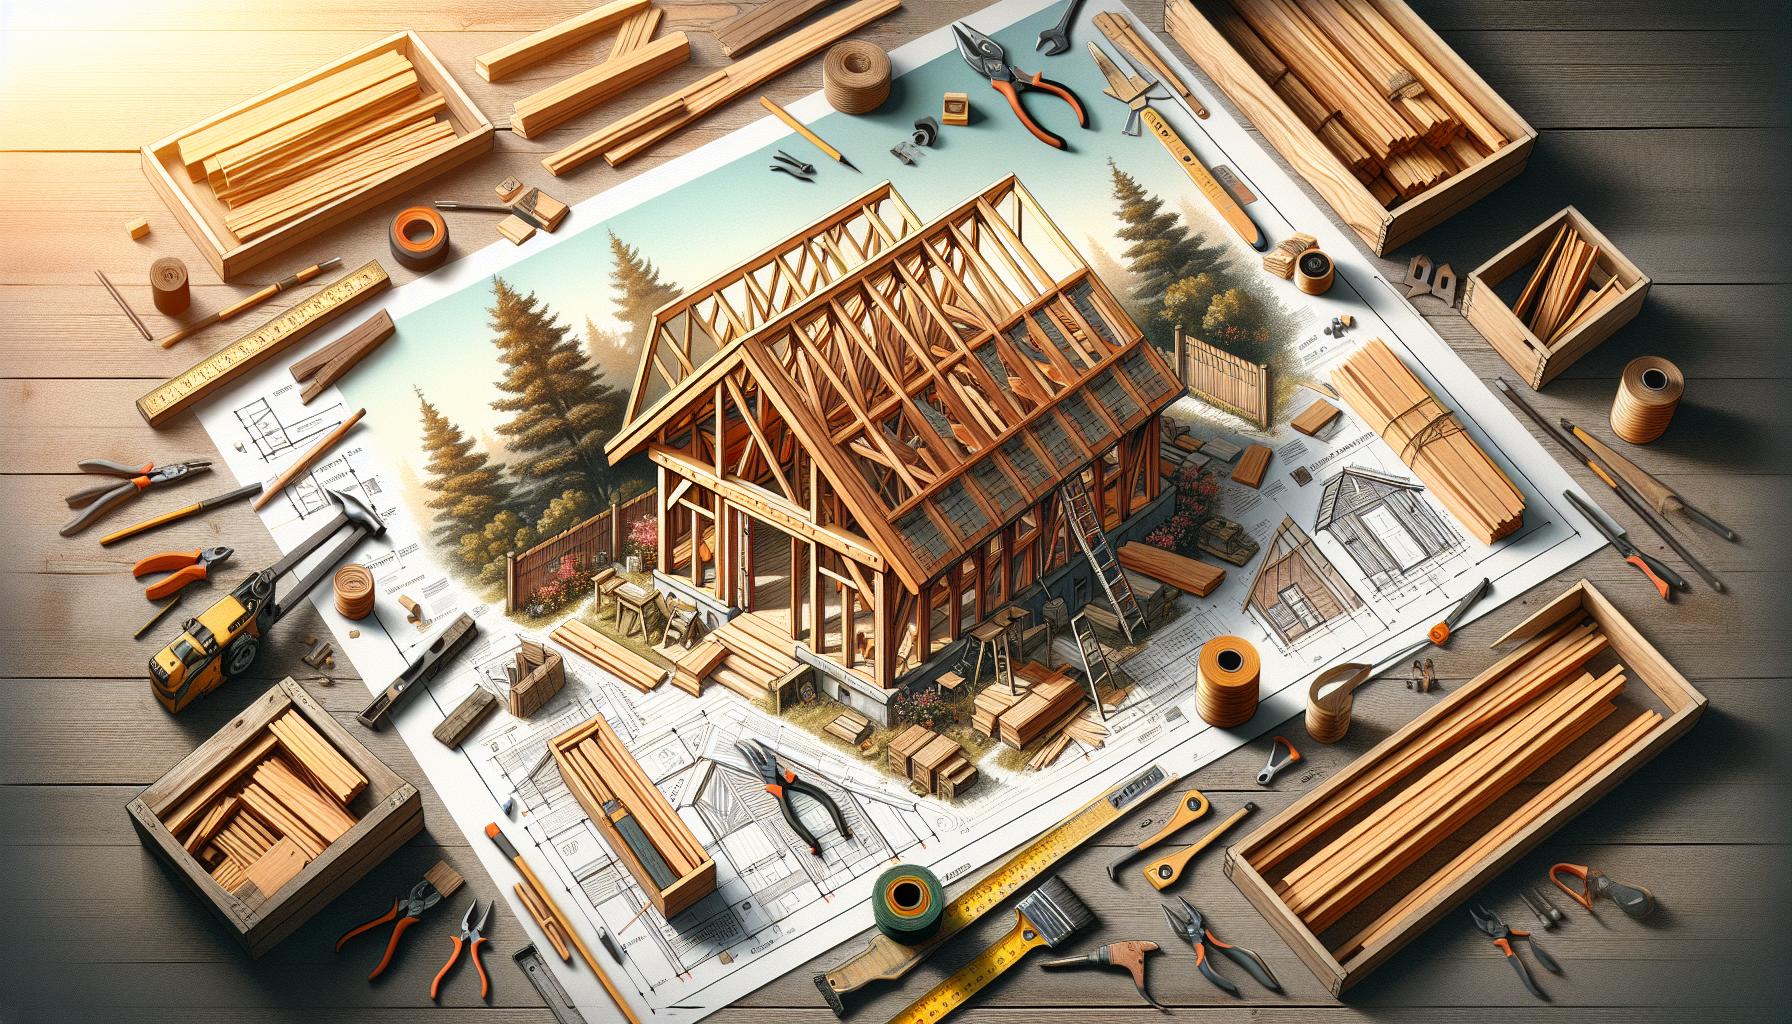
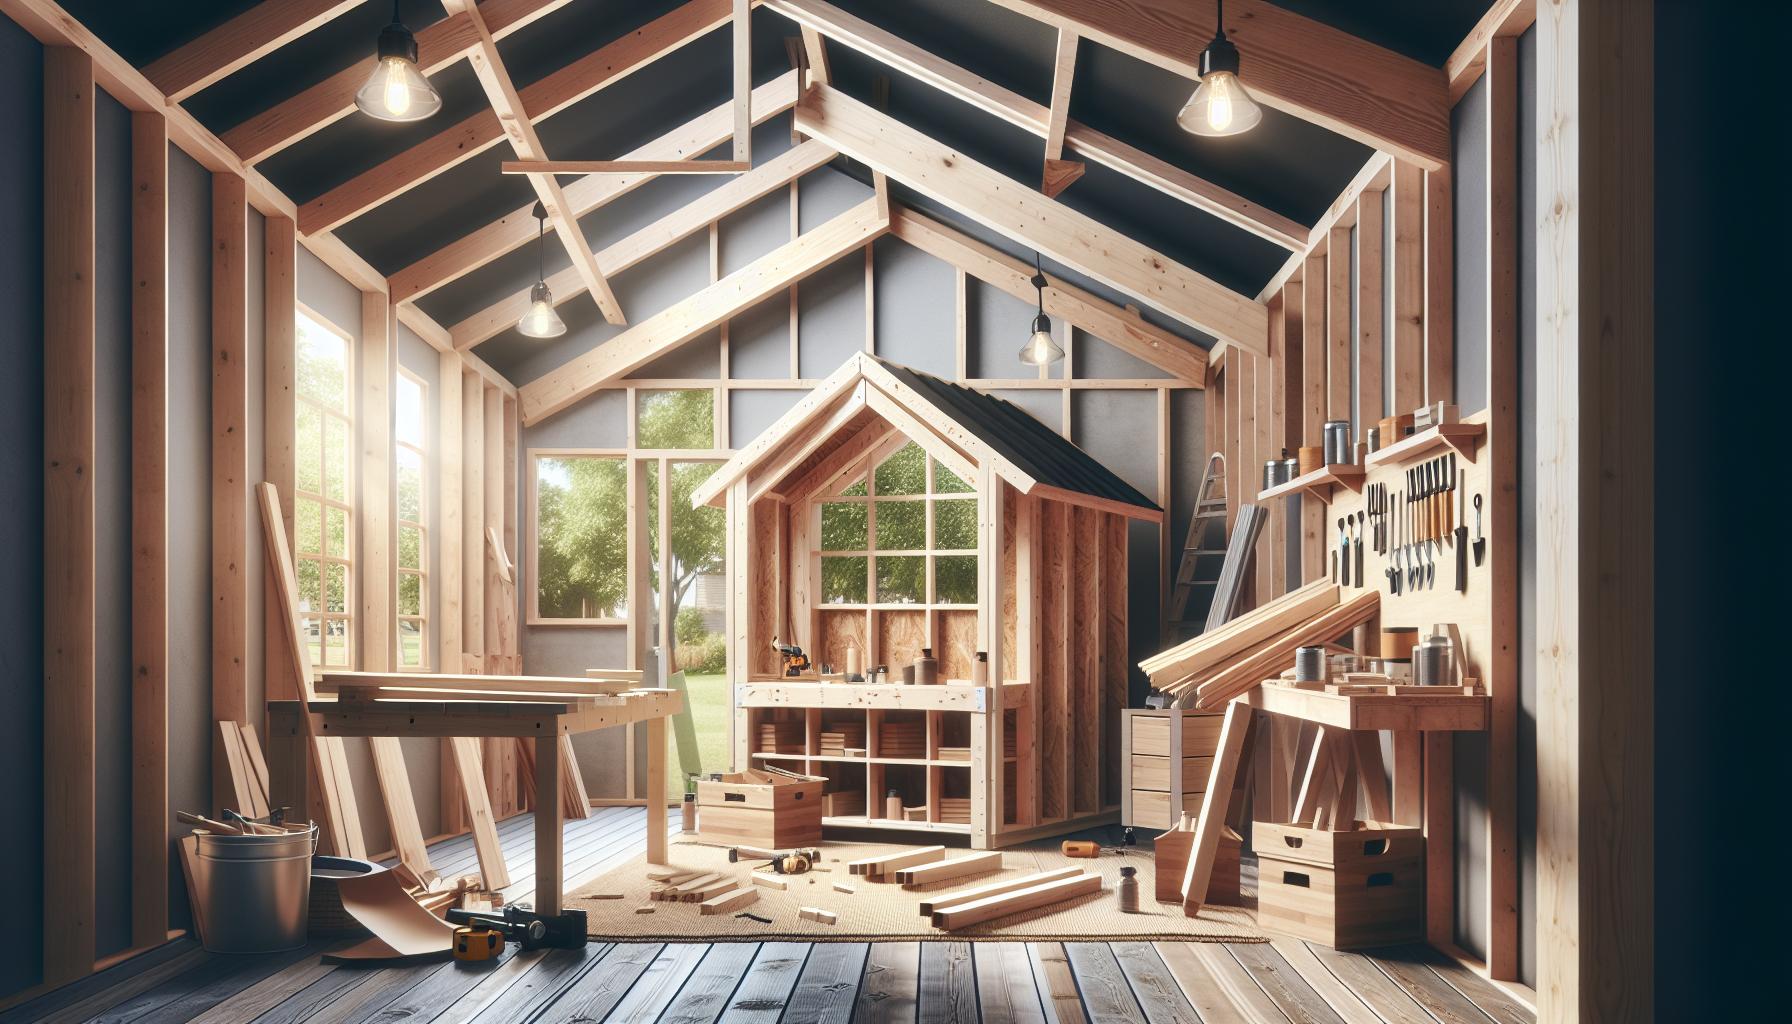
Are you tired of sagging roofs and weak structures in your outdoor projects? Building your own shed trusses can provide unparalleled support and durability, ensuring your roof withstands the test of time.This guide will walk you through the essential steps to create sturdy, DIY roof supports that elevate both strength and style for your shed.
Understanding Shed trusses: The Backbone of Your Roof Structure
When embarking on the journey of constructing a shed, one of the most vital components of your structure is the roof. Central to this is the shed truss, which not onyl supports the roof but also defines the shape and overall design of your structure. Understanding the role and design of trusses is crucial for both DIY enthusiasts and seasoned builders.Trusses are engineered structures that distribute weight evenly across their span, offering unbelievable strength and stability. They provide essential support to the roof, and their design can substantially affect your shed’s structural integrity. Consider the following aspects when planning your shed trusses:
- Types of Trusses: Various designs such as the King Post, Queen Post, and Fink trusses cater to different needs. Each type has unique attributes suitable for specific roof designs.
- Material Selection: The choice of materials, including timber and metal, influences the overall durability and weight-bearing capacity of your shed. Remember that heavier materials provide more strength but can also increase costs.
- Load Considerations: Identify the types of loads your shed roof will encounter, including snow, rain, and potential storage on the roof itself. This will inform your truss design and material choice.
Key Elements of Truss Design
The design of your shed truss should prioritize not just strength but also efficiency. The triangle is the fundamental shape of most trusses, allowing for an even distribution of weight while minimizing unnecessary material usage. Here are some critical elements to consider during the design phase:
– Span & Pitch: The span refers to the distance between supporting walls or posts, while the pitch relates to the angle of the roof. A steeper pitch can definitely help with water runoff but may complicate the construction process.
– Connection Points: Properly connecting the truss components is fundamental for maintaining structural integrity. Use appropriate fasteners and consider reinforcing joints with metal plates if necessary.
– Building Codes: Always check local building codes and regulations to ensure your design complies with safety standards and is acceptable for your region.
Practical Steps for Building Shed Trusses
As you learn how to build shed trusses effectively, note that a well-planned approach simplifies what may initially seem complex.Here’s a simple way to get started:
- Create a Truss Plan: Develop a detailed drawing that includes dimensions, types of joints, and materials.
- Cut and Assemble Components: Use precise measurements for cutting your materials, ensuring all parts fit together seamlessly.
- Securely Fasten: Utilize high-strength screws or nails with appropriate spacing to fasten the components of your truss together securely.
- Install and Anchor: Ensure your trusses are properly anchored to the walls of your shed using brackets or additional framing.
By investing time in understanding trusses and carefully considering each step in the construction process, you’ll enhance both the strength and longevity of your shed. This foundation will not only support the roof but also increase the overall functionality and aesthetic appeal of your outdoor space.
| Truss Type | Best use | design Complexity |
|---|---|---|
| king post | Short spans | Simple |
| Queen Post | Medium spans | moderate |
| Fink | Long spans | Complex |
By mastering these concepts, you’ll be well-prepared to implement robust shed trusses, transforming a simple roof into a powerful structural component of your shed.
Essential Materials for Building Strong Trusses
Building strong trusses is foundational to creating a durable and reliable roof structure. the right materials not only enhance the strength of your shed trusses but also ensure that they can withstand the test of time against various weather conditions. When considering how to construct your trusses, understanding the essential materials involved is crucial.
First, you’ll need high-quality lumber. The type of wood you choose can significantly impact the structural integrity of your trusses. Common options include Douglas Fir, Southern Yellow Pine, and spruce-Pine-Fir, which are all known for their strength and resistance to bending. Make sure to select boards that are free of knots and defects.Additionally, consider using engineered wood products like laminated veneer lumber (LVL) for headers, which provide greater strength with less weight.
Next, don’t overlook the importance of fasteners and connectors in your truss assembly. Using the right screws, nails, and metal connectors or plates will enhance the bond between wooden components. Galvanized steel connectors are ideal as they resist corrosion, making them a suitable choice for outdoor structures. Ensure that all fasteners are rated for the specific type of loads your trusses will bear, taking into account factors such as snow load and wind resistance.
the application of a moisture barrier can prolong the life of your trusses. This might include installing a breathable membrane or using treated lumber to protect against rot and pest damage. Proper sealing and ventilation within your roof design will also prevent moisture accumulation, which is crucial for maintaining the integrity of your trusses over time.
By carefully selecting these essential materials, you can build shed trusses that offer amazing strength and durability, supporting your structure effectively against the challenges of the elements.
Step-by-Step Guide: Crafting Your Own Shed Trusses
Creating your own shed trusses can significantly enhance the overall strength and stability of your shed, providing the necessary support for the roof while allowing for an impressive aesthetic appeal. Understanding the structure and style of trusses is key, as they come in various designs depending on your needs and the local climate.Building them from scratch can seem daunting,but with the right materials and guidance,it can be a straightforward and rewarding project.
Materials Needed
Before you embark on crafting your shed trusses, gather the necessary materials. Here’s a speedy list to get you started:
- Wood Lumber: Select sturdy dimensional lumber (2x4s or 2x6s) for the truss framework.
- Wood Glue: Essential for adding extra strength at joints.
- Nails or Screws: Use galvanized nails or screws for durability and to prevent rusting.
- Connector Plates: Optional, but useful for modern truss designs.
- Measuring Tape and Square: For precise measurements and angles.
- Saw: A miter saw or circular saw will help you make clean cuts.
- Safety Gear: Goggles and gloves to protect yourself while building.
step-by-Step Construction
Start your truss-building journey by following these detailed steps:
- Design Your Truss: The first step is to determine the type of truss you will build. Common designs include the king post, queen post, and triangular trusses. Draw out your design on paper, taking into account the span, height, and width of your shed.
- Cutting the Lumber: Measure and cut your lumber according to the specifications of your design. Ensure to mark where each cut will be, taking care to verify angles for accuracy.
- Assembling the truss: Start by laying out the bottom and top chords on a flat surface. Connect the web members (the diagonal pieces) following the design. If you’re using wood glue, apply it to the joint before securing with nails or screws.
- Reinforcement: For added strength, consider using metal connector plates at the joints, especially for larger trusses. This will provide stability and durability.
- Final Checks: Once your trusses are assembled, double-check all measurements and ensure they are square. This ensures a balanced and aligned structure when fitted onto your shed.
Building Tips
Here are a few practical tips to keep in mind as you construct your trusses:
- Check Local Codes: Before you begin, verify if there are any local building codes or restrictions for shed construction in your area.
- Practice Good Safety: Always wear safety gear and be cautious of your surroundings while operating saws and power tools.
- Use a Truss Template: If you plan to make multiple trusses, consider creating a template that helps replicate the design consistently and accurately.
By meticulously following these steps and investing a little time and effort, you can build your very own shed trusses, ensuring robust support for your roof while showcasing your DIY skills. not only will your shed be structurally sound, but it will also reflect a personal touch, marking a project well done!
choosing the Right Truss Design for Your Shed
When embarking on a DIY project to construct a shed, one of the most crucial aspects to consider is the design of the roof trusses. The right truss design not only supports your structure but also significantly impacts durability, aesthetics, and functionality. Choosing the appropriate truss design allows for optimal weight distribution and can even influence how much space you have available for storage or insulation within the shed.
Understanding the different types of truss designs available can simplify the decision-making process. Here are some popular options you might consider:
- King Post Truss: Ideal for smaller sheds, this classic design features a single vertical post in the center, providing excellent support for lightweight roofs.
- Queen Post Truss: This design is perfect for spans that require extra support, as it features two vertical posts and can accommodate larger roof areas.
- Fink Truss: Known for its efficiency, the Fink truss uses a web pattern to distribute weight, making it a great choice for larger shed roofs.
- Scissor Truss: If you desire vaulted ceilings, the scissor truss is your best bet, offering both structural support and an open atmosphere.
When selecting a truss design, it’s essential to consider the specific needs of your shed. Will it be subject to heavy snow loads or high winds? Are you planning to insulate it for year-round use? These factors will affect the materials you choose and the overall design. Additionally,factor in the materials available to you. Wood is frequently enough preferred for its strength and ease of use, but metal trusses can offer enhanced durability, especially in harsher climates.
Incorporating the right truss design into your shed-building project will ultimately provide you with a strong foundation that stands the test of time. Engaging with architectural resources or consulting with professionals can help clarify which design meets your needs best. Tailoring your approach based on an understanding of various truss types is a key step in successfully building a shed with amazing strength and lasting functionality.
Common Mistakes to Avoid When Building Trusses
Building trusses for your shed is a fantastic way to ensure your roof has the support it needs, but common pitfalls can turn an exciting DIY project into a headache. Whether you’re a seasoned diyer or tackling your first construction project, steering clear of these frequent mistakes can save you time, money, and a lot of frustration.
Neglecting proper Measurements
One of the first, and often most critical, blunders is underestimating the importance of precise measurements. It’s easy to rush through this step, but precise dimensions are the backbone of a successful truss build. A small mistake in measurement can lead to weakened structural integrity and may necessitate rebuilding sections or even the entire truss.
- Take your time: Use a reliable measuring tape and double-check your measurements.
- Plan thoroughly: Utilize a truss design template to visualize dimensions before starting.
- Account for material thickness: Remember to consider the thickness of your wood when measuring joints and cuts.
Ignoring Load Requirements
Understanding the load your truss will need to support is essential for a successful build. It’s common for DIYers to overlook the specification of the roof materials, resulting in trusses that are either under- or over-engineered.Using materials that are not rated for the expected load can lead to severe structural issues.
- Check local building codes: Familiarize yourself with regulations and building codes that may dictate specific load requirements.
- Consult a professional: If unsure about your calculations, don’t hesitate to reach out to a structural engineer for advice.
- Use quality materials: Invest in good wood and hardware appropriate for your shed’s size and anticipated weather conditions.
Overlooking Joint Connections
The connections between different elements of your trusses play a crucial role in overall strength and stability. Failing to adequately secure these joints can compromise the truss structure, leading to potential failure in the long run.
- Choose the right fasteners: Use screws,nails,and brackets that are rated for structural integrity.
- Employ proper joint techniques: Consider using gusset plates or other types of reinforcements to enhance stability.
- Evaluate stress points: Identify and reinforce any areas likely to bear extra weight or stress, especially where trusses meet.
By recognizing and avoiding these common mistakes during your shed truss building project, you can ensure the strength and longevity of your roof support system. Keep these tips in mind as you bring your DIY vision to life, and enjoy the confidence that comes from a well-built structure.
Installing Your Trusses: Techniques for Stability and Strength
When it comes to constructing a roof that can withstand the test of time, the installation of trusses is pivotal. Using innovative techniques not only enhances the stability of your structure but also increases its overall strength. Properly installed trusses can support the weight of roofing materials,resist high winds,and endure heavy snowfall,all while adding to the aesthetic appeal of your shed.
Pre-Installation Preparations
Before you start lifting those trusses into place, ensure you have a solid foundation. Here are some preliminary steps to consider:
- Ensure Level Ground: The area where you’re installing your shed should be flat and properly prepared to prevent any settling issues.
- check Your Measurements: Double-check all the truss dimensions and angles, as any mistakes here can lead to structural instability.
- Gather The Right Tools: fasteners, a framing square, a level, and protective gear are essential for a smooth installation process.
Effective Installation Techniques
Once your groundwork is laid, focus on how you will install each truss. Here are some effective methods to guarantee your trusses are anchored securely:
- Use Temporary Bracing: Before nailing the trusses into place, utilize temporary bracing. This keeps the trusses aligned and stable during the installation phase.
- Splice for Strength: In longer spans, consider adding splice plates to reinforce the joint where two trusses meet.This extra step can significantly enhance overall strength.
- Fastening Techniques: Employ a staggered fastening technique. Place nails or screws in a zigzag pattern rather than straight in a row to distribute forces evenly, reducing the chance of failure.
Post-Installation Inspection
Once your trusses are installed, it’s critical to perform a thorough inspection.Ensure that all connections are secure and that there are no visible gaps or weaknesses. Here’s what to check:
| Component | what to Check |
|---|---|
| Truss Connections | Check for secure fastening and alignment. |
| Bracing | Ensure all temporary bracing is removed and that permanent braces are installed. |
| Overall Alignment | Use a level to verify that all trusses are vertically plumb and evenly spaced. |
These installation practices are critical in your journey of learning how to build shed trusses and will significantly contribute to creating a reliable roof support system. With the right techniques, your trusses will not only perform optimally but also provide you with peace of mind for years to come.
Maintaining Your shed Trusses for Long-Lasting Durability
Understanding the nuances of maintaining your shed trusses can significantly extend their life and ensure optimal performance. Proper truss maintenance not only preserves their structural integrity but also protects your investment against unforeseen damage. For those who have ventured into the DIY world of building shed trusses, knowing how to preserve the strength and durability of these crucial roof supports is essential.
Regular Inspections
To keep your trusses in excellent condition,establish a routine for inspections. Check for signs of wear and damage at least twice a year, ideally in the spring and fall. During your inspection, look for:
- Cracks and Splits: Inspect wood members for any visible cracks that could compromise their strength.
- Moisture Damage: Look for signs of rot or mold, especially in areas that may have been exposed to water.
- Pests: Check for any signs of insect infestation, such as wood shavings or small boreholes.
- Alignment: Ensure all trusses are correctly aligned and that there are no shifts in the structure.
Keeping Your Trusses Clean and Protected
Debris accumulation can lead to moisture retention, which is detrimental to the health of your trusses. Regularly remove leaves, dirt, and other materials from your shed’s roof and from around the base of the trusses. Here are some suggested protective measures:
- Use Protective Coatings: Applying water repellents and sealants can help protect wooden trusses from moisture damage.
- Good Ventilation: Ensure good airflow around the trusses to prevent humidity buildup, which can lead to mold.
- Proper Insulation: Insulating your shed correctly helps regulate temperature and reduces the chance of moisture damage.
Repairing and Reinforcing Your Trusses
If you notice any issues during your inspections, addressing repairs promptly will prevent further damage. For weakened sections,consider reinforcing the trusses with additional bracing. Below is a table that outlines common repair materials you might need:
| Material | Purpose | Advice |
|---|---|---|
| Wood Glue | bond cracked joints | Use waterproof glue for outdoor structures |
| Screws | Reinforce connections | Galvanized screws for rust resistance |
| Metal Brackets | Offer additional support | Install at key stress points |
By maintaining your shed trusses with these practices, you will ensure that they continue to provide the amazing strength required for your DIY roofing projects. Regular upkeep, proper insulation, and timely repairs will pay off in the long run, safeguarding your shed against the ravages of time and the elements.
Troubleshooting Truss Issues: Solutions for Common Challenges
in the world of DIY projects, building shed trusses can seem daunting, but encountering issues during the construction is common even for seasoned builders. Whether it’s an alignment problem or inadequate strength, these challenges can deter progress. However,addressing and troubleshooting truss issues effectively can transform your project into a success.
Common Truss Issues and Their Solutions
Understanding common issues can save you time and frustration. Here are some prevalent challenges along with their remedies:
- Misalignment of Trusses: When trusses are not aligned properly, it can lead to structural weaknesses.
- solution: Use a chalk line to mark the exact positions of where the trusses should sit on the top plate. Double-check measurements before securing them.
- Insufficient Load Capacity: If the trusses fail to support the intended load, you may end up with sagging roofs or worse.
- Solution: Reassess your material choices and dimensions. Sometimes, employing a larger lumber size or adding additional bracing materials can enhance strength.
- Inadequate Fastening: Poorly secured trusses can lead to shifting and instability.
- Solution: Make sure to use the correct type and quantity of nails or screws recommended for your truss design. A good rule of thumb is to use at least three fasteners per joint.
- Cuts and Joints Not Fitting Properly: If your cuts are not accurate, it can lead to gaps that weaken the overall structure.
- Solution: Always measure twice before cutting. Utilize a circular saw for straight cuts and consider using a jig saw for intricate shapes to ensure precision.
Table: Key Factors for Truss Construction
| Factor | Description | Common Issues | Solutions |
|---|---|---|---|
| Materials | Type of wood or metal used for trusses | Poor load-bearing capacity | Choose high-quality lumber or engineered wood for more strength. |
| Design | Shape and structure of the truss | Structural failure due to design flaws | Consult design plans or structural engineering resources to ensure adequacy. |
| Environmental Factors | Impact of climate and weather on the shed | Exposure to moisture leading to wood rot | Use pressure-treated lumber and seal properly to protect from elements. |
With a bit of diligence in troubleshooting, these common challenges can be effortlessly resolved. By maintaining clarity on your plans and systematically addressing each potential issue, you can ensure that your shed trusses provide the necessary roof support for years to come. A well-constructed truss framework not only offers amazing strength but also the peace of mind that your DIY efforts have yielded a robust structure.
Frequently asked questions
How to Build Shed Trusses: DIY Roof Support for Amazing Strength?
Building shed trusses requires careful planning and precise measurements. You will need materials like lumber, a saw, and hardware to assemble strong trusses for your shed’s roof. Start by making a truss design that fits your specific roof style.
Begin by choosing a common truss design, such as the King Post or the fink truss, based on your shed’s dimensions. For adequate support, ensure that your materials are sturdy and tailored to the shed size. Visit our guide on shed designs for more tips on selecting the right design.
What materials do I need to build shed trusses?
You will typically need wood, nails, and a truss connector plate. Plywood or OSB can serve as sheathing for added strength, while quality nail options will secure the connections efficiently.
Common wood sizes include 2×4 or 2×6 for framing. be sure to calculate the amount based on the number of trusses you plan to construct. Utilizing treated lumber can also enhance durability, especially in outdoor settings.
Can I build shed trusses on the ground?
Yes, building shed trusses on the ground is both practical and safe. it allows for easier assembly and ensures that you can should check your measurements before installation.
Make sure to lay out your framework on a level surface. After construction, you can lift them into place securely. This method also minimizes the risks associated with working at heights.
Why does proper alignment matter when building trusses?
Proper alignment ensures that your shed trusses provide strength and stability. misaligned trusses can lead to uneven weight distribution, causing potential sagging or even structural failure.
When positioning your trusses, always use a level tool. Consider temporary braces if needed to maintain alignment untill the roof is fully secured. Accurate placement is essential for achieving a strong frame throughout the roof.
how to ensure my shed trusses are strong enough?
To ensure strength, use quality lumber and follow proven designs. reinforce joints with appropriate connectors and review load ratings based on your local building codes.
Combining engineered wood products can provide additional strength essential for unique shed designs. Don’t forget to check local guidelines,as some areas require specific materials or construction methods.
What are common mistakes when building shed trusses?
Common mistakes include incorrect measurements and neglecting to use a level. Proper planning is essential to prevent issues that may arise during installation.
Always double-check your calculations and ensure all materials are straight and undamaged. Take your time to correct any errors during the assembly stage, keeping in mind that precise work leads to a more durable structure.
Can I modify truss designs for my shed?
Yes, truss designs can be modified to suit specific needs. Customizing can improve aesthetics or function but requires proper engineering knowledge.
Consider consulting with a professional or using software tools that simulate load calculations if making important changes. Always adhere to safety and building regulations to ensure your custom design is functional and safe.
In Summary
Building shed trusses is a rewarding endeavor that not only enhances the structural integrity of your outdoor space but also allows you to flex your DIY skills.From understanding the critical dimensions for your trusses to mastering the assembly process, you’ve equipped yourself with the knowledge to tackle this project confidently. Remember,the strength of your shed roof depends on your attention to detail and adherence to safety protocols,so take your time and double-check each step.
As you embark on this journey, don’t hesitate to seek out resources and community advice, whether it’s through forums or local workshops. Every skilled builder started as a beginner, and with each truss you construct, you’re honing your craftsmanship. Embrace any challenges you face along the way as opportunities for learning and betterment.
Now that you have the foundational knowledge to build your shed trusses,feel free to explore further about materials,specific design styles,or even landscaping ideas for your new shed. Your DIY adventure has just begun, and we’re excited to see what you create next! Dive deeper, keep refining your techniques, and most importantly, enjoy the process!

