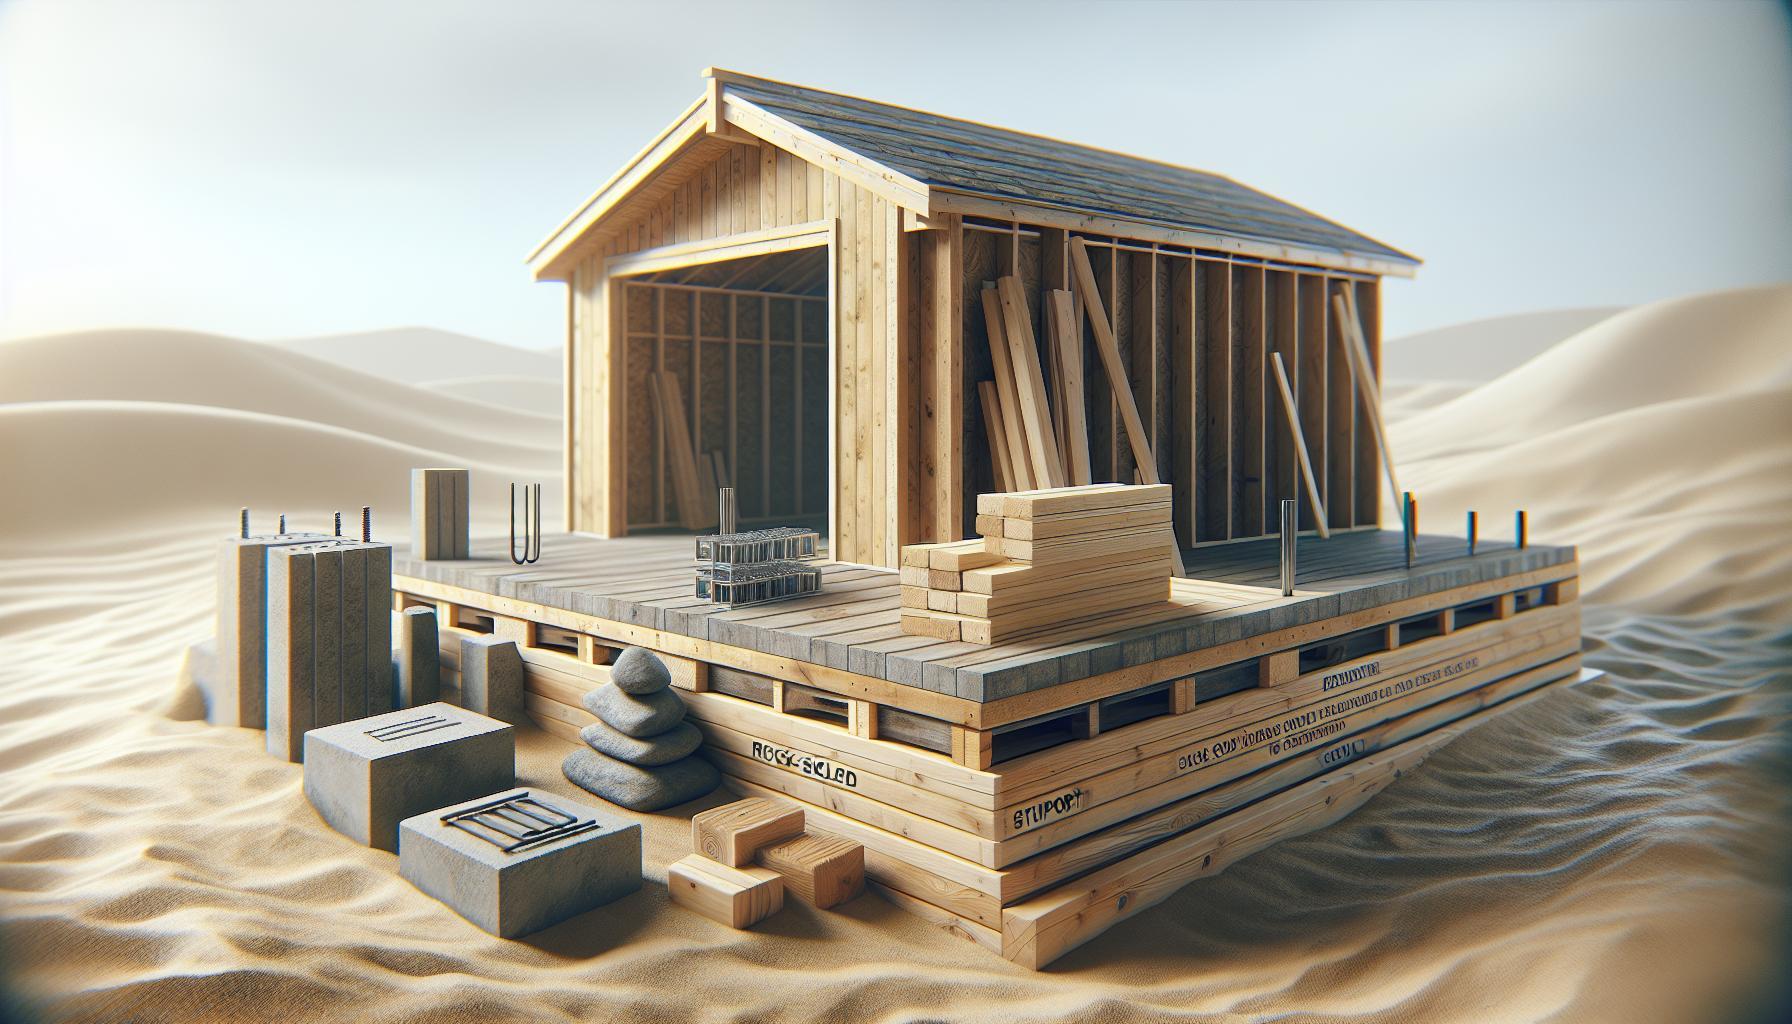
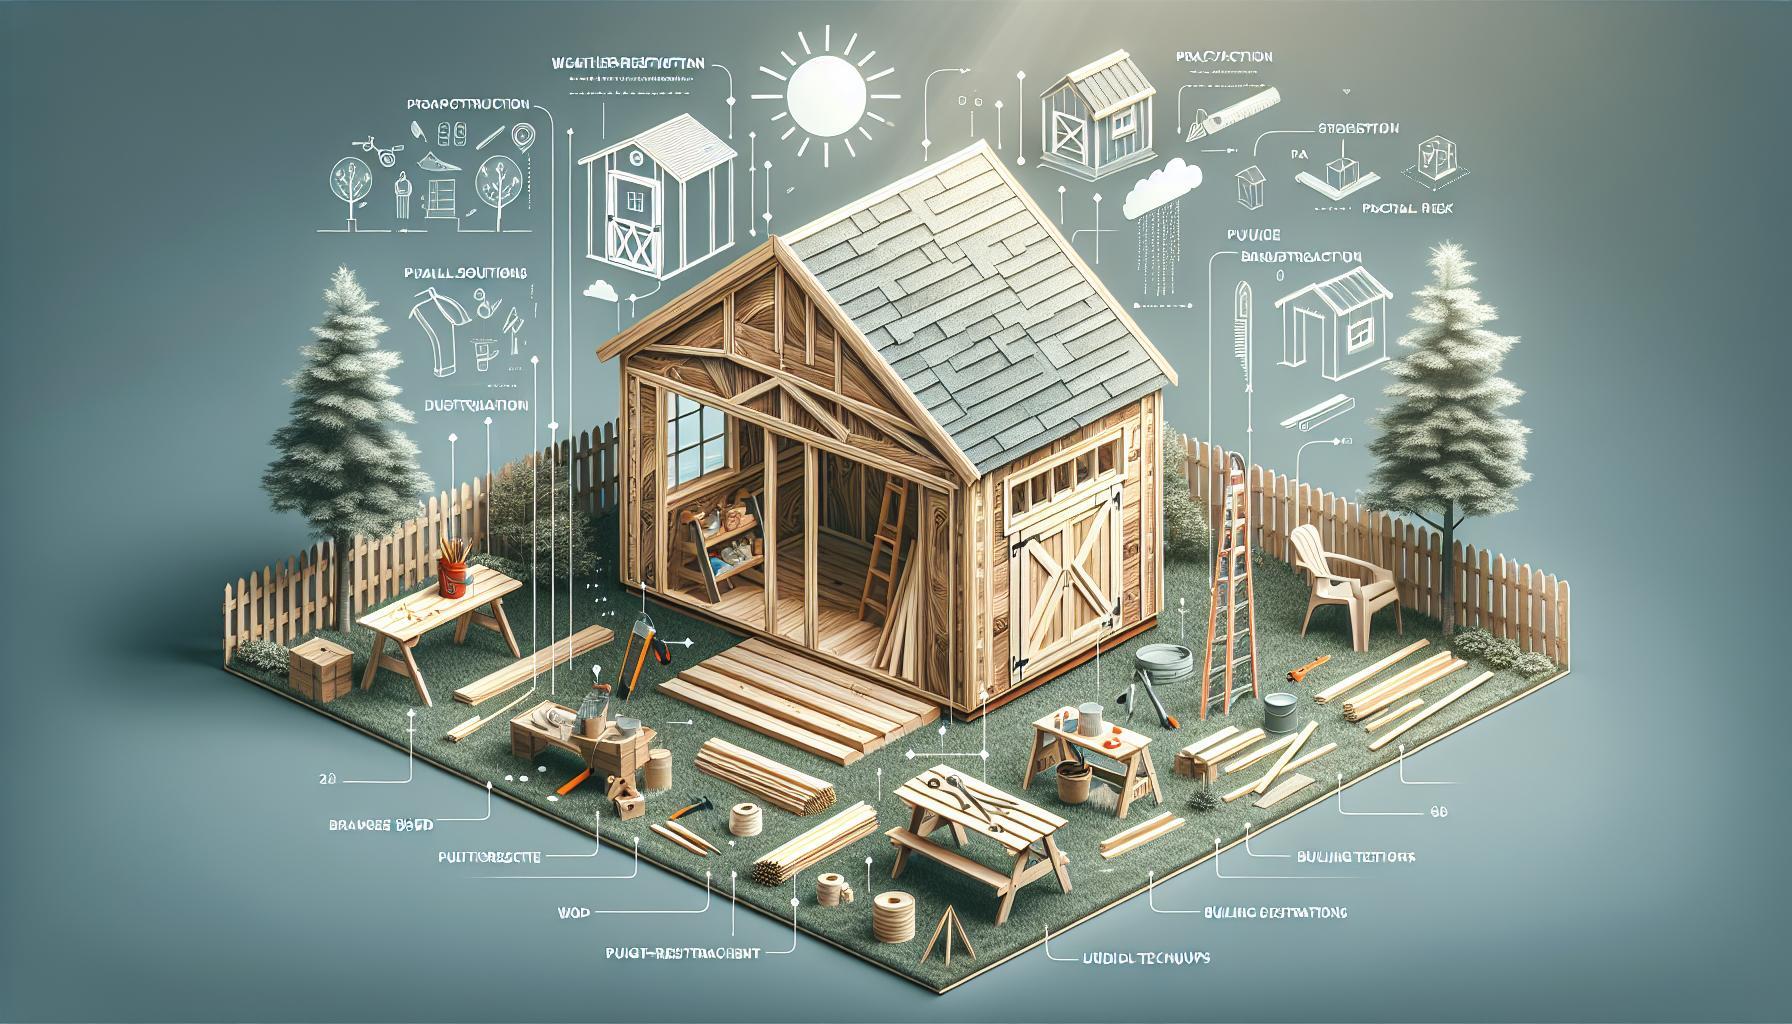
Building a reliable foundation for your shed is crucial for its longevity and stability. Without the right support, your structure can suffer from issues like water damage and structural collapse. In this guide, we’ll explore five robust foundation options that provide lasting support, ensuring your shed stands strong against the elements for years to come.
Understanding the Importance of a Solid Shed Foundation
A robust shed foundation is essential for ensuring your structure remains stable and durable over time. Many homeowners underestimate the meaning of this foundational step, often leading to issues such as moisture damage, structural warping, and eventual collapse. A well-constructed foundation not onyl supports the weight of the shed but also acts as a barrier against the elements, providing protection against moisture infiltration and pest infestation.
Why a Solid Foundation matters
The foundation is a critical element of any shed as it directly impacts its longevity and usability. Here are several reasons why investing time and resources into a solid shed foundation is vital:
- Stability: A strong foundation distributes the weight of the shed evenly, preventing shifts and settling that can lead to structural issues.
- drainage: Properly constructed foundations facilitate water drainage, reducing the risk of water pooling under the shed, which can lead to rot and decay.
- Pest Prevention: A solid foundation can deter pests such as rodents and insects from entering and damaging your stored items.
- Increased Longevity: By reducing wear and tear caused by environmental factors, a good foundation extends the lifespan of your shed.
Types of Shed Foundations
When considering how to build a shed foundation, several options offer reliable support. These include:
| Foundation Type | Description | Benefits |
|---|---|---|
| Gravel Pad | A base of compacted gravel that allows for adequate drainage. | Cost-effective, easy to install, and excellent drainage. |
| Concrete Slab | A solid concrete slab poured on a leveled area. | Durable, pest-resistant, and offers superior stability. |
| Wood Skids | Pressure-treated wood beams laid on the ground. | Flexible installation and good for small sheds. |
| Concrete Blocks | Cinder blocks arranged to create a stable base. | Affordable and allows for ventilation under the shed. |
| Piers | Concrete piers sunk into the ground at specific intervals. | Elevates the shed, protecting it from moisture and pests. |
Ultimately, the foundation you choose should be persistent by factors such as soil type, shed size, and local climate conditions.By prioritizing a strong foundation, you not only set the stage for a successful shed installation but also protect your investment for years to come.
Exploring Different Foundation Types for your shed
When embarking on the journey of constructing your own shed, the foundation is a critical aspect that lays the groundwork for durability and stability. Choosing the right foundation type can protect your investment from pests, moisture, and uneven settling, ultimately extending the life of your shed. Let’s delve into the various foundation types available and uncover their unique advantages.
Concrete Slab Foundation
opting for a concrete slab is one of the most robust choices available. This foundation involves pouring a thick, level slab of concrete that serves as the floor of your shed. It provides a long-lasting and solid support structure that is resistant to pests and moisture.
- Durability: Concrete is hard-wearing and able to withstand heavy loads.
- pest Resistance: A solid surface minimizes access for termites and rodents.
- Minimal Maintenance: Once set, it requires little to no upkeep.
However, keep in mind that installing a concrete slab requires a certain level of skill and tools, making it less suitable for DIY novices.
Concrete Blocks
For a more flexible option, consider using concrete blocks to create a foundation. This method involves stacking blocks to form a stable base that elevates your shed,preventing water damage and deterioration from ground moisture.
- Cost-Effectiveness: Generally, using concrete blocks might potentially be more affordable than pouring a full slab.
- Customizable Height: You can easily adjust the height of your shed according to your needs.
- Ventilation: Elevating the structure can improve airflow underneath, reducing pests and moisture risk.
Keep in mind that while concrete blocks are relatively easy to work with, ensuring they are level and secure is vital for the shed’s longevity.
Wooden Skids Foundation
If you’re looking for a foundation that’s simple to build and provides easy relocation capabilities, wooden skids may be the way to go. This type involves placing treated wooden beams flat on the ground to support your shed.
- Ease of installation: Wooden skids require minimal tools and expertise to set up.
- Transportable: If you choose to relocate your shed, this foundation allows for rapid and easy movement.
- Affordability: Generally, this is one of the most budget-friendly foundations you can construct.
Though, wooden skids can be prone to rot, so selecting treated wood and ensuring proper drainage around the foundation is essential.
Gravel Foundation
Creating a gravel foundation is an affordable and effective choice that offers adequate drainage for your shed. by laying a bed of gravel at least several inches deep, you ensure a stable base while minimizing water pooling.
- Excellent drainage: Gravel allows water to disperse, reducing the risk of flooding.
- Easy Installation: Laying down gravel requires minimal labor and can be a DIY project.
- Cost-Effective: Gravel is generally cheaper than many other foundation materials.
Nonetheless, it’s vital to tamp down the gravel well and maintain its level over time to prevent settling.
sonotubes or Piers
For sheds located in areas with unstable soils or where moisture is a concern, using Sonotubes or concrete piers creates a stable point foundation. This option involves setting concrete pillars into the ground to support your shed.
- Stability: Piers provide excellent weight distribution, making them ideal for uneven terrain.
- Adaptability: They can be installed at different heights based on your specific needs.
- Reduced Ground Damage: Elevating the shed allows for better airflow and access to the ground beneath.
While this option might potentially be more complex than others, it can be highly effective in areas prone to soil movement or flooding.
| foundation Type | Durability | difficulty | Cost |
|---|---|---|---|
| Concrete Slab | High | High | Mid to High |
| Concrete Blocks | Medium to High | Medium | Mid |
| Wooden Skids | Medium | Low | Low |
| Gravel | Medium | Low | Low |
| Sonotubes/Piers | High | High | Mid |
Choosing the right foundation is vital for the success and longevity of your shed. By weighing the advantages and determining your specific needs, you can confidently select the perfect foundation type to ensure lasting support for your new space.
Step-by-Step Guide to Building a Concrete Slab Foundation
Building a concrete slab foundation is an excellent choice for those looking to create a solid, enduring base for their shed or other structures. This method is especially favored for its durability and stability,making it a popular option among DIY enthusiasts and professional builders alike. When done correctly, a concrete slab can withstand various weather conditions and provide a strong platform that minimizes future repairs and maintenance.
Preparation and Planning
Before diving into construction, adequate preparation is crucial. Start by selecting a suitable location for your slab that is level and has good drainage. It’s significant to measure the area accurately, allowing for an overhang if your shed design requires it.Mark the outline using stakes and string, ensuring that the dimensions are precise.
Once your area is marked, you’ll need to remove any vegetation, rocks, or old debris. The site should be excavated to a depth of about 4 to 6 inches, depending on the thickness of your slab. This excavation provides a solid base for the concrete, aiding in proper drainage and support.
formwork and Sub-base Installation
Next, install the formwork to hold the concrete in place. Use plywood or wooden boards to create the perimeter of the slab, ensuring that the corners are square. Secure the forms with stakes, which will help maintain their position during the pouring process.
After setting up the formwork, create a sub-base by adding a layer of gravel, about 2 to 4 inches thick. This gravel layer improves drainage and helps mitigate moisture under the slab, which is essential for long-term stability. Compact the gravel thoroughly using a tamper or mechanical compactor to create a solid, stable foundation.
Pouring and Finishing the Concrete
With your preparation complete, it’s time to mix and pour the concrete. For a typical slab, a ready-mix concrete is advisable, made of cement, sand, gravel, and water. aim for a consistency that is workable yet firm — often a 3,000 to 4,000 psi mix is sufficient for shed foundations.
Pour the concrete evenly across the formwork,filling corners first and then spreading it outwards. Use a screed board to level the surface, dragging it across the top of the forms to ensure an even finish. After leveling, use a float to smooth the surface further, and a trowel for finishing touches. To enhance strength and prevent cracking, consider incorporating rebar or wire mesh within the slab.
Curing and Maintenance
Once poured, the concrete needs time to cure properly. Cover the slab with a plastic sheet or burlap to retain moisture and prevent rapid drying, which can cause cracks. It’s generally recommended to let the concrete cure for at least 7 days, avoiding heavy loads during this time.
regular maintenance includes checking for any signs of cracking and addressing them promptly. If you’re building a shed, ensure that any runoff is directed away from the base to reduce moisture accumulation around the foundation.Building a concrete slab foundation can provide your shed with a sturdy, lasting support system. by following these detailed steps, enthusiasts can create a foundation that not only meets structural requirements but also stands the test of time.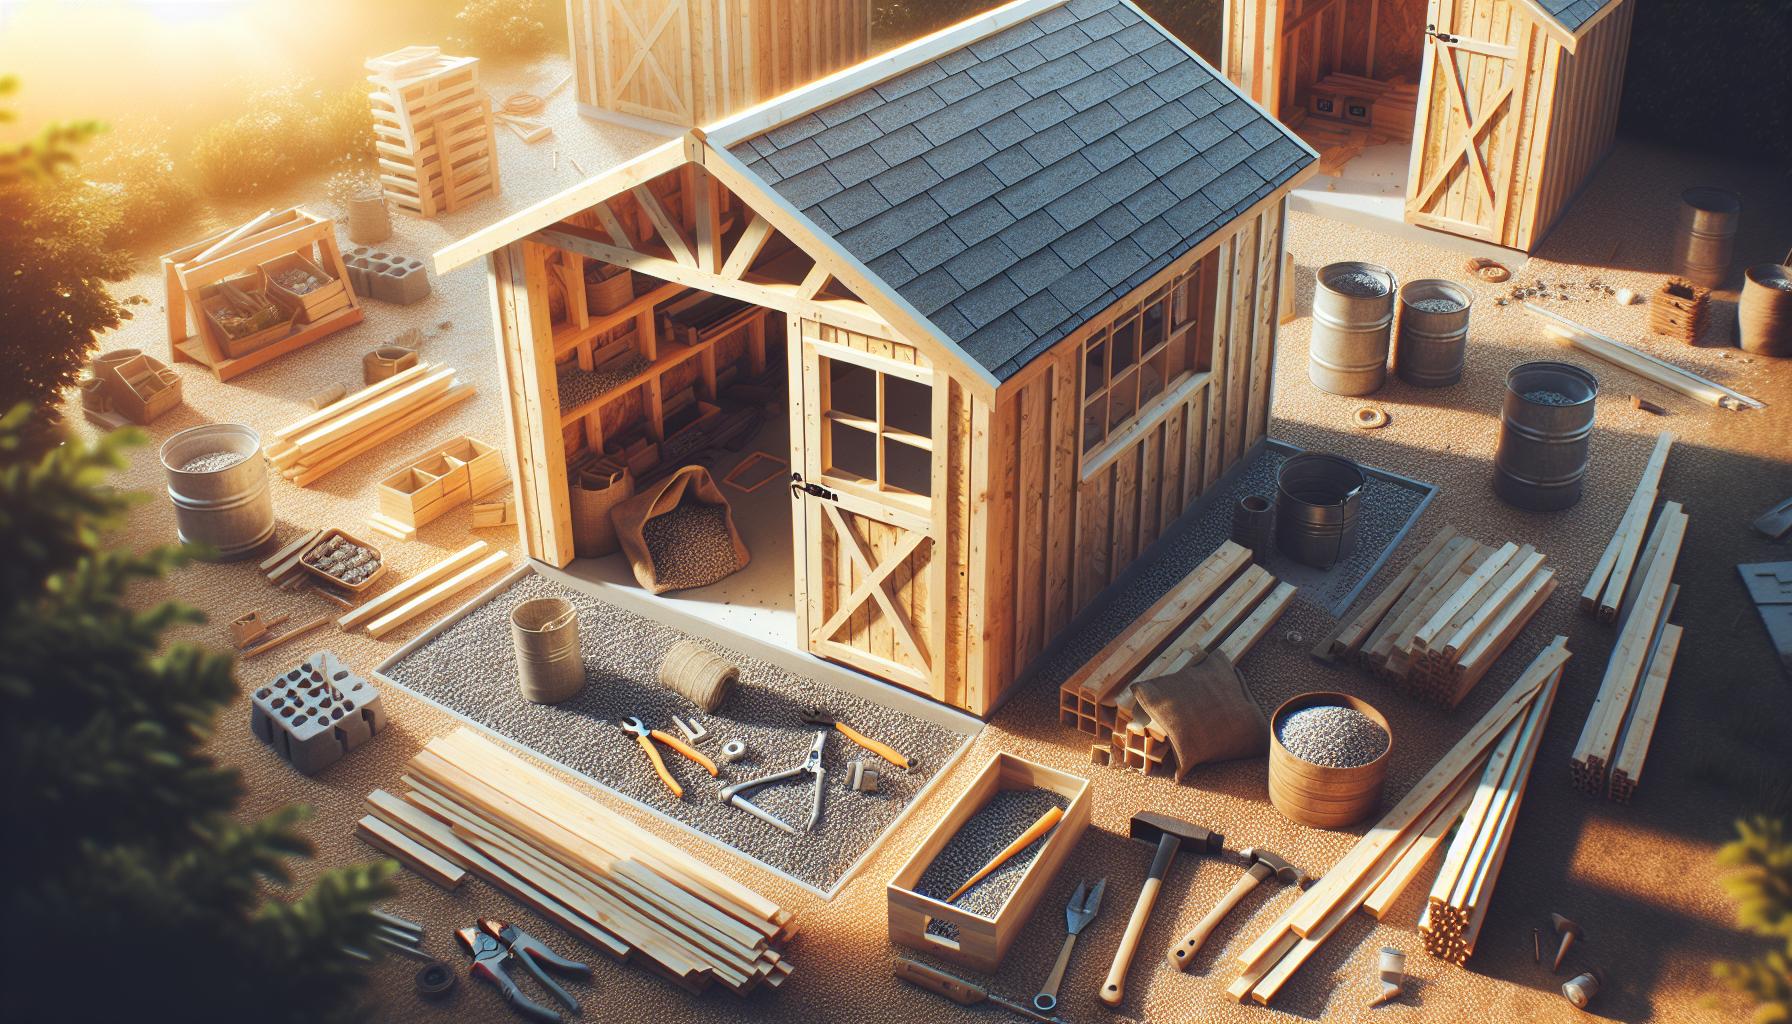
Using Gravel as an Effective Base: Tips and Techniques
When considering how to fortify the foundation of your shed, using gravel presents a reliable solution that combines cost-effectiveness with exceptional drainage capabilities. Gravel not only provides a stable base but also allows for air circulation and moisture control,helping to prolong the life of your structure. Here are some tips and techniques to ensure your gravel base is both effective and long-lasting.
Choosing the Right gravel
To achieve optimal results, selecting the right type of gravel is crucial. look for coarse gravel, typically ranging from 3/4 inch to 1 inch in size, as this will provide excellent drainage and support. Fine gravel can compact too much, leading to poor drainage and potential settling over time. Consider the following types:
- Crushed Stone: Offers angular edges that interlock and creates a strong base.
- Pea Gravel: Smooth and round stones that provide good drainage but may shift more easily.
- River Rock: Larger stones that can create an aesthetically pleasing surface but may require more effort to stabilize as a foundational base.
Preparing the Site
Before pouring gravel, proper site preparation is essential. Start by marking the area for your shed, ensuring you allow for a few extra inches around the edges for stability. Here’s a step-by-step guide:
- Clear the Area: Remove all vegetation, rocks, and debris to create a smooth surface.
- Level the Ground: Use a rake and a level to ensure a flat and even base.
- Excavate: Dig down to a depth of about 4-6 inches depending on your gravel type, which will help with drainage and prevent shifting.
Building Your Gravel Base
Once your site is prepared,it’s time to build the gravel base. This process includes several important steps:
| Step | Description |
|---|---|
| 3-4 Inches of Gravel | Add a layer of gravel to a depth of 3-4 inches, making sure to spread it evenly across the entire area. |
| Tamp Down | Use a hand tamper or plate compactor to compact the gravel thoroughly, ensuring a solid surface. |
| Add More Gravel | Check the level and add more gravel as necessary to create a uniform surface. |
| Edge Restraints | Consider installing wooden or metal edging, which will help keep the gravel in place and prevent it from spreading out. |
The correct installation of your gravel base is a vital step in how to build shed foundation: 5 rock-solid options for lasting support. By ensuring that your gravel is properly laid, compacted, and contained, you’ll create a robust foundation that not only supports your shed but also promotes excellent drainage, warding off moisture-related issues.
The Benefits of a wooden Post Foundation System
When it comes to constructing a robust and reliable structure,the choice of foundation is just as crucial as the shed itself. Among the various options available, a wooden post foundation system stands out not only for its practicality but also for its unique advantages. This type of foundation can substantially enhance the longevity and stability of your shed, especially in areas subjected to fluctuating weather conditions.
Durability and Resilience
One of the primary benefits of employing a wooden post foundation is its natural resistance to moisture and terrain shifts. Treated wood posts are specifically designed to withstand harsh environmental conditions, making them far less susceptible to issues like rot or decay than untreated wood. This quality ensures that your shed remains safe and functional for years to come, even in humid or rainy climates.
- cost-effective: Compared to concrete or extensive foundation systems, a wooden post foundation is often cheaper and faster to implement.
- Easy Installation: Unlike other types that require elaborate machinery or complex processes, wooden post foundations can be easily installed with just a few tools.
- Flexibility in design: this foundation type allows for a variety of height adjustments, making it easier to adapt to uneven terrains without extensive excavation.
Promotes Airflow and Stability
Another significant advantage is how a wooden post foundation elevates the structure off the ground,promoting airflow around the base. This not only minimizes moisture buildup—an frequently enough overlooked factor in shed durability—but also protects the materials from potential pest infestations. Moreover, as wooden posts can adapt to various environmental conditions, they provide a stable base that can absorb minor shifts in the ground without compromising the integrity of the shed.To illustrate these benefits more clearly, consider the following table showcasing the advantages of a wooden post foundation compared to traditional concrete foundations:
| Feature | Wooden Post Foundation | Concrete Foundation |
|---|---|---|
| Installation Time | Quick and easy | Time-consuming |
| Cost | Lower cost | Higher cost |
| Adaptability | Highly adaptable | Limited adaptability |
| Airflow | Enhanced airflow | Limited airflow |
The wooden post foundation system is an excellent choice for those looking to build a shed that is not only functional but also resilient.By considering this option in the context of how to build a shed foundation, you can ensure that your structure is well-prepared to withstand the test of time, ultimately serving you well for years to come.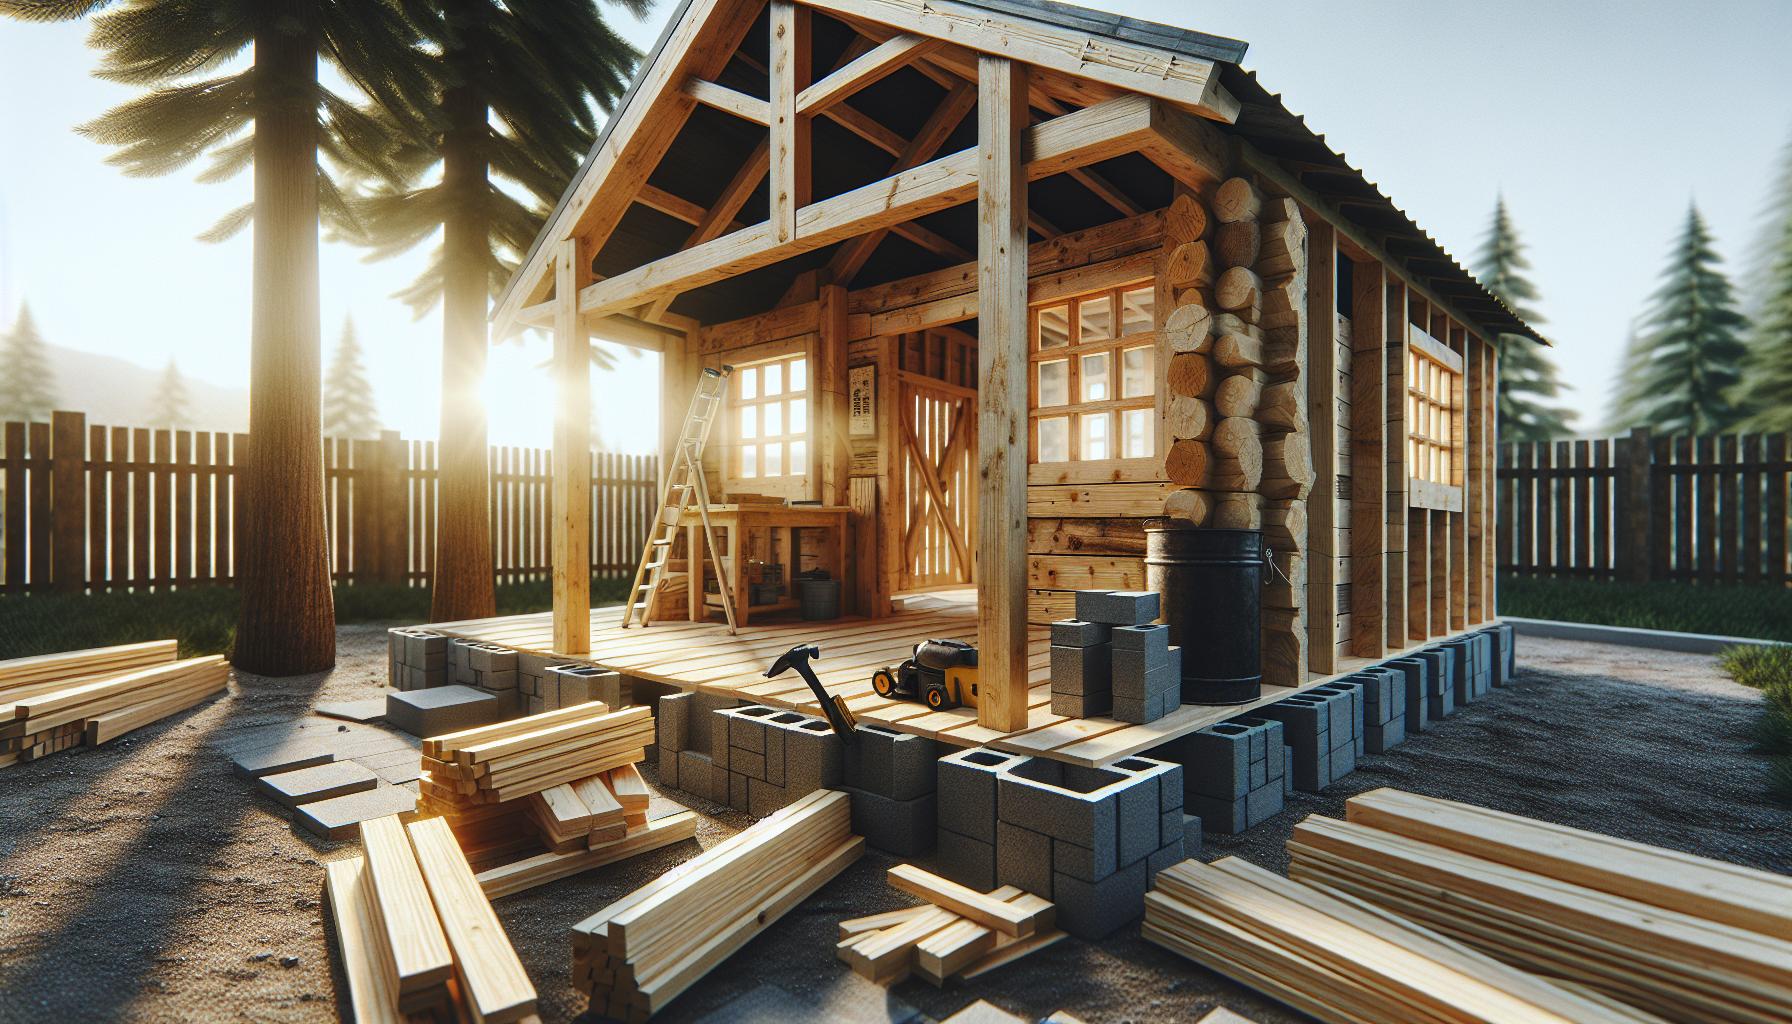
Embracing Block Foundations: A Practical Choice for Your shed
Building a shed isn’t just about its design; the foundation you choose plays a crucial role in ensuring its durability and stability. Among the various options available, block foundations stand out as an effective and practical choice for small structures like sheds.Using concrete blocks not only provides excellent support but can also be a cost-efficient solution, allowing DIY enthusiasts to tackle the job without needing extensive carpentry skills.
Why choose Block Foundations?
Block foundations offer numerous benefits that make them an appealing option when considering how to build a shed foundation. Here are a few reasons to embrace this method:
- Stability: Concrete blocks are incredibly sturdy and can withstand the test of time when installed correctly, providing a solid base for your shed.
- Versatility: This foundation type can accommodate different types of soils and terrains, making it suitable for both flat and slightly uneven ground.
- Ease of Installation: With minimal tools required, even novice builders can successfully set up a block foundation, as the blocks can be placed directly on the ground.
- Water Drainage: By elevating your shed, block foundations help prevent water accumulation underneath, reducing the risk of mold and rot in your storage space.
Steps to Create a Block Foundation
To effectively utilize block foundations for your shed, follow these practical steps:
- Site Preparation: Begin by selecting a well-drained location and clearing any debris or vegetation from the area.
- Layout Marking: Use stakes and string to outline the perimeter of your shed,ensuring you measure accurately for the size of your blocks.
- Block Placement:
- Level the Ground: Ensure the ground where the blocks will sit is level. Use a tamper to compact the soil if necessary.- Lay the Blocks: Start placing the blocks at each corner and then fill in the perimeter, ensuring they are level with one another.
- Join Blocks: Depending on the size of your shed, you may want to stack additional rows of blocks. Use mortar to secure the blocks for added stability.
- Checks Before Construction: After the blocks are in place, double-check that they are level and square before you proceed with building your shed on top.
Cost considerations
When comparing the cost of various shed foundations,block foundations often prove to be economical.
| Foundation type | Material Cost | Labor Cost | Total Estimated Cost |
|---|---|---|---|
| Block Foundation | Low | Minimal (DIY) | $$ |
| Shed Floor system | Medium | Moderate | $$$ |
| Poured Concrete | High | High | $$$$ |
By opting for block foundations, not only do you enhance the longevity of your shed, but you also gain the satisfaction of a DIY project that won’t break the bank. Whether you’re storing tools,lawn equipment,or creating a workshop,this method is a reliable way to ensure your shed stands strong for years to come. Understanding how to build a shed foundation using this method empowers you to create a solid base, kickstarting your project on the right note.
Budget-Friendly Foundation Solutions: What You Need to Know
Budget constraints shouldn’t impede your dream of having a sturdy shed. In fact, there are several affordable foundation solutions that provide robust support for your structure while keeping costs low. With a little creativity and knowledge, you can create a foundation that meets both your budget and your needs.
Exploring Affordable Options
When considering how to build a solid shed foundation without breaking the bank, here are some smart, economical choices:
- Concrete Blocks: These are an excellent choice for DIY enthusiasts. Purchase concrete blocks and arrange them in a grid pattern suitable for your shed’s footprint. This approach allows for good drainage and minimizes ground disturbance.
- Gravel Pad: An easy-to-install and cost-effective foundation, a gravel pad involves digging a shallow trench, then filling it with gravel. this method provides effective drainage and prevents pests from invading your shed.
- Wood Skids: By using treated wood skids, you can create a foundation that elevates the shed slightly off the ground, protecting it from moisture.This option is perfect for smaller sheds and can be laid down quickly.
- Timber frame Foundation: Though slightly labor-intensive, using timber beams laid on concrete piers or directly on the ground offers a durable foundation solution that’s relatively inexpensive.
Weighing the Pros and Cons
While affordability is key, it’s essential to consider the long-term benefits and potential drawbacks of each foundation type.The table below outlines key aspects to help you choose wisely:
| Foundation Type | Cost | Durability | Installation Skill Required |
|---|---|---|---|
| Concrete Blocks | Low | High | Moderate |
| Gravel Pad | Very Low | Moderate | Low |
| Wood Skids | low | Moderate | Low |
| Timber Frame | Moderate | high | High |
Implementing these budget-friendly foundation solutions is not just a cost-saving measure; it’s also about establishing a reliable structure that will last. By following practical steps and harnessing the strength of durable materials,you can build a secure and stable shed foundation tailored to your needs without exceeding your budget.
Common Mistakes to Avoid When building Your Shed foundation
Building a sturdy foundation for your shed is the backbone of a successful project, yet many DIYers fall prey to common pitfalls that can lead to costly repairs or premature failure. A solid foundation not only ensures that your shed remains stable but also prolongs its lifespan by protecting it from moisture and pests.To steer clear of these setbacks,here are some key mistakes to avoid when constructing your shed foundation.
Neglecting Site Preparation
The ground beneath your shed plays a crucial role in its integrity. One of the most frequent errors is failing to properly prepare the site before laying your foundation. Such oversights can result in uneven settling and drainage issues. Here’s how to prepare your site effectively:
- Clear Debris: Remove all grass, rocks, and roots from the area where your shed will sit.
- Level the Ground: Use a level to ensure the ground is even.Consider using a leveling tool or hiring equipment for larger areas.
- Assess Drainage: Identify any potential drainage problems to prevent water pooling under your shed.
Choosing the wrong Foundation Type
Selecting an inappropriate foundation type is another significant mistake. Each shed design and local weather condition may require different support.
| Foundation Type | Best For | Considerations |
|---|---|---|
| Concrete Slab | Heavy sheds, permanent structures | Requires professional pour, costly |
| Wood Skids | Light to medium sheds, easy access | Vulnerable to rot if not treated |
| Gravel Pads | Budget-friendly, good drainage | Requires ongoing maintenance |
Make sure to evaluate your options based on your shed’s size, intended use, and local climate.
Ignoring Local Regulations
Many builders overlook the importance of understanding local building codes and regulations. Not adhering to these laws can lead to fines or being forced to dismantle your foundation. Research zoning laws in your area before starting the project. Engage your local municipality to determine if permits are necessary for your foundation type and build.
Disregarding Long-Term Stability
Lastly, it’s vital to consider long-term stability rather than just immediate results. Some amateur builders rush the installation process, leading to improperly set posts or misplaced blocks. Investing time in ensuring that every component of your foundation is correctly positioned and securely fastened will pay dividends in durability and reliability. Utilize equipment like post levels and concrete spacers to ensure everything is aligned properly.
By being vigilant about these common mistakes, you can confidently proceed with constructing a robust and enduring foundation for your shed, setting the stage for a durable, functional outdoor storage solution.
Frequently Asked Questions
What is the best way to build a shed foundation?
The best way to build a shed foundation involves selecting one of the five rock-solid options tailored to your needs. Options include concrete slabs, pier foundations, gravel pads, wood skids, and prefabricated foundation systems.
Each method offers unique benefits, such as durability or ease of installation. As an example, a concrete slab provides a solid, level surface, while a gravel pad offers excellent drainage. Consider factors like soil conditions and budget when choosing the most suitable foundation type.
How do I choose the right foundation for my shed?
To choose the right foundation for your shed, assess your site conditions, the shed size, and how you plan to use the space. Popular options include concrete, piers, and gravel for different durability and stability needs.
Such as, if you live in an area with heavy rain, a gravel or concrete foundation is recommended to prevent water pooling. Additionally, check local building codes to ensure compliance. For detailed information on various foundations, refer to our guide on shed foundations.
Can I build a shed foundation myself?
Yes, you can build a shed foundation yourself with the right tools and materials, as most options require basic DIY skills. the key is to plan thoroughly and follow a step-by-step approach.
Start by gathering necessary materials like concrete, gravel, or wood, depending on the foundation type. Measure accurately and ensure a level surface while digging or pouring. Additionally, consider seeking advice from experienced builders or your local home improvement store for extra tips.
Why does the foundation matter for my shed?
The foundation matters for your shed because it provides stability, durability, and proper drainage, preventing structural issues.A solid foundation is essential for long-term support.
Without a strong foundation, your shed may suffer from settling or shifting, leading to damage over time. For effective water management, foundations like gravel pads can divert moisture away from the shed.understanding these reasons will guide your selection process effectively.
What common mistakes should I avoid when building a shed foundation?
Common mistakes include underestimating the importance of proper leveling, ignoring local building codes, and using inadequate materials. Ensuring the foundation is level is crucial for your shed’s overall integrity.
Additionally, failing to consider soil type can lead to problems later. Always start with a solid plan, check local guidelines, and use quality materials that suit the specific type of foundation you choose to avoid these pitfalls.
How much does it cost to build a shed foundation?
The cost of building a shed foundation varies based on materials and methods, ranging from $100 for basic gravel pads to over $1,000 for concrete slabs.This flexibility allows you to choose according to your budget.
Additionally, consider labor costs if you hire professionals versus DIY expenses. Research local material prices to get the best deals and don’t forget long-term maintenance when calculating overall costs.
what permits do I need for building a shed foundation?
Permits for building a shed foundation depend on your local building regulations. Many areas require permits, especially for more permanent or large structures.It’s crucial to consult your local zoning office beforehand.
Some communities have specific rules regarding foundation types,sizes,and setbacks from property lines. Obtaining the necessary permits ensures your shed is built legally and reduces the risk of fines or removal.
insights and Conclusions
As we’ve explored the nuances of building a solid foundation for your shed, it’s clear that choosing the right option is pivotal for long-lasting support. Whether you opt for a concrete slab, gravel pad, treated wood, concrete blocks, or a pier foundation, each method offers unique benefits tailored to different needs and locations. Remember, the foundation is the backbone of your shed, and investing time and care into this aspect will pay off with increased stability and longevity.
Don’t hesitate to revisit the detailed steps laid out in each section; equipped with this knowledge, you can confidently tackle even the most challenging aspects of your project. Embrace the satisfaction that comes from seeing your craftsmanship come to life, and know that solutions are always at your fingertips.
For those who may still find certain elements daunting, remember that practice and persistence make perfect. Dive deeper into your DIY journey by exploring related resources or connecting with fellow enthusiasts in forums. your shed is not just a storage solution; it’s a testament to your creativity and capabilities. So, roll up your sleeves, trust the process, and embark on this rewarding adventure!

