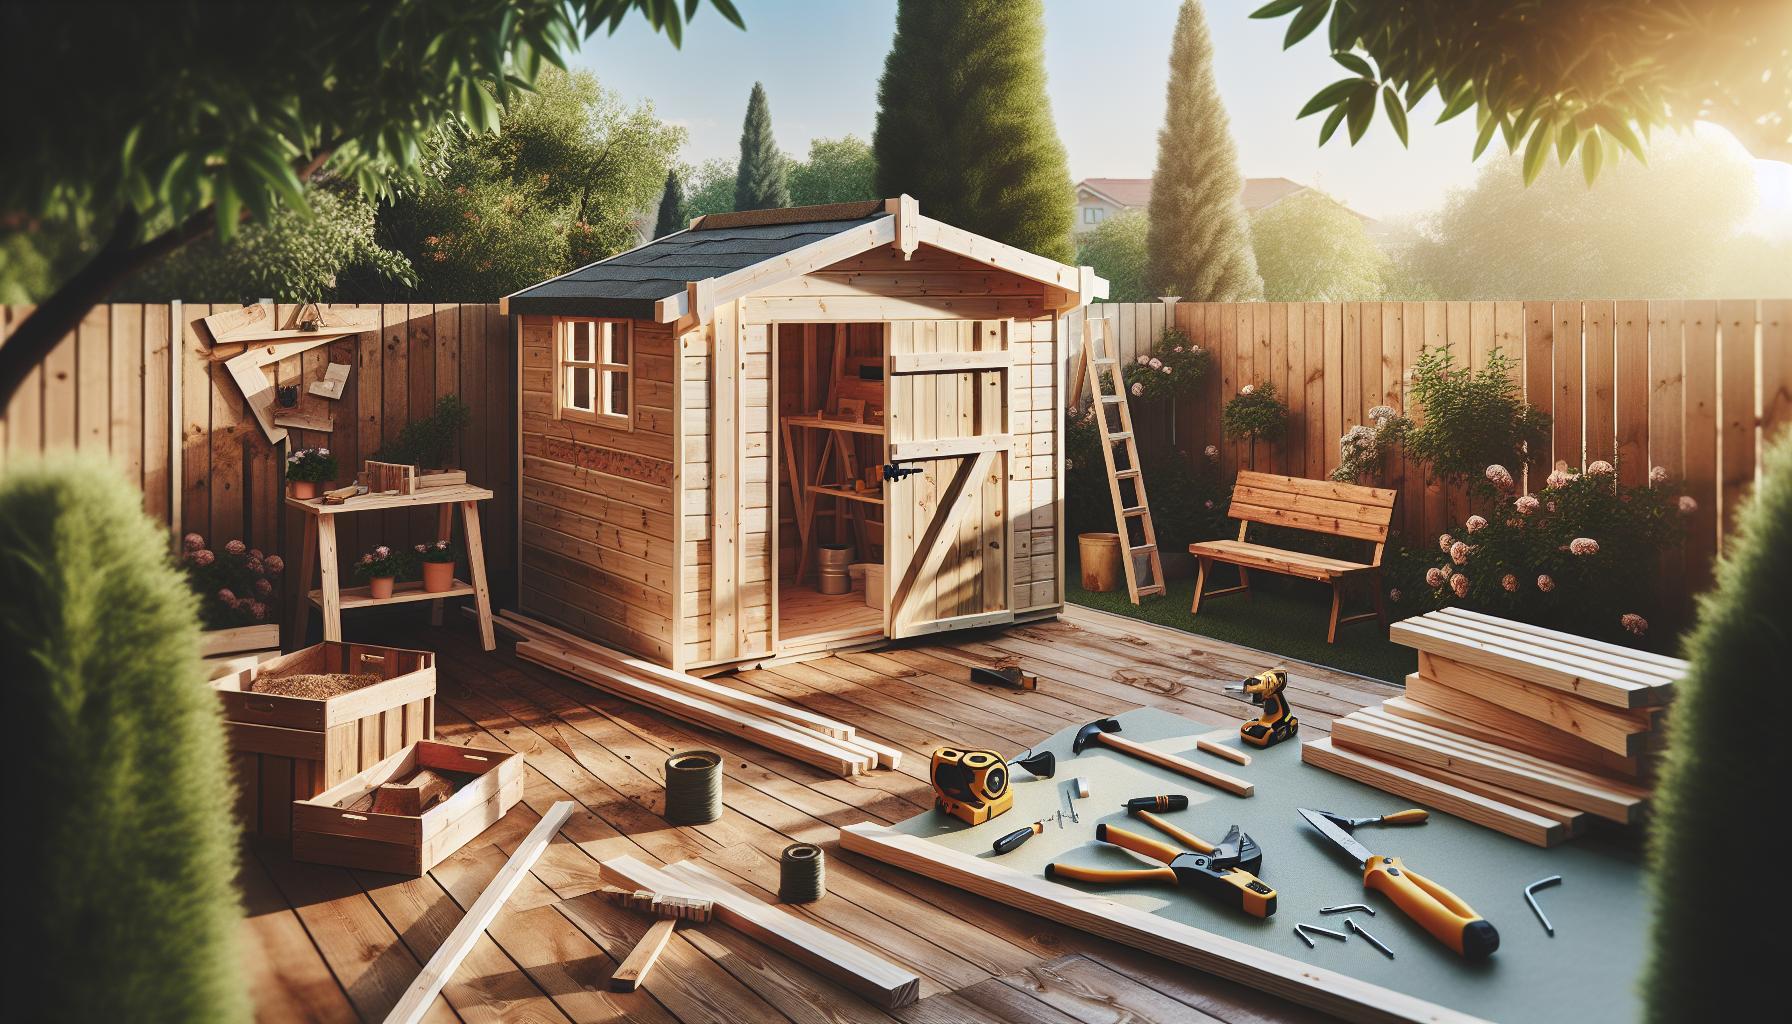
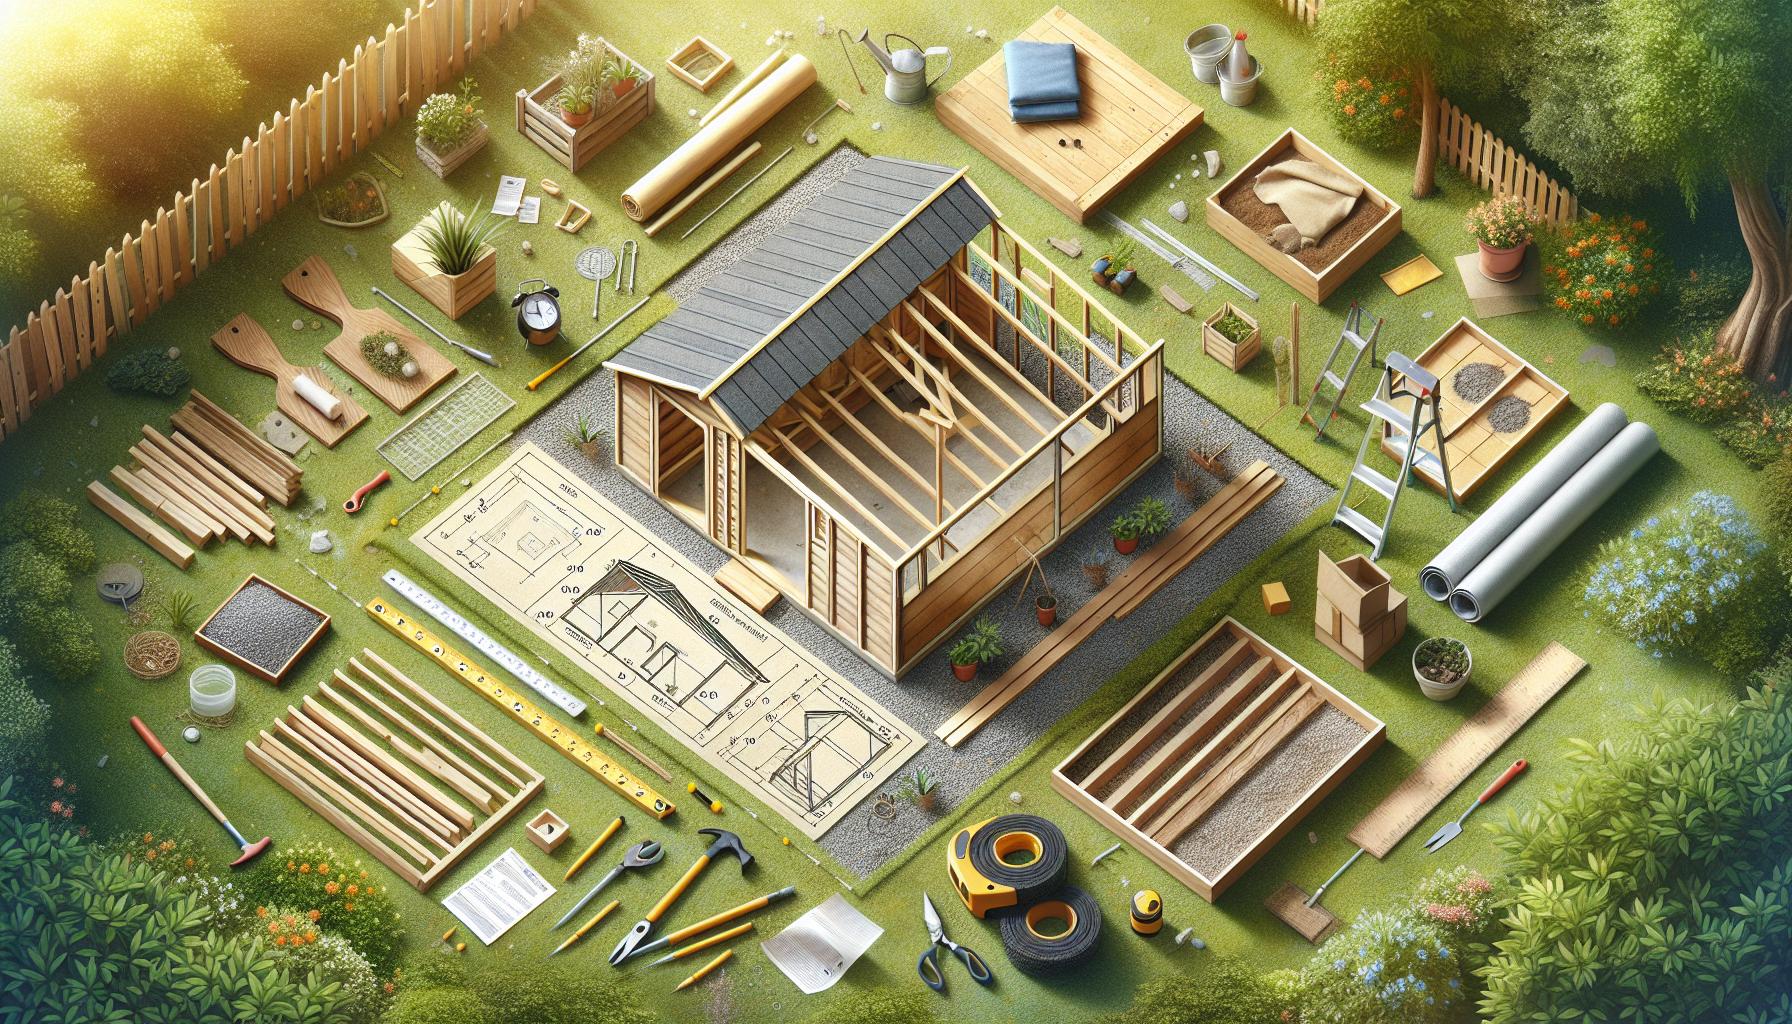
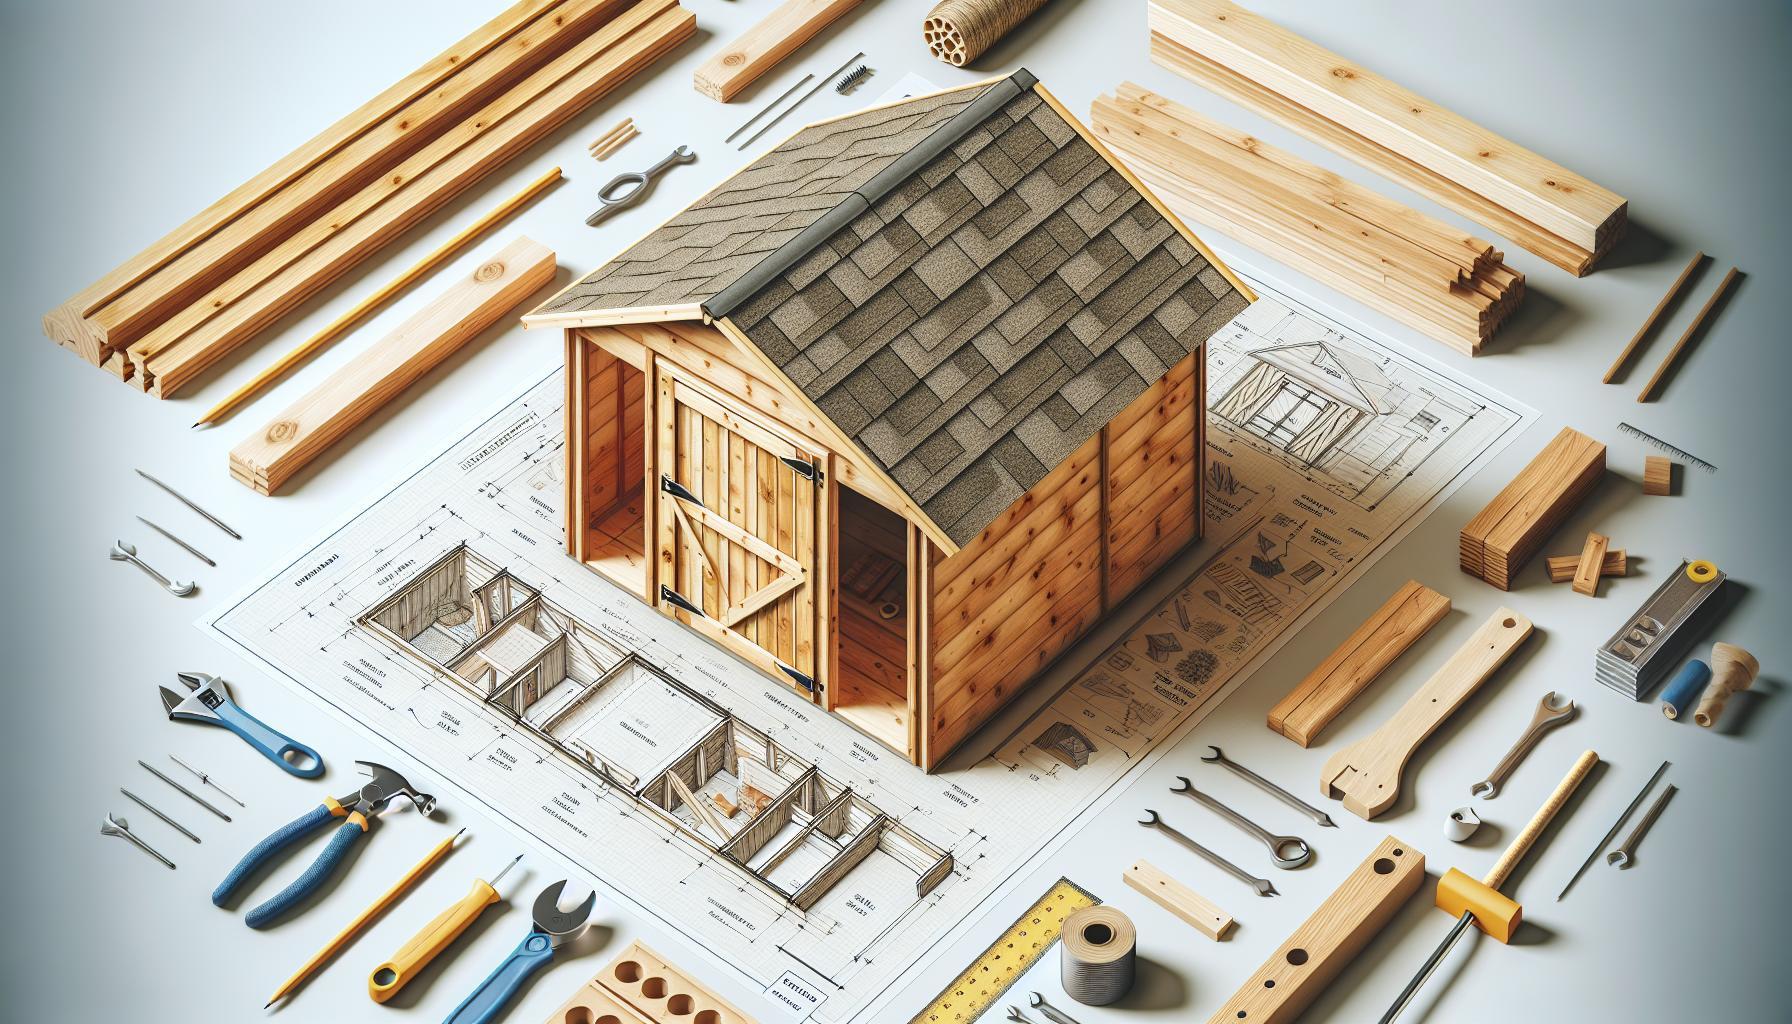
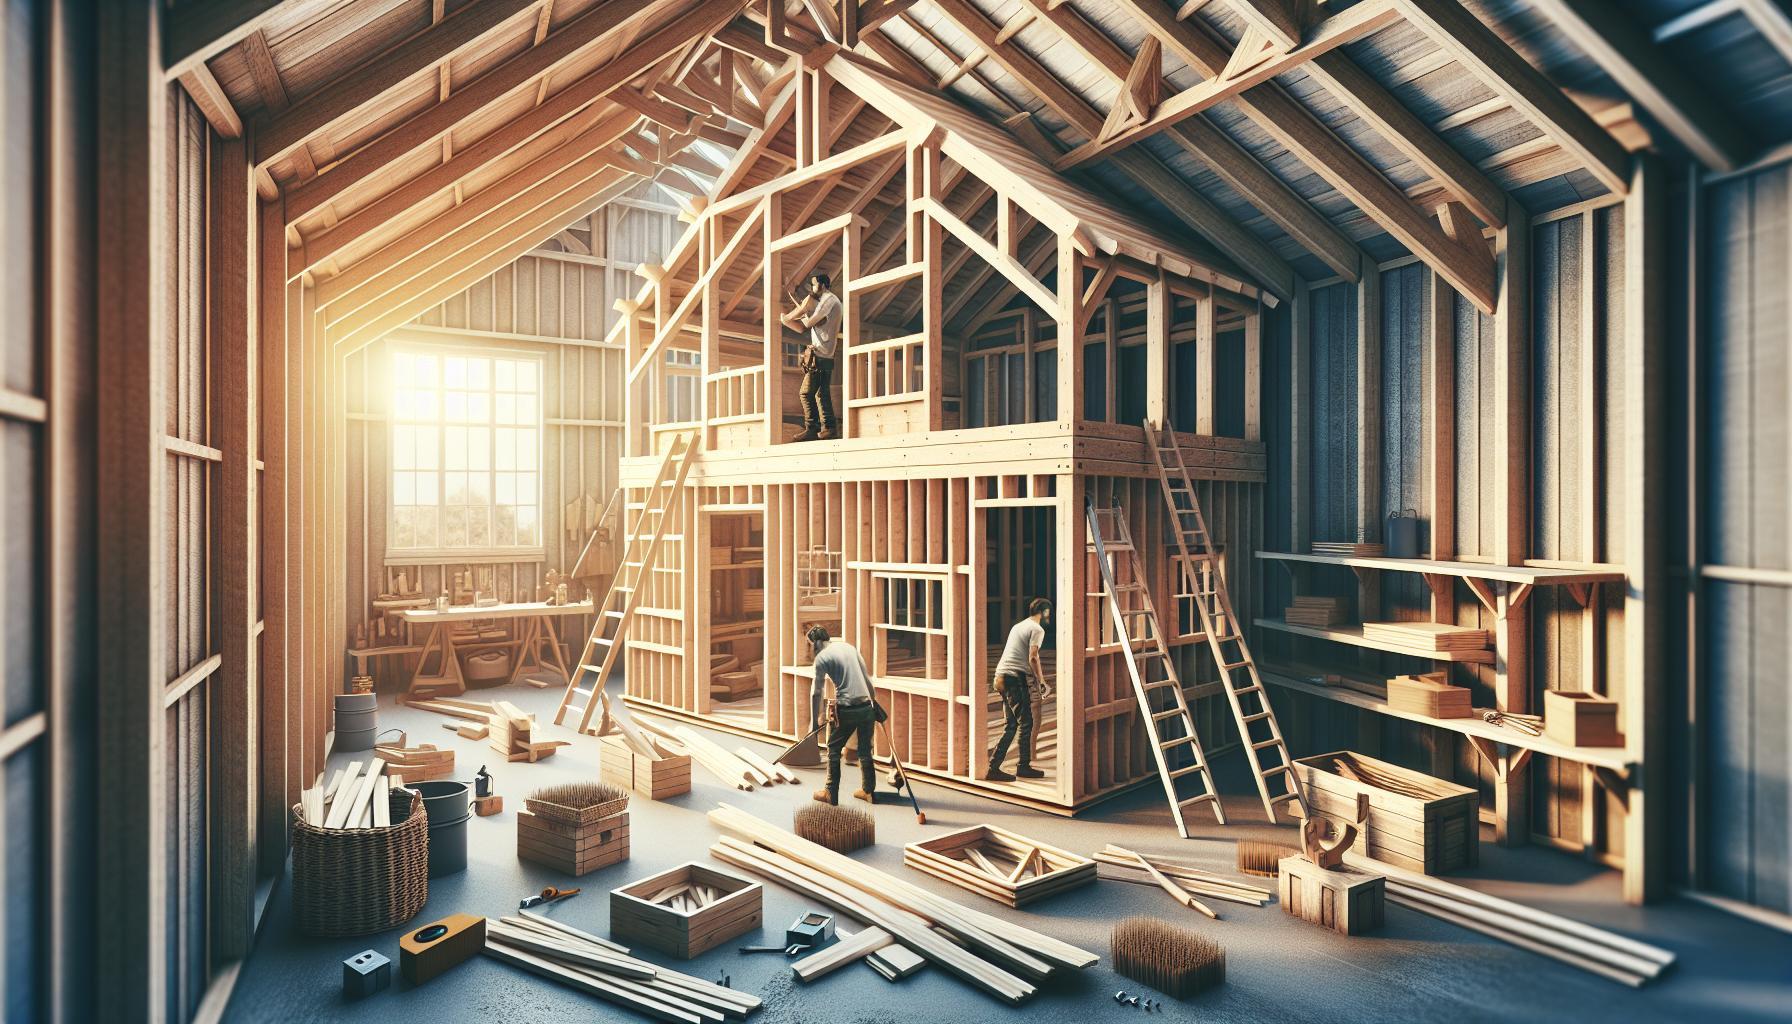
Are you tired of clutter cluttering your outdoor space and dreaming of a functional retreat? Building a garden shed not only declutters your backyard but also creates a stylish DIY oasis for storage or relaxation. Discover how to craft the perfect garden shed and transform your outdoor area into a haven of creativity and organization.
Choosing the Perfect Location for Your Garden Shed
Selecting the right spot for your garden shed is not just about aesthetics; it’s a critical decision that can enhance both functionality and accessibility. A well-positioned shed can become an asset to your outdoor space, creating a cozy nook for gardening tools, outdoor furniture, or even a splendid little retreat for relaxation. To truly transform your backyard into a DIY oasis, careful consideration of the shed’s location will pay off in the long run.
Factors to Consider
When determining the ideal location for your garden shed, keep these factors in mind:
- Proximity to Your Garden: Placing the shed close to your planting areas will make it much easier to access tools and supplies. This reduces the hassle of trekking back and forth, allowing you to spend more time cultivating your plants.
- Sunlight Exposure: Different plants and garden activities require varying amounts of sunlight. Consider whether your shed will benefit from morning sunlight or need some shade during the hottest parts of the day.
- Accessibility: Ensure that the shed is easily accessible for you and any visitors, allowing for seamless movement, especially during gardening projects or gatherings.
- Drainage: Water pooling near the shed can lead to structural damage over time. Aim for a location with good drainage to protect both your shed and its contents.
Examples of Ideal Locations
Finding the right location may require some experimentation and observation of your backyard’s light and air patterns. Here are a few potential sites to consider:
| Location | Pros | Cons |
|---|---|---|
| Next to the Garden | Easy access to tools; enhanced gardening experiance. | Could block sunlight for some plants. |
| In a Corner of the Yard | Utilizes space effectively; can create a cozy nook. | May require extra clearing or landscaping. |
| Near a Deck or Patio | Provides a multifunctional space for gatherings. | Can become cluttered quickly if not organized. |
Taking the time to evaluate these aspects will ensure that your new shed melds beautifully into your landscape and serves its intended purpose effectively. Incorporate these considerations into your planning, and create a garden sanctuary that not only elevates your gardening activities but also enhances the overall charm of your backyard.
Essential Tools and materials for Your DIY Project
When embarking on the rewarding journey of constructing your own garden shed, selecting the right tools and materials is paramount to ensuring a smooth and triumphant project. Having the right items on hand not only makes the building process easier but also enhances the durability and functionality of your DIY oasis. Let’s explore the essential toolbox and supplies you’ll need to bring your garden shed vision to life.
basic Tools for Shed Construction
The foundation of any successful DIY project rests on the tools you use. Here’s a focused list of essential tools that will serve you well throughout the building process:
- Measuring Tape: Accurate measurements are crucial. A 25-foot measuring tape is ideal for both small and larger dimensions.
- Level: To ensure your shed is perfectly balanced, a spirit level will help you keep everything straight and even.
- Miter Saw: This tool allows for precise cutting of wood at various angles, essential for framing and roofing.
- Drill/Impact Driver: A must-have for drilling holes and driving screws quickly, enhancing efficiency in assembly.
- Hammer: A reliable hammer is essential for driving nails into wood,particularly when securing the shed’s frame.
Materials to Consider
Choosing the right materials plays a significant role in the longevity and aesthetic appeal of your garden shed. Below are some commonly-used materials:
| Material | Purpose | Recommendations |
|---|---|---|
| Pressure-Treated Lumber | Framing and floor support | Optimal for moisture resistance |
| Plywood | Siding and interior walls | Choose exterior-grade for durability |
| Roofing Material | Protection from weather elements | Consider asphalt shingles or metal roofing |
| Exterior Paint or Stain | Finish and protection | Select a product designed for outdoor durability |
By gathering these tools and materials beforehand, you position yourself for a seamless construction phase. The knowledge of what you need—whether it’s a simple hammer or weather-treated wood—prepares you to transform your backyard into an engaging DIY oasis. Prioritize quality over quantity, and make sure you invest in tools and materials that will withstand the test of time and the elements, ensuring your garden shed remains a cherished feature in your outdoor space for years to come.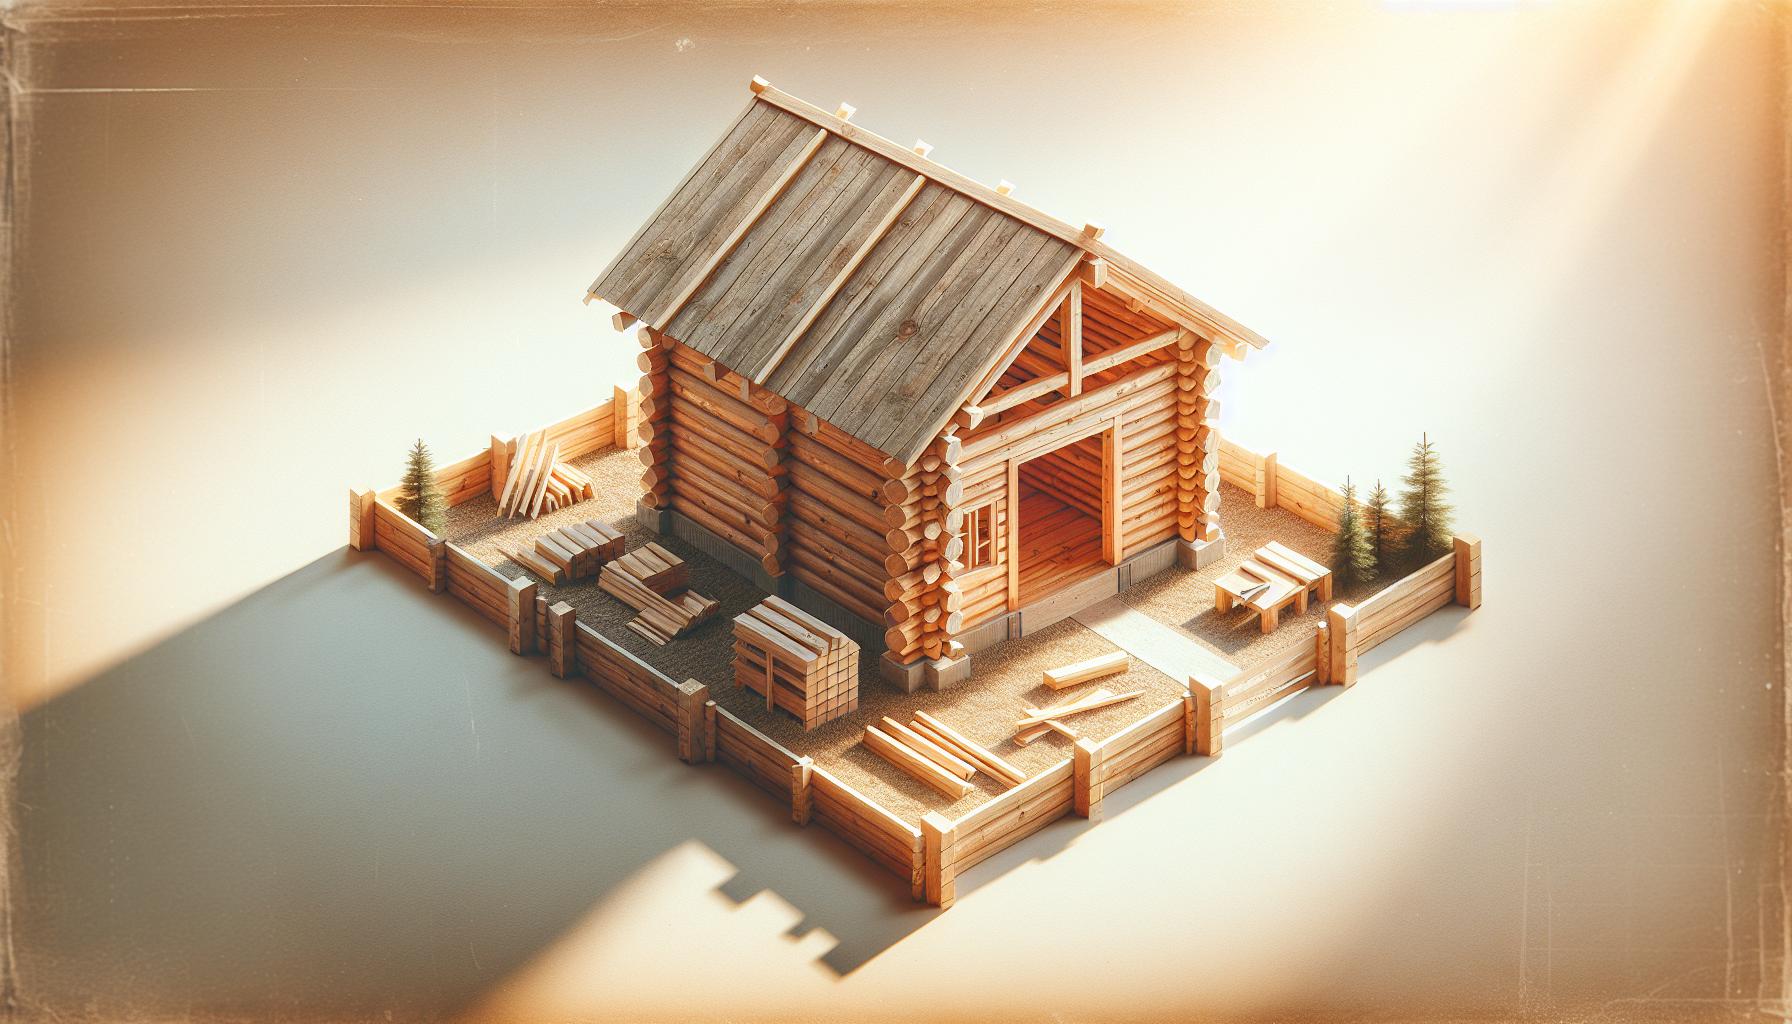
Step-by-Step Guide to Planning Your Shed design
When embarking on the journey of creating a personal garden shed, meticulous planning can set the stage for a successful build. Designing a structure that suits both your functional needs and stylistic preferences involves a series of thoughtful steps. Whether you’re looking to transform your backyard into a DIY oasis or simply need extra storage, following a systematic approach to shed design can make the process enjoyable and rewarding.
Define Your Purpose
start by clarifying the primary function of your shed. Is it for storing garden tools and equipment, creating a workshop, or perhaps serving as an outdoor retreat? Understanding its purpose will considerably influence not only the size and type of shed you choose but also the layout and features you’ll want to incorporate. Such as, a workshop might require additional electrical outlets and workbench space, while a storage shed focused on gardening may benefit from plenty of shelving and tool racks.
Choose the Right Size and Location
Selecting the appropriate size for your shed is crucial. Consider both the space you have available and the items you intend to store or utilize inside the shed. An ideal shed should not only fit comfortably within your yard’s landscape but also provide enough room to move around efficiently. As you plan, think about the following:
- Measurements: Measure the designated area in your yard to ensure the shed won’t overwhelm the space.
- Foundation: Assess the ground and determine if it requires leveling or special treatments.
- Accessibility: Make sure the location allows for easy access, possibly near a garden for tools or water.
Select Materials and design Features
The materials you choose will heavily influence the durability and aesthetic of your shed. While wood offers a classic look and adaptability, metal and vinyl present low-maintenance alternatives. Consider features like windows for natural light, ventilation for air circulation, and overhangs to protect against rain. Now might also be the time to think about adding electrical systems or plumbing, if necessary.
Budget Planning
Creating a budget is a necessary step in the planning phase. Factor in not only the cost of materials but also additional expenses such as permits, tools, and any professional help you may require. Consider the following cost breakdown:
| Item | Estimated Cost |
|---|---|
| Materials (wood, metal, etc.) | $500 – $1,500 |
| Tools (if you don’t own them) | $200 – $500 |
| Permits | $50 – $300 |
| Labor (if hiring help) | $300 - $1,000 |
By thoughtfully progressing through these steps, you’ll not only lay a solid foundation for your shed but also create a space that truly enhances your backyard and meets your needs. This approach reflects the essence of mastering the art of how to build a garden shed, allowing you to craft your own DIY sanctuary.
Constructing a Strong Foundation: Tips for Stability
Creating a robust structure begins with a solid foundation, which is crucial for any garden shed project. A well-constructed base ensures that your shed remains stable against the elements, such as wind, rain, and snow, while also preventing rot and pest infestations. When considering how to build a garden shed, it’s essential to invest time in establishing a strong foundation that guarantees longevity and functionality.
Selecting the Right Foundation Type
There are various foundation types you can choose from, depending on your shed’s design, the soil type, and local climate conditions:
- Concrete Slab: This option provides an excellent stability level and is ideal for larger sheds. It requires excavation and pouring concrete, making it a more permanent solution.
- Skids: For smaller sheds, using wooden skids beneath the structure can give adaptability while retaining stability. Ensure thay are treated to resist moisture.
- Sonotubes: These are great for building raised foundations, particularly in areas with high moisture, helping keep the shed above wet ground.
- Gravel Base: A simple and affordable option,gravel allows for good drainage. Make sure to level and compact the gravel to provide a stable surface.
Preparing the Site
Before laying your foundation, it’s vital to prepare the site properly. Start by selecting a level area that drains well and is free from overhanging branches. Mark the dimensions of your shed foundation using stakes and string. remove any grass, rocks, or debris, then level the ground as much as possible. For certain foundations like concrete or gravel, consider building forms to contain the material securely.
Maintenance Considerations
When thinking about how to build a garden shed that will stand the test of time, maintenance is key. regularly inspect the foundation for signs of settling or erosion. If you notice any issues, address them promptly to prevent further damage.You might also want to consider elevating the shed slightly off the ground with blocks or other materials to further protect it from moisture.
By focusing on these critical aspects of foundation construction, you can ensure that your shed serves as a reliable and useful addition to your backyard. Whether it’s your garden oasis for storage or a workshop, a solid foundation will be the cornerstone of your outdoor project.
Framing Your Garden Shed: Techniques for Durability
Building a garden shed is an exciting project that can enhance both the functionality and aesthetics of your backyard. Though, the longevity of your DIY oasis largely hinges on how well you frame it. Proper framing techniques not only provide structural support but also ensure that your shed can withstand the elements. The right materials and methods make all the difference, promising a space that will last for years to come.
Choosing Durable Materials
Selecting the right materials is the foundation of a robust garden shed. Here are some options that will enhance the durability of your structure:
- Pressure-Treated Lumber: This type of wood is infused with preservatives that make it resistant to rot and insects, ideal for framing your shed.
- Composite Materials: Consider using composite decking boards for floor framing. These materials combine wood fibers with plastic, offering excellent durability with minimal maintenance.
- Metal Framing: If you’re looking for longevity, metal framing can provide unparalleled strength and resilience against pests and weather conditions.
framing Techniques for Strength
The way you frame your garden shed plays a crucial role in its overall strength. Here are some effective framing techniques to consider:
- Use a Solid Foundation: Start your project on a sturdy, level foundation. A concrete slab or treated wood skids work well to prevent moisture damage.
- Stud Spacing: Frame your walls with studs spaced no more than 16 inches apart. This spacing provides adequate support for the shed’s walls and roof while allowing proper insulation installation.
- Header Support: in areas where you plan to install windows or doors, ensure you use headers above openings to distribute weight and prevent sagging.
Weatherproofing Techniques
To maximize the lifespan of your garden shed, consider integrating weatherproofing techniques during the framing process:
| Technique | Description |
|---|---|
| Water-Resistant Sealants | Apply sealants to all joints and gaps in the framing to prevent water intrusion. |
| Flashing Installation | Use flashing around roof edges and door frames to channel water away from the structure. |
| Ventilation | Incorporate vents to minimize moisture buildup inside the shed, which can lead to wood rot. |
By implementing these techniques and choosing durable materials, you can create a garden shed that stands the test of time. Proper framing will not only support the physical structure but transform your backyard into the DIY oasis you envision, nonetheless of what Mother Nature throws its way.
Weatherproofing Your Structure: Best Practices
When constructing a garden shed, one factor often underestimated is its ability to withstand Mother Nature’s whims. Whether it’s torrential rain, heavy snowfall, or intense heat, weatherproofing your structure is essential for ensuring longevity and functionality. Properly protecting your shed not only enhances its durability but also preserves your tools and materials inside. Here, we delve into essential practices that will help your DIY oasis resist the elements effectively.
Choose the Right Materials
Using high-quality, weather-resistant materials is the first step in building a shed that can endure various weather conditions. Opt for:
- Pressure-treated lumber: This type of wood is infused with preservatives to resist rot and insect damage, making it ideal for outdoor structures.
- water-resistant roofing: Choose metal roofing or specially treated shingles that can prevent leaks and stand strong against wind and rain.
- Sealed siding: Ensure your siding is made of durable materials like vinyl or engineered wood, both of which require minimal maintenance and enhance water resistance.
Insulation and Ventilation
Proper insulation not only keeps the interior of your shed agreeable but also prevents condensation buildup that can lead to mold growth. Consider the following actionable steps:
- Install insulation: Use foam boards or fiberglass insulation within the walls and ceiling to regulate temperature and prevent moisture accumulation.
- Incorporate vents: Ridge vents, gable vents, or even small windows can improve airflow and help regulate humidity levels inside your shed.
| Material Type | Water Resistance | Durability |
|---|---|---|
| Pressure-treated lumber | High | High |
| Metal roofing | Very High | Very High |
| Vinyl siding | Moderate | High |
Sealant and Finishing Touches
applying a quality sealant or finish can dramatically extend your shed’s life. Here are some tips:
- Weatherproof stain: Select a stain designed for outdoor use that repels water and prevents UV damage.
- Seal windows and doors: Use weather stripping or caulk to fill gaps, preventing water from seeping in during storms.
By implementing these best practices for weatherproofing,you’ll ensure that your garden shed withstands the test of time,transforming your backyard into a reliable DIY oasis that serves you well in all seasons.
Finishing Touches: Painting, Staining, and Organizing
After all the hard work of building your garden shed, the finishing touches can turn a basic structure into a stunning, functional oasis. Painting and staining not only enhance the aesthetic appeal of your shed but also provide crucial protection against the elements. Whether you choose a vibrant color to make your shed stand out or a natural stain to blend with your surroundings,these details are what truly bring your DIY project to life.
Choosing the Right Finish
When selecting a paint or stain, consider your shed’s material and location. Here are some options to consider:
- Exterior Paint: Provides a solid color finish with a level of durability. It’s great for wooden sheds, as it helps prevent rot and decay.
- Wood Stain: A semi-transparent finish that enhances the wood grain while offering protection. This is ideal for a more natural look.
- Waterproof sealant: Vital for prolonging the life of the paint or stain, especially in regions prone to heavy rain or snow.
Make sure to prepare the surface properly by cleaning it and, if necessary, sanding areas to ensure the paint or stain adheres well.For best results, apply a primer before painting and allow adequate drying time between coats.
Organizing Your Shed
Once your shed is painted or stained to your liking, the next step is optimizing the interior for maximum utility. Organization is key to making the most of your space. Here are some practical suggestions:
- Built-In Shelving: Invest in or build shelving units to keep tools and supplies accessible while conserving floor space.
- Hook Systems: Use wall-mounted hooks and pegboards to hang tools, helping you easily find what you need at a glance.
- Storage Bins: Use clear or labeled bins for small items, so you can quickly see the contents while keeping everything tidy.
Sample Interior Organization Layout
| Zone | Purpose | Items to Include |
|---|---|---|
| Tool Zone | Storage and easy access for tools | Power tools, hand tools, spare parts |
| Garden Zone | Organizing gardening supplies | seeds, pots, soil, gloves |
| Craft Zone | Space for DIY projects | Paints, brushes, crafting supplies |
incorporating these finishing touches not only beautifies your garden shed but also enhances its functionality, making it a prized element of your backyard. With the right design and organization, learning how to build a garden shed can indeed transform your space into a delightful DIY oasis.
Maximizing Space: Creative Storage Solutions for Your Shed
Maximizing available space in your shed doesn’t just help in organizing your tools and garden supplies; it elevates the overall functionality of your DIY oasis. A well-planned shed can turn from a cluttered storage room into a versatile workshop, potting station, or even a cozy retreat. With a few creative storage solutions, you can make the most of every square inch, ensuring that your shed remains an efficient and welcoming space.
Vertical Storage Solutions
One of the easiest ways to increase storage in your garden shed is by utilizing the vertical space available. Consider installing shelving units that reach up to the ceiling. This not only keeps items off the ground but also makes room for less frequently used items on higher shelves. Products like tiered storage racks or wall-mounted pegboards are excellent for showcasing and organizing tools,pots,or gardening supplies.
- Shelving Units: Use sturdy shelving to store containers and tools, making them easy to access.
- Pegboards: hang tools and small accessories on pegboards to keep them visible and organized.
Utilizing Overhead Space
Don’t forget about the overhead area in your shed! Installing overhead storage racks can be a game changer, especially for seasonal items like holiday decorations or seldom-used gardening equipment. Make sure to use bins that can slide easily in and out of overhead storage for convenience. Alternatively, a simple hammock shelf can provide a unique way to store light items without compromising space.
Creative Container Solutions
Along with shelving and overhead space, using clear bins can vastly improve how you store smaller items. Visual access means you won’t have to dig through piles to find what you need. Labeling containers also streamlines the organization process. Consider the following options for effective storage:
| Container Type | Best For |
|---|---|
| Clear Plastic Bins | Tools, seeds, and small pots |
| Stackable Bins | Bulky items like bags of soil |
| Magnetic Strips | Metal tools like scissors and small trimmers |
By integrating these storage techniques, you not only enhance the usability of your shed but also foster an surroundings conducive to productivity and creativity. Remember, a well-organized space reflects a well-planned approach to your gardening and gardening projects, turning your shed into the transformative DIY oasis you envision.
Faq
How to Build Garden Shed: Transform Your Backyard with a DIY Oasis?
To build a garden shed, start by selecting a suitable location and obtaining necessary permits. You’ll need materials like wood, nails, and roofing, along with proper tools.Planning your design carefully is crucial to successfully create a functional and attractive DIY oasis.
Before you begin, it’s essential to understand local building codes as they frequently enough dictate size and materials used. A well-thought-out sketch or plan can definitely help streamline your project and make sure that everything you need is on hand. For a comprehensive step-by-step guide, check our related article on building tips.
What is the best material for a DIY garden shed?
The best materials for a DIY garden shed typically include wood for the frame,plywood for the walls,and metal roofing. Each material has its advantages, like durability and ease of installation, making them popular choices.
For instance, cedar or pressure-treated wood is often praised for its resistance to decay and insects, which can significantly extend the lifespan of your shed. It’s wise to choose materials that complement your backyard’s aesthetic while ensuring that your shed remains functional.
Why does planning a garden shed design matter?
Planning a garden shed design is essential as it defines size, layout, and functionality. A good design ensures you maximize space while addressing practical aspects like storage capacity and accessibility.
Consider factors such as local climate, intended use, and aesthetic appeal during the design phase. Drawing up a sketch and considering potential challenges ahead of time can simplify the construction process and help you avoid common pitfalls.
Can I build a garden shed without prior experience?
Yes, you can build a garden shed even if you have no prior experience. With thorough research,planning,and a clear set of instructions,many DIYers create beautiful sheds.
Start with simple designs and gradually take on more complex projects as your skills improve. Many resources, including instructional videos and articles, can provide step-by-step guidance and support your learning journey.
What tools do I need to build a garden shed?
To build a garden shed, you will need basic tools like a hammer, saw, drill, and level. Having the right tools makes the construction process smoother and more efficient.
Additional tools like a measuring tape, square, and safety gear are also recommended to ensure accuracy and safety. Consider borrowing tools or renting them if you don’t want to invest in a full set initially.
How much does it cost to build a garden shed?
The cost to build a garden shed can range from $300 to over $2,000, depending on size, materials, and design. Budgeting properly is crucial to avoid overspending.
Researching costs for materials and tools ahead of time will help you get a better idea of the overall expenses. It’s also worth considering DIY labor savings as doing the work yourself can significantly reduce your overall budget.
What are common challenges when building a garden shed?
Common challenges include dealing with uneven ground, aligning walls correctly, and ensuring a weather-tight roof. Anticipating these challenges early can definitely help you address them effectively.
Such as, leveling the ground before starting construction is critical. Also, double-check measurements during assembly to avoid misalignment. Solutions such as using concrete blocks for stability can definitely help overcome these issues while ensuring your garden shed stands strong.
Closing Remarks
As you embark on your journey to build a garden shed,remember that this project is more than just constructing a functional space—it’s creating a personal retreat that enhances your backyard oasis. By following the step-by-step process outlined here, you not only gain valuable skills in woodworking and design but also create a lasting structure that complements your outdoor lifestyle.
Start by considering your space, selecting the right materials, and planning your design meticulously. Feel free to tackle each stage at your own pace, and don’t hesitate to return to sections of this guide as needed. Challenges such as uneven ground or unexpected weather changes may arise, but with patience and a problem-solving mindset, you’ll find that each obstacle only adds to your craftsmanship.
Remember, quality is key—your garden shed should be a testament to your hard work and dedication. Take pride in every measurement, cut, and screw; each detail contributes to a project that reflects your unique style and needs.
Now that you have the tools and insights to get started, why not dive deeper? Consider exploring advanced techniques or innovative storage solutions to further enhance your shed. Engage with fellow DIY enthusiasts or share your progress; you never know who you might inspire along the way! With each small step, you’re not just building a shed—you’re cultivating a DIY spirit that transforms your backyard into a sanctuary of creativity. happy building!

