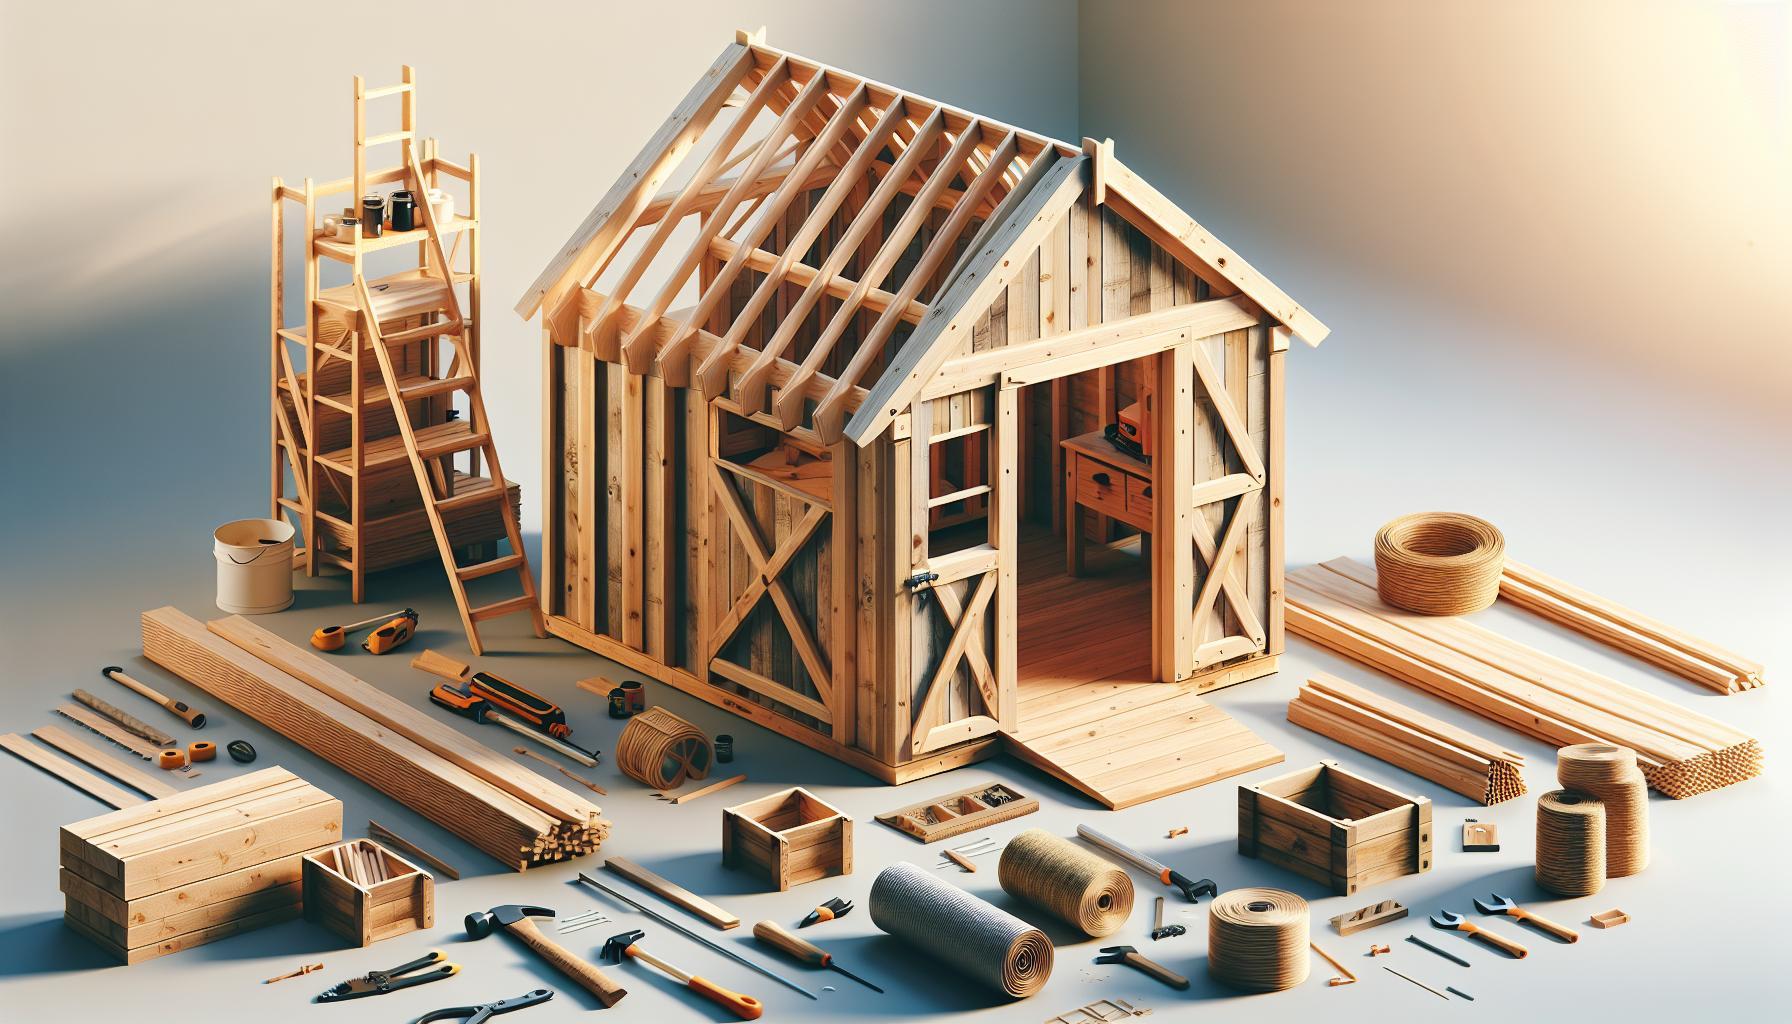
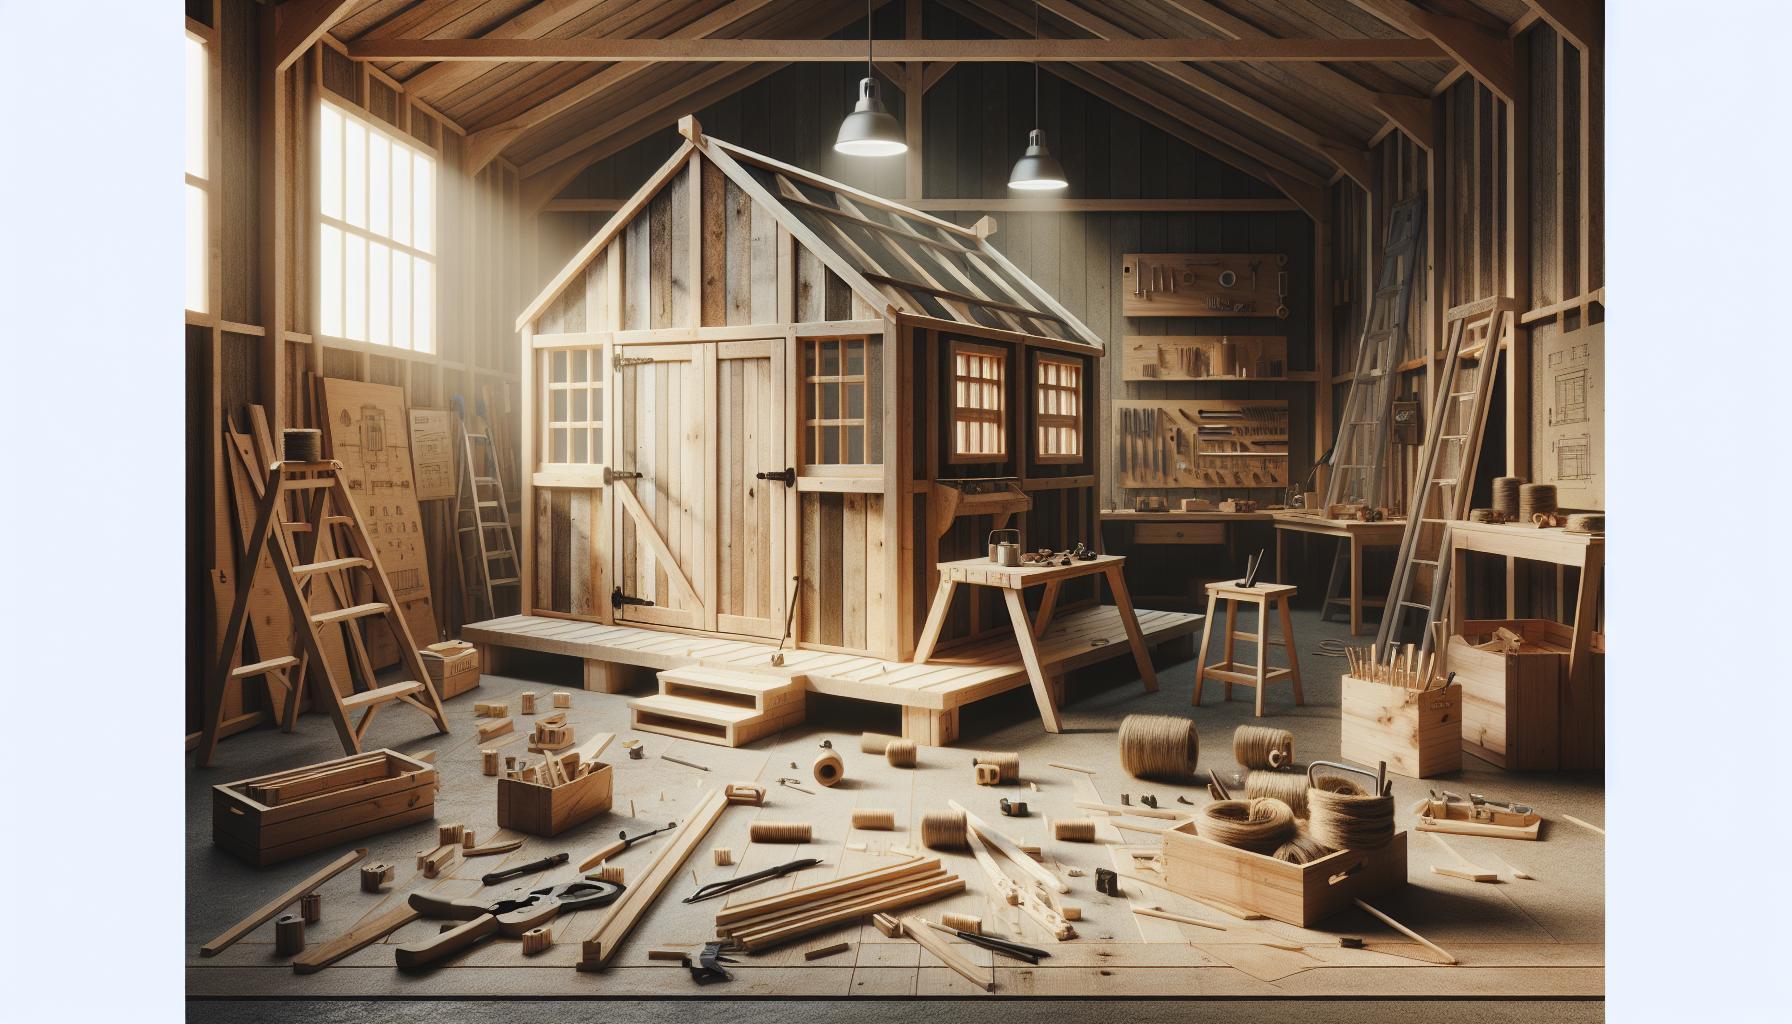
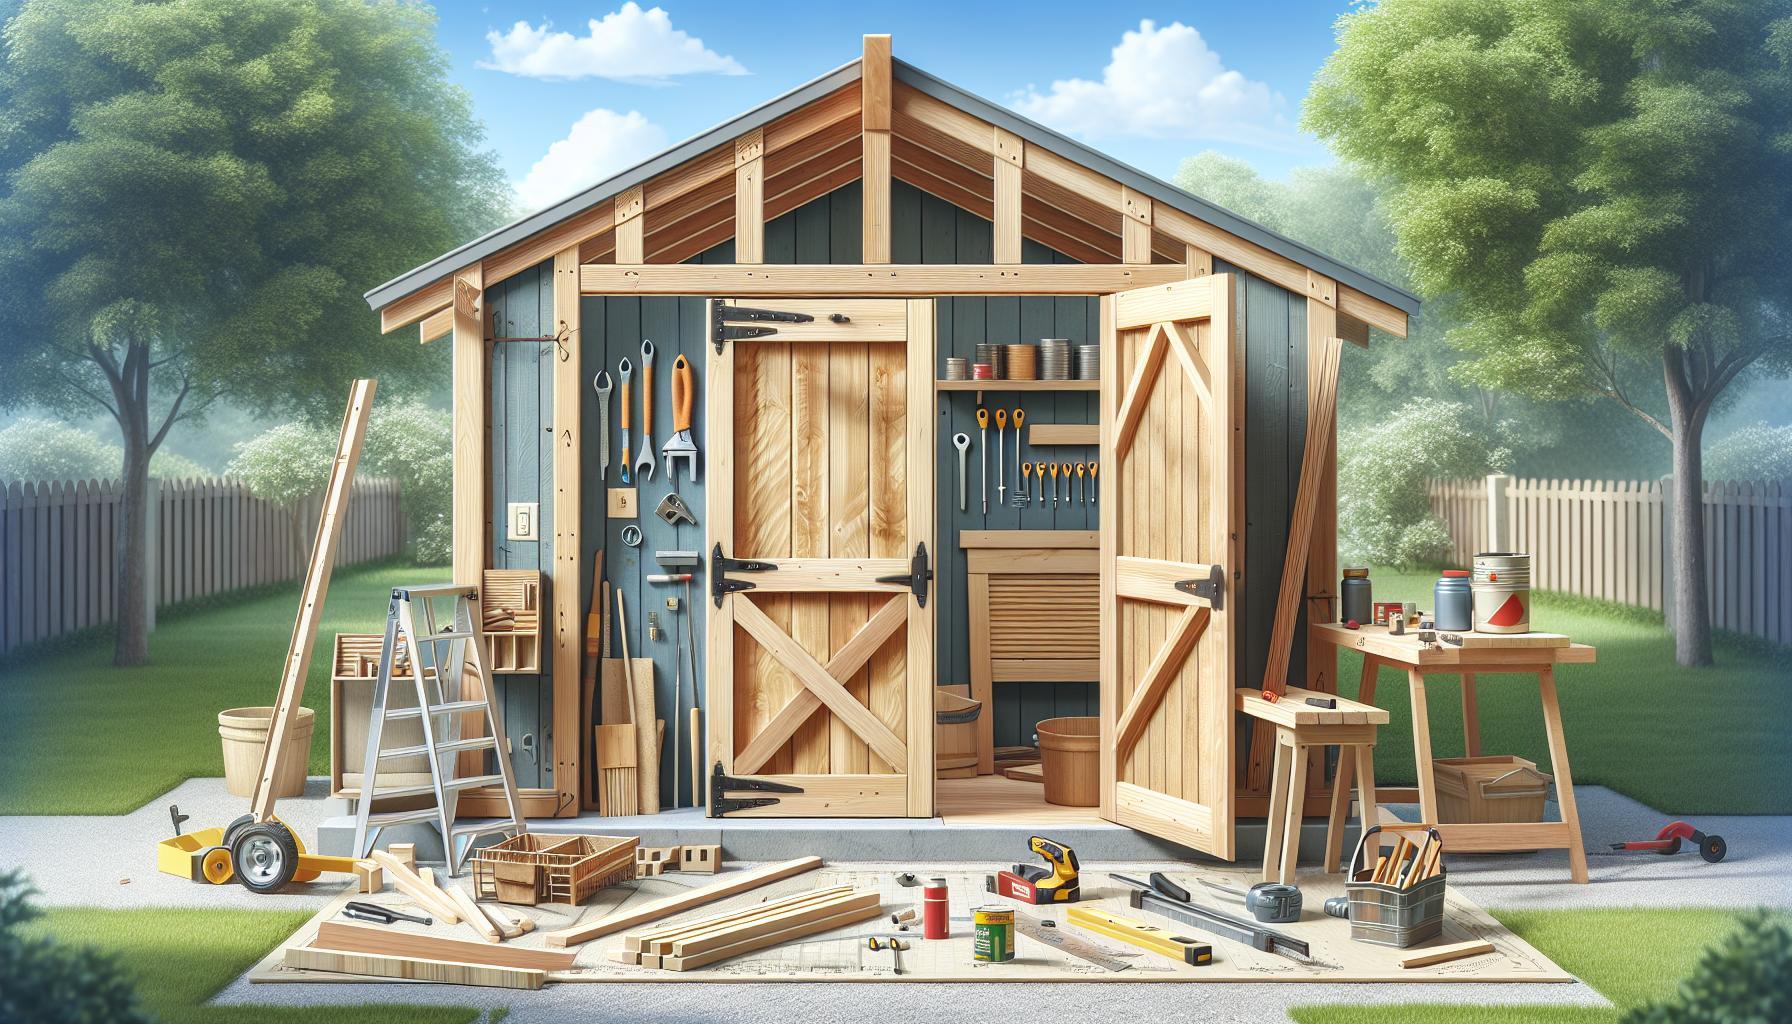
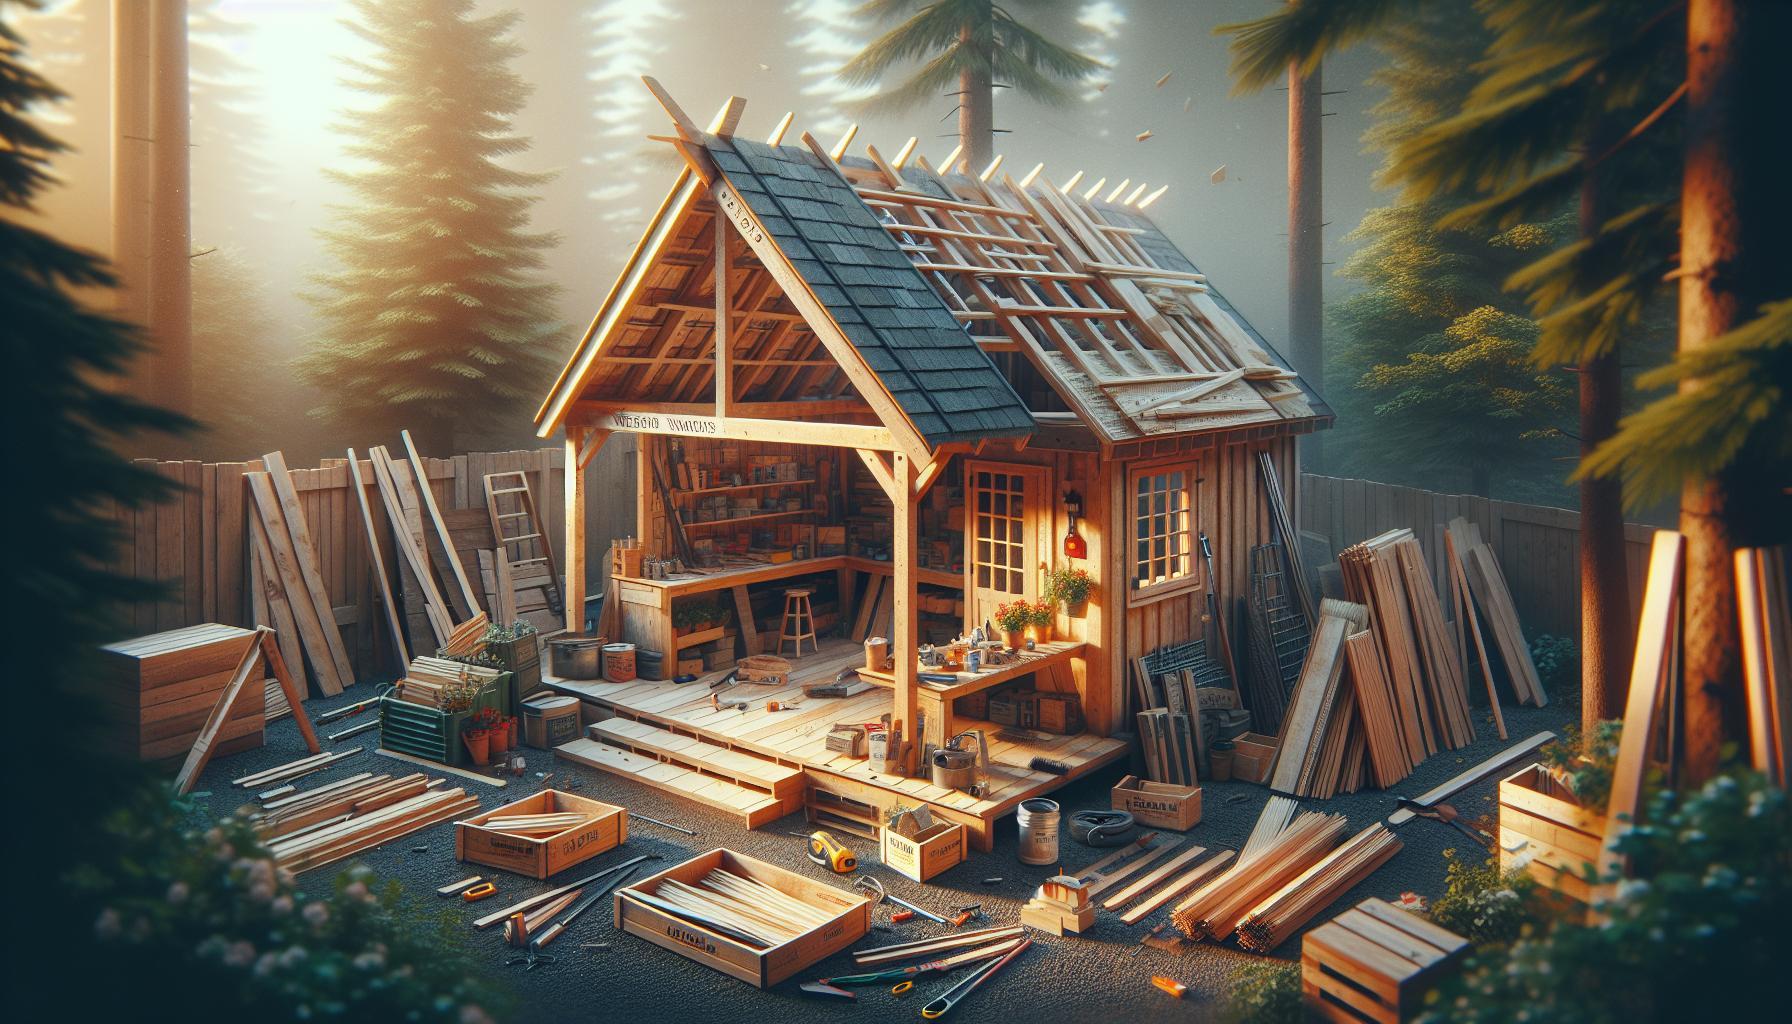
Are you tired of clutter taking over your outdoor space? Building a DIY shed can be the perfect solution, offering customizable designs to fit your specific storage needs. This guide will provide you with step-by-step plans, ensuring your new shed not onyl organizes your belongings but also enhances your yard’s aesthetics.
Understanding Your Storage Needs: Assessing What You truly Require
Understanding exactly what you need for your storage solution is the first and most crucial step in embarking on your DIY shed project.Many homeowners underestimate their storage requirements, leading to overcrowded spaces or poorly designed sheds that don’t meet their needs. By taking the time to evaluate your storage requirements thoroughly,you can create a custom shed tailored perfectly to your lifestyle and belongings.
One effective way to assess your storage needs is to categorize the items you plan to store. Begin by making a list that includes all the items needing organization. This can range from garden tools and seasonal decorations to hobby supplies or lawn equipment. Once you have a thorough inventory, consider the following factors:
- Functionality: How frequently will you access these items? Items used frequently enough should be easily reachable, while those used seasonally can be stored further back.
- Size: What dimensions do your largest items have? Ensure that your shed can accommodate these without compromising accessibility.
- Climate Control: Will you store sensitive materials that require protection from moisture or extreme temperatures? Consider insulation or ventilation in your design.
Another step in determining your needs involves visualizing the layout of your shed. Utilizing a simple floor plan can help you visualize where everything will go, maximizing space and minimizing clutter. You may also find it helpful to create dedicated zones within your shed. For example, a garden tools section, a storage area for seasonal decorations, and a workspace for DIY projects can make organization smoother.
| Item Category | Estimated size (ft) | Frequency of Use |
|---|---|---|
| Garden Tools | 2 x 3 | Weekly |
| Seasonal Decorations | 3 x 3 | Annually |
| Lawn Equipment | 4 x 5 | Bi-weekly |
| hobby Supplies | 2 x 2 | Monthly |
After assessing your items and their storage needs, you’ll have a clearer picture of what your DIY shed should look like. This foundational step is essential in crafting customized plans that ensure your shed serves its purpose effectively, making the most of the space and materials available to you in your endeavor to build a fitting storage solution.
Choosing the Right Location: Site Selection Tips for Your Shed
Choosing the right spot for your shed can make a significant difference in its functionality, accessibility, and aesthetics. The ideal location not only enhances the usability of your DIY shed, but it also helps to protect it from the elements, ensuring that your investment lasts for years. When deciding on the perfect site, consider factors such as sunlight exposure, drainage, and proximity to other structures.
Essential Considerations for Shed Placement
- Sunlight Exposure: Evaluate how much sunlight the location receives during the day. A well-lit spot can definitely help with natural lighting inside the shed, while also reducing moisture buildup which can lead to rot.
- drainage: Select a location that has good drainage to prevent water accumulation around the base of the shed. This can be achieved by choosing a spot that is elevated and ideally sloped away from your home and other structures.
- Accessibility: Ensure that the shed is conveniently located for easy access. it should be near your home or workspace and have a clear path leading to it. Consider how frequently enough you’ll need to use the shed and for what purposes.
- Proximity to Other Structures: Think about your surrounding garden or storage setups. Your shed should complement your existing space without crowding or blocking views. It can also be beneficial to have it close to utility areas if you plan to store tools and equipment.
A Practical Checklist for Selecting Your Shed Location
Before starting the building process,jot down a simple checklist to assess potential locations for your shed:
| Criteria | Notes |
|---|---|
| Sunlight | Amount of sunlight received throughout the day |
| Drainage | Evaluate water flow and wetness of the area |
| Accessibility | Distance from home,ease of route |
| Surroundings | Space between your shed and other structures |
By taking the time to carefully choose a location that meets these considerations,you can greatly enhance the utility and longevity of your DIY shed. Whether you’re storing garden tools,with plans outlined in the guide on how to build DIY shed: customizable plans for your exact storage needs,or using it as a workshop,the right location will help you get the most out of your new space.
Materials matter: A Guide to Selecting Durable and Cost-Effective Supplies
When it comes to constructing a DIY shed, the materials you choose can make or break your project’s success. Not only will high-quality materials ensure that your shed stands the test of time, but they can also help you avoid unexpected costs down the line. Selecting the right supplies often entails balancing durability, functionality, and budget. By understanding the strengths and weaknesses of different materials, you can tailor your choices to fit your unique storage needs while keeping costs manageable.
Key Considerations for Material Selection
Before investing your hard-earned money into materials, it’s crucial to consider several factors that will influence both the integrity of your shed and your overall satisfaction with the final product. Here are a few key aspects to keep in mind:
- Climate and Weather Conditions: The environment where you live dictates the materials that will perform best. For example, if you live in a rainy area, materials like pressure-treated wood and metal roofing will provide better protection against moisture.
- Intended Use: Will your shed serve as a simple storage space,or do you plan to use it for hobbies or workspace? If it’s the latter,you may want to invest in insulation and a solid floor to accommodate various activities.
- Aesthetic Appeal: Consider how the materials will harmonize with your home and the surrounding landscape. A well-chosen exterior can enhance the overall aesthetic of your property.
Material Types and Their Benefits
The variety of materials available for constructing a DIY shed can be overwhelming. To simplify your selection process, below is a comparison of some popular materials along with their pros and cons:
| Material | Durability | Cost | Maintenance |
|---|---|---|---|
| Wood | High (with treatment) | Moderate | Requires regular sealing and painting |
| Metal | Very High | Higher initial cost | Minimal, usually just cleaning |
| Vinyl | Moderate to High | Moderate | Minimal, resistant to rot and decay |
| Composite Materials | High | Higher | Low, designed for durability |
This comparison will help clarify which materials align with your building goals and budget. For instance, while metal might initially seem costly, its longevity and low maintenance requirements may prove to be a more cost-effective option over time.
make your shed a testament to thoughtful planning by assessing your choices meticulously. Investing the time and research into selecting high-quality, cost-effective materials will ultimately lead you to the ideal storage solution tailored to your needs. Whether you’re ready to dive into the project or still exploring options, knowing how to align your materials with your DIY vision is essential for a prosperous build.
Designing Your Shed: Creative Layout Ideas for Maximum Functionality
Designing a shed is more than merely choosing the right materials or paint colors; it’s about creating a functional space that meets your unique needs. With DIY shed projects gaining popularity, understanding how to strategically plan your layout can significantly enhance its utility. A well-thought-out design not only maximizes storage but also makes your shed a more enjoyable workspace, whether you’re gardening, tinkering, or accumulating supplies.
Step Up Your Storage Game
When considering how to build a DIY shed with customizable plans for your exact storage needs,think about the specific items you will store. This will inform your design choices, ensuring every square foot is used effectively.Here are some popular layout ideas that can definitely help you optimize your shed’s functionality:
- Wall-mounted Shelves: Utilize vertical space by installing adjustable shelving. This allows you to change configurations based on seasonal needs.
- Tool Organization: Create a designated tool wall with hooks and pegboards that keep everything visible and easily accessible.
- Corner Storage Units: use corner shelves or cabinets for items that typically get lost in larger setups, maximizing storage efficiency.
- A Work Bench with Built-in Storage: Incorporate a workbench that doubles as storage space with drawers or compartments to stow away tools and supplies.
Divide and Conquer: Zones of Functionality
Creating distinct zones is essential when designing your shed for maximum functionality. This not only declutters the space but enhances workflow.Consider the following zones:
| Zone | Purpose | Suggested features |
|---|---|---|
| Garden Supplies | Store soil, pots, and tools | Open shelving, hooks for tools |
| workshop Area | For building and assembly | Workbench, power outlet, tool storage |
| Seasonal Storage | Store holiday decorations, outdoor furniture | Stackable bins, overhead storage |
Personal Touches and Innovative Solutions
Customization doesn’t stop at mere function. Infusing your personality can make the shed a delightful retreat. You might consider installing solar lights for an eco-pleasant energy solution or screen doors for ventilation. Additionally, using luminous colors can definitely help lift your spirits during tasks.
Incorporating sliding or bi-fold doors can also save space and provide easy access to your organized zones. Whatever your preferences may be, remember that the best designs are those that reflect your storage needs while encouraging efficiency and creativity.By understanding how to build a DIY shed that is tailored to your exact requirements, you not only create a valuable asset but also enhance your enjoyment of the tasks at hand.
Step-by-Step Construction: Breaking Down the Building Process
Understanding the step-by-step construction process is crucial for successfully building a DIY shed tailored to your specific storage needs. Each phase of this journey will not only enhance your skills but also empower you with the knowledge to tackle future home betterment projects. The path may seem daunting at first, but breaking it down into manageable components makes it achievable, even for those new to DIY.
planning and Preparation
The very first step involves careful planning. Begin by outlining the dimensions of your shed; consider factors like the available space, intended use, and local zoning regulations. This is the stage to create a detailed list of materials based on the customizable plans available for your DIY shed project.Investing time in this phase can save you from costly mistakes later on. Common materials include wood for framing, plywood for walls, and shingles for roofing.
Remember, the right tools are as essential as the right materials. Make sure to gather or rent tools such as a circular saw, drill, and level.Here is a brief checklist to help you prepare:
- Design dimensions based on storage needs.
- Collect materials: wood, nails, screws, shingles, etc.
- Assemble tools: saw, drill, measuring tape, level.
- Check local building codes and permits.
Foundation and Framing
Once your preparations are in order, it’s time to get hands-on. The foundation is critical as it determines the stability of your DIY shed.Depending on your selected plan, you can choose a concrete slab or a wooden base. Here’s a fast summary of each foundation type:
| Foundation Type | Benefits |
|---|---|
| Concrete Slab | Durable, stable, and resistant to pests. |
| Wooden Base | Cost-effective and easier to install. |
Next, construct the frame of the shed, which generally consists of vertical support beams and horizontal plates. Ensure that all components are measured accurately and leveled correctly, as a strong frame will greatly enhance the overall integrity and durability of your shed. As you erect the frame, follow your customizable plans closely to ensure all parts fit together seamlessly.
Walls, Roof, and Finishing Touches
With the framing complete, you can now move on to building the walls. Use plywood panels for a sturdy structure, attaching them securely with nails or screws. Don’t forget to cut out spaces for windows and doors according to your plans. After securing the walls in place,the next focus should be the roof. Opt for a design that complements the aesthetics of your property while considering effectiveness against weather conditions.
once the walls and roof are erected, it’s time for finishing touches. Paint or stain your shed to protect it from the elements, and add hardware like door handles and locks for security. These elements not only enhance the functionality but also give your DIY shed a personalized feel.
By following these steps, you will not only have a durable storage solution tailored to your needs but also gain valuable experience that can be applied to future projects around your home.
Custom Features: Enhancing Your Shed with Personal Touches
Elevating the functionality and aesthetic of your shed can transform it from a simple storage solution into a reflection of your personal style and unique storage needs. Custom features not only enhance the visual appeal but also optimize the usability of your DIY shed,making it a space where you will enjoy spending time. Whether you are crafting a basic shed or following customizable plans for your exact storage needs,incorporating tailored elements can elevate your project significantly.
Functional Customizations
Think beyond mere storage; consider how your shed can serve multiple functions. Adding shelves and workbenches allows for organization and productivity.Here are some practical additions you might consider:
- Built-in shelving: Maximize vertical space by installing shelves at various heights. This allows for flexible storage of different items, from gardening tools to seasonal decorations.
- Workbenches: If you plan to use your shed as a workshop, create a sturdy workbench that can accommodate tools and projects. It can double as a potting bench or craft station.
- Overhead Storage: Utilize the ceiling for additional storage by installing overhead racks or using hooks for larger tools like ladders and long-handled items.
Aesthetic Touches
Personal touches can make your shed more inviting and enjoyable to use. From the color scheme to decorative elements, the possibilities are endless. Consider implementing these ideas:
- Exterior Finishes: Choose a color that complements your home or landscape. Adding decorative trim or shingles can enhance curb appeal.
- Windows and Lighting: Installing windows not only allows natural light in but also helps ventilate the space. Decorative outdoor lights make evening access easier and more appealing.
- Landscaping: Surround your shed with flower beds, gravel paths, or even a small patio area for added charm.
Smart Technology integration
As we embrace technology in all aspects of our lives, why not bring it to your DIY shed? Smart features can enhance security, efficiency, and even convenience. Consider these tech-savvy additions for your shed:
- Smart locks: Replace traditional locks with smart locks that can be controlled via smartphone app, ensuring easy yet secure access.
- Lighting Controls: Install motion-sensor lights or smart bulbs that can be adjusted remotely to illuminate the interior as you work.
- Climate Control: If you live in a region with extreme temperatures, consider a small heater or fan that can be controlled by your smartphone, keeping your shed comfortable year-round.
by thoughtfully incorporating these custom features into your DIY shed project, you’ll not only create a space tailored to your needs but also enhance its functionality and visual appeal. Each modification adds a personal touch, transforming your shed into a unique extension of your home.
Legal Considerations: Navigating Permits and Building Codes
Navigating the complexities of permits and building codes is a critical aspect that often trips up DIY enthusiasts when embarking on a project like constructing a shed. Understanding the legal considerations involved in building a DIY shed can save you time, money, and headaches down the line. Not only does adherence to these regulations ensure that your structure is safe and sturdy,but it also helps avoid potential fines or the need to dismantle your work if it’s deemed non-compliant.
Understanding Local Regulations
Researching local regulations is the first step in your journey to building a shed.Before you start assembling your customizable plans, check with your local zoning office to find out what is permissible on your property. Each jurisdiction has its own laws regarding:
- Required permits for construction
- Setback requirements—how far the shed must be from property lines
- Height restrictions on structures
- Design guidelines, including color and materials used
For instance, in many areas, permits are required if your shed exceeds a certain square footage, typically around 100 to 200 square feet. Failure to obtain necessary permits can result in fines and, in extreme cases, the requirement to remove your newly built shed.
Building Codes and Safety Standards
Once you have a grasp of the regulations,familiarize yourself with the local building codes that govern the design and construction of sheds. These codes are designed to ensure safety and quality in building practices. Vital aspects to consider include:
- Foundation requirements: Whether you need a solid foundation like concrete or a simpler pad
- Materials: Specifications for wood types, insulation, and weatherproofing
- Structural integrity: Guidelines regarding roof pitch and support beams to withstand local weather conditions
In some regions, codes may even dictate fire safety measures for outdoor structures, especially if you reside in an area prone to wildfires. It’s crucial to adhere to these codes not just for compliance but also to enhance the durability and longevity of your shed.
Permit Submission Process
When you’re ready to apply for permits, gather all necessary documentation, including detailed plans for your DIY shed. Some municipalities may require you to submit:
| Document | Description |
|---|---|
| Shed Plans | Detailed drawings and specifications |
| Site Plan | A layout showing your shed’s placement on the property |
| Proof of Ownership | Documentation proving you own the property |
| Permit Fees | Any applicable fees for processing the application |
Make sure to check for any local building inspections that may need to happen during or after construction. By carefully adhering to the legal requirements, you can enjoy the process of building your shed and have peace of mind knowing that you’ve followed the rules all while customizing your space to fit your exact storage needs.
Maintenance Tips: Keeping Your Shed in Top Condition for Years to Come
Keeping your shed in prime condition is essential for ensuring it serves its purpose effectively for years to come. A well-maintained shed not only enhances your property’s aesthetic but also protects your valuable tools and equipment from the elements. Regular upkeep can significantly extend the lifespan of your structure,which is critical whether you’ve followed guidelines on how to build a DIY shed or opted for premade solutions.
Routine Checks and Cleaning
Establishing a regular maintenance schedule is key to preserving your shed. Here are some practical steps to include:
- Inspect for Damage: Check the roof for missing shingles or signs of water leakage, and examine the walls for cracks or rot.
- Clean Gutters and Drains: Keep gutters clear to prevent water accumulation that can lead to structural damage.
- Organize Contents: regularly declutter and organize your shed’s interior, ensuring that tools are stored properly to avoid wear and tear.
- Remove Pests: Be proactive in checking for signs of pests such as rodents or insects, and promptly address any issues.
Seasonal Maintenance Tasks
Different seasons bring unique challenges that can impact your shed’s integrity. Here’s a simple seasonal checklist to follow:
| Season | Maintenance Task |
|---|---|
| Spring | Inspect for winter damage; clean and lubricate hinges and locks. |
| Summer | Check for heat-related warping; repaint or treat wood to protect against UV damage. |
| Fall | Prepare for winter by winterizing outdoor tools; check the roof and drainage systems. |
| Winter | inspect snow load on the roof; clear any fallen debris periodically. |
protective Measures
taking steps to safeguard your shed can save you time and money in the long run. Consider these protective measures:
- Weatherproofing: Apply weather-stripping around doors and windows to keep moisture out.
- Paint and finish: Choose high-quality paints or stains to protect wood surfaces,and reapply them every few years.
- install Ventilation: Enhance airflow with vents to reduce humidity and prevent mold buildup.
By integrating these maintenance tips into your routine, you’ll ensure your shed remains a reliable storage solution, no matter how you approached the construction process. Remember, the better you care for your shed, the longer it will serve your needs effectively, allowing you to focus on what’s stored inside rather than the structure itself.
Faq
How to Build DIY Shed: Customizable Plans for Your Exact Storage Needs?
Building a DIY shed involves understanding your storage needs, selecting materials, and following customizable plans. You’ll want to start by designing a layout that fits your garden or yard, ensuring it serves your specific purposes effectively.
Begin by considering the size and style of the shed you envision. many DIY enthusiasts create personalized designs, allowing versatility for everything from garden tools to outdoor furniture. Explore our detailed guide on shed plans tailored to various needs!
What materials do I need to build a DIY shed?
To build a DIY shed, you’ll typically require wood, nails, roofing materials, and foundation supports. The exact materials will depend on the dimensions and type of shed you plan to construct.
Common materials include pressure-treated lumber for the base and walls, plywood for the exterior, and shingles for the roof. Ensure that you choose materials that can withstand local weather conditions. You may also consider adding insulation if you plan to use the shed year-round.
Can I customize my DIY shed design?
Yes, customizing your DIY shed design is not only possible but encouraged to meet your specific storage needs. You can alter the dimensions, materials, and features to create a shed that is uniquely yours.
Customization options might include adding windows for natural light, choosing specific door styles, or installing shelves for organization. Use the available custom plans to inspire your design and layout choices!
Why does site preparation matter for my DIY shed?
Site preparation is crucial as it affects the stability and longevity of your shed. A well-prepared site prevents water accumulation and insect damage while ensuring proper drainage.
Begin by selecting a level area free of debris and vegetation. Consider building a solid foundation using concrete blocks or a timber frame. This foundational work will help avoid premature wear and extend the usefulness of your shed significantly.
What tools do I need to build a shed?
Essential tools for building a shed include a circular saw, hammer, level, and measuring tape. These tools will help you accurately cut and assemble the materials needed for your shed.
Additional helpful tools can include a drill for pre-drilling holes, a square for ensuring right angles, and safety equipment like goggles and gloves. Investing in quality tools can make construction easier, so consider borrowing or renting if you don’t yet own them.
Can I legally build a DIY shed in my backyard?
yes, but legal regulations must be followed. Before building a DIY shed, check your local zoning laws and building codes to ensure compliance with restrictions on size, location, and usage.
In some areas, you may be required to obtain a permit. Understanding these regulations beforehand can save you from potential fines or having to take down your shed later. Always consult with your local building department to clarify any concerns you might have.
How long does it take to build a DIY shed?
The time it takes to build a DIY shed varies based on size, complexity, and your skill level.Generally, a small to medium-sized shed can take anywhere from a few days to a week to complete.
First-time builders might take longer,especially when factoring in learning curves for specific techniques. However, breaking the process into manageable parts can help streamline your construction tasks and keep you motivated throughout the build!
Concluding Remarks
embarking on the journey to build a DIY shed tailored to your specific storage needs can be both an invigorating and rewarding experience. As you’ve learned, having access to customizable shed plans not only allows for personal expression and functionality but also contributes to environmental sustainability through the use of local materials. For beginners, the meticulous step-by-step guides provide a solid foundation, while seasoned builders can leverage advanced techniques and ideas to elevate their projects.
Remember, practical considerations such as local building codes, zoning laws, and budget constraints are essential aspects of planning your build. by combining creativity with pragmatic execution, you can create a space that meets your needs and harmonizes with your outdoor environment. We encourage you to explore the myriad of free resources available, such as detailed plans and material lists, to start your building adventure. Dive into the process with enthusiasm, knowing that every effort you put into crafting your shed contributes to a fulfilling sense of accomplishment.Stay inspired, and don’t hesitate to share your journey with a community of fellow enthusiasts who share your passion for building!

