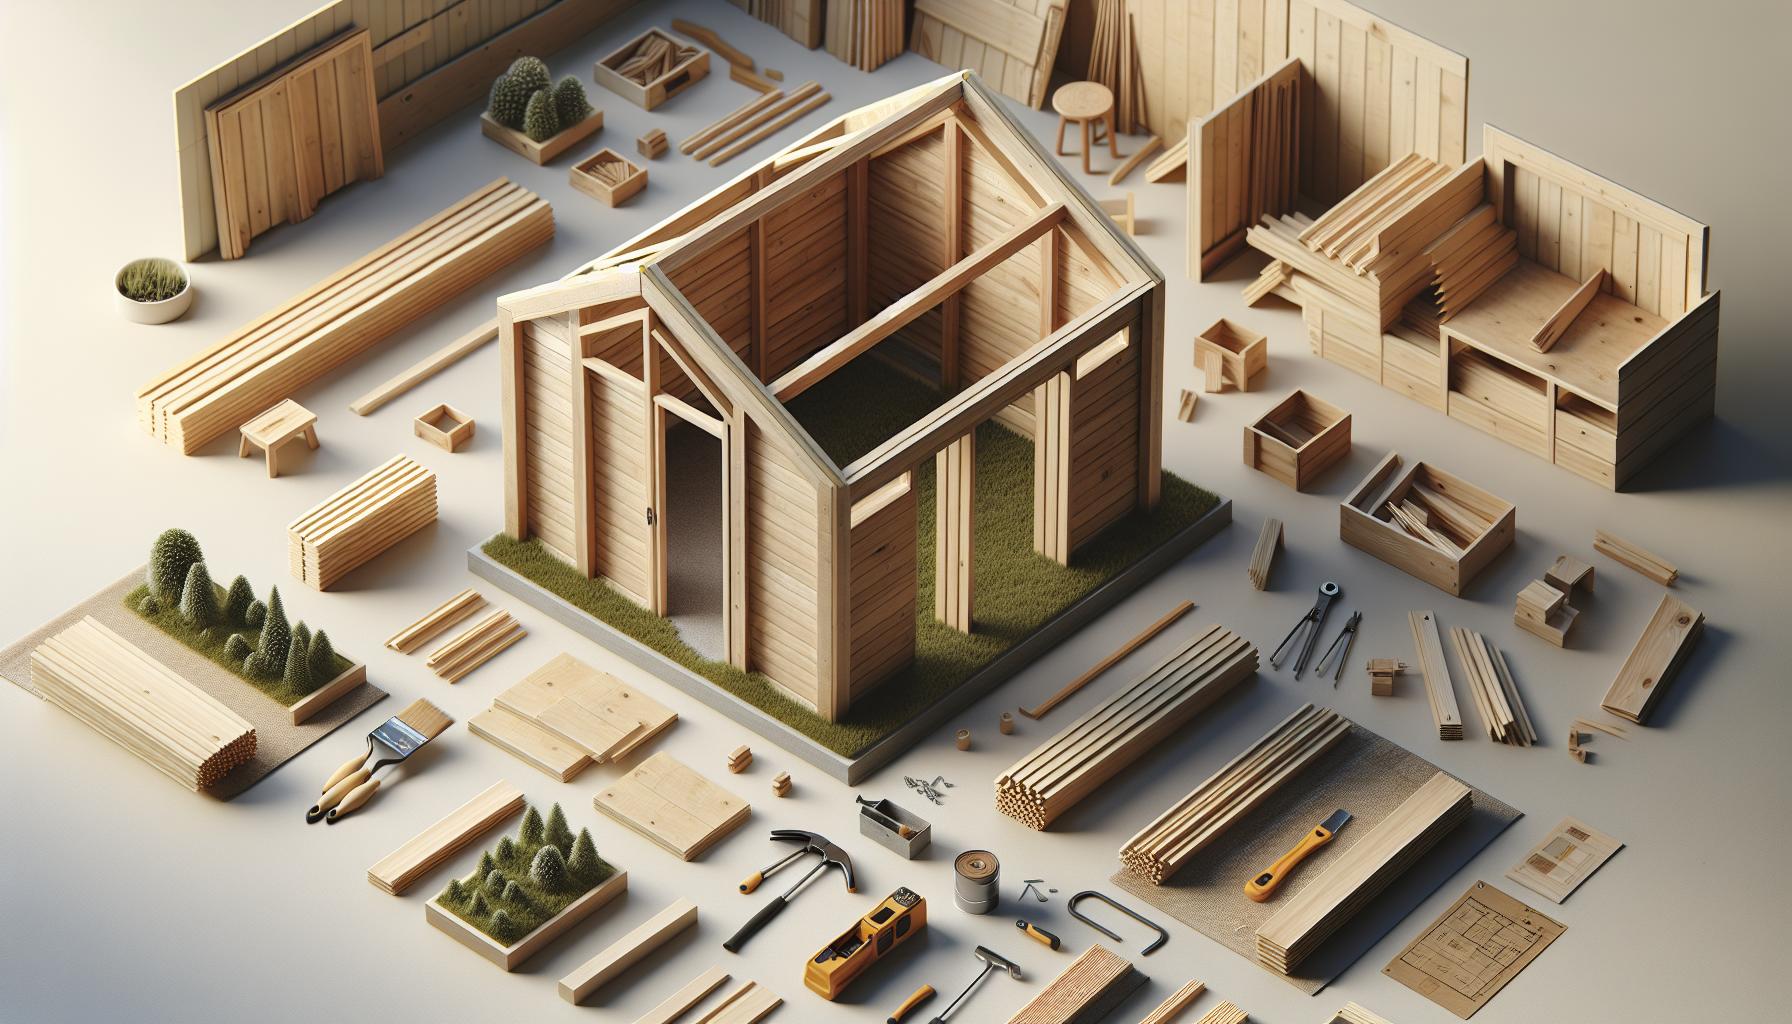
Struggling with clutter and disorganization in your yard? A simple shed can provide essential storage without overwhelming your space or budget. This guide will walk you through straightforward,no-frills construction steps to create a functional shed,helping you reclaim your outdoor area while enjoying the satisfaction of DIY.
Understanding Your Shed Needs: Assessing Size and Purpose
When embarking on the journey to construct a shed, understanding your specific needs is paramount. A shed isn’t just a structure; it’s a functional space that should align with your goals, weather for storage, hobbies, or even a small workshop. Establishing a clear vision for what you require is the first step toward a successful build. By assessing the intended purpose of your shed, you can drastically influence its design, dimensions, and layout.
Defining the Purpose of Your Shed
Before outlining the size, consider the primary function of your shed. Will it be used for gardening tools,recreational gear,or as a workspace? Each purpose demands a different approach in terms of size and layout.For instance, a garden storage shed can remain compact, while a hobbyist workshop might need ample space for tools and equipment. Notably, think about future needs as well; perhaps you will want to store additional items or set up workspace features that may not be necessary today.
Assessing Size Requirements
Size is crucial in shed planning. An oversized shed can waste material and budget, while an undersized one may lead to overcrowding and disorganization.Here are a few pointers to help you determine the right size:
- Inventory Your Items: List everything you plan to store and measure larger items to ensure they will fit comfortably.
- Future Needs: consider your long-term storage needs; leaving extra space can prevent future headaches.
- Space Constraints: Ensure there’s enough room in your yard for access around the shed and for any landscaping.
Practical Examples of shed Sizes
To visualize your requirements better, here’s a simple breakdown of different shed sizes and their ideal uses:
| Size | Ideal Use | Example Items |
|---|---|---|
| 4′ x 6′ | Small Garden tools | Rakes, Shovels, Lawn Equipment |
| 8′ x 10′ | Hobby Shed | Tools, craft supplies, small Equipment |
| 10′ x 12′ | Workshop | Power Tools, Workbenches, shelving |
| 12′ x 16′ | Multi-Use Space | Extra Storage, Recreational Gear, Workspace |
By carefully evaluating your storage needs and planning accordingly, you not only streamline your project but can also ensure that your new structure serves you well for years to come. These thoughtful preparations will aid in realizing your vision of how to build a basic shed using no-frills construction techniques.
Essential Tools and Materials: What You Really Need for Your Shed
When embarking on the journey of constructing a basic shed, the right tools and materials can significantly streamline the process and enhance the quality of the final product. While it might be tempting to rush into the build, taking the time to gather everything you’ll need not only saves frustration later on but also contributes to the overall success of your project. Below, we delve into the essential tools and materials that will empower you to create a robust storage solution without unnecessary complexity.
Essential Tools
To get started, it’s vital to ensure you have all the necessary tools on hand. Here’s a list of must-have tools for your basic shed construction:
- Measuring Tape: Accuracy is key, so measure twice, cut once. A 25-foot measuring tape will suffice for most shed projects.
- Level: Ensuring everything is level will prevent future issues with doors and roofing.
- Saw: A combination of a circular saw and a hand saw will help you make both straight cuts and intricate ones as needed.
- Drill: A cordless drill is essential for both drilling pilot holes and driving screws.
- Hammer: A reliable hammer is crucial for framing and fastening materials.
- Screwdriver Set: While many screws can be driven with a drill, a set of screwdrivers is handy for precision work.
- Safety Gear: Don’t forget safety goggles, ear protection, and gloves to keep yourself safe while working.
Necessary Materials
After gathering your tools, you’ll need to pick out the right materials for your shed. This directly impacts the durability and functionality of your storage space. Here are the basic materials to consider:
| Material | Description | Purpose |
|---|---|---|
| Pressure-Treated Lumber | Wood treated to resist rot and insects. | Framework, flooring, and base. |
| Plywood | Durable sheet made of thin layers of wood. | Walls and roofing. |
| Roofing Material | Asphalt shingles or metal panels. | Weatherproofing the top of your shed. |
| Fasteners | Screws and nails suitable for wood construction. | Joining various parts of the shed. |
| Paint or Stain | Protective finish to prevent decay and enhance aesthetics. | aesthetic finish and protection against weathering. |
By utilizing these essential tools and materials, you’ll set a solid foundation for creating a practical and efficient shed.Each item plays a pivotal role in ensuring your project is executed smoothly,reflecting the core principles of no-frills construction that make building a basic shed a rewarding experience. With the right readiness,you can confidently approach your build,transforming your ideas into reality while enjoying the journey along the way.
Step-by-Step Planning: Designing Your No-Frills Shed Layout
Creating a functional and efficient layout for your shed is crucial to maximizing its utility while keeping the construction process straightforward. When you’re considering how to build a basic shed focused on essential storage, meticulous planning of your shed layout can make all the difference. A well-thought-out design not only enhances accessibility but also allows for the optimal use of space, which is especially important in a no-frills shed that prioritizes functionality over aesthetics.
Identifying Your Storage Needs
Before diving into the layout, take a moment to assess what items you plan to store in your shed. This assessment will guide your design decisions. Consider the following:
- Tools: Are you storing lawn equipment, gardening tools, or hand tools?
- Seasonal items: Will you need space for holiday decorations or outdoor furniture?
- Bulk storage: Do you require shelving or wall-mounted storage for larger items?
By understanding your storage requirements, you can effectively allocate space for each item and ensure that frequently used tools are easily accessible.
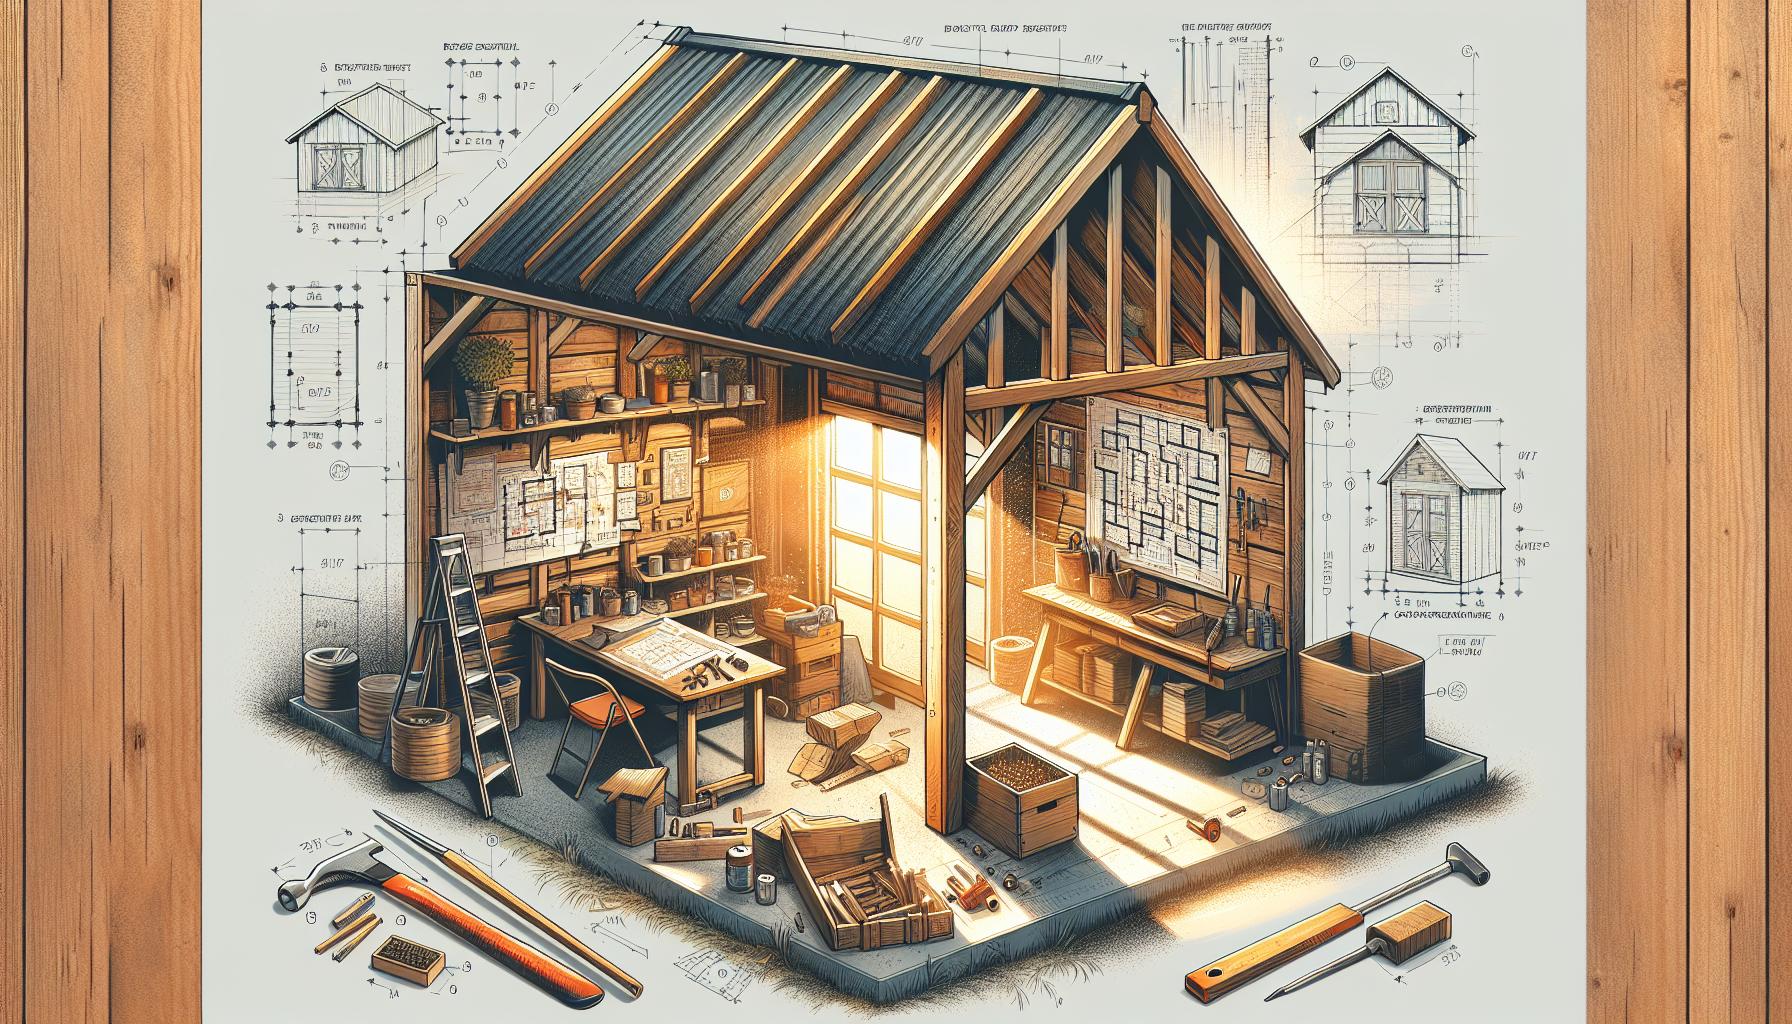
Sketching Your Layout
once you’ve identified your storage needs, it’s time to create a rough sketch of your shed’s layout. Consider a simple rectangular shape,which is both easy to construct and offers versatile storage options.Use graph paper or a digital design tool to draw to scale:
| Area | Purpose |
|---|---|
| Front section | entryway and space for frequently used tools |
| Middle section | Storage shelves for smaller items and bins |
| Back section | Large items (e.g., lawn mower, wheelbarrow) |
In your sketch, indicate where you will place hooks, shelves, and any larger fixtures. This visual layout will serve as a blueprint for your construction process and will help you visualize the flow of movement within the shed.
Planning for Access and Mobility
Accessibility is a key factor in a no-frills construction project. Ensure that there’s enough space to maneuver around your shed. Consider leaving a clear aisle of at least 3 feet wide to facilitate movement, especially if you’re storing larger tools or equipment.Incorporating wall-mounted storage options like pegboards can help keep the floor space open and eliminate clutter.
Maintain flexibility in your design so you can adjust it based on the evolving needs of your tools and materials. This adaptability can be notably useful for seasonal changes or new items that might need storage as your collection grows.By taking these steps and emphasizing practicality, your shed layout can evolve into a well-organized, highly functional space that effectively serves its purpose, making your building experience both satisfying and productive.
Foundation Basics: Choosing the Right Base for Stability
Choosing the right base for your shed is essential to ensure durability and stability over time. A solid foundation prevents water damage, pest infestations, and structural issues, laying the groundwork for a reliable storage solution. When considering how to build a basic shed with no-frills construction, understanding the different types of foundations available can help you make an informed decision for your project.
Types of Shed Foundations
When it comes to building your shed, here are a few popular foundation options to consider:
- Concrete Slab: A concrete slab provides a sturdy and long-lasting foundation. It’s particularly useful for larger sheds that will hold heavy equipment or tools.
- Wooden Skids: Using pressure-treated wooden skids is a common choice for smaller sheds. This method involves placing the shed frame on horizontal beams which allow for better drainage and flexibility.
- Concrete Blocks: Employing concrete blocks can be an economical choice. You will set these blocks periodically under the shed for support, which can raise it off the ground and reduce moisture exposure.
- Compact Gravel: For a low-cost solution, a compacted gravel foundation offers decent drainage and stabilizes the shed without extensive groundwork.
Factors to Consider
When selecting the appropriate foundation, evaluate these important factors:
| Factor | Concrete Slab | Wooden Skids | Concrete Blocks | Compact Gravel |
|---|---|---|---|---|
| Cost | Higher initial cost for materials | moderate; skids are relatively inexpensive | low to moderate; depends on block quality | Low; mainly just gravel needed |
| Durability | Very durable and long-lasting | Less durable; prone to rot in wet conditions | Moderate; susceptible to settling | durable but may require maintenance |
| Ease of Installation | Requires concrete pouring; not DIY-amiable | Easy installation; minimal tools necessary | Somewhat easy; requires leveling | Very easy; simple excavation and leveling |
By weighing these factors based on your specific needs, you can ensure that your shed is constructed on a solid foundation that meets your storage requirements effectively. Whether you choose a straightforward gravel base or a robust concrete slab, each option has its pros and cons. Ultimately, the right base is crucial for successful shed construction, making your storage solution reliable and efficient for years to come.
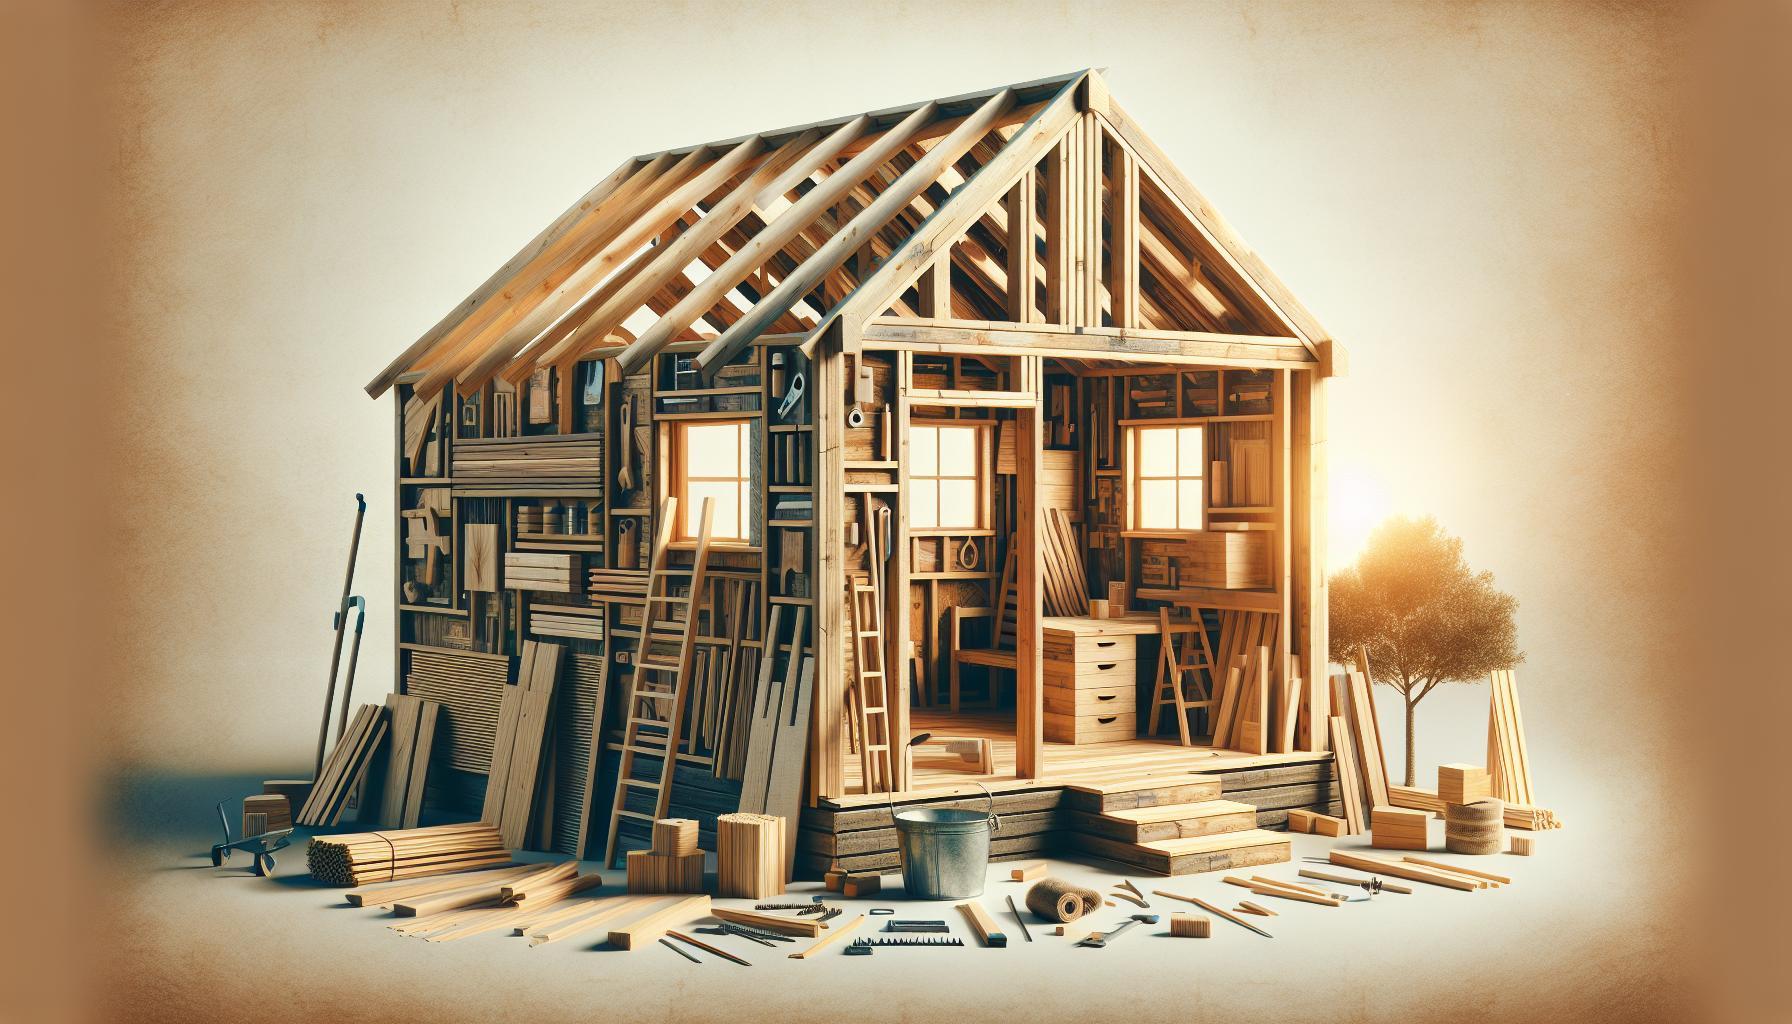
Building the Frame: Simple Techniques for a Sturdy structure
When embarking on the journey of constructing a basic shed,the most critical phase lies in creating a solid frame. A sturdy structure is paramount, not just for aesthetic reasons, but for longevity and functionality as well. Effective framing serves as the backbone of your shed,supporting everything from the roof to the walls.By employing some straightforward techniques, you can ensure that your shed stands strong against the elements and provides years of dependable service.
Selecting Your Materials
Choosing the right materials is the first step toward building a reliable frame. Opt for pressure-treated lumber for the base, as it resists rot and insect damage. For the walls and roof, choose high-quality plywood or OSB (oriented strand board). Each of these materials contributes to the overall durability of your shed. Here are some essential components you’ll need:
- 2x4s or 2x6s for wall studs and framing
- 4x4s for skids or foundational supports
- 3/4-inch plywood for floor and roof sheathing
- Galvanized nails or screws to prevent rust
Creating a Level Foundation
A stable foundation is the bedrock of your shed’s frame. Start by choosing a location that has good drainage and minimal slope. Create a level area, and if necessary, use a gravel bed to help with drainage and stability. For basic sheds, a simple skids method with 4×4 pressure-treated lumber works wonders. Securely set these skids on blocks or concrete piers to prevent contact with moisture from the ground underneath. Here’s a quick visual breakdown of how to set the foundation:
| Foundation Type | Description |
|---|---|
| Skids | pressure-treated beams laid horizontally for support. |
| Blocks | Concrete blocks placed at intervals to lift the structure. |
| Piers | Concrete piers set in holes for a more permanent solution. |
Assembling the Frame
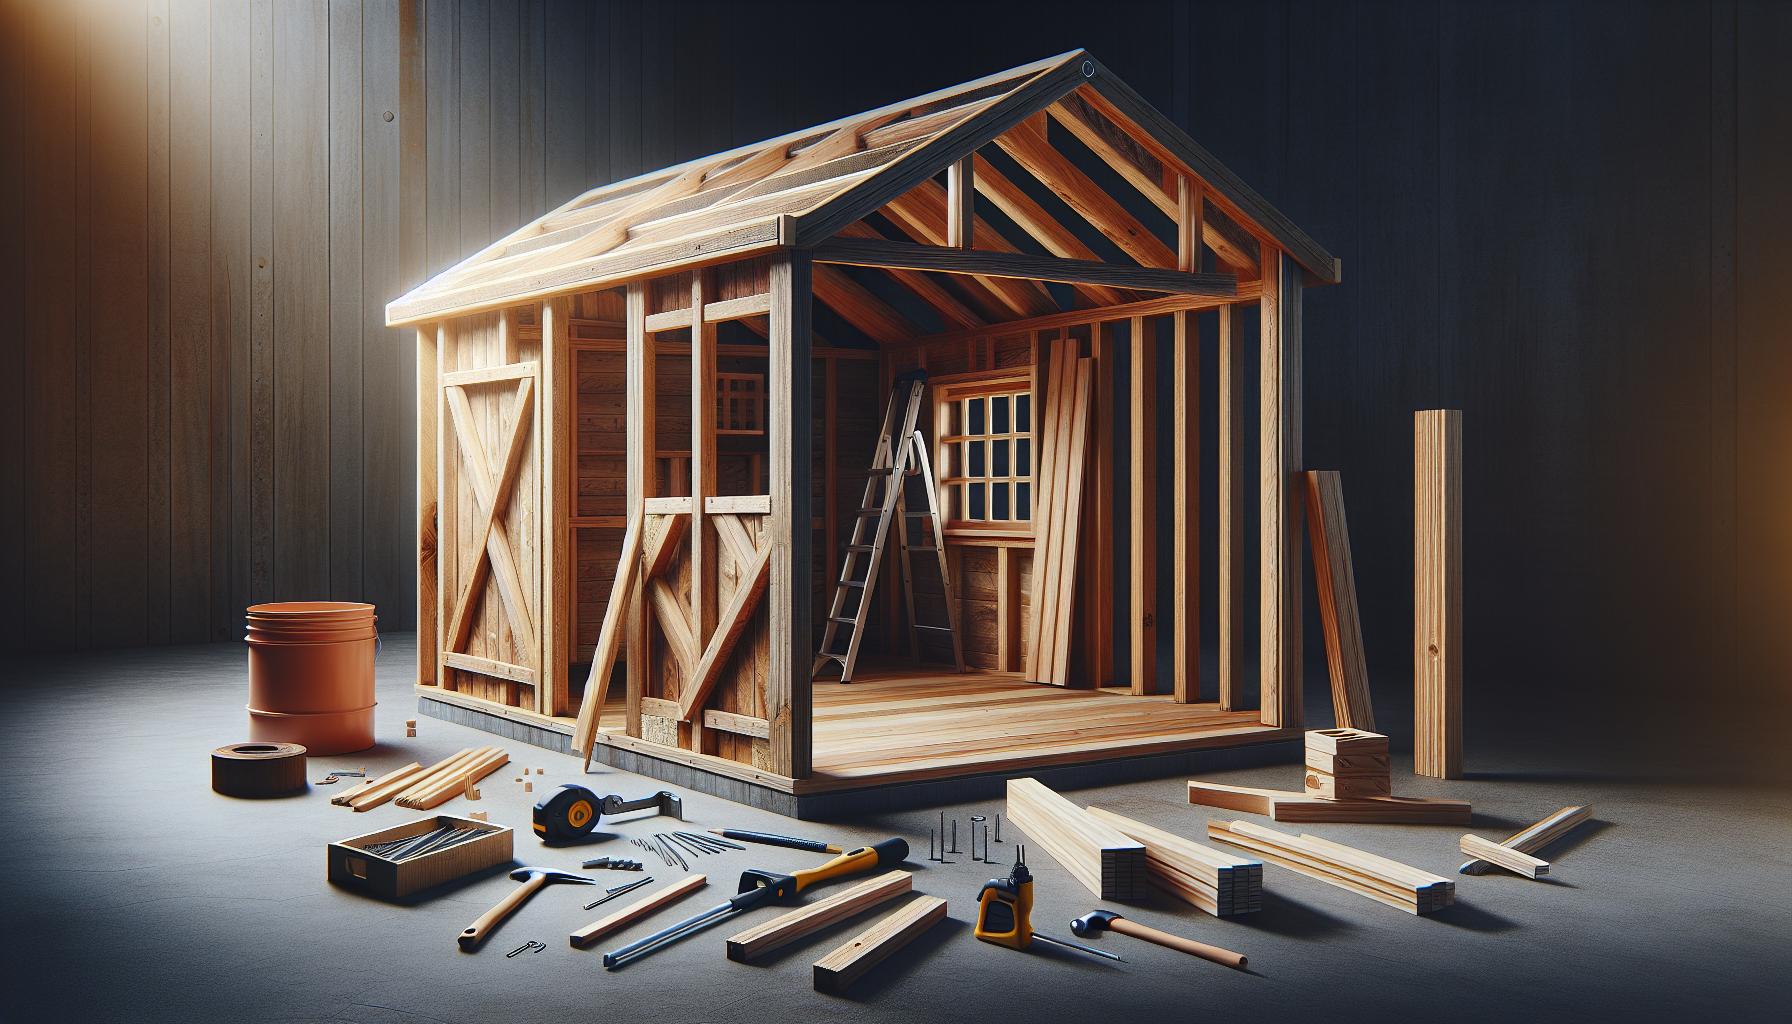
Once your foundation is ready, it’s time to assemble the frame. Start by measuring and marking the dimensions of your shed on the ground, ensuring that they align with your plans. Cut your 2x4s for the walls, making every effort to maintain uniformity in height and spacing. Aim for wall studs to be spaced 16 inches apart for optimal support. Utilizing a square during this process ensures plumb and level walls.Once the pieces are in place, secure them using galvanized screws for a tight fit, adhering to the plan laid out in your shed design.
As you construct, don’t forget to incorporate cross-bracing in your walls. This technique not only reinforces the structure but prevents the walls from swaying or bowing over time. Following these techniques, you will have a robust frame, ready to carry the next phases of your no-frills shed building project.
Roofing Options: Selecting the Best Cover for Your Shed
Choosing the right roofing material for your shed is crucial not just for aesthetics, but also for practicality and durability.A well-selected roof can protect against weather elements, enhance the lifespan of the structure, and improve overall functionality. Exploring various options will ensure that your investment in storage is both effective and long-lasting, tailored to your unique needs.
When considering roofing for your shed, it’s essential to weigh the pros and cons of various materials available in the market. Some popular choices include:
- Asphalt Shingles: Affordable and easy to install, asphalt shingles are a common choice for many homeowners. They come in a variety of colors and styles, typically lasting 15 to 30 years.
- metal Roofing: known for its longevity, metal roofing can last up to 50 years. It’s lightweight, energy-efficient, and resistant to fire. though, it can sometimes be more expensive upfront.
- Wood Shingles: Offering a classic and natural look, wood shingles are attractive but require regular maintenance to prevent rot and insect damage.
- Rubber Roofing: This eco-friendly option is durable and weather-resistant, making it a great choice for sheds that might see varied weather conditions.
Key Considerations
Each roofing material comes with its own set of characteristics that may sway your decision. as an example, while asphalt shingles are cheaper, they may need to be replaced sooner compared to metal roofs. On the other hand, if you live in an area with heavy snowfall or rainfall, roofing options like metal or rubber provide superior performance in shedding water and snow.
To help you make an informed decision, consider the following factors:
| Material | Estimated Lifespan | Cost per Sq. Ft. | Maintenance |
|---|---|---|---|
| Asphalt Shingles | 15-30 years | $2.08 – $3.56 | Low |
| Metal Roofing | 50+ years | $3.00 – $6.00 | Very Low |
| Wood Shingles | 20-30 years | $4.00 – $7.00 | High |
| Rubber Roofing | 30-50 years | $3.50 – $5.00 | Low |
Ultimately, selecting the best cover for your shed involves balancing cost, durability, maintenance, and local climate conditions. By considering these factors and understanding the properties of each roofing option, you can ensure your shed remains a functional and aesthetic addition to your yard for years to come. Whether you are constructing your shed from scratch or upgrading an existing structure, making the right choice now will save you from future headaches.
Weatherproofing Your Shed: Protecting Your Investment Against the Elements
When investing time and resources into constructing a shed, it’s crucial to consider how to keep that structure safe from the often unpredictable whims of nature. Weatherproofing your shed is not just about prolonging its lifespan; it’s about protecting your tools, equipment, and everything else you store inside.A well-protected shed can fend off moisture, prevent rot, and withstand storms, ensuring your investment remains sound for years to come.
Assessing Your Location
Before diving into the weatherproofing process, evaluate your shed’s surroundings. The geographical area you reside in significantly influences the measures you should take. As an example, regions prone to heavy rain will need different treatments compared to those that face harsh winters or extreme heat.here are some factors to consider:
- Humidity Levels: High humidity can lead to mold and mildew inside your shed.
- Temperature Extremes: Areas with fluctuating temperatures may require insulation and temperature-resistant materials.
- Precipitation Patterns: Frequent rain or snow buildup necessitates a solid roof and drainage solutions.
Building Materials and Design Tips
The choice of materials for your shed plays a vital role in weatherproofing it effectively. Opt for weather-resistant materials that can handle moisture and UV exposure. Here are some recommended materials and techniques:
| Material | Benefits | Considerations |
|---|---|---|
| Pressure-treated wood | Resistant to rot and insects | Higher cost and requires maintenance |
| Metal siding | Durable and fire-resistant | Can rust if not properly coated |
| Vinyl siding | Low maintenance and weather resistant | May fade over time |
| Composite materials | Combines durability with resistance to weather | Can be more expensive upfront |
Roofing is another critical component that requires careful planning. Consider using a sloped roof for efficient rainrunoff or investing in quality shingles designed to withstand extreme weather. Additionally, ensure that all joints and seams are sealed with high-quality caulk to prevent water leaks.
Sealing and Insulating
Once you’ve chosen the right materials and design, the next step is proper sealing and insulation. Start by sealing the foundation and any gaps around doors and windows with weather stripping to keep drafts and moisture out. Here are some useful measures:
- Install Gutters: Proper drainage is essential to divert water away from your shed.
- Insulate Walls: Use foam board or fiberglass insulation to keep internal temperatures stable, especially in regions subject to extreme temperatures.
- Paint and Finish: A good coat of paint or finish can act as a barrier against moisture,especially on wood surfaces.
By investing in proper weatherproofing techniques, you can ensure that your basic shed remains a reliable storage solution. Following the practical advice outlined in How to Build Basic Shed: No-Frills Construction for Essential Storage, your shed will withstand the test of time—and weather—keeping your belongings safe and secure.
Finishing Touches: Adding Storage Solutions and Personal Flair
When constructing a shed for essential storage, it’s easy to overlook how the finishing touches can elevate both functionality and aesthetic appeal. Incorporating smart storage solutions not only optimizes your space but also personalizes your shed, making it a unique extension of your home. From choosing versatile shelving systems to adding tasteful decor, the final elements can transform a simple structure into a well-organized haven for tools, equipment, and cherished items.
To maximize your shed’s potential, consider integrating modular storage options. These systems can be tailored to fit your specific needs and the available space.For example,you might include:
- Wall-mounted shelves: perfect for keeping frequently used tools within reach,while opening up floor space for larger items.
- Pegboards: A great way to organize smaller tools and accessories, allowing for easy access and visibility.
- Storage bins: Use clear or labeled bins to categorize items, minimizing clutter and ensuring everything has a designated spot.
Embracing savvy organizational tools can not only streamline your storage but also enhance the overall look of your shed.
A Personal Touch
Adding elements of personal flair can create a welcoming atmosphere in your shed. Think about incorporating design choices that reflect your interests or passions.For instance, you could paint the shed in a color that matches your home, hang framed art or photographs, or even include plants for a touch of greenery. These simple modifications create a space that feels comfortable and inviting.
Consider creating a small workspace within your shed where you can pursue hobbies or projects. By adding a desk or a crafting table, along with adequate lighting, you transform a basic storage area into a multifunctional environment. not only does this make the space more versatile,but it also encourages creativity and productivity.
the finishing touches to your shed can turn a utilitarian structure into a beloved part of your home. Incorporating effective storage solutions and personalized decor ensures your shed remains a well-kept and cherished space for years to come.
FAQ
How to Build Basic Shed: No-Frills Construction for Essential Storage?
Building a basic shed starts with planning the size, selecting materials, and understanding basic construction techniques. Essential steps include preparing the site, constructing a sturdy foundation, framing the walls, and adding the roof.
Before you begin, consult local zoning laws and decide on the size and layout of your shed. Use quality materials like treated lumber to ensure longevity. Follow easy step-by-step instructions to avoid common pitfalls during construction, such as improper leveling or inadequate ventilation. For a complete guide, check out our detailed resource on shed plans.
What tools do I need to build a basic shed?
Essential tools for building a basic shed include a hammer, saw, measuring tape, level, and drill. These tools will help ensure precision and safety during the construction process.
Additionally, a square will aid in ensuring your corners are accurate, while safety gear like gloves and goggles will protect you during construction. Depending on your design, you may also need more specialized tools like a nail gun or a miter saw for efficient assembly.
Why does proper ventilation matter in a shed?
Proper ventilation in a shed is crucial to avoid moisture buildup, which can lead to mold and damage stored items. It promotes airflow that helps in temperature regulation.
Consider incorporating vents, windows, or even a small louvered vent in the roof to enhance air circulation. This is especially important if you’ll be storing items like tools, which can rust without adequate airflow. Good ventilation will prolong the life of your shed and its contents.
Can I customize the design of my basic shed?
Yes, you can definitely customize the design of your basic shed. Adding personal touches to the shape, size, and finishes can make it suit your needs better.
Consider variations like pitched roofs for rain runoff, built-in shelving for organizing tools, and different siding materials to match your home’s exterior. A well-thought-out design adds functionality and aesthetic appeal to your construction project. Review various shed designs for inspiration.
What is the best material for building a basic shed?
The best material for building a basic shed is usually treated wood for the frame and plywood or OSB for the walls. These materials are durable and weather-resistant.
Consider using metal or vinyl siding for added protection against the elements. Each material has its advantages, so think about your local climate and the items you’ll store. Investing in quality materials ensures your shed will withstand the test of time and weather.
How can I ensure my basic shed is secure?
To ensure your shed is secure, use sturdy locks on doors, solid hinges, and consider additional security measures like motion-sensor lights or alarms.
Make sure windows are reinforced or secured with grating if they are present. Additionally, anchoring your shed to the ground can prevent theft and damage from high winds. These steps not only protect your belongings but also give you peace of mind.
Future Outlook
building a basic shed doesn’t have to be an intimidating endeavor. By breaking down the process into manageable steps—from selecting a suitable location and drafting simple plans to gathering materials and obtaining necessary permits—you can achieve a functional and sturdy storage solution without excessive complexity. Remember, it’s all about starting with a solid foundation and building up from there, both literally and figuratively. Embrace the potential challenges, knowing that with each step, you’re not only creating a valuable asset for your property, but also honing your DIY skills. We encourage you to explore further resources and connect with our community of enthusiasts, as there is always more to learn and share. Your new shed is just the beginning of your journey into creative and practical home projects!

