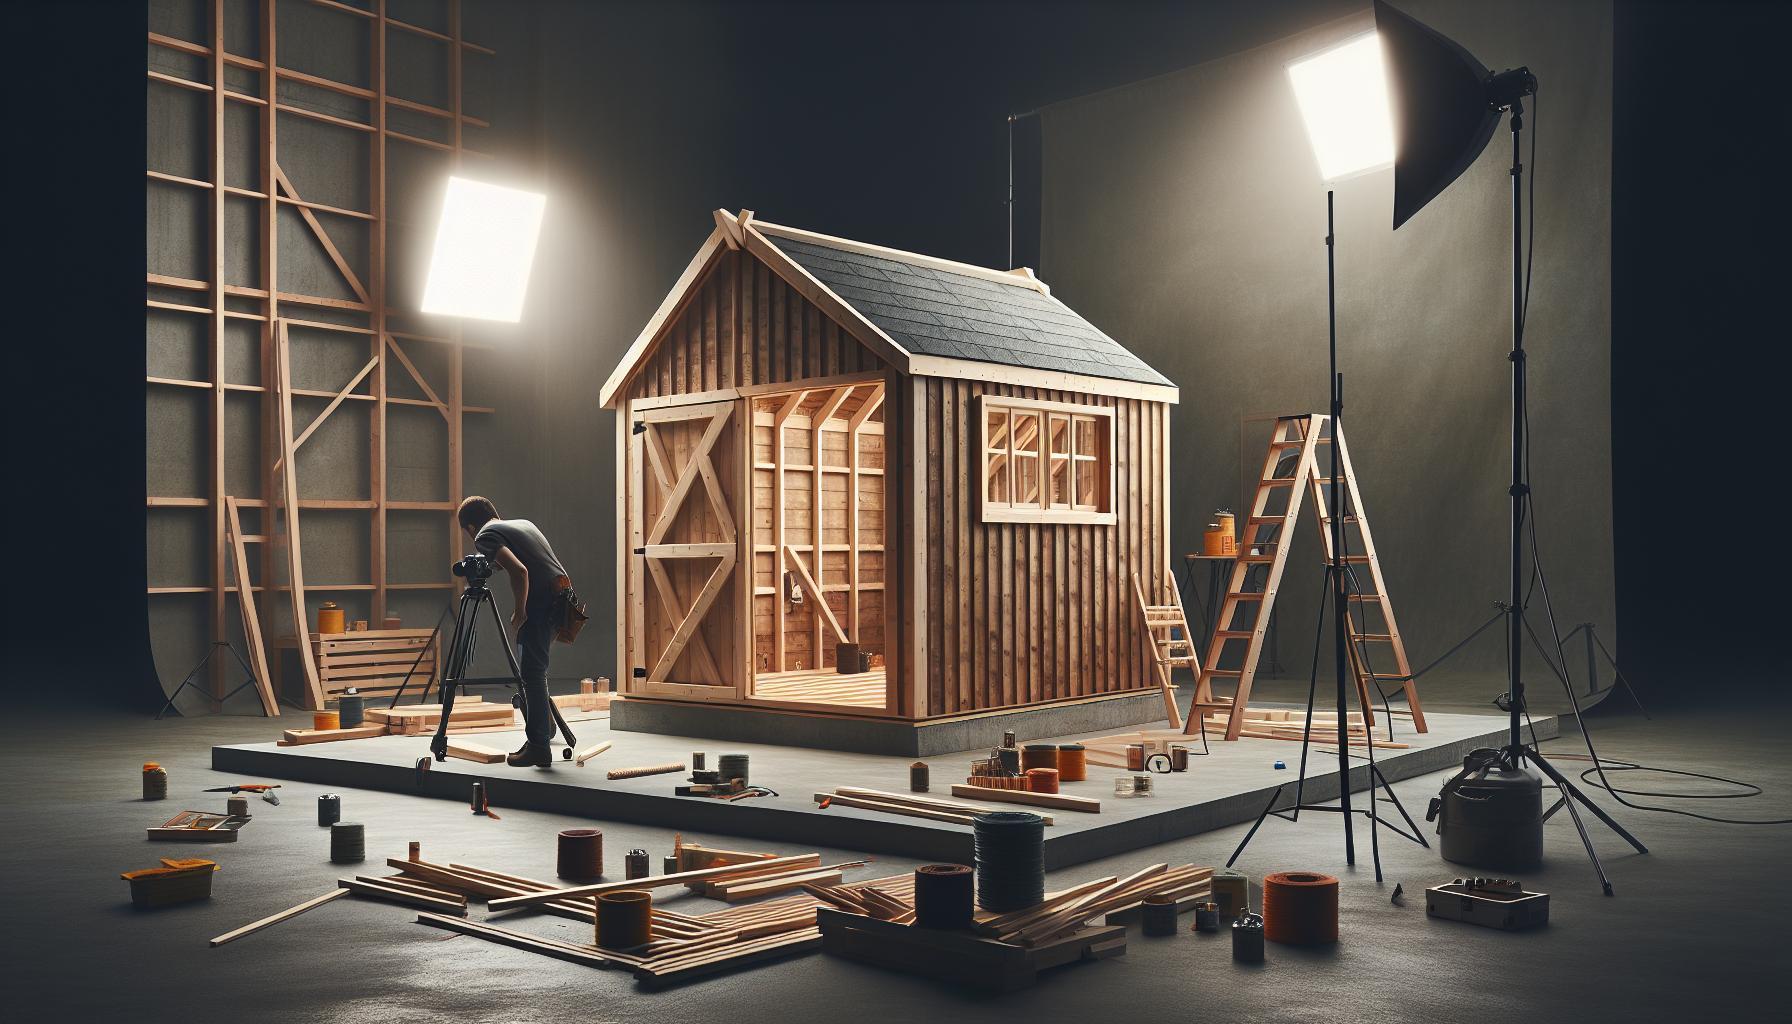
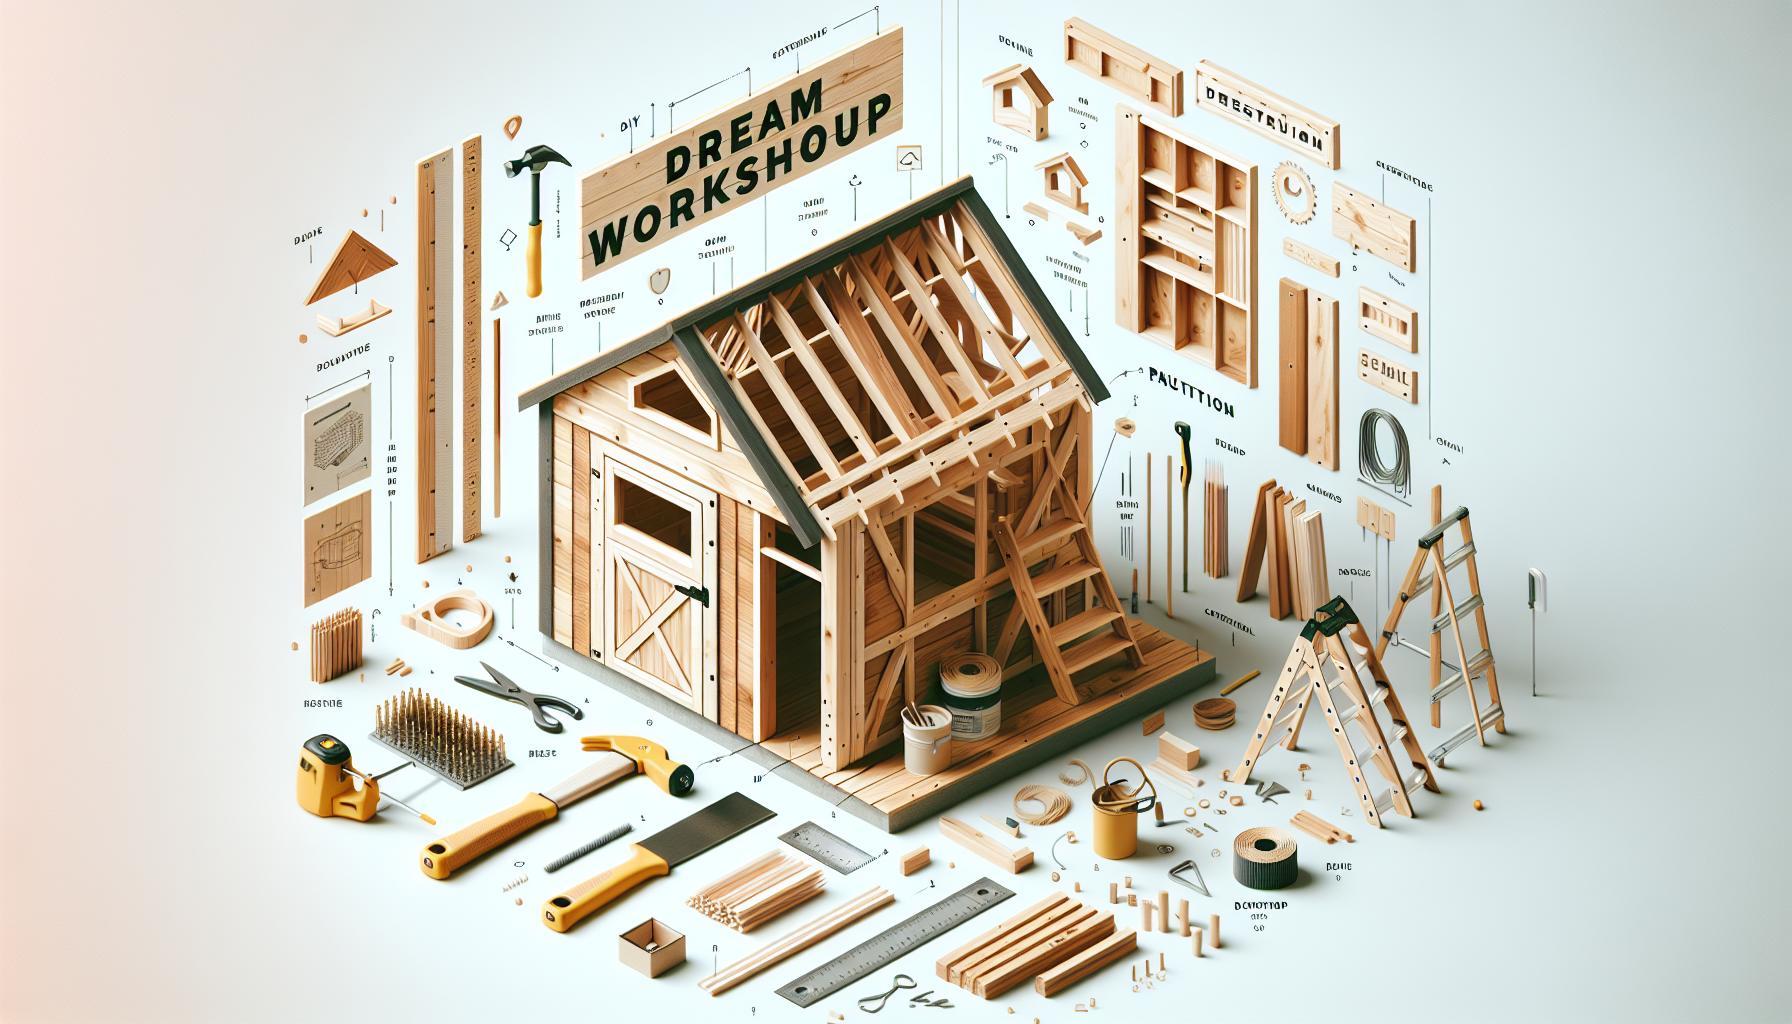
Flood-prone areas pose notable challenges for storage and garden enthusiasts alike. Building an elevated shed not only provides a practical solution but also safeguards your belongings from rising waters. This guide will explore effective flood-proof designs that combine functionality with resilience, ensuring your shed remains a reliable asset, even in the toughest conditions.
Understanding the Importance of Elevation in Shed Design
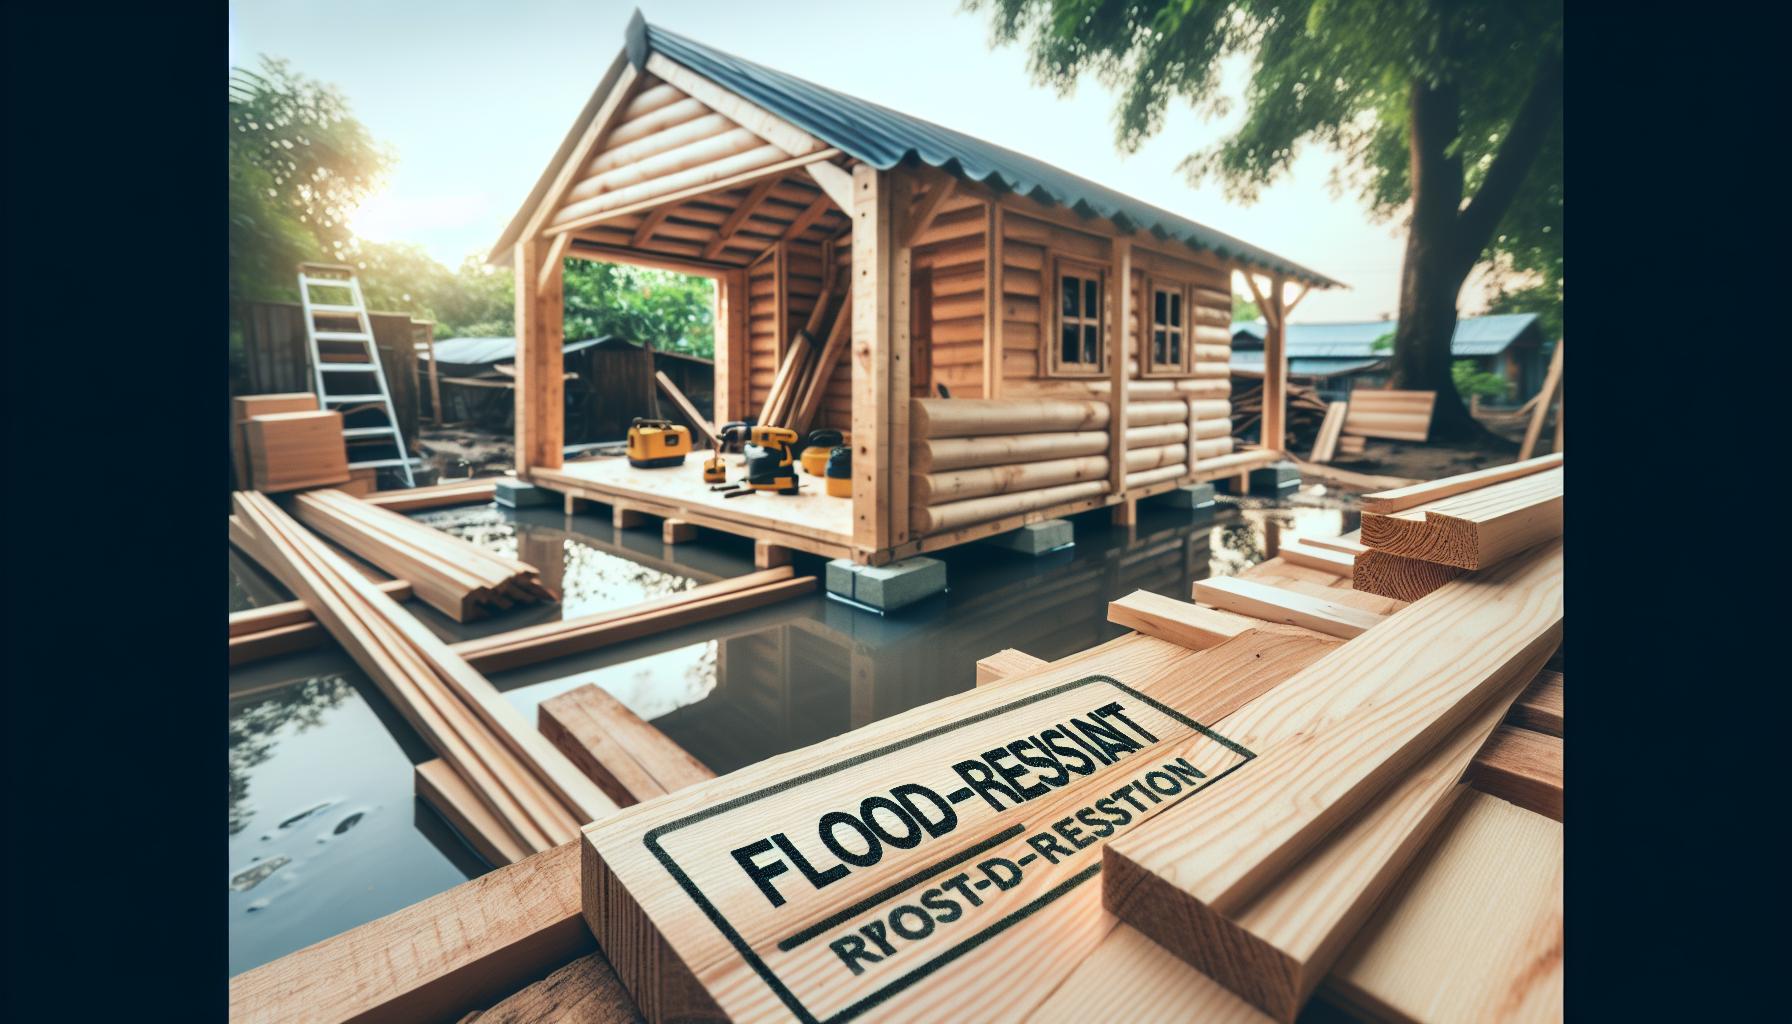
Building a shed in an area prone to flooding can present significant challenges, yet understanding the importance of elevation can transform a possibly disastrous project into a safe and functional addition to your property. Elevating a shed not only safeguards it from potential water damage but also ensures longevity and usability. With climate change leading to more unpredictable weather patterns, considering elevation as a key design element becomes essential for anyone looking to construct a resilient structure.
Key Benefits of Elevated Shed Design
When designing a shed,especially in flood-prone areas,elevating the structure offers numerous advantages:
- Protection from Flooding: Elevation helps to keep the shed above potential floodwaters,ensuring that the tools,equipment,and materials stored inside remain dry and safe.
- Better Air Circulation: Raising a shed allows for improved airflow underneath, which can help prevent moisture accumulation and reduce the likelihood of mold and mildew.
- Access Control: Elevated structures can be more accessible in terms of being raised above natural debris and vegetation, which can enhance both safety and functionality.
- visibility and Aesthetics: An elevated shed often provides better visibility and can contribute positively to the aesthetic appeal of your outdoor space.
Practical Steps for Elevation
Constructing an elevated shed requires careful planning and execution. Hear are some practical steps to consider when building an elevated shed:
- Site Assessment: Evaluate the geographical area for elevation changes, soil stability, and potential water flow patterns. This critical first step will guide the choice of shed design and elevation methods.
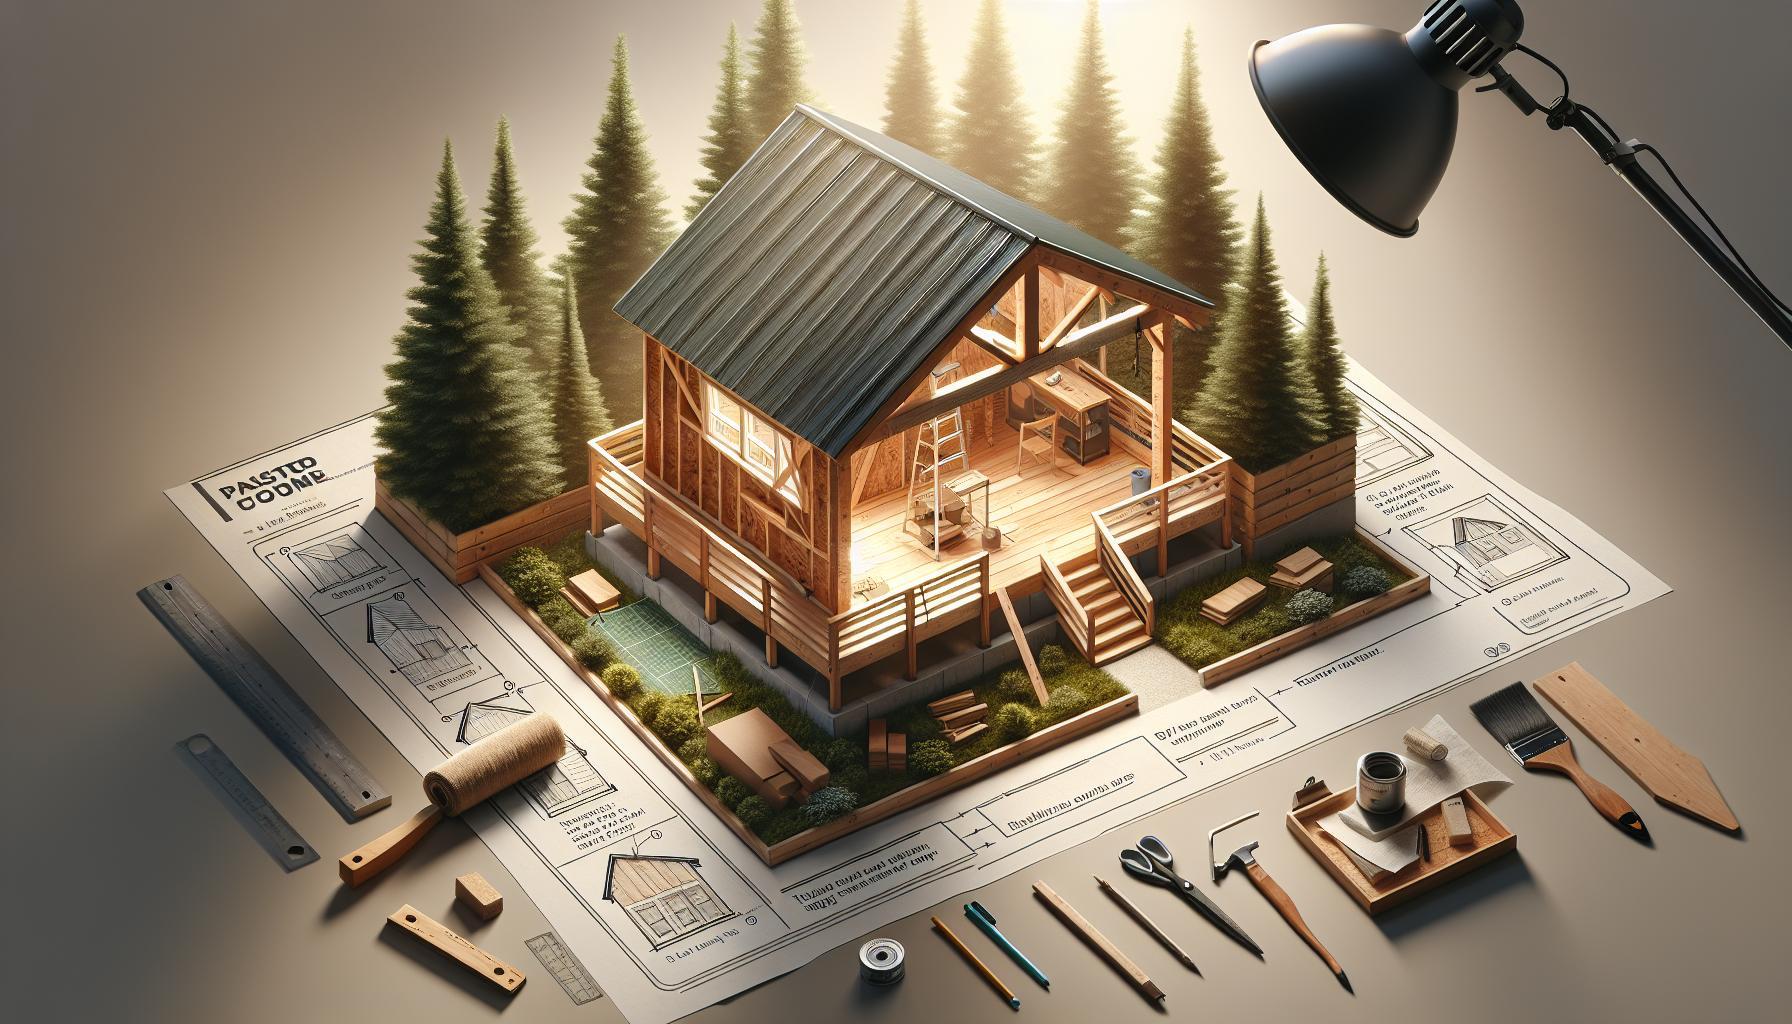
- Foundation Choices: Use concrete piers, wood posts, or a raised foundation system to create a stable base that elevates your shed above ground level. The choice will depend on local building codes and the specific site conditions.
- Ramp and Accessibility: Incorporate ramps or steps to ensure safe entry and exit from your shed, maintaining accessibility without compromising the elevation aspect.
- Weather Considerations: Make materials choices that can withstand local weather conditions, such as treated wood or composite materials that resist moisture damage.
Through thoughtful design focused on elevation, homeowners can better prepare their sheds for adverse weather conditions, which is especially crucial in areas susceptible to flooding. This proactive approach not only enhances the functionality and durability of the shed but also provides peace of mind for the owner.
Key Materials for a Flood-Resistant Shed
When planning a shed in flood-prone areas, selecting materials that can withstand water damage is crucial. Effective flood-resistant designs utilize materials that not only resist moisture but also enhance the longevity and stability of the structure. In the context of how to build an elevated shed, understanding which materials are best suited for thes conditions can significantly increase safety and reduce maintenance costs.
Durable Materials to Consider
Choosing the right materials is essential for creating a flood-resistant shed. Here are some of the best options:
- Concrete: known for its durability, concrete is highly resistant to water damage and can serve as an excellent foundation material or even be used in the walls of the shed. It does not rot or warp,making it ideal for low-lying areas.
- Brick: Another strong candidate, brick provides a sturdy barrier against water. Its dense structure helps prevent moisture infiltration, which is beneficial in regions prone to flooding.
- Non-paper faced gypsum board: According to the new FEMA Flood Damage-Resistant Materials Guide, this type of gypsum board is recommended for walls and ceilings. It offers a high degree of moisture resistance and is less likely to support mold growth compared to traditional materials [[2]](https://www.buildgp.com/wp-content/uploads/2018/11/PDF-new-FEMA-Flood-Damage-Resistant-Materials-Guide-Accepts-Use-of-Non-Paper-Faced-Gypsum-Board.pdf).
Traditional Materials Testing
Incorporating traditional materials that have been tested for flood resilience can also enhance the durability of your shed. Past studies have shown that materials such as soft brick,plaster,and stucco can be viable options. These materials not only provide aesthetic appeal but also perform well under flood conditions when properly installed [[1]](https://www.nps.gov/articles/000/testing-traditional-materials-for-flood-resilience.htm).
Maintenance Considerations
Regardless of the materials chosen, regular maintenance remains crucial to ensure their long-term performance.Follow these tips:
- Regularly inspect for signs of water damage or wear, especially after heavy rains.
- Ensure proper drainage around the shed to divert water away from the foundation.
- Consider using sealants or water-resistant finishes on wood and othre vulnerable materials to enhance their flood resistance.
by understanding the and implementing effective design strategies as outlined in “How to Build an Elevated Shed: flood-Proof Design for Low Areas,” you can create a resilient structure that stands the test of time against flooding and moisture damage.
Step-by-Step Guide to Elevating your Shed
Elevating your shed can significantly enhance its durability against flooding, making it a crucial step when constructing an outdoor storage solution in low-lying areas. Not only does this method protect your belongings,but it also contributes to the overall stability of the structure by minimizing water exposure during heavy rains or flooding events. Let’s dive into a step-by-step guide to effectively elevate your shed.
Materials Needed
Before starting the project, gather the following materials to ensure smooth progress:
- Concrete blocks or treated lumber: These will serve as the foundation for elevation.
- Level: A crucial tool to ensure everything is even.
- Measuring tape: For accurate dimensions.
- Shovel and gravel: To prepare the site and aid drainage.
- Optional reinforcement tools: Such as brackets and anchors to secure the structure further.
Step-by-Step Process
- Choose the Right Location: Identify a site that is not only elevated but also well-drained. Conduct a thorough inspection to avoid areas that are prone to water pooling.
- Prepare the Site: Clear any debris and level the ground where the shed will sit. Dig out a slight trench if necessary to enhance drainage. Fill this trench with gravel to facilitate water runoff.
- Create Your Foundation: Use concrete blocks or treated lumber to establish a stable base. Ensure that the blocks are arranged symmetrically and are leveled both horizontally and vertically. The height of the blocks should ideally elevate the shed more than 12 inches above the anticipated flood level for added security.
- Secure the Shed: Once the shed is lifted and securely positioned on the blocks, reinforce it with brackets if needed. This will help mitigate the risk of the structure shifting during high winds or flooding.
- Drainage Enhancement: To further protect your elevated shed, incorporate additional drainage solutions such as a French drain around the perimeter. this can greatly reduce the chances of water accumulation around your shed.
By following these steps, not only do you successfully elevate your shed, but you also ensure it remains a reliable space for storage, even in seasons of heavy rain.This flood-proof design approach is an essential consideration for anyone building an elevated shed in low areas, promoting longevity and functionality.
Effective Drainage Solutions to Protect Your Structure
When planning the construction of a structure in areas prone to flooding, it’s imperative to consider the impact of water drainage before breaking ground. Implementing effective drainage solutions can significantly enhance the longevity and functionality of your elevated shed, ensuring it remains a reliable storage option during heavy rains or floods. A well-designed drainage system not only protects the shed itself but also helps manage water runoff from surrounding areas, minimizing erosion and potential damage to your landscape.
Strategies for Effective Drainage
To establish a robust drainage system around your elevated shed, consider the following solutions:
- French Drains: Install a French drain around the perimeter of the shed. This involves digging a shallow trench filled with gravel and incorporating a perforated pipe to channel water away from the structure. This method is particularly effective in redirecting water from areas where rainfall is heavy or where the ground is naturally sloped.
- regrading the Landscape: Adjust the grading of the land surrounding your shed to encourage water to flow away from the foundation. Create a slight slope, ensuring that all water is diverted towards designated drainage areas, preventing build-up near your shed.
- Landscaping Features: use natural landscaping features such as berms or swales to control water flow on your property.These can act as barriers that redirect water away from the shed and prevent pooling.
- Gutters and Downspouts: Make sure that your shed has appropriate gutters and downspouts (if applicable) to capture rainwater from the roof. Directing this water away from the shed foundation is crucial in mitigating flood risks.
Benefits of a Proper Drainage System
Implementing these drainage solutions can greatly reduce risks associated with flooding. A well-engineered drainage system not only prevents water accumulation around your shed but also protects the structural integrity of your foundation by ensuring that moisture does not cause wood to rot or metal to corrode. By engaging in proactive planning, you create a resilient outdoor space that remains usable and attractive year-round.
Consider consulting with a professional landscaper or a drainage contractor to assess your specific site conditions. With their expertise, you can tailor a drainage system that meets the demands of your local climate and soil type, effectively safeguarding your elevated shed and enhancing the overall utility of your property.
Insulating Your Elevated Shed for All-Weather Use
Creating a comfortable and functional elevated shed goes beyond simply raising it above floodwaters; proper insulation is essential to ensure that the space remains usable year-round, regardless of the weather conditions. Insulating your shed protects it from extreme temperatures, moisture, and pests, making it a more versatile and durable space. With the right materials and techniques, you can transform your elevated shed into a cozy retreat even when the elements are against you.
Choosing the Right Insulation Material
Selecting the right insulation material is crucial for maintaining temperature and moisture control. Here are some effective options to consider:
- Foam Board Insulation: Rigid foam boards provide excellent thermal resistance and are easy to install. They are particularly beneficial for insulating the walls and floor of your elevated shed.
- Fiberglass batts: This classic insulation material is ideal for filling wall cavities. It’s affordable and provides good sound dampening, although care must be taken to prevent moisture accumulation.
- Spray Foam Insulation: While more expensive, spray foam offers the highest R-value and can create an airtight seal, which is critical for preventing draftiness and moisture issues.
Integrating these materials properly can significantly enhance your shed’s thermal performance, ensuring it remains warm in the winter and cool in the summer.
Implementing Insulation Techniques
To achieve complete insulation within your elevated shed, follow these practical steps:
- Insulate the Floor: Start by raising the floor with insulated panels or by adding insulation boards beneath the flooring material. This barrier reduces heat loss and keeps the space warmer during cooler months.
- Seal Gaps: Use caulk or expanding foam to seal any gaps or cracks in the walls and around windows. This not only helps retain heat but also prevents moisture from seeping in, which is vital for an enhanced flood-proof design.
- Ventilation Considerations: Proper ventilation is essential to combat moisture buildup and avoid mold growth.Install vents or use an exhaust fan to keep air circulating within the shed.
- Reflective Barriers: If you live in particularly hot climates, consider installing reflective barriers that are designed to reflect radiant heat away from the shed, contributing to a cooler interior space.
By following these insulation strategies, you not only prepare your elevated shed for extreme weather conditions but also create an inviting habitat that can be used year-round.
Maintenance and Long-Term Considerations
Ongoing maintenance is key to ensuring that your shed remains insulated effectively over time. Inspect your insulation material regularly for signs of wear or damage, particularly after severe weather events. Look for any moisture issues or pest infestations that might compromise the insulation’s performance.
It’s also beneficial to add exterior features like overhangs or awnings, which can protect your shed from the elements and help prolong the lifespan of your insulation. By integrating these practices into your design from the outset, you’ll secure your investment in an elevated shed that meets all your needs, no matter the weather.
By implementing these insulation strategies,informed by principles from “How to Build an Elevated Shed: Flood-Proof Design for Low Areas,” you can create a functional and protected space that stands resilient against environmental challenges.
Planning for Accessibility in Elevated Shed Designs
is crucial for ensuring that everyone, including individuals with mobility challenges, can benefit from these functional and space-efficient structures. When designing an elevated shed, particularly in flood-prone areas, it is vital to include features that facilitate easy access without compromising the shed’s integrity or purpose. This approach not only enhances usability but also aligns with broader principles of inclusivity and safety.
Incorporating Accessible Entry Points
One of the primary considerations in making elevated sheds accessible is the design of entry points. Standard steps may pose a challenge for those with limited mobility; thus, consider the following options:
- Gentle Slopes: Rather of steep steps, implement a gentle ramp that meets accessibility standards. A slope ratio of 1:12 (one inch of rise for every 12 inches of length) is often recommended.
- Handrails: Install sturdy,well-placed handrails on both sides of ramps and steps to provide additional support.
- Wide Doorways: Ensure door widths are at least 32 inches to accommodate wheelchairs and mobility devices easily.
interior Layout for Accessibility
Beyond entry points, the interior layout of the shed should facilitate navigation and usability for all individuals. Here are some practical recommendations based on the unique requirements of an elevated shed:
- Open Space Design: Keep the interior layout open and free of clutter, allowing individuals using mobility aids to navigate effortlessly.
- Adjustable Shelving: Consider incorporating adjustable shelving options that can be reached easily, catering to varying heights and needs.
- Non-slip Flooring: Use flooring materials that provide a non-slip surface, especially in areas prone to moisture or spills.
Real-World Examples and Best practices
Several organizations and DIY enthusiasts have successfully integrated accessible design features into elevated shed constructions. typically, they combine thoughtful planning with the functionality aspects of floods. As an example, some builders have used modular, pre-fabricated ramps that can be adjusted or moved based on seasonal needs, providing flexibility without compromising safety.
| Accessibility Feature | Description |
|---|---|
| Ramp System | A modular ramp system can adapt to elevation changes and provide effective access. |
| Wide Doors | Doors designed to accommodate wheelchairs and other mobility devices enhance accessibility. |
| Flexible Shelving | Adjustable shelving enables users of different heights and abilities to access storage easily. |
Incorporating these accessibility features not only makes your elevated shed welcoming but also ensures that it serves a wide range of users effectively. By prioritizing accessibility, you can create a shed that meets flood-proof design requirements while being functional for everyone. Embracing these principles greatly enhances the usability and longevity of the structure, proving that thoughtful design can accommodate diverse needs.
Common Mistakes to Avoid When Building an Elevated Shed
building an elevated shed is an excellent way to protect your structure from flooding and water damage, particularly in low-lying areas.However, many DIY enthusiasts encounter common pitfalls that can undermine their efforts and lead to costly repairs.Avoiding these mistakes is crucial for ensuring that your elevated shed stands the test of time and provides the storage solutions you need without compromising on safety.
site Selection and Preparation
One of the biggest errors is neglecting proper site selection and ground preparation. Building on uneven or poorly drained land can lead to instability and water accumulation around your shed. Before laying any foundation, ensure the area is level and well-drained. Clear the site of debris, vegetation, and other obstructions that could interfere with the foundation. Consider using a grading system to ensure water flows away from your shed, reducing the risk of flooding during heavy rains.
Foundation Issues
Choosing the wrong type or size of foundation is another common mistake. An inadequate or improperly sized foundation can lead to structural failure. It’s essential to select a foundation type suitable for your location’s soil conditions and potential flooding risks. Use treated wood or concrete piers to elevate your shed adequately above anticipated flood levels. Incorrect spacing of the foundation supports can also cause sagging over time, so refer to local building codes for guidance on spacing and types of materials.
Ignoring Ventilation and moisture Protection
Ventilation is critical in any shed,especially in elevated designs. Failing to incorporate sufficient airflow can lead to moisture buildup, which promotes mold and mildew growth. Make sure to include vents in the design of your elevated shed to encourage air circulation. additionally, consider installing a vapor barrier under the shed to protect against moisture from the ground, thus prolonging the life of your structure.
### Common Mistakes Recap
| Mistake | Solution |
|---|---|
| Poor site selection | Ensure the area is level and well-drained. |
| Inappropriate foundation size | choose a foundation type that suits local soil conditions and flood risks. |
| Lack of ventilation | Incorporate vents for air circulation and include vapor barriers. |
| Insufficient elevation | Elevate shed above anticipated flood levels using treated wood or concrete piers. |
By paying careful attention to these aspects,you can successfully navigate the complexities of constructing your elevated shed.Proper planning and execution will not only enhance the functionality of your shed but also protect your investment from water damage in the long run.
Enhancing Aesthetics: Designing with function and Style in Mind
Designing an elevated shed that not only serves its purpose but also enhances the overall aesthetics of your outdoor space is an art that combines functionality with style. When constructing a flood-proof shed, particularly in low-lying areas, it’s essential to consider both the visual and functional aspects of your design. An elevated shed can act as a stylish focal point in your garden while providing the necessary protection against seasonal flooding.
to achieve an appealing look, think about the architectural style of your shed. Incorporating features like a gabled roof, decorative shutters, or a coordinated paint color can transform a basic structure into an attractive addition to your property. Opt for materials that not only withstand moisture but also complement the existing landscape. For instance, using natural wood finishes or vibrant colors can create harmony with your garden aesthetic, while metal roofing can add a modern twist.
Incorporating Functional Elements
Making your elevated shed work for you goes beyond storage. Consider integrating functional design elements such as:
- Windows: Adding windows not only illuminates the interior but can enhance the exterior charm of the shed.
- access Ramps: Installing ramps with decorative railings improves accessibility while making the entrance visually appealing.
- Landscaping: Surrounding the shed with flowers, shrubs, or even a small pond can create a serene environment that draws the eye.
Additionally, using under-shed space creatively by placing outdoor storage bins or gardening tools can reduce clutter, achieving a clean look that showcases both style and practicality.
Color and Texture Choices
The interplay of color and texture is vital in the overall design of your elevated shed. Choose a cohesive color palette that complements both your home and the surrounding environment. For example,earthy tones like greens and browns can blend with natural landscapes,while brighter colors can stand out as a cheerful accent. Textured finishes, such as wood siding combined with stone bases, can create a multi-dimensional look that adds depth and interest.
By thoughtfully selecting materials and incorporating design elements that focus on both function and aesthetics, your elevated shed will not only serve as a flood-proof sanctuary for your belongings but also enhance the charm and beauty of your outdoor space, making it a delightful part of your landscape.
Frequently asked questions
How to Build an Elevated shed: Flood-Proof Design for Low Areas?
To build an elevated shed with a flood-proof design, begin by selecting a sturdy platform elevated off the ground, ensuring proper drainage and ventilation. Utilize treated lumber or concrete piers to raise the structure, and incorporate a sloped roof.
This design minimizes the risk of water damage. Make sure to survey the area for the highest flood points and build at least 12 inches above that level. Additionally, utilizing water-resistant materials can further enhance your shed’s durability. For more detailed steps, check out this comprehensive guide on building an elevated shed.
What materials do I need for an elevated shed?
to construct an elevated shed, gather treated lumber, concrete blocks, or metal piers for your base. You will also need plywood for the walls and roofing materials that are resistant to moisture.
Additionally, consider using hardware like HDPE (high-density polyethylene) for water resistant barriers. A solid foundation is crucial, so opt for materials that ensure stability and durability. Always check local building regulations for material specifications.
Why does an elevated design help with flooding?
An elevated shed design keeps your structure above potential floodwaters, preventing damage to the contents inside.The elevation allows for better drainage, which is crucial in low-lying areas.
by raising the foundation, water can easily flow underneath rather than accumulate, reducing the chances of moisture problems. This design is particularly effective for areas prone to heavy rains or flash floods.
Can I build a shed myself, or do I need a professional?
Yes, you can build an elevated shed yourself if you’re familiar with basic construction techniques. It requires time and effort but is achievable for most DIY enthusiasts.
Start with a well-planned design, gather the necessary materials, and seek guidance through detailed tutorials. If the project seems overwhelming, consider hiring a professional, especially for complex aspects like proper drainage and foundation work.
What are the best elevation techniques for a shed?
The best techniques for elevating a shed include using concrete piers, adjustable post bases, or a framed platform. Each method offers stability while raising the structure.
Concrete piers are particularly effective in flood-prone areas, as they provide solid grounding. Adjustable post bases allow for slight modifications after installation, ensuring the shed remains leveled over time. Choose the method that suits your shed size and local soil conditions.
How can I ensure proper ventilation in my elevated shed?
To ensure proper ventilation in an elevated shed, install ventilation grilles or windows high on the walls. This allows hot air to escape while drawing in cooler air.
Consider using roof vents or an exhaust fan to further enhance airflow. Adequate ventilation protects stored items from humidity and helps maintain a stable temperature, crucial for sheds located in moist environments.
What should I consider when choosing a location for my elevated shed?
When choosing a location for your elevated shed, consider drainage patterns, access to sunlight, and the potential for nearby water sources.Positioning your shed on higher ground reduces flood risks.
Also, ensure you have sufficient space around the shed for maintenance and accessibility. Observe how water drains in your yard during heavy rains, and select an area that remains dry. proper planning in this phase can save you time and money in the future.
The Conclusion
building an elevated shed in flood-prone areas is a rewarding project that can significantly enhance your property’s utility and resilience.By focusing on key elements such as proper elevation, robust foundation techniques, and the use of flood-resistant materials, you can create a structure that withstands water challenges while providing a safe storage space. Embrace the DIY spirit—elevating your shed not only protects your belongings but also adds a touch of craftsmanship to your landscape. We encourage you to explore more on this topic, dive into resources about flood-proofing techniques, and connect with fellow DIY enthusiasts in our community. Your journey toward building a flood-proof elevated shed begins here, and we’re excited to support you every step of the way!

