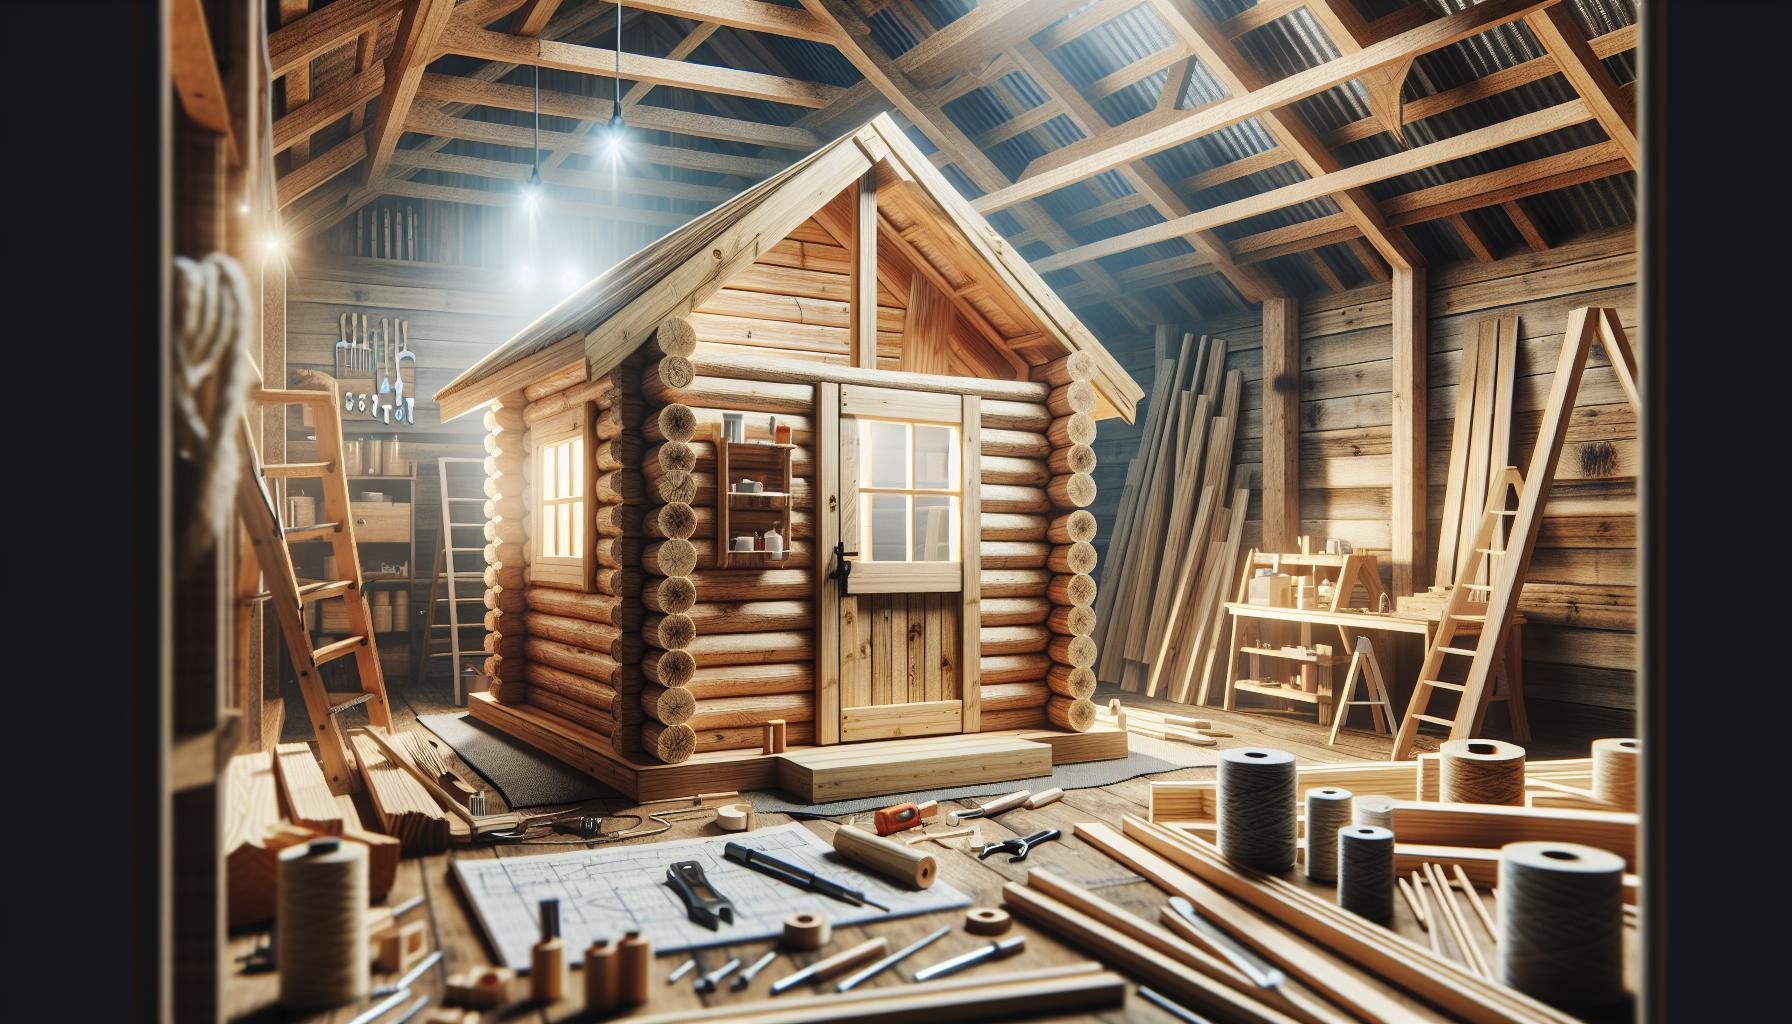
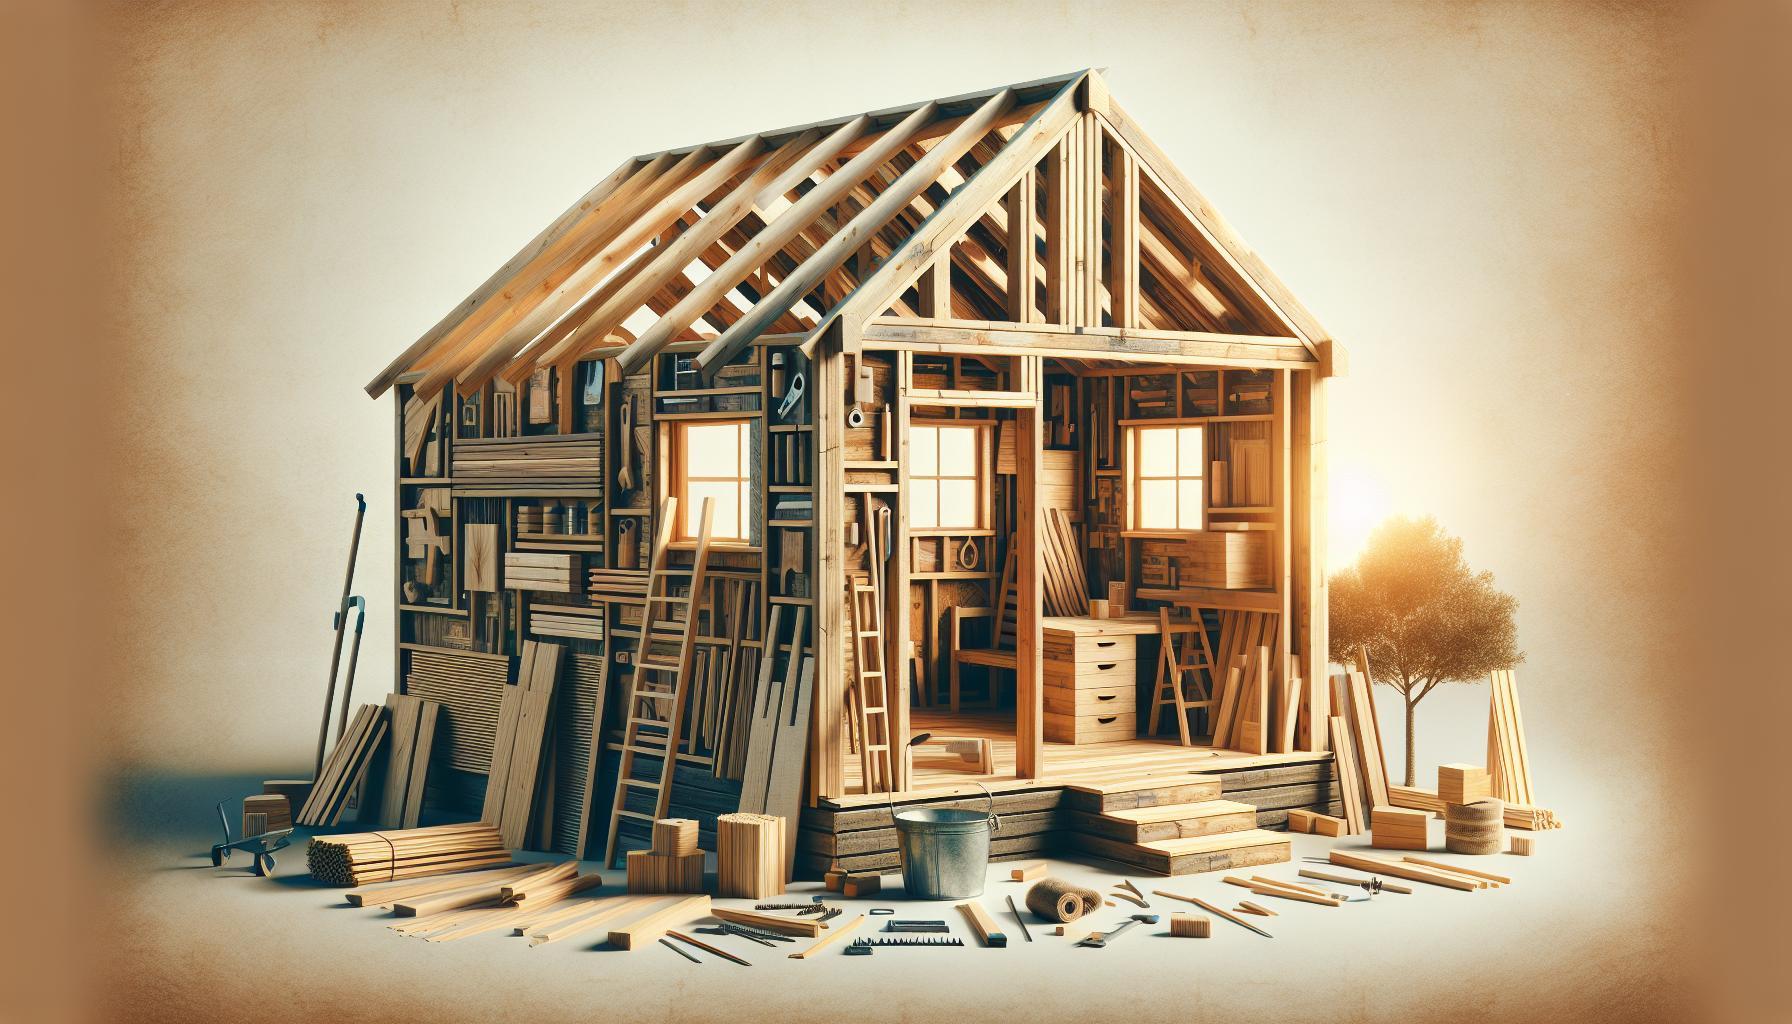
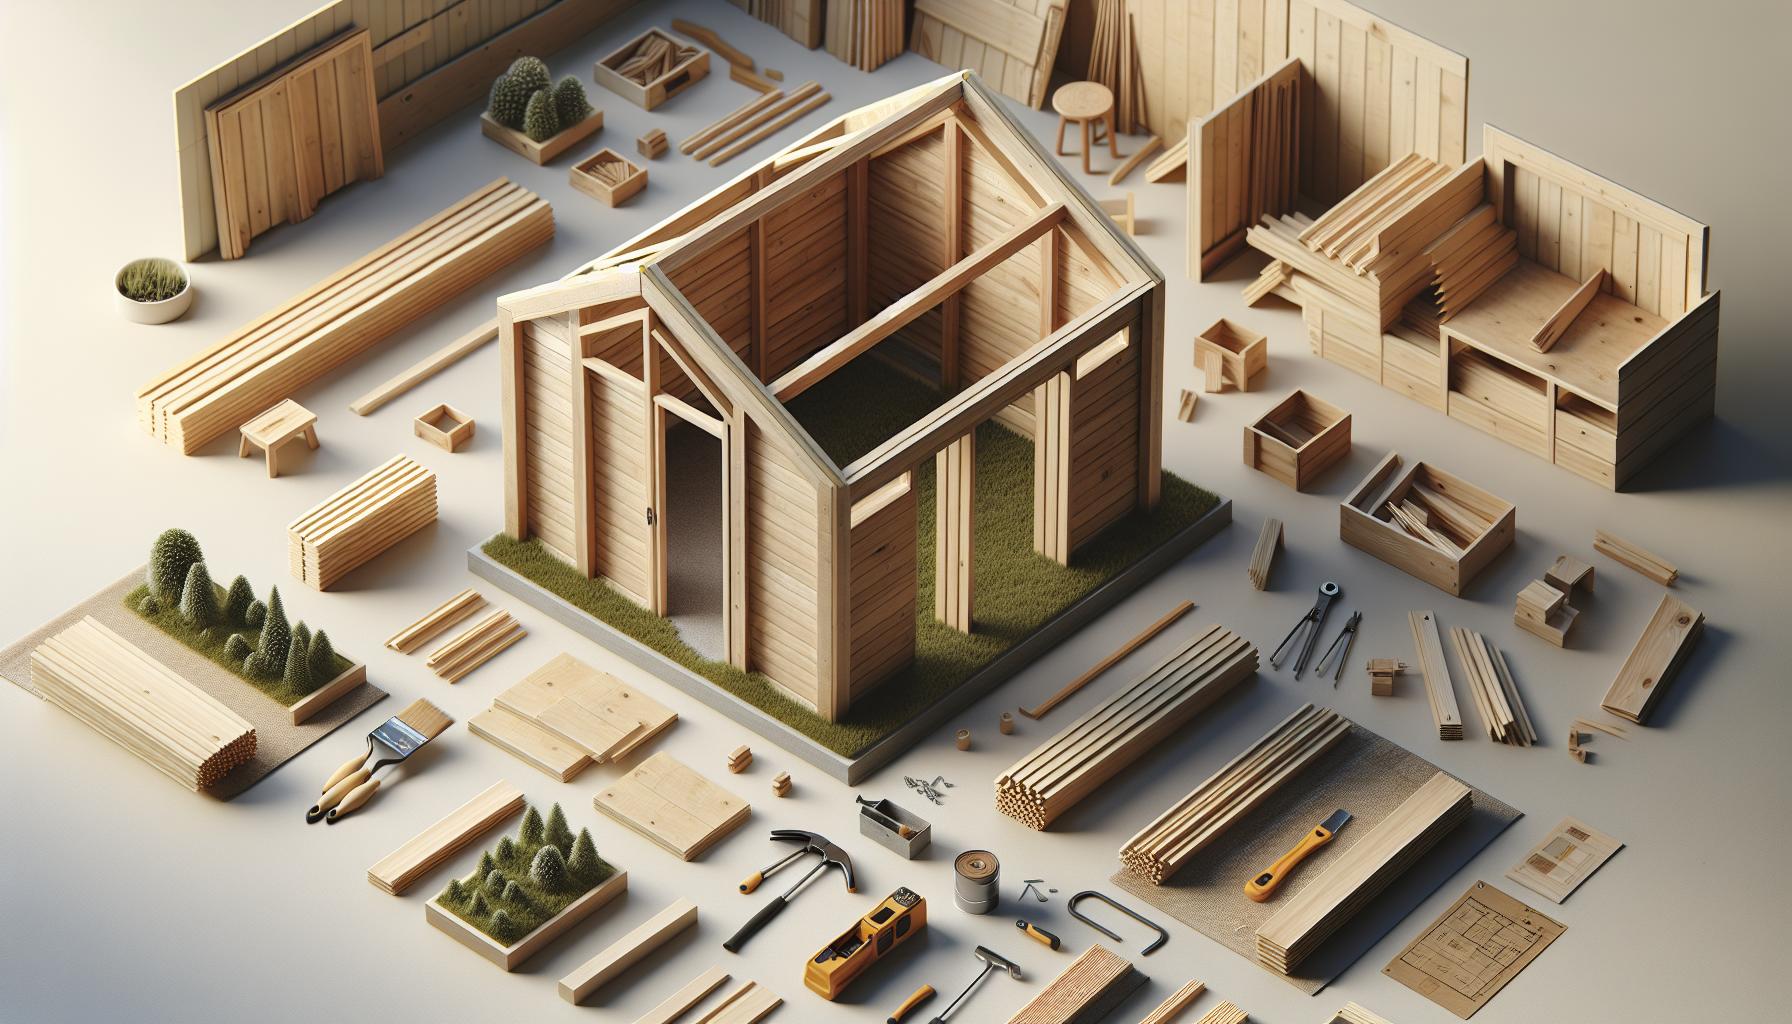
Looking to enhance your outdoor space while solving storage dilemmas? Building a wooden shed not only offers practical storage solutions but also adds rustic charm to your backyard. This guide explores classic techniques, ensuring your shed is sturdy, functional, and beautifully timeless. Dive in to discover the art of shed-building with lasting appeal!
Understanding the Basics: Essential Tools and Materials for Your Shed Project
A successful shed project depends heavily on choosing the right tools and materials before you even pick up a hammer. whether you’re looking to create a simple storage space or a garden retreat,having the appropriate resources at your disposal will not only streamline the construction process but also ensure the quality and longevity of your wooden shed. Understanding the essentials of constructing a sturdy and appealing shed can significantly enhance your DIY experience.
Essential Tools
To embark on your shed-building journey, gather these indispensable tools to navigate through the process effectively:
- Circular Saw: perfect for making clean and precise cuts in large sheets of plywood or dimensional lumber.
- Power drill: Essential for drilling holes and driving screws, it will significantly speed up assembly.
- Level: Critical for ensuring that your shed’s base and framework are perfectly aligned.
- tape Measure: A must-have for accurate measurements to avoid costly mistakes.
- Square: Helps achieve right angles and accurate layout during construction.
- Framing Hammer: The tool of choice for nailing wooden structures quickly and efficiently.
Utilizing these tools will not only make the task easier but will also allow for a more enjoyable building experience, giving you the chance to invest effort into the finer details that truly transform a shed into something special.
Materials You Can’t Overlook
Choosing the right materials is just as crucial as having the right tools.here’s a speedy guide to the primary materials you shoudl consider for your wooden shed project:
| Material | Description | Suggested Use |
|---|---|---|
| Pressure-Treated Lumber | Resistant to rot and insect damage, making it ideal for ground contact. | Use for the foundation and floor framing. |
| Plywood or OSB (Oriented Strand Board) | A cost-effective material for the shed’s walls and roof sheathing. | Choose based on the finishing you will apply. |
| Roofing Shingles or Metal Sheets | Both options offer longevity but differ in aesthetic appeal and maintenance. | Select based on the climate and desired look. |
| Exterior Paint or Stain | Protective coatings that enhance durability and aesthetics. | Apply for weatherproofing and a personalized finish. |
Incorporating quality materials not only ensures the structural integrity of the shed but also enhances its visual appeal, aligning with the timeless aesthetics associated with classic shed construction. With the right tools and materials at your fingertips, you are well on your way to accomplishing your dream shed with seasoned techniques for a lasting impression.
Planning your Shed: Designing for Functionality and Style
When embarking on the adventure of creating your own shed, it’s paramount to carefully consider how both functionality and aesthetic appeal will serve your needs. A well-planned shed not only provides ample storage space but also enhances the overall look of your outdoor area. by taking the time to design with intention, you will ensure that your shed serves its purpose effectively while also aligning with your personal style.
Understanding Your Storage Needs
Before diving into the design of your shed, it is essential to assess what you intend to store. Consider categorizing your items as follows:
- Gardening tools: Rakes, shovels, and other gardening implements require a designated area.
- Outdoor furniture: If you plan to store cushions or smaller furniture pieces, ensure there’s enough space.
- Sports equipment: Bikes, kayaks, or other sports gear can also be included in your storage plan.
After evaluating your needs, sketch a rough layout of how you would organize these items within the shed. This will help you decide on dimensions and features like shelving, hooks, and different storage compartments.
Design Elements That Enhance Functionality
Incorporating design elements that boost utility is key to a practical shed. Consider the following features:
- Windows: Adding windows allows natural light to enter, making it easier to find items and enhancing the shed’s ambiance.
- Electrical Outlets: For those who plan to use power tools, having electrical outlets can be a game-changer.
- Ventilation: Proper ventilation helps prevent dampness,protecting your stored items.
Emphasizing these aspects during the planning stage will create a workspace that feels inviting and is highly functional, in line with the timeless techniques outlined in resources like “How to Build a Wooden Shed: Classic Techniques for Timeless Appeal.”
choosing the Right Materials for Style
The aesthetic of your shed can significantly influence the overall look of your property. When selecting materials, consider how they will blend with existing structures and your landscape. Here are some material options:
| Material | Pros | Cons |
|---|---|---|
| Wood | Classic look, customizable | Requires regular maintenance |
| Vinyl | Low maintenance, durable | Less customary appearance |
| Metal | Very durable, modern style | Can be prone to rust |
Selecting a material that suits both your practical needs and stylistic preferences will make your shed a valuable addition to your property, creating a cohesive and attractive outdoor habitat. As you finalize your plans, remember that a well-designed shed is not only about utility but also about enhancing your outdoor enjoyment, embodying the classic techniques of design that stand the test of time.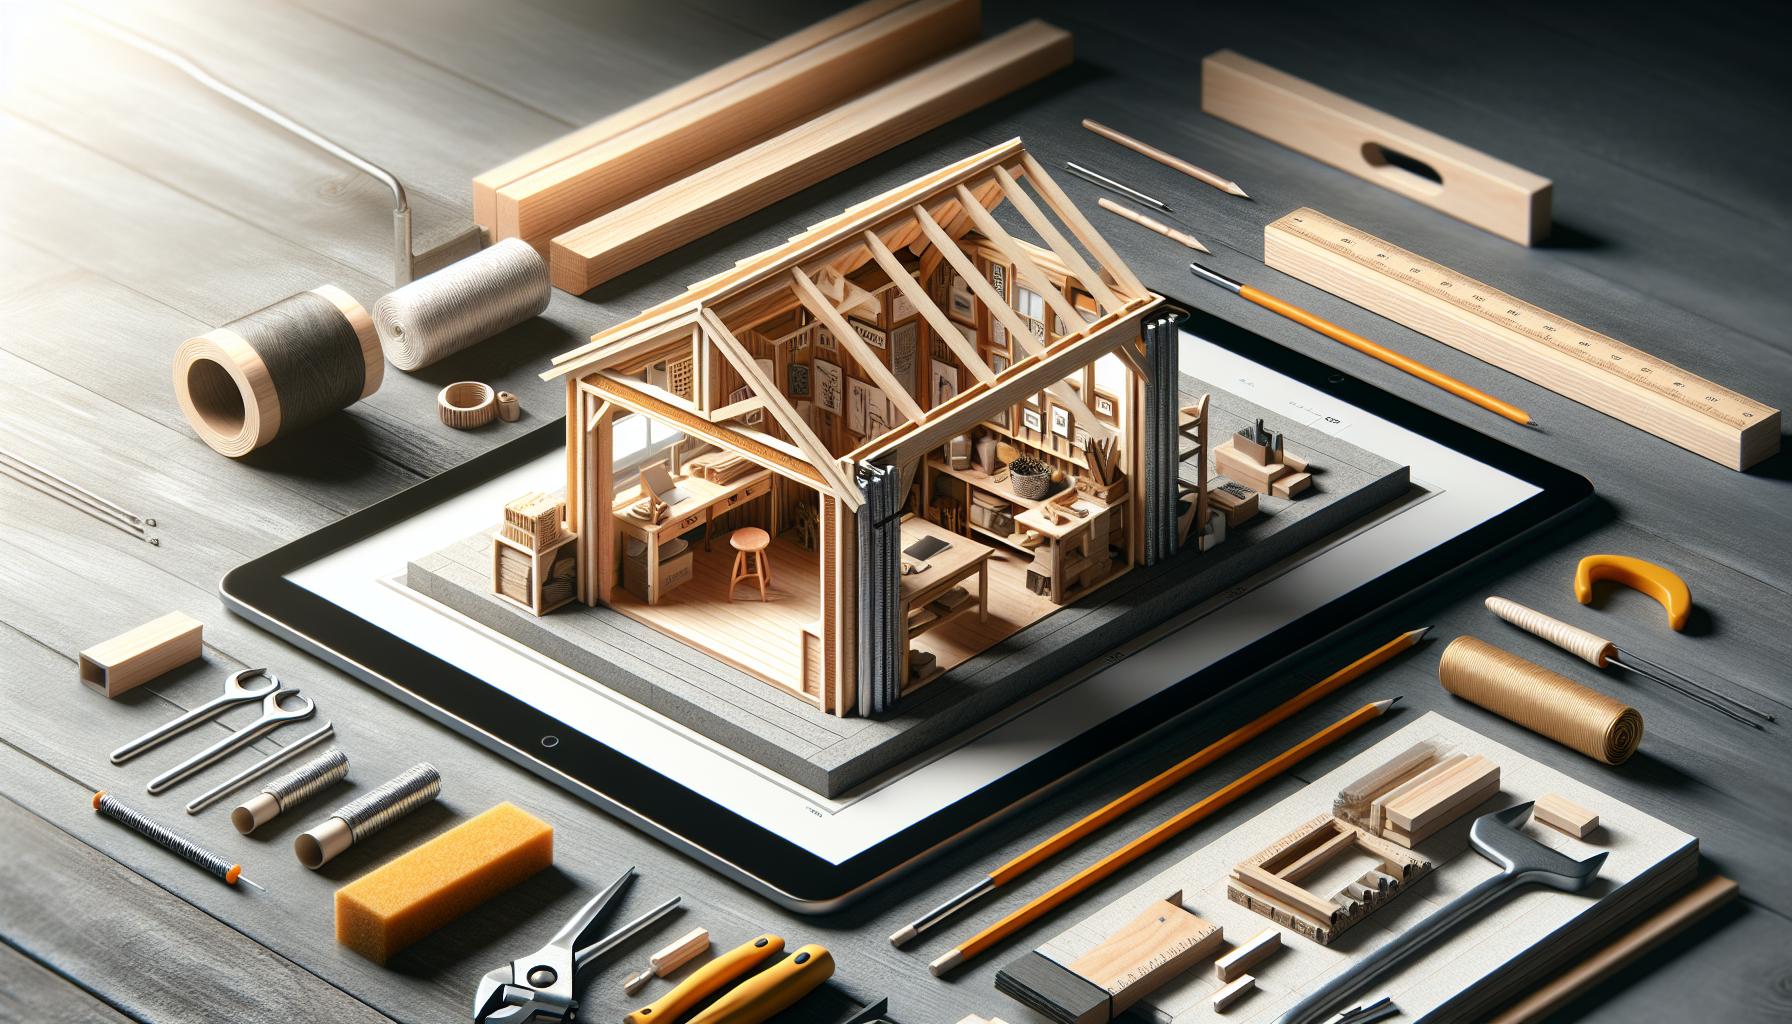
Laying the Foundation: Preparing a Strong Base for Longevity
The best wooden sheds stand the test of time, not just in aesthetics but also in functionality and durability. A well-constructed shed begins with a strong foundation, which is frequently enough the most overlooked aspect when planning a wooden structure. Investing time and effort into laying a sturdy base can save you from costly repairs and headaches down the line, ensuring your shed remains a cherished space for years to come.Choosing the Right Location
Before you start digging or pouring concrete, selecting the ideal location for your shed is pivotal. Look for a spot that has good drainage to avoid water pooling, which can weaken your foundation. Additionally, consider the amount of sunlight the area receives and how accessible the shed will be for your needs, be it tools, gardening supplies, or outdoor equipment.
Foundation Options
There are several techniques to create a solid foundation for your shed,and the choice often depends on local soil conditions and the shed’s intended use. Here are some popular options:
- Paver Base: Simple and effective,this method involves laying down concrete pavers or stones directly onto a leveled area. It’s ideal for smaller sheds and provides excellent drainage.
- Concrete Slab: For larger structures or when durability is crucial, pouring a concrete slab is a robust choice. Make sure to reinforce the slab with rebar to prevent cracking.
- Post and Beam: This method uses wooden posts anchored into the ground to support the shed. It’s notably useful in uneven terrain and allows for airflow beneath the shed, reducing the risk of rot.
- skid Foundation: A DIY-pleasant option, skids are heavy wood timbers placed on the ground and leveled. This foundation is easy to adjust if necessary.
Each of these foundation types has its own advantages, so consider what works best for your project. Properly preparing the ground—clear it of vegetation, debris, and rocks—will set you up for a successful build.
Essential Measurements and Leveling
Accurate measurements are key to ensuring your shed has a strong base.Before laying your foundation, determine the dimensions based on your shed’s planned size. Mark the area with stakes and string to visualize the layout. Use a level to check that the ground is even; a flat base helps prevent structural issues later on.
Lastly, remember to check local building codes and regulations to ensure compliance. This diligence can lead to disaster prevention and safeguard your investment in this classic project. As you prepare your foundation, keep these techniques in mind for a structure that not only captures timeless appeal but also boasts remarkable longevity.
Framing techniques: Ensuring Structural Integrity and stability
Constructing a wooden shed not only involves selecting quality materials and design elements but also integrating essential framing techniques that ensure structural integrity and stability. A well-framed shed can withstand the elements, provide a safe storage solution, and enhance the aesthetic appeal of your garden or yard. The fundamental goal is to create a framework that supports both the roof and the walls securely while optimizing material use and energy efficiency.
Essential Framing Principles
To start, aligning framing members vertically throughout your shed is crucial. This technique helps distribute weight evenly and prevents future sagging or settling. When constructing the walls, consider minimizing the use of headers in non-load-bearing sections. This practice not only reduces material costs but also allows for greater adaptability in interior design and layout. A strong vertical alignment ensures that your structure can handle the loads from the roof and any additional weight from snow or equipment stored inside.
Advanced Techniques
Another innovative method to consider is advanced framing, sometimes known as optimum value engineering (OVE). This system optimizes the use of framing materials while improving the shed’s overall energy efficiency. As an example, using fewer studs spaced further apart can reduce lumber needs while maintaining stability. This approach is especially beneficial in crafting larger structures where every inch of space counts, providing more room for insulation and reducing heat loss in colder climates.
Practical Steps for Framing
When framing your shed, follow these practical steps to enhance durability:
- Use quality lumber: Ensure all of your framing materials are straight and free of defects.
- Secure your corners: Use corner braces to prevent racking and maintain square corners.
- Install diagonal bracing: This will help provide lateral stability, especially in windy areas.
- Check levels frequently: regularly ensure that walls remain plumb and level during the building process.
For additional clarity, the following table outlines common framing components and their roles in ensuring structural integrity:
| Component | Function |
|---|---|
| Sills | Act as the base to which the walls are anchored; they prevent moisture from rising into the structure. |
| Studs | Vertical beams that support the wall and roof; they create the frame’s overall shape. |
| Headers | Support the load above door and window openings, distributing weight to the sides. |
| Bracing | Provides lateral support that prevents movement and maintains alignment. |
Incorporating these framing techniques will not just help you build a wooden shed with aesthetic appeal but also ensure it stands the test of time, weather, and use. By understanding and applying these methods,you’re well on your way to mastering how to build a wooden shed using classic techniques that promise longevity and reliability.
Roofing Options: Choosing the Right Style for Weather Resistance
Choosing the right roofing style is essential to ensuring your wooden shed withstands the elements, providing not only aesthetic appeal but also long-term durability. A well-selected roof can protect your investment from rain, snow, sun, and wind, extending the lifespan of your shed. Given the diverse weather conditions across regions, considering materials that specifically address these challenges is crucial.
Types of Roofing for Enhanced weather Resistance
When contemplating roofing options, several materials stand out based on their performance in adverse conditions:
- Asphalt Shingles: affordable and versatile, asphalt shingles are common in many regions. They provide decent weather resistance, costing about $2.08 to $3.56 per square foot, making them a practical choice for budget-conscious builders [[1](https://www.thisoldhouse.com/roofing/reviews/best-type-of-roof)]
- Metal Roofing: Known for its remarkable durability, metal roofing can endure heavy rain and snow while reflecting heat in warmer climates. This choice not only protects against moisture but can also contribute to energy efficiency in your shed.
- Clay Tiles: Ideal for warmer climates, clay tiles are fire-resistant and provide excellent insulation. However,their weight requires proper structural support,which can be a consideration in design [[3](https://www.goodhousekeeping.com/home/renovation/a43622815/best-roofing-material-types/)].
- Wood Shakes: For a rustic look,wood shakes can be appealing. Though, they may require more maintenance and might not be as resistant to fire and moisture as other materials.
Factors in Choosing Roofing Materials
When selecting roofing materials for your shed, consider the following factors:
| material | Weather Resistance | cost | Maintenance |
|---|---|---|---|
| Asphalt Shingles | Moderate | Low | Low |
| Metal Roofing | High | Moderate | Very Low |
| Clay Tiles | High | High | Moderate |
| Wood Shakes | Variable | Moderate | High |
Taking these factors into account can significantly enhance the overall resilience and longevity of your wooden shed. A careful assessment of your local weather conditions, alongside these roofing options, ensures that you maximize the effectiveness of your structure and create a lasting solution. When you’re ready to take your building project to the next level, understanding how to integrate these choices into your methods will play a vital role in achieving timeless appeal while safeguarding your investment.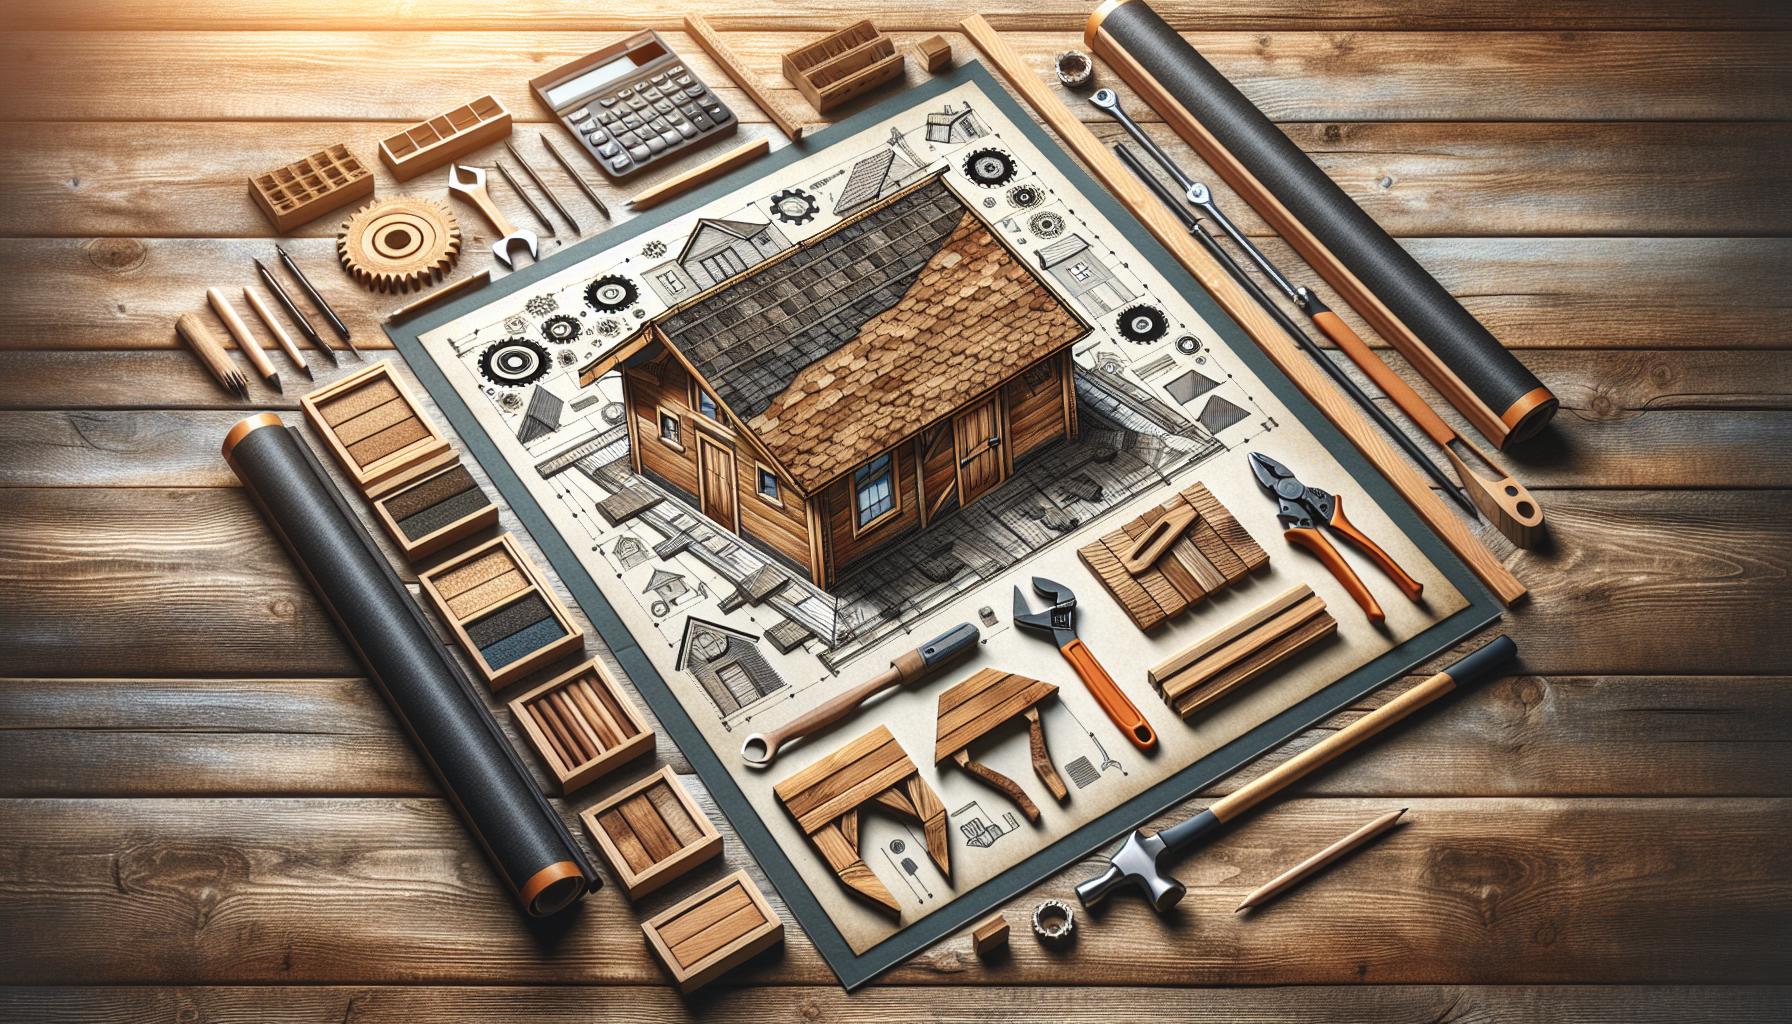
Finishing Touches: Enhancing Durability and Aesthetic Appeal
Crafting a wooden shed is not just about functionality; it’s also an opportunity to express creativity and ensure longevity. The finishing touches can significantly enhance both the durability and aesthetic appeal of your shed, turning a basic structure into a beautiful addition to your property. From choosing the right materials to adding decorative elements, these final details can create a striking visual impact and protect your investment against the elements.
Durable Materials for Enhanced Protection
Selecting high-quality materials from the outset is crucial in building a shed that withstands time and weather. Consider using:
- Pressure-treated wood: This type of wood is chemically treated to resist rot and insect damage, making it an excellent choice for any ground-level contact.
- Non-corrosive fasteners: Opt for stainless steel or coated screws and nails to prevent rusting, which can weaken the structure over time.
- Exterior-grade plywood: Ideal for walls and flooring, this plywood is specifically designed to endure moisture and temperature changes.
These materials provide a sturdy foundation for your shed and help shield it against the rigors of outdoor life.
aesthetic Enhancements
While durability is key, the visual aspect of your wooden shed shouldn’t be overlooked. Simple enhancements can elevate its charm and blend it seamlessly with your outdoor landscape. Here are some suggestions:
- Paint or Stain: A protective stain can enhance the natural beauty of the wood while providing an extra layer of protection from UV rays. Alternatively, paint can offer an opportunity to match the shed with existing structures on your property.
- Architectural Details: Consider adding decorative trim around windows and doors which can give your shed a custom look. Features like gables, shutters, and overhangs can contribute to a more polished design.
- Functional Landscaping: surround your shed with ornamental plants, gravel pathways, or decorative stones to enhance its presence and attractiveness in your yard.
These finishing touches not only enhance visual appeal but can also reflect personal style and integrate the shed into the natural beauty of your surroundings.
Maintenance Considerations
To ensure your wooden shed maintains its allure and functionality, regular maintenance is essential.Periodically inspect the shed for signs of wear, including rot, peeling paint, or rust. Keeping the structure clean and promptly addressing any issues can prolong its life significantly. Here are a few actionable maintenance tips:
- reapply stain or paint every few years to protect against moisture and UV damage.
- Clear gutters and ensure downspouts direct water away from the foundation to prevent pooling around the base.
- Inspect and replace any damaged roofing materials to prevent leaks and water damage.
Incorporating these practices into your routine will help preserve the shed’s integrity while ensuring it remains a beautiful and practical asset for years to come.
Maintenance Matters: Keeping your Wooden Shed in top Condition
One of the most delightful aspects of having a wooden shed is its potential to enhance your outdoor space while providing functional storage or workspace. Though, like any wooden structure, a shed requires regular maintenance to ensure it remains as charming and efficient as the day you built it. Neglecting upkeep can lead to a host of problems, including rot, pest infestations, and structural weaknesses, that may compromise both aesthetics and functionality.
To keep your wooden shed in pristine condition, consider implementing the following essential maintenance practices:
Regular Inspections
Routine checks are critical to identifying potential issues before they escalate. Aim to inspect your shed at least twice a year,paying close attention to areas where moisture can accumulate. Look for the following signs:
- Wood Rot: Check for any soft or discolored spots on the wood.
- Pest Infestation: look for signs of insects like termites or rodents.
- Roof Condition: Ensure shingles or roofing materials are intact and not leaking.
- Door and Window Functionality: Test hinges and locks, ensuring they operate smoothly.
Cleaning and Treating the Exterior
A clean shed is a happy shed. Dirt, mold, and mildew can degrade wood if left untreated. To keep your shed looking its best, follow these steps:
- Wash the exterior using a mixture of warm water and mild detergent. A soft brush can help remove stubborn dirt.
- Rinse thoroughly to ensure no soap residue remains, which can attract dirt.
- Apply a wood preservative or stain every 2-3 years to fend off moisture and UV damage. Consider using a product that also includes a fungicide for added protection.
Protecting the Foundation
the foundation is the backbone of your shed; keeping it secure and stable is crucial. Ensure that:
- There’s proper drainage: Direct water away from the shed’s foundation.
- Check for settling: monitor for any shifts and address them promptly.
- Use gravel or paving stones: Place these around the base to prevent mud splashes during rain.
Seasonal Considerations
Different seasons bring unique challenges to wooden shed maintenance. Here’s a quick overview:
| Season | Maintenance Tasks |
|---|---|
| Spring | Clean the exterior, check for winter damage, and treat with preservative. |
| Summer | Inspect for pests, maintain ventilation, and ensure doors/windows function properly. |
| Fall | Clear gutters, prepare for winter by checking insulation and weatherstripping. |
| Winter | Inspect for snow damage,ensure nothing is blocking ventilation,and adjust heating if applicable. |
By investing time and effort into these maintenance tasks, your wooden shed will remain a reliable, beautiful addition to your property for years to come.following the guidelines laid out in “How to Build a Wooden Shed: classic Techniques for Timeless Appeal,” keeping it in excellent condition becomes an approachable routine rather then an overwhelming chore.
Troubleshooting Common Issues: Solutions for a Smooth Build
When embarking on the journey of building your wooden shed,challenges can arise that might cause frustration or delay your project. However, with familiarity and preparation, most issues can be resolved promptly, allowing the construction to proceed smoothly. This guide aims to provide actionable solutions to common problems you might encounter while focusing on the classic techniques for building a wooden shed that not only stands the test of time but is also a joy to build.
Common Construction Problems and Their Solutions
A variety of obstacles can emerge during the construction of your shed. By being aware of these problems and knowing how to address them efficiently, you’ll be equipped to maintain momentum. Here are some of the most commonly faced issues:
- Warping or Bowing of Wood: This is often due to moisture in the wood. To combat this, consider using kiln-dried lumber which is less likely to warp.When you notice bowing, use clamps to straighten the boards while they are being secured.
- Pest Infestation: Ensure that you use treated lumber that’s resistant to termites and other pests. If you notice signs of infestation, seal any entry points and apply a pest deterrent spray.
- Foundation Issues: A sturdy foundation is crucial. If you’re experiencing unevenness, consider digging out the area and leveling it with gravel or concrete blocks to provide a solid base.
- Inaccurate Measurements: Measure twice to minimize mistakes. If a panel doesn’t fit, create a small jig to help cut multiple pieces accurately or check your plans for alterations that may need to be made.
Tools and materials: Preventative Measures
Having the right tools and materials at hand can prevent many issues before they arise. Here’s a handy checklist to ensure you’re fully equipped:
| Tools | Materials |
|---|---|
| Measuring tape | Kiln-dried lumber |
| Saw (hand saw or circular saw) | Wood screws and nails |
| Clamps | Concrete or gravel for foundation |
| Drill | Pest deterrent chemicals |
Utilizing these tools and materials effectively can minimize common setbacks and enable you to harness the classic techniques essential for constructing a beautiful and durable wooden shed. Remember, every builder experiences bumps along the way; what matters is how you adapt and overcome them, ensuring your project remains on track and enjoyable.
FAQ
How to Build a Wooden Shed: Classic Techniques for Timeless Appeal?
To build a wooden shed using classic techniques,start with a solid plan and quality materials. Consider essential aspects like a sturdy foundation, appropriate lumber, and efficient construction methods to ensure durability and aesthetic appeal.
Begin by creating a design that fits your space requirements and enhances your yard’s beauty. Use pressure-treated wood for the foundation to protect against moisture, and opt for high-quality lumber for the walls and roof. This approach will ensure your shed lasts for years, combining functionality with style.
What is the best wood for building a shed?
The best wood for building a shed includes cedar, redwood, and pressure-treated lumber. These options are not only durable but also resistant to decay and insect damage, making them ideal for outdoor structures.
Cedar and redwood offer natural beauty and longevity, while pressure-treated lumber is designed to withstand the elements. When selecting wood, consider your budget and the shed’s intended use. For more detailed tips on materials,check out our guide on choosing the right materials.
why does a wooden shed need a foundation?
A foundation is crucial for a wooden shed as it prevents moisture damage and provides stability. Without a proper foundation, water can seep into the wood, leading to rot and structural issues.
Using a solid foundation ensures that your shed remains level and secure. You can choose from concrete blocks, a gravel base, or even a concrete slab, depending on your needs and site conditions. A strong foundation is the first step in creating a resilient structure that withstands the test of time.
Can I build a wooden shed without prior experience?
Yes, you can build a wooden shed even without prior experience! Many DIYers successfully construct their sheds by following step-by-step plans and utilizing fundamental carpentry techniques.
Start with a well-documented guide on how to build a wooden shed, focusing on essential techniques and safety measures. Don’t hesitate to seek assistance from online tutorials or local workshops, which can enhance your confidence and skills. Remember, practice makes perfect!
What tools do I need to build a wooden shed?
Essential tools for building a wooden shed include a circular saw, drill, hammer, level, and measuring tape. having these tools on hand will help streamline your construction process.
Additionally, consider investing in safety gear, such as goggles and gloves, to protect yourself while working. Depending on your design, you may also need specialized tools like a router or nail gun.Review your construction plans to ensure you have all the necessary equipment before starting your project.
How long does it take to build a wooden shed?
The time it takes to build a wooden shed varies, typically ranging from a few days to over a week, depending on your experience, the shed’s size, and weather conditions.
Factors that influence the timeline include the complexity of your design, material availability, and the number of helping hands. Draft a realistic schedule, allowing for breaks and unforeseen issues. With patience and proper planning, you’ll create a beautiful shed that reflects your craftsmanship.
What are some common mistakes when building a wooden shed?
Common mistakes when building a wooden shed include inadequate planning, poor foundation choice, and neglecting ventilation. These oversights can compromise the shed’s longevity and functionality.
To avoid these pitfalls, prioritize a clear design and gather all necessary materials before starting. Ensure your foundation is level and appropriate for your climate. Also, incorporate ventilation to prevent moisture buildup, enhancing air circulation and prolonging the structure’s life.
To Wrap It Up
As you embark on your journey to build a wooden shed, remember that each step is an opportunity to learn and grow your skills. From selecting the right materials to mastering essential construction techniques,you’re not just creating a functional space; you’re crafting a timeless structure that reflects your dedication and craftsmanship. Embrace the challenges that may arise—after all,every expert was once a beginner!
By following the classic techniques outlined in this guide,you’ll cultivate not only a beautiful shed but also confidence in your DIY capabilities. So gather your tools, roll up your sleeves, and let the process unfold. Share your progress, seek advice, and don’t hesitate to explore further into the art of woodworking.Your shed awaits, and it’s time to make your vision a reality! Happy building!

