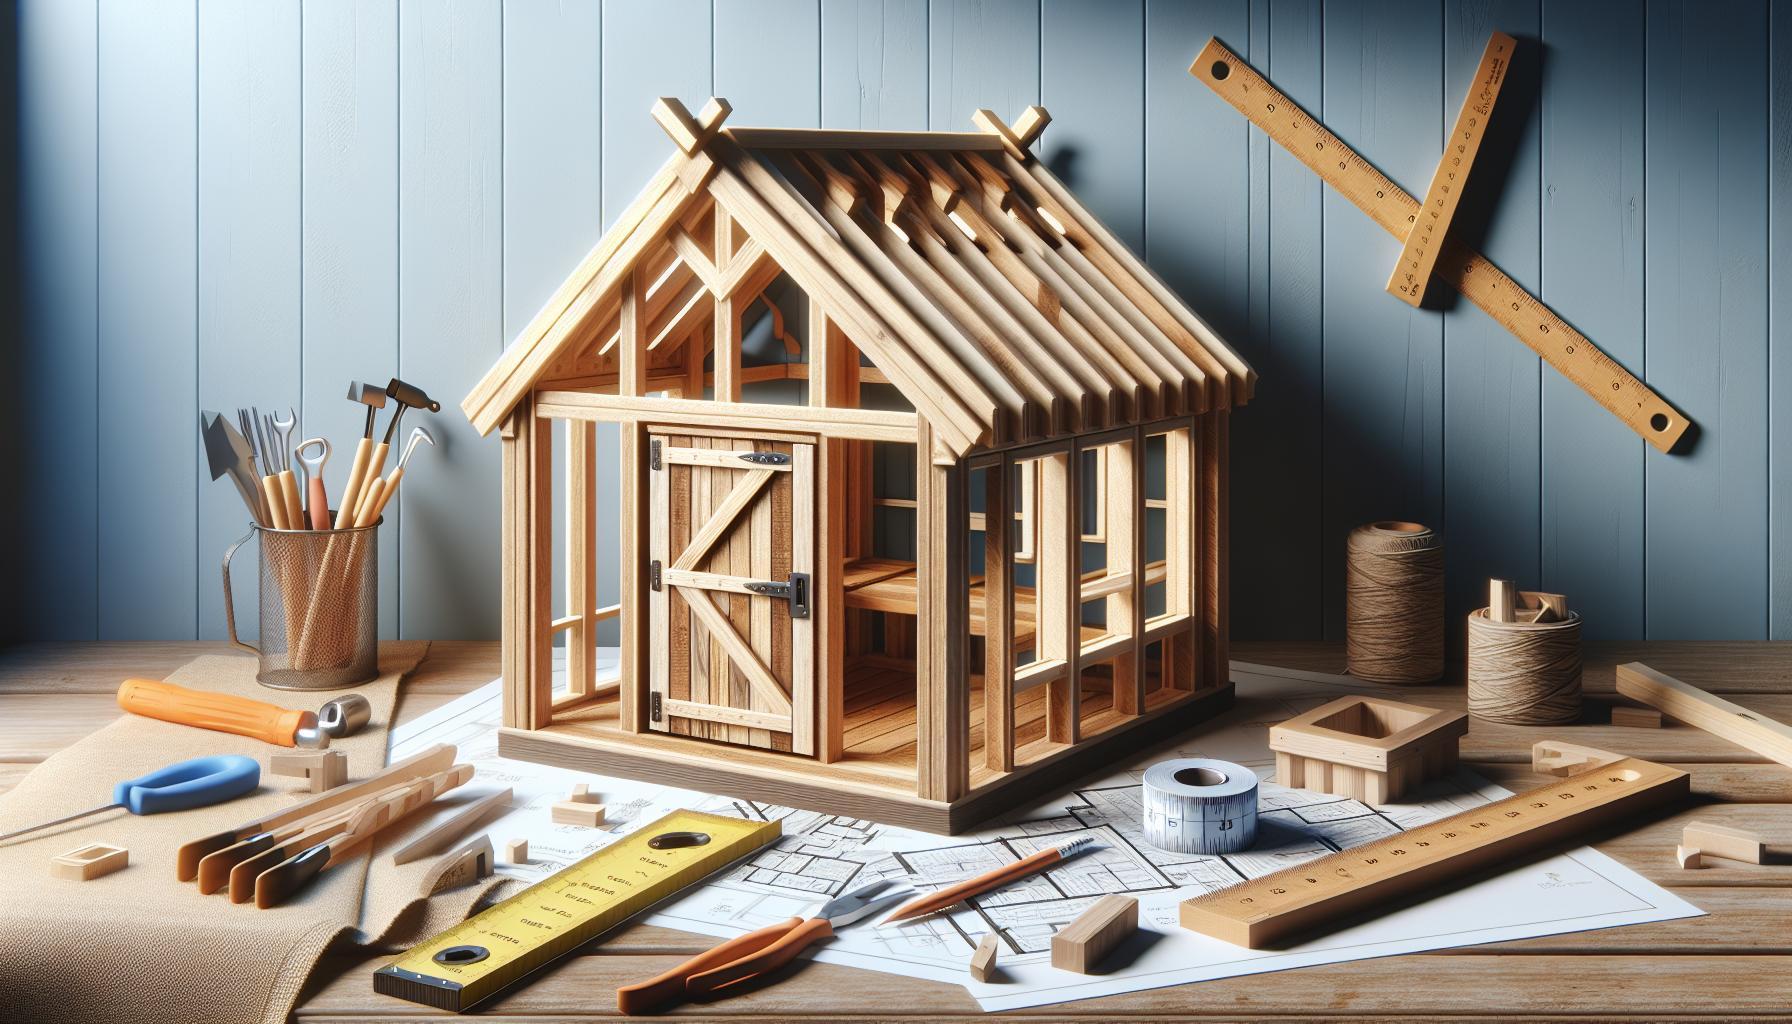
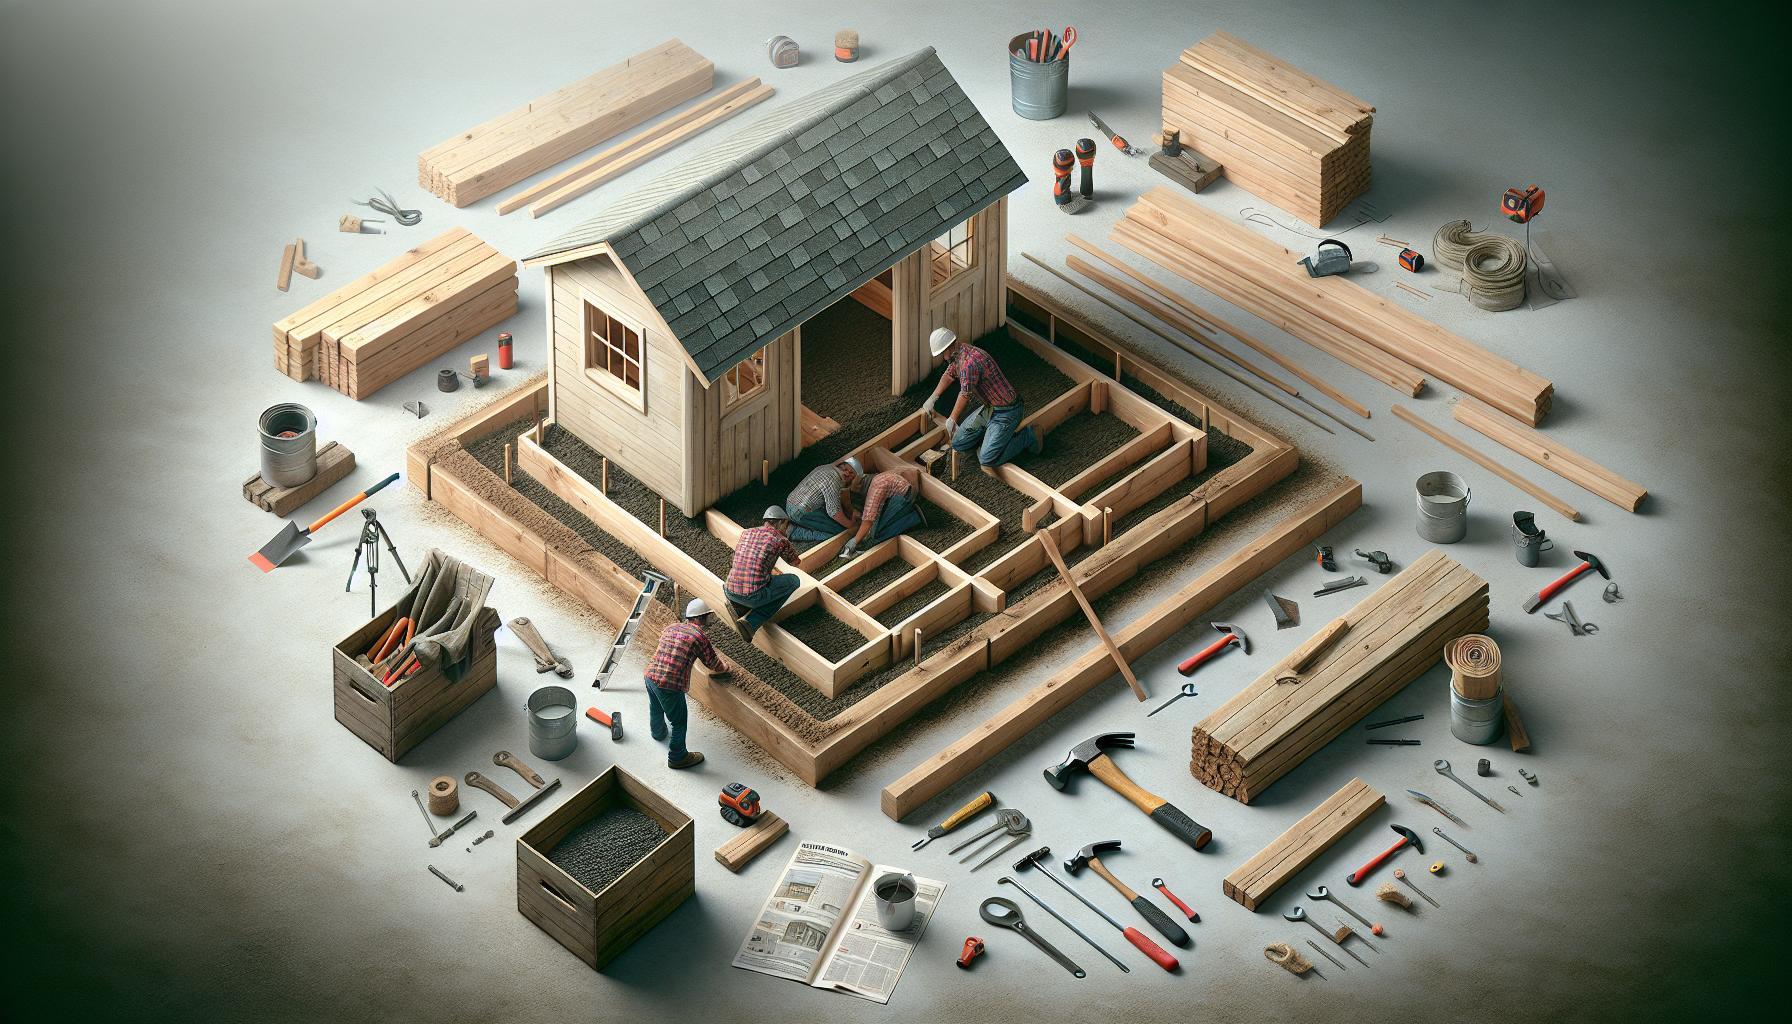
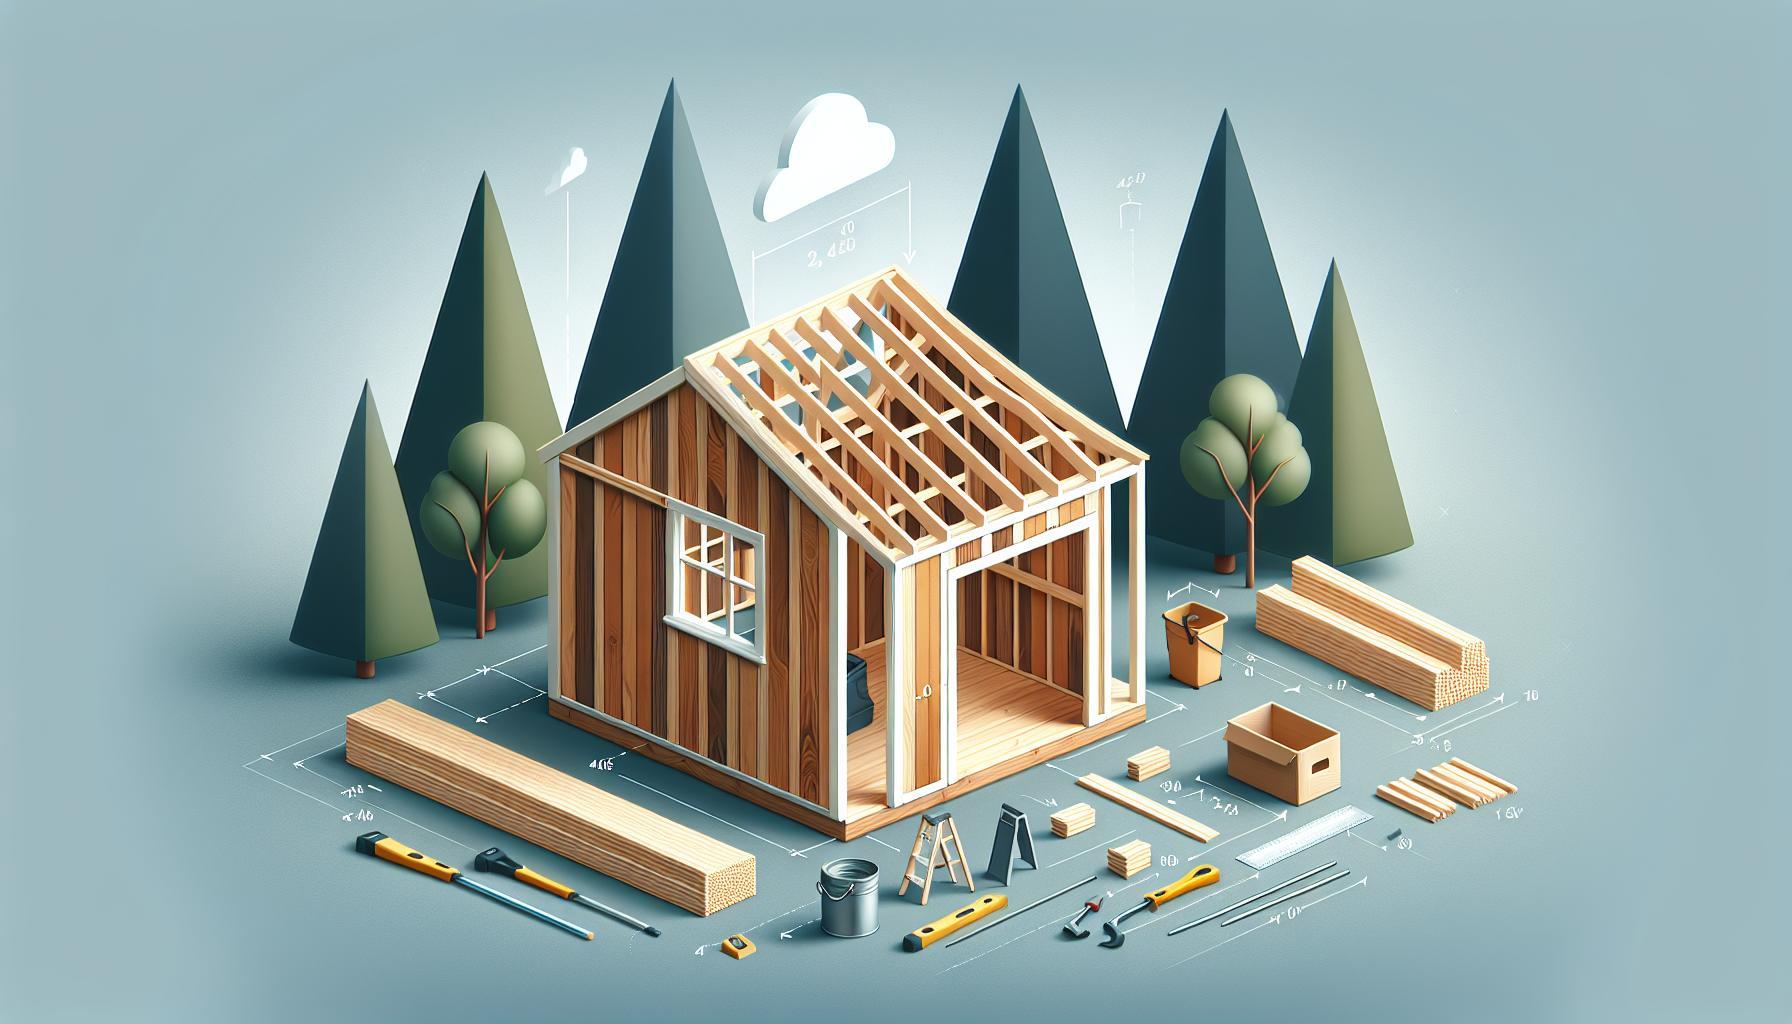
Are you tired of clutter taking over your yard? Building a wood shed not only organizes tools and supplies but can also enhance your outdoor space’s aesthetics.This guide will equip you with essential timber techniques to create a functional and visually appealing structure, combining practicality with beauty in your backyard.
Understanding Your Shed’s Purpose: Choosing the Right Design
building a wood shed can be an exciting project, but before you even pick up a tool, it’s essential to clarify your shed’s purpose. Understanding what you want your shed to achieve will guide you in choosing the right design and materials, ensuring that the final result beautifully meets your needs.Whether you’re storing gardening tools, housing lawn equipment, or creating a workshop space, each function demands different considerations in design.
Identifying Your Shed’s Purpose
Begin by assessing the primary functions your shed will serve. This might include:
- Storage: If your main goal is to store tools and equipment, consider a design with ample shelving and organizational features.
- Workspaces: If you plan to use your shed as a workshop, focus on the layout to allow for proper work surfaces and electrical access.
- Hobby Spaces: For hobbies like woodworking or crafting, ensuring enough ventilation and natural light can make a significant difference.
- Garden Equipment: A shed dedicated to garden supplies may need larger doors for easy access to bulky items.
Taking the time to envision how you will use the shed not only helps in selecting an efficient layout but also influences the overall aesthetics. For example, a rustic garden shed could integrate seamlessly with your landscape, while a modern workshop may lean towards functional finishes.
Design considerations
When it comes to the actual design of your shed, several factors play a role. Here are some practical tips to help you choose an optimal style:
- Size: Compute the approximate dimensions based on the items you plan to store or the work you intend to carry out.
- Style: From gables to lean-tos, the style should match your home or garden. Consider materials that complement your surroundings.
- Accessibility: Ensure that your design includes doors and entry points that allow easy access to your stored items or workspace.
- Climate Considerations: Depending on the weather in your area, you might need insulation or specific materials that withstand local conditions.
By mapping out your requirements and considering design implications, you’ll be well on your way to effectively implementing the techniques discussed in “How to Build a wood Shed: Timber Techniques for Beautiful Results.” Not only will this process enhance the utility of your shed, but it will also add aesthetic value to your property, creating a beautiful and functional space that fits your lifestyle perfectly.
Essential Tools and Materials: What You Need to Get Started
To embark on the journey of constructing your very own wood shed, having the right tools and materials is crucial. Investing time into gathering these essentials not only makes the building process smoother but also paves the way for results that truly reflect your creativity. Whether it’s a cozy alcove for garden gear or a rustic retreat for your hobbies, the right equipment will empower you to realize your vision.
Core Materials Needed
To begin your project, you’ll need to collect some basic materials. The quality and type of materials you choose can considerably affect the longevity and aesthetic of your wood shed.Here’s a breakdown of the basic supplies:
- Lumber: Opt for pressure-treated wood for the base and framing, and choose quality shingles or plywood for the roofing.
- Fasteners: Use galvanized screws and nails to prevent rust and ensure durability.
- sealant: A good wood sealant is essential to protect your shed from moisture and the elements.
- Roofing materials: Consider metal sheets or asphalt shingles, depending on your desired aesthetic and budget.
Essential Tools for Construction
Equipping yourself with the right tools will turn your wood shed project from a mere idea into tangible craftsmanship.Here’s a compact list of must-have tools for this undertaking:
- Measuring tape: Accuracy in measurements is paramount.
- Level: Ensure that your structure is plumb and true.
- Circular saw: For clean cuts and efficient lumber shaping.
- Drill: A power drill will help speed up the fastening process.
- Hammer: A classic tool that’s essential for building.
- Safety gear: Don’t overlook goggles and gloves to protect yourself while working!
additional Materials for Aesthetic Enhancements
Once the foundation and structure of your wood shed are in place, you may want to add some personal touches that elevate both functionality and design. Embrace elements such as:
- Paint or stain: Choose colors that complement your yard and protect the wood.
- Windows: Allow natural light in with strategically placed windows.
- Shelves and hooks: For organized storage, adding interior utility features can maximize space.
By gathering these key materials and tools, you’re setting yourself up for success in your quest for building a wood shed that embodies your unique style and serves your needs. With well-planned steps and the right resources, you will soon see your project transform from a vision into a beautiful reality.
Mastering the Foundation: Laying the Groundwork for Stability
When embarking on the journey to build a wood shed, understanding the importance of a solid foundation is crucial. The stability and longevity of your structure depend significantly on how well you lay the groundwork.A poor foundation can lead to settling, warping, and othre issues that can compromise your shed’s integrity, making it essential to give this aspect the attention it deserves.
Choosing the Right Location
Selecting the right location for your shed lays the groundwork for a durable foundation.consider the following factors:
- Drainage: Ensure the site allows for proper drainage to prevent water accumulation around and under the foundation.
- Sunlight: Position the shed to maximize sunlight exposure, which can definitely help reduce moisture buildup and increase the lifespan of the materials used.
- Accessibility: Choose a location that provides easy access for maintenance and storage enhancement over time.
Once you’ve identified a suitable location, it’s time to prepare the land.
Preparing the Ground
A well-prepared site is the backbone of any stable construction project. Here’s how to prepare your ground:
- Clearing the Area: Remove grass, rocks, and any debris from the designated area to create a clean work environment.
- Leveling the Ground: Use a rake or shovel to level the area, ensuring that the surface is flat. You can check for levelness with a carpenter’s level or a string line.
- Compacting the Soil: If the soil is loose, compact it using a manual tamper or a mechanical compactor to create a sturdy base that minimizes shifting over time.
Foundation Options for Stability
The type of foundation you choose can vary depending on the local climate, soil type, and personal preference. Here are some commonly used foundation methods:
| Foundation Type | Description | Pros | Cons |
|---|---|---|---|
| Concrete Slab | A solid,flat area of poured concrete. | Durable, excellent for heavy structures. | Requires more effort and is less adaptable. |
| Concrete blocks | Stacked, leveled blocks serving as piers. | Easy to install and adjust. | May settle if not properly leveled. |
| Wood Skids | Pressure-treated lumber laid flat on the ground. | Cost-effective and simpler to build. | Less durable, susceptible to rot. |
| Post Foundation | Posts set deep in the ground, raised off the soil. | Great for high moisture areas, enhances airflow. | requires careful installation to ensure stability. |
Selecting the right foundation not only enhances the aesthetic appeal of your wood shed but is also a pivotal aspect of mastering the construction process. Remember, a sound foundation forms the base for beautiful results and ensures that your hard work stands the test of time. by carefully considering location, preparation, and foundation options, you will lay the groundwork for a wood shed that meets your storage needs while maintaining structural integrity.
Constructing the Frame: Tips for a Solid Structure
Building a wood shed not only provides you with functional storage space but also lets you express your creativity through craftsmanship. A well-constructed frame is the foundation that will ensure your shed stands strong against environmental stresses, such as wind and rain. To achieve a solid structure,it’s essential to pay meticulous attention to detail right from the start.
Choosing the Right Materials
When constructing the frame of your wood shed, the integrity of your materials cannot be overlooked. Opt for durable lumber that can withstand the elements, such as pressure-treated pine, cedar, or redwood. These woods are naturally resistant to decay and insects, making them ideal for the structural framework. Remember to inspect your wood for imperfections before you begin; warping or knots can compromise the strength of your shed.
Building Techniques for Stability
There are several construction techniques you can employ to create a sturdy frame. Here are some tips to keep in mind:
- Use the Right Fasteners: Choose corrosion-resistant screws or nails that will hold your structure together effectively. Galvanized fasteners are typically preferred for outdoor projects.
- Construct a Solid Base: Start with a level foundation; you can use concrete blocks or a gravel pad. This will prevent moisture damage and provide a stable base for your frame.
- Employ a Sturdy Design: Consider using a simple rectangular design or incorporate cross-bracing for added stability.Cross-bracing helps distribute weight and can mitigate the risk of your shed swaying or collapsing in high winds.
Measuring and Cutting Accurately
Precision is critical in framing your shed. Before making any cuts, measure twice and cut once to ensure that all pieces fit together well. Utilize a framing square to check angles and plumb lines, which helps avoid common construction pitfalls.
| Measurement Tips | Tools Required |
|---|---|
| Measure lengths and angles carefully | Framing square, tape measure |
| Mark cuts clearly | Pencil, chalk line |
| Check level frequently | Level tool |
By employing these techniques and best practices, you can build a robust frame for your wood shed that not only serves its purpose effectively but also enhances the overall aesthetic value of your property. Remember, each choice you make in the construction process contributes to the longevity and stability of your shed!
roofing Solutions: Selecting the Best Options for Durability
When constructing a wood shed, one of the most critical factors to consider is the durability of the roofing materials.The right roofing solution not only protects your investment from the elements but also enhances the overall aesthetic of your shed and ensures longevity. Selecting materials that can withstand varying weather conditions and provide lasting performance is essential for any DIY enthusiast.
Choosing the most appropriate roofing material is paramount, and it frequently enough hinges on the specific requirements of your wood shed. Here are several options to consider:
- Asphalt Shingles: These are cost-effective, available in various colors and styles, and are easy to install. They offer decent durability but may require replacement every 15 to 30 years.
- Metal Roofing: With an impressive lifespan of 40 to 70 years, metal roofing can resist extreme weather conditions, making it ideal for areas prone to heavy snow or rain. Its lightweight nature also reduces stress on the shed’s structure.
- Wood Shingles: These can provide a rustic look to your shed. Though, they require regular maintenance and treatment to prevent rot and insect damage.
- Slate Tiles: although more expensive, slate offers remarkable durability and can last over a century. Its natural look and resistance to the elements make it a premium choice for high-end constructions.
Key Considerations for Selecting Roofing Materials
When pondering how to build a wood shed effectively, it is also important to take into account the roof pitch, climate, and local building codes. Each of these factors will influence your choice of roofing:
| Factor | Consideration |
|---|---|
| Roof Pitch | Steeper pitches can shed water and snow more effectively, impacting the choice of roofing material. |
| Climate | your geographical area dictates which materials are most suitable—choose durable options for high-wind or heavy-rain regions. |
| Building Codes | Ensure compliance with local regulations, which may limit your roofing material options. |
when embarking on the journey of building a durable wood shed, the selection of roofing materials is a critical component that demands careful consideration. Using durable, long-lasting materials not only contributes to the integrity of your structure but also enhances its aesthetic appeal. By evaluating your options and aligning them with your specific needs and location, you can make informed decisions that will lead to impressive results while maximizing the lifespan of your shed.
Finishing touches: From Windows to Paint for a Polished Look
The right finishing touches can elevate your wood shed from a mere structure to a stunning addition to your property. Whether your looking to enhance its functionality or simply add visual flair, thoughtful details such as windows and paint can make a significant difference. By incorporating elements that reflect your personal style while ensuring practicality,your shed can be a beautiful complement to your landscaping.
Choosing the right Windows
Windows not only allow natural light to illuminate the interior but also provide ventilation and create an inviting atmosphere. When selecting windows for your shed, consider the following options:
- Awning windows: Positioned to open outward from the bottom, they offer ventilation even during rain.
- Sliding windows: These are easy to operate and can fit into smaller spaces.
- Fixed windows: Ideal for adding light without compromising security, these windows do not open.
Incorporating windows into your shed design also allows you to personalize its appearance.Choose frames that complement the primary materials of your shed or opt for colorful painted frames to add a pop of color.
Perfecting the Paint Finish
The final coat of paint is crucial in protecting your wood shed from the elements while providing a polished look. Selecting the right paint type and color can enhance the aesthetic appeal significantly. Here are some tips for achieving a perfect paint finish:
- Use weather-resistant paint: Opt for high-quality exterior-grade paint specifically formulated to withstand harsh weather conditions.
- Consider color schemes: Match the paint color with your home or landscape to create harmony. Earth tones or vibrant colors can both work effectively based on your desired style.
- Texture matters: A semi-gloss or satin finish can provide durability and ease of cleaning, while a matte finish offers a more rustic look.
Investing time in the right painting techniques will ensure a long-lasting finish and a beautiful aesthetic, enhancing the overall appeal of your shed.
Enhancing Curb Appeal
Beyond windows and paint,you can further polish your shed’s look through landscaping and decorative touches. Adding flower boxes beneath the windows or creating pathways leading to the shed can draw attention to this functional structure. Incorporate elements such as shutters or a decorative roofline to add character.A well-finished shed not only serves its designated purpose but also adds charm and value to your property,embodying the principles found in “How to Build a Wood shed: Timber Techniques for Beautiful Results.” With thoughtful design choices and attention to detail, your shed will stand out as a striking feature that complements your outdoor space beautifully.
Maintenance Essentials: Keeping Your Shed in top Shape
Maintaining the quality of your wood shed is crucial for ensuring its longevity and functionality. Just as you carefully selected materials and mastered timber techniques for beautiful results during the construction process, ongoing maintenance is essential to protect your investment and keep your shed looking its best. Regular upkeep can prevent larger, more costly issues and enhance the overall aesthetic of your backyard.
Regular Inspections
One of the simplest but most effective maintenance tasks is to conduct regular inspections. Schedule these checks at least twice a year, specifically in spring and fall, to assess your shed’s condition. look for:
- Cracks or splinters in the wood
- signs of rot or mold
- Loose or missing shingles or siding
- Accumulated debris around the foundation
If you notice any minor issues during these inspections, address them promptly to avoid more significant repairs down the line. A small crack, if left untreated, can lead to widespread rot, demanding more extensive rehabilitation.
Proper cleaning Techniques
The exterior of your shed can accumulate dirt, mildew, and other deposits over time. Keeping it clean is not only good for aesthetics but also essential for the wood’s health. Here are effective cleaning methods:
- Soft washing: Use a mild detergent mixed with water to clean your shed. This gentler approach minimizes damage to the wood.
- Power washing: If dirt is particularly stubborn, using a power washer can do the trick, but be cautious and keep the pressure at a moderate level to prevent wood damage.
- Sealing and painting: Regularly apply protective finishes, and repaint or restain every few years to guard against moisture and ultraviolet damage.
protecting Against pests
Wooden structures are susceptible to various pests that can lead to significant damage. Here are methods to safeguard your shed:
- Keep wood chips and debris clear of the base to deter bugs.
- Inspect doors and windows regularly to ensure seals are secure.
- Consider using natural repellents or treatments specifically for wood to create an unsuitable environment for termites and other wood-loving pests.
To analyze the potential costs associated with regular maintenance, consider the following comparative table on common shed upkeep tasks:
| task | Frequency | Estimated Cost |
|---|---|---|
| Inspection | Twice a year | Free (DIY) |
| Cleaning | Every season | $20-$100 (Materials) |
| Sealing/Painting | Every 3-5 years | $50-$200 (Materials) |
| Pest Control | As needed | $30-$150 (Treatments) |
By undertaking these maintenance essentials, you can ensure your wood shed remains sturdy, functional, and stylish for years to come. Consistent care will not only enhance the lifespan of your shed but also keep it an attractive addition to your outdoor space, complementing the timber techniques you used to build it originally.
Overcoming Common Challenges: Troubleshooting Your Build Process
Building a wood shed can be an incredibly fulfilling project, but it’s not uncommon to encounter a few bumps along the way. Each step of the journey presents unique challenges that can test your patience and resolve. Whether you’re a novice do-it-yourselfer or a seasoned builder, knowing how to troubleshoot these common issues can save time, resources, and frustration. Here’s a look at some common challenges you might face when constructing your shed and how to efficiently address them.
Addressing Design Flaws
One of the foremost challenges in the building process stems from design flaws—whether they originate from your plans or the materials you’ve chosen. A poorly thought-out design can lead to structural integrity issues or make assembly problematic. Here are a few tips to help you refine your design before you begin:
- Review Your plans: Go through your design step-by-step to ensure everything makes sense. Use checklists to compare each component of your shed.
- Consult Resources: Look at other wood shed projects for inspiration. Online forums or community workshops can provide valuable insights on common pitfalls and remedies.
- Prototyping: If uncertain, consider building a small mock-up of the critical components. This can help you visualize the final structure.
Dealing with Material Deficiencies
Another prevalent issue encountered is the use of flawed or insufficient materials. Wood quality varies, and not all timbers are created equal. Below are some strategies to mitigate this challenge:
- Inspection is Key: Before starting your build, inspect each piece of lumber for warping, cracks, or pests. return anything subpar to ensure only the best materials are used.
- Buying in Bulk: When purchasing wood,buy a little more than you need. This reduces the chance of running into scarcity or poor quality mid-project.
- Allow for Acclimatization: Let your timber sit outdoors for a few days before use. This helps the material adjust to local humidity levels and can prevent issues down the line.
navigating weather Challenges
weather can have a significant impact on your build timeline and quality.Rain or high winds can delay work or lead to safety hazards. Consider these approaches to handle weather-related challenges effectively:
- Check the Forecast: Always plan your building days around the weather forecast. If rain is predicted,ensure you have adequate shelter or postpone if needed.
- Use Tarp Covers: If you’re caught in unexpected precipitation, set up tarp covers over your building materials and partially completed structure. this keeps everything dry and workable.
- Schedule Smart: Prioritize days for specific tasks based on weather suitability. For example, choose dry days for assembly and rainy days for painting or finishing touches indoors.
When it comes to constructing your shed,being prepared for potential challenges enables you to stay on track and maintain momentum. By anticipating these common pitfalls, you’ll enhance your project’s chances of success while also ensuring that the beautiful results reflect your vision and hard work.
Frequently asked questions
How to Build a Wood Shed: Timber Techniques for Beautiful Results?
To build a wood shed effectively, start by creating a solid foundation and choosing the right timber. Use quality wood like cedar or pressure-treated lumber for durability. Follow a detailed plan that outlines the dimensions,roofing,and siding styles for optimal aesthetics.
Building a wood shed involves several steps, including planning, selecting materials, constructing the frame, and adding a roof. It’s crucial to ensure that the shed is both functional and visually appealing.For detailed instructions, check out our guide on planning your wood shed.
What materials do I need for constructing a wood shed?
Essential materials include timber for the frame,plywood for the walls,and shingles for the roof. Additionally, you may need nails, screws, and protective coatings like sealants.
Choosing the right quality wood—such as fir, spruce, or pine—is key for longevity. Ensure to check for any local building codes to verify if you need other materials or special permits.
Why dose my wood shed need a ventilation system?
A ventilation system is crucial for preventing moisture buildup inside your wood shed, which can lead to mold and decay. It helps maintain the longevity of your stored items.
Consider installing vents near the top and bottom of the shed to allow fresh air circulation. proper ventilation not only protects the contents but also enhances air quality within the structure.
Can I construct a wood shed without prior experience?
Yes, even beginners can successfully build a wood shed by following clear instructions and using step-by-step guides. Many find the process rewarding and educational.
Start with simpler designs and gradually take on more complex builds as your skills improve. Utilize online resources, community workshops, or tutorials specific to How to Build a Wood Shed for additional support.
What is the average cost to build a wood shed?
The cost to build a wood shed can vary greatly, typically ranging between $1,000 to $3,000, depending on materials, size, and design complexity.
Budget for labor if you choose to hire help. Planning your design and materials in advance can significantly affect your total expenses and help avoid unexpected costs.
How do I ensure my wood shed is weatherproof?
To make your wood shed weatherproof, use high-quality roofing materials, apply weather-resistant coatings, and ensure proper sealing in joints and gaps.
A well-constructed shed will have a sloped roof to prevent water accumulation. Regular maintenance like re-sealing and inspecting for damage will also help maintain its integrity against the elements.
What tools are necessary for building a wood shed?
Key tools include a saw, hammer, power drill, level, and measuring tape. These basic tools will help you measure, cut, and assemble the shed’s components effectively.
Investing in quality tools can greatly improve your building experience,making the process smoother and ensuring precision in your construction.
The Conclusion
As we wrap up our journey through the ins and outs of building a wood shed, we hope you feel inspired and empowered to take on this rewarding DIY project.By mastering essential timber techniques, you’ve laid the groundwork for crafting a beautiful and functional structure that can stand the test of time. Remember, each step—whether it’s selecting the right materials, crafting precise joints, or finishing touches—plays a vital role in achieving those stunning results.
If you encountered challenges along the way, know that these are simply part of the learning process. Embrace them as opportunities to hone your skills, and don’t hesitate to seek out solutions. You’ll find that every small victory boosts your confidence and enhances your craftsmanship. Moreover, your wood shed will not only provide practical storage but also a sense of accomplishment and pride.
We encourage you to explore more resources, tips, and techniques to elevate your DIY experience further. Join discussions, share your progress, and learn from fellow enthusiasts—every bit of engagement adds value to your woodworking journey.Here’s to quality craftsmanship and the joy of building. Now, grab your tools and let your creativity shine!

