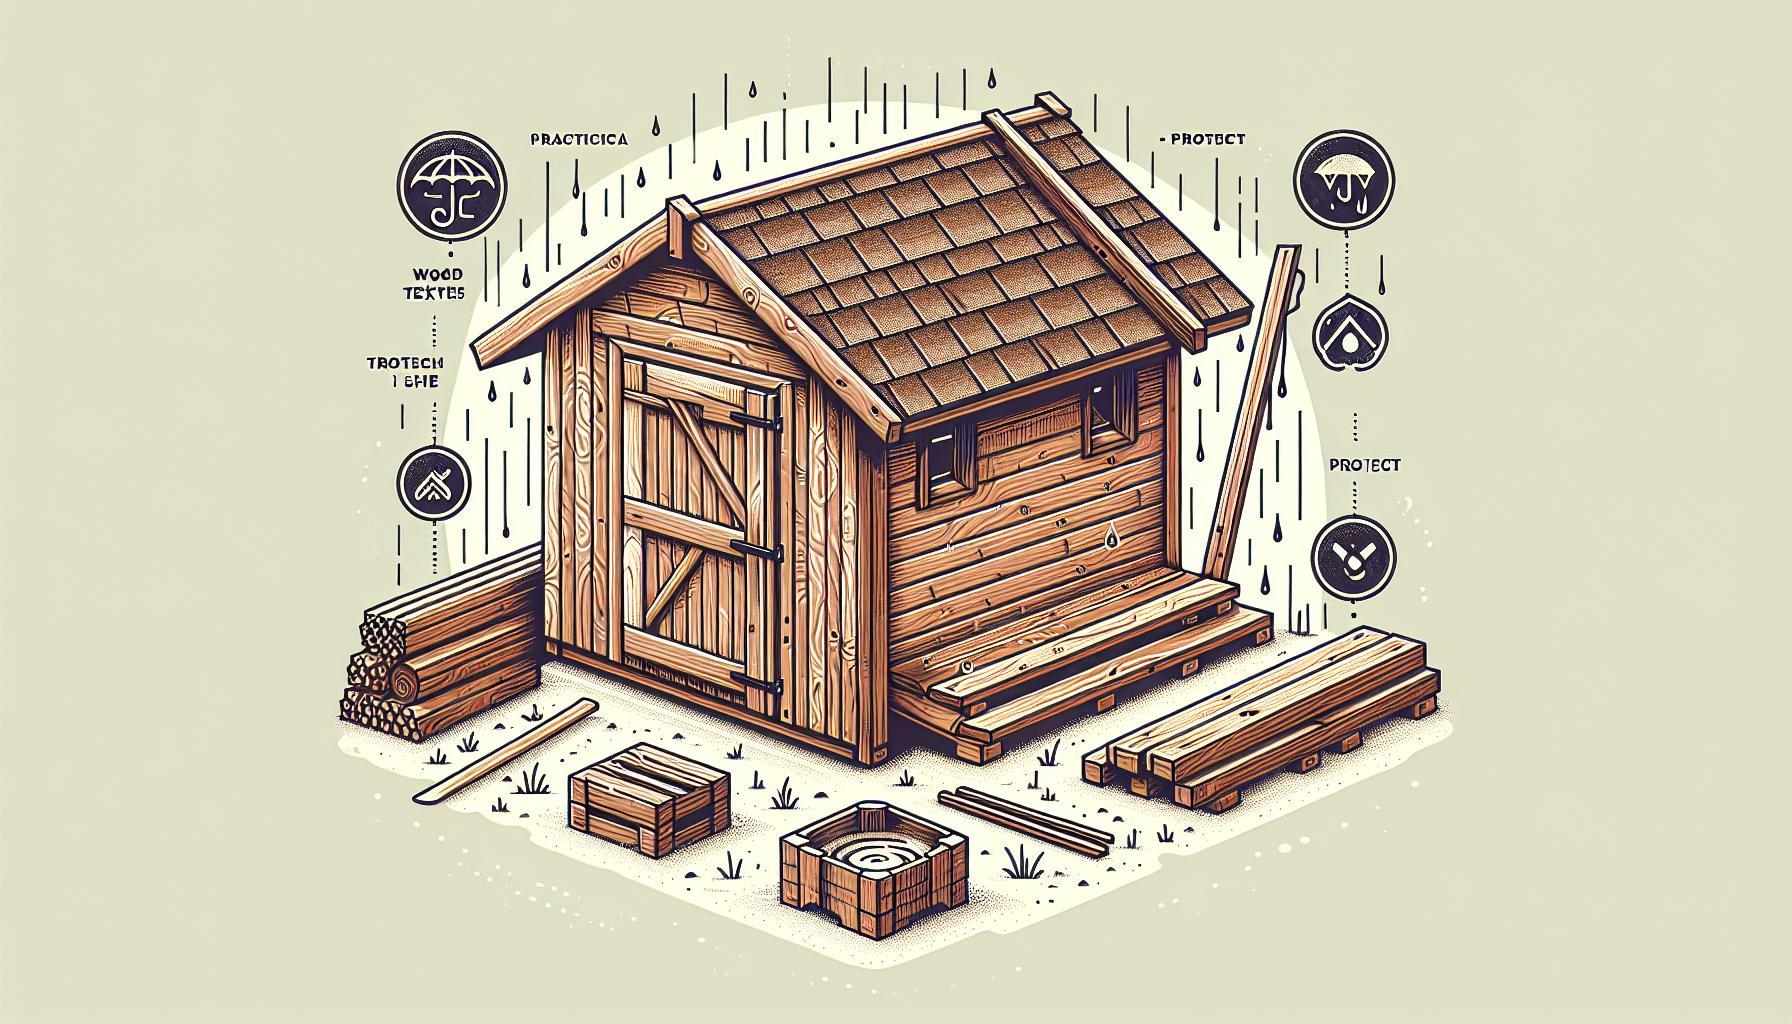
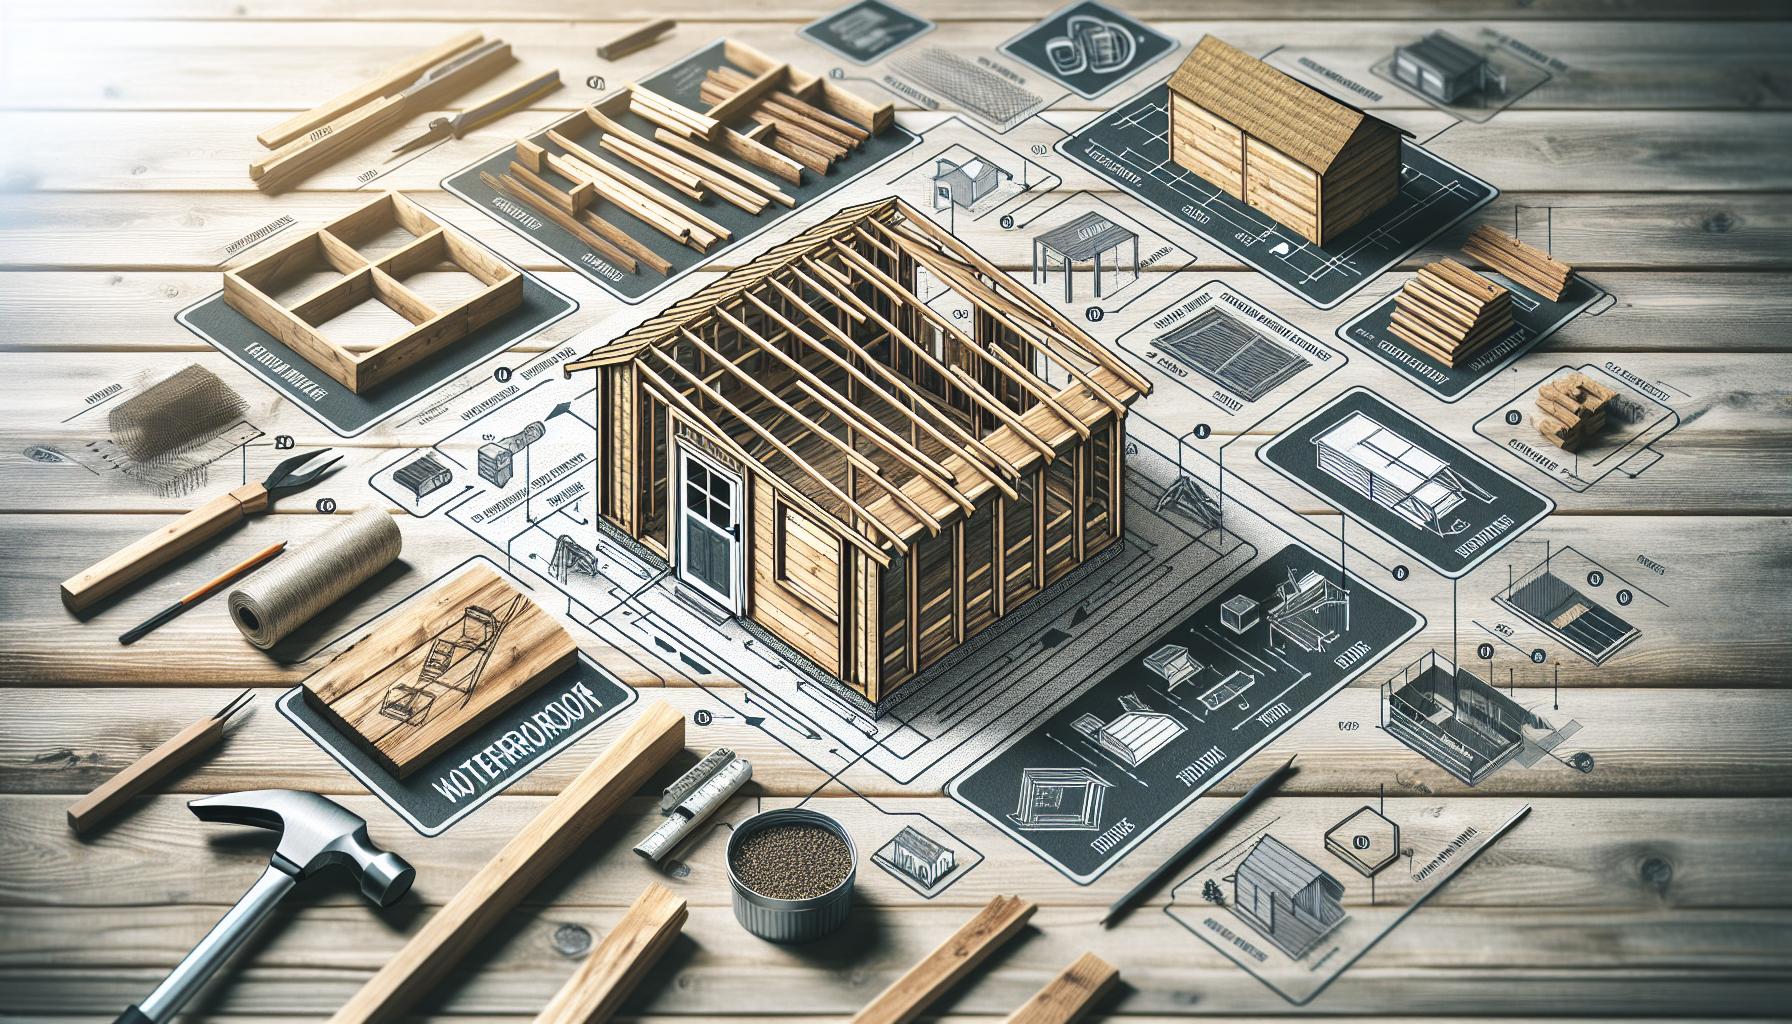
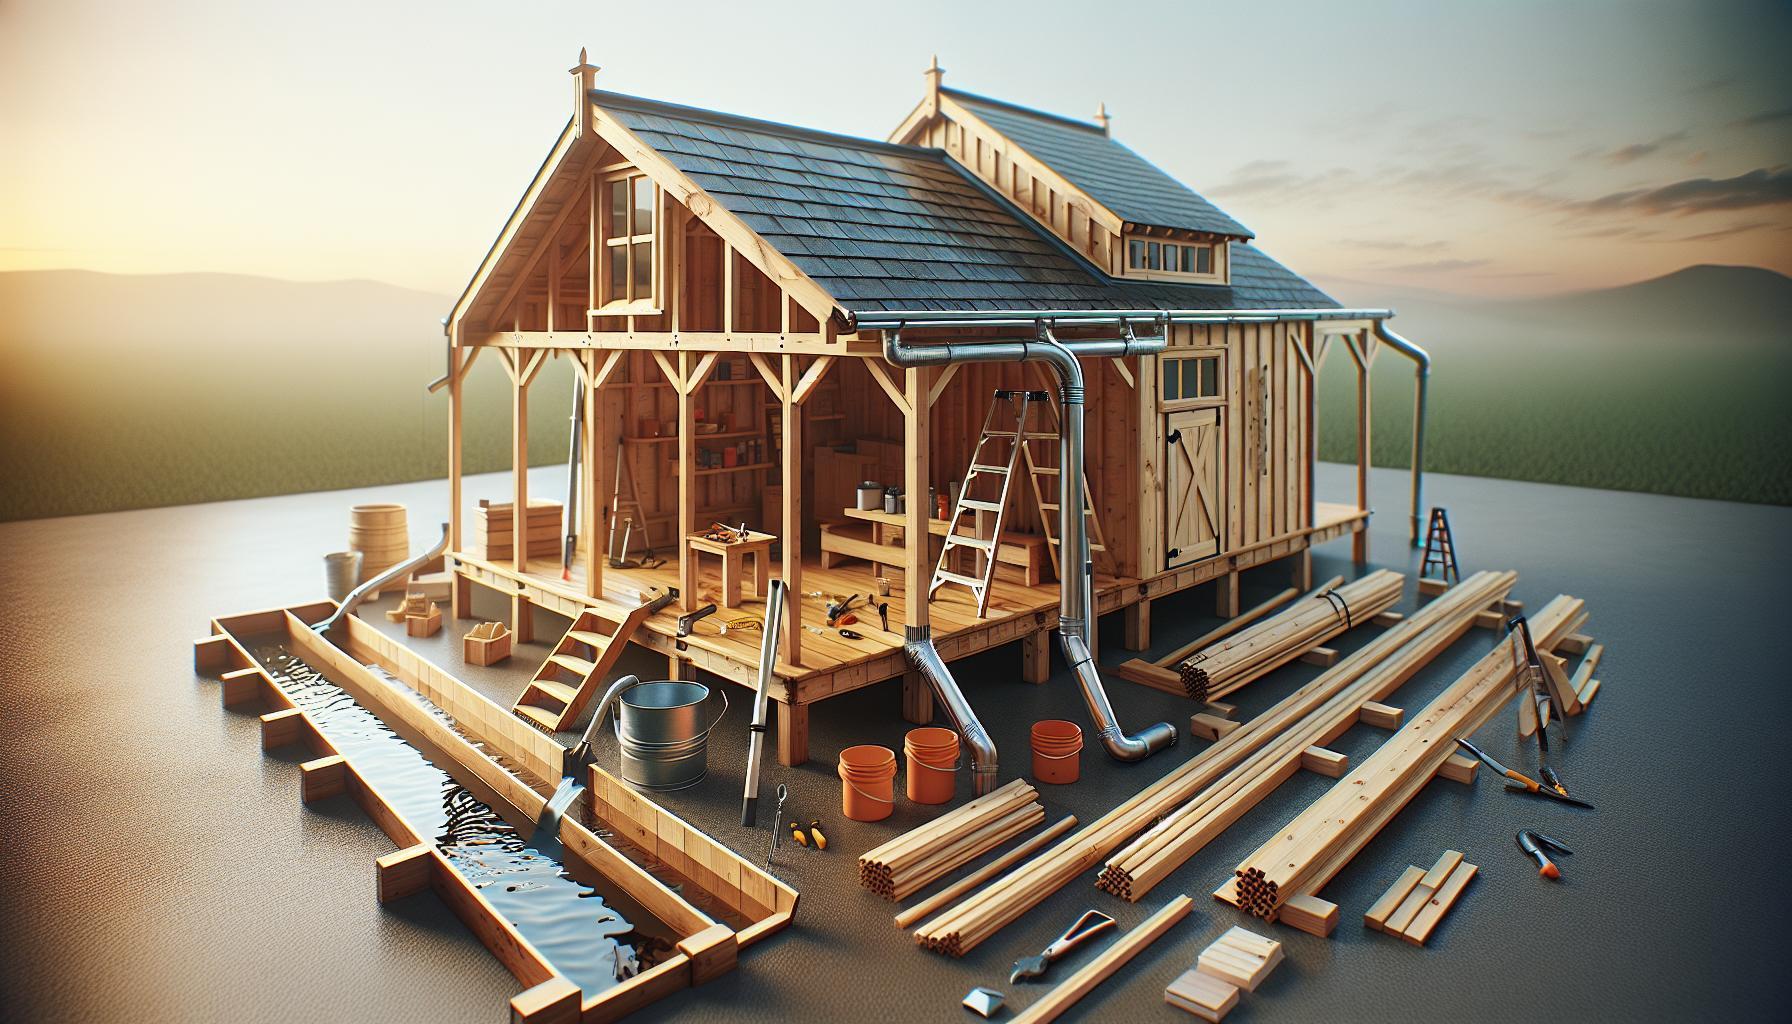
Are you tired of watching your outdoor tools and gear succumb to dampness and decay? In regions with frequent rain or high humidity,a waterproof shed is essential for safeguarding your belongings. This guide will walk you through practical steps to create a resilient structure that withstands the elements and prolongs the life of your storage solutions.
Understanding the Importance of a Waterproof Shed in Wet Climates
Building a shed is often seen as an essential project for anyone in need of extra storage or workspace. However, selecting the right materials and construction methods becomes even more critical when living in regions notorious for their wet climates. A waterproof shed isn’t just a luxury; it is a necessity that protects your belongings from moisture, mold, and rot.Understanding the importance of a waterproof shed can help safeguard your investments, ensuring that tools, equipment, and other valuables remain dry and usable regardless of the weather.
Protection Against moisture Damage
Moisture can wreak havoc on unprotected materials and belongings. In persistent wet conditions, wood can swell, warp, and become a breeding ground for mold and mildew. This means that,without a waterproof shed,you may face deterioration of your items and even costly repairs. A properly constructed waterproof shed offers:
- Dry Storage: Keeps valuable items like lawn equipment, bicycles, and gardening tools secure from rain damage.
- Durable Structure: A waterproof design often incorporates materials like treated wood or metal that withstand exposure to moisture without degrading.
- Energy Efficiency: Ensures that any insulation within the shed remains intact, maintaining a stable climate for sensitive items.
enhancing Longevity of Shed Materials
Building a shed with waterproof characteristics not only protects your stored items but also extends the lifespan of the shed structure itself. By utilizing water-resistant materials and effective sealing techniques, you can prevent premature deterioration caused by constant exposure to wet conditions. Here’s how a waterproof shed can enhance longevity:
| Material | Benefits | Considerations |
|---|---|---|
| Treated Wood | resistant to rot and insect damage. | Cost is higher; requires regular maintenance. |
| Metal | Durable and resistant to rust. | Can be prone to dents; thermal conductivity issues. |
| Vinyl/Composite | Low maintenance; moisture-resistant. | Less traditional; may not be as strong as wood. |
Peace of Mind in Extreme Weather
In wet climates, the unpredictability of storms and heavy rainfall can be daunting. A well-constructed waterproof shed provides peace of mind knowing that your possessions are shielded from extreme weather events. Furthermore, it allows you to focus on enjoying your outdoor activities without the worry of water damage to your property. practical measures such as sloped roofs, sealed seams, and elevated flooring create a barrier against moisture ingress, solidifying the reliability of your shed as a safe haven for your belongings.
Investing time and resources into understanding how to build a waterproof shed is an essential step that minimizes maintenance and maximizes functionality, allowing you to make the most of your space despite adverse weather conditions.
Choosing the Right Materials for Maximum Water Resistance
In the quest to create a waterproof shed that can withstand the challenges of wet climates, selecting the right materials is paramount. The materials you choose not only influence the structural integrity of your shed but also determine how effectively it can repel moisture and resist rot. Understanding the characteristics of various materials will empower you to make informed choices that enhance longevity and functionality.
Key Material Considerations
When choosing materials for your waterproof shed,consider factors such as durability,resistance to decay,and overall maintenance requirements.Below are some of the most effective materials to incorporate:
- Pressure-Treated Lumber: This wood is treated with preservatives to resist moisture, insects, and rot. It’s essential for the base and any ground-contact areas.
- Cedars and Teaks: Naturally resistant to decay, these woods offer aesthetic appeal and longevity, making them suitable for both structural and decorative elements.
- Fiber-cement Siding: This composite material reduces moisture absorption and provides a robust option for siding adds durability against extreme weather conditions.
- Metal Roofing: Steel or aluminum roofing can effectively shed water, while coatings such as galvalume offer enhanced corrosion resistance.
- Vinyl or Fiberglass Windows: Unlike wood frames, these materials are not susceptible to rot and provide better insulation against moisture intrusion.
Material Comparison Table
To help you analyze these materials further, here’s a comparative table highlighting their strengths and potential weaknesses:
| Material | Moisture Resistance | Durability | Maintenance |
|---|---|---|---|
| Pressure-Treated lumber | High | moderate | regular sealing recommended |
| Cedar | High | High | Minimal; occasional sealing preferred |
| fiber-Cement | Vrey high | Very High | Low; occasional painting required |
| Metal Roofing | Very High | Very High | Low; inspect for rust |
| Vinyl Windows | High | High | Minimal; clean regularly |
Selecting the right materials is crucial for constructing a waterproof shed. By prioritizing moisture-resistant and durable options, you can ensure your shed remains a reliable storage space for years to come. The concept of building a waterproof shed in wet climates revolves around harnessing the best materials that align with your climate challenges—every choice counts.
Essential Design Features to Enhance Shed Waterproofing
Creating a shed that withstands the rigors of wet climates requires careful consideration of design features that facilitate effective waterproofing. Without these essential elements, even the sturdiest structure can succumb to moisture, leading to damage and decay. By incorporating strategic design choices and materials, you can not only protect your belongings but also expand the lifespan of your shed.
Key design Features
To ensure maximum waterproofing,pay attention to the following features when you embark on your project:
- Elevated Foundation: Lifting the shed off the ground using piers or beams allows for improved drainage and reduces the risk of water pooling at the base. This simple change can substantially enhance waterproofing.
- Proper Roof Overhang: Incorporating a generous overhang on the roof directs rainwater away from the walls and foundation, minimizing the potential for leaks. Aim for at least an 18-inch overhang.
- Quality Roofing Materials: Choosing durable and waterproof roofing materials—such as metal or asphalt shingles—can drastically reduce moisture infiltration. Ensure all roofing elements are securely fastened and sealed.
- Effective Sealing Techniques: Utilize sealants on joints and seams to prevent water penetration. Regular maintenance, such as reapplying sealants every few years, can keep your shed weather-resistant.
Drainage Systems
Incorporating effective drainage solutions is crucial for any waterproof shed design. Here are some considerations:
| Drainage Component | Description |
|---|---|
| Gutters and Downspouts | Install gutters along the roof’s edge to catch rainwater and downspouts to direct it away from the shed’s foundation. |
| Gravel Grading | Using gravel around the perimeter allows water to drain away from the shed, preventing moisture buildup at the base. |
| French Drains | Installing a French drain system can help redirect groundwater away from the shed, ideal in areas with high rainfall. |
By integrating these essential design features into your shed project, you’ll create a waterproofed structure that serves as a reliable storage space, even in the most challenging wet climates.Each decision—from elevation to drainage—contributes to the longevity and functionality of your shed, safeguarding your investments against the elements.
Step-by-Step Guide to Building a Waterproof Foundation
Building a waterproof foundation is crucial for ensuring the longevity and durability of your shed, especially if you reside in a region prone to heavy rainfall and wet climates. A well-executed foundation will not only provide robust support for your structure but also form a barrier against moisture that can lead to rot and decay. Below is a simple, step-by-step approach to constructing a waterproof foundation that maximizes protection for your shed.
1. Choose the Right Location
Selecting a suitable location is vital for a accomplished waterproof foundation. Look for a spot that:
- has proper drainage, ideally sloping away from the shed.
- Is free from standing water or marshy soil.
- Offers good airflow to minimize moisture build-up.
Consider surveying the area after heavy rain to ensure it remains dry and assess any potential elevation changes that might affect drainage.
2. Prepare the Ground
Once you’ve chosen your location, prepare the ground adequately. This step is essential to minimize water accumulation:
- Clear the area of any debris, plants, or grass.
- Excavate the soil to a depth suitable for your foundation type – typically 4 to 6 inches.
- Level the ground to ensure a flat base.
Proper preparation helps prevent water pooling around your shed’s foundation.
3. Construct the Foundation
Depending on your budget and the specifics of your shed, you can choose among diffrent foundation types:
| Foundation Type | Advantages | Disadvantages |
|---|---|---|
| Concrete Slab | very stable, durable, and waterproof. | Requires more material and time to set up. |
| Wooden Skids | Cost-effective and easy to install. | Can rot over time if not treated or supported properly. |
| Piers and Beams | elevates shed off the ground, promoting airflow. | Can be complex to install if not done correctly. |
Choose a foundation based on your needs and context. For example, a concrete slab can provide excellent waterproofing for a heavy-duty shed, while wooden skids might be an ideal choice for a smaller storage unit.
4. Apply Waterproofing Techniques
Lastly, enhancing your foundation’s waterproofing will provide added protection against moisture. Consider the following methods:
- Use a moisture barrier: Lay down a heavy-duty plastic sheet before pouring concrete or laying skids to prevent ground moisture from seeping through.
- Install drainage systems: Add drainage solutions like French drains or gravel trenches around your foundation to divert water away.
- Seal the foundation: For concrete slabs, apply a waterproof sealant to create an impermeable layer against moisture.
Implementing these steps will ensure a strong and waterproof foundation, setting your shed up for success in even the wettest climates. As you move forward with building your waterproof shed,focus on each step to guarantee that moisture remains on the outside where it belongs.
Effective Roof Solutions: Preventing Water Intrusion and Drainage Issues
Building a shed in areas prone to heavy rainfall and moisture requires meticulous planning to prevent water issues. One of the most critical aspects is ensuring that your roofing solution is robust enough to withstand the elements. A well-constructed roof will not only deflect rain but also manage drainage effectively, mitigating the risk of water intruding into the structure. By drawing from principles discussed in resources like *How to Build a Waterproof Shed: Protection in Wet Climates*, you can take actionable steps towards creating a durable shelter that remains dry in wet conditions.
Key Features of a Waterproof shed Roof
To design an effective roof that prevents water intrusion, consider the following essential features:
- Proper Pitch: A roof with an adequate pitch allows water to run off quickly rather then pooling, which is a recipe for leaks.
- Quality Materials: Using materials like metal roofing or high-quality asphalt shingles can significantly improve waterproofing capabilities.
- Overhangs: Adding overhangs helps direct rainwater away from the shed’s walls, further safeguarding against moisture.
- Sealed joints: Ensuring that all seams and joints are sealed with high-quality sealant prevents water from slipping through vulnerable points.
effective Drainage solutions
Integration of proper drainage mechanisms is crucial in your shed design to guide water away efficiently. Here are a few strategies:
| Drainage Solution | Description |
|---|---|
| Gutters and Downspouts | Install gutters along the roof edge to catch rainwater and direct it safely away from the shed. |
| French Drains | A French drain system can redirect groundwater away from the shed, preventing flooding. |
| Swales | Creating swales can channel excess water away from the area surrounding the shed. |
Maintenance for Longevity
Once you have established a waterproof design, regular maintenance is key to ensuring longevity and resilience against water intrusion. Here are best practices to keep in mind:
- Inspect and clean gutters and downspouts regularly to prevent blockages.
- Check the roof for missing or damaged shingles and replace them promptly.
- Monitor the ground around the shed for signs of pooling water or wet spots.
Incorporating these effective roofing and drainage solutions not only enhances the durability of your shed but also provides peace of mind in wet climates. Taking these proactive steps ensures your structure remains a reliable storage space, regardless of weather conditions.
Sealing and Insulating Your Shed for Long-Term Protection
When it comes to ensuring your shed remains a safe haven for your tools and garden supplies, it’s essential to focus on sealing and insulating it effectively. An aesthetically pleasing and well-crafted shed can still fall victim to moisture damage if the right protective measures aren’t in place. For those navigating wet climates, embracing a strategy that combines sealing and insulating can substantially extend the lifespan of the structure while keeping the contents dry and in excellent condition.
Understanding the Importance of Sealing
Sealing your shed is the first and most fundamental step in waterproofing. Moisture can penetrate through gaps, seams, and joints, leading to potential rot and mold growth. here are some effective sealing strategies:
- Use high-quality caulk: Caulk is an essential material for sealing gaps around windows, doors, and corners. Opt for a waterproof or exterior-grade caulk that can withstand the elements.
- weatherstripping: Apply weatherstripping around doors and windows to prevent air and moisture leaks. This not only helps in sealing but also in regulating temperature.
- Sealant for external surfaces: Treat the exterior of your shed with a suitable waterproof sealant, especially if the materials used are wood. This forms a protective barrier against moisture.
Insulating for Energy Efficiency
Once your shed is sealed, the next step is insulation. Insulating your shed not only keeps it warmer in winter but also helps to regulate temperature during hot and humid summers, thwarting condensation—a primary cause of mold. Here are effective insulation options to consider:
- Foam board insulation: Lightweight and easy to install, foam boards can be placed between wall studs and offer excellent thermal insulation.
- Reflective insulation: Particularly useful in warmer climates,reflective insulation helps redirect radiant heat away from the interior.
- spray foam insulation: This option fills all the nooks and crannies, creating an airtight seal. It’s ideal for hard-to-reach areas and provides superior insulation.
Practical Steps to Follow
To maximize the benefits of both sealing and insulating, consider following this checklist:
| Step | Description |
|---|---|
| Inspect for Gaps | Regularly check for new gaps or wear and tear in old seals. |
| Apply Sealant | Fill in gaps with high-quality caulk and sealants. |
| Add insulation | Choose an insulation type and install between wall studs and attic spaces, if applicable. |
| Ventilation | Ensure proper ventilation to prevent moisture buildup while keeping the elements out. |
For those embarking on the journey of constructing a waterproof shed in wet climates, mastering the art of sealing and insulating presents a crucial layer of protection that cannot be overlooked. By investing time and effort into these steps, you can create a robust shelter that not only withstands adversities but also preserves your valuable items.
Maintenance Tips to Preserve Your Shed’s Waterproof Integrity
To ensure that your shed remains a bastion against moisture, regular maintenance is essential. A well-maintained shed won’t just protect your tools and garden supplies; it also prolongs the life of the structure itself. Implementing a consistent care routine can thwart potential water damage and preserve its waterproof integrity for years to come. Here are some actionable tips to help you keep your shed in prime condition.
Regular Inspections
Routine inspections are your first line of defense. Check your shed’s exterior at least twice a year for any signs of wear or damage. Look for:
- Cracks or gaps in the walls or foundation that could let water in.
- Peeling paint or deteriorating wood that signals the need for repainting or sealing.
- Roof condition: Ensure shingles are intact and there are no signs of sagging.
Addressing these issues promptly can prevent more meaningful damage later.
Seal and Paint
To enhance your shed’s waterproof capabilities, regularly apply water-resistant wood sealant or preservatives on the exterior. choose high-quality products that offer UV protection and mold resistance. For painted sheds, use exterior-grade paint with waterproof properties. It not only protects the wood from moisture but also barricades it against harmful UV rays which can cause deterioration.
Gutters and Drainage
An effective drainage system can drastically reduce water pooling around your shed. Here’s how to ensure good drainage:
- Install gutters and downspouts to direct rain away from the base of the shed.
- Create a slope in the ground away from the shed, using dirt or gravel to encourage runoff.
- Consider adding a French drain around your shed if it’s positioned in an area prone to heavy rains.
Maintaining clear gutters and ensuring the drainage system is fully functional will prevent moisture from infiltrating the structure.
Protect the Floor
If your shed has a wooden floor, consider elevating it slightly above ground level to avoid water damage from flooding or heavy rain. Laying tiles or using thick rubber mats can also provide a moisture barrier. In addition, periodically check for signs of mold or rot and replace any damaged boards immediately.
By integrating these maintenance practices into your routine, you can significantly bolster your shed’s resistance to water damage and preserve its waterproof integrity, turning it into a durable refuge for your gardening supplies and tools.
Troubleshooting Common Waterproofing Challenges in Shed Construction
When embarking on the journey of constructing a waterproof shed, especially in wet climates, it’s not uncommon to encounter various challenges. Understanding how to effectively troubleshoot these issues can save you time, money, and potential frustration. From water pooling at the foundation to improper sealing of joints,being proactive in addressing these common troubles will ensure the longevity and functionality of your shed.
Identifying Water Pooling Issues
One of the most frequent problems noticed in waterproof shed construction is water pooling around the base. this situation can compromise the integrity of both the shed structure and its contents. To combat this issue:
- Assess the Site: Before you begin building, evaluate the slope of the ground where your shed will sit. The site should ideally have a slight gradient to redirect water away from the shed.
- Install a Gravel Base: Laying a base of gravel can enhance drainage around the shed. A layer of crushed stone or gravel allows water to flow away rather than accumulating at the foundation.
- Utilize Drainage solutions: Incorporate French drains or swales around the perimeter to channel water away from the shed. These systems are highly effective in preventing moisture buildup.
Sealing Joints and Edges Properly
Even with a well-constructed foundation, leaks can still occur if joints and edges aren’t sealed properly. Here are ways to rectify this:
- Quality sealants: Use high-quality waterproof sealants specifically designed for outdoor use. Silicone or polyurethane are excellent choices that remain flexible and adhere well to wood surfaces.
- Frequent Inspections: Regularly check the seals and joints, particularly after heavy rains. If you notice any signs of wear or gaps, reapply the sealant immediately to prevent water ingress.
- Headers and flashing: Ensure that headers and flashing around the roof and eaves are adequately installed.This additional layer of protection helps to deflect water that might otherwise seep into vulnerable areas.
Addressing Condensation and Humidity Control
In addition to direct water ingress,humidity control is crucial in a waterproof shed. Excess moisture can lead to mould and mildew growth, negatively impacting your tools and equipment. Consider these strategies:
- Ventilation: Install vents at strategic points to promote airflow. Gable vents or louvered vents can help reduce humidity levels, keeping the interior dry.
- Dehumidifiers: In extremely humid environments, consider placing a small, energy-efficient dehumidifier inside your shed, especially during the wet season.
- Insulation: Proper insulation not only regulates temperature but also helps manage humidity levels. Closed-cell foam insulation is particularly effective in moisture-prone areas.
By staying aware of these common waterproofing challenges and proactively addressing them during your shed construction, you can enjoy a durable, functional space regardless of the climate conditions. Each step taken to enhance protection against water will contribute significantly to the overall success of your waterproof shed project.
FAQ
How to Build a Waterproof Shed: Protection in Wet Climates?
To build a waterproof shed that withstands wet climates, focus on proper materials, elevated flooring, and effective sealing. Start with a strong foundation and choose water-resistant materials like treated wood and durable roofing options.
When constructing your shed, ensure that you use high-quality materials such as pressure-treated lumber for the framework and a waterproof membrane for the roofing. elevating the shed with adequate drainage also helps prevent water pooling. you can find more tips on quality materials in our detailed guide on material selection for waterproofing.
What materials are best for a waterproof shed?
The best materials for a waterproof shed include pressure-treated wood,fiberglass,and metal roofing. These materials resist moisture and reduce the risk of rot and corrosion.
Consider using a moisture-resistant sealant and installing a proper roofing system, such as asphalt shingles or metal roofing. Additionally, incorporating a rain gutter system can redirect water away from the shed, enhancing its durability in wet climates.
Why does waterproofing matter for a shed?
Waterproofing a shed is crucial to prevent damage from rain and moisture, which can lead to mold, rot, and structural issues. Ensuring your shed is waterproof extends its lifespan substantially.
In wet climates, the risks of water damage are heightened, potentially resulting in expensive repairs or a complete rebuild. By taking the necessary precautions for waterproofing your shed, you’re not just investing in a durable structure, but also in the long-term protection of your tools and belongings.
Can I waterproof my existing shed?
Yes, you can waterproof your existing shed by applying sealants, improving drainage, and replacing any compromised materials. Regular maintenance is essential to combat moisture build-up.
Start by inspecting your shed for leaks or areas of weakness, then use a waterproof sealant on exterior surfaces. Installing a proper drainage system and checking for rising humidity inside the shed will also improve its waterproofness.
How can I ensure proper drainage for my waterproof shed?
To ensure proper drainage for your waterproof shed, elevate the base and design the surrounding landscape to direct water away. Use gravel or permeable paving to aid water drainage.
Building your shed on a slight slope can help water runoff efficiently. Additionally, incorporating features like drainage ditches and French drains in the landscape around your shed can significantly enhance water management.
What is the best roofing type for a waterproof shed?
The best roofing types for a waterproof shed include metal roofing and asphalt shingles, as they both offer excellent water resistance and durability.
Metal roofing is particularly effective due to its steep incline and smooth surface, which prevents water accumulation. Asphalt shingles, on the other hand, provide a cost-effective and stylish option that can also resist moisture when properly installed.
How do I maintain my waterproof shed?
Maintaining your waterproof shed involves regular inspections,cleaning,and applying sealants as needed. Keeping your shed in top condition will enhance its longevity and performance.
Check for any damage after heavy rains, clear gutters, and ensure drainage systems are functioning properly. Additionally,reapply waterproof sealants periodically to maintain their effectiveness. For further maintenance tips, read our article on shed upkeep and care.
The Way Forward
building a waterproof shed is not just a project; it’s an investment in protecting your tools, equipment, and cherished belongings from the ravages of wet climates. By understanding the importance of selecting the right materials, incorporating effective design features, and utilizing proper construction techniques, you can create a resilient structure that withstands the elements. Remember to invest in quality seals, ensure proper drainage, and consider ventilation to maintain a dry, safe environment inside your shed.
As you embark on this rewarding DIY journey, embrace the challenges as opportunities for learning and growth. Whether you’re a seasoned builder or a first-time DIYer, each step taken is a stride towards mastery in craftsmanship. We encourage you to explore further by checking out detailed guides and community forums where you can share your experiences, ask questions, and connect with fellow enthusiasts. Your waterproof shed is just the beginning—let your creativity inspire your next project! happy building!

