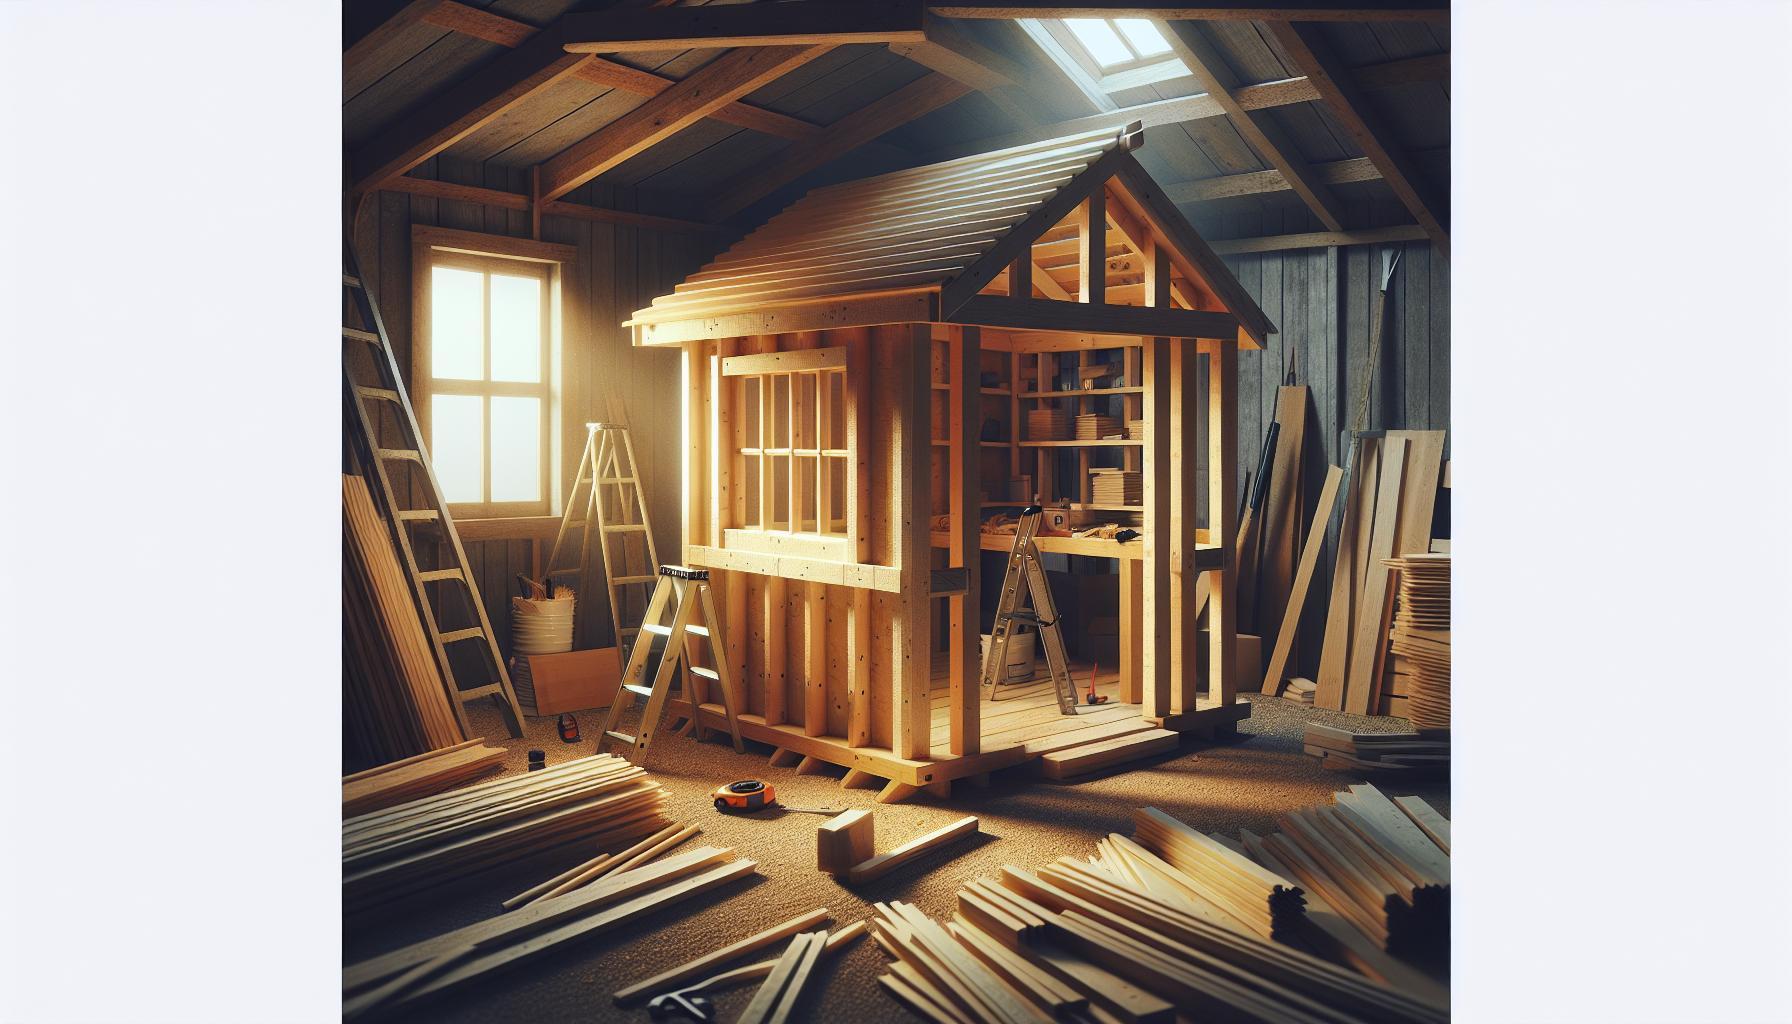
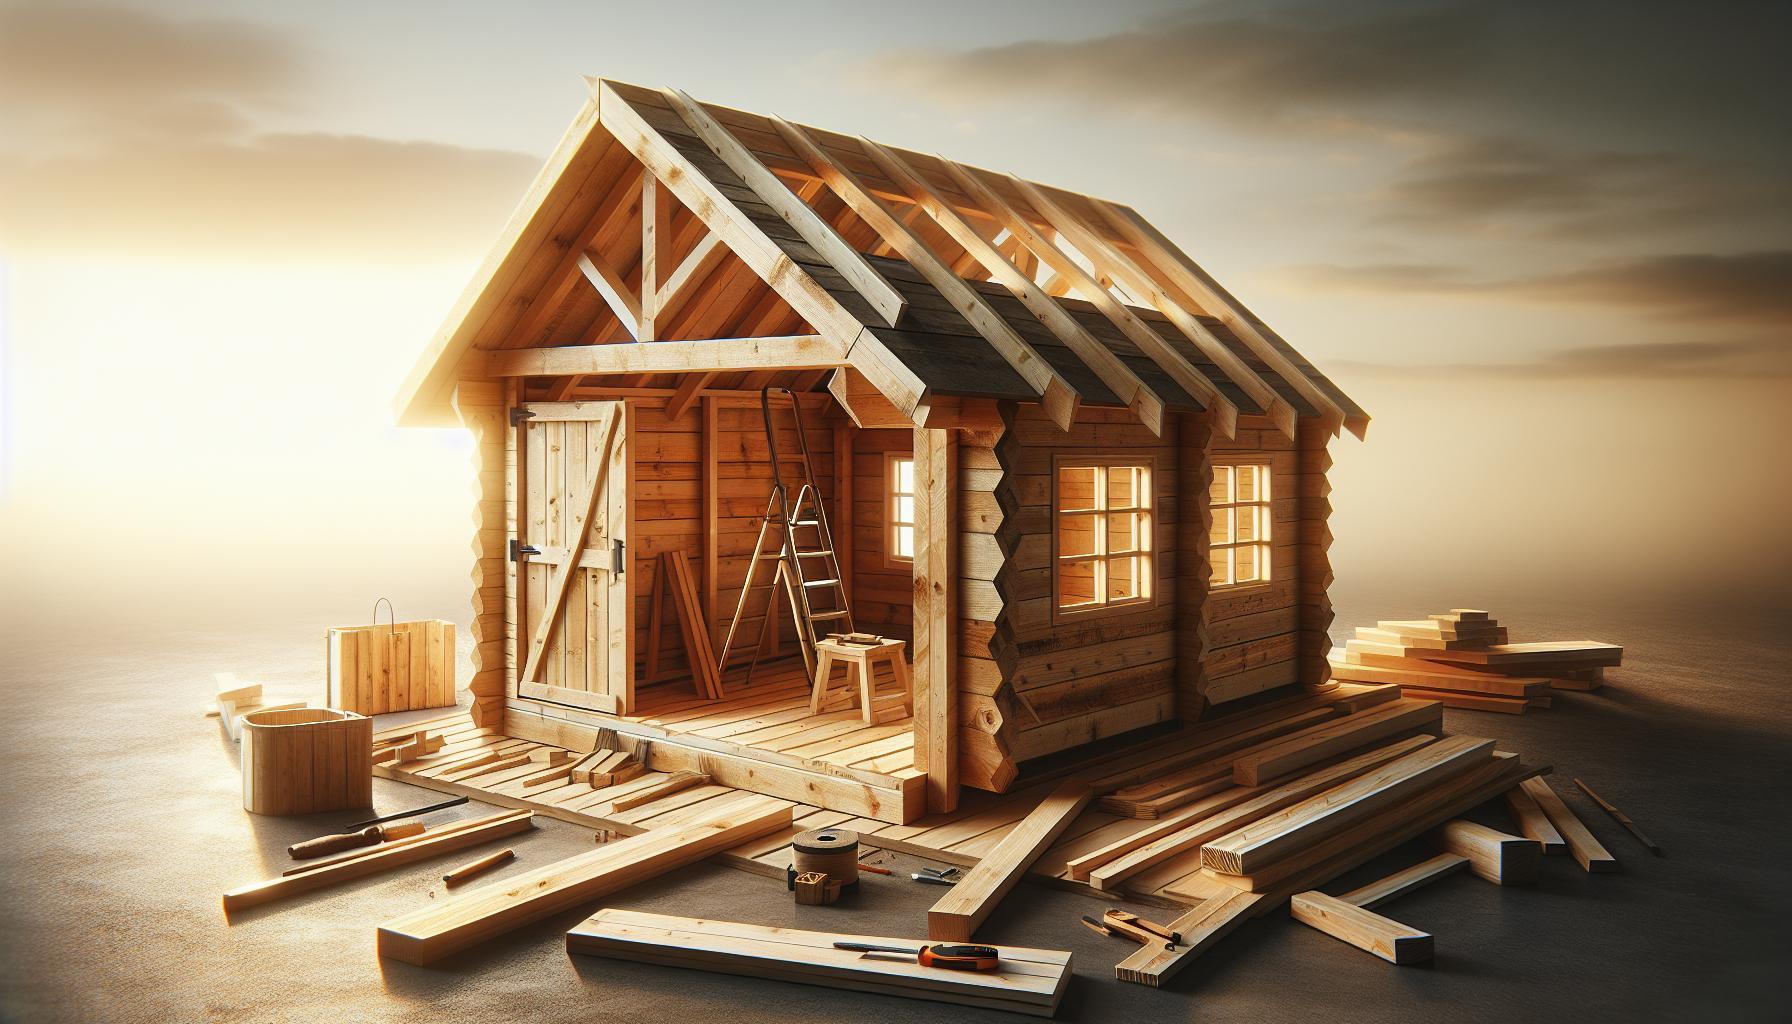
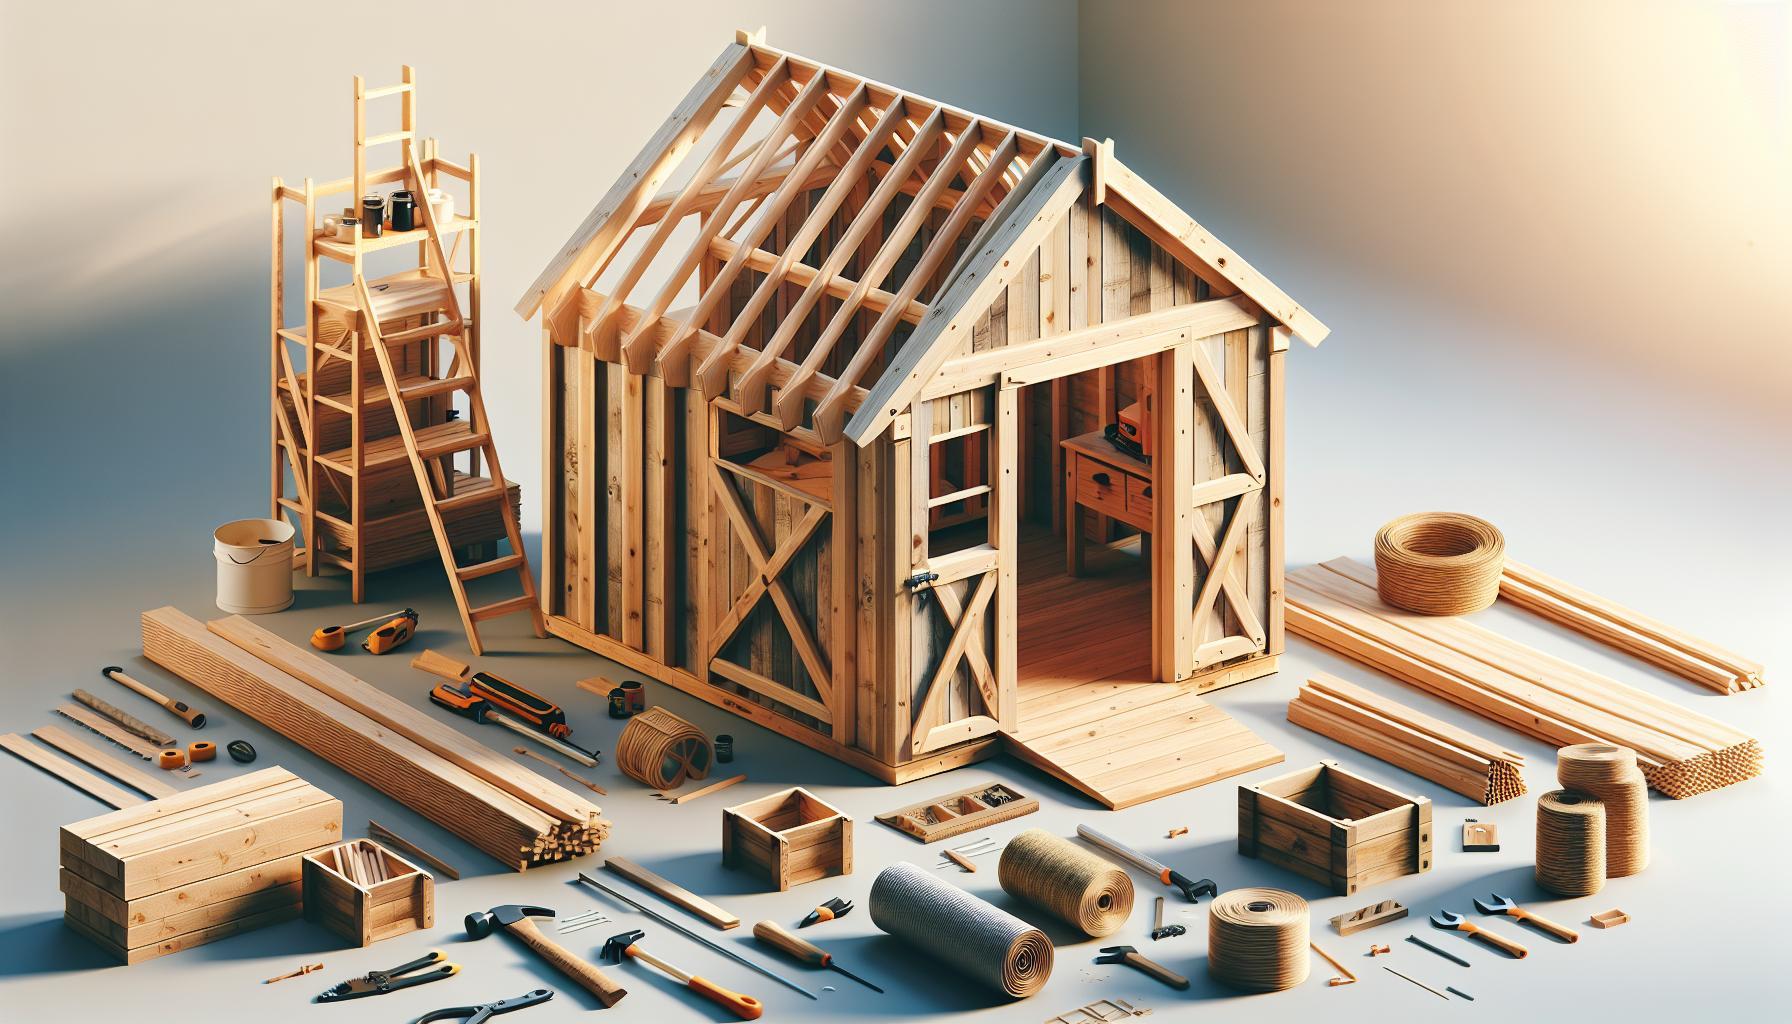
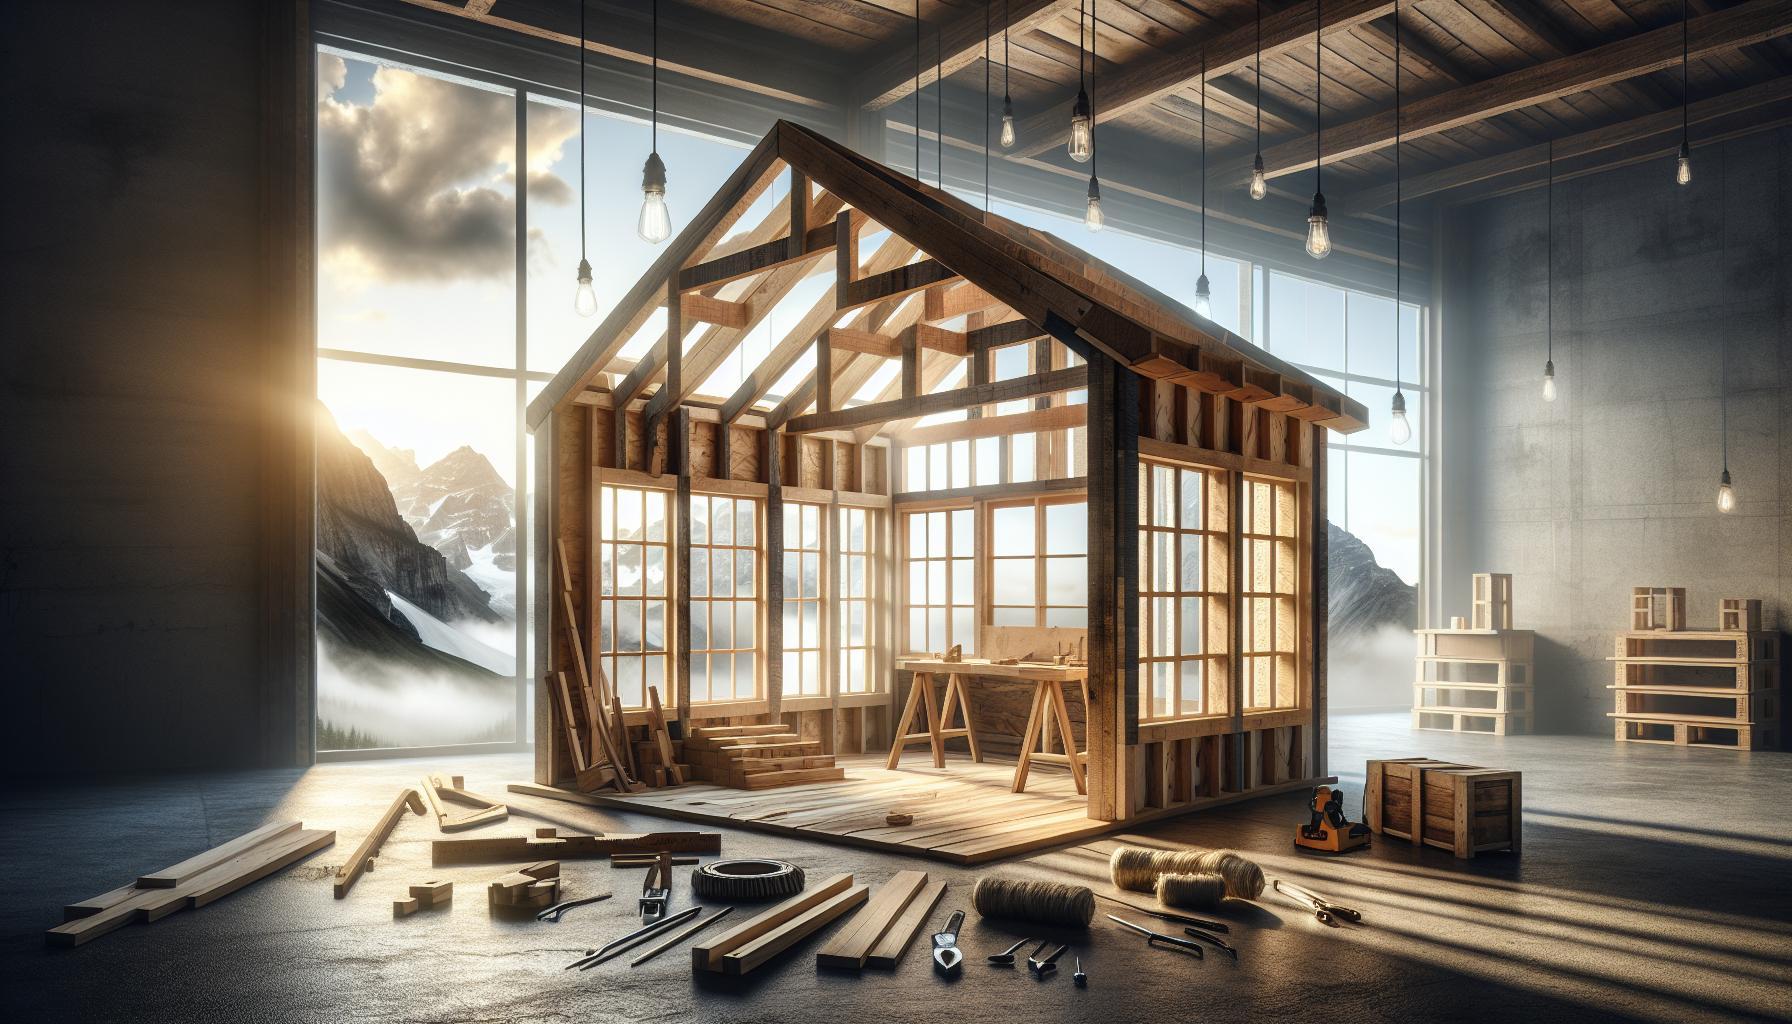
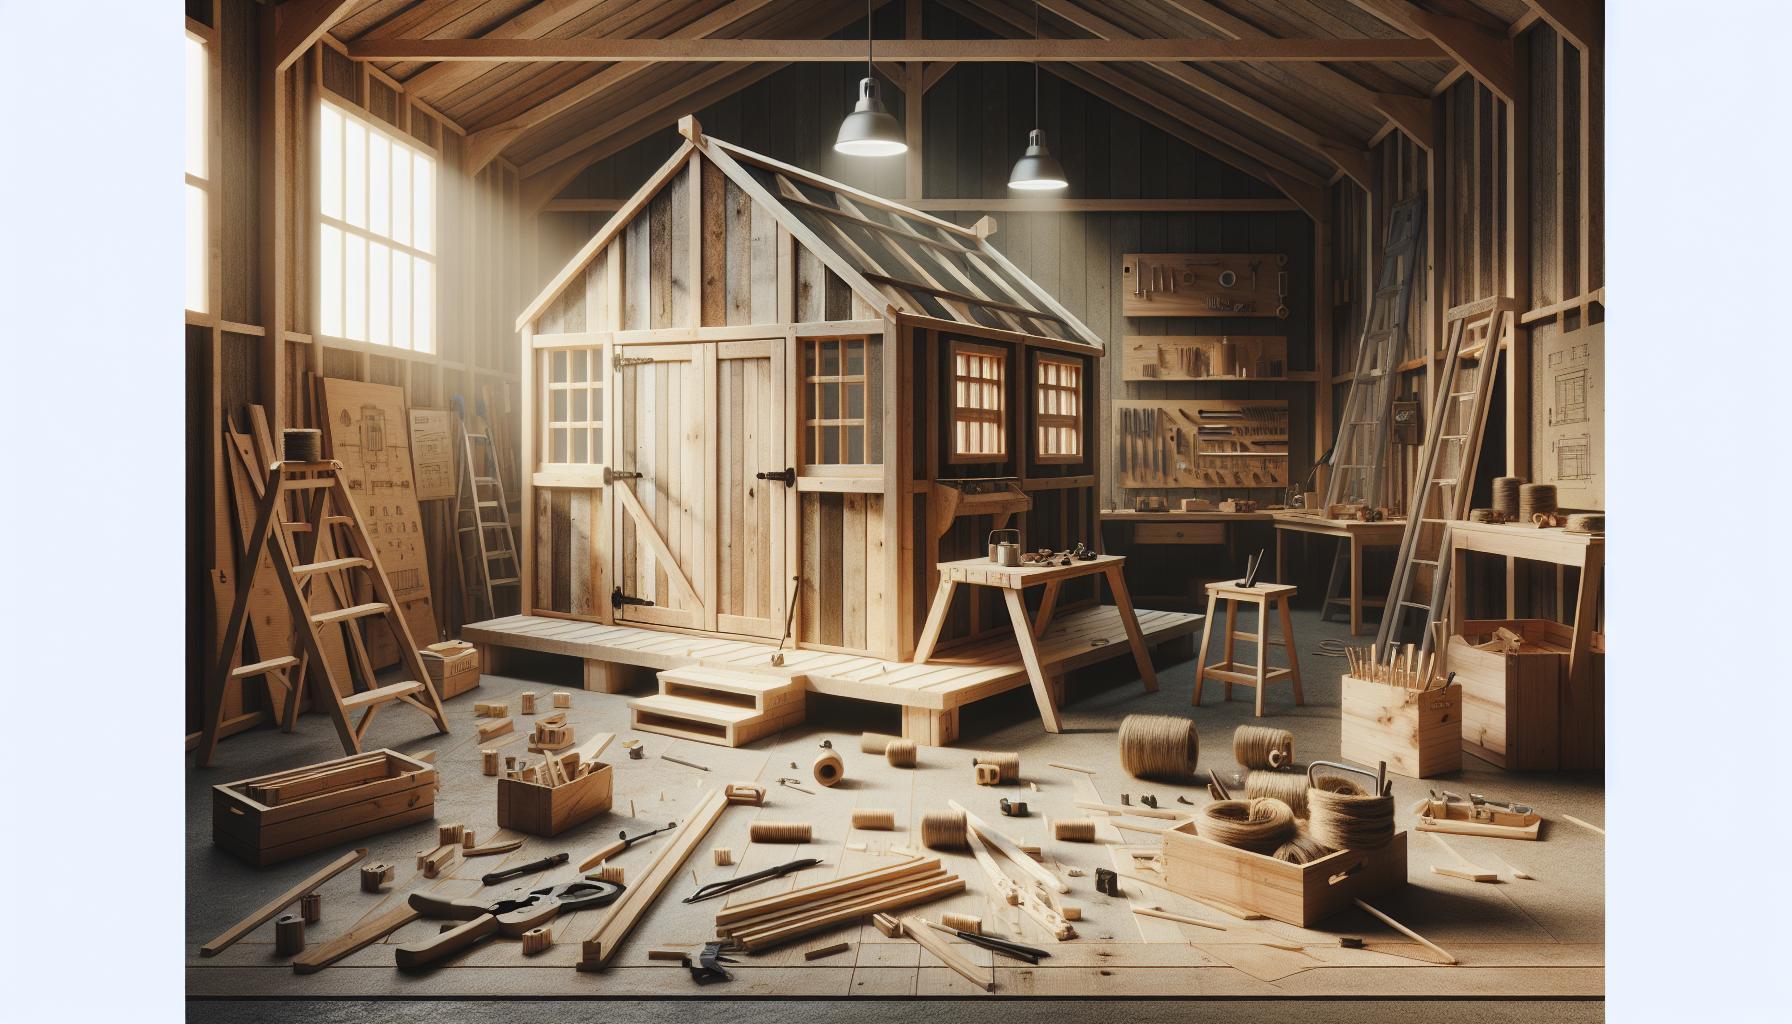
Struggling too find storage solutions in your small yard? Building a compact shed can transform underutilized spaces into functional areas for tools, gardening supplies, and more. this guide explores innovative designs tailored for tight spots, ensuring you maximize every inch while enhancing your outdoor aesthetics and keeping your belongings organized.
Understanding Your space: Assessing the Area for Your Small Shed
When planning to build a small shed, a critical yet often overlooked step is thoroughly assessing the space where the structure will reside.Understanding the nuances of your outdoor area can dramatically influence the effectiveness and functionality of your shed, especially if you’re working with tight spots or limited yard space. Failing to accurately evaluate your surroundings can lead to costly mistakes, miscommunications, and frustrations down the line.### Key Considerations for Assessing Your Area
To maximize the efficiency of your shed, consider the following factors during your assessment:
- Dimensions: Measure the length and width of the desired location. This will help you determine what size of shed will fit comfortably without overcrowding the yard.
- Access: Ensure there’s enough space for construction, delivery, and future access to your shed. A clear pathway will minimize potential accidents or damage to your garden.
- Ground Level: Assess the slope of the land. Level ground is ideal for shed construction, but if your yard is uneven, you may need to create a foundation or level the area.
- Sunlight and Shade: Observe how sunlight moves across your property. Positioning your shed in a shaded area can keep it cooler, while a sunny spot could be beneficial if you plan on using the shed for gardening related activities.
- Location of Trees and Plants: Note the proximity of existing trees, bushes, or flower beds. Roots can interfere with your shed’s foundation, and falling branches can pose a risk to its structure.
### Evaluating your property’s Features
Utilizing a simple table can help you jot down critical features of your space:
| Feature | Details | Considerations |
|---|---|---|
| Dimensions | Length,width,and height of the available area | Choose a shed that fits comfortably without obstructing pathways. |
| Ground Condition | Level, sloped, rocky, or soft | Determine if additional groundwork or foundation work is needed. |
| Climate Factors | Sunlight exposure, wind direction | Potential for temperature control and protection against elements. |
| Obstructions | Trees, fences, existing structures | assess how close these are and whether they pose risks. |
By understanding these elements, you can make informed decisions about not only the design and size of your small shed but also its long-term usability. This preparation lays the groundwork for a successful build, ensuring that your small shed serves you well in all seasons and for various projects, whether you are considering space-efficient designs for tight spots or simply aiming to maximize the utility of your available outdoor area. Knowing exactly how to assess your surroundings will lead you on the path to building the perfect small shed tailored to fit your specific needs.
Designing for Efficiency: Creative Layouts for Limited Spaces
Creating an efficient layout in limited spaces can be both an art and a science, especially when it comes to constructing a small shed. With clever design choices, you can maximize every square foot, ensuring that every inch serves a purpose. For those venturing into the realm of “How to Build a Small Shed: Space-Efficient Designs for tight Spots,” it’s essential to embrace innovative layouts that not only enhance functionality but also create an aesthetically pleasing environment.
Utilizing Vertical Space
In confined areas, going vertical can significantly increase your usable space. By incorporating shelves, hooks, and pegboards on the walls, you can keep tools, materials, and equipment organized without consuming valuable floor space. Consider the following ideas:
- Wall-Mounted Shelves: Install sturdy shelves at various heights to store items like pots, gardening supplies, or small power tools.
- Overhead Storage: Utilize the space above your head with high shelves or ceiling-mounted racks for seasonal items or less frequently used tools.
- Vertical Tool Storage: Create a designated area with vertical racks or pegboards for hanging garden tools, freeing up floor space for larger items.
Multi-Functional Furniture and Features
In a small shed, every piece of furniture or fixture should serve multiple purposes. Investing in multifunctional designs can drastically enhance your shed’s efficiency. Here are some smart choices:
- Fold-Down Workbenches: A workbench that folds up against the wall when not in use keeps your shed open and roomy.
- Convertible Seating: Benches with hidden storage space or foldable chairs can offer flexibility without overcrowding.
- Storage Ottomans: Items that double as seating and storage can keep your space tidy while providing extra seating for work or leisure.
Designing for Accessibility
Efficient layouts are not just about storage; they also ensure that everything remains easily accessible. Consider the flow of movement within your shed and how you can make it easier to reach various zones. A few strategies include:
- Clear Pathways: Maintain clear pathways to high-use areas to avoid clutter build-up, making sure all critical tools and items are within arm’s reach.
- Zoned Layout: Divide your shed into distinct zones (tool storage, workspace, and gardening area) to streamline activities and reduce time spent searching for materials.
- Labeling Systems: Organize items with a clear labeling system—this aids rapid access and assures that everything has a designated spot.
By embracing these strategies within the framework of designing your small shed, you can effectively explore the realms of “how to Build a small Shed: Space-Efficient Designs for Tight Spots.” The key lies in innovation and intent—while space may be limited, your potential for creativity is boundless.
Choosing the Right Materials: Balancing Cost and Durability
Selecting the right materials is crucial when constructing a space-efficient shed, as it directly impacts both the longevity and cost-effectiveness of your project. Understanding this balance can be the difference between a durable, reliable structure and one that requires frequent repairs or replacements. While it might be tempting to opt for the cheapest materials available, a thoughtful approach to material selection can ultimately save time, money, and effort in the long run.
Key Considerations in Material Selection
When deciding on materials for your shed, consider the following factors:
- Durability: Assess how well the materials will withstand environmental factors such as moisture, temperature fluctuations, and pests. For example, pressure-treated wood resists rot and insects, making it a popular choice for shed frames.
- Cost: While it’s crucial to stay within budget, evaluating the long-term savings of more durable materials can pay off. Investing more upfront in high-quality materials can reduce maintenance and replacement costs.
- Availability: Local availability can influence material choice. Sourcing materials locally not only supports your community but can also reduce transport costs and time delays.
- Functionality: Choose materials that suit the intended use of the shed. If you plan to store sensitive items, consider insulated materials that can help maintain stable internal conditions.
Common Materials for Small Sheds
Understanding the pros and cons of commonly used materials can guide your decision. Here’s a simplified comparison of some popular options:
| Material | Durability | Cost | Maintenance |
|---|---|---|---|
| Wood | High (if treated) | Moderate | Requires regular sealing and treatment |
| metal | Very High | High | Low; minimal upkeep required |
| Vinyl | Moderate to High | Moderate | Low; easy to clean |
| Composite | High | Moderate to High | Minimal; resistant to rot and insects |
Making informed material choices is essential in the process of building a small shed that meets practical needs without straying from your budget. By weighing cost against durability and maintenance, you can construct a shelter that not only complements your property but also serves its purpose efficiently for years to come. as you plan your project based on the insights from “How to Build a Small Shed: Space-Efficient Designs for Tight Spots,” remember that the right materials will enhance both the functionality and appearance of your new structure.
Essential Tools for Shed Construction: A DIY Guideline
When it comes to constructing a small shed, having the right tools at your disposal can make the difference between a smooth building process and a frustrating experience. From basic hand tools to specialized equipment, understanding which items you need is essential for ensuring an efficient and successful DIY project. Whether you’re working in a tight spot or simply want to expand your outdoor storage without overwhelming your yard, being well-equipped will help bring your vision to life.
Basic Hand Tools
A solid arsenal of hand tools is crucial for any DIY shed construction project. Here are some essentials that you’ll need:
- Saw: A handsaw or a circular saw is vital for cutting lumber to size.
- Measuring Tape: Precision is key, so always have a reliable measuring tape for accurate dimensions.
- Hammer: Useful for driving nails and assembling components.
- Screwdriver Set: Both flathead and Phillips screwdrivers will help you fasten screws tightly.
- Level: Ensures that your foundation and structure are perfectly square.
Power Tools for Efficiency
While hand tools are indispensable, power tools can significantly speed up the process, especially when constructing a small shed in a compact area.Consider investing in the following:
- Power Drill: This is essential for drilling pilot holes and driving screws quickly.
- Jigsaw or Reciprocating saw: Great for making intricate cuts, especially if your design includes curves.
- Table Saw: If your budget allows, a table saw provides the best precision for cutting large sheets of plywood or lumber.
Safety Gear and Accessories
Never overlook safety while engaging in your DIY project. Essential safety gear helps protect you from accidents on-site:
- Safety Glasses: Protect your eyes from flying debris when cutting or drilling.
- Work Gloves: keep your hands safe while handling materials and tools.
- Dust mask or Respirator: Essential if you are working with materials that create dust or fumes.
Additional Considerations
When learning how to build a small shed: space-efficient designs for tight spots, you’ll also need to consider accessories and materials. A comprehensive list of these components can be found in the following table:
| Material | Purpose |
|---|---|
| Lumber | Structural frame, walls, roof. |
| Plywood | Walls and roof sheathing. |
| Felt Paper | Moisture barrier between roofing materials. |
| Metal or Asphalt Shingles | Roof covering for protection from weather. |
| paint or Stain | To protect wood and enhance aesthetics. |
With the right tools and materials, building a small shed can be a fulfilling project. By carefully preparing and understanding your needs, you can create a space-efficient structure that complements your property and fulfills your storage needs without taking over your yard.
Step-by-Step Construction: From Foundation to Finishing Touches
When constructing a small shed, it’s essential to lay out a clear plan that guides you through the various stages of building, ensuring that every element is addressed from the ground up.Each phase—from digging the foundation to adding the finishing touches—requires careful consideration to maximize space efficiency and functionality, particularly in tight spots where every inch counts.
Groundwork and Foundation
The journey begins with creating a stable foundation,which is critical for the longevity and structural integrity of your shed. Here’s what you need to focus on:
- site selection: Choose a level area that’s easily accessible.
- Ground preparation: Clear away any debris, rocks, or vegetation that could interfere with your build.
- Foundation type: For small designs, concrete blocks or a gravel pad can provide a solid base. Ensure that it is moisture-resistant to prevent wood rot over time.
as you lay your foundation, ensure precise measurements to establish the footprint of your shed. A good practice is to use a string line to guarantee corners are square, making your wall framing easier.
Framing the Structure
Once your foundation is set, it’s time to frame the walls. This step is where your creativity can shine within the constraints of your space:
- Material selection: Opt for treated lumber for durability,especially in a moist climate.
- Wall assembly: Construct panels on the ground, ideally 2×4 framing. Raise them one by one, securing them to the foundation.
- Roof framing: Consider a gable roof design to provide extra storage space above while also improving rain runoff.
Include windows or vents in strategic locations to enhance natural lighting and ventilation, preventing musty odors and keeping your tools in top shape.
Creating a Functional Interior
The interior layout of your shed should promote efficient use of space. Here are some tips:
- Work Benches: Install foldable or wall-mounted workbenches that can be stowed away when not in use.
- Vertical Storage: Utilize shelving units mounted high and pegboards on walls to maximize storage without taking up floor space.
- Institution: Use labeled bins and containers to keep tools visible and accessible.
By paying attention to these details, you can create a small shed that meets your needs without feeling cramped, all while being attractive and functional.
Finishing Touches and Exterior Design
The final phase of construction involves enhancing both function and aesthetics. This stage should not be overlooked, as it protects your shed and contributes to curb appeal:
- Exterior siding: Choose materials like vinyl or wood that complement your home while resisting weather.
- Roof type: Asphalt shingles or metal roofing can work well; ensure proper installation to avoid leaks.
- Paint and Trim: A fresh coat of paint can protect surfaces while adding personality to your shed.
Consider adding small details like decorative trim or shutters for a charming touch. Not only will these finishing touches complete your small shed, but they will also ensure it blends beautifully into its surroundings.
| Element | Function | Material Options |
|---|---|---|
| foundation | Structural support | Concrete blocks, Gravel |
| Walls | Storage & organization | Treated lumber, Plywood |
| Roof | Protection from elements | Asphalt shingles, Metal |
| Finish | Aesthetic appeal | Paint, Trim |
By following these critical steps, you’ll successfully transform your vision of a small shed into a practical and beautiful reality, making the most out of limited space. Each decision shapes not only the usability but also the charm of your new outdoor structure, perfectly reflecting your personality and functional needs.
maximizing Storage: Smart Organization tips for Small Sheds
Maximizing the storage potential of a small shed often involves creativity and careful planning. With limited square footage, every inch counts, and utilizing vertical space can significantly enhance your storage capabilities. As most sheds have unused wall areas, consider installing shelves or pegboards to keep tools and supplies off the floor and organized. Utilizing these vertical storage solutions not only frees up space but also makes it easier to locate what you need quickly.
Implement Multilevel Shelving
One effective strategy for small sheds is to create multilevel shelving systems. These can be built into the structure or added as standalone units. By arranging items by frequency of use or size, you can maximize accessibility while still keeping everything organized.For instance, larger, less frequently used items can go on lower shelves, while smaller tools and supplies that you use regularly should be within easy reach on the upper levels.
- Custom-Built Shelves: Tailor shelves to fit your specific needs and shed dimensions.
- Adjustable Shelving Units: These provide flexibility to adapt the space as your storage needs change.
- Clear storage Bins: Utilize clear plastic bins for visibility and ease of identification, labeling each box for quick access.
Utilize Door Space
The doors of your shed are another frequently enough-overlooked area. Attaching a few hooks or a slim organizer to the inside of the shed door can provide additional space for smaller tools, such as hammers, gardening gloves, and pruning shears. This keeps these items handy while leaving more room on shelves for bulkier equipment.
Incorporate mobile Storage Solutions
If space allows, consider including a rolling cart or a mobile tool chest. These can be easily moved around and tucked away when not in use, helping you optimize floor space while still providing convenient access to your tools and supplies. Additionally,a cart can be used outdoors for gardening or DIY projects before being rolled back into the shed for storage.
Table of Suggested Shed Organization Tips
| Tip | Description |
|---|---|
| Vertical Shelving | Use wall space to install shelves to keep the floor clear. |
| Overhead Storage | Install hooks or racks for seasonal items above head height. |
| Drawer Organizers | use drawer dividers in tool chests to keep everything in order. |
| Label Everything | Labels on bins and shelves help everyone find items quickly. |
By strategically planning and utilizing these smart organization tips, you can effectively learn how to build a small shed into a functional storage solution, making it not just a place to store your garden tools or holiday decorations, but a well-organized space that meets all your needs.
Adapting to Challenges: Common Obstacles and Solutions in Shed Building
Building a small shed can seem like a straightforward task at first, but several challenges often arise during the process, especially in tight spots. Factors such as space limitations, local regulations, and material choices can transform a simple project into a daunting endeavor. Understanding common obstacles can help shed builders of all skill levels prepare for and overcome these challenges.
Space Limitations
One of the most common challenges faced when constructing a small shed is dealing with limited space. it can be difficult to maximize functionality in a compact area, leading to frustration during the construction phase. However, implementing space-efficient designs can make a important difference.Here are some effective strategies:
- Vertical Storage: Utilize wall space by adding shelves or pegboards for tools and supplies.
- Multi-Function Furniture: Choose workbenches that double as storage units, thereby conserving space.
- Slim-Line Designs: Opt for narrower shed designs that fit snugly into tight corners or alongside fences.
Regulatory Hurdles
Another major hurdle can be navigating local building codes and regulations. Many areas have strict guidelines about size, location, and even materials for outbuildings. Before diving into construction, it’s crucial to:
- Research Local codes: Check with your local planning department to understand specific requirements.
- Obtain Permits: If required, securing the necessary permits ahead of time can prevent unwanted delays.
- Consider Insurance: Ensure your project is compliant to avoid complications with property insurance later.
Choosing the Right Materials
material selection can also play a vital role in overcoming obstacles in shed building. Selecting appropriate materials can affect both the functionality and aesthetics of the shed, particularly in space-tight designs. Here’s a brief comparison of common materials:
| Material | Advantages | Disadvantages |
|---|---|---|
| Wood | Natural look, easy to work with | susceptible to rot, requires maintenance |
| Metal | Durable, low maintenance | Can be prone to rust, less customizable |
| Vinyl | Weather-resistant, no painting needed | limited structural integrity, higher initial cost |
Choosing materials that fit both the environment and the intended use of the shed is critical. Consider weather patterns and local climate conditions to ensure longevity and effectiveness.
By being proactive and prepared for these obstacles, anyone can ensure a smoother experience while learning how to build a small shed that fits perfectly into tight spots. Adapting to these challenges not only enhances the construction process but also guarantees the functionality of the final product.
Personalizing Your Shed: Adding Unique Features and Functionality
When it comes to creating a small shed, the potential for personalization is vast. It’s your space, after all! Adding unique features and functionality not only enhances your experience but also makes the structure truly yours. Consider transforming a simple storage unit into a multifunctional retreat, hobby space, or garden tool haven. here are some creative ideas and practical considerations to elevate your shed’s design and usability.
Innovative Storage Solutions
Space efficiency is paramount when designing a small shed, and you can maximize functionality with clever storage solutions. As an example, wall-mounted shelving units can utilize vertical space without sacrificing floor area. Additionally, consider incorporating hooks or pegboards for hanging tools or garden gear. This keeps items accessible and organized, which is crucial, especially in tight spots.
- Magnetic Strips: Install magnetic strips to keep small metal tools or frequently used items within easy reach.
- Under-Bench Storage: Design benches that open up to reveal hidden compartments, perfect for stowing away supplies and keeping the space clutter-free.
- Foldable Features: Consider foldable workbenches or tables that can be tucked away when not in use.
Creating a Multi-Purpose Area
Incorporating versatility into your shed design can significantly enhance its functional appeal. Think about how you can tailor the space to serve various needs. For example, a corner could be designated for potting plants, complete with a bench and integrated sink for rinsing off tools. At the same time, a cozy nook with a small table and chairs can transform your shed into an inviting retreat for relaxation or socializing.
Examples of Multi-Use Options:
- Garden Workshop: Combine storage for tools and supplies with a workspace for crafting projects or repairs.
- Art Studio: Equip the shed with easels and art supplies, allowing for outdoor creativity amongst nature.
- Home Office: Set up a quiet space for remote work with proper lighting and wireless connectivity.
Enhancing Aesthetics and Comfort
Once functionality is addressed, don’t overlook the importance of aesthetics and comfort within your small shed.Thoughtful design choices can transform your storage space into a pleasant environment. consider adding windows for natural light or installing a small skylight to brighten up the interior. Paint the walls in cheerful colors, or even add wallpaper or decals that reflect your personality.
Additionally, incorporating soft furnishings such as cushions or a throw can make the space inviting. Here are a few other ideas to consider:
- Outdoor Lighting: String lights or lanterns not only provide illumination but also create a cozy ambiance during evenings.
- Garden Themed Décor: Incorporate plants or nature-inspired art to enhance your connection with the outdoors.
With a touch of creativity and effort,your small shed can evolve from a mere storage space into a personalized haven that showcases your style and meets your practical needs. Whether it’s through innovative storage solutions, multifunctional layouts, or enhanced aesthetics, there’s ample possibility to refine and perfect your space according to your vision.
Frequently asked questions
How do I build a small shed using space-efficient designs for tight spots?
To build a small shed in tight spots, start by planning your layout carefully. Use compact designs such as lean-to or gable roofs, and select multipurpose materials to maximize space.
Consider your space constraints and choose designs that utilize vertical storage, such as shelving and hooks. This approach not only makes the most of limited space but also enhances organization,making it easier to find tools and supplies.
What materials are best for building a small shed?
The best materials for building a small shed include treated wood, metal siding, or durable composites. These materials provide strength while allowing for a variety of design choices and budget considerations.
You should select materials based on your climate and aesthetic preferences. As a notable example, if you live in a wet area, choosing water-resistant materials like vinyl or treated wood can protect your investment. Consider reading more on shed materials for detailed options.
Can I build a small shed without a permit?
In many areas, a permit is not required for small sheds under a certain size, typically 100-120 square feet. Though, it’s essential to check local regulations to ensure compliance.
Remember that even if a permit isn’t required, you should follow local building codes and zoning laws to avoid potential issues down the road. Additionally, a permit may provide you with protection and ensure safety during construction.
What are some space-saving ideas for small shed interiors?
Space-saving ideas for small shed interiors include wall-mounted shelves, pegboards for tools, and foldable furniture or workbenches. These solutions help maintain an organized environment while maximizing available space.
Using vertical space is key; consider installing hooks for hanging items and creating zones for different activities. This not only keeps your shed tidy but also allows you to work efficiently in tight quarters.
Why is it critically important to have storage in a small shed?
Having storage in a small shed is crucial as it helps keep the space organized and maximizes functionality, especially in limited areas. Proper storage can significantly enhance usability.
well-organized storage systems prevent clutter and ensure easy access to tools and equipment. Incorporating cabinets, bins, and clear labels can streamline your workflow and ultimately make your projects more enjoyable.
What design features should I consider for a small shed?
Key design features for a small shed include a sloped roof for water drainage, adequate ventilation, and placement of windows for natural light. These elements improve functionality and comfort.
Ensure that the roof design is not only visually appealing but also practical for your environment. A well-ventilated shed prevents moisture buildup, which can lead to mold and damage, thus extending your shed’s lifespan.
how can I ensure my small shed is durable?
To ensure your small shed is durable,use high-quality materials and proper construction techniques. Invest in treated wood or metal to withstand weather elements and regular wear and tear.
Additionally, regularly maintaining your shed, such as repainting and checking for damage, can greatly extend its lifespan. Consider adding weatherproofing features to protect against moisture and pests.
the Conclusion
As we’ve explored, building a small shed can be both an enriching and empowering experience, especially when working within limited spaces. by considering smart, space-efficient designs and strategic planning, you can transform even the tightest spots into functional havens for storage or hobbies. Remember to start with a solid foundation—both literally and figuratively—by selecting the right materials and ensuring your plans are tailored to your specific needs and constraints.
Embrace the challenges that come with DIY projects; they often lead to the most rewarding outcomes. Encountering setbacks is part of the journey, but with each step, you’ll be honing your skills and heightening your confidence. Whether you opt for clever shelving solutions or multi-functional features, each decision contributes to not just a shed, but a testament to your craftsmanship and creativity.
Now that you’re equipped with the fundamentals and practical tips, we encourage you to grab your tools and embark on this rewarding project.Dive deeper into the nuances of design and construction—explore resources, engage with fellow DIY enthusiasts, and share your progress. Every shed built is a step towards mastery and a new adventure waiting to unfold. Happy building!

