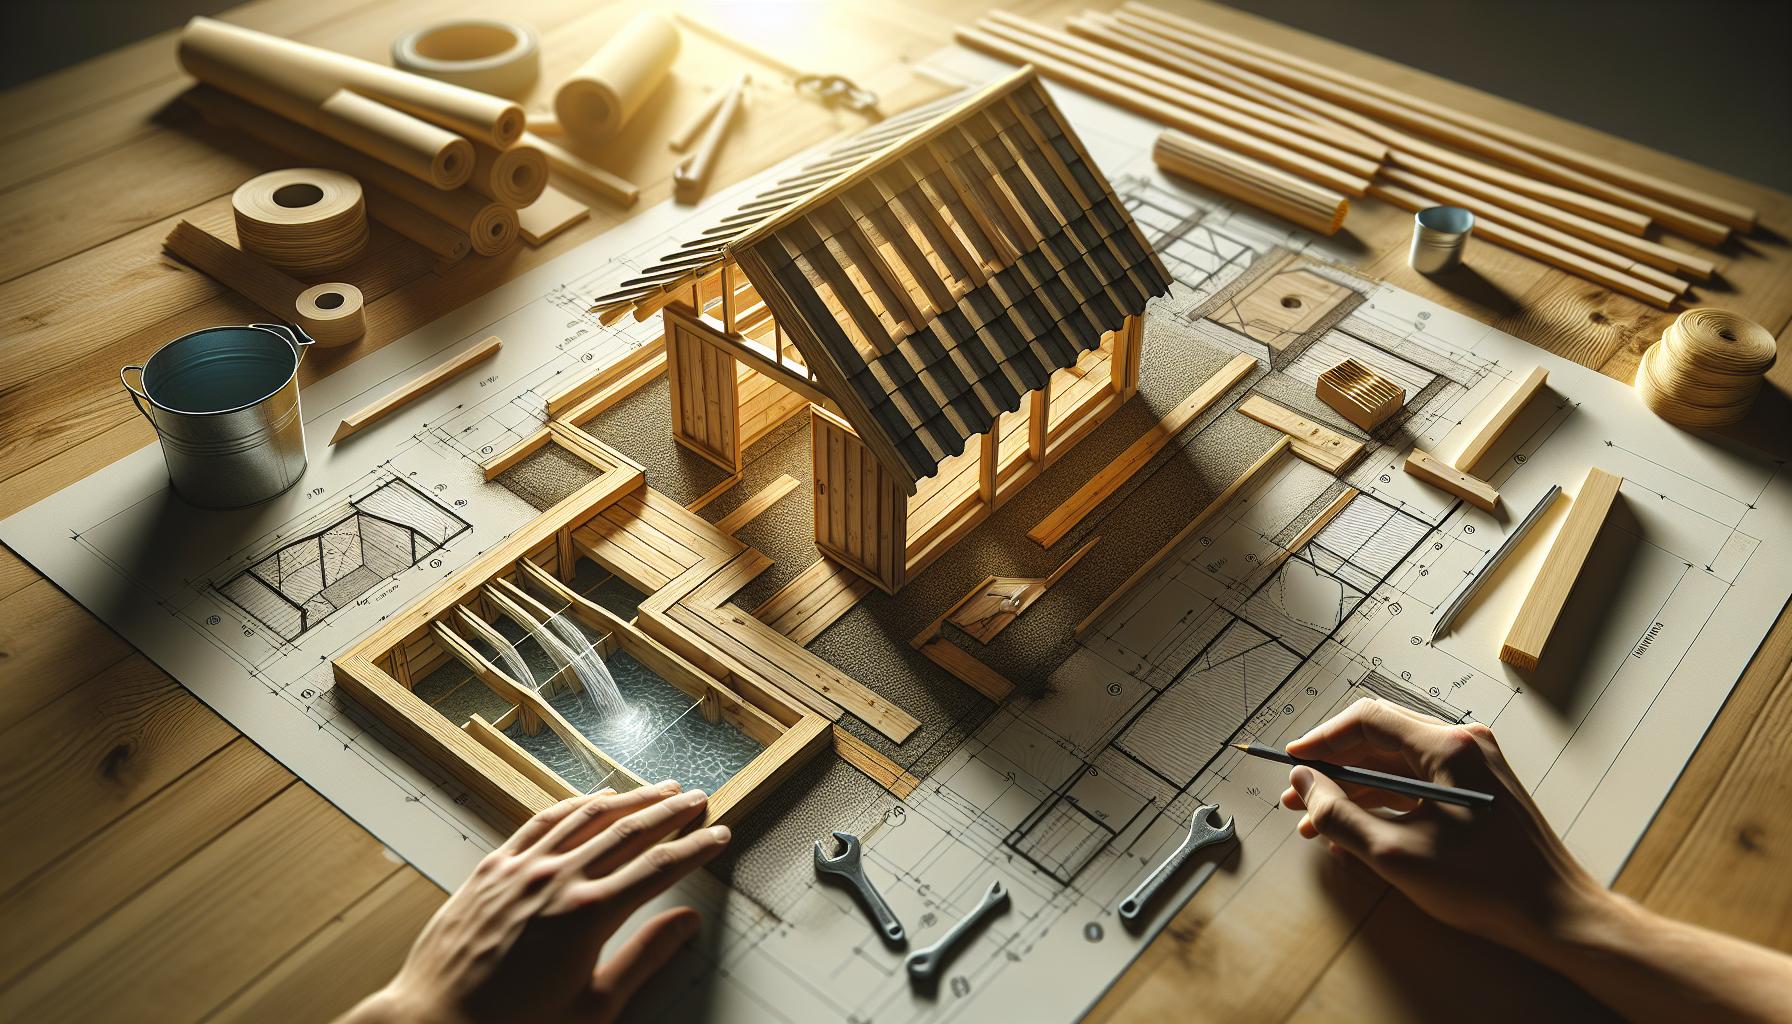
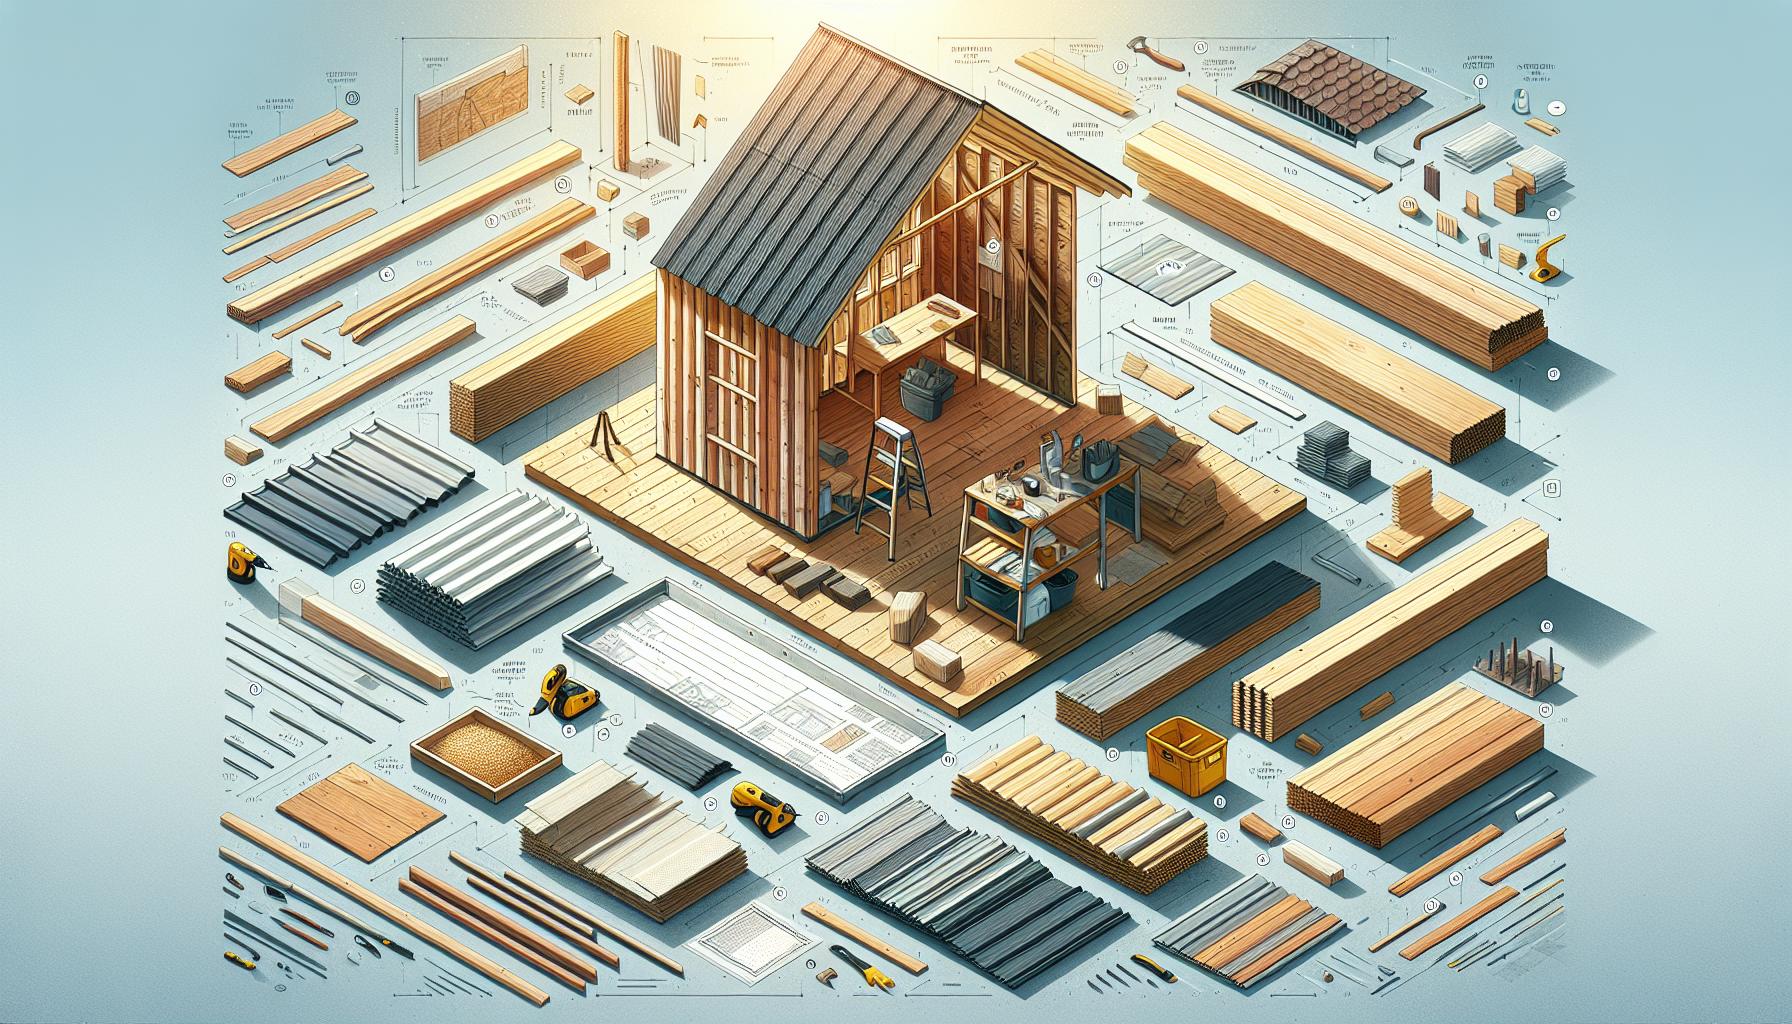
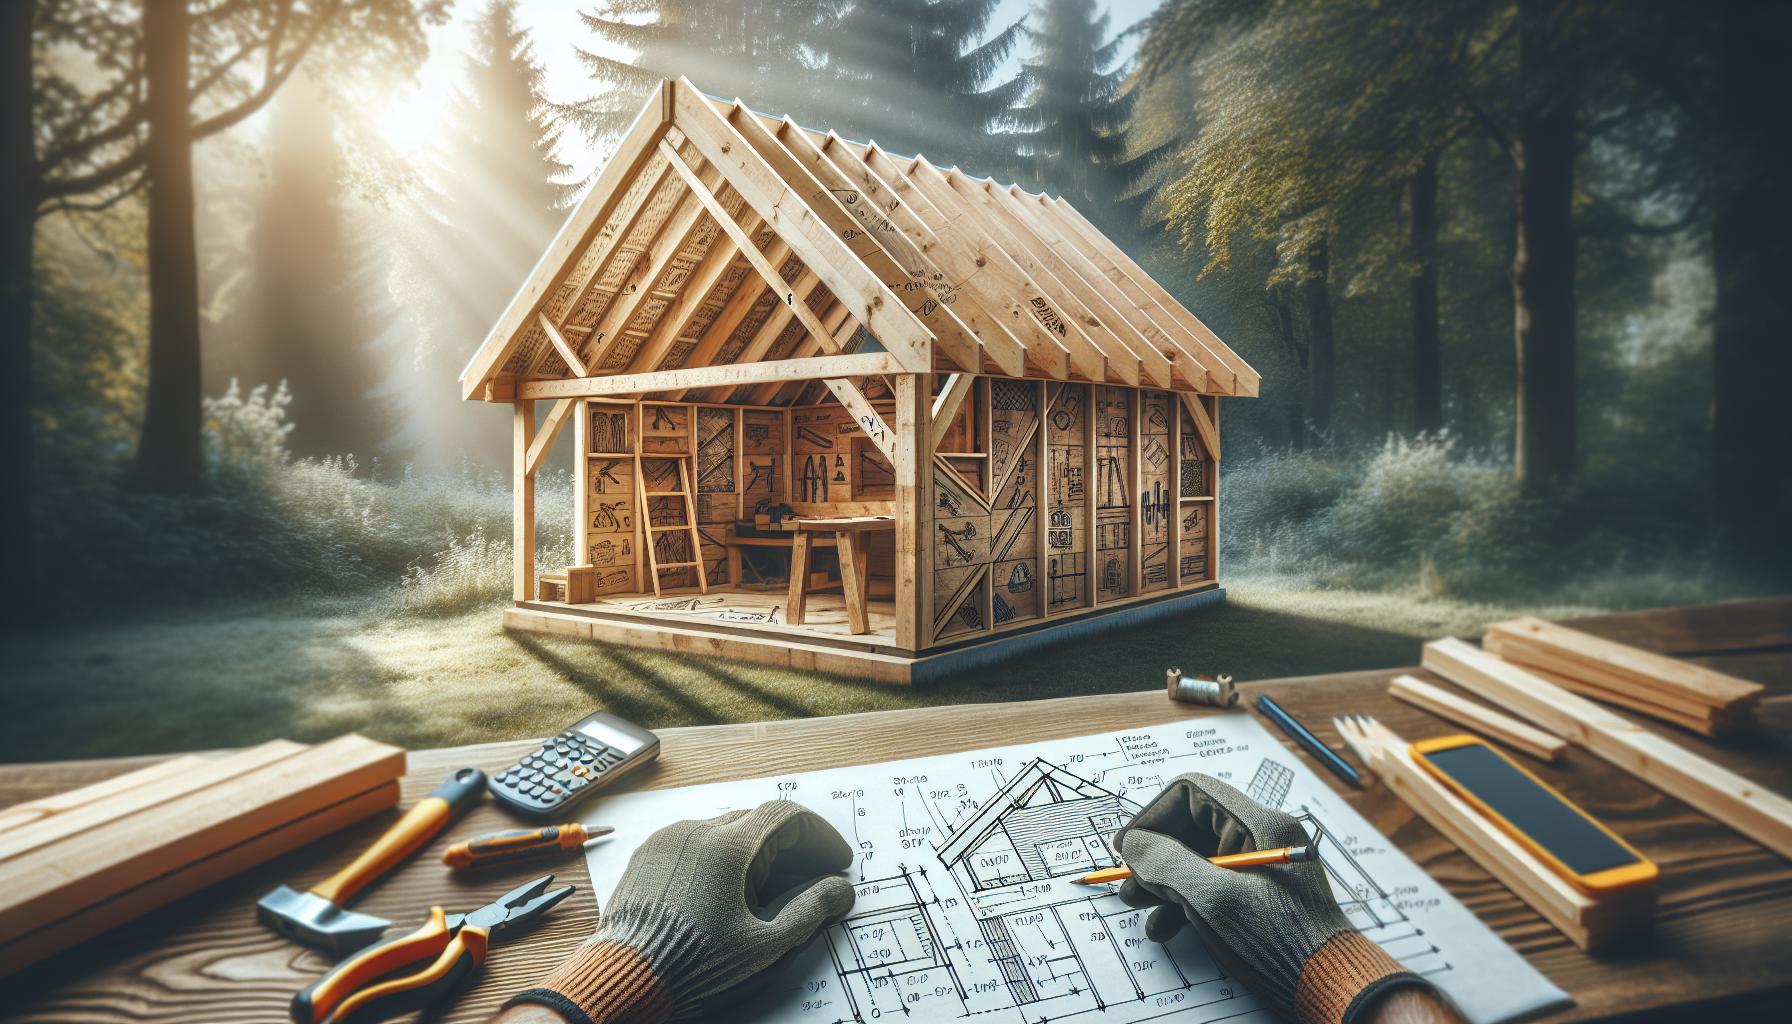
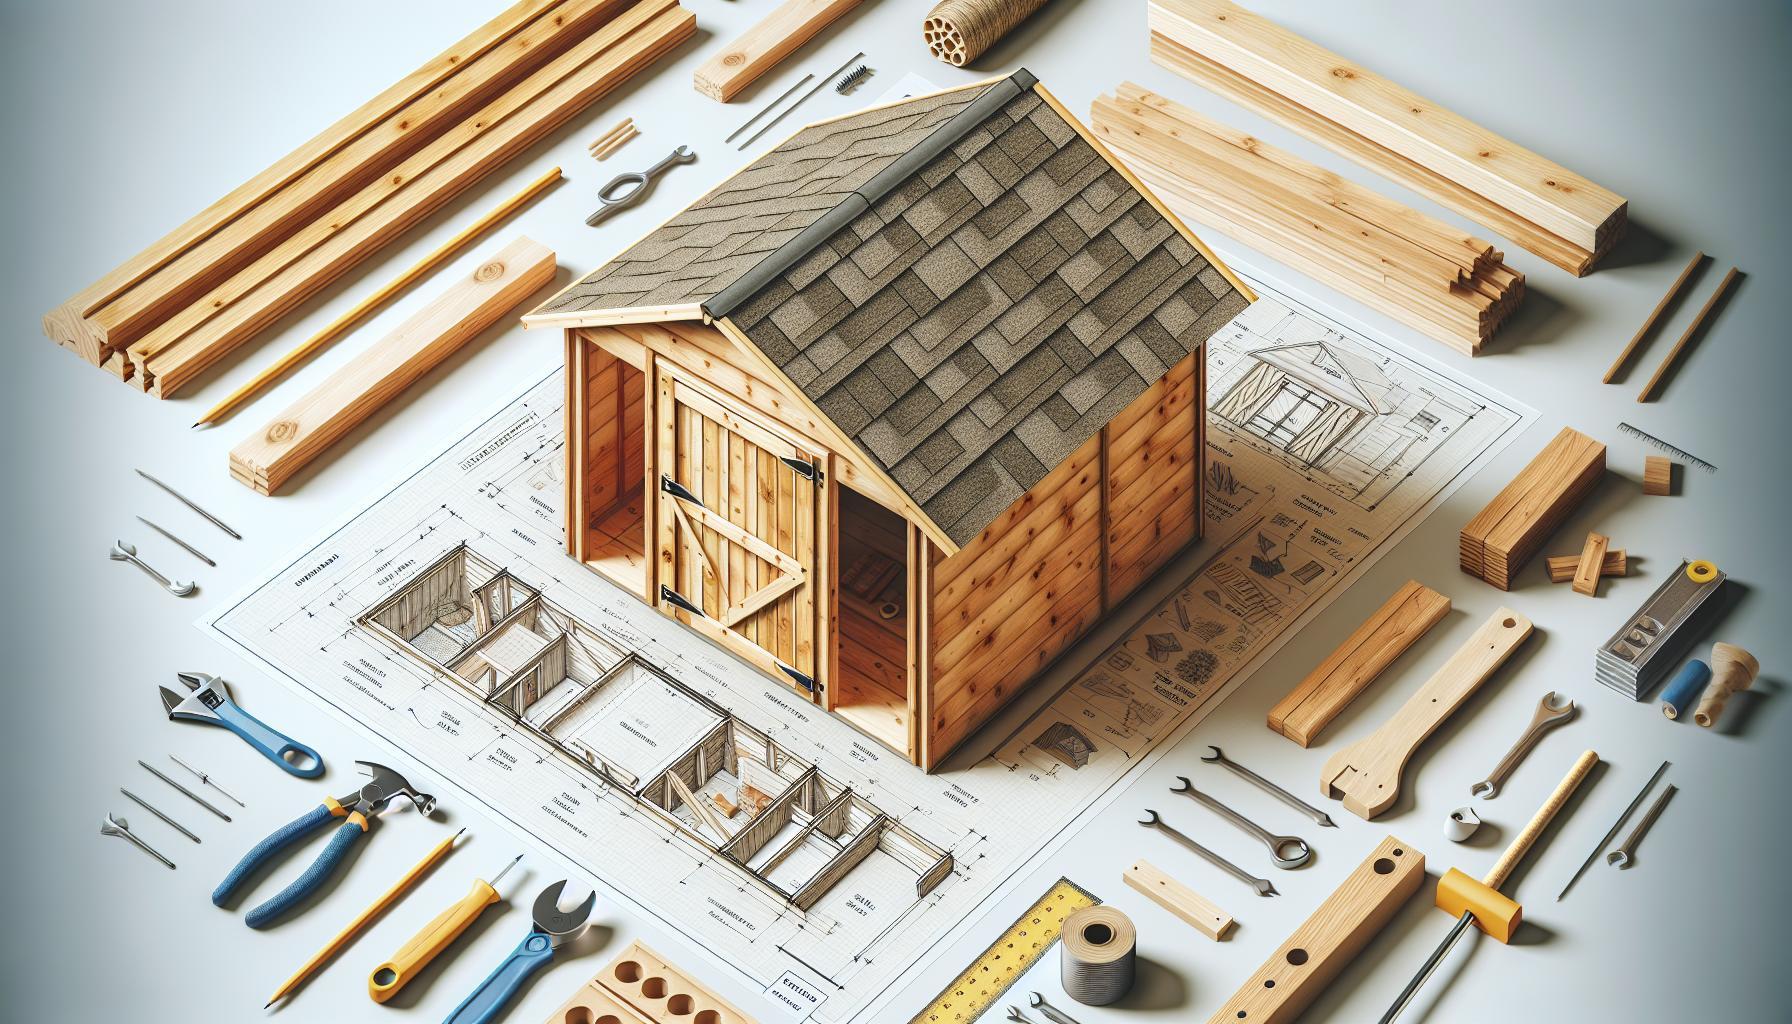
Are you tired of water pooling on your shed’s roof? Proper drainage design is crucial for extending the life of your sloped roof shed and preventing costly repairs. In this guide, we’ll walk you through six simple steps to create an efficient drainage system, ensuring your shed remains durable and functional for years to come.
Understanding the Basics of Sloped Roof Shed Design
When contemplating the construction of a shed, many homeowners overlook an essential element that influences durability and functionality: the roof design. A sloped roof is not onyl aesthetically pleasing but also offers significant practical advantages. It allows for effective drainage, reducing the risk of leaks and structural damage caused by standing water. If you’re pondering how to build a sloped roof shed, understanding the basic principles of this design can make all the difference in crafting a structure that meets your needs.
Why Choose a Sloped Roof?
Sloped roofs come with a myriad of benefits that enhance shed functionality. The slope facilitates water runoff, safeguarding your structure from water accumulation that can cause rot and mold. Additionally, these roofs often provide extra headroom and a more spacious interior, which can be crucial for storage or workshop activities. Here are some key considerations:
- Weather Resistance: A sloped design minimizes the impact of rain and snow, shielding the walls and foundation.
- Ventilation: The design can promote natural airflow, reducing humidity levels inside the shed.
- Aesthetic Appeal: A sloped roof can offer a more visually appealing silhouette compared to flat-roofed alternatives.
Key Elements of Sloped Roof Design
Understanding the basic elements of sloped roof construction is crucial when embarking on your building journey. Below are basic components to consider:
| Component | Description |
|---|---|
| Rafters | The sloped beams that support the roof and determine the angle of the slope. |
| pitch | The slope ratio, calculated as the rise over the run, which substantially impacts water runoff and aesthetics. |
| Roof Material | Choices include metal, shingles, or corrugated panels, each offering different benefits like cost, longevity, and weather resistance. |
| Overhang | Extending the roof beyond the walls protects siding from rain and enhances ventilation. |
Incorporating these elements into your design will not only elevate your skills in how to build a sloped roof shed but also ensure that the finished product is functional and equipped to handle the elements. As you move forward, consider how each component interacts with your overall drainage design. Following the right steps will provide you with a sturdy structure that stands the test of time.
Choosing the Right Materials for Your Shed
When embarking on the journey of constructing a sloped roof shed, one of the fundamental choices you’ll face is selecting the right materials. The materials not only influence the aesthetics and functionality of your shed but also play a crucial role in ensuring that your shed effectively manages drainage, particularly critically important in maintaining a sturdy structure and avoiding water-related issues.
Strong, durable materials will provide the best protection against the elements, while lightweight options can facilitate easier construction. As you sift through your choices, keep in mind the local climate and how each material will stand up to rain, snow, and wind. Below are some popular materials to consider:
Essential Material Options
- Wood: Conventional and appealing, wood is often favored for its aesthetic quality. Opt for treated varieties like cedar or redwood for better durability and resistance to moisture.
- Metal: Aluminum or steel siding can offer longevity and a sleek look. Thay are particularly effective in regions with heavy rain as they can provide excellent drainage when installed correctly.
- Vinyl: This low-maintenance option is resistant to rot and insects. Its light weight makes it easier to handle, but it may not offer the same level of insulation as wood or metal.
- Composite materials: Made from a mixture of materials, composites offer the look of wood with added durability and low maintenance. This is ideal for those looking to reduce upkeep while still enjoying an attractive exterior.
Choosing Roofing Options for Effective drainage
the roof plays an essential role in your shed’s drainage system. Various materials can drastically affect how water is directed away from your shed.Here are some options:
| Roofing Material | Benefits | Drawbacks |
|---|---|---|
| Asphalt Shingles | Affordable, easy to install, good longevity | May not be the best aesthetic choice |
| Metal Roofing | Durable, excellent drainage, reflective properties | Higher initial cost, can be noisy during rain |
| Rubber roofing | Waterproof, flexible, and easy to repair | Can be more expensive than traditional materials |
| Wood Shingles | Natural look, good insulation | Higher maintenance required, not as water-resistant |
Selecting the right materials for your sloped roof shed is more than just a design choice; it’s about ensuring functionality and longevity, especially regarding effective drainage as outlined in how to build a sloped roof shed. Investing time in researching and choosing the right components will pave the way for a sturdy, elegant shed that can withstand environmental challenges while enhancing your outdoor space.
Key Concepts in Drainage Design: What you Need to know
effective drainage design is crucial for any structure,especially for a sloped roof shed,where water accumulation can lead to significant damage over time. Understanding key drainage concepts not only ensures the longevity of your shed but also safeguards its contents and the surrounding area. By mastering these essential principles, you can prevent issues like leaks, mold growth, and structural damage while enhancing the shed’s overall performance.
Understanding Water Flow
The foundation of prosperous drainage design is to comprehend how water behaves on your property. When planning your sloped roof shed, consider the following:
- Topography: Assess the land your shed will sit on. are there natural slopes or depressions? Understanding the lay of the land helps you predict where water will flow and pool.
- Roof Pitch: A steeper roof pitch allows water to run off more efficiently. Ensure your roof is designed to maintain this slope while adhering to local building codes.
- Drainage Patterns: Observe how water moves during rainstorms. this will guide you in positioning gutters and downspouts effectively to channel water away from your shed.
Essential Components for Effective Drainage
Incorporating the right elements into your drainage design can significantly enhance its effectiveness. Key components include:
- Gutters: Install gutters along the roof’s edges to collect rainwater and direct it toward downspouts. Choosing the right size and material is essential for optimal water flow.
- Downspouts: Downspouts should guide water away from the shed’s foundation, ideally emptying into a drainage system or a designated area in your yard.
- French Drains: If your shed is in a particularly wet area,consider installing a French drain. This underground system helps divert water away from the shed and prevents flooding.
Maintenance and Long-Term Considerations
Implementing a drainage design is only part of the equation; ongoing maintenance is vital to its success. Here are some maintenance tips to keep your system in top shape:
| Maintenance Task | Frequency |
|---|---|
| Inspect and clean gutters | At least twice a year |
| Check downspouts for blockages | Monthly during rainy seasons |
| Monitor landscaping for erosion | Seasonally |
| Reassess drainage flow patterns | Annually |
Taking the time to understand these key drainage concepts will arm you with the knowledge necessary to tackle drainage design effectively, ensuring your project reflects the principles outlined in “How to Build a Sloped Roof Shed: Master Drainage Design in 6 Simple Steps.” By prioritizing proper water management, you can create a functional and durable structure that stands the test of time.
Step-by-Step Guide to Constructing Your Sloped Roof
When constructing a sloped roof for your shed, one of the most critical factors to consider is the effectiveness of water drainage. A well-designed sloped roof not only enhances the aesthetic appeal of your structure but also ensures longevity by preventing water damage. Here’s a thorough guide that will walk you through the essential steps to build a functional and durable sloped roof.
Gathering Your Materials
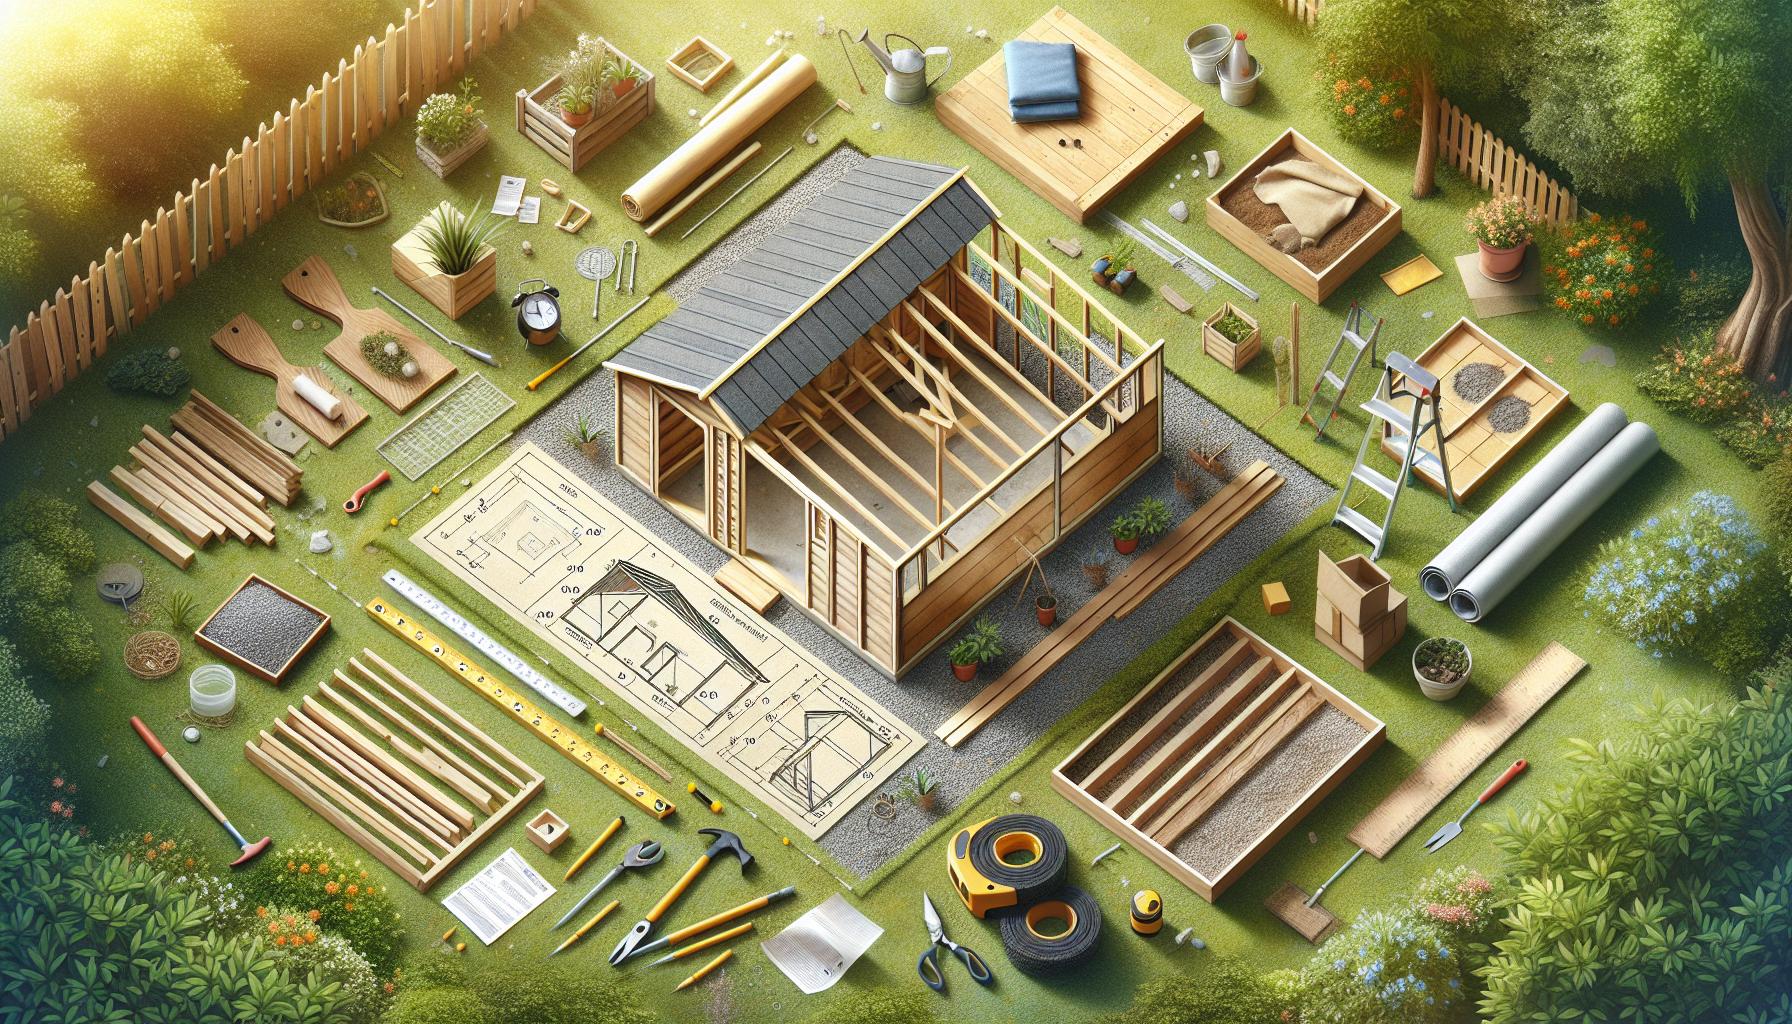
Before diving into construction, gather all necessary materials. This planning will streamline your building process. Here’s a checklist of what you might need:
- Roofing material (shingles, metal sheets, etc.)
- Framing lumber (rafters and ridge board)
- waterproof underlayment
- Nails or screws
- Roofing felt
- Gutter system (for enhanced drainage)
Designing the Roof Structure
Once you have your materials, it’s important to devise a robust design tailored to your shed’s specific needs. This involves determining the roof slope, which typically ranges from 2:12 to 6:12, depending on climate and precipitation levels. The steeper the slope, the more effectively it will shed water. To visualize this, consider creating a simple sketch or using design software.
Assembling the Roof Frame
Begin assembling the roof frame by cutting your lumber to the appropriate lengths based on your design. The rafters are the key components that will form the slope of your roof. Here’s how to assemble them effectively:
- Cut your rafters to the desired angle for each end to form the slope.
- Attach the rafters to a ridge board, ensuring they are evenly spaced and securely fastened.
- Double-check for level and square before securing with nails or screws.
Installing the Roofing Material
After constructing the frame,the next crucial step is the installation of your roofing material.This step not only provides coverage but must also support efficient water drainage. If using shingles, make sure to overlap each row adequately. For metal roofing, ensure the sheets are secured under the appropriate weatherproof underlayment. Here are a few tips for the installation process:
- Start from the bottom edge of the roof and work your way up.
- Use roofing felt under your shingles or metal sheets for additional waterproofing.
- Don’t forget to install a gutter system to manage water runoff and direct it away from the shed.
Building a sloped roof involves careful planning and execution, but the benefits of better drainage and increased durability make it worthwhile. Follow these steps diligently for a successful construction experience!
Optimizing Shed Placement for Natural Water Flow
When building a shed, especially one with a sloped roof, the placement of the structure can significantly impact its longevity and functionality. One of the most crucial considerations is how to optimize the shed’s position to facilitate natural water flow, ensuring that rainwater drains efficiently and does not cause pooling around the foundation.A well-placed shed not only enhances drainage but also prevents potential damage from excess moisture.
Understanding Site Topography
Before you lay the groundwork for your shed, it’s imperative to analyze the topography of the area. Consider the following:
- Slope Direction: Identify the natural slopes in your yard. Water flows downhill,so place your shed at a higher elevation relative to the surrounding land if possible.
- Drainage Patterns: Observe how water behaves during rainfall. Does it gather in certain areas? Take notes on these patterns and plan your shed’s location accordingly.
- Soil Type: Well-draining soils, such as sandy or loamy types, will help water disperse more readily than clay soils, which tend to retain moisture and lead to problems.
Creating Pathways for Water Flow
Your shed’s placement should promote natural water flow.Consider these strategies:
- use Swales: Construct shallow ditches or swales around the shed to redirect water away from the foundation. This can significantly reduce erosion and standing water.
- Incorporate French Drains: For areas prone to water accumulation, install French drains around the shed’s perimeter. These systems guide water away from your shed,preventing flooding.
- Install Gutters and Downspouts: Equip your shed with gutters that channel rainwater away from the roof. This is essential for directing water to designated drainage points rather than allowing it to flow directly onto the ground around your structure.
Planning for Rooftop Drainage
once the shed is placed with drainage in mind, the roof’s angle becomes pivotal to prevent water accumulation:
- Optimal Pitch: Ensure that the roof has a sufficient pitch to facilitate quick runoff. Generally, a slope of at least 2:12 will help ensure that water flows efficiently off the roof.
- Material Consideration: Choose roofing materials that promote drainage, like metal or shingles that are textured to help water run off more effectively.
By adhering to these principles for optimal shed placement and drainage design, you can avoid common pitfalls associated with water retention and damage, allowing you to enjoy a functional and durable structure for years to come.
Common Mistakes to Avoid When Designing Drainage
Designing an efficient drainage system for your sloped roof shed is crucial to protecting your investment and ensuring its longevity. Mistakes made during the drainage design phase can lead to serious issues like water pooling, foundation damage, and even structural integrity problems. Understanding what not to do is just as important as knowing the proper steps for successful drainage design, particularly when considering the unique challenges posed by a sloped roof.
Overlooking Site Assessment
One of the most significant pitfalls is neglecting to conduct a thorough site assessment before you start building. The topography of your land plays a pivotal role in how water will flow around your shed. failing to consider existing slopes, nearby trees, and drainage patterns can lead to miscalculations. always map out how rainwater behaves during storms in your area—this will help you tailor your drainage system effectively.
Insufficient Gutter Installation
Another common mistake involves inadequate gutter sizing and placement.Many tend to underestimate the amount of rainwater their shed will collect. Choosing the right gutter size is essential to ensure efficient water diversion. A rule of thumb is to install gutters that are at least 5 inches wide. Additionally, placing downspouts to far apart can lead to overflow, so ensure they’re positioned to direct water away from the foundation and adjacent areas.
Poor water Flow Direction
It’s vital to ensure that water flows away from the shed and not towards it. If the drainage design leads to water pooling at the base, it can erode the soil and jeopardize the shed’s foundation. Make sure to slope your ground away from the shed’s edges, ideally at a gradient of at least 1% per foot.Incorporating drainage trenches or a French drain system can also enhance water management.
Neglecting Maintenance Needs
many shed owners forget to plan for ongoing maintenance. clogged gutters and blocked downspouts can quickly turn a well-designed drainage system into a nightmare. establish a simple maintenance routine that includes clearing debris from gutters and checking for blockages after heavy rainfall. By being proactive, you’ll avoid costly repairs down the line and ensure your shed remains a reliable storage solution.
By sidestepping these common mistakes, you can effectively implement the principles from “How to Build a Sloped Roof Shed: Master drainage design in 6 Simple Steps,” ensuring your shed is not only functional but also resilient against the elements. Remember, meticulous planning today will save you from headaches tomorrow.
Ensuring Structural Integrity: Tips for Long-lasting results
Creating a sloped roof shed requires careful attention to structural integrity, especially when designing the drainage system. Proper drainage is essential to prevent water accumulation, which can lead to rotting, leaks, and costly repairs. By ensuring that your shed has a well-planned drainage design, you can prolong its lifespan and maintain its condition over the years.
Designing Effective Drainage
When considering how to build a sloped roof shed, one of the first steps is to determine the angle of the slope. A pitch of 4:12 is generally recommended, as it effectively allows rainwater to flow off the roof while not being too steep for other building aspects. This slope directs water toward strategically placed gutters that direct runoff away from the foundation, minimizing water pooling around your shed.
To manage drainage effectively,follow these tips:
- Select Quality Materials: Use galvanized metal or high-quality vinyl for gutters and downspouts to resist rust and wear.
- Regular Maintenance: Clean gutters and downspouts regularly to remove debris and ensure free flow, especially in the fall when leaves can accumulate.
- Install Gutter Guards: These can definitely help keep debris out of gutters and reduce maintenance, promoting smoother water flow.
Foundation Considerations
The foundation of your sloped roof shed plays a crucial role in its overall integrity. A solid foundation can prevent water infiltration, which could weaken your structure over time. Consider these foundational strategies:
- Elevate the Shed: Build your shed on piers or a raised foundation to elevate it above ground level, which prevents water from pooling directly beneath.
- Grading the Site: Ensure the ground around your shed slopes away from the structure. This natural grading helps channel water away and avoids erosion.
Implementing these strategies will not only aid in water management but will also significantly enhance the durability of your sloped roof shed. Adequate drainage and a robust foundation are essential components of a long-lasting structure, allowing you to enjoy your shed for years to come.
Enhancing Aesthetic Appeal While Maintaining Functionality
Transforming your shed into a visual delight doesn’t have to compromise its functionality, especially when carefully considering elements like roof slope and drainage design. The aesthetic appeal of a sloped roof can enhance your property’s overall charm, while the right materials and structural choices ensure that it’s not only pleasing to the eye but also efficient in handling rainwater.
One effective way to achieve this balance is through the incorporation of visually appealing materials that also serve functional purposes. For example, choosing durable, attractive roofing materials such as metal or high-quality shingles can contribute to the overall design without skimping on performance.consider these factors:
- Color Schemes: Select roof colors and siding that complement your home and landscape.
- Architectural Details: adding features like decorative eaves or trim can enhance visual interest.
- Landscaping Elements: surrounding your shed with thoughtful landscaping can seamlessly integrate it into your outdoor space.
To further elevate your shed’s look while ensuring it effectively manages drainage,a well-planned gutter system is crucial. properly designed gutters direct water away from the foundation, preventing potential structural issues while enhancing the facade of your shed. Employing a mix of regular and decorative downspouts can not only provide functionality but also serve as a design element.
Examples of Effective Design Choices
| Design Feature | Aesthetic Benefit | Functional Benefit |
|---|---|---|
| Vertical siding | Creates a modern look | Enhances drainage along the sides |
| decorative roof overhangs | adds dimension and style | Shields doors and windows from rain |
| Planter boxes | Softens shed edges | Purifies water run-off through plants |
By intertwining aesthetic considerations with essential drainage features, you can create a sloped roof shed that is not only functional but also a stunning addition to your property. Embracing creativity in your design choices while adhering to sound construction principles will allow you to master the art of designing a shed that looks as good as it performs.
frequently asked questions
Frequently Asked Questions about How to Build a Sloped Roof Shed
How to build a sloped roof shed?
To build a sloped roof shed,start by planning and obtaining necessary materials. The main steps include designing the structure, preparing the foundation, constructing the frame, installing the roof, ensuring proper drainage, and finishing the interior.
Consider factors like the slope of the roof for effective water drainage and the overall aesthetics of the shed. Using quality materials, like pressure-treated wood, can enhance durability. For a detailed guide on each step, refer to our comprehensive article on *drainage design* for sloped roofs.
What is the best slope for a roof shed?
The best slope for a roof shed ranges from 3:12 to 6:12, meaning for every 12 horizontal inches, the roof should rise 3 to 6 inches. This angle allows for effective water runoff and prevents pooling.
Choosing the right slope depends on local weather conditions; steeper slopes are beneficial in areas with heavy snowfall. Additionally, aesthetics might play a role in your decision, providing a pleasing appearance that complements your other structures.
Why does drainage matter when building a sloped roof shed?
Drainage is crucial in sloped roof design to direct water away from the shed, preventing damage from moisture.Proper drainage protects your structure’s foundation and enhances its longevity.
Without a well-designed drainage system, you risk water pooling, which can lead to wood rot and structural instability. Implementing gutters and downspouts can further help manage water flow effectively.
Can I build a sloped roof shed on uneven ground?
Yes, you can build a sloped roof shed on uneven ground by leveling the foundation. Using blocks or pressure-treated wood can definitely help create a stable surface.
Proper leveling ensures that your shed stands securely and that water drains appropriately away from the structure. This method may require extra effort but can significantly improve the effectiveness of your shed’s drainage system.
How do I ensure proper drainage in my sloped roof shed?
To ensure proper drainage, incorporate eaves, gutters, and downspouts that direct water away from the shed. Angling the roof and having drainage ditches or trenches around the foundation can definitely help.
Additionally, using materials like gravel around the base can absorb excess water, further protecting the shed. Regular maintenance is essential to prevent blockages in gutters and ensure they function correctly.
What materials should I use for a sloped roof shed?
Use materials like pressure-treated wood for the frame and plywood for the walls. As for roofing, options like metal, asphalt shingles, or wood shingles provide durability and weather resistance.
Choosing the right materials not only affects the shed’s lifespan but also its maintenance needs. Ensure to select materials that complement both your budget and the environment in which your shed will exist.
How much does it cost to build a sloped roof shed?
The cost of building a sloped roof shed varies widely, typically ranging from $300 to over $2,000 depending on size, materials, and complexity of design. Factors like location, labor, and permits may also influence overall costs.
Planning your budget carefully and comparing prices of materials can help manage expenses. Consider DIY approaches to reduce costs further while gaining valuable building experience.
Closing Remarks
As you embark on your journey to construct a sloped roof shed, remember that every step you take is an chance to learn and refine your skills. By mastering the essential drainage design principles laid out in this guide, you are not just building a structure; you are creating a functional space that meets your specific needs while being mindful of your environment.From understanding the importance of proper slope to calculating the optimal pitch for effective water runoff, these six steps blend technical know-how with practical request.
Don’t hesitate to revisit the detailed explanations and tips provided—each nugget of information is designed to empower you, whether you’re a novice or a seasoned builder. As you explore further, consider the various materials and design customization options that can enhance your shed’s durability and aesthetic appeal.
Building your shed is more than just a project; it’s a fulfillment of your vision and a testament to your determination. Engage with your fellow builders, share your progress, and seek advice when needed. Embrace the challenges, celebrate your successes, and keep crafting your ideal shed with confidence. Your journey doesn’t end here; delve deeper into the realm of DIY construction, and let your creativity flourish!

