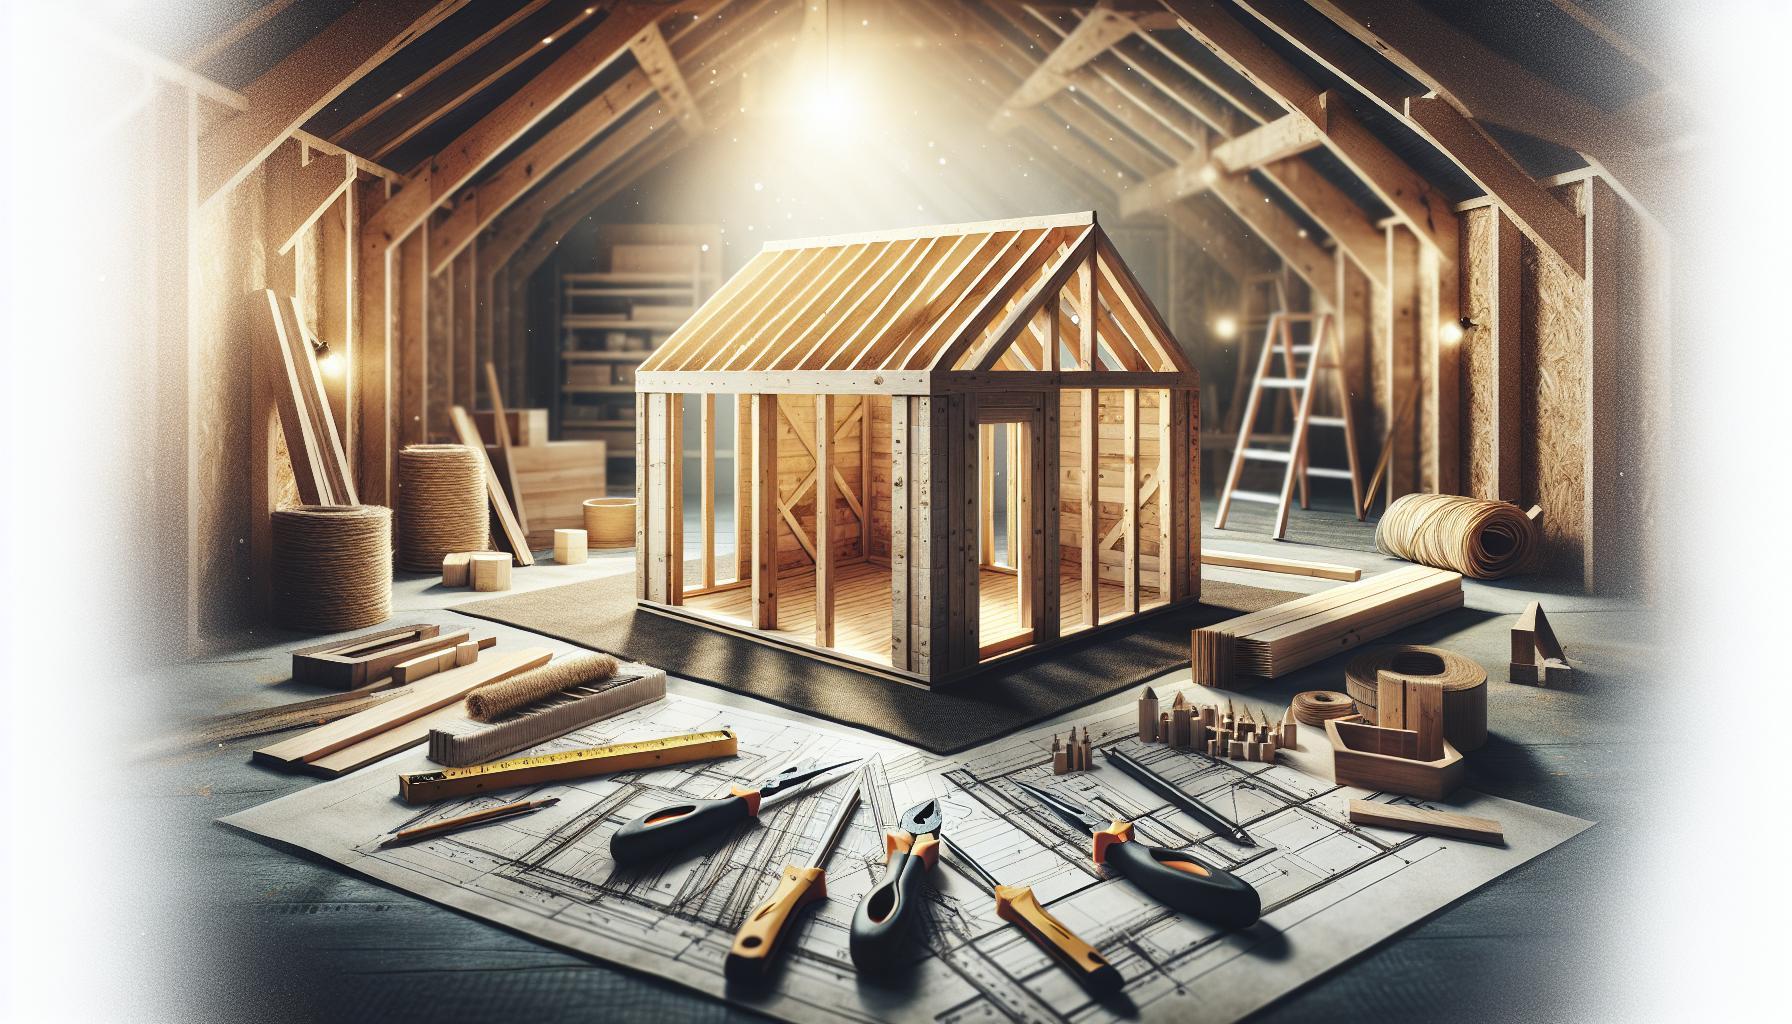
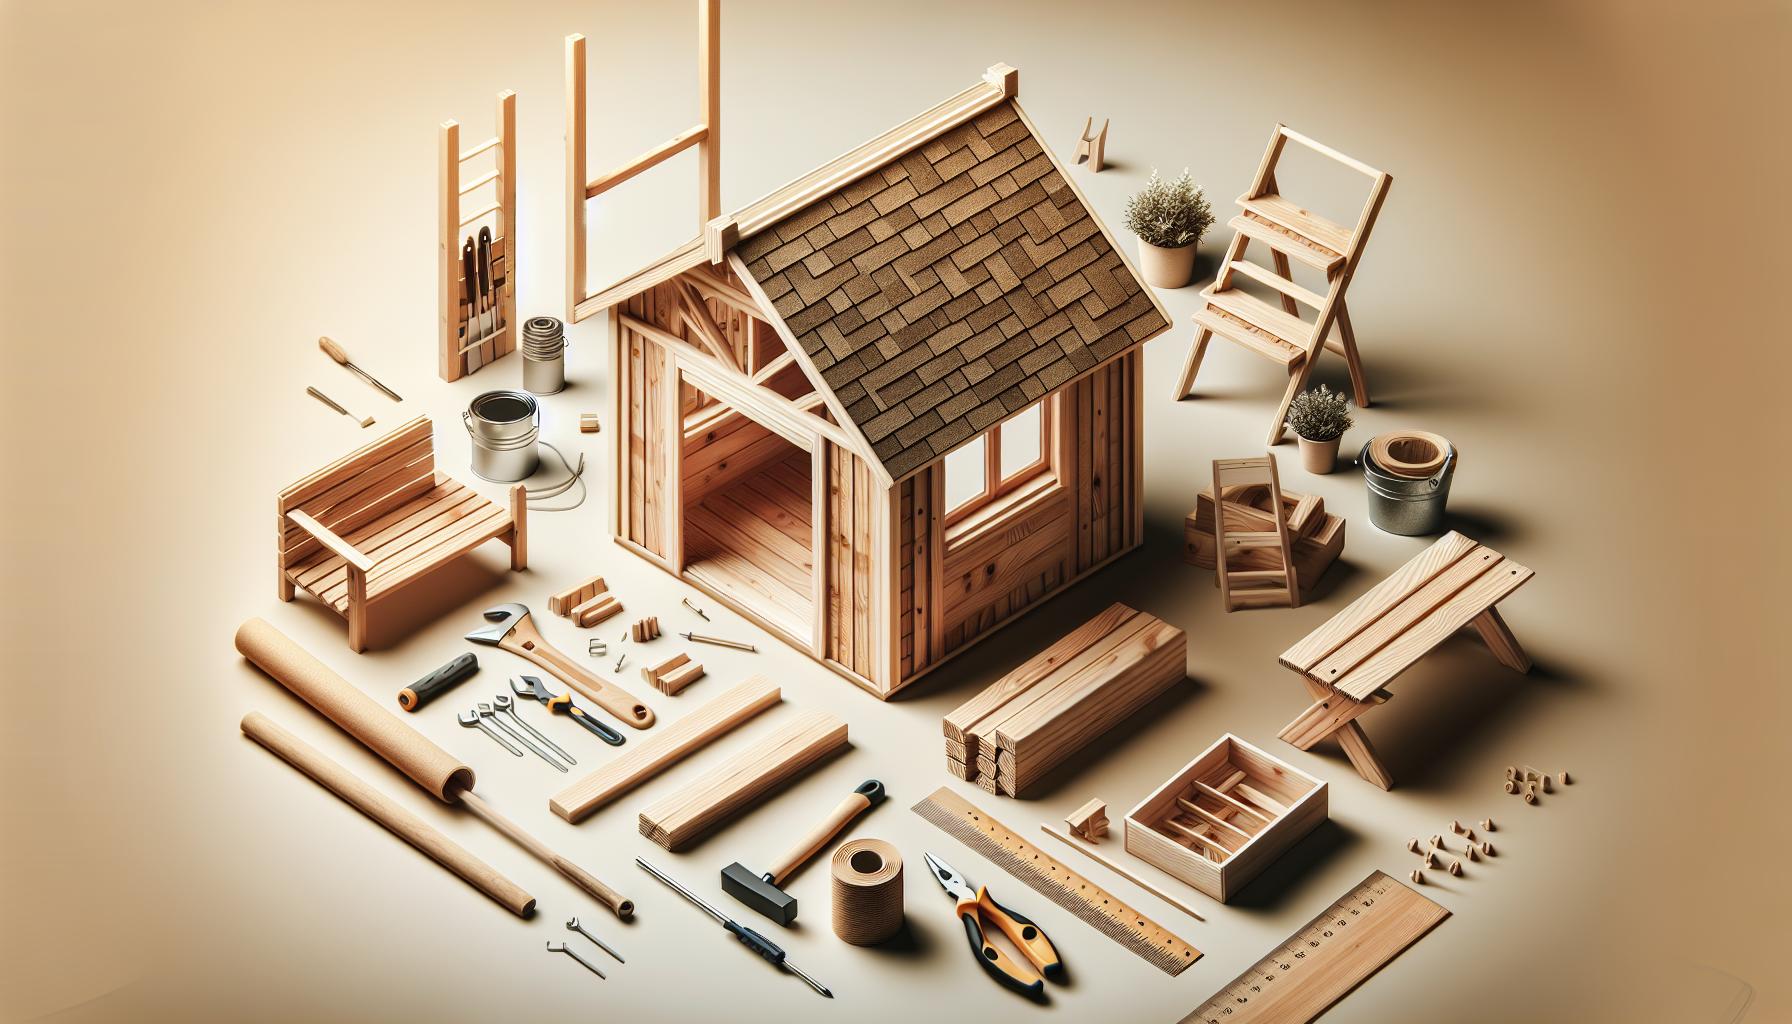
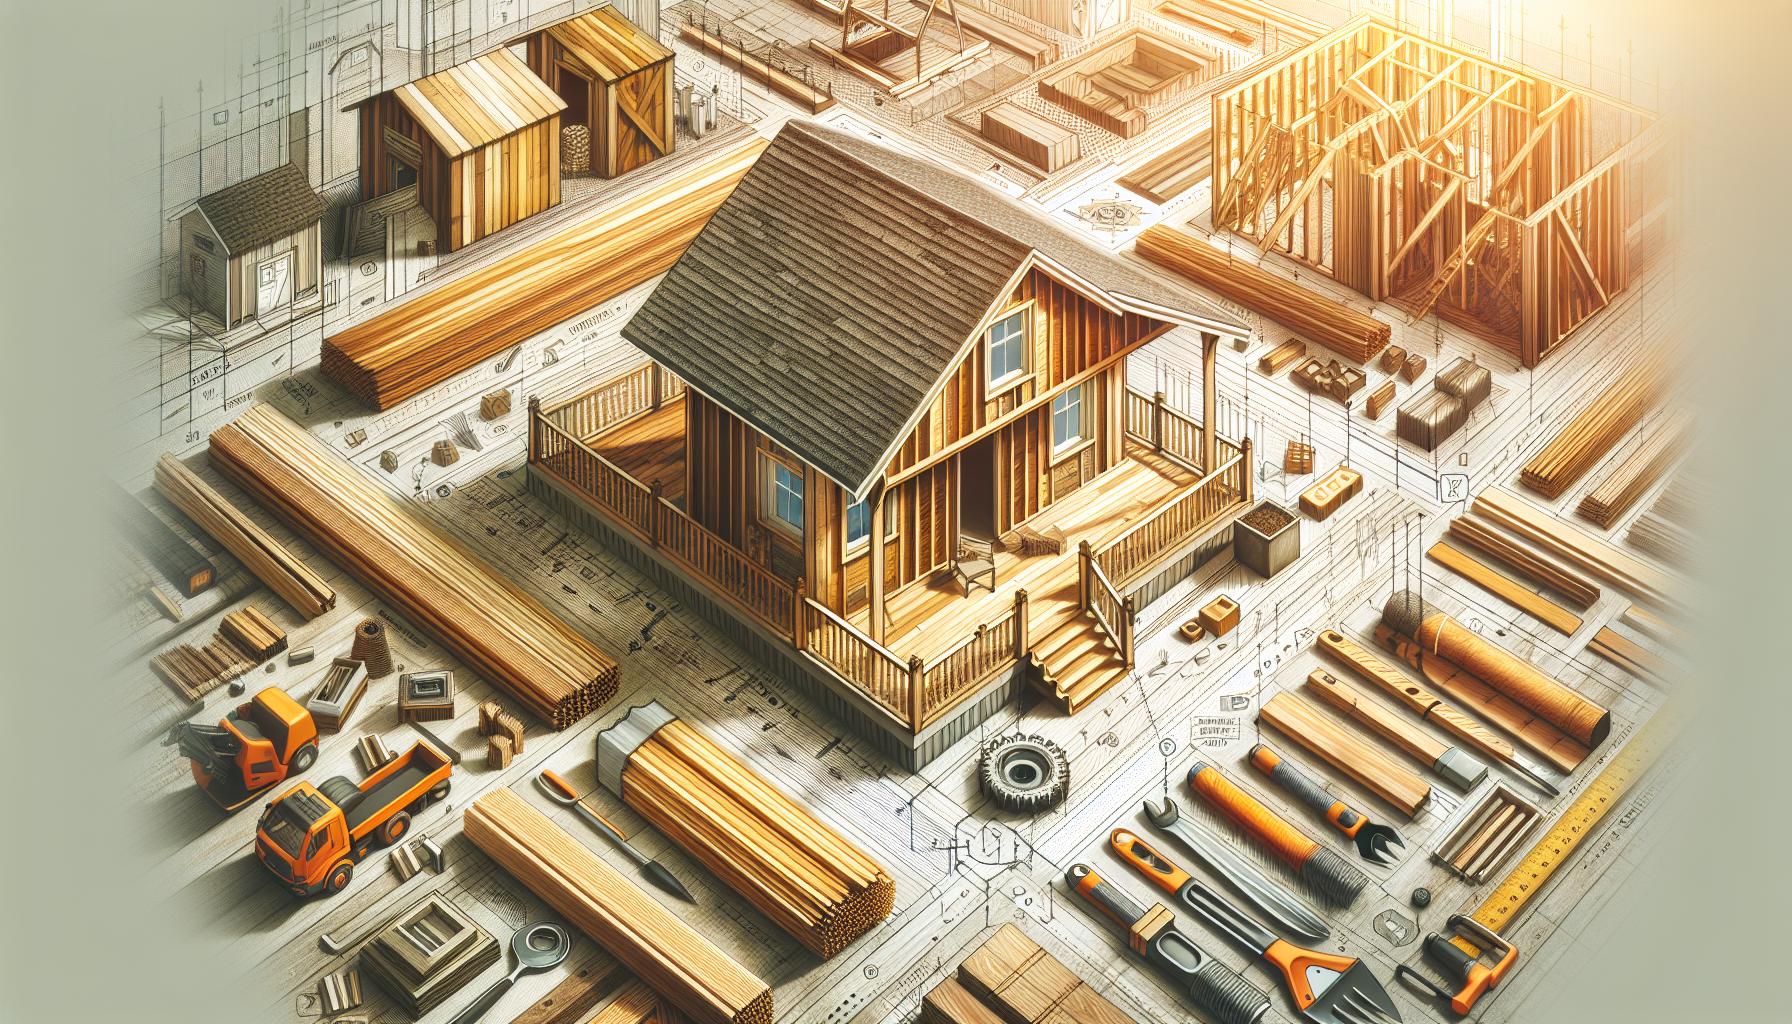
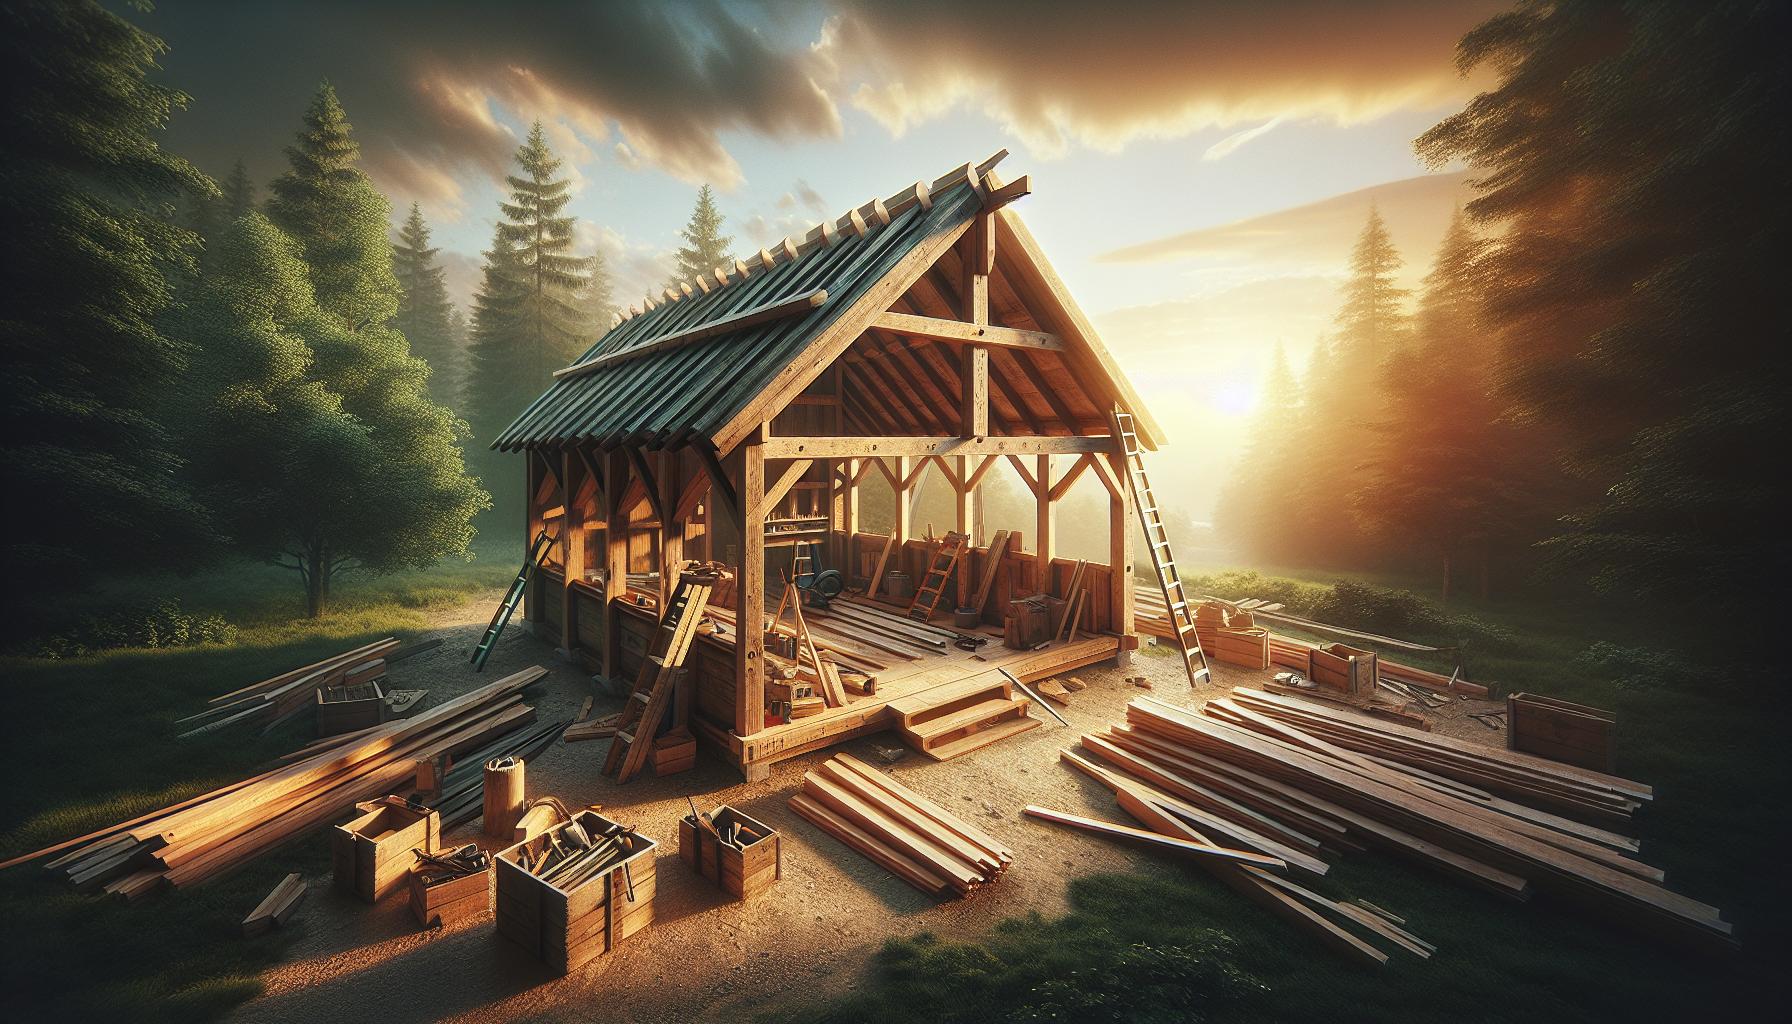
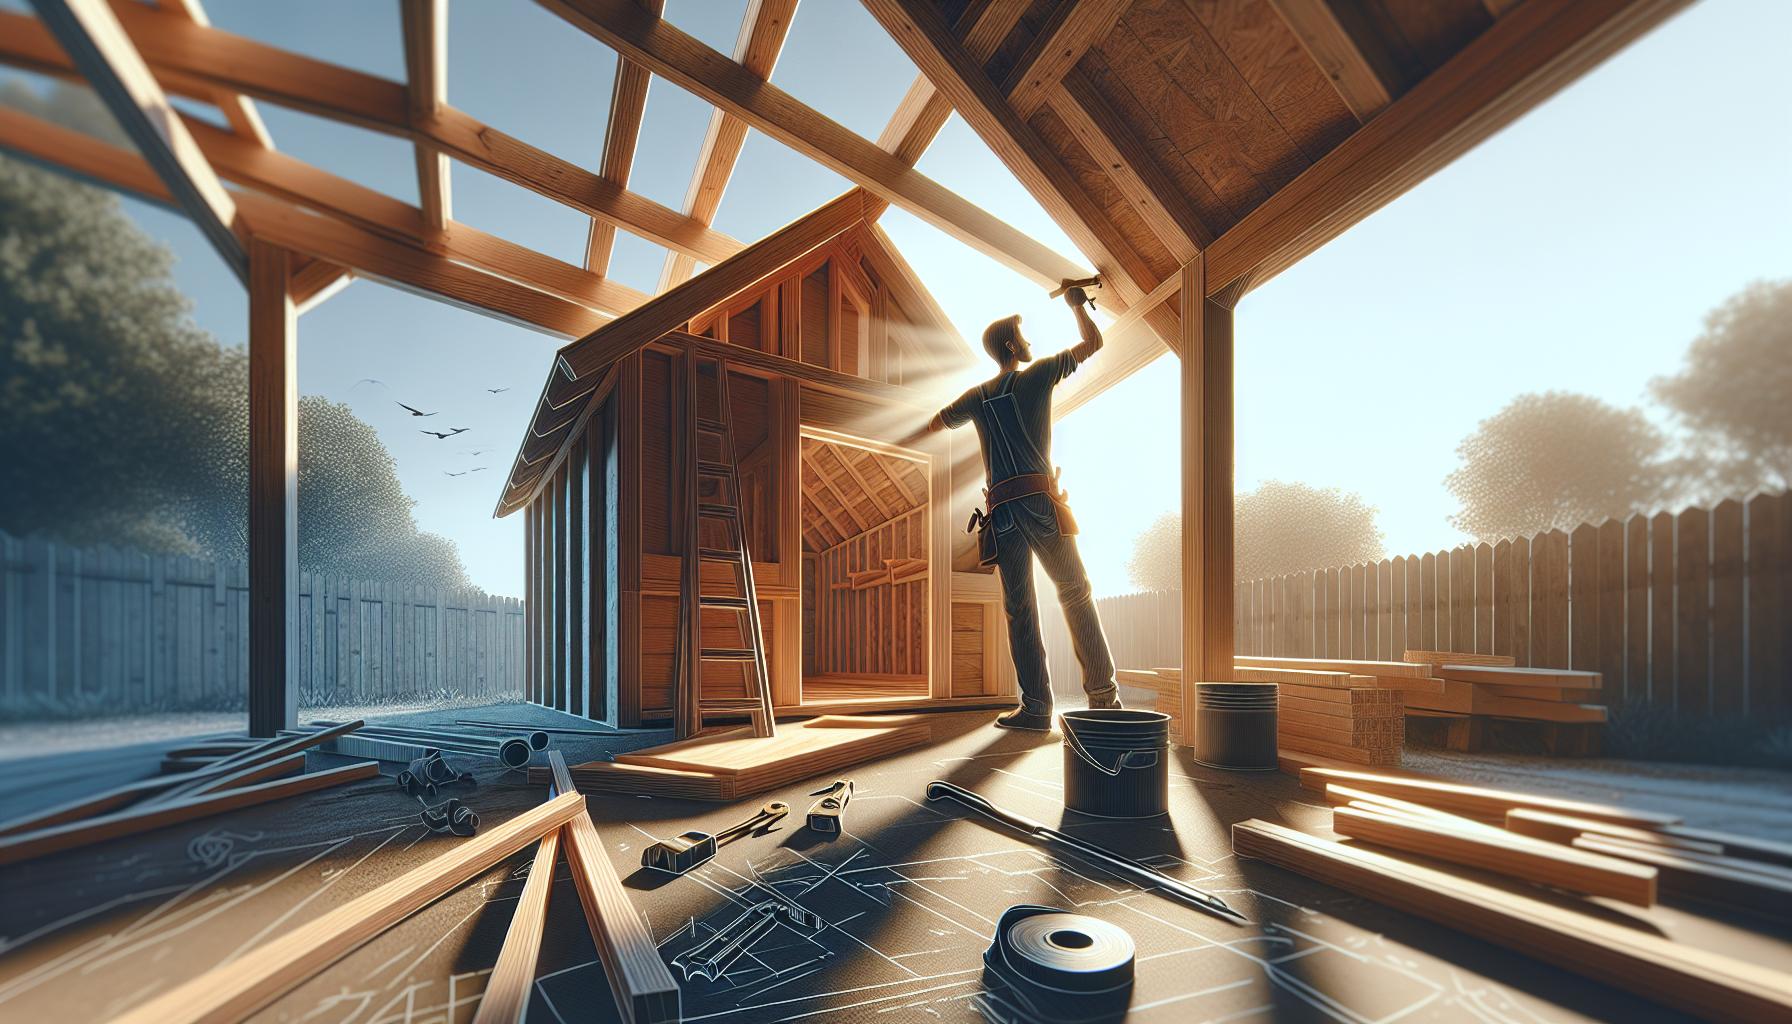
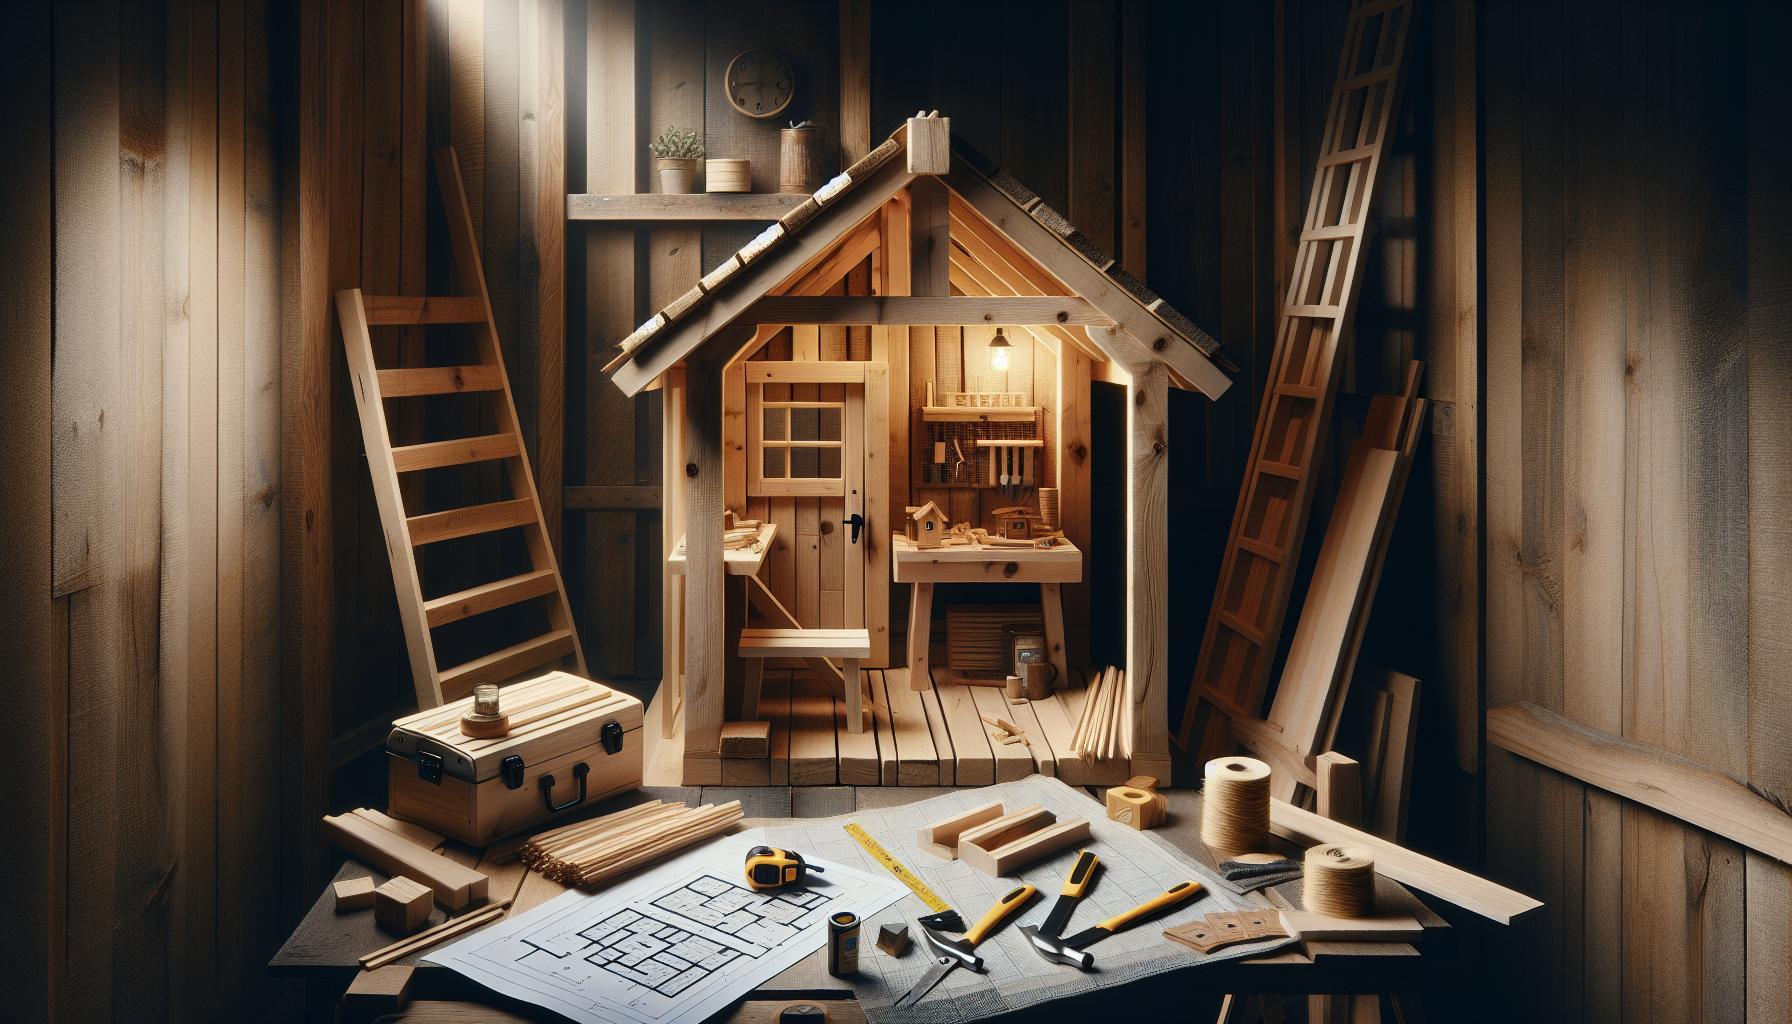
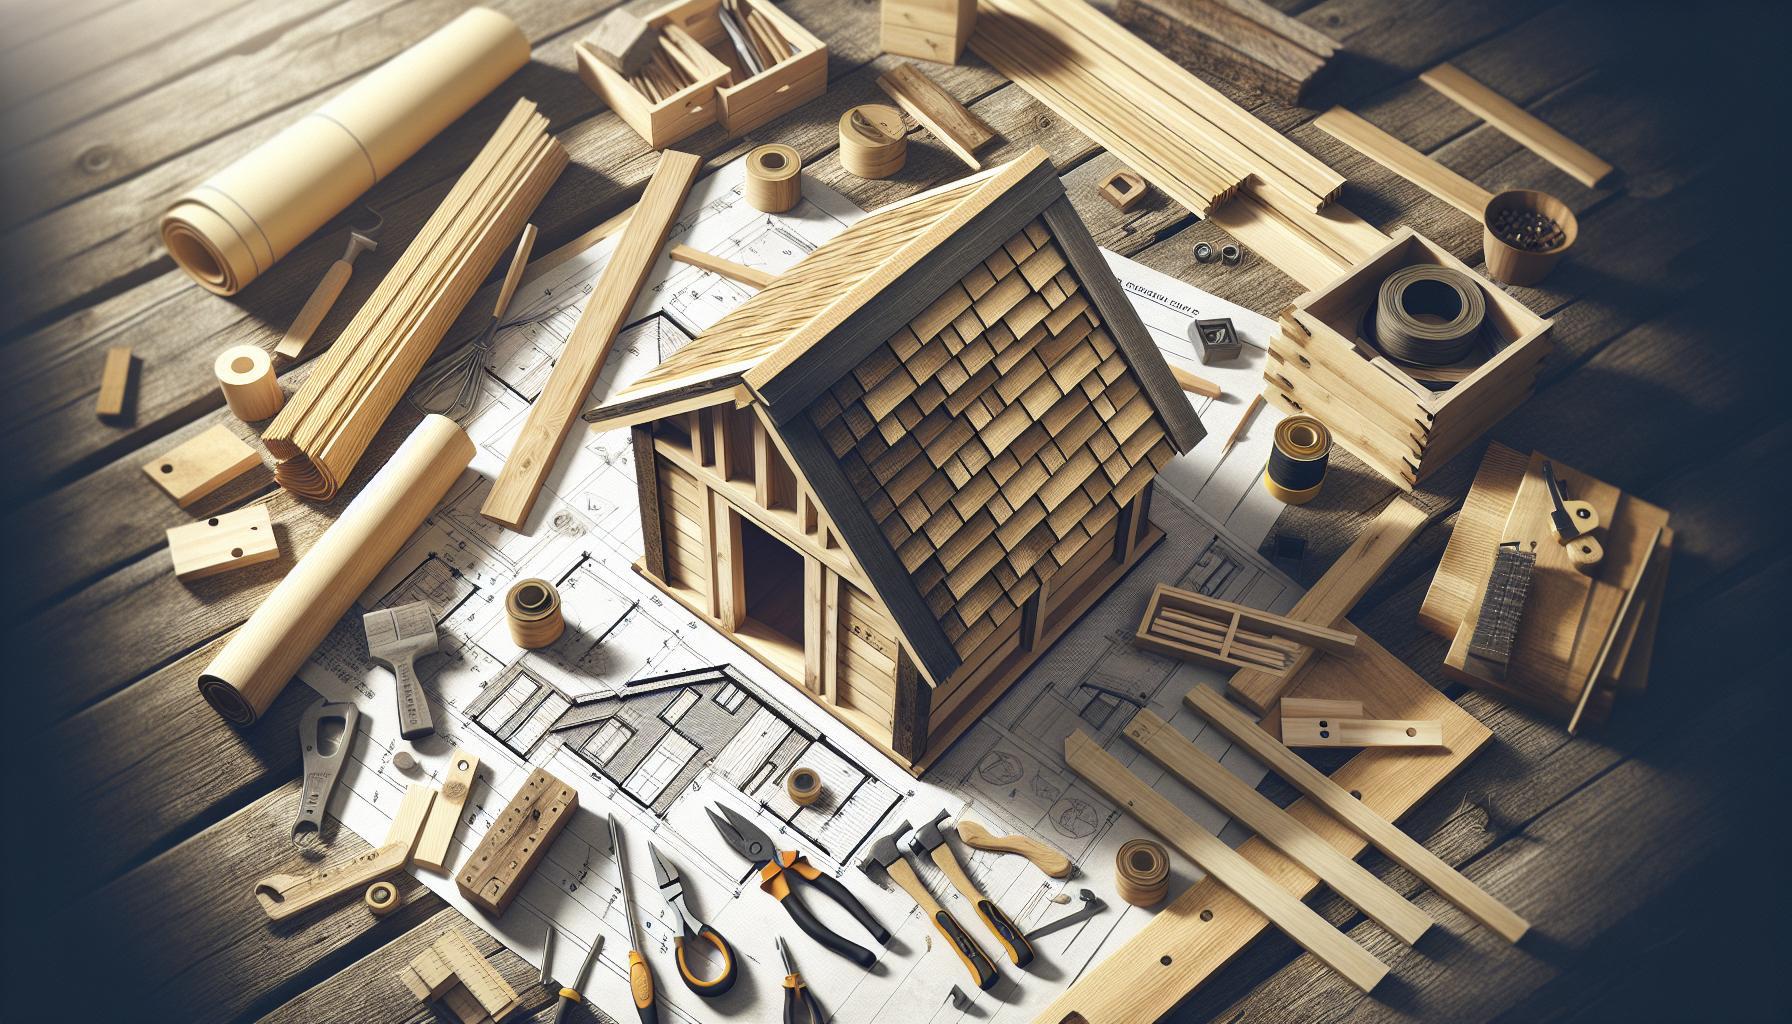
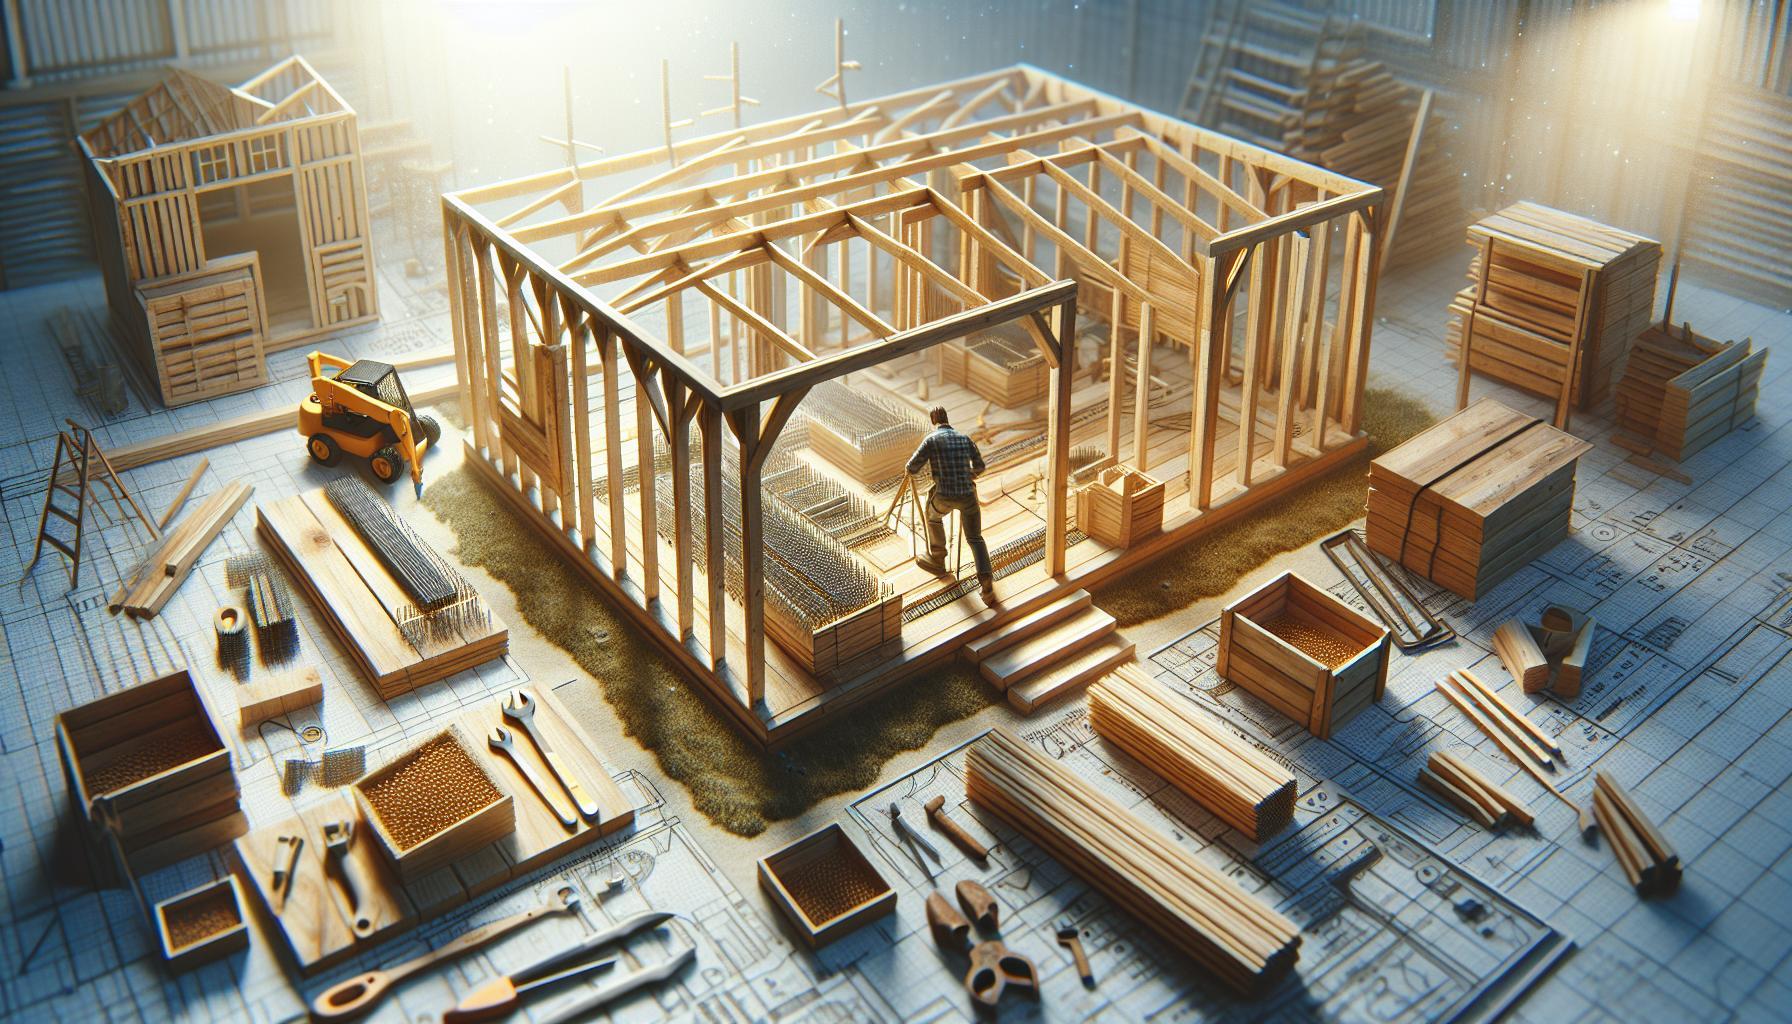
Are you feeling overwhelmed by clutter in your yard or garage? Building a shed can be a practical solution to gain extra storage space with minimal investment of time and materials. This guide simplifies the process, offering rapid plans that anyone can implement over a weekend, making it easier then ever to reclaim your outdoor areas.
Selecting the Right Shed Plan: What to Consider
When embarking on the journey of constructing a shed,selecting the right plan is crucial for ensuring a smooth and accomplished build. A well-chosen plan acts as your roadmap, guiding you through materials, dimensions, and construction techniques. With a variety of styles available, from simple lean-tos to complex gable roofs, the key is to align your choice with your specific needs and capabilities.
Identify Your Goals
Begin by clearly defining what you intend to use the shed for. Will it be a storage space for garden tools, a workshop for crafts, or perhaps a cozy retreat? Each purpose may require different features such as shelving, electrical wiring, or insulation. Understanding your objectives helps you narrow down your options. For instance, a small 48 square foot shed is ideal for garden accessories, while a larger 192 square foot design can accommodate more extensive storage requirements [[1]](https://shedplans.org/shed-plans/).
Consider Your Skill Level
Your level of DIY experience will substantially influence which shed plans are most suitable. Beginners might benefit from straightforward options that provide step-by-step instructions and include diagrams. Plans such as the 12×16 gable-style shed,known for its ease of assembly,can serve as a great starting point [[2]](https://buildblueprint.com/category/shed/). Evaluate your comfort with using tools and following construction guidelines, and choose an option that matches your skills to avoid frustration.
Evaluate Size and Space requirements
Size is another significant factor in selecting the right shed plan. Measure the space were you plan to build and consider local zoning regulations that may dictate dimensions. Here’s a quick guide to help you assess your needs:
| Purpose | Recommended Size |
|---|---|
| Garden Tools Storage | 4×8 feet |
| Workshop | 10×12 feet |
| General Storage | 12×16 feet |
By matching your shed size to its purpose, you ensure it meets your storage needs without occupying unnecessary space in your yard.Remember,a well-planned shed creates a functional outdoor environment while enhancing the aesthetic value of your property.
Ultimately, the right shed plan not only simplifies the building process but also enhances your enjoyment and use of your outdoor space. By considering your specific goals, skill level, and spatial constraints, you can confidently select a plan that aligns perfectly with how to build a simple shed, allowing for a rewarding weekend project that yields lasting benefits.
Essential Tools and Materials for Your Shed Project
To embark on the rewarding journey of constructing your own shed,having the right tools and materials is essential for efficiency,safety,and achieving professional results. Whether you’re a novice or a seasoned DIYer, a well-equipped toolkit will streamline the process and lead to a durable structure that meets your needs.
Essential Tools
A range of tools is indispensable when taking on a shed project. Consider incorporating the following into your toolkit for optimal performance:
- Circular Saw: Perfect for making clean, straight cuts in wood.
- Framing Hammer: Ideal for driving nails into framing materials efficiently.
- Power Drill: Necessary for drilling holes and driving screws, essential for assembly.
- Level: Ensures that your shed is perfectly aligned and stable.
- Tape Measure: Accurate measurements are critical for successful build.
- Square: A helpful tool for marking right angles, notably crucial in framing.
- safety Gear: Don’t forget gloves, goggles, and ear protection to ensure safe work practices.
These tools, especially the circular saw and framing hammer, are often highlighted by professionals for their ability to dramatically reduce assembly time and enhance durability throughout the construction process [[2]].
Required Materials
In addition to tools, selecting the right materials is key to building a shed that stands the test of time. The following materials are recommended:
- Pressure-treated Lumber: Use for the foundation and any framing to resist rot.
- Plywood or OSB: Ideal for walls and roofing; offers good structural support.
- Metal Roofing Panels: Durable and weather-resistant, these are excellent for shedding rain and snow.
- Exterior Paint or Stain: Protect your shed from the elements and enhance its visual appeal.
- Nails and Screws: Ensure you have a variety suitable for wood assembly.
A solid understanding of the materials you’ll need will help in sourcing them efficiently and preventing any last-minute trips to the hardware store. It’s advisable to double-check your supply list against your shed plans—especially if you’re following a guide like ‘how to Build a Simple Shed: quick Weekend Plans Anyone Can Follow’—to ensure you have everything on hand [[3]].
Ultimately, investing time in preparing your tools and gathering the best materials will lead to a successful build and a shed you can be proud of for years to come. whether it’s for storage, a workshop, or a playhouse, being organized from the start is a crucial step to a rewarding DIY experience.
Step-by-Step Guide to Laying the Foundation
Laying a solid foundation is the crucial first step in constructing a shed that will stand the test of time. A strong and level base not only supports the structure but also helps prevent issues such as warping and moisture damage. Whether you choose a wooden frame or opt for a concrete pad, this guide will walk you through the essential steps to lay the foundation of your shed effectively.
Materials and Tools Needed:
Before getting started,gather the following materials and tools to streamline the process:
- Pressure-treated lumber (2×4 or 2×6) for the frame
- Concrete blocks or set concrete mix for a permanent foundation
- Gravel for drainage (if using a wooden foundation)
- Level
- Tape measure
- Shovel
- Hammer and nails or screw gun
Step 1: Choose the Location
Select a flat and well-drained area for your shed. It’s ideal to place your shed away from large trees or shrubs that coudl perhaps affect its structure with falling branches or roots. Additionally, consider proximity to your home and accessibility for maintenance.
Step 2: Mark the Area
Using stakes and string, outline the perimeter of your shed where the foundation will sit. Measure diagonally from the corner stakes to ensure the layout is square, making necessary adjustments to maintain equal dimensions on all sides.
Step 3: Prepare the ground
Once your area is marked, remove any grass, debris, and topsoil from the outlined section. If you’re using a wooden frame, dig down about 4 inches to create a level base.For a concrete foundation, ensure the area is excavated to the desired depth based on your planned thickness of concrete.
Step 4: Build the Foundation
If you’re choosing a wooden foundation:
1. Create a rectangular frame using pressure-treated lumber, securing the corners with nails or screws.
2. Place concrete blocks at each corner and evenly spaced along the sides for support.Fill the area underneath the frame with gravel to aid drainage.
For a concrete foundation:
1. Frame the perimeter using wooden boards, ensuring they are securely anchored.2. Pour the concrete mix evenly into the frame and level it with a trowel,allowing it to cure according to the instructions on the bag.
Step 5: Check for Level
Once your foundation is laid, use a level to make sure all sides are even. Adjust as necessary by raising or lowering each corner until perfect. This step is key to ensuring your shed will sit evenly and function properly.
By following these detailed steps, you’ll create a strong foundation that will support your shed for years to come. Remember,taking the time to lay a proper foundation is an investment in the durability and longevity of your structure.
Constructing the Frame: Tips for Stability and Strength
Constructing a solid frame is crucial for any shed, ensuring it withstands the test of time and the elements. A well-built frame can support heavy loads and enhances the overall stability of your structure. As you embark on this project, remember that the strength of your shed lies in its framework. Using quality materials and following best practices in construction will be key.
Choosing the Right Materials
Opt for durable materials like pressure-treated lumber for the base and walls,which can resist moisture and pests. When selecting wood,look for 2×4 or 2×6 boards for framing; these dimensions provide a robust structure. Here’s a simple checklist to consider:
- Pressure-treated wood for base.
- Standard lumber for walls and roof.
- Galvanized nails and screws to prevent rust.
- Heavy-duty brackets for added support.
frame Construction techniques
Integrating proper construction techniques is essential for building a strong shed frame.Start by laying a solid foundation; a concrete slab or compacted gravel will provide excellent support. use the following steps as a guide:
- Check for Level: Ensure your foundation is level and solid. Use a long level for accurate measurements.
- Build the Base Frame: Construct a rectangular base using 2×6 boards, ensuring corners are square. This will serve as the platform for your walls.
- Construct the Walls: Frame each wall separately, connecting vertical studs at intervals of 16 inches on center. Be sure to reinforce corners with additional studs or blocking for strength.
- secure All Joints: Use brackets and nails to secure all connections, preventing sway and movement over time.
Reinforcing Corners and Joints
Corners and joints endure the most stress and should be reinforced accordingly. Consider using the following approaches:
- Diagonal Bracing: Adding diagonal braces between studs can significantly increase the rigidity of the walls.
- Cross Bracing: Applying cross beams at angles between upright supports will help to stabilize the structure against wind and shifting.
| Type of Brace | benefit |
|---|---|
| Diagonal Bracing | Prevents lateral movement |
| Cross Bracing | Increases overall stability |
Incorporating these tips into your building process will help you achieve a robust frame that supports a lasting and functional shed.Remember, the goal is not just to build quickly but to build wisely, ensuring your shed stands strong through whatever nature may throw its way.
Installing the Roof: Techniques for a Weather-Resistant Finish
When crafting a secure and weather-resistant roof for your shed, the techniques you employ can make all the difference. A well-installed roof not only enhances the longevity of your structure but also protects your tools and other possessions from rain and snow.Employing professional techniques is essential, even for DIY enthusiasts. Here are some effective strategies for ensuring your shed’s roof can withstand the elements.
Choosing the Right Materials
Different roofing materials offer varying levels of durability and weather resistance.For a simple shed, consider options like asphalt shingles, metal roofing, or even wooden shingles if aesthetic appeal is a priority. Each material comes with its advantages:
- Asphalt Shingles: Affordable and relatively easy to install, making them a popular choice.
- Metal Roofing: Extremely durable and excellent for shedding snow. Its longevity can justify the initial expense.
- Wood Shingles: Provide a conventional look but require treatments to prevent decay.
Installation Techniques for Maximum Protection
Regardless of the material chosen, proper installation techniques are crucial. Start with a solid underlayment to add an extra layer of waterproofing. Here are some key installation steps:
- Prepare the Roof deck: Ensure the roof deck is clean, dry, and free of debris before laying any underlayment.
- Install Underlayment: Use roofing felt or synthetic underlayment to create a moisture barrier.
- Lay the Roofing Material: Follow manufacturer instructions meticulously to avoid gaps that could let water in. Stagger seams and overlap edges to enhance waterproofing.
- seal and Finish: Use roofing cement to seal any vulnerable points, such as ridge vents and valleys.
Final Touches for Weather Resistance
Finishing touches can greatly affect your roof’s ability to fend off weather-related damage. Regularly inspect your roofing after harsh weather events to ensure no shingles are loose or missing. Consider applying reflective roof coatings, which can help protect against UV damage and reduce heat absorption.
By employing these techniques when installing your roof, you not only ensure durability but also create a protective barrier for your shed. Following principles outlined in projects like ‘How to Build a Simple Shed: Quick Weekend plans Anyone Can Follow’ can guide you through effective construction practices,allowing you to create a structure that endures the test of time.
Best Practices for Painting and Finishing Your shed
For those embarking on the adventure of constructing a shed, understanding the best practices for painting and finishing is crucial to achieving a long-lasting and visually appealing result. A well-painted shed not only enhances the aesthetics of your backyard but also provides essential protection against the elements. one of the most vital steps before applying paint is ensuring that your shed is clean and prepped properly, as this foundational work can significantly influence the final outcome.
Prepare Your Surface
Before you even think about reaching for a paintbrush, dedicate time to preparing the surface.If your shed is wooden, begin by removing any loose paint with a scraper or sander. Sanding the surfaces will create a smooth texture for the new paint to adhere to, ensuring durability and a polished finish.For metal sheds, a thorough cleaning is essential; you can use a pressure washer to eliminate dirt and rust, as grime can hinder paint adhesion and lead to premature flaking.
Select the Right Materials
Choosing the right paint and finishing materials can make all the difference. Consider using exterior-grade paint that’s designed for the material of your shed. For wood, opt for weather-resistant stains or paints that provide UV protection and moisture resistance. Metal sheds benefit from special metal paints that can withstand corrosion. It’s advisable to apply a primer before the paint irrespective of the material as it enhances the paint’s longevity and provides a more uniform finish.
Submission Techniques
Getting the application technique right can elevate your project from good to great.Some tips include:
- Use quality brushes and rollers: Investing in good tools will yield better application and finish.
- Consider spray painting: for larger areas, using a sprayer can save time and provides an even coat, but be cautious of overspray.
- Apply multiple thin coats: Rather than one thick layer, apply several thin coats to reduce drips and achieve a richer color.
Following these best practices not only ensures that your shed looks unbelievable but also extends its lifespan against the harsh outdoor elements. By investing time in planning, choosing the right materials, and applying techniques, you’ll be well on your way to mastering the art of painting and finishing your shed effectively as outlined in guides like ‘How to Build a Simple Shed: Quick Weekend Plans Anyone Can Follow’.
Smart Storage Solutions: Maximizing Your Shed’s Functionality
Transforming your shed into a functional space requires thoughtful planning and innovative storage solutions that maximize every available inch. The right organizational strategies can change a cluttered area into a haven of efficiency, allowing for easier access to your tools and supplies while maintaining a tidy environment.
Smart Storage Techniques
One of the most effective ways to enhance your shed’s functionality is through the implementation of categorized storage systems. By using clear,stackable plastic bins,you not only gain a visual advantage—seeing what you have at a glance—but also protect your items from dust and pests. Consider organizing seasonal items such as holiday decorations or outdoor gear in labeled bins. This simple approach makes retrieval easy and encourages you to keep everything in its designated place.
- Vertical Storage: Install wall-mounted shelves or pegboards to utilize vertical space effectively.
- Magnetic Strips: Use magnetic strips to keep tools readily accessible and neatly organized.
- Overhead Storage: Explore options for overhead shelving to stow away less frequently used items,like camping gear or seasonal tools.
Transformational Features
Adding innovative features can further enhance your shed’s utility. As an example, consider outfitting your shed with basic electrical capabilities. This can transform your workspace by enabling lighting for late-night projects or power for charging tools and devices.Smooth electrical systems open the door to an array of smart storage solutions, such as climate-controlled environments for sensitive items that might degrade in fluctuating temperatures.
In addition to traditional storage, modern automation technologies can be integrated into your shed. Remote monitoring systems allow you to check on energy usage and climate control via smartphone apps,enhancing both convenience and efficiency. Such upgrades not only improve storage solutions but also elevate your shed into a smart, connected space, revolutionizing how you manage outdoor storage.By applying these smart storage solutions,as seen in practical examples from various resources,you empower yourself to optimize every aspect of your shed. Each choice you make—from versatile storage bins to advanced automation—contributes to an organized,efficient space that meets all your needs,aligning perfectly with the concepts laid out in guides on how to build a simple shed that provides a quick and effective DIY approach to your weekend projects.
Troubleshooting Common Shed-Building challenges
When embarking on a shed-building project, it’s common to encounter challenges that can dampen your enthusiasm. However,understanding typical pitfalls can transform a daunting endeavor into a rewarding experience. By addressing these common shed-building issues proactively, you can ensure that your project mirrors the easy and effective plans outlined in “How to Build a Simple Shed: Quick Weekend Plans Anyone Can Follow.”
Foundation Challenges
One of the most crucial yet overlooked aspects of shed construction is the foundation. An uneven ground can lead to a slew of structural issues, including sinking, shifting, and instability. To combat this, always ensure your foundation is level and secure using materials like gravel or compacted soil to create a solid base. If the ground is particularly uneven, consider using paving stones or treated lumber to lift the shed above any potential moisture or erosion from the elements, providing a stable environment for your shed to thrive [[3]].
Ceiling Height Considerations
Many DIYers underestimate the importance of ceiling height when constructing their shed. A ceiling that’s too low can severely limit storage options and usability. Ideally, aim for a minimum height of eight feet for maximum flexibility—this allows for taller shelving units and easy movement of larger items. If you’re following the plans from “How to Build a Simple Shed: Quick Weekend Plans Anyone Can Follow,” be sure to adjust the height as needed, ensuring all intended functions are accommodated [[1]].
Organizational Aids
Another common obstacle that shed owners face is clutter. Often, sheds can quickly become dumping grounds for tools and miscellaneous items.To maintain organization, invest in storage bins, labels, and shelving units. Regularly sorting through items can definitely help keep your shed tidy and functional. Incorporating smart storage solutions not only enhances accessibility but also extends the life of your shed by preventing overcrowding, as noted in practical recommendations for effective shed upkeep [[2]].
By recognizing these common shed-building challenges and incorporating effective solutions, you can successfully navigate your project with confidence. Each step you take will bring you closer to having a perfect outdoor retreat,allowing for hassle-free storage or leisurely activities.
Faq
How to Build a Simple Shed: quick Weekend Plans Anyone Can Follow?
The key to building a simple shed quickly over a weekend is selecting the right plans, gathering materials, and completing each step methodically. Start with easy-to-follow blueprints that detail dimensions and material lists. This guides you through the construction process efficiently.
Look for pre-designed shed plans that are straightforward, fitting your skill level. Organizing your workspace and tools will also help streamline the building process, making it more manageable and less overwhelming. Consider visiting our article on shed plans for more insights.
Can I build a shed without a permit?
Generally, you can build a shed without a permit if it meets specific size and placement criteria defined by local zoning laws. Typically, sheds under a certain height (frequently enough 6 to 8 feet) and size (often less than 100 to 200 square feet) may not require a permit.
However, always check with your local building authority to ensure compliance with zoning laws to avoid fines or having to dismantle your shed later. Understanding these regulations can make your building experience smooth and hassle-free.
What materials do I need to build a simple shed?
To build a simple shed, you’ll need essential materials like wood for the frame and walls, plywood for the floor and roof, shingles for waterproofing, and hardware like nails and screws. Basic tools include a saw, hammer, level, and measuring tape.
Choosing quality materials is crucial for durability. Consider using pressure-treated lumber for areas exposed to ground moisture. A solid foundation, whether a concrete slab or wooden skids, also contributes to your shed’s stability and longevity.
Why should I choose a simple shed design?
A simple shed design minimizes complexity, making the construction process more manageable, especially for diyers. It allows you to focus on learning basic skills without overwhelming challenges.
Furthermore, simple designs often require fewer materials and less time to build, allowing you to enjoy your project sooner while still providing practical storage solutions.
How long does it take to build a simple shed?
The time required to build a simple shed can vary but typically ranges from a single weekend to a few days, depending on your experience level and the complexity of the design.
By organizing your steps well and preparing in advance, you can effectively manage the time it takes. Practicing efficient workflow techniques will help ensure your project concludes on time.
Can I customize my shed design?
absolutely! Customizing your shed design allows you to create a structure that meets your specific needs and preferences. You can choose different sizes, colors, door placements, and additional features such as windows or shelving.
These adjustments can turn a simple shed into a personalized workspace or storage area. Utilizing simple design frameworks as a base allows you to customize without losing structural integrity.
What tools do I need for building a shed?
Essential tools for building a simple shed include a saw (circular or hand), drill, measuring tape, level, hammer, and safety gear. Depending on your design, you may also need framing squares and a ladder.
Having the right tools enhances your efficiency and accuracy during construction, making the project more enjoyable and successful.
Future Outlook
As we wrap up our exploration of building a simple shed, remember that this project is not just about creating storage space, but also about honing your skills and enjoying the satisfaction of crafting something with your own hands. By following accessible plans and breaking down the process into manageable steps, you can confidently tackle this rewarding weekend project, regardless of your prior experience. Each stage, from selecting the right materials to understanding basic construction techniques, can pave the way for successful completion. Embrace any challenges you encounter as opportunities for growth and learning.
Don’t hesitate to revisit our guide whenever you need a refresher or new inspiration—your shed awaits! As you embark on this journey, share your progress and engage with fellow DIY enthusiasts; together, we can build a community dedicated to quality craftsmanship and creative problem-solving. Happy building!

