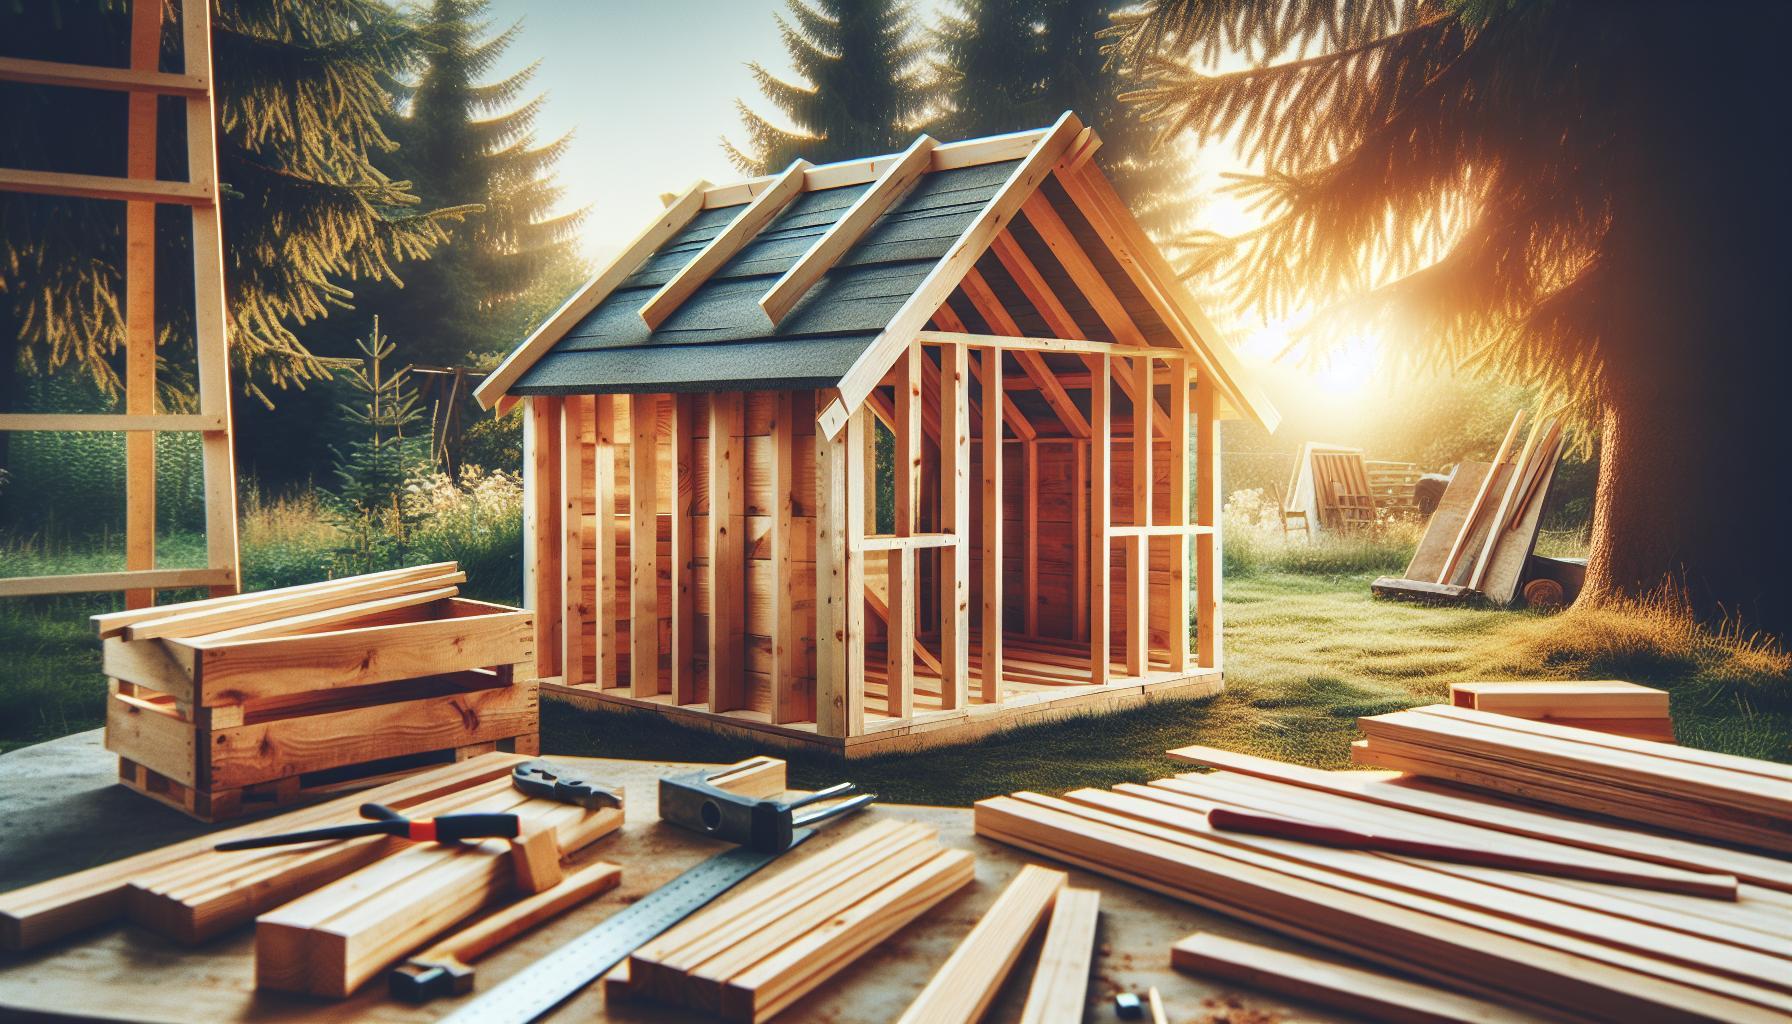
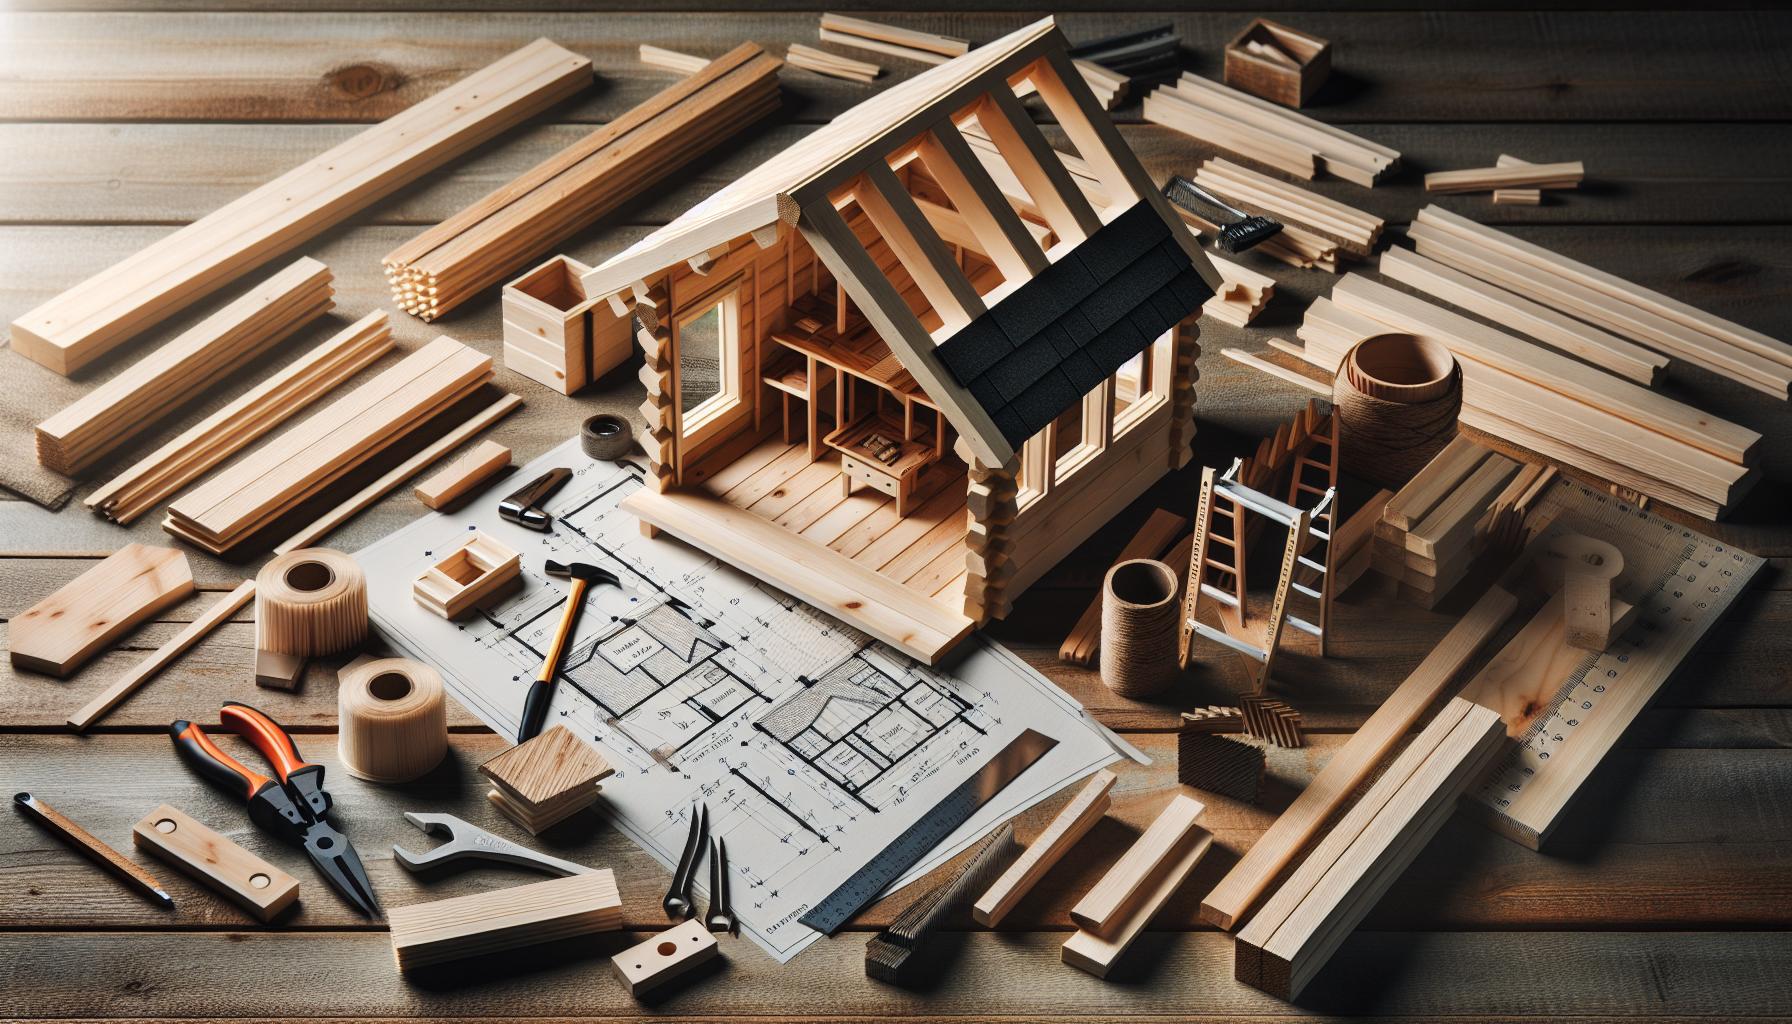
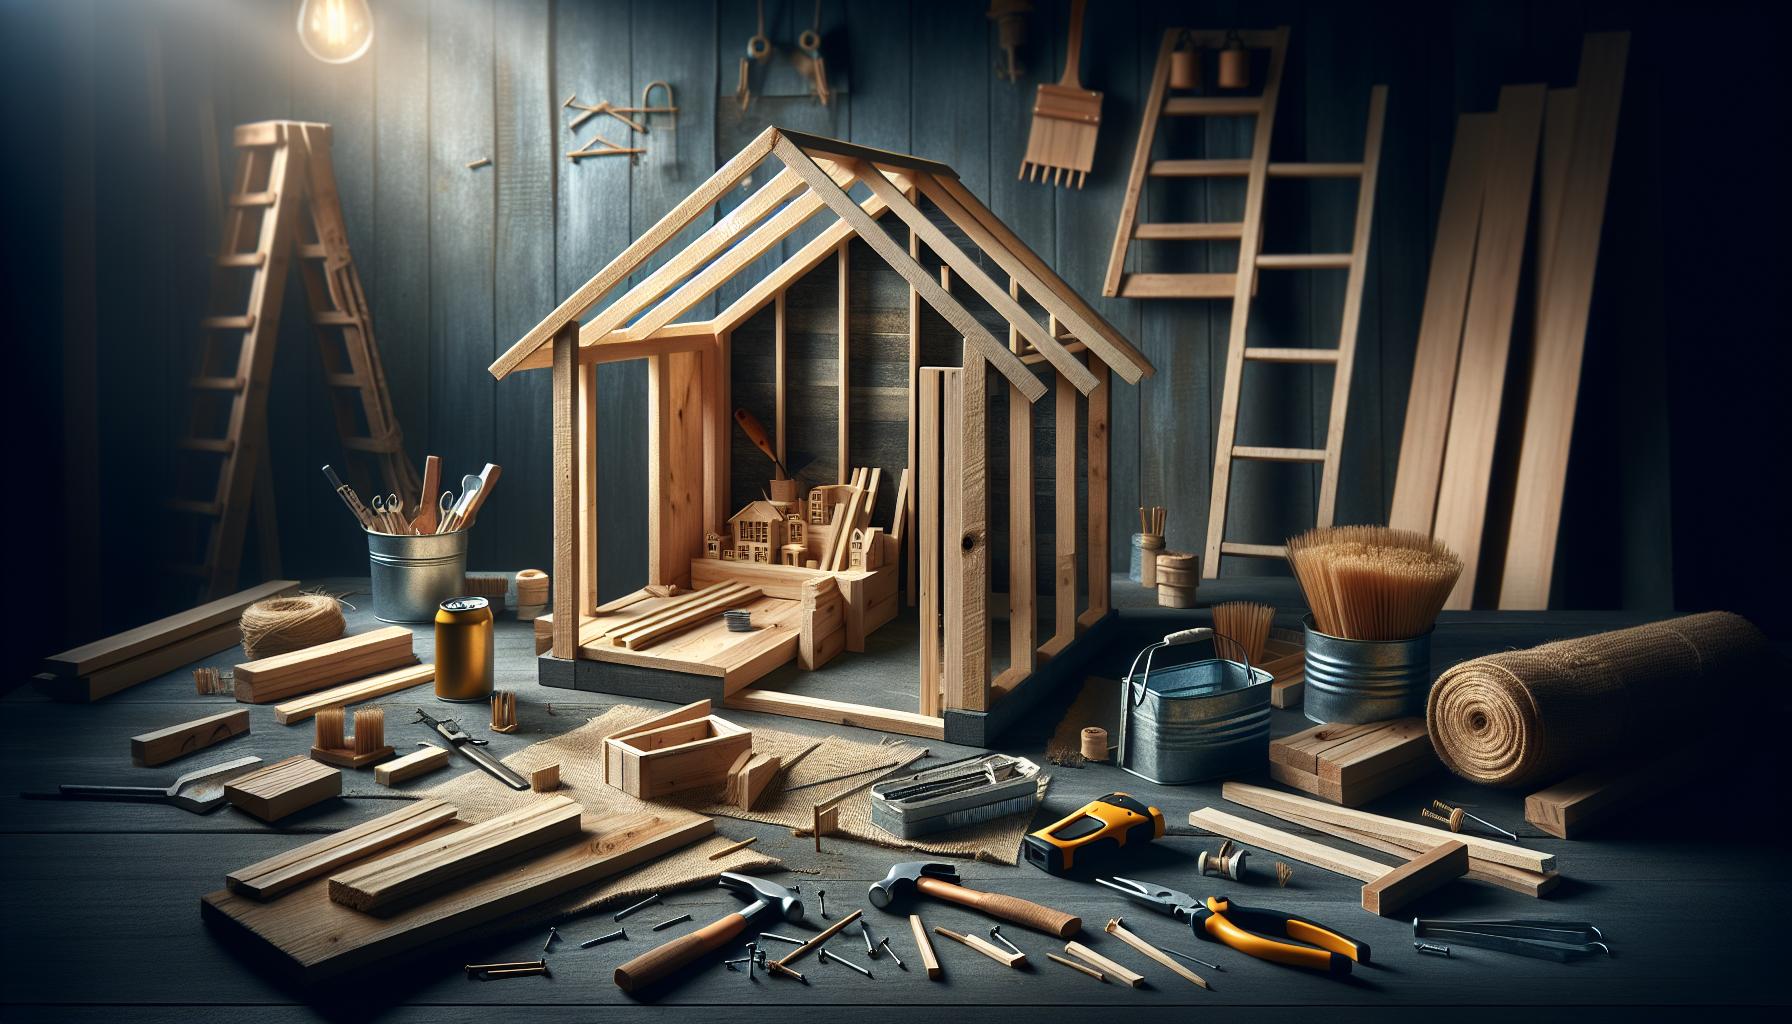
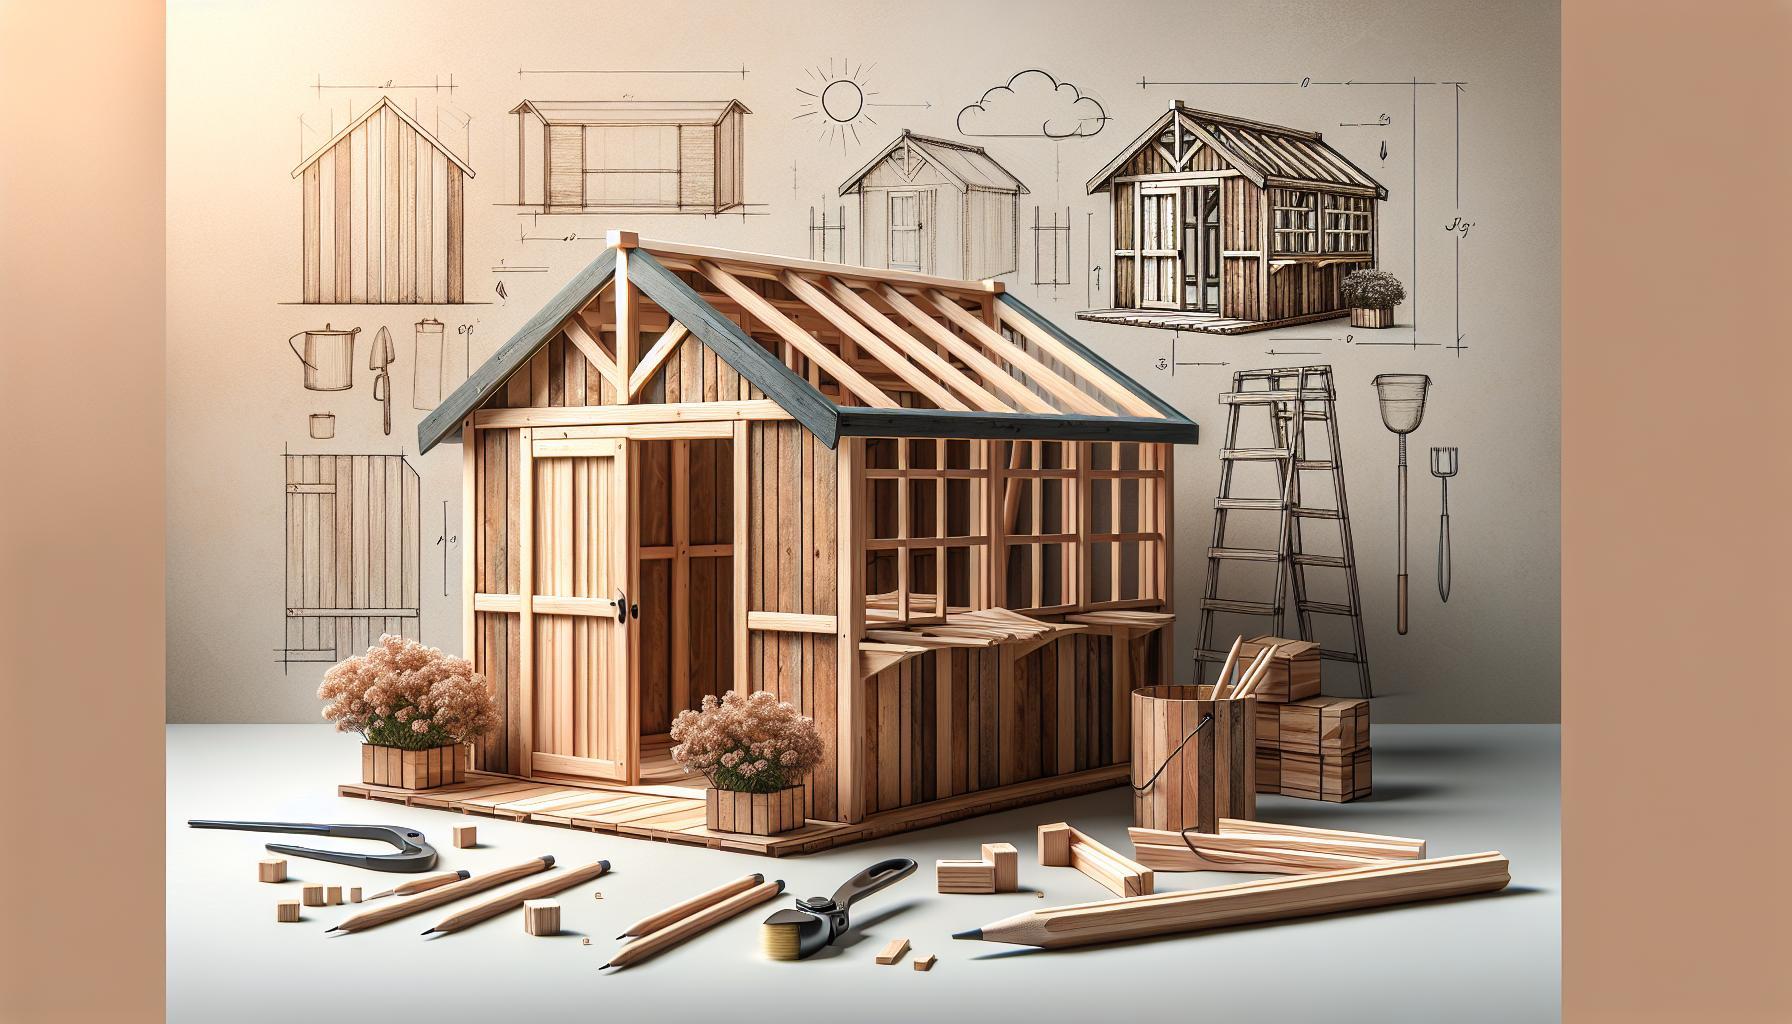
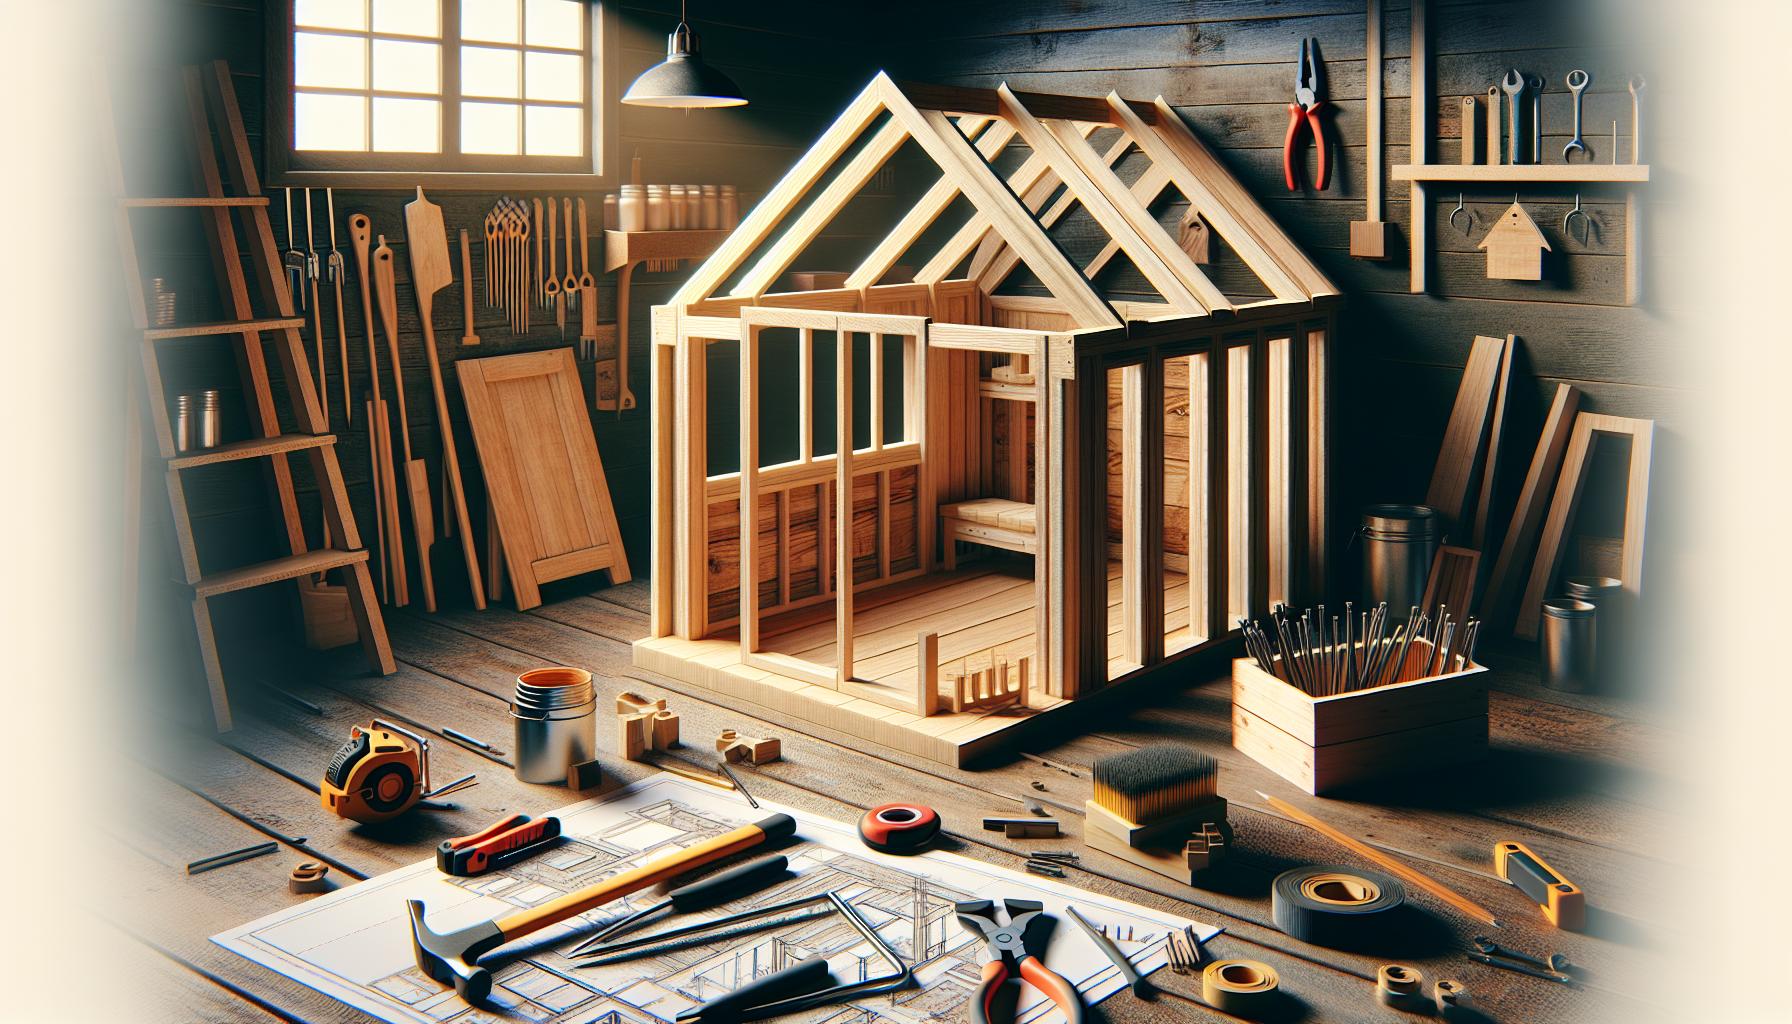
Are you tired of clutter taking over your yard and searching for the perfect storage solution? Building a simple shed can transform your outdoor space while providing a practical answer to your storage needs. With accessible plans designed for beginners, you can create a functional and stylish shed that enhances your property and meets your unique requirements.
Essential Tools and Materials for Your Shed Project
Building a shed can seem daunting, but with the right tools and materials, you can complete your project efficiently and successfully. Whether you’re a novice or a seasoned DIY-er, having the essential equipment at your disposal will make the construction process smoother and more enjoyable. Here’s a detailed rundown of what you need to gather before diving into your shed project.
Basic tools You’ll Need
Before you get started, ensure you have these fundamental tools in your toolkit:
- Measuring Tape: A long, sturdy measuring tape is crucial for precise measurements of your shed dimensions.
- Level: Use a level to ensure your frames are straight and your structure is stable.
- Hammer or Nail Gun: Both tools are necessary for securing your wood frame and panels effectively.
- Saw: A circular saw or miter saw will make cutting the wood easy and accurate.
- Drill: Invest in a good quality drill for creating holes and driving screws into place.
These basic tools will cover most of your building needs, but adding a few specialized tools can further simplify your shed assembly.
Additional Tools for Enhanced Efficiency
Consider incorporating the following tools to streamline your construction:
- Square: A framing square will help you achieve perfect right angles in your construction.
- Safety Gear: Always wear safety glasses and gloves to protect yourself from potential hazards.
- Clamps: Clamps will hold your materials together securely while you work.
- Ladder: For taller sheds, a sturdy ladder is essential for working on roofs or high walls.
Having these additional tools on hand can save you time and hassle, allowing you to focus more on the creative aspects of building your shed.
Choosing the right Materials
Selecting quality materials is just as critical as possessing the right tools. Here’s a basic checklist of essential materials you’ll need for constructing your shed:
| Material | Description |
|---|---|
| Wood | Plywood for walls, OSB panels for flooring, and treated lumber for the frame. |
| Nails & Screws | Choose galvanized or stainless steel for durability and resistance to rust. |
| Roofing Material | Options include shingles, metal panels, or roll roofing. |
| Paint or Stain | To protect and extend the life of your shed, pick whether-resistant options. |
By carefully selecting your materials and tools, you’re already on your way to mastering the guidelines outlined in “How to Build a Simple Shed: Beginner-Pleasant Plans for Success.” Plan ahead, and enjoy the process of creating a functional and stylish workspace in your yard!
Step-by-Step planning: From Design to Dimensions
Creating a shed can be a rewarding project that enhances your outdoor space, providing both functionality and aesthetic appeal. To transform your vision into reality, an organized plan that combines design, measurement, and construction principles is essential. Proper planning not only streamlines the building process but also ensures that your shed meets all necessary requirements, both structurally and aesthetically.
Understanding Your Shed design
Before diving into the dimensions and specifications,it’s crucial to establish the purpose of your shed. Consider the following factors when deciding on your design:
- Functionality: Will it serve as a garden shed, workshop, or storage for tools and equipment?
- Size: Assess how much space you have available and what size best accommodates your needs.
- Style: Choose a design that complements your home and garden aesthetics.
Once you have a clear idea of its purpose and style, it’s time to sketch a preliminary design. This can be a simple outline or a detailed blueprint that includes essential features like doors, windows, and shelving. There are several software options available that can assist in this process, or you can opt for pen and paper if you prefer a hands-on approach.
measuring Dimensions with Precision
With your design in hand, the next step involves precise measuring of dimensions. Start by selecting a suitable location in your yard that offers a level surface for construction. Here are critical steps to ensure accurate measurements:
- Mark the Area: Use stakes and string to outline the perimeter of your shed.This visual depiction will also help you assess how the size fits within your garden.
- Consider Local Regulations: Check for any building codes or zoning laws in your area. Some regions may require permits based on the size and location of your shed.
- Define Height and Pitch: Decide on the roof design (gable, shed, etc.) and ensure the height supports functionality while adhering to regulations.
For your reference, here’s a simple table that summarizes common shed sizes and their typical uses:
| Size | Use Case |
|---|---|
| 8×10 ft | Garden tools and equipment |
| 10×12 ft | Extra storage and small workshop |
| 12×16 ft | Large workshop or multi-purpose space |
Taking the time to meticulously plan your shed from its design to its dimensions guarantees that the final product will not only meet your needs but also stand the test of time. By following these steps as part of your journey on how to build a simple shed, you’re setting yourself up for a triumphant and manageable construction experience.
Foundation Fundamentals: Laying the Groundwork for Success
When it comes to constructing a shed, the key to a successful build lies not just in the materials or tools you choose, but in the foundational steps that precede construction. The groundwork you lay sets the stage for a sturdy, long-lasting structure that meets your needs. By understanding the essential components and thoughtful planning involved, you can avoid potential pitfalls and ensure that your project runs smoothly from start to finish.
Understanding Your Requirements
Before you dive into your shed plans, take a moment to assess what you truly need. Consider the following points:
- Purpose: What will you use the shed for? Storage, gardening tools, or perhaps a small workshop? Identifying its primary function will help dictate the design and size.
- Location: Where will the shed be placed? Choose an area that is both accessible and appropriate for your shed’s purpose.Ensure it has proper drainage and sunlight if necessary.
- Size: Based on the purpose, determine the dimensions that will accommodate your needs without overwhelming your yard. Consider local building codes and the potential need for permits.
Choosing the Right Materials
Once you have identified your shed’s purpose and location, the next crucial step is selecting the right materials.A solid foundation requires durable components that can withstand the elements.
| Material | Description | Pros | Cons |
|---|---|---|---|
| Wood | Natural material suitable for traditional sheds. | Versatile, aesthetic, easy to work with. | Requires maintenance,susceptible to rot. |
| Metal | Durable and often pre-fabricated. | Fire-resistant, long lifespan, low maintenance. | Can be noisy during rain, limited aesthetic options. |
| plastic/Fiberglass | Lightweight, often modular sheds. | Resistant to rot and insects, no maintenance. | Less sturdy, often requires special fasteners. |
Choosing the right materials will not only affect the look and feel of your shed but also its longevity and maintenance requirements. Each material has its own set of benefits and drawbacks, making it essential to align your choice with your long-term goals and the specific findings from the assessment of your shed’s purpose, location, and size.
Preparing the Site
With your plans in hand and materials selected, it’s now time to prepare your building site.This step is vital for ensuring stability and functionality.
- Clear the Area: Remove any debris, vegetation, or obstructions.
- Level the Ground: use tools like a level or a straight board to identify high or low spots. Fill in low areas with compacted soil.
- Mark the Dimensions: stake out the shed’s footprint based on your planned dimensions. This will guide your construction and help visualize the final product.
Preparing the site thoroughly not only leads to a more straightforward building process but also contributes to the structural integrity of your finished shed. Proper readiness ultimately lays a solid foundation, enhancing your chances of success as you learn how to build a simple shed with beginner-friendly plans.
framing Your Shed: Techniques for Stability and Strength
When embarking on the journey of constructing your own shed, a critical success factor lies in achieving robust framing that serves as the backbone of your structure. The framing not only provides structural integrity but also defines the overall design and functionality of the shed. the importance of solid framing cannot be overstated; it ensures the longevity and durability of your shed amidst varying weather conditions and potential wear over time.
Choosing the Right Materials
selecting the appropriate materials is indispensable for a successful framing process. Here’s a quick guide on the most commonly used materials for shed framing:
- Wood: Commonly used due to its availability and ease of use. Choose pressure-treated lumber for the base and structural framing, and standard framing lumber for walls.
- Steel: Offers superior strength and resistance to pests. Consider this option for larger sheds or in areas prone to extreme weather.
- Composite materials: While more expensive, they offer excellent resistance to rot and require less maintenance than wood.
framing Techniques for Enhanced Stability
To achieve optimal stability and strength in your shed, consider incorporating the following structural techniques:
- Platform Framing: this method begins with a sturdy foundation, which could be a concrete slab or pressure-treated skids. Construct a series of floor joists that are evenly spaced to support the flooring materials.
- stud Framing: place vertical studs on 16-inch centers, ensuring they are anchored securely to the sill plates. Use diagonal bracing to enhance stability, particularly in walls exposed to wind.
- Sheathing: Once your frame is up, apply plywood or oriented strand board (OSB) sheathing to the exterior walls.This not only provides structural support but also increases the resistance against lateral forces.
Connecting Components Effectively
To firmly secure your structure and prevent misalignment, employ the right fasteners and connectors:
| Connection Type | Recommended Fasteners |
|---|---|
| wood-to-Wood Connections | Galvanized screws or nails |
| Wood-to-Steel Connections | Self-tapping screws or bolts |
| Diagonal Bracing | Wood screws with washers |
By utilizing precise framing techniques, choosing appropriate materials, and securing connections effectively, you can ensure that your shed is not just a temporary structure but a lasting addition to your property. Taking the time to focus on these foundational elements will substantially contribute to the long-term success of your shed project, as highlighted in the plans and strategies laid out in ’How to Build a Simple Shed: beginner-Friendly Plans for Success.’
Installing the Roof: Tips for weatherproofing and Durability
When constructing your shed, ensuring a weatherproof and durable roof is essential for protecting the integrity of your structure and the items inside.A well-installed roof not only safeguards against the elements but also extends the life of your shed. For projects like “How to Build a Simple Shed: Beginner-Friendly Plans for Success,” attention to detail in roofing can make all the difference.
To start, selecting the right roofing material is crucial. Common options include asphalt shingles, metal roofing, and rubber membranes. Each of these has its pros and cons, such as cost, lifespan, and ease of installation. Metal roofing,for example,is renowned for its durability and longevity. It’s critical to ensure that the material you choose matches your local climate conditions and aligns with your project budget.
Installation Tips for Enhanced Durability
Here are some practical tips to enhance the weatherproofing of your shed roof:
- Proper Underlayment: installing a high-quality underlayment can significantly improve water resistance. This layer acts as a barrier against moisture, preventing leaks.
- Sealant Submission: use roofing sealants at joints and penetrations to prevent water seeping in. be diligent in sealing around vents, skylights, and chimneys.
- Ventilation: Adequate roof ventilation is essential to avoid moisture buildup, which can lead to mold and decay. Consider installing ridge vents or gable vents to promote air circulation.
- Regular Maintenance: After installation, conduct regular inspections and maintenance. Clearing debris from gutters and checking for damaged shingles or panels will prolong the life of your roof.
It’s also beneficial to follow a structured installation process. As a notable example, when installing asphalt shingles, they should overlap properly to promote effective water runoff. Ensure that nails used are suitable for roofing and are driven in correctly to prevent wind uplift or water penetration.
By incorporating these tips and insights from comprehensive guides like “How to Build a Simple Shed: Beginner-Friendly Plans for Success,” you can ensure that your shed remains weatherproof and stands the test of time. Investing effort into the roof installation not only protects your investment but also fosters a sense of accomplishment in your DIY journey.
Adding Doors and Windows: Enhancing Functionality and style
When designing a shed, one of the most impactful choices you can make involves the inclusion of doors and windows. Not only do these elements serve practical purposes such as accessibility and ventilation, but they also significantly enhance the overall aesthetics of your structure. Think of your shed as a canvas; how you incorporate these features can transform it from a basic storage unit into a stylish, functional space that complements your yard or garden.
Choosing the Right Doors
selecting the right doors for your shed is crucial in balancing functionality and style. Here are a few points to consider:
- material: wooden doors provide a classic look, while metal doors offer security and durability. Composite materials can deliver the best of both worlds.
- Style: Opt for barn-style doors for a rustic feel, or go for sleek sliding or double doors to create a modern aesthetic.
- size: Ensure that the door dimensions accommodate not just entry but also the movement of larger equipment or tools in and out of the shed.
Incorporating Windows for Natural Light
Windows are essential for bringing light into your shed, keeping it bright and usable even on dreary days. They can also provide ventilation, which is particularly crucial if you plan on storing items that are sensitive to heat and humidity. Here are some tips for choosing and placing your windows:
- Location: Position windows on the side of the shed that receives the most sunlight. This placement maximizes natural light and warmth.
- Type: Consider using sliding or casement windows that are easy to open for ventilation.
- security: Reinforce windows with screens or grilles to prevent break-ins while allowing fresh air to circulate.
Functional and Decorative Options
Both doors and windows can be functional while adding a decorative touch to your shed. Colors, hardware, and even window treatments can elevate the overall design. A well-chosen set of decorative hinges or a colorful door can serve as a focal point.
| feature | Practical Benefit | Aesthetic Contribution |
|---|---|---|
| Double Doors | Allows easy entry of large items | Provides a welcoming, spacious appearance |
| Windows | maximizes ventilation and natural light | Creates a bright, inviting interior |
| Decorative Trim | No direct practical benefit but can enhance structural integrity | Adds character and charm to shed exterior |
in the quest of how to build a simple shed, incorporating thoughtfully designed doors and windows not only bolsters functionality but also elevates its visual appeal. By carefully choosing these elements, you ensure that your shed is a practical addition to your property while also serving as an attractive feature in your outdoor space.
Finishing Touches: Painting, Staining, and Organizing Your Shed
After putting in the hard work to build your shed, the final steps—painting, staining, and organizing—can truly elevate your new space from a functional storage area to an aesthetic part of your yard. These finishing touches not only enhance the appearance of your shed but also protect it from the elements, ensuring it remains a valuable asset for years to come.
Choosing the Right Finish
Selecting an appropriate paint or stain for your shed involves careful consideration of both aesthetics and durability. If you want to maintain the natural beauty of the wood, a high-quality transparent or semi-transparent stain can be ideal. This will allow the grain to show through while providing protection. However, if you prefer a pop of color, exterior paint is a great option. It’s crucial to choose products that are specifically designed for outdoor use, as they resist fading and mildew.
Here are some tips to guide your selection:
- Compatibility: Ensure your paint or stain is compatible with the wood type used in your shed.
- Weather Resistance: Look for UV-resistant and moisture-resistant formulations.
- Finish Type: Decide between matte, satin, or glossy finishes based on your aesthetic preference.
Application Techniques for Stunning Results
Applying paint or stain correctly can make a world of difference in the final appearance. Start by preparing the surface—clean any dirt, dust, or debris to ensure a proper bond. For wood surfaces, a light sanding can also help. When you’re ready to apply, consider these methods:
- Brush Application: Best for detailed areas, providing precision and control.
- Spray application: Great for larger areas, offering a smooth and even finish without brush marks.
- Roller Application: Efficient for flat surfaces, allowing for quick coverage.
Organizing Your Shed for Maximum Usability
Once your paint or stain has dried, it’s time to focus on organization. A well-organized shed not only saves you time but also enhances your overall efficiency when working on projects or storing your belongings. Start by categorizing your items based on their purpose, such as gardening tools, seasonal items, or craft supplies.
To maximize space, consider incorporating these solutions:
- Wall Storage: Install shelving, pegboards, or hooks to keep tools off the ground.
- Clear Bins: Use transparent bins for visibility and label them for easy identification.
- Vertical Racks: For items like bikes or long tools, vertical storage helps save floor space while keeping everything accessible.
By taking the time to apply an attractive finish and organizing your shed effectively, you’ll create a functional space that not only serves your practical needs but also reflects your personal style. Whether you’re a gardening enthusiast or a DIY aficionado, these final steps will set up a shed that you can be proud of.
Overcoming Common Challenges: Troubleshooting Tips for DIY Builders
Building your own shed can be an incredibly rewarding experience, but it doesn’t come without its share of challenges. From miscalculated dimensions to unexpected weather changes, various obstacles can impede your progress. Understanding how to navigate these common pitfalls is essential for a successful project. Here, we’ll explore some practical troubleshooting tips specifically tailored for aspiring builders, ensuring you remain confident and capable throughout your construction journey.
Dealing with Materials and Measurements
One of the most frequent challenges encountered in shed building is inaccurate measurements. To avoid this common mishap, always measure twice and cut once. consider employing the following strategies:
- Use a Digital Level: Ensure that your angles are precise, particularly when framing walls and installing the roof.
- Invest in a Quality Measuring Tape: A reliable, marked measuring tape can greatly reduce miscalculations.
- Follow a Checklist: Create a detailed materials checklist based on the plans for your simple shed. This ensures you have everything on hand before you start building.
Should you find yourself with lumber that’s too short,remember: always overestimate the amount of material needed. It’s better to have a bit extra than to make a last-minute trip to the supply store.
navigating Weather Setbacks
Weather can be an unpredictable adversary when you’re trying to construct a shed. Whether it’s sudden rain, high winds, or extreme heat, being prepared is crucial. Here are some actionable tips to help you work around bad weather:
- Check the Forecast: Always keep an eye on the weather forecast before scheduling your building days to prevent being caught off-guard.
- Cover your Work: If rain is in the forecast,ensure you have tarps or other coverings ready to protect your materials and nearly finished components.
- Set Up a Temporary Shelter: Consider building a simple lean-to with spare materials to work under if you anticipate light rain during your project.
Planning your construction timeline around seasonal changes can enhance the overall building experience, giving you a greater chance of success.
Troubleshooting Structural Issues
Even for a simple shed, structural integrity is paramount. Common issues may arise with the foundation and frame which could lead to wobbling or uneven walls. Here’s how to troubleshoot:
- Check for Level: Use a level on each part of the shed’s structure to ensure every piece is flat and aligned before securing them.
- Reinforce weak Areas: If you notice any instability, consider adding diagonal bracing between frames to provide additional support.
- Consult Your Plans: Make sure your frame follows the designed dimensions and layouts. adjustments might need to be made if a section doesn’t match up.
Remember, every problem encountered can provide a valuable learning possibility, contributing to your skills and confidence as a DIY builder.
By keeping these troubleshooting tips in mind, you’ll be well-equipped to tackle the challenges of building your shed. With a proactive approach, you’ll not only overcome obstacles but also enhance your overall experience while bringing your vision to life.
Frequently asked questions
How to Build a Simple Shed: Beginner-Friendly Plans for Success?
To build a simple shed, start by gathering plans that guide you through the process step-by-step. Beginner-friendly plans should include material lists, dimensions, and construction methods, making it easier for you to follow without prior experience.
Choose a location and design that suits your needs. Basic tools like a saw, hammer, and level will be essential. For detailed plans, refer to our comprehensive guide on shed construction, which covers everything from ground preparation to roofing options.
What materials do I need to build a simple shed?
Essential materials for building a simple shed include wood (like plywood or 2×4 lumber), nails, screws, roofing materials, and paint or stain for protection. Choosing the right materials ensures durability and ease of construction.
Additionally, consider insulation if you plan to use the shed year-round. Using quality materials can reduce maintenance and extend the lifetime of your shed. Ensure you check local building codes, as material requirements may vary.
Can I build a simple shed without prior experience?
Absolutely! With the right beginner-friendly plans and a willingness to learn, anyone can build a simple shed.Many DIYers start as novices and gradually gain confidence.
Take your time to understand each step.Watching tutorials online can also help visualize the process. Remember, patience is key when tackling your first project, and you can always seek assistance from experienced builders or friends.
Why does my shed need a strong foundation?
A strong foundation is crucial for maintaining the stability and longevity of your shed. It supports the entire structure and prevents issues like rot and pest infestations caused by moisture.
Common foundation options include concrete slabs, treated wood skids, or gravel pads. Each option varies in complexity and cost. Assess the climate and soil conditions of your location to determine the best foundation type for your new shed.
What tools do I need for building a simple shed?
Basic tools you will need include a saw, hammer, drill, measuring tape, square, and level. These tools allow you to cut, assemble, and ensure your shed is level and stable.
Consider investing in a good set of safety gear, such as goggles and gloves. If you’re new to using tools, take time to familiarize yourself with how they work. online videos can provide great insights into proper tool usage.
Can I customize my shed design?
Yes, customizing your shed design is highly encouraged! Tailor your shed to match your style and operational needs, such as adding windows, shelves, or decorative elements.
Consult your beginner-friendly plans for areas where you might adjust dimensions or features. Custom touches not only enhance functionality but also increase your satisfaction with the final result.
How long does it take to build a simple shed?
The time required to build a simple shed can vary, but typically ranges from a weekend to a few weeks, depending on your skill level and the design complexity.
Starting with well-organized plans can definitely help streamline the process. Set realistic daily goals and allow for breaks to maintain motivation. Your first project may take longer than expected, so be patient with yourself and enjoy the journey.
Where can I find beginner-friendly plans for building a shed?
You can find numerous beginner-friendly plans online through DIY websites, home betterment stores, or even local library resources.Look for plans tailored to your skill level and specific needs.
These plans often include material lists and step-by-step instructions with illustrations. Don’t hesitate to explore multiple sources to find a plan that resonates with your vision and experience.Visit [this link](#shed-plans) for curated plans suited for any capacity.
Insights and Conclusions
building a simple shed is a fulfilling project that not only enhances your outdoor space but also boosts your DIY confidence. Remember, the key to success lies in careful planning, attention to detail, and persistence.By following our beginner-friendly plans, you can tackle each stage — from choosing the right materials and tools to executing your design with precision. Don’t be discouraged by common challenges; every setback is an opportunity to learn and improve your skills.Now that you’re equipped with the essential knowledge and strategies, we encourage you to dive deeper into your shed-building journey. Explore additional resources, connect with fellow DIY enthusiasts, and share your progress. Whether you’re looking to create additional storage, a workshop, or simply a cozy retreat, your dream shed is within reach. Embrace the challenge, enjoy the process, and take pride in the craftsmanship you bring to life. Happy building!

