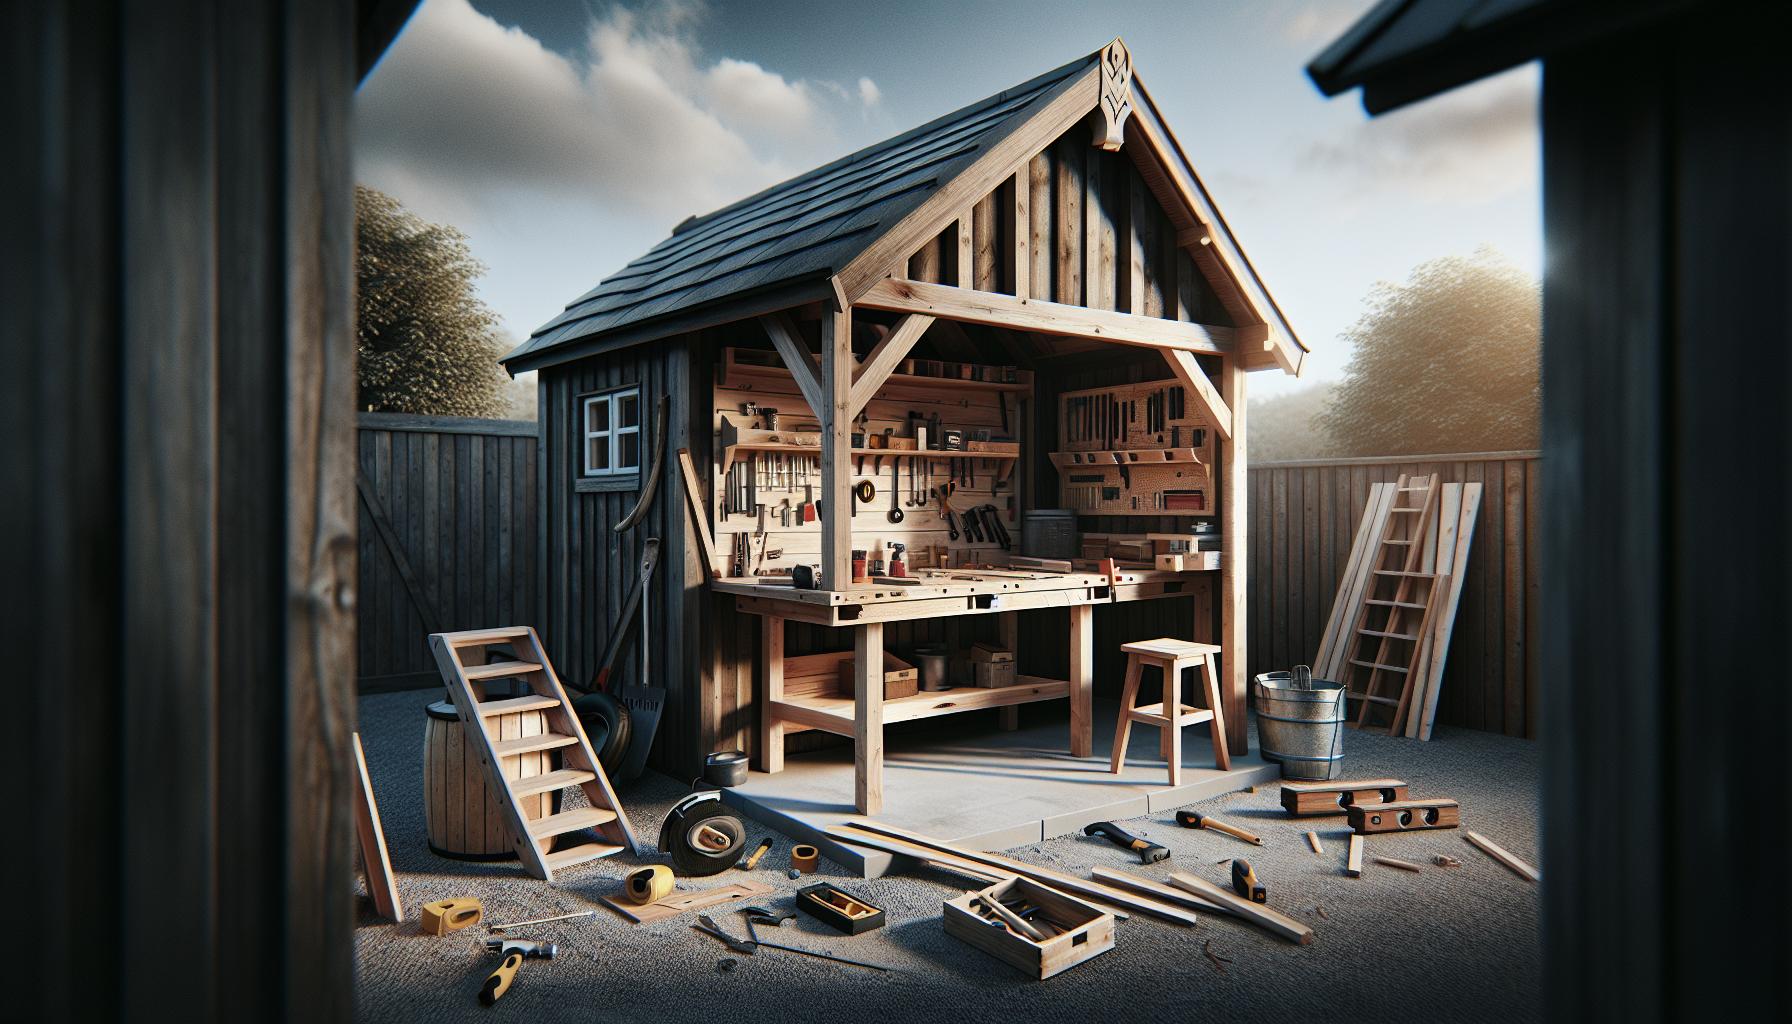
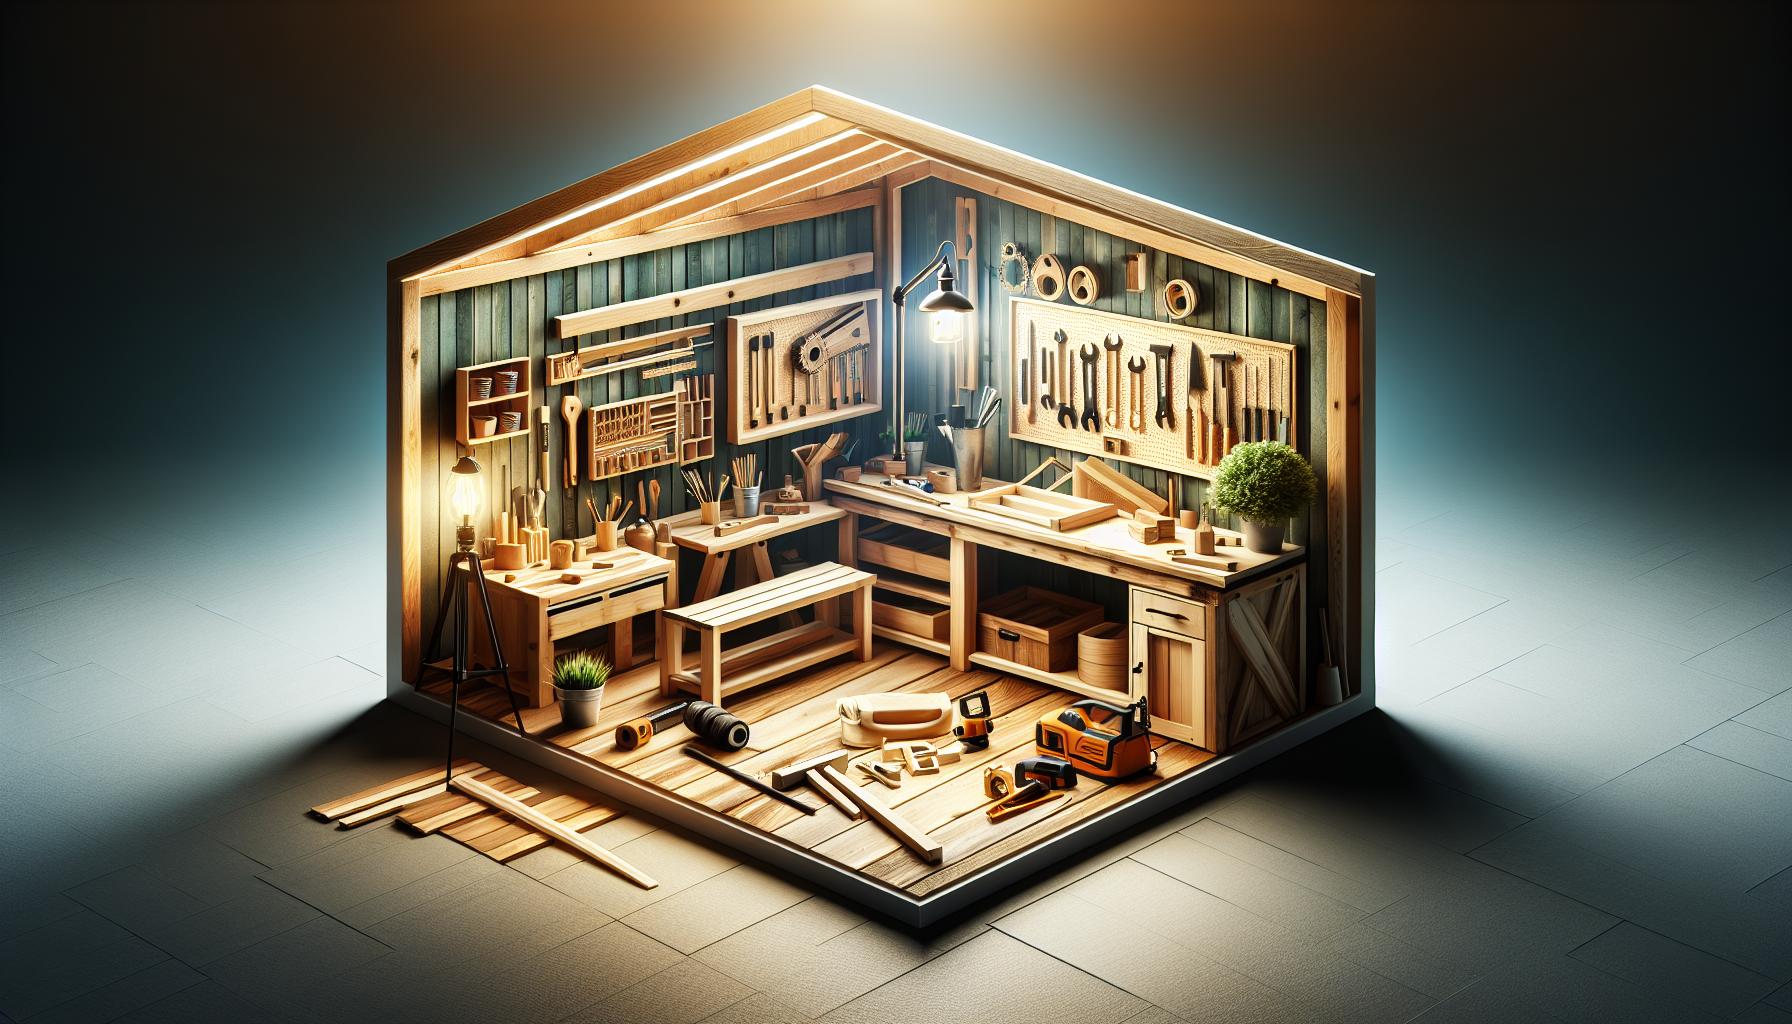
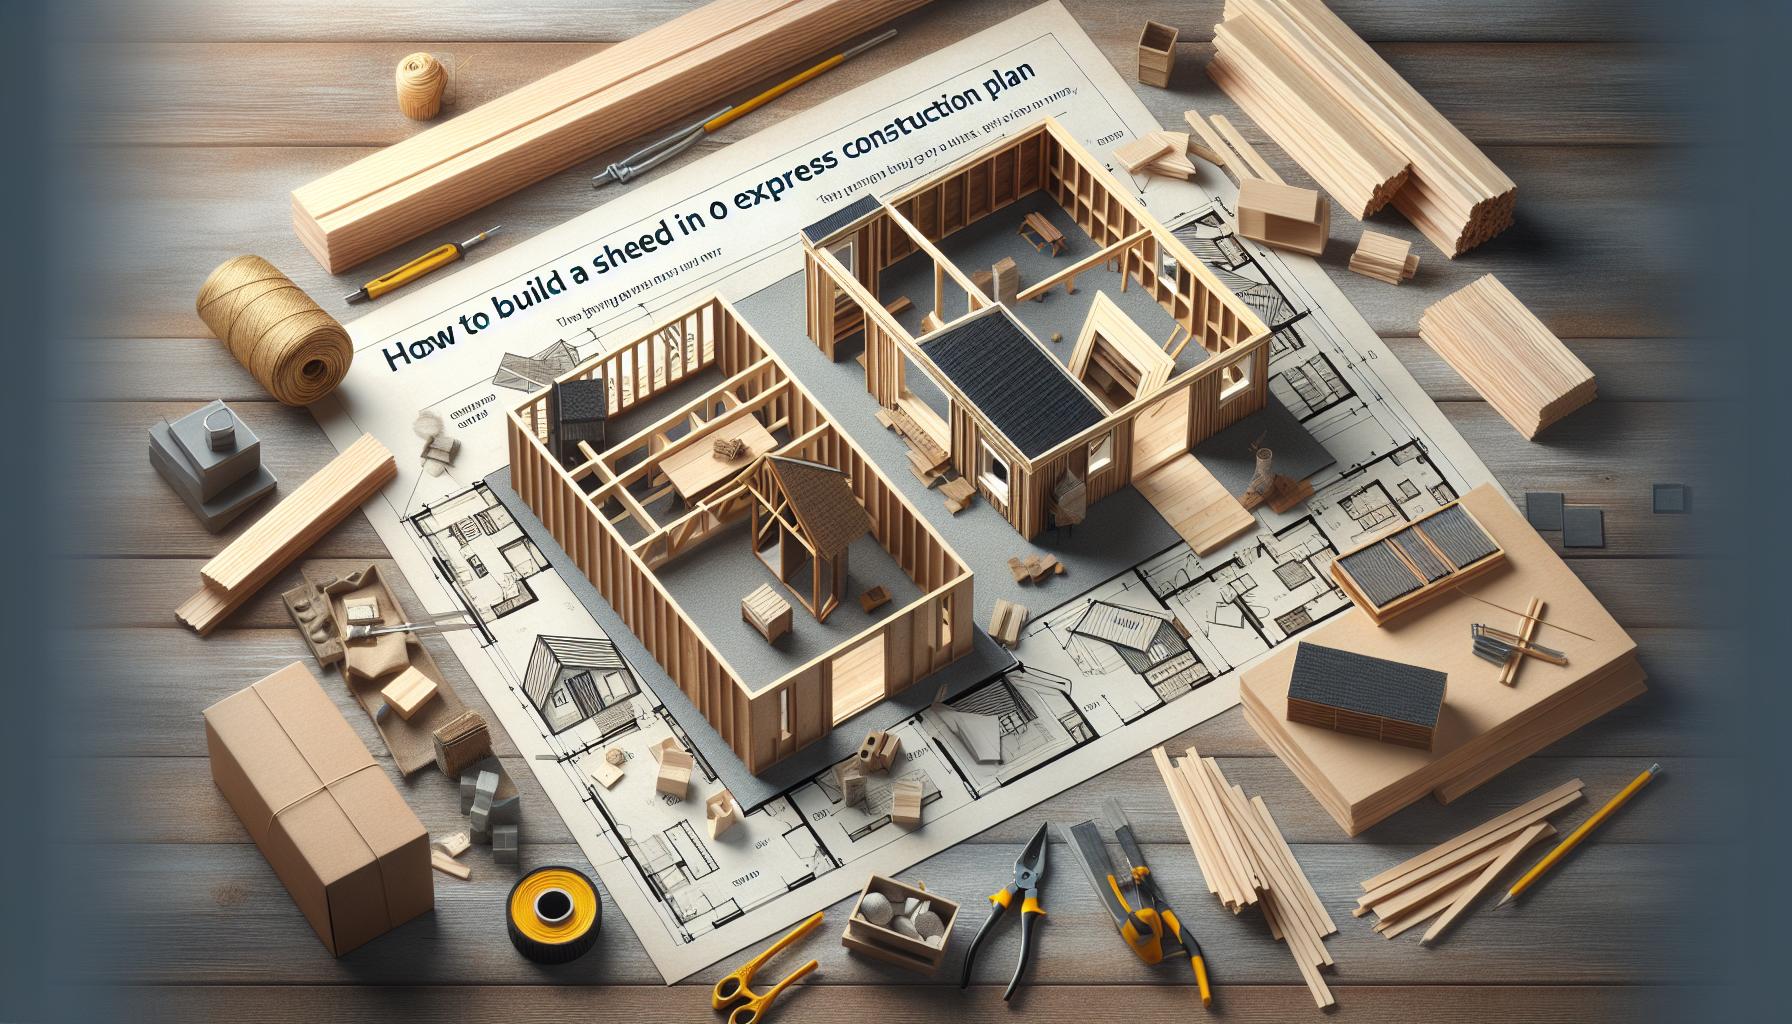
Are you tired of clutter taking over your shed and hindering your projects? A well-designed workbench can transform your space into an efficient DIY station, maximizing productivity while keeping tools and materials organized. In this guide,we’ll show you how to build a sturdy and functional workbench that meets your needs—making your shed a haven for creativity and craftsmanship.
Selecting the Right Location for Your Workbench: Maximizing Space and Functionality
Selecting the ideal location for a workbench can significantly impact both your workspace efficiency and your overall DIY experience.Whether you’re crafting, building, or repairing, the right placement ensures that you can maximize your productivity and comfort. A common mistake many make is underestimating the importance of the environment surrounding their work area. Proximity to tools and materials, as well as natural light, plays a crucial role in creating the perfect DIY station.
Consider Your Space
Before deciding where to set up your workbench,it’s essential to evaluate the available space in your shed or workshop. Take measurements of the area to ensure that your chosen location can accommodate the dimensions of your bench. Additionally, consider the surrounding space—there should be enough room to move freely without the risk of bumping into walls or other equipment. Here are some factors to keep in mind:
- Access to Tools: Place the workbench near your most frequently used tools and supplies. This minimizes the time spent searching for what you need and enhances workflow.
- Natural Light: Position your workbench near windows or other light sources to ensure adequate visibility during your projects. natural light not only improves your mood but also helps you see your work more clearly.
- Power Sources: If your tools require electricity, make sure to situate your workbench near power outlets. This prevents the hassle of extension cords and ensures you can work without interruption.
Creating Zones for Different Activities
To further enhance your workspace functionality, consider designing specific zones for various tasks. This approach helps keep everything organized and ensures that your workbench serves multiple purposes. Such as, you might have a dedicated cutting area, a painting section, and a repair zone.
| Zone | Tools Needed | Best Practices |
|---|---|---|
| Cutting | Saw, Measuring Tape | Keep saw blades in a safe and accessible place. |
| Assembly | Drill, Screwdriver | Have a variety of screws and fasteners at hand. |
| Finishing | Sandpaper, Paintbrushes | Set up a designated area for drying. |
By thoughtfully selecting the location of your workbench and organizing your space into functional zones, you can create an efficient and enjoyable DIY environment. This not only aligns with the principles discussed in “How to Build a Shed Workbench: Create the Perfect DIY Station,” but also ensures that every project you undertake is as productive and rewarding as possible.
Essential Tools and Materials for Your DIY Shed Workbench
Creating a practical and efficient workspace in your shed starts with acquiring the right tools and materials. A well-planned workbench can become the centerpiece of your DIY projects, enhancing both functionality and organization. Understanding what you need to construct your own shed workbench will save you time and ensure your workspace meets your specific needs.
Essential Tools for Construction
To build a sturdy and reliable shed workbench, the following tools are essential:
- Circular saw – For precise cuts in your lumber.
- Cordless drill – necessary for assembling your workbench with screws.
- Miter saw – Ideal for making accurate angled cuts, helpful for the frame and legs.
- Safety glasses – Protect your eyes from dust and debris while cutting and drilling.
- Straightedge – Ensures your cuts are straight and your angles are true.
- Tape measure – For accurate measurements to cut your materials correctly.
Materials You’ll Need
Choosing the right materials is equally important for durability and stability. The following list outlines the key items you’ll need to collect:
- Dimensional lumber – Standard southern yellow pine is recommended for framing.
- Wood screws – Essential for holding the structure together.
- Wood glue – Provides additional strength at joints.
- Workbench top material – Consider plywood or solid wood; thickness affects durability.
- Finish (optional) – A protective coating for longevity.
For a clearer view of the budget and dimensions, here’s a simple table to guide your planning:
| Material | Estimated Quantity | Approximate Cost |
|---|---|---|
| dimensional lumber (2x4s) | 10-15 pieces | $30-$50 |
| Plywood for top | 1 sheet (3/4″ thick) | $25-$50 |
| Wood screws | 1 box | $10-$15 |
| Wood glue | 1 bottle | $5-$10 |
By preparing with these essential tools and materials, you’ll be well on your way to successfully building a workbench that not only meets your functional needs but also complements your creative aspirations.With proper planning and execution, your DIY shed workbench will serve as a reliable foundation for countless projects ahead.
Step-by-Step Guide to Building a Sturdy Workbench Frame
Building a solid workbench frame is crucial for anyone looking to establish a DIY station that can withstand various tasks. A well-constructed frame provides the necessary support for heavy loads and enhances the stability of your work surface. Whether you’re constructing a workbench for woodworking, crafting, or other projects, following a systematic approach ensures long-lasting results. Here’s how you can construct a sturdy workbench frame that meets your needs.
Gather Your Materials
Before diving into construction, gather all the necessary materials. Here’s a list of essentials you’ll need:
- Wood: Choose quality lumber for durability, such as 2x4s or 4x4s for the legs.
- Screws: Use construction screws, as they provide greater holding power.
- Wood Glue: Optional, but beneficial for reinforcing joints.
- Tools: A circular saw, drill, level, measuring tape, and square.
Construct the Frame
The first step in building your workbench is constructing the frame. Start by cutting two lengths of wood to create the top frame and two for the bottom. These should be the desired width and depth of your workbench. Assemble the top frame by screwing the pieces together in a rectangular shape, making sure all corners are square.Next, create the legs using four vertical pieces, which should be cut to your desired height. Attach the legs to the corners of the top frame with screws, ensuring they are flush and stable. To increase stability, consider adding horizontal cross-braces between the legs. This not only strengthens the frame but also minimizes wobbling during use.
Level and Secure
Once you have the basic frame structure, it’s essential to check that everything is level. Use a level tool and adjust the legs if necessary to ensure the surface is even. secure all connections tightly to avoid any movement. If desired, you can add additional support by attaching plywood sheets to the underside, providing extra strength and a platform for tool storage or other essentials beneath your workbench.
if you’re planning to attach a work surface, ensure that it is securely fastened to the frame. Follow these steps carefully, and you’ll create a solid base for your DIY endeavors. Establishing a sturdy workbench frame is an integral part of the overall process of constructing a functional workspace, enabling you to efficiently tackle projects big and small.
Customizing Your Workbench Surface: Choosing the Best Material
When designing a workbench, the surface material you choose plays a crucial role in its functionality and longevity.The right material can enhance your DIY experience, making your workspace more efficient and enjoyable. Each option available comes with its unique advantages, allowing you to tailor your workbench surface to meet specific project needs.
Popular Workbench Surface Materials
Selecting the best material for your workbench largely depends on the type of projects you plan to undertake.Here are some common options you might consider:
- Plywood: A popular choice due to its balance of durability and cost-effectiveness. Constructing a surface with at least 3/4 inches thick plywood can provide a sturdy working area that resists warping over time [[3]].
- Sheet Aluminum: If you often work with metal or anticipate heavy wear, a sheet aluminum surface prevents scratching and offers superior longevity. This option is particularly beneficial for mechanical tasks where precision is paramount [[1]].
- Hardwood: For a more customary approach, hardwood such as maple or birch provides excellent durability and a pleasing aesthetic.While generally more expensive, it delivers a solid work surface and can withstand important impact.
Key Considerations When Choosing your Surface
When customizing your workbench, consider factors such as was to be expected use, maintenance, and budget. A dual-layered approach, combining a durable core like plywood with a softer top surface, may offer additional protection and can be easily replaced when worn down.
Additionally, think about the projects you typically engage in:
- For woodworking and crafting, hardwood surfaces are preferable due to their ability to absorb impact while remaining smooth.
- If your work involves handling metals frequently, opt for aluminum or a composite that avoids scratching.
the choice of workbench surface material is vital to creating a functional workspace that supports your DIY ambitions.By understanding your project’s demands and selecting an appropriate material,you can create an optimal space for building,crafting,and creativity,ultimately elevating your shed workbench to the next level in your quest for the perfect DIY station.
Organizing Your Shed: Smart Storage Solutions for Your Workbench
decluttering your shed is essential for a productive workspace,especially when crafting the ultimate DIY station. An organized shed not only saves time but also enhances safety by keeping tools and materials within easy reach. Implementing smart storage solutions can transform a chaotic work area into a well-ordered paradise.Here are some effective strategies to achieve a tidy workbench environment.
Utilizing Vertical Space
One of the most efficient ways to maximize storage is to make full use of vertical space. Install wall-mounted shelving units or pegboards to store tools and supplies. This approach frees up the workbench surface for your projects while ensuring that everything is easily accessible. Consider grouping similar items together — for example, hang all your hand tools in one section and placing power tools in another. This method not only organizes the space but also allows for speedy identification when you need a specific tool.
incorporating Storage Containers
Another practical solution involves using labeled storage containers. Clear plastic bins or labeled boxes can definitely help you categorize smaller items such as screws, nails, and fasteners. By using containers that stack well, you can optimize the space further and keep items visible.Make sure to place frequently used items at eye level,while seasonal or less-used materials can be stored higher up or at the back of your workbench.
- Toolboxes: Invest in a rolling toolbox for larger tools, making them mobile and easy to transport.
- Drawer organizers: Use drawer organizers in your workbench to keep small items like measuring tapes, clamps, and batteries in place.
- Magnetic strips: Attach magnetic strips to the wall to hold metal tools such as scissors, pliers, and screwdrivers, keeping them handy and within reach.
Creating a Multi-Functional Workspace
Lastly, design your workbench with multipurpose functionality in mind. consider adding a fold-down side table that can be stowed away when not in use. This additional surface area can assist during bigger projects without permanently taking up space. Also, integrate power strips into your workbench setup for easy access to electricity, allowing you to plug in tools without needing to navigate cables across the floor.
By focusing on these smart storage solutions to organize your shed, you will not only create the perfect DIY station but also cultivate an environment that inspires creativity and efficiency.Ensuring that every tool and item has a designated place leads to a smoother workflow and a more enjoyable crafting experience. Adapt these strategies as needed, and watch your shed transform into a model of organization and efficiency.
Adding Personal Touches: Finishing and Styling Your Workbench
Creating your perfect DIY station extends beyond the basic assembly of a shed workbench; it involves infusing it with your unique style and functional preferences. Personal touches can transform a utilitarian workspace into a reflection of your creativity and craftsmanship. Not only do these enhancements make the space more visually appealing, but they can also increase your efficiency and enjoyment while working.
Choosing the Right Finish
A meaningful way to add character to your workbench is through the selection of a finish. One popular choice is a natural oil or varnish that penetrates the wood, enhancing its grain while providing protection against wear. Consider using finishes like tung oil or Danish oil for a rich, warm appearance. These finishes not only preserve the wood but also add a layer of moisture resistance, crucial for a workspace that may see spills and splashes.
To explore various finishes, you might want to prepare a small test area on your workbench using different products. This allows you to see how the colors and sheens interact with the wood grain, ensuring your final decision complements the look you’re after.
Incorporating Functional Accessories
Adding accessories to your workbench is another excellent way to personalize it while maximizing functionality. Here are some ideas to consider:
- Storage Solutions: Install pegboards, shelves, or cabinets for organized storage of tools and materials.
- Custom Tool Holders: Create specific holders for frequently used tools to keep them within easy reach.
- Lighting: Adequate lighting, such as LED strips or work lamps, can dramatically improve your workspace ambiance and visibility.
- Flexible Work Surface: Consider adding a removable or adjustable top for various projects, enhancing versatility.
By integrating these elements into your shed workbench, you not only increase its practicality but also add a flair that reflects your individual working style.
Adding Decorative Elements
In addition to functional aspects, decorative touches can make your workspace feel more inviting. Personal photos, artwork, or even motivational quotes can inspire creativity while working. Paint a unique design on the side panels or apply stencils with your favorite patterns. you could also choose a color scheme that matches your aesthetic,whether that’s a rustic finish or a sleek,modern look.
Collaboration with local artists or woodworkers can add a community touch to your bench, further embedding your personality into the design. Whether you prefer a minimalist approach or a more expressive one,every detail counts towards crafting a workspace that you’ll enjoy coming to every day.
With these considerations for finishing and styling your workbench, you’ll create not just a functional station but also a deeply personal space that inspires creativity and productivity.
Tips for Maintaining Your Shed Workbench: Ensuring Longevity and Performance
A well-maintained workbench is integral to the success of any DIY project, especially for those looking to create the ultimate shed workspace. Without proper care, the durability and performance of your workbench can diminish, leading to inefficiencies and perhaps even safety hazards. here are some effective strategies to ensure your workbench remains in top shape, maximizing both its lifespan and functionality.
Regular Cleaning
To maintain a functional work surface, prioritize regular cleaning. Dust and debris can accumulate, leading to scratches and potential damage over time. Use a damp cloth to wipe down surfaces,and consider using a mixture of mild detergent and water for deeper cleans. Pay special attention to corners and grooves where grime may collect.
Protective Coatings
Applying protective coatings can significantly extend the life of your bench. Consider using a high-quality varnish or polyurethane to create a moisture-resistant seal. This will not only guard against spills and stains but also enhance the aesthetic of your shed workbench. Be sure to reapply every couple of years, or as needed, based on wear and tear.
Regular Inspections
Performing routine inspections is crucial in identifying potential issues early. Check joints and connections for looseness, and tighten any screws or bolts that may have loosened over time. Additionally, inspect the surface for signs of wear or damage such as cracks or dents, and address these issues promptly to prevent them from escalating.
Organized Storage and Maintenance
An organized workbench not only improves efficiency but also protects the bench itself from needless wear. Use drawer organizers or pegboards to keep tools easily accessible and off the work surface. When tools are stored properly, it reduces the risk of accidental damage to both the tools and the workbench itself. Invest in proper storage solutions like shelves or cabinets to keep your workspace tidy and functional.
By following these maintenance tips,you can ensure that your workbench remains a reliable asset for all your projects,allowing you to fully enjoy the creative process of building shed projects and more.Keeping your workbench in prime condition guarantees not just longevity but also enhances the overall efficiency of your DIY endeavors.
frequently Asked Questions
How to Build a Shed Workbench: Create the Perfect DIY Station?
Building a shed workbench requires careful planning, the right materials, and a solid understanding of your needs. Start by measuring your space and designing the bench to suit your projects. Aim for a cozy height and sturdy construction to ensure durability.
Begin by choosing high-quality materials such as plywood or solid wood for the top and a robust frame for support. Consider adding storage options below for tools and supplies. For detailed steps,visit our complete guide on building a workbench.
What materials do I need to build a shed workbench?
To build a shed workbench, you typically need plywood for the surface, 2×4 lumber for the frame, screws, and wood glue. Additionally,consider your tool storage needs,which may require additional shelves or bins.
Make sure to choose durable materials that can withstand heavy use, particularly if you plan to use the workbench for projects like woodworking or repairs. Adjust your material choices based on the specific requirements of your intended tasks.
Can I customize the size of my workbench?
Yes, you can customize the size of your workbench based on your available space and specific projects. Measure the area in your shed and decide on a width and length that fits comfortably.
Keep in mind that the height should be ergonomic—around 36 inches is optimal for most users. Having a tailored workbench will enhance functionality and comfort during projects.
Why does my shed workbench need storage?
Storage is crucial for keeping your tools and materials organized, making your shed workbench more efficient. A clutter-free workspace enhances productivity and ensures that you can easily find what you need.
Incorporate shelves, drawers, or pegboards into your workbench design. This will help you maximize space and maintain a tidy work area. Well-planned storage solutions can significantly streamline your workflow, particularly for complex projects.
How can I make my workbench more stable?
To ensure your workbench is stable, use high-quality materials and consider adding cross-bracing between the legs. This will prevent wobbling and increase the workbench’s overall strength.
If you expect to perform heavy tasks,adding weight to the base,such as solid blocks or containers filled with sand,can further enhance stability. Paying attention to stability will facilitate better performance during your DIY projects.
What tools do I need to build a shed workbench?
Essential tools for building a shed workbench include a saw (circular or miter), a drill, screws, a tape measure, and a square. These tools are necessary for precise cuts and assembly.
For added convenience, consider using clamps to hold pieces in place while you work. Having the right tools at your disposal will streamline the construction process, leading to a more efficient and enjoyable experience.
can I disassemble my shed workbench if needed?
Yes, many designs allow for easy disassembly, which can be beneficial for moving or storage. Use bolts and screws rather than glue for connections to facilitate this.
Make sure to plan the design accordingly, allowing access to remove bolts. This flexibility can help if you need to relocate your bench or modify its setup in the future.
In Conclusion
building a shed workbench is not just a practical choice; it’s an empowering DIY project that can elevate your workspace and boost your productivity. Remember, the key steps include selecting the right materials, understanding the design that best suits your needs, and following precise measurements to ensure stability and functionality. While challenges may arise—like aligning the tabletop or ensuring adequate support—having a detailed plan will make the process smoother. Don’t hesitate to explore further by checking out resources on simple workbench designs, like those highlighted in various DIY guides, to find inspiration and tips that resonate with your unique project vision. Embrace the journey, trust your skills, and enjoy the satisfaction of crafting your perfect DIY station!


