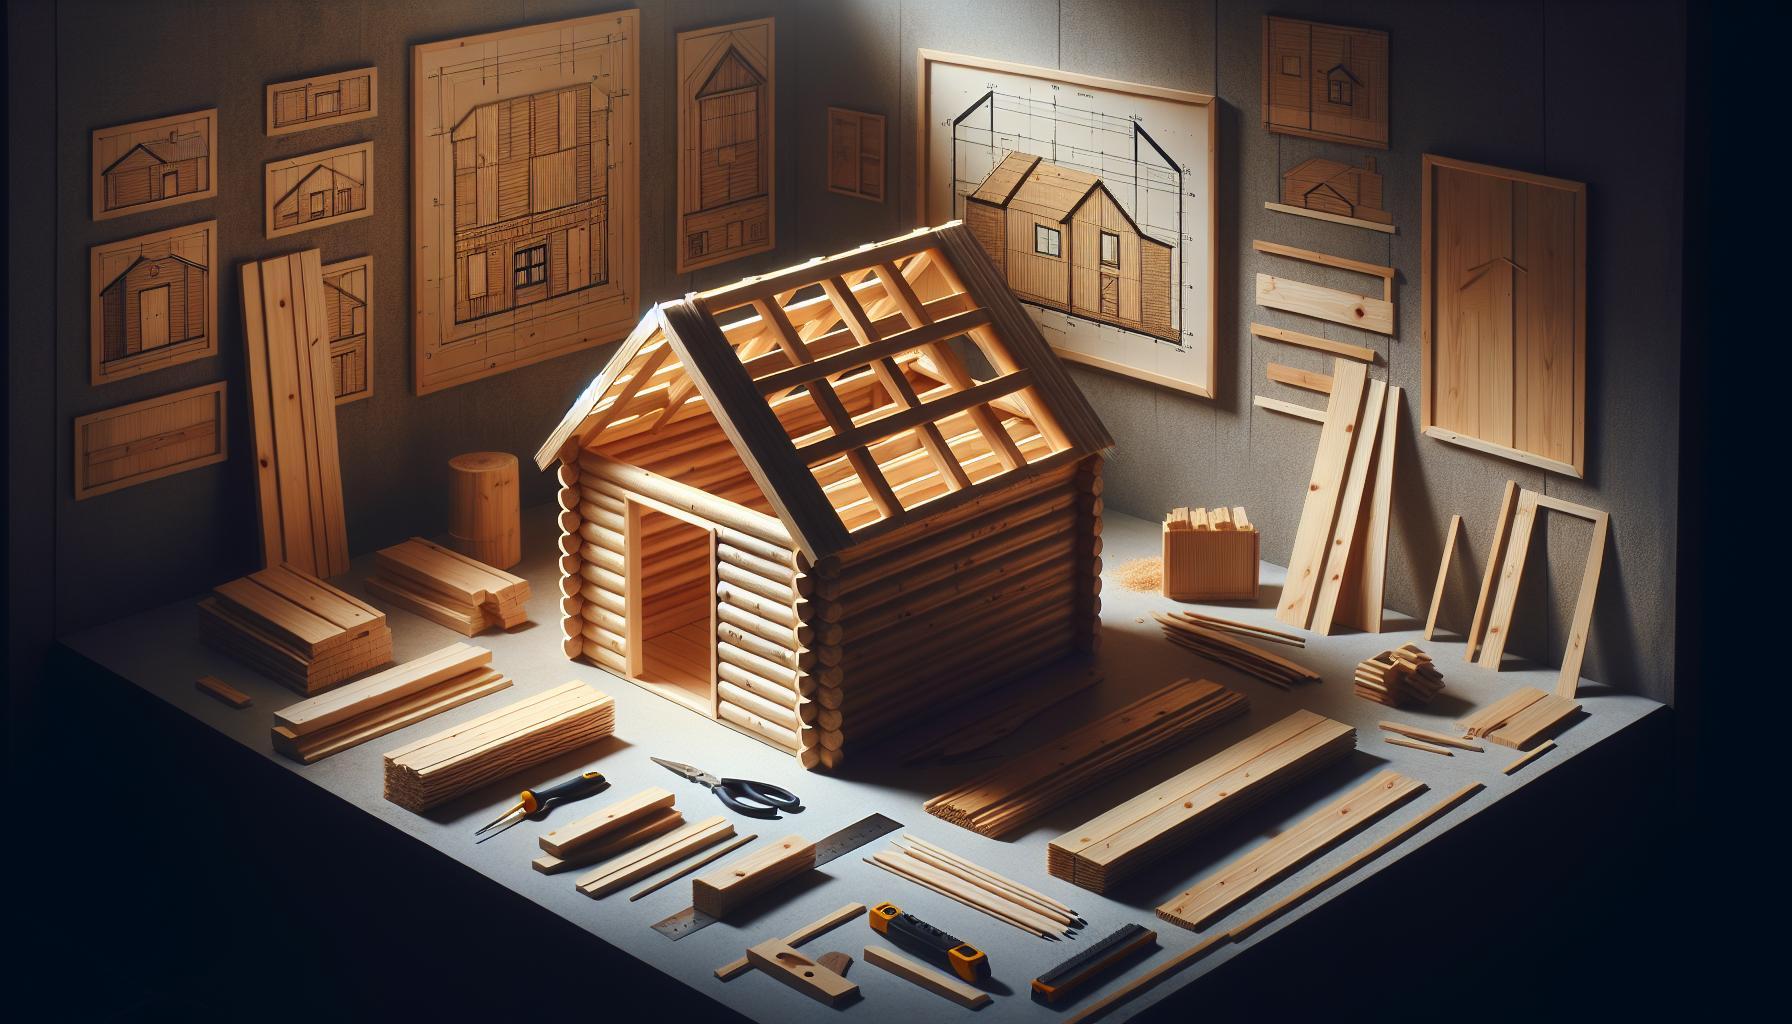
Building a shed roof can often feel daunting, especially when ensuring itS weather-tight. Understanding effective techniques for a sturdy, leak-proof roof is crucial for any DIY enthusiast. This guide reveals essential methods that will not only protect your shed from the elements but also boost your confidence in your building skills.
Understanding Shed Roof Types: Choosing the Right Design for Your project
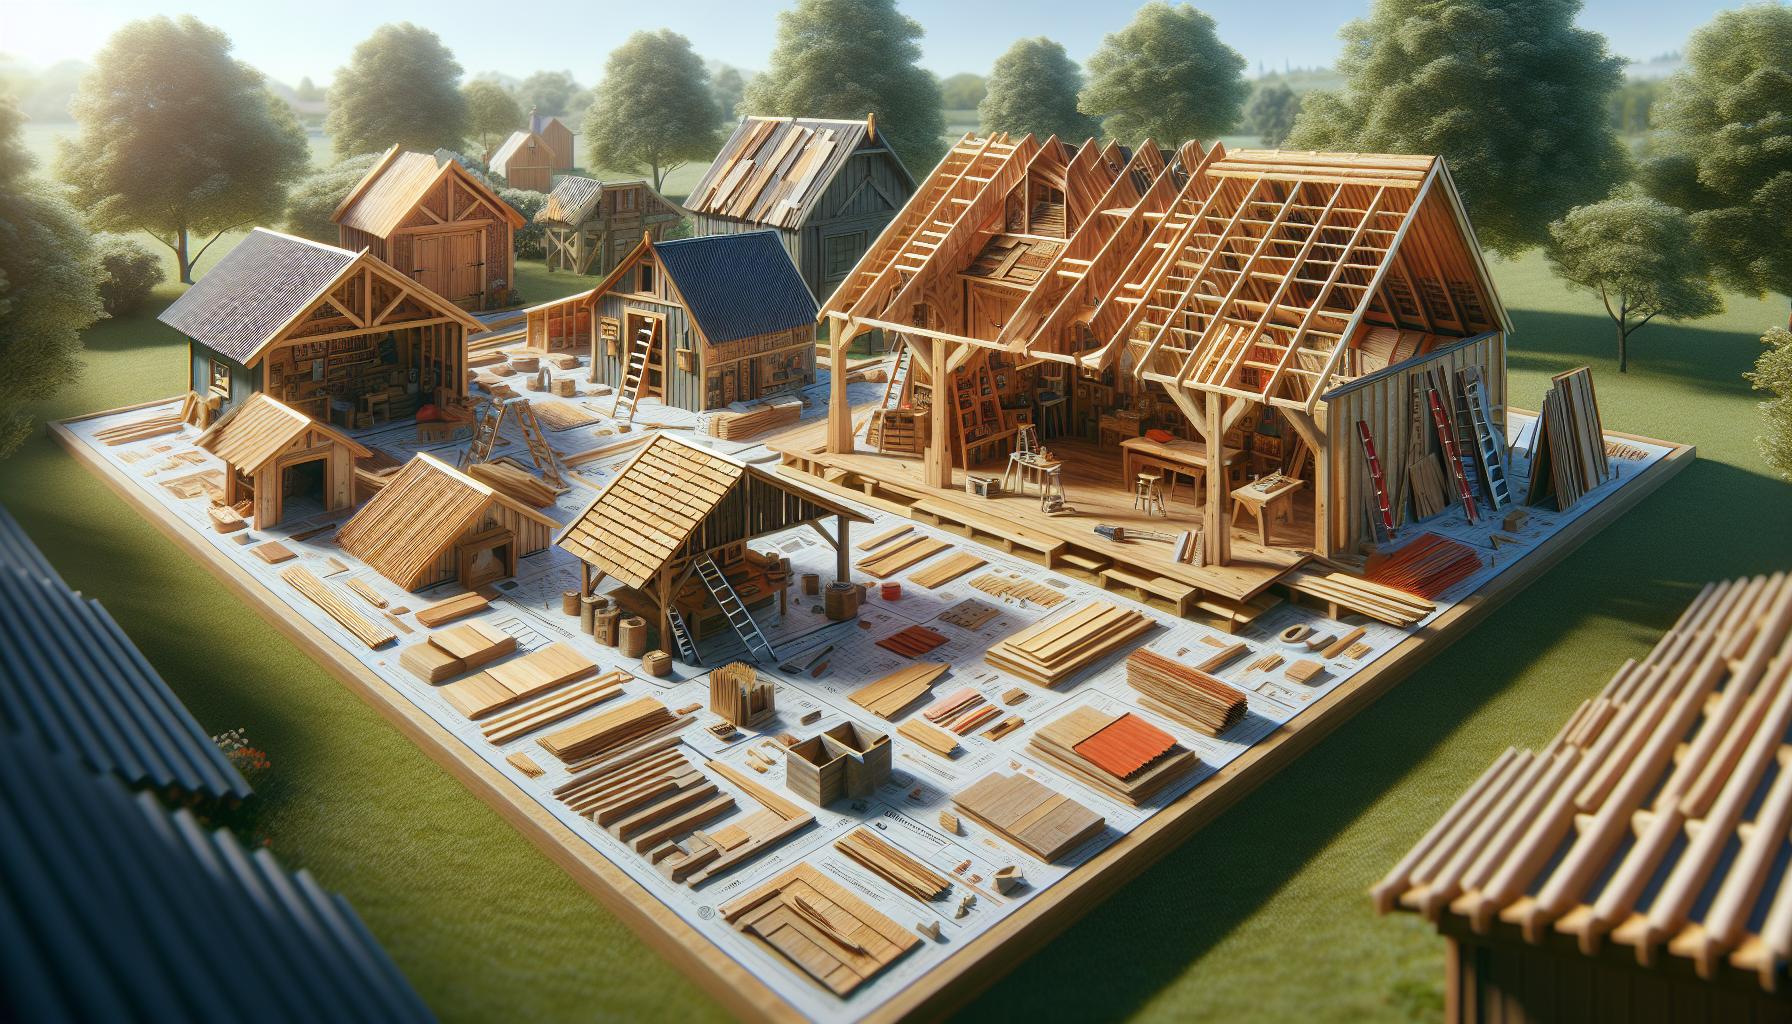
When embarking on a shed-building project, understanding the various roof types is essential to ensuring not just aesthetic appeal but also durability and functionality. A well-designed roof not only protects your tools or gardening supplies but also complements the overall charm of the structure. The choices range widely, from classic gabled roofs to modern flat designs, each possessing distinct advantages and considerations that can influence your building experience.
Popular Shed Roof Designs
In choosing the right roof style for your shed, consider how the design interacts with your habitat, aesthetic preferences, and budget. Here are some popular types to contemplate:
- Gable Roof: This classic style features two sloping sides meeting at a peak. It provides excellent drainage and additional attic space, making it ideal for storage.
- Shed Roof: A single-sloped roof that’s perfect for contemporary designs. It’s easier to build and allows for larger windows on one side for natural light.
- Hip Roof: With slopes on all sides, hip roofs offer better wind resistance and can be visually striking, but they are more complex to construct.
- Gambrel Roof: Often seen on barns, the gambrel roof has two slopes on each side, allowing for more vertical storage space without increasing the footprint of the shed.
- Flat Roof: While simpler and cost-effective,flat roofs require careful drainage planning to avoid water pooling during storms.
Key Considerations for Your Choice
When deciding on a roof type, consider the climate of your area. As an example, a gabled roof performs exceptionally well in regions with heavy snowfall, while a shed roof may be more suitable for places with minimal precipitation. Additionally, weigh factors such as:
- building Materials: Different designs may require varying types and amounts of materials, impacting your budget.
- Local Codes and Regulations: Some areas have restrictions regarding roof shapes, so always check local building codes before you commit.
- Aesthetic Appeal: Consider how the roof style interacts with the surroundings. A well-designed roof can enhance the visual appeal of your yard.
Fast Comparison Table of Shed Roof Types
| Roof Type | Advantages | Disadvantages |
|---|---|---|
| Gable Roof | Good drainage, spacious interior | More complex construction |
| Shed Roof | Simple design, easy to build | poor aesthetics in some settings |
| Hip Roof | Sturdy, good wind resistance | More expensive and tough to build |
| Gambrel Roof | Maximized vertical space | Can require additional framing support |
| Flat Roof | Cost-effective, easy to construct | Prone to drainage issues |
Ultimately, understanding the various shed roof types empowers you to make an informed decision tailored to your project’s unique needs. By incorporating weather-tight techniques and being mindful of your environment, you can ensure your shed will stand the test of time while serving its purpose effectively.
Essential Materials for a Weather-Tight Shed Roof: What You Need
Creating a weather-tight shed roof is essential for protecting your tools, equipment, and stored items from the elements. To achieve this goal, the selection of materials plays a critical role. Not only do the right materials provide structural integrity, but they also ensure longevity and resistance to moisture, mold, and rot. Here’s a breakdown of the essential materials you will need to construct a reliable and durable roof.
Key Roofing Materials
When embarking on your shed roofing project, consider the following materials:
- Roofing Felt: This underlayment provides an additional layer of protection against moisture. It helps to create a barrier, preventing water from seeping through the shingles or metal roofing.
- Shingles or Metal Roofing: Choose between asphalt shingles, which are cost-effective and easy to install, or metal roofing, which offers superior durability and longevity. Metal roofs often come with warranties that can last up to 50 years.
- Drip Edge: A crucial component that helps direct water away from the roof and prevents leaks at the edges where the roof meets the walls.
- Gutter System: A well-installed gutter helps to collect and channel rainwater away from the base of your shed, reducing the risk of erosion and water damage.
Structural Components
In addition to the roofing materials, solid structural components are vital to support the roof effectively:
- Rafters: These are the backbone of your roof structure, determining the slope and pitch.
- Plywood or OSB Sheathing: This layer provides a flat surface to attach your roofing materials and adds strength to the overall structure.
Sealants and Fasteners
To enhance the weather-tightness of your shed roof, it is indeed notable to choose the right sealants and fasteners.
| Material | Purpose |
|---|---|
| Roofing Nails | Designed for fastening shingles securely while resisting rust and corrosion. |
| Sealant | A waterproof caulk helps seal any gaps or joint areas to prevent leaks. |
sourcing quality materials is integral to understanding how to build a shed roof using weather-tight techniques that every DIYer must know.These components ensure that your roof will stand the test of time, providing protection and peace of mind for years to come. Select wisely,and you’ll enjoy a robust,weather-tight shed that meets all your needs.
Step-by-Step Guide to Framing Your Shed Roof: The Backbone of Stability
Framing a shed roof is a crucial step that serves as the degree of stability and insulation for your entire structure. Properly executed roof framing not only supports the weight of the roofing materials but also protects your shed from the elements. Whether you are opting for a gable, lean-to, or shed roof style, understanding the mechanics behind framing is essential to ensuring longevity and functionality.
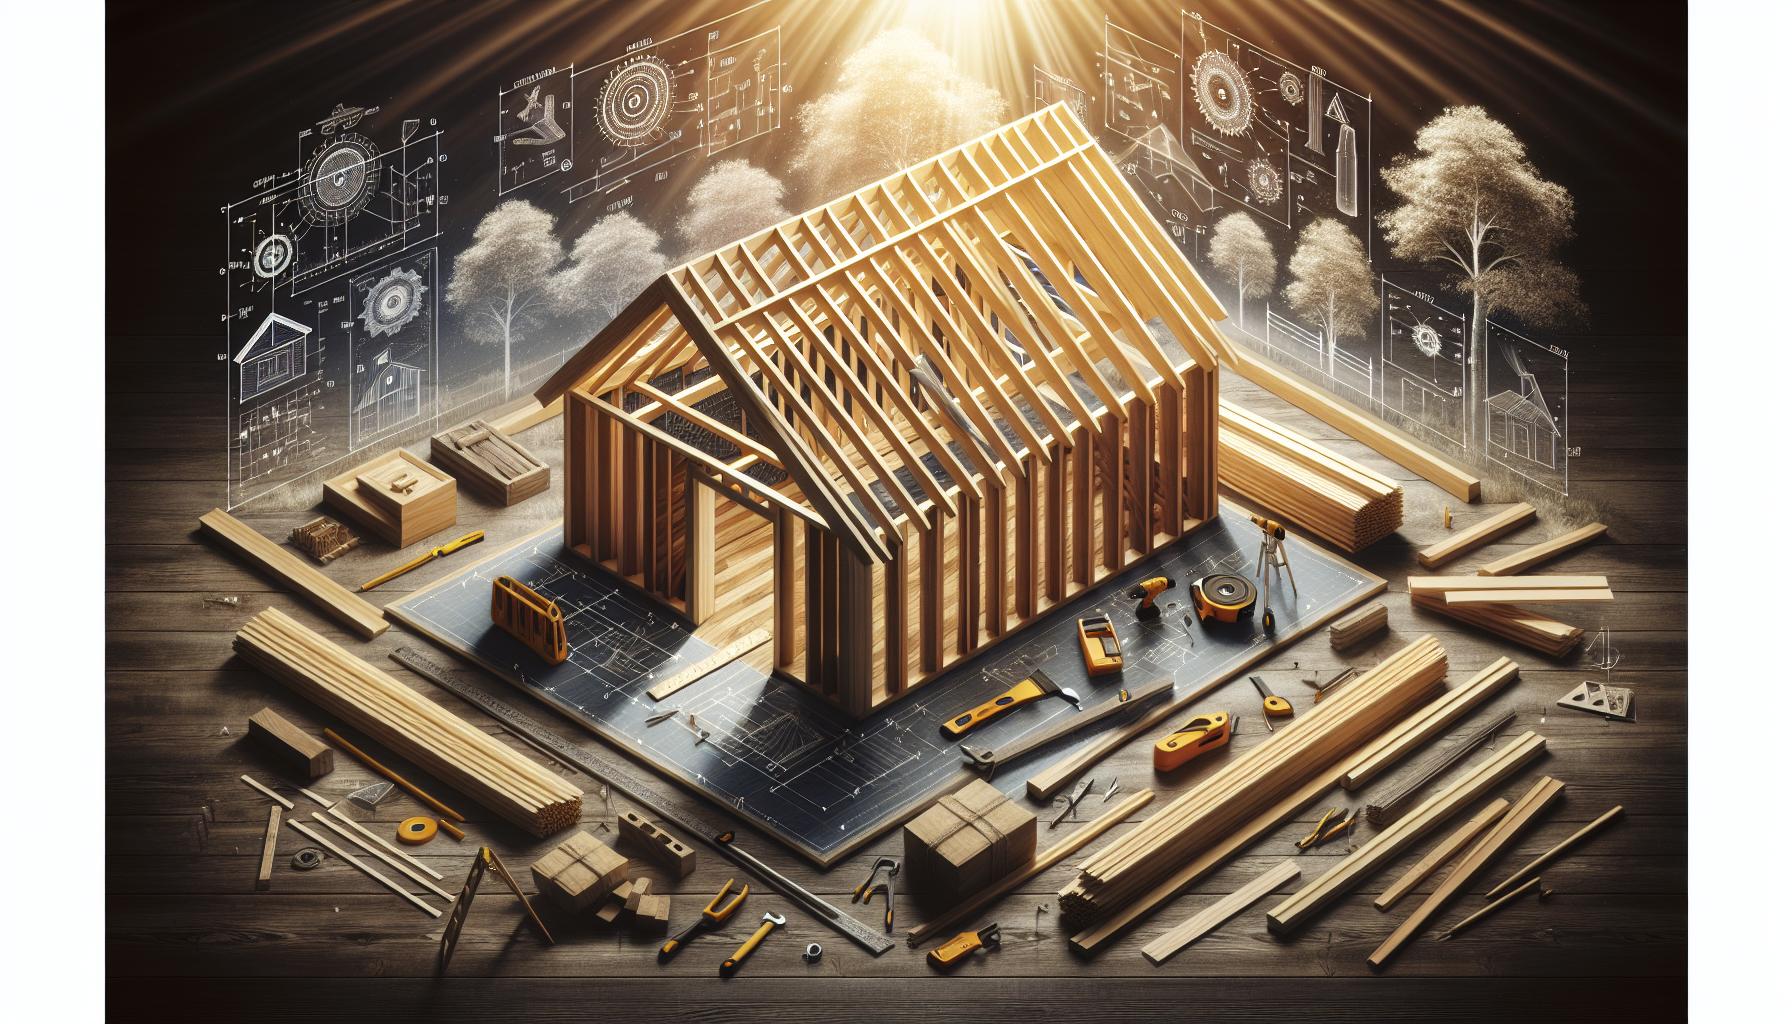
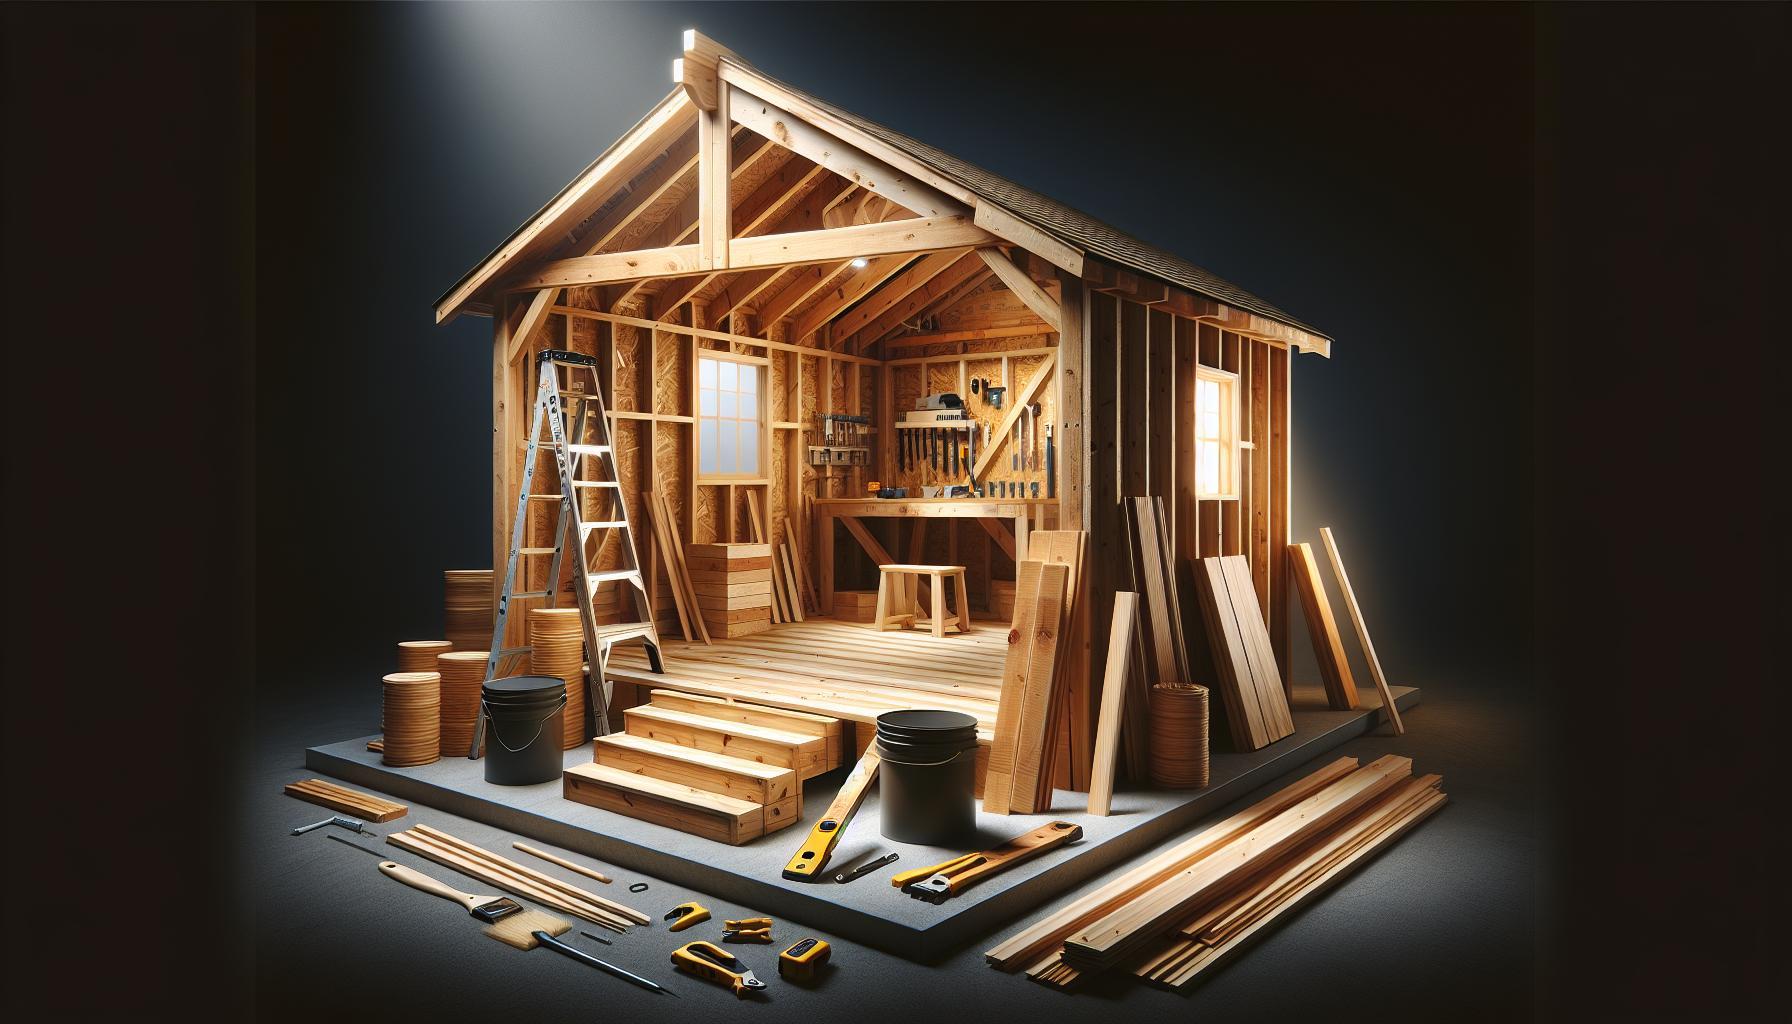
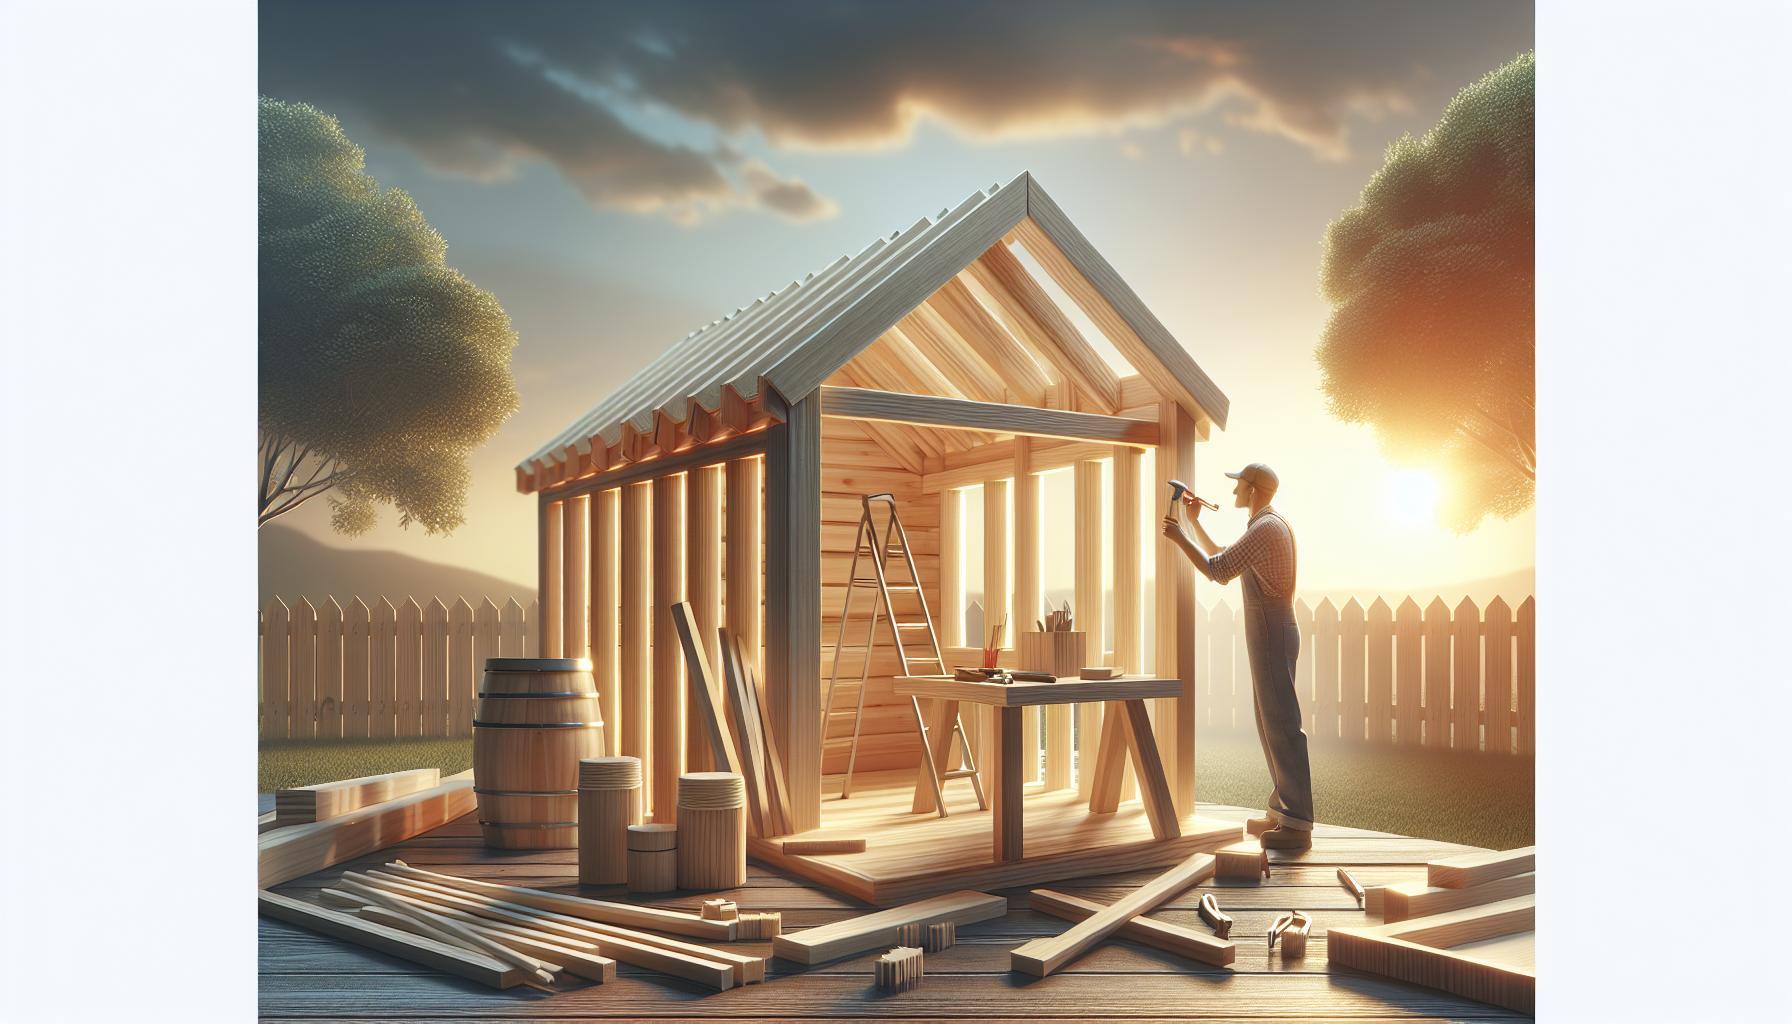
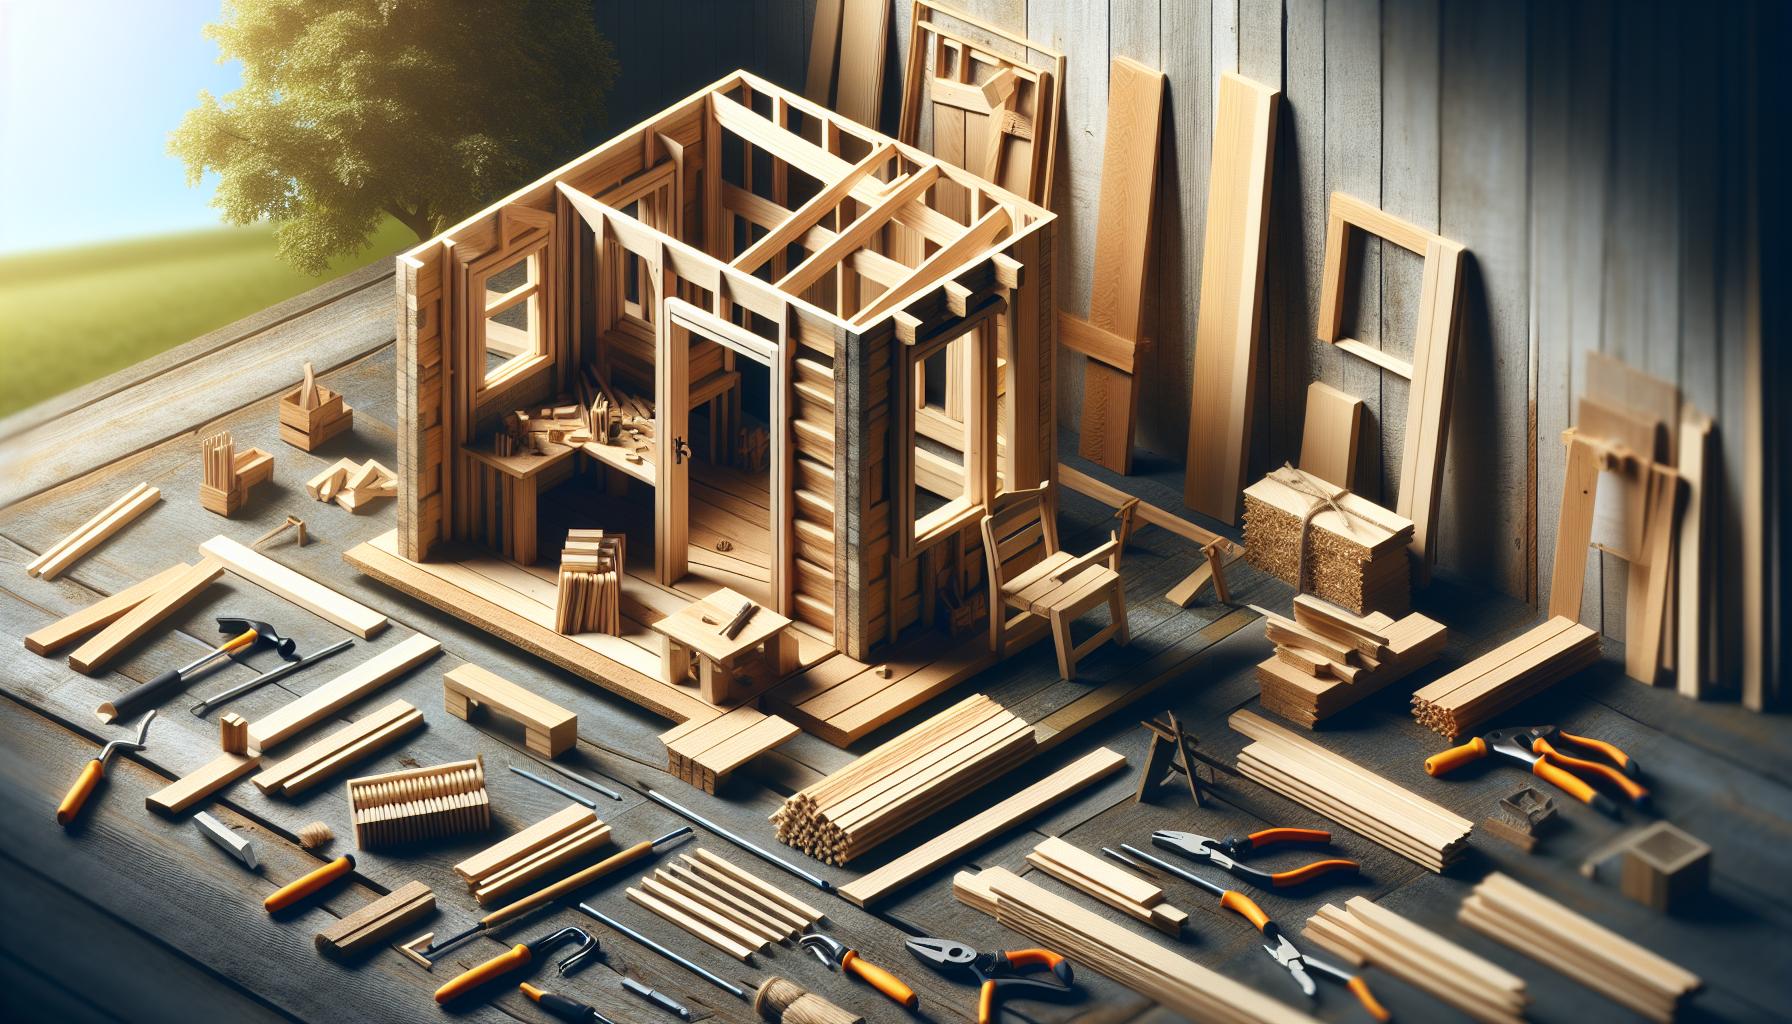
To start with, select the right materials. Common choices include 2×4 or 2×6 lumber for rafters, which will provide the necessary strength and durability. For a basic gable roof, here are essential steps you should follow:
Key Steps in Framing Your Shed Roof
- Measure and Cut Rafters: Accurately measure the pitch and lengths you’ve decided upon for your rafters.Use a framing square to mark the birdsmouth notch that will help the rafters sit flush against the top plate of the walls.
- Install the Ridge Board: Fasten a horizontal beam, known as the ridge board, at the highest point of the roof where the rafters will meet. This board will act as the anchor point for your rafters.
- Attach Rafters: Position the rafters at equal intervals on the ridge board and secure them to the top plate of the shed with nails or screws. Ensure that they are plumb and align perfectly.
- Create overhangs: Consider leaving sufficient overhang at the eaves for additional water runoff. This will help prevent water damage and improve the overall durability of your roof.
Once the rafters are secured, it’s time to double-check for any alignment issues.Making sure everything is plumb and square at this stage ensures a structurally sound roof. Next, adding cross bracing between rafters not only enhances stability but also protects against wind uplift. This vital step is often overlooked,yet it plays an essential role in maintaining the integrity of your shed roof.
Completing the framing process with the installation of purlins or blocking can further provide support and a solid base for whatever roofing material you have chosen. Remember,framing doesn’t just hold your roof but also determines how well it performs against weather challenges. With these techniques outlined, you’re well on your way to mastering how to build a shed roof: weather-tight techniques every DIYer must know.
Roofing Techniques for Maximum Weather Resistance: Keeping the Elements at Bay
When constructing a shed roof, ensuring it can withstand the elements is paramount to longevity and functionality. Weather resistance is not just about aesthetics; it’s about creating a safe, durable shelter for your tools, equipment, or any important possessions. With unpredictable weather patterns and increasing severity of storms, employing the right roofing techniques can significantly enhance your structure’s resilience.
Essential Techniques for a Weather-Tight Roof
To achieve maximum weather resistance, consider the following techniques that will ensure your shed roof remains intact against rain, snow, wind, and sun.
- Choice of Materials: Select high-quality roofing materials designed to endure specific local weather conditions. Metal roofing, as a notable example, provides excellent durability, while shingles can offer versatility and aesthetic appeal. Ensure that materials are suitable for the expected load and environmental conditions.
- Proper Slope: A well-specified slope is crucial for efficient water drainage.Generally, a slope of 4:12 (4 inches of rise for every 12 inches of run) is effective for most shed roofs, preventing water accumulation and reducing leak risks.
- Secure Fastening: Utilize appropriate fasteners that can resist corrosion and withstand the pressure of high winds. Stainless steel screws frequently enough provide the best combination of strength and durability.
- Overlapping Installations: When installing shingles or paneling, always ensure proper overlaps to direct water flow away from seams—this is a critical step to prevent leaks.
Additional Weather-Resistant Measures
Implementing a few more steps can bolster your shed roof’s ability to guard against adverse weather conditions.
- Flashing Installation: Install metal flashing around roof features, such as chimneys or vents, to protect seams and prevent water ingress.
- Sealing and Caulking: Use high-quality caulk to seal any gaps or joints where water might enter. Apply these seals at points where roofing meets walls or where materials intersect.
- Ventilation: Adequate ventilation in your shed roof will minimize moisture buildup inside, reducing the risk of rot and mold—a common enemy in humid conditions.
- Regular Maintenance: Make it a habit to inspect your roof for damage, especially after severe weather. Quick repairs can prevent minor issues from escalating into major problems.
By mastering these essential techniques outlined in “How to Build a Shed Roof: Weather-Tight Techniques every DIYer Must Know,” you can ensure your shed stands guard against whatever nature throws its way. When constructed with intention and care, your shed roof will not only protect your belongings but also endure the tests of time and the elements.
insulation Tips for Your Shed Roof: Creating a Comfortable and Functional Space
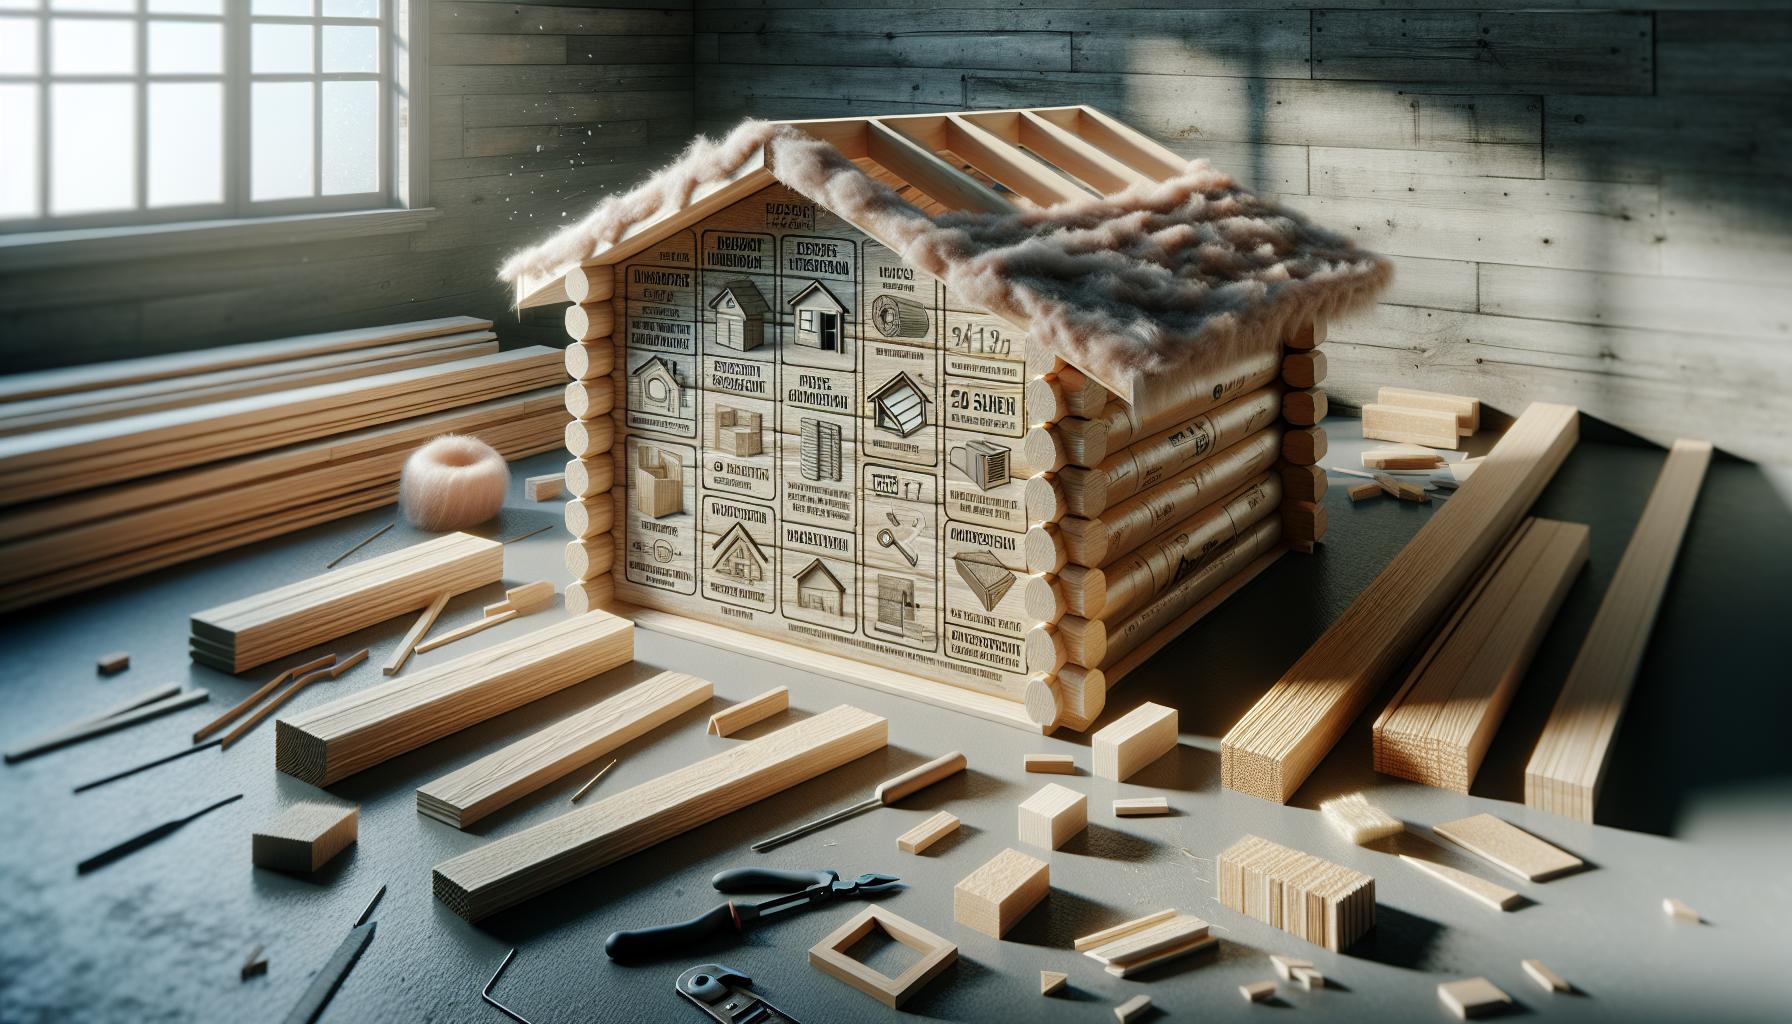
Creating a comfortable and functional space in your shed is essential for maximizing its utility, whether it serves as a workshop, storage area, or even a cozy retreat. Insulation plays a significant role in making that happen, providing not just thermal management but also soundproofing and moisture regulation.Proper insulation can keep your shed warm in the winter and cool during the summer,allowing you to enjoy your space all year round. Here are some effective insulation tips for your shed roof that every DIYer should consider.
key Insulation Materials
Choosing the right insulation material is crucial. Here are a few popular options that can significantly enhance the comfort of your shed:
- Fiberglass Insulation: This is a common choice due to its excellent thermal properties and affordability. It’s available in batts or rolls that can easily fit between the rafters.
- Rigid Foam Board: Offers superior insulation values in a thinner profile. It’s especially effective for flat or low-slope roofs.
- Reflective Insulation: Ideal for hot climates, this type of insulation reflects heat away from the shed, keeping the interior cooler.
It’s critically important to consider both the intended use of the space and the local climate when selecting insulation materials. As an example,if you live in an area with extreme temperature fluctuations,layered insulation might be your best bet.
Installation Techniques
When it comes to installing the insulation, following proper techniques can enhance effectiveness and longevity:
- Seal Gaps: Before insulating, ensure any gaps or cracks in the roof are sealed with weatherproof caulk or foam. This prevents air leaks that can undermine your insulation efforts.
- Ventilation Matters: Incorporating vents will help manage moisture that can accumulate in the shed. Proper airflow will also enhance the insulation’s performance.
- Foil Backing Installation: For reflective insulation, always ensure the foil side faces the open air. This maximizes its heat-reflective properties.
By using these installation techniques, you not only create a weather-tight barrier but also a controlled environment that can be utilized for various activities throughout the year.
Ongoing Maintenance
Once installed, regular maintenance is essential to ensure the sustained effectiveness of your roof insulation:
- Inspect for Damage: Periodically check for signs of moisture or pest infestation which can compromise insulation integrity.
- Reapply sealing Materials: Over time, seals can break down. Make it a habit to inspect and repair as necessary to maintain a tight barrier.
- Monitor Indoor Climate: Keep an eye on temperature and humidity levels inside your shed to identify potential insulation issues early.
By adhering to these maintenance tips, you ensure that your shed remains a comfortable space, ultimately prolonging its life and preserving its utility. Through these insulation strategies, inspired by the techniques outlined in how to build a shed roof that withstands the elements, you can craft an environment that’s both cozy and efficient, enhancing the overall functionality of your shed.
Navigating Building Codes and Permits: What Every DIYer Should Know
Navigating the realm of construction can often feel daunting, especially for the keen DIYer eager to tackle projects like building a shed roof. Understanding local building codes and permit requirements is essential for ensuring not only the success of your project but also its safety and compliance with regulations. Each jurisdiction has specific regulations, but some common factors typically influence your obligations.
Why building Codes Matter
Building codes are designed to protect public health and safety, ensuring structures can withstand the elements and comply with safety standards. When embarking on your shed roof project, consider the following must-know elements:
- Local Regulations: Each area may have its own set of codes, so it’s crucial to check with your local building authority. This applies to specifications for the materials you choose and the design of your roof.
- permits: In many scenarios, especially for larger structures, you will need to obtain a building permit. Failing to secure these permits can result in fines and complications when selling your property.
- Inspections: Some projects may require inspections at various stages of construction to ensure compliance with the codes. Be prepared for these evaluations to avoid delays.
Steps to Ensure Compliance
Before you begin constructing your shed roof, take proactive steps to navigate the codes effectively:
- Research Local Codes: Start by reviewing your local building authority’s website or contacting them directly. This can provide insight into specific regulations related to storm drainage, roofing materials, and structural integrity.
- Prepare Your Plans: Clearly outline your design, including dimensions and materials. Many jurisdictions require detailed plans when applying for a permit.
- apply for Necessary Permits: Submit your plans along with the permit application. Be prepared for potential modifications based on feedback from the building office.
- Keep Documentation Handy: Maintain all permits and correspondence with officials organized and easily accessible. This can save time during inspections and help with any future property transactions.
Remember, properly navigating the building codes and permits not only ensures your project meets safety and legal standards but also instills a sense of accomplishment as you see your vision of a well-constructed, weather-tight shed roof come to life. Adopting a meticulous approach to understanding regulations will empower you to build with confidence and creativity.
Tools of the Trade: Essential Equipment for a Successful Shed Roof Build
When it comes to constructing a shed roof, the right equipment can mean the difference between a project that stands the test of weather and one that succumbs to the elements. The saying “a chain is only as strong as its weakest link” holds true in shed roofing; having quality tools at your disposal is crucial.To help you navigate the essential equipment you’ll need, we’ve compiled a list of must-haves that will simplify the process and ensure you achieve lasting results.
Core Tools Required for Shed Roof Construction
- Measuring Tape: Accuracy is key in any build; a measuring tape ensures precise cuts and dimensions.
- Level: Ensure your roof is perfectly aligned to avoid water pooling or drainage issues.
- Circular Saw: Use this for cutting roofing materials with efficiency and precision.
- Framing Hammer: Ideal for driving nails into framing and roofing structures securely.
- Screw Gun: A power tool that speeds up the process of fastening metal sheeting or wood panels.
- Ladder: Safety is paramount, so a sturdy ladder is essential for reaching higher areas during installation.
Helpful Accessories for Enhanced Efficiency
In addition to the core tools, certain accessories can enhance your efficiency and safety as you work on your shed roof. investing in these items can provide greater convenience and contribute to a successful roofing project.
| Accessory | Description |
|---|---|
| Safety Gear | Gloves, goggles, and hard hats are critical for protecting yourself from injury while working at heights. |
| Tarps | Useful for covering materials and protecting your work area from inclement weather. |
| Snap Chalk Line | This tool is perfect for marking straight lines on surfaces, ensuring clean cuts and placements. |
| Roofing Nailer | A specialty nailer that speeds up the installation of shingles or panels, improving productivity. |
Whether you are just starting with the construction of your shed roof or looking to refine your skills,having the right tools in your arsenal is indispensable. By investing in quality equipment and accessories,you can execute the weather-tight techniques every DIYer must know,ensuring your shed roof not only looks great but also performs exceptionally well against the elements.
Common Mistakes to Avoid When Building a Shed Roof: Learn from Experience
While embarking on the journey of constructing a shed roof, many DIYers find that the experience is akin to a rite of passage; the thrill of seeing your efforts take shape can easily overshadow the potential pitfalls. However, overlooking even the smallest detail can lead to costly and time-consuming mistakes. To help you navigate this project smoothly, here are some common missteps to avoid, ensuring that you stay focused on creating a weather-tight and durable structure.
Miscalculating Measurements
One of the most prevalent issues encountered in building a shed roof is miscalculation. Accurate measurements are essential for ensuring that each piece fits perfectly.Using incorrect dimensions can lead to:
- Poorly aligned rafters, which might cause water pooling and leaks.
- Inadequate overhangs that expose the walls to excessive moisture.
- Unstable roof structures that may collapse under the weight of snow or water.
Before you start cutting lumber, it’s wise to double-check your measurements and consider using a level and square for precision. If necessary, create a clear set of diagrams to reference throughout the building process.
ignoring Local Building Codes
Another significant error is disregarding local building regulations. Many DIYers may underestimate the importance of complying with these rules, but doing so can lead to:
- Fines or penalties from local authorities.
- The necessity to dismantle and redo non-compliant work.
- Insurance issues should problems arise down the line.
Consult your local building department to understand the codes that apply to your project. This will not only provide peace of mind but also improve the overall integrity of your work.
Improper Material Selection
Choosing the wrong materials for your shed roof can significantly affect its longevity and performance. Common mistakes include:
- Using untreated wood in moisture-prone areas, leading to rot.
- Opting for low-quality roofing materials that are prone to leaks.
- Selecting materials that are insufficiently rated for local weather conditions.
It’s essential to invest in high-quality, weather-resistant materials that will withstand your region’s climate as discussed in How to Build a shed Roof: Weather-Tight Techniques Every DIYer Must Know. Consider conducting research or seeking recommendations based on your locality’s specific weather challenges.
Neglecting Ventilation
A mistake that can have long-term consequences is neglecting proper ventilation. Poorly ventilated roofs can lead to trapped heat and moisture,resulting in:
- Plywood warping and damage.
- The growth of mold and mildew, which can compromise the integrity of your shed.
- Higher temperatures which can affect the functionality of stored items.
be sure to include roof vents or soffit vents to facilitate proper air circulation within your shed roof. This simple step can significantly enhance the overall air quality and lifespan of your roof.
By recognizing these common pitfalls, DIY enthusiasts can significantly enhance their chances of successfully building a shed roof that stands the test of time. Each step taken with care and consideration comes together to form a weather-tight structure, ensuring your investment serves you well for years to come.
Frequently Asked Questions
What is the best design for a shed roof?
the best design for a shed roof typically includes a sloped surface to facilitate water drainage. Common designs are gable, lean-to, and hip roofs, each offering unique advantages in terms of aesthetics and functionality.
Choosing the right design depends on factors like climate, building purpose, and personal preference. For example, a steep pitch is ideal for heavy rain or snow, while a simple flat roof may suffice in drier regions. explore more about roofing styles in our article on different roof types.
How to build a weather-tight shed roof?
To build a weather-tight shed roof, start by selecting high-quality materials such as waterproof underlayment and weather-resistant roofing.Ensuring a proper slope will also aid water runoff, reducing the chance of leaks.
Utilizing proper installation techniques, like correctly aligning shingles or tiles, is crucial for a durable shell. Remember to seal all joints and use flashing at vulnerable points to keep water out effectively. For more tips, see our section on building a weather-tight roof.
Can I build a shed roof myself?
Yes, you can build a shed roof yourself if you have basic carpentry skills and the right tools. A DIY approach can be rewarding and cost-effective,allowing you to customize the structure.
Before starting, ensure you have a clear plan, including materials, measurements, and local building codes. Even beginners can succeed with careful research and readiness. Don’t hesitate to seek guidance or watch tutorials for complex steps.Our article on DIY tips for building may help!
Why does a shed roof need to be weather-tight?
A shed roof needs to be weather-tight to protect the interior from moisture, which can cause damage, rotting, and mold growth. Ensuring a secure,weather-resistant roof prolongs the life of your shed.
Inadequate waterproofing can lead to costly repairs and deterioration over time. Maintaining a weather-tight roof can also create a better environment for storing tools or equipment, ensuring they remain in good working condition. For further information, refer to our guide on roof maintenance.
What materials are essential for building a shed roof?
Essential materials for building a shed roof include rafters, roofing boards, shingles or metal sheets, and waterproof underlayment.each material plays a critical role in establishing a sturdy, long-lasting structure.
Choosing the right materials based on local weather conditions is crucial. As a notable example, use durable metal roofing in areas with heavy snow or high winds. Always opt for high-quality wood for the framework to ensure strength. Explore more about materials for shed roofs in our detailed guide.
Can I use metal roofing for my shed?
Yes, you can use metal roofing for your shed; it offers excellent durability and resistance to harsh weather conditions. Metal roofs are lightweight, fire-resistant, and can last for decades when properly installed.
While they may require a higher upfront investment, the longevity and low maintenance of metal roofing make it a cost-effective choice over time. Ensure proper installation techniques to maximize its benefits. Find helpful installation tips in our section on metal roofing tips.
How long does it take to build a shed roof?
Building a shed roof can take anywhere from one to three days, depending on your experience, design complexity, and weather conditions. Time estimates can vary significantly based on several factors.
For beginners, taking your time will ensure a safer and more solid structure, while experienced DIYers might finish quicker. Ensure you allocate time for planning and gathering materials beforehand. Review our time-saving tips for building for better efficiency.
Concluding Remarks
As you embark on your journey to build a shed roof, remember that mastering the weather-tight techniques we’ve discussed is essential for ensuring durability and longevity in your project.from selecting the right pitch to understanding the importance of proper flashing and ventilation, each step contributes to creating a robust shelter that can withstand the elements.
Don’t hesitate to revisit the fundamentals, whether you’re just starting out or you’re seasoned in the DIY world; there’s always something new to learn and refine. Building is a reflection of both skill and creativity, and with every mistake comes an opportunity for growth.
So, gather your materials, channel your enthusiasm, and take pride in each advancement you make.As you navigate the challenges ahead, keep in mind local regulations and safety standards to ensure that your project is not only fulfilling but also compliant.
Now, let’s turn that passion into action! Dive deeper into the techniques covered and share your experiences or questions; your journey is valuable and can inspire others. Happy building!

