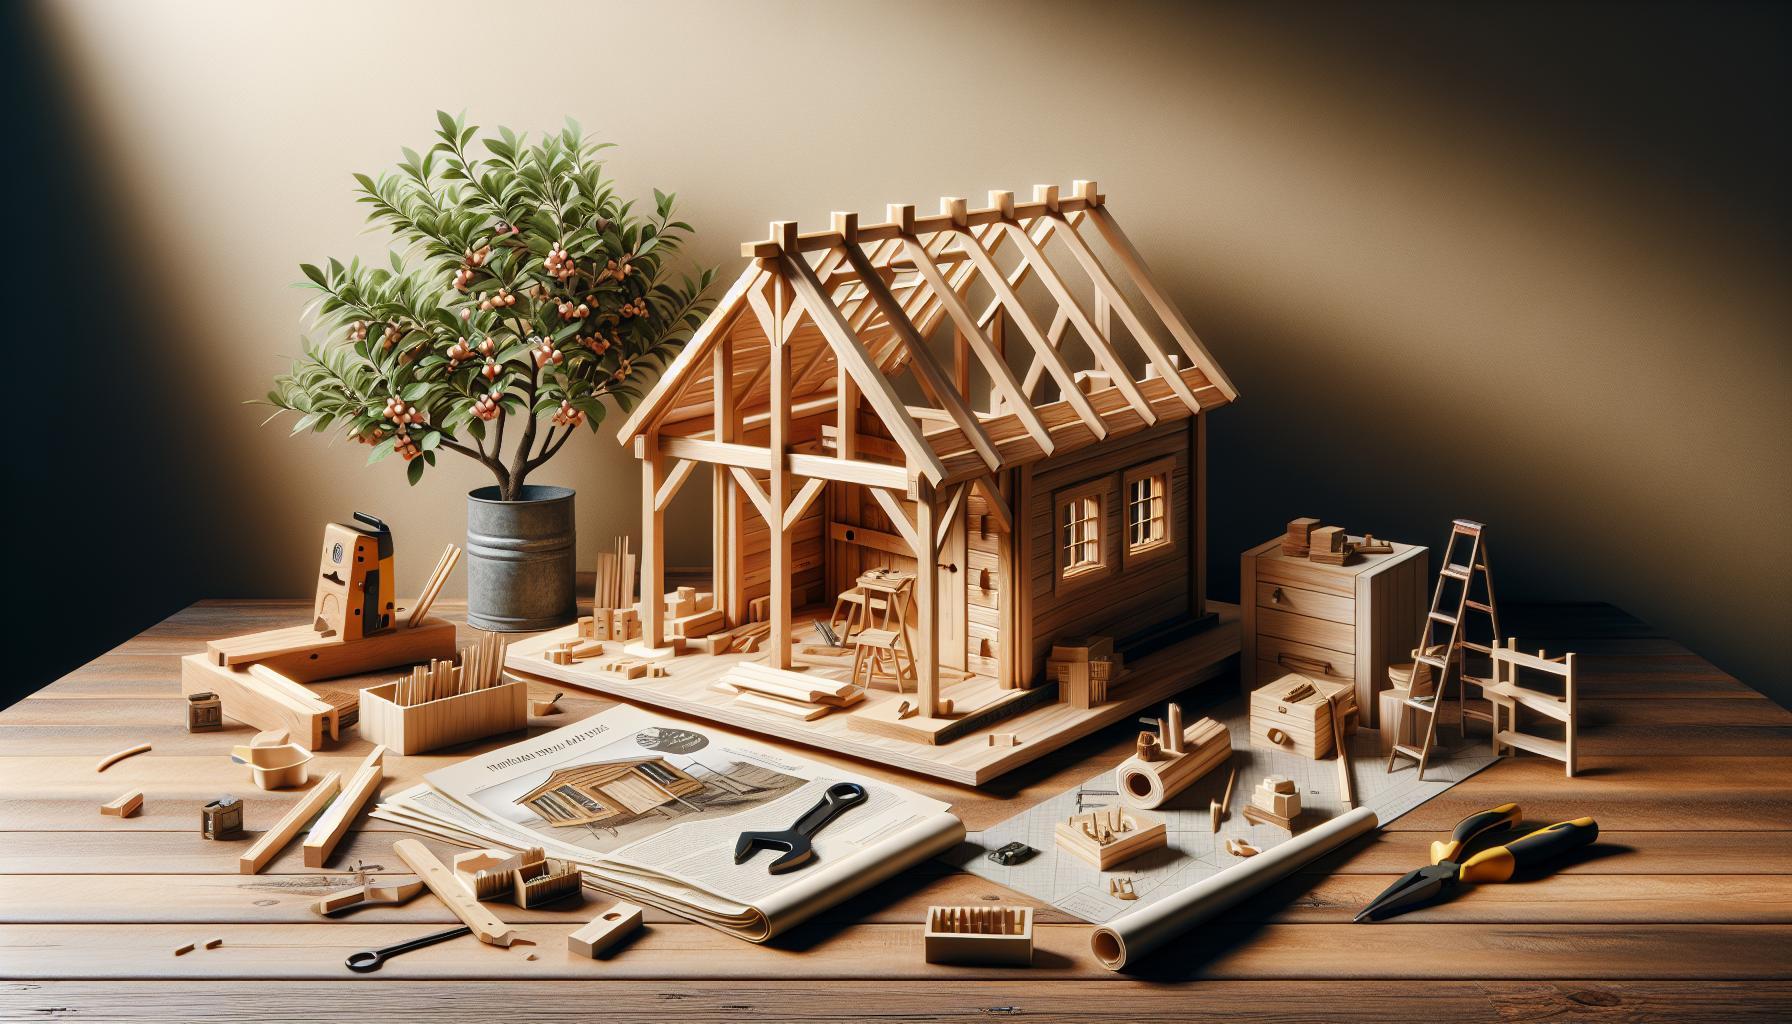
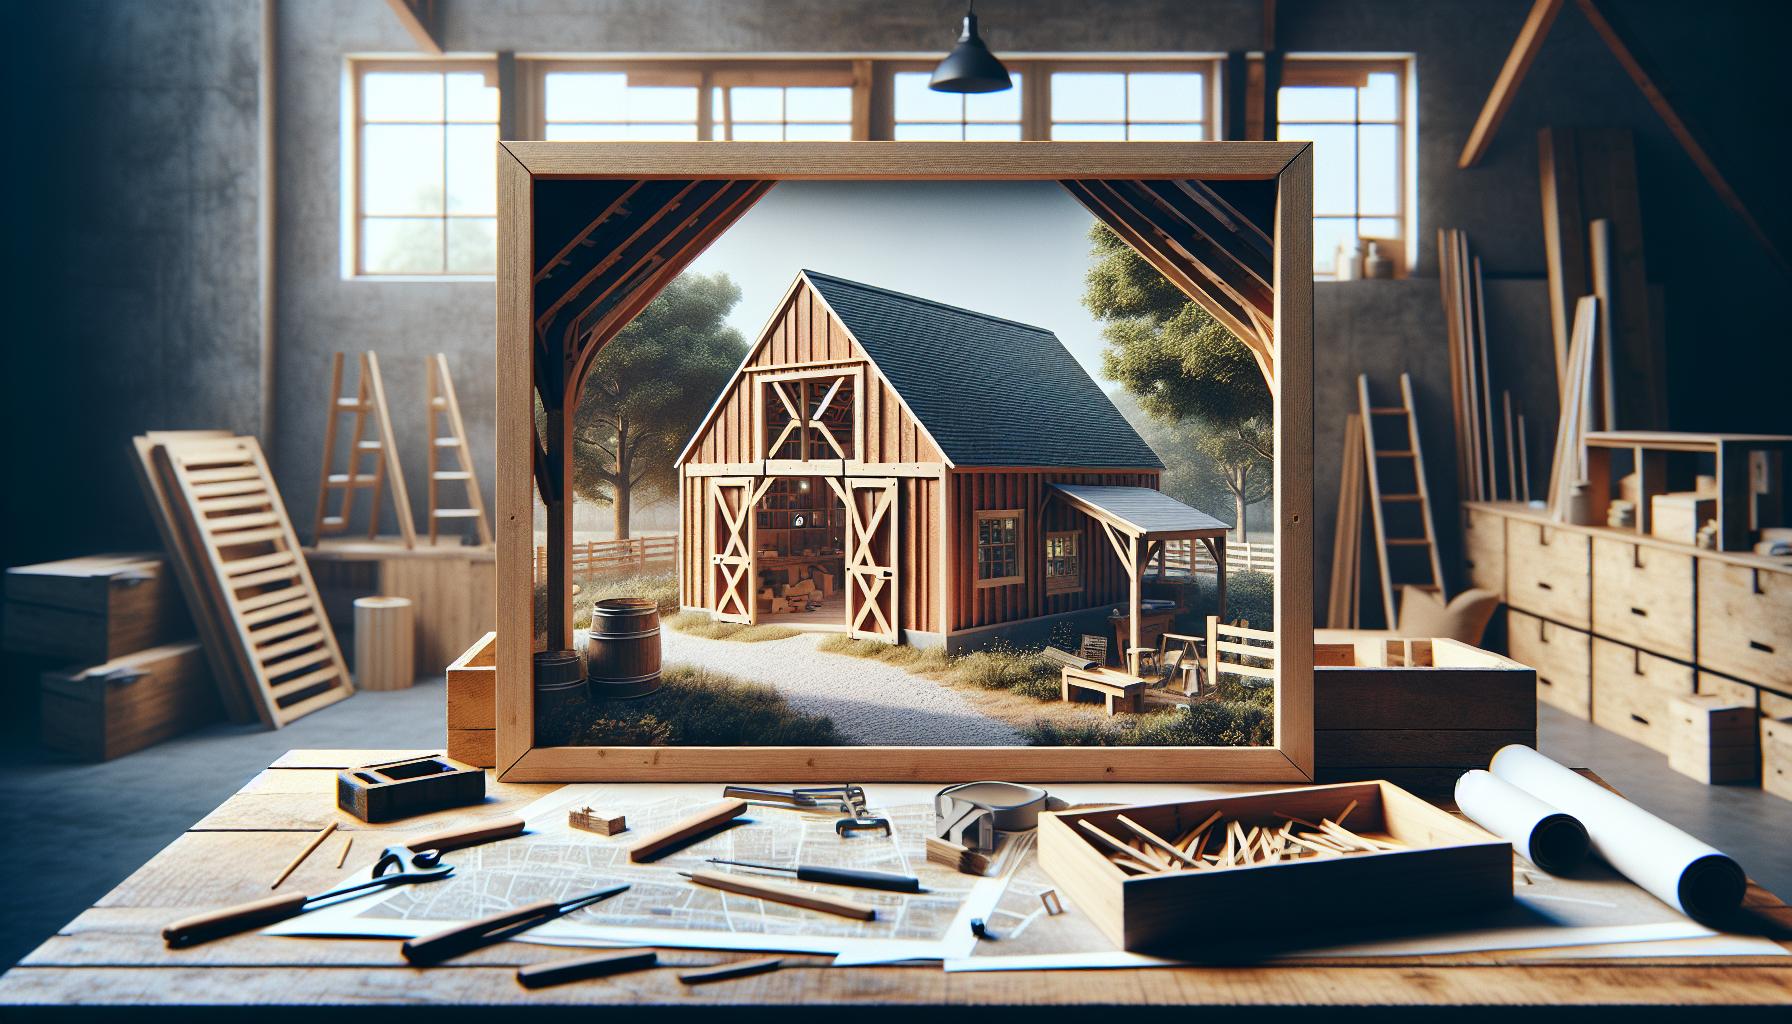
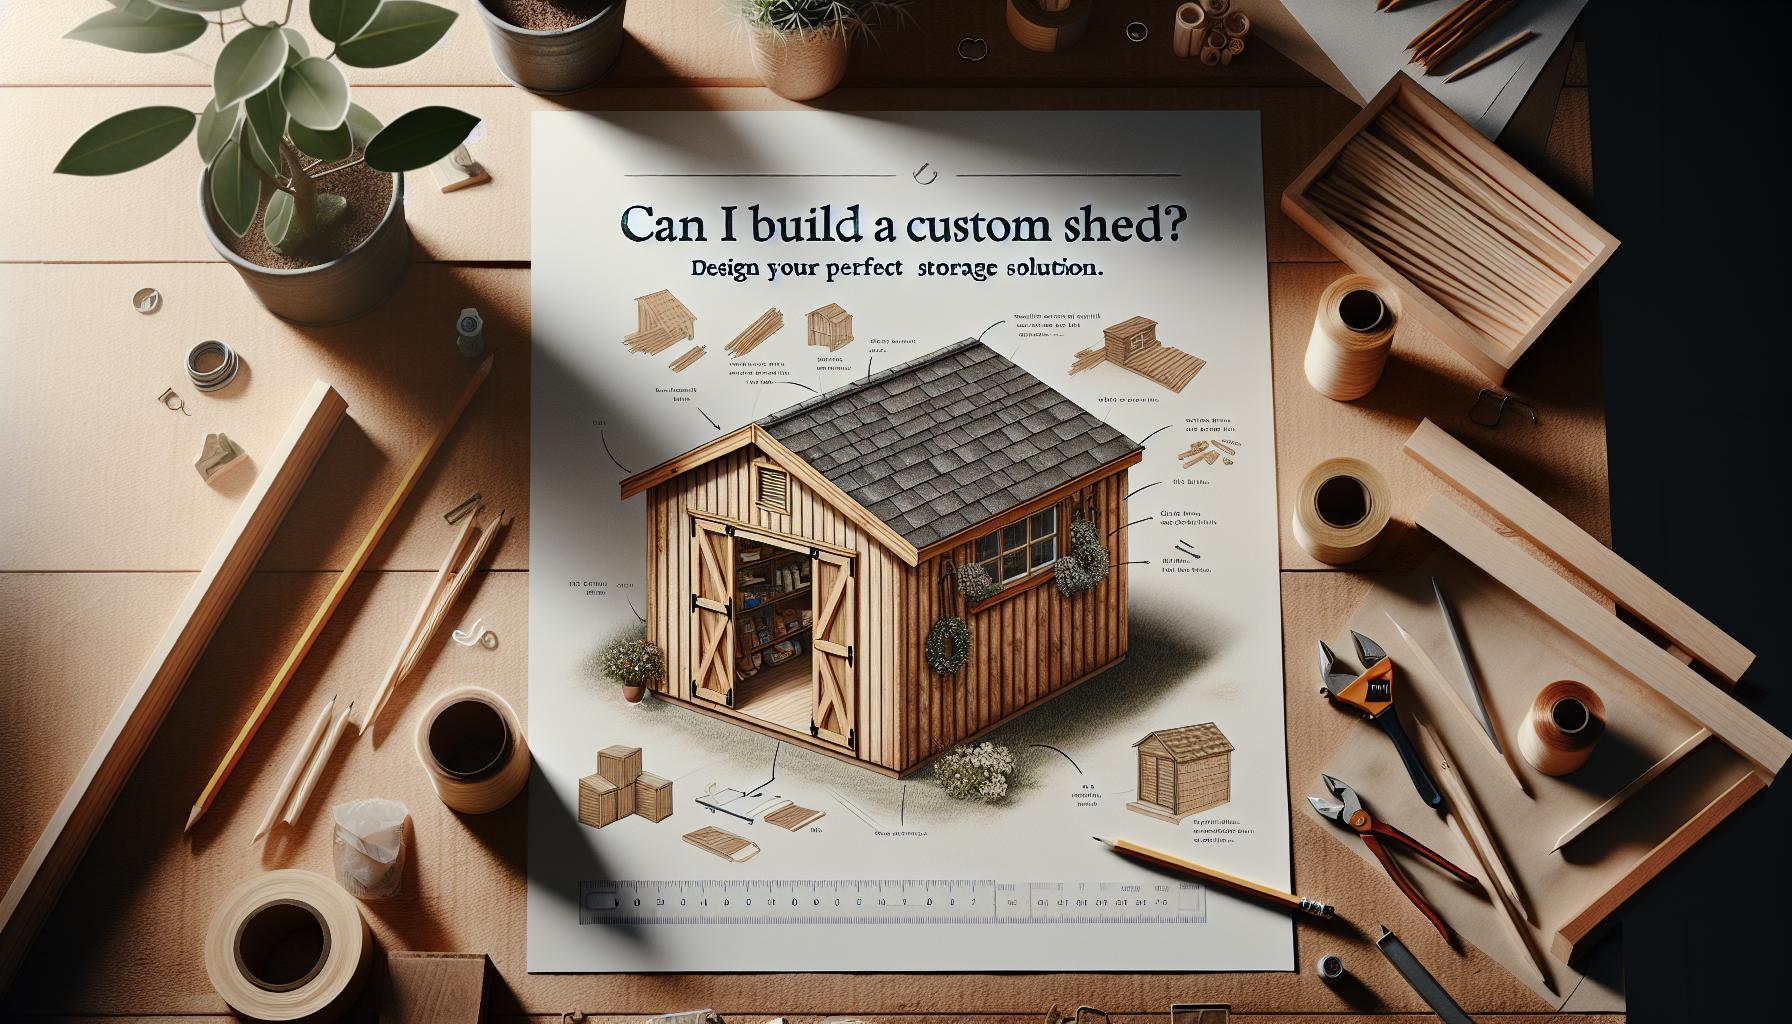
Are you tired of leaks and water damage compromising your outdoor space? Building a durable, waterproof shed roof is essential for protecting your tools and equipment from the elements. In this guide, we’ll explore effective designs and materials that ensure your roof stands the test of time, keeping your investment safe for years to come.
Understanding Shed Roof Types: Choosing the Right design for Your Project
When embarking on a shed building project, one of the most critical considerations is the roofing design, as it plays a vital role in the overall aesthetics and functionality of the structure. The right choice can enhance not only the shed’s appearance but also it’s durability and practicality, especially in terms of waterproofing. Selecting the appropriate shed roof type requires a clear understanding of the various designs available and their respective benefits.
Types of Shed Roofs
Different roof styles can cater to a variety of needs and preferences. Here’s a brief overview of popular shed roof types to consider for your project:
- Flat Roof: Ideal for modern aesthetics, flat roofs are straightforward to construct and offer easy access for maintenance or additional features like solar panels. However, they require proper drainage systems to prevent water pooling.
- Lean-To Roof: A versatile option,lean-to roofs are characterized by their single slope. They’re great for smaller sheds and can be attached to an existing structure for seamless integration.
- Pitched Roof: This classic design, with its two sloping sides, allows for excellent water runoff and can create additional storage space or even a loft area. Pitched roofs are well-suited for harsher climates.
- Gambrel Roof: Often seen in barns, the gambrel design provides maximum headroom and offers a spacious loft area. This style combines aesthetics with functionality, making it a popular choice for larger outdoor structures.
Choosing the Right Design for Your Project
the choice of a shed roof design shoudl align with several factors, including the intended use of the shed, climate considerations, and your own aesthetic preferences. Such as, if your shed will serve as a workshop or storage for tools and machinery, a pitched or gambrel roof may provide the extra height and ventilation needed. Conversely, if your financial constraints limit the complexity of your build, a flat or lean-to roof could be more manageable and cost-effective.
Here’s a simple comparison of roof styles based on their characteristics and applications:
| Roof Type | Advantages | Best For |
|---|---|---|
| Flat Roof | Cost-effective, modern look, easy maintenance | Contemporary sheds, urban settings |
| Lean-To Roof | Simple construction, versatile placement | Garden sheds, against existing structures |
| Pitched Roof | Strong water runoff, increased headroom | Workshops, secure storage |
| Gambrel Roof | Spacious interior, aesthetic appeal | Bigger sheds requiring loft space |
incorporating the right design can significantly affect the longevity and functionality of your shed. Understanding the differences and advantages of each type empowers you to make informed decisions that ensure your structure not only stands the test of time but also meets your personal and practical needs. Whether you’re delving into plans for a simple garden shed or a multifunctional workspace, exploring the best roofing options will enhance your project.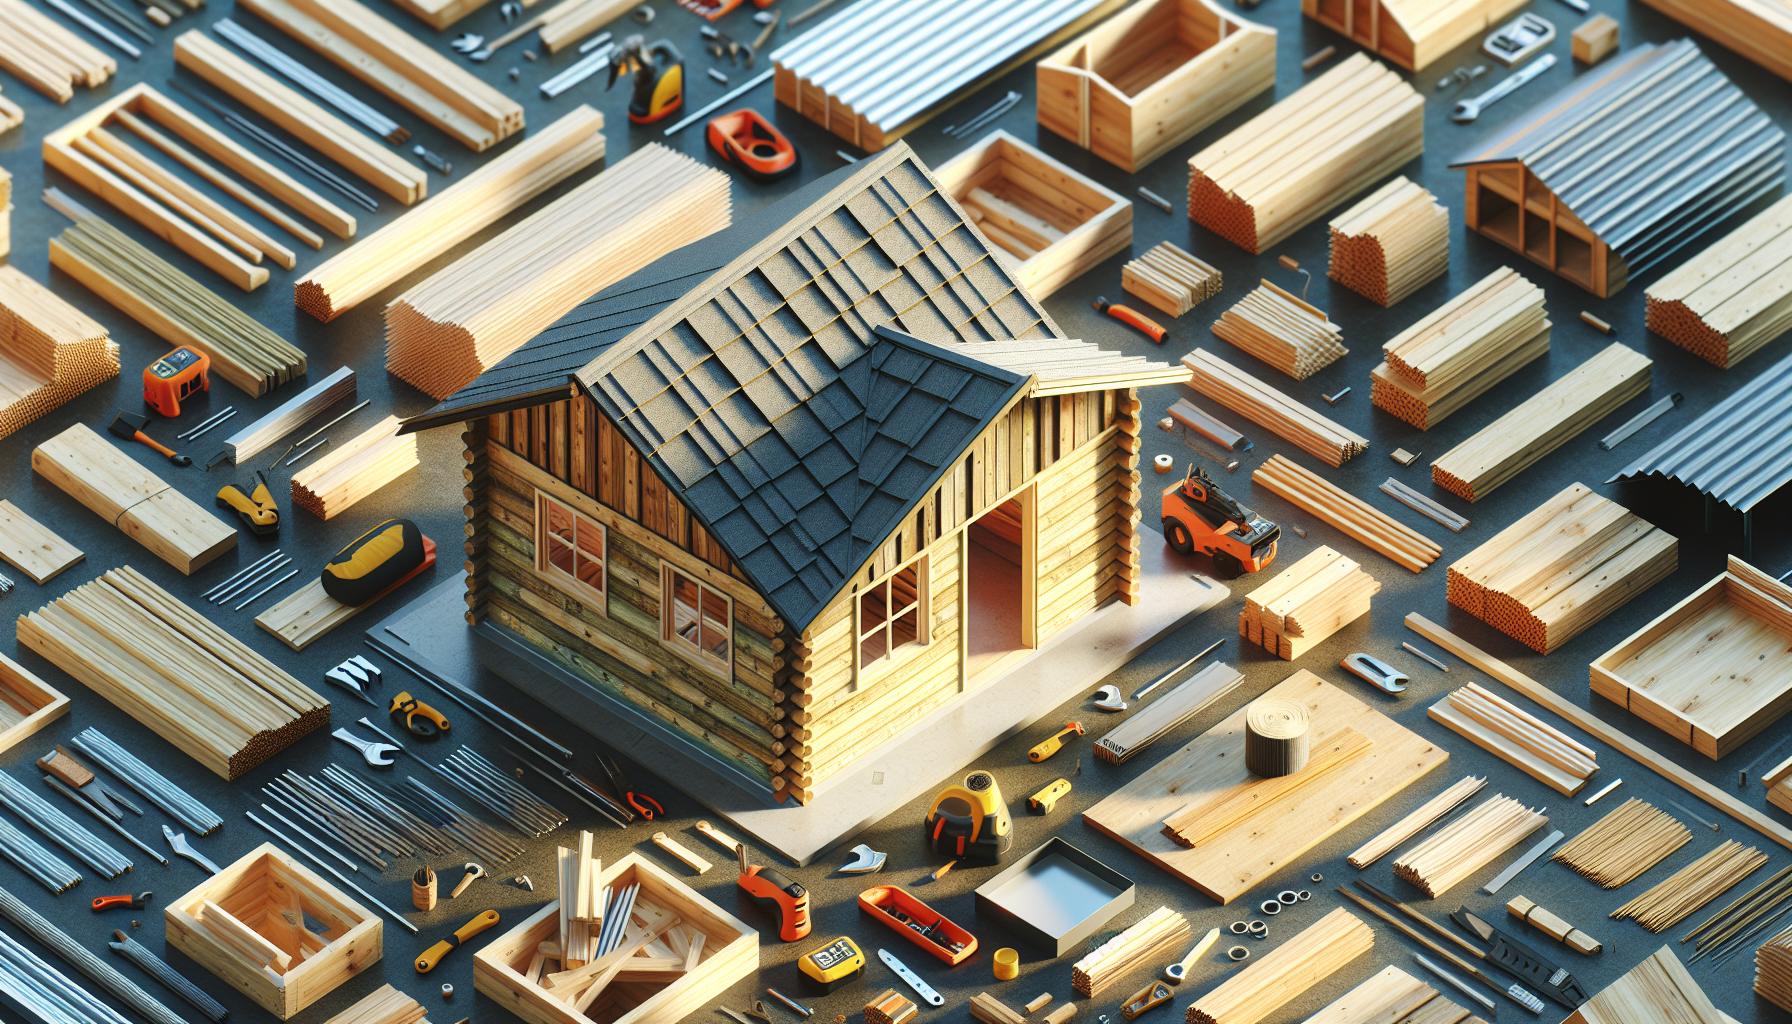
Essential Materials for a Durable Shed Roof: What You Need to Know
When embarking on the journey of constructing a shed, the roof is one of the most pivotal components to consider. A well-built roof not only enhances the aesthetic appeal of your shed but also provides crucial protection against the elements, ensuring longevity and functionality. Understanding the essential materials you need for a durable shed roof will help you create waterproof designs that withstand the test of time.
Key Roofing Materials for Durability
To achieve a waterproof and long-lasting roof for your shed,the choice of materials is paramount. Here are some of the most popular options:
- Metal Roofing: Known for its robustness, metal roofing can endure harsh weather conditions and is resistant to rust and rot. It’s an ideal choice for areas with heavy snowfall or rain.
- Asphalt Shingles: Affordable and easy to install, asphalt shingles offer adequate waterproofing. They come in various styles and colors, making them a versatile option for many shed designs.
- EPDM Rubber: This roofing material is highly effective for flat or low-sloped roofs.EPDM provides excellent waterproofing and can last over 30 years with proper maintenance.
- Wood Shakes: Though less common, treated wooden shakes can provide a rustic charm.They require proper installation and periodic treatment to prevent decay.
Considerations for Choosing Materials
When selecting materials, consider the following aspects to ensure your shed roof stands resilient through the seasons:
Climate Compatibility: Evaluate the weather patterns in your area. As an example, regions with high rainfall might benefit more from metal or rubber roofs, while areas with less precipitation can accommodate shingles or wood.
Weight: The roof’s structure must support the weight of the chosen material. Some materials,like metal,are lightweight,while others,like tile or concrete,may require additional structural framing.Budget: Assess your budget as roofing materials can significantly vary in cost. Invest in quality materials that may have a higher upfront cost but will save you money on repairs in the long run.
Example Cost and Lifespan Table
| Material Type | Cost per Square Foot | Estimated lifespan |
|---|---|---|
| Metal Roofing | $3 – $10 | 40-70 years |
| Asphalt Shingles | $1 - $5 | 15-30 years |
| EPDM Rubber | $2 – $5 | 30+ years |
| Wood Shakes | $4 – $8 | 20-40 years |
Incorporating the right materials is vital for constructing a waterproof shed roof. By understanding your options and considerations, you’ll be well on your way to creating a structure that not only meets your aesthetic desires but also stands strong against nature’s elements for years to come.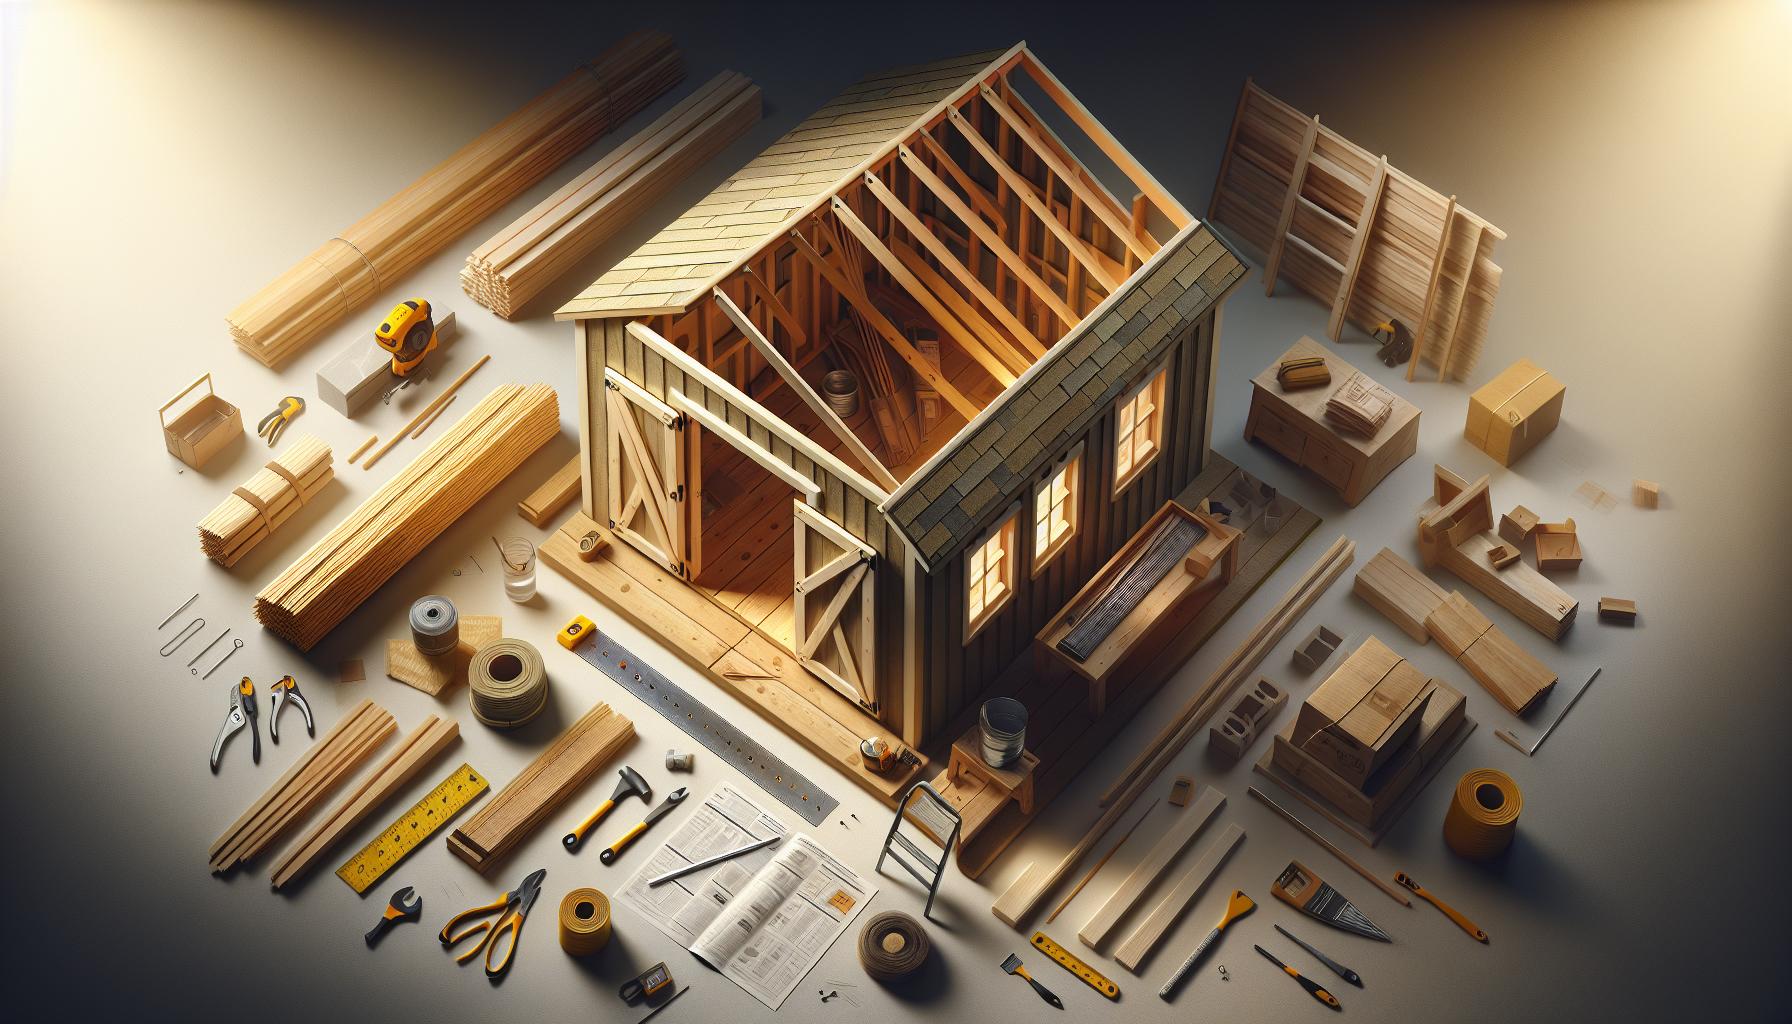
Step-by-Step Guide to Framing Your Shed Roof: A DIY Approach
Framing a shed roof is not just a structural necessity; it’s an prospect to create a space that is both functional and aesthetically pleasing. Whether you’re building a simple storage shed or a more elaborate workshop, the roof plays a crucial role in protecting your belongings from the elements. to embark on your DIY journey with confidence, follow these essential steps to frame your shed roof effectively while ensuring durability and style that resonate with the waterproof designs outlined in popular building guides.
Gather Materials and Tools
Before you begin, collect all the necessary materials and tools. This preparation is vital for a seamless process. Here’s a fast checklist to ensure you have everything you need:
- Materials:
- Plywood sheathing
- 2×4 or 2×6 framing lumber
- Roofing felt or underlayment
- Shingles or metal roofing panels
- flashing and nails or screws
- Tools:
- Measuring tape
- Level
- Circular saw
- Hammer or drill
- Safety gear (gloves, goggles)
Structure the Roof Frame
The next step in your DIY project is to build the roof frame.Start by measuring and cutting the rafters to fit your desired shed dimensions. Typically, the angle of the rafters should create a pitch that allows rain and snow to slide off effectively. Here are the key steps:
- Determining Rafters’ Length and Angle: Use a framing square to mark the angles for cuts.A common pitch is 4:12, meaning for every 12 inches horizontally, the roof rises 4 inches.
- Lay Out the Ridge Beam: This is the central support that your rafters will connect to. Ensure it is level and secure it at the appropriate height based on your desired roof slope.
- Attach Rafters: Position the rafters at equal intervals, typically 24 inches apart, and secure them to the ridge beam and the top plate of your shed walls using nails or screws for added stability.
Ensure Proper Waterproofing
A well-framed roof is only as good as its waterproofing. After securing the rafters, its vital to apply an underlayment and roofing material to protect your shed from water infiltration. consider the following tips:
- Install Roofing Felt: Roll out the roofing felt over the plywood sheathing, ensuring it overlaps at the seams to create a seamless barrier.
- Choose quality Roofing Materials: Whether opting for shingles or metal panels, ensure they are designed for durability and weather resistance. Follow the manufacturer’s instructions for installation to maximize lifespan.
- Add Flashing: Install flashing around the edges and joints where water might accumulate. This step is critical in preventing leaks that can compromise your shed’s integrity.
| Material | Purpose | Recommended Type |
|---|---|---|
| Plywood Sheathing | Roof decking | Water-resistant exterior grade |
| Roofing Felt | Moisture barrier | 30-pound felt |
| Shingles/Metal Panels | Protection from elements | Architectural shingles or galvanized steel |
Building your shed roof not only adds to the utility of your shed but also enhances its overall visual appeal. By following these steps and utilizing waterproof designs that ensure longevity, you can create a roof that stands the test of time, providing shelter and security for your projects and possessions.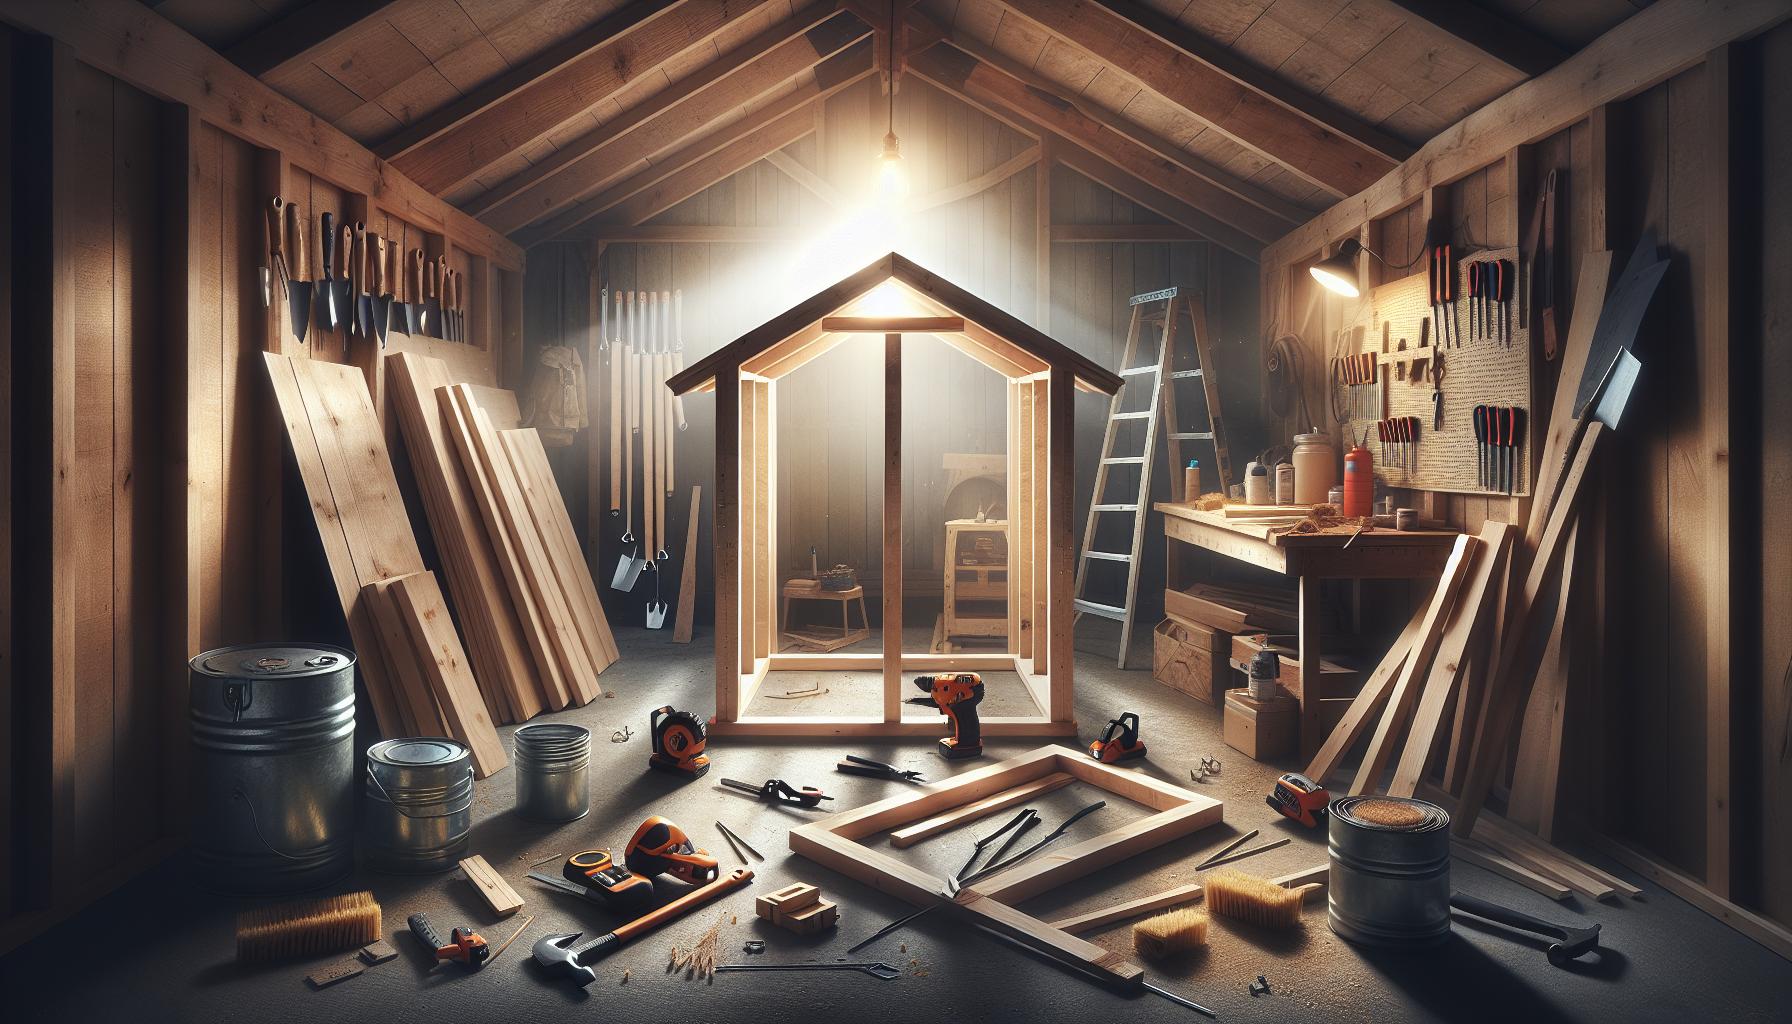
Waterproofing techniques: Ensure Your Shed Stays Dry Year-Round
To keep your shed dry and protect its contents from water damage, employing effective waterproofing techniques is crucial. Not only do these strategies ensure the longevity of your shed, but they also provide peace of mind knowing that tools, equipment, and other valuables are safeguarded against leaks and moisture infiltration. Understanding the principles behind robust waterproofing can be the difference between a well-functioning shed and one that quickly falls into disrepair.
Key Waterproofing Strategies
Implementing several best practices can significantly enhance your shed’s resistance to water intrusion.Here are effective waterproofing techniques to consider:
- Quality Roofing Materials: Selecting high-quality shingles, metal sheets, or rubber membranes can dramatically reduce the risk of leaks. These materials should be weather-resistant and appropriate for the climate in which you reside.
- Proper Roof Pitch: A roof with a steep pitch facilitates better water runoff and prevents pooling. Aim for at least a 15-degree angle to ensure that rainwater drains efficiently.
- Sealing Joints and Edges: Utilize caulking or waterproof sealants on the joints and edges where different materials meet. This prevents water from finding small gaps that could lead to leaks.
- Gutters and Downspouts: Installing gutters and directing water away from the foundation of your shed can help manage rain runoff. Ensure that downspouts lead to areas where water can drain safely away.
Foundation and Floor Protection
Waterproofing efforts should extend beyond the roof. Consider these foundational techniques to protect the base of your shed:
| Technique | Description |
|---|---|
| Elevated Flooring | Install your shed on a raised foundation using concrete blocks or treated wood, which can prevent moisture from seeping in from the ground. |
| Use of Vapor Barriers | A vapor barrier can be laid beneath the flooring to stand against ground moisture, crucial in areas with high humidity or heavy rain. |
| Drainage Systems | Create a drainage system around the shed to divert water away. French drains can be effective in managing excess water flow. |
By implementing these extensive waterproofing techniques, you’ll significantly extend the life of your shed and maintain a dry, secure environment year-round. Remember, taking the time to integrate these strategies while learning how to build a shed roof with waterproof designs will lead to a durable and reliable structure that stands the test of time.
Common Challenges in Shed Roof Construction and How to Overcome them
Building a shed roof is not just about securing lumber and hoping for the best; it requires careful planning and forethought to avoid common pitfalls. Many builders, whether amateurs or seasoned DIY enthusiasts, face specific challenges that can compromise the structural integrity and waterproofing of their shed roofs. Understanding these challenges is the first step towards creating a durable, long-lasting structure that aligns with the tips outlined in ‘How to Build a Shed Roof: Waterproof Designs That Last for Years.’
Structural Integrity Concerns
One of the primary challenges is ensuring the structural integrity of the roof.Poorly designed support systems can lead to sagging or even collapse under weight or adverse weather conditions. To tackle this issue, consider these strategies:
- Proper Pitch: Choose the right pitch for your roof design, typically between 4:12 and 6:12 for good water runoff.
- Reinforcement: Use headers and braces to strengthen the framework, especially if your roof will support heavier materials like tiles.
- Quality Materials: Invest in high-quality lumber and other materials that are treated for weather resistance.
Waterproofing Failures
Another frequent problem in shed roof construction is achieving effective waterproofing. Even minor leaks can lead to significant issues over time, including mold and material degradation. Here are actionable methods to enhance waterproofing:
- Flashing Installation: Properly install flashing around chimneys, vents, and joints to prevent water intrusion.
- Membrane Roofing: Consider using a waterproof membrane or specialized roofing materials designed for humid or rainy climates.
- Regular Maintenance: Schedule periodic inspections to identify and repair potential leaks before they escalate.
Weather Resistance
Weather conditions can pose a challenge during the construction phase, influencing the drying and curing of materials as well as physical safety while working. To optimize your building process even in unpredictable weather, apply these techniques:
- Weather-Appropriate Timing: Plan your construction during seasons with stable weather conditions.
- Temporary Covering: Use tarps or temporary structures to protect your work area from rain or snow.
- Safety First: Always prioritize safety by using appropriate gear and ensuring the area is free of hazards during adverse weather.
building a shed roof that is not only functional but also waterproof and durable requires an understanding of common challenges and proactive solutions. By addressing structural integrity, waterproofing, and weather resistance from the ground up, you can ensure that your shed holds up beautifully for years to come.
Finishing Touches: Enhancing Your Shed roof’s Longevity and Aesthetics
The longevity and appearance of your shed roof can significantly impact the overall aesthetics and value of your outdoor space.After investing time and resources into building a shed roof that’s waterproof and durable, consider these finishing touches to ensure it not only lasts for years but also enhances your property.From selecting the right materials to adding decorative elements, the details can make a substantial difference.
protective Coatings
Applying a high-quality protective coating is an essential step for extending the life of your shed roof. These coatings not only provide a waterproof barrier but also protect against UV damage, rust, and mold growth. Look for products specifically designed for the material of your roof—be it metal, wood, or shingles. Here are a few types of coatings to consider:
- Sealants: Ideal for wood or shingle roofs, sealants provide a waterproof barrier and can enhance the natural grain of the wood.
- Metal Roof Coatings: If your shed roof is metal, apply an elastomeric coating to reflect heat and prevent rust.
- Reflective Roof Coatings: For asphalt shingles, these coatings can improve energy efficiency by reflecting sunlight.
Gutter Installation
Proper drainage is integral to maintaining the integrity of your roof. Installing gutters and downspouts can definitely help divert rainwater away from the foundation and prevent mold and mildew accumulation on the roof. When planning your gutter system, consider these features:
| Feature | description | Benefits |
|---|---|---|
| Leaf Guards | Prevent leaves and debris from clogging gutters. | Reduced maintenance and prolonged gutter life. |
| Downspout Extensions | Pipe that directs water further away from the shed. | Protects the foundation from erosion. |
| Gutter Pitch | Slight slope in gutter installation. | Ensures effective water flow towards downspouts. |
Ventilation Solutions
Without proper ventilation, your shed roof can become a breeding ground for moisture-related issues. Installing ridge vents or mushroom vents can promote air circulation and reduce heat buildup, which is crucial for maintaining the integrity of roofing materials. Here’s how to enhance ventilation in practical terms:
- Ridge Vents: These are installed at the highest point of the roof,allowing hot air to escape while drawing in cooler air from eaves.
- Soffit vents: Positioned under the roof overhang, these vents work in conjunction with ridge vents to create an effective airflow system.
- Gable End Vents: Placed at the gable ends of the shed, these provide additional airflow and can improve aesthetic appeal.
By focusing on these finishing touches, not only will you enhance your shed roof’s longevity, but you’ll also contribute to the overall beauty of your outdoor environment, ensuring that your structure remains an attractive and functional addition to your property for years to come.
Maintenance Tips for Long-Lasting Shed Roofs: keep Your Structure Strong
Proper maintenance of your shed roof can significantly extend its lifespan and protect your valuable belongings. A well-maintained roof not only enhances the structural integrity of your shed but also prevents costly repairs down the line. Here are crucial strategies to keep your shed’s rooftop in prime condition,ensuring it resists the elements while maintaining its aesthetic appeal.
Regular Inspections
Performing routine inspections is key to identifying potential issues before they escalate. Schedule bi-annual checks—preferably in spring and autumn—to assess the overall condition of your roof. Look for:
- Missing shingles or tiles: These can expose your roof to water damage.
- Signs of wear: Cracks, curls, or blisters in materials indicate aging.
- Debris buildup: Leaf litter, branches, and dirt can trap moisture.
- Moss or algae growth: This can retain moisture and weaken roofing materials.
Cleaning and Clearing
Keeping your roof clean is essential for longevity. Remove debris promptly to prevent moisture retention and decay. Consider these cleaning tips:
- Clear Gutters: Ensure that gutters and downspouts are free from clogs to facilitate proper drainage.
- Brush Off Debris: Use a soft-bristle brush or broom to remove leaves and dirt without damaging the roofing material.
- Wash with Caution: If necessary, use a pressure washer with low pressure to gently clean your roof, but be mindful of fragile materials.
Protective Measures
To shield your shed roof from harsh weather conditions, consider applying protective coatings. These coatings can reduce UV damage and enhance waterproofing.
- Sealant Application: Periodically apply a quality sealant suitable for your roofing material to enhance water resistance.
- Roof Paint: A reflective roof paint can help regulate temperature and protect against UV rays.
- Insulation Checks: Proper insulation can prevent condensation and leaks, so inspect this regularly as well.
Addressing Repairs Promptly
Whenever you spot an issue during your inspections, tackle repairs immediately. A small leak can quickly turn into a significant problem if ignored. For straightforward fixes:
- Patch up Minor Leaks: use roof patch kits or appropriate sealants to mend small holes or cracks.
- Replace Damaged Materials: Swap out any compromised shingles or tiles to maintain the roof’s integrity.
- Reinforce Weak Spots: Strengthening areas prone to wear can prolong the overall lifespan of your roof.
Investing the time and effort into these maintenance strategies ensures your structure remains resilient against weather effects, and ultimately, it paves the way for a shed roof that lasts for years. By understanding how to build a shed roof with waterproof designs and following these maintenance tips, you can protect your investment and enjoy a functional outdoor space for many years to come.
Faq
How to build a shed roof: waterproof designs that last for years?
To build a shed roof that is waterproof and durable,start by choosing quality materials like plywood or metal roofing. Ensure proper slope for drainage, install a waterproof underlayment, and use roofing felt. following these steps will significantly enhance your shed’s longevity.
Utilizing robust materials like metal roofing or high-quality shingles can offer superior resistance to weather conditions. Additionally, incorporating a slope of at least 3:12 can help water runoff efficiently, preventing leaks. For more detailed guidance on materials, check out our article on choosing the right materials for shed roofs.
What is the best material to use for a waterproof shed roof?
The best materials for a waterproof shed roof include metal, asphalt shingles, and tar paper. These options provide excellent durability and weather resistance, ensuring your shed remains dry and protected for years.
Metal roofing is particularly popular due to its longevity and low maintenance requirements. Asphalt shingles, while affordable, should be installed with proper underlayment for added waterproofing. Assess your local climate and budget for the best choice.
Why does my shed roof leak, and how can I fix it?
A leaking shed roof often results from poor installation, damaged materials, or blocked gutters. To fix it, inspect for broken shingles or gaps, repair or replace as necessary, and ensure gutters are clear for effective drainage.
Common causes of leaks include rust in metal roofs or wear and tear in older shingles.Regular maintenance,such as cleaning gutters and checking for signs of damage,can prevent serious issues. If major repairs are needed, consider seeking professional help.
Can I build a shed roof myself?
Yes, you can build a shed roof yourself with the right tools, materials, and preparation. Many DIYers successfully construct their roofs by following detailed plans and safety guidelines.
Start by gathering your materials and tools, and consider watching instructional videos for additional guidance.Don’t hesitate to ask for help from friends or family if necessary, as teamwork can make the job easier and more enjoyable.
how do I ensure my shed roof is properly ventilated?
To ensure your shed roof is properly ventilated, incorporate vents at the eaves and ridges. This design helps regulate temperature and moisture, reducing the risk of mold or rot.
Using a combination of soffit vents on the underside and ridge vents at the peak promotes airflow throughout the shed. Adequate ventilation is crucial for maintaining a dry environment and prolonging the lifespan of roofing materials.
What is the ideal slope for a shed roof?
The ideal slope for a shed roof is between 3:12 and 6:12. This means for every 12 inches horizontally, the roof should rise between 3 to 6 inches, allowing efficient water drainage.
A steeper slope is beneficial in areas with heavy rainfall or snow. It helps rainwater run off more effectively, minimizing wear on the roofing materials and preventing pooling that can lead to leaks. Make sure to follow local building codes for compliance.
What should I consider when planning a shed roof design?
When planning a shed roof design, consider factors like climate, material choices, and the intended use of your shed. A well-thought-out design ensures functionality and durability.
For example, if you live in an area with heavy snowfall, a steep roof design can prevent snow accumulation. Also, select materials suitable for your climate, as some may withstand harsh conditions better than others. Always check local regulations before construction.
In Conclusion
building a shed roof that stands the test of time is an achievable project for anyone, regardless of experience. By focusing on waterproof designs and using quality materials, you can ensure your shed remains a reliable storage solution for years to come. Remember to start by planning your design carefully, selecting the right roofing type, and executing each step with precision. Don’t shy away from the challenges, as problem-solving is a key part of the DIY journey. For those eager to dive deeper, explore our detailed guides that cover everything from framing techniques to ensuring optimal waterproofing. Embrace the satisfaction of crafting a durable shed roof, and let your creativity shine as you enhance your outdoor space!

