Building a sturdy shed starts with a solid foundation, yet many overlook this critical step. A well-constructed base not only enhances stability but also extends the lifespan of your outdoor structure. In this guide, we’ll walk you through essential techniques to create a reliable foundation that supports your shed for years to come.
Understanding the Importance of a Solid Shed Foundation
A robust foundation is paramount for the longevity and stability of any shed, transforming it from a simple storage space into a secure and lasting extension of your property. Many shed owners underestimate the significance of a solid foundation, but neglecting this crucial aspect can lead to a range of issues, from structural instability to severe water damage. A well-planned foundation not only supports the weight of your shed but also protects it from the elements, ensuring that your investment continues to serve its purpose for years to come.
Choosing the right foundation method depends on various factors, including soil type, climate, and the overall size of your shed. Among the most effective options are gravel pads, concrete piers, and timber skids. for example, a gravel pad provides excellent drainage, reducing the risk of rot and mold by keeping the shed elevated above groundwater. Conversely, concrete piers offer unmatched stability and are ideal for larger structures requiring a more durable base. Assessing your specific conditions will help you decide on the best approach, ensuring the foundation aligns with your shed-building goals.
When embarking on the journey of building a shed foundation, several practical steps can lead to success. Here are some essential considerations:
- Site Selection: Choose a level area that receives adequate drainage.
- Measurement: Accurately measure the dimensions of your shed and mark the foundation perimeter.
- Material Procurement: gather all necessary materials based on your chosen foundation type.
- Utility Check: Before digging, contact local utility services to identify any underground lines.
By investing time and resources into creating a solid foundation, you’ll not only enhance the structural integrity of your shed but also improve its usability and aesthetic appeal. A well-constructed base is critical for supporting heavy shelves, tools, or machinery within the shed, ultimately allowing you to make the most of your space. Utilizing techniques discussed in guides on how to build a shed foundation will empower you to create a resilient base that withstands the test of time.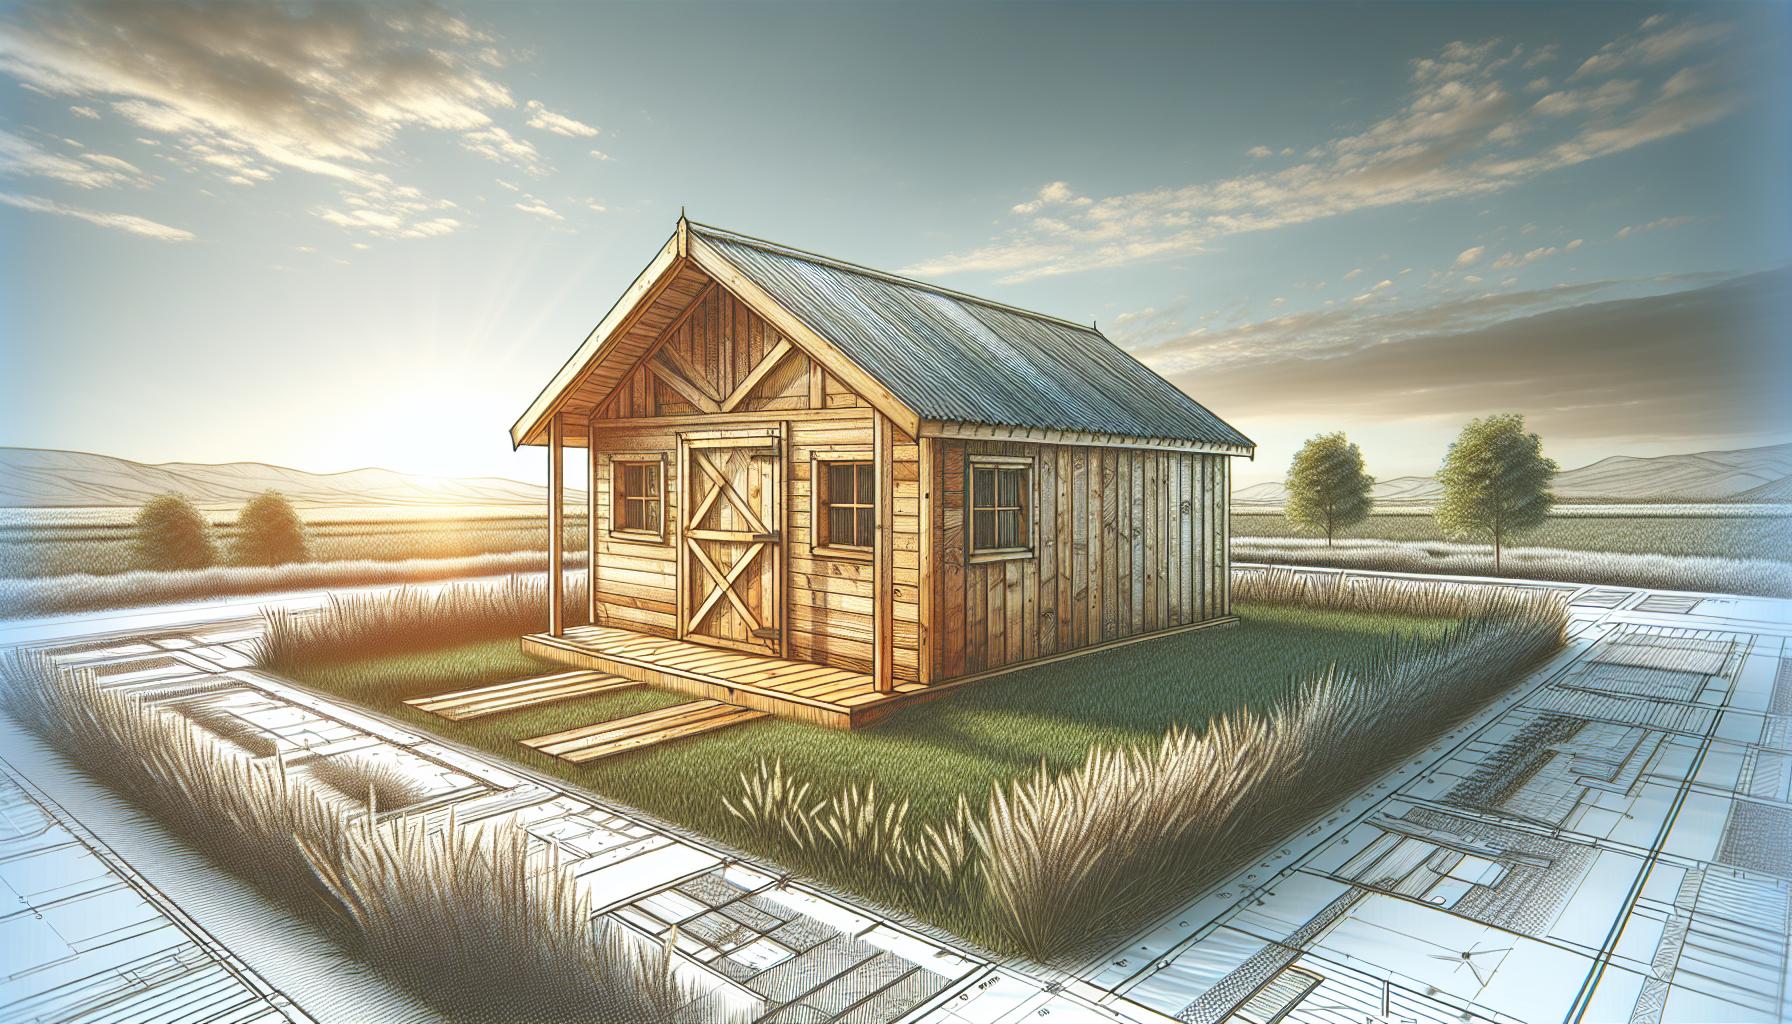
Assessing Your Shed’s Location: Choosing the Right Spot
Selecting the optimal location for your shed is just as crucial as planning the foundation itself. The right spot not only enhances accessibility but also protects your shed from environmental challenges, ultimately prolonging its lifespan.Beyond aesthetic considerations, practical factors such as sunlight exposure, drainage, and proximity to utilities weigh heavily on your decision. The choices you make about placement directly influence how effectively you can build a shed foundation that will remain stable over time.
Considerations for Shed Placement
When determining the ideal location for your shed, keep the following factors in mind:
- Sunlight Exposure: Assess how much sunlight the location receives throughout the day. A spot that gets too much sun may lead to overheating and damage to sensitive items stored inside, while a shaded area could promote dampness and mold.
- Drainage: Choose a location with good drainage to prevent water from pooling around your shed. ideally, this spot should be on slightly elevated ground or have proper grading to direct water away.
- Accessibility: Ensure that the shed is easily accessible, not only for you but also for any vehicles or equipment you may need to use. A clear path will make loading and unloading tools much more manageable.
- Proximity to Utilities: If your shed requires electricity or water, consider positioning it closer to these sources. This can reduce installation complexities and costs.
- Local Regulations: Always check with local zoning laws and regulations, which may dictate how far your shed needs to be from property lines or roads.
Real-World Examples of Effective Shed Placement
Imagine a hobbyist who builds furniture in their shed. By placing the shed in a sunlit area near the home, thay benefit from natural lighting while ensuring easy access to available electricity for tools. Conversely, a gardener might opt for a location near their planting beds, allowing for efficient tool storage without the risk of flooding during heavy rains.
Another consideration is the growth of trees and shrubs. Not only do these impact sunlight and shade, but they also present potential hazards; falling branches in storms or natural decay can damage your shed. Assess your surroundings prophetically to determine which trees provide shade and which may need to be trimmed back or removed altogether.
by carefully weighing these factors in the context of your unique shed project, you’ll set a solid foundation for not just the physical structure but also its functionality and durability in the long run.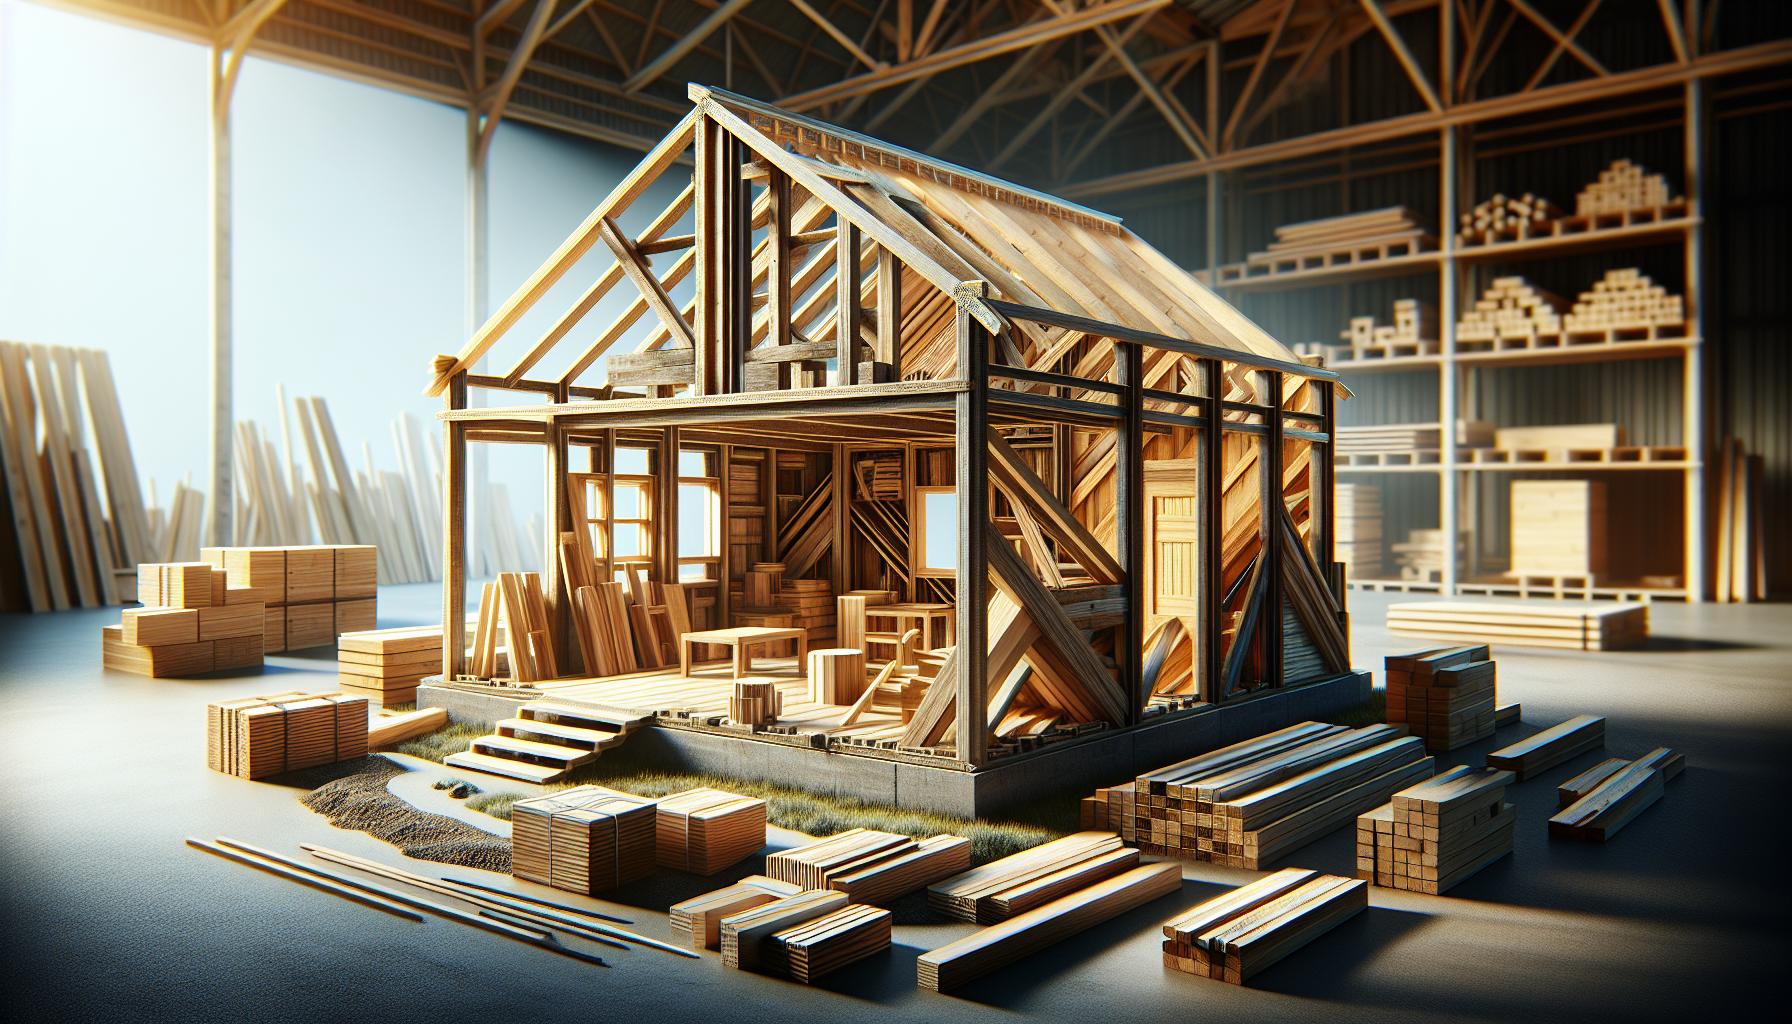
Types of Shed Foundations: Which Approach Suits Your Needs?
Building a solid foundation for your shed is akin to laying the cornerstone of a well-structured life; it greatly influences stability and longevity. Choosing the right type of foundation is crucial, and it ultimately depends on your local conditions, the type of shed you plan to construct, and your budget. Understanding the different foundation alternatives can help you make an informed decision that aligns with your needs and preferences.
Types of Shed Foundations
Several effective types of shed foundations cater to various environmental factors and preferences. Here are the most recognized options:
- Concrete Slab: This is a popular choice for durability and ease of construction. A concrete slab provides a robust foundation that protects against moisture. Though, planning for proper drainage is significant to avoid pooling water around the edges.
Ideal for: Areas with heavy rainfall or snow. - Gravel Pad: A gravel pad is cost-effective and allows for excellent drainage. It’s a simple method that involves excavating a level area and filling it with gravel. This is lightweight and suitable for smaller sheds.
Ideal for: Moderate climates and sheds used for storage. - Post and Beam: This method involves setting posts into concrete footings or on pier blocks. It raises the shed off the ground, which helps protect it from moisture. Using this method also allows for a more adaptable shed design.
Ideal for: Areas prone to flooding. - Concrete Block Foundation: This foundation uses cinder blocks to create an elevated platform. It is particularly beneficial for uneven ground, providing stability while allowing air circulation underneath.
Ideal for: Sloped lots or uneven terrain. - Paver or Flagstone Foundation: This less conventional option involves laying pavers or stones in a pattern to support the shed. While aesthetically pleasing, it requires careful layout to ensure levelness and stability.
Ideal for: Garden sheds or decorative outdoor structures.
Considerations for Your Foundation choice
When contemplating your shed foundation, several factors come into play:
- Climate: Areas with heavy snow or rain require foundations that manage water effectively.
- Soil Type: Sandy soils may drain well but shift easily,while clay soils can lead to pooling water and instability.
- Budget: Concrete slabs can be more expensive, while gravel pads may provide a more economical solution.
- Shed Size and Use: Larger or heavily used sheds often need more robust foundations compared to smaller, seasonal structures.
By understanding the nuances of each foundation type, you can embark on the right path for “How to Build a Shed Foundation: Critical First Steps for Stability,” ensuring that your shed remains a reliable space for years to come.
Gathering Essential Tools and Materials for Your Foundation
When embarking on the journey of building a shed, one of the most critical steps is to ensure that your foundation is solid and reliable.Having the right tools and materials can make all the difference, transforming what could be a frustrating endeavor into a streamlined and satisfying experience. By carefully gathering everything you need beforehand,you set the stage for success,ensuring that your shed remains stable for years to come.
Essential Tools for Your Shed Foundation
A well-equipped toolkit is vital for the construction of your shed foundation. Consider including the following items:
- Shovel: For digging and leveling the ground.
- Level: A crucial tool for ensuring your foundation is perfectly even.
- Measuring tape: to accurately measure dimensions and spacing.
- Hammer: essential for driving stakes and securing materials.
- saw: For cutting lumber or materials as needed.
- Drill: To create holes and secure fasteners with ease.
- Square: For checking angles and ensuring everything is built straight.
These tools will aid you in preparing the ground, laying down materials, and facilitating precise measurements, ultimately contributing to the stability of your shed foundation.
Materials You’ll Need
In addition to tools, you will require a variety of materials. Here’s a straightforward list to help you get organized:
- Concrete Blocks or Piers: Use these for creating a solid base.
- gravel: This excellent drainage material will help prevent moisture buildup.
- Wood or Metal Beams: Essential for creating the frame of your foundation.
- Landscape Fabric: Useful for weed control and soil stability.
- Fasteners: Screws, nails, and brackets to hold everything together securely.
- Wooden Stakes: Helpful for marking dimensions and boundaries during excavation.
Additional Considerations
While selecting these materials, consider the surroundings in which your shed will be built. Gravel is a popular foundation choice in areas prone to flooding, while concrete on piers may work better on sloped land. Assessing local weather patterns and soil conditions will also play a major role in your material selection.
For deeper insights, here’s a rapid comparison table of materials commonly used for shed foundations:
| Material | Advantages | Disadvantages |
|---|---|---|
| concrete Blocks | Durable, stable, good for uneven ground | Labor-intensive to install; requires moisture barrier |
| Gravel | Excellent drainage, easy to install | May shift over time; requires maintenance |
| Wood Beams | Flexible, easy to work with, cost-effective | Susceptible to rot, requires regular treatment |
By gathering the right tools and materials ahead of time, you will substantially reduce the likelihood of obstacles arising during your construction process. Making informed decisions and planning accordingly can pave the way for a stable and enduring shed foundation.
step-by-Step Guide to Preparing the Ground for Stability
To ensure your shed stands the test of time, starting with a solid foundation is paramount. A well-prepared ground not only supports the structure but also prevents moisture issues and enhances durability.Here are the essential steps for creating a stable base for your future shed.
Assess the Site
Before you grab your tools, it’s crucial to evaluate your chosen location. Look for a spot that offers good drainage and is free from large tree roots or overhanging branches. Make sure the area is level; you might need to use a level tool to confirm that you have a flat foundation.
- Accessibility: Ensure you have easy access for construction and future maintenance.
- Drainage: Avoid areas that collect water or stay soggy after rains.
- Sunlight: Consider the amount of sunlight to prevent excessive moisture and mold inside the shed.
Clear the Area
Once you’ve selected the perfect site,begin by clearing the area. Remove any vegetation, rocks, and debris to create a clean workspace. This process not only makes construction easier but also prevents any organic material from decomposing and causing future instability.
Tools Needed:
- Shovel
- Rake
- Spade
- Level
Excavate the Ground
Next, it’s time to excavate the ground to establish a proper depth for the foundation. Typically, you want to dig down about 4 to 6 inches.This depth allows for a sufficient base of gravel or concrete, enhancing drainage and stability.
| Foundation Type | Recommended Depth | Material |
|---|---|---|
| Gravel | 4-6 inches | Crushed stone or gravel |
| Concrete Slab | 6-8 inches | Concrete mix |
| Post and Beam | 6-12 inches | Concrete footings |
After excavation, use a tamper to compact the soil, ensuring that the ground is firm and well-prepared for the next steps. An adequately compacted base minimizes shifting and settling over time, contributing to the long-term stability of your shed foundation.
By meticulously preparing the ground, you set the stage for a robust foundation that will enhance the lifespan of your structure while safeguarding your investment. Each step, from assessing the site to proper excavation, plays a vital role in achieving the stability crucial for any shed, turning your building project into a lasting success.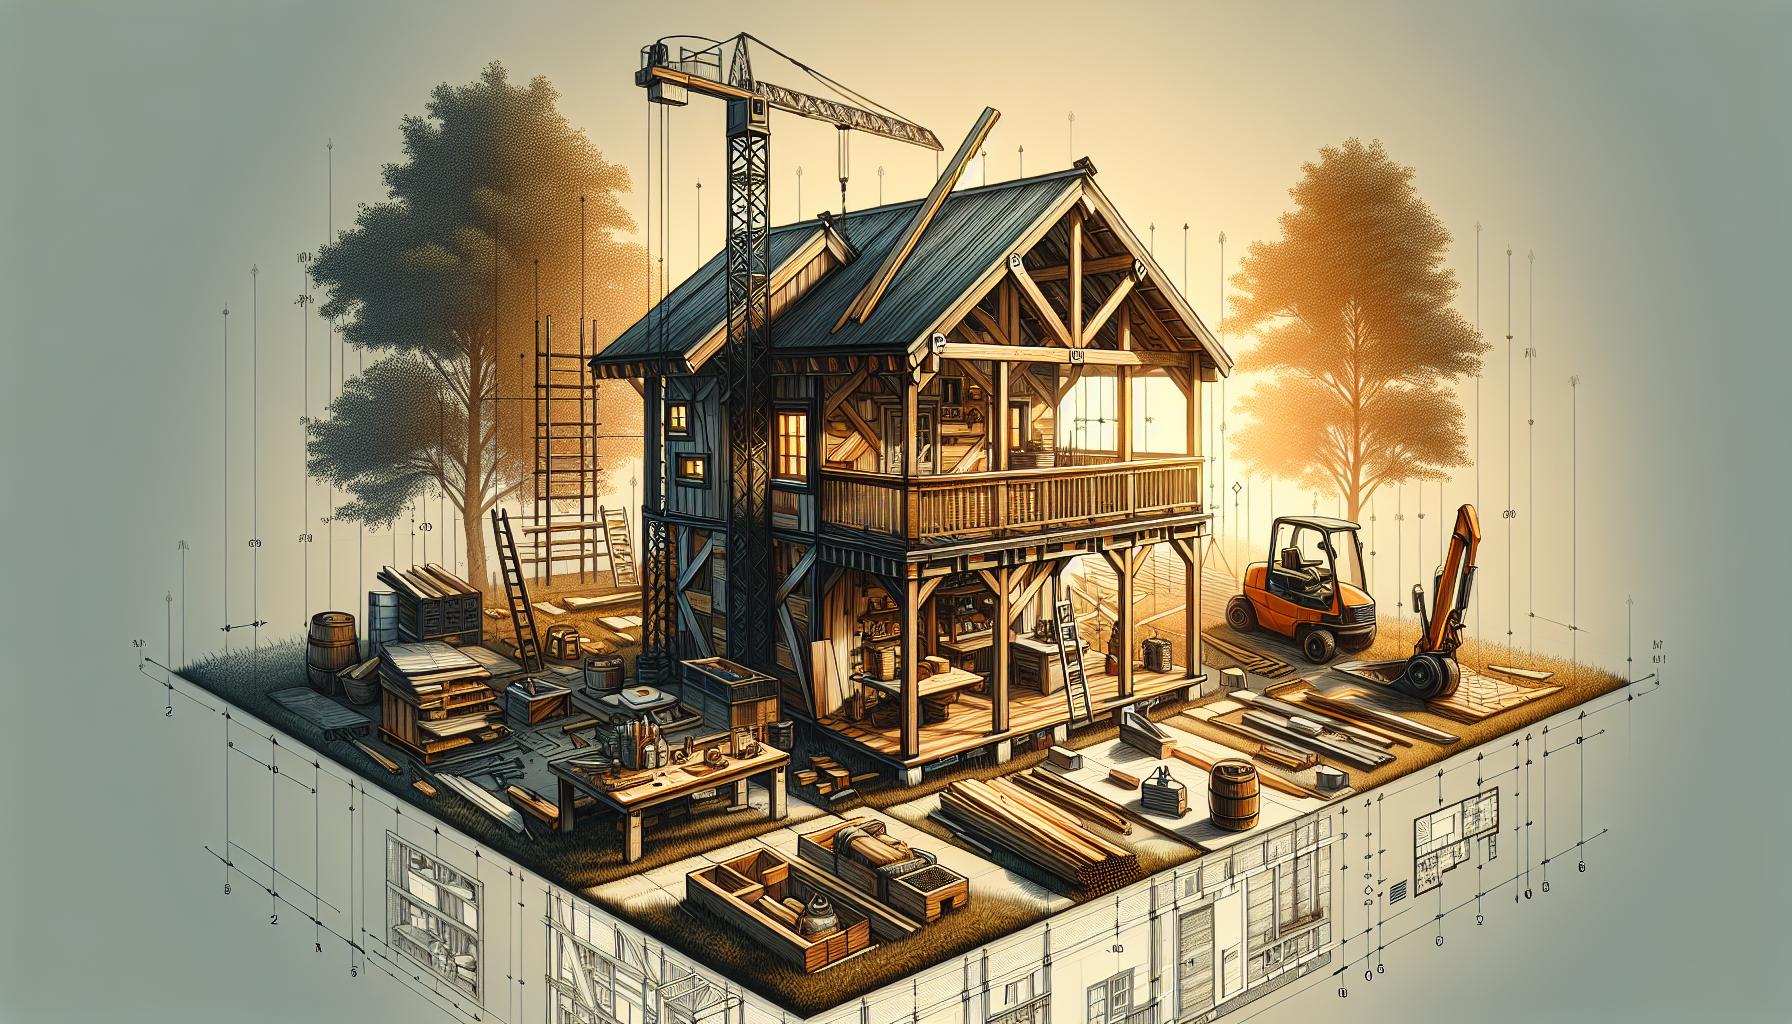
How to Properly Level and compact Your Foundation Area
Establishing a solid foundation for your shed is crucial to its longevity and performance.Properly leveling and compacting the foundation area not only creates a stable surface but also prevents future issues such as water pooling, misaligned doors, and structural damage. The process is a combination of careful measurement, the right tools, and attentive preparation, ensuring that the shed remains level throughout its lifespan.
Preparing the Area
Before you begin leveling, clear the area of any debris, vegetation, and loose soil. This initial step is vital, as it allows for an accurate assessment of the land and helps prevent any unwanted settling once your shed is in place. Once cleared, you should measure the area where the shed will sit to ensure it meets size specifications. Stake the perimeter using stakes and string to mark the exact dimensions, making it easier to visualize the area that needs to be leveled.
Leveling the ground
To achieve a level surface, it’s essential to use a level tool. A laser level or a long straight board with a level attached can guide you in identifying high and low spots in the terrain. Follow these steps to ensure an even surface:
- Identify high spots: Use your level tool and mark any areas that are higher than your desired elevation.
- Dig out high spots: Remove soil from these areas to create a more even base.
- Fill low spots: Add compactable fill material (such as gravel, crushed stone, or soil) to any low areas, ensuring that you build it up to the desired height.
Compacting the Foundation
After leveling, the next critical step involves compacting the soil and fill materials. Compacting ensures that the foundation can support the weight of the shed and resist future settling. You can use a plate compactor or a hand tamper for small areas. Here’s how to compact effectively:
- Moisten the soil: Lightly moisten the area before compacting to help particles bind together more effectively.
- Compact in layers: apply the fill material in layers no thicker than about 4 inches, compacting each layer thoroughly before adding more.
- Check for evenness: After compacting, check the area with your level tool again to ensure everything remains even.
A properly leveled and compact foundation area is the backbone of your shed-building project. Investing the time and effort into these critical first steps will pay dividends in the durability and stability of your shed, keeping it secure and functional for years to come.
Overcoming Common Challenges in Shed Foundation Building
Building a solid foundation for your shed is crucial for its long-term stability and durability. However,many enthusiasts find themselves facing unexpected challenges during this initial phase. From dealing with uneven terrain to selecting the right materials, overcoming these obstacles is essential to ensure your shed stands the test of time and the elements. Here are some common hurdles you might encounter and effective strategies to address them.
Addressing Uneven Ground
One of the most prevalent challenges when constructing a shed foundation is uneven ground. If you’re planning to place your shed on a slope or an area that has dips and bumps, it’s vital to take corrective measures:
- Leveling the Site: Start by using a shovel to remove high spots. For dips, fill them with packed dirt or gravel, ensuring it’s compact to create a stable base.
- Using a Laser Level: A laser level can be invaluable for achieving accuracy across larger areas. This tool helps you find the exact level, guiding you on where to add or remove material.
- Building a Raised Foundation: If leveling proves too challenging or costly, consider constructing a raised foundation. This involves using concrete blocks or wooden beams to elevate the shed above the ground, which helps prevent moisture damage and pest infiltration.
Navigating Material Selection
Choosing the right materials for your shed foundation can significantly impact its longevity. Common options include concrete, gravel, and wooden skids, each with its pros and cons:
| Material | Pros | Cons |
|---|---|---|
| concrete | Durable, water-resistant, pest-proof | More expensive, requires curing time |
| Gravel | Good drainage, easy to install | Can shift over time, requires frequent maintenance |
| Wooden Skids | Cost-effective, easy to level | Susceptible to rot, may attract pests |
Each material comes with specific installation considerations. For example, when using concrete, it’s critically important to allow adequate time for the concrete to cure properly before placing any significant weight on it. Meanwhile, gravel foundations need periodic reassessment to prevent settling or shifting.
Weather Considerations
Weather can disrupt any construction project, particularly during the foundation stage. Rain can leave the ground muddy and unstable, while extreme heat can affect materials such as concrete.
To combat these issues, plan your building schedule around the forecast. Here are some tips to consider:
- Choose the Right Season: Spring or early fall frequently enough provide ideal temperatures for foundation work. Avoid rainy seasons to prevent soil erosion.
- Prepare for Rain: If unexpected rain occurs, have tarps or covers ready to protect your foundations while they are set.
- Avoid High Temperatures: If working in high heat, consider early mornings or late afternoons to avoid the harsh midday sun, which can adversely affect your materials and personal safety.
By addressing these common challenges, you can navigate the complexities of building a shed foundation more effectively. Taking these critical first steps enables you to create a stable structure that will support your shed for years to come.
Tips for Maintaining Your Shed Foundation Over Time
Ensuring the longevity and effectiveness of your shed’s foundation is crucial for maintaining stability and preventing future problems. After you’ve completed the laborious process of building a shed foundation, it’s important to remember that maintenance is an ongoing duty. A sturdy foundation can serve as a reliable base for your shed, but environmental factors and time can take their toll. By keeping a watchful eye and implementing some simple care routines,you can extend the life and functionality of your foundation for years to come.
Regular Inspections
one of the best ways to maintain your shed foundation is through regular inspections. Seasonally check for any signs of deterioration or movement. Look for:
- cracks: Inspect for visible cracks in concrete or wooden supports that could indicate settling.
- Shifting: Make sure the foundation remains level, and that there is no shifting caused by water runoff or soil erosion.
- Termite Damage: For wooden foundations, regularly examine for signs of termites or decay.
- mold or mildew: Check for dampness or mold, particularly in humid environments.
Proper Drainage Management
Water can be one of the most damaging elements to your shed foundation. To mitigate this risk,ensure proper drainage around your shed. Here are some steps to consider:
- Grading: ensure the ground slopes away from the shed to promote water runoff.
- Gutters and Downspouts: Install gutters and direct downspouts away from the foundation.
- French Drains: For areas prone to flooding, consider a French drain system to divert water.
Repairing Damage Promptly
If you notice any signs of damage during your inspections, addressing them quickly can prevent larger issues in the future.Common repairs include:
| Type of Damage | Recommended Action |
|---|---|
| Cracking concrete | Fill with a concrete patch or liquid filler. |
| Loose or rotting wood | Replace damaged sections and treat surrounding areas with preservative. |
| Drainage issues | Regrade the area and install necessary drainage solutions. |
By adopting these proactive steps for maintaining your foundation, you can protect your investment and preserve the structural integrity of your shed. Remember, the key to a long-lasting shed foundation lies in consistent care and timely interventions, allowing you to focus on enjoying the space it provides rather than worrying about potential issues.
Frequently asked questions
How to Build a Shed Foundation: Critical First Steps for Stability?
To build a stable shed foundation, start by choosing the right type based on your shed size and local soil conditions. The most common options include concrete slabs, pier foundations, and skids. Each method offers unique benefits that ensure your shed’s longevity.
Such as, a concrete slab provides a solid, durable base, ideal for heavy sheds, while pier foundations can definitely help with drainage in moist areas. Understanding local regulations and soil conditions is also crucial before commencing your project. For more detailed instructions, check out our article on choosing the right shed location.
What is the best type of foundation for a shed?
The best type of foundation for a shed largely depends on climate, shed size, and intended use. A concrete slab is best for heavy, permanent structures, while pier systems are great for providing airflow and avoiding moisture damage.
Each foundation type has its pros and cons. For instance, a skid foundation requires less excavation and allows for easy moving but may settle unevenly. Choosing the right foundation is essential to ensure your shed remains level and stable over time.
Why does a proper shed foundation matter?
A proper shed foundation is crucial for stability and durability. It prevents issues like moisture accumulation,pest infestation,and structural damage,ultimately prolonging the lifespan of your shed.
A stable foundation reduces the risk of shifting and tilting caused by settling or erosion. Additionally,it provides a level surface for your shed,enhancing its functionality and appearance. Investing time in this step can save you from costly repairs down the line.
Can I build a shed foundation myself?
Yes, you can build a shed foundation yourself, even as a beginner! With the right tools and instructions, many DIYers successfully complete this task. Prepare to research and gather materials like timber, gravel, or concrete.
Starting with a simple pier foundation may be the best approach for those inexperienced with construction. Remember to consult local building codes to ensure compliance and consider watching tutorials for more tips on execution.
What materials are needed to build a shed foundation?
The materials needed for a shed foundation vary based on the foundation type chosen. Common materials include concrete for slabs, wooden posts for pier foundations, or timber skids for skid foundations.
In addition, you’ll need tools like a level, shovel, and possibly a concrete mixer depending on your foundation choice. Ensure you have proper drainage materials such as gravel for effective water management. Researching your specific method will help clarify exact materials required.
How deep should my shed foundation be?
The depth of your shed foundation primarily depends on the foundation type and local soil conditions.Generally,a pier foundation should be at least 24 inches deep to reach below frost lines in cold climates.
If opting for a concrete slab,aim for about 4 to 6 inches thick to ensure durability and stability. Adjust your depth based on factors like soil drainage and load expectations, ensuring your shed remains secure for years to come.
What are common mistakes when building a shed foundation?
Common mistakes when building a shed foundation include improper leveling, inadequate drainage, and neglecting local regulations. These errors can lead to structural issues like uneven floors or water damage over time.
To avoid these pitfalls, take your time during the planning and measurement stages. Always check local building codes before starting your project. Engaging with online communities or DIY forums can also provide valuable advice on best practices.
Insights and Conclusions
building a solid foundation for your shed is a crucial step that sets the tone for your entire project. By following the critical steps outlined—choosing the right site, selecting appropriate materials, and ensuring proper measurements—you lay the groundwork for stability and longevity. Remember, even if challenges arise, they can be managed with patience and careful planning.
We encourage you to revisit the details of your foundation design as you prepare for the exciting next steps of your shed construction. Whether you’re leveling ground,pouring concrete,or laying gravel,keep in mind that each choice you make contributes to the strength and durability of the structure. Quality craftsmanship is not just about the materials—it’s about the confidence you gain through each stage of the build.
So, roll up your sleeves, gather your tools, and embrace the rewarding journey of DIY construction. We invite you to explore further articles and resources to help you along the way. The satisfaction of standing back and admiring your finished shed will be worth every effort! Happy building!

