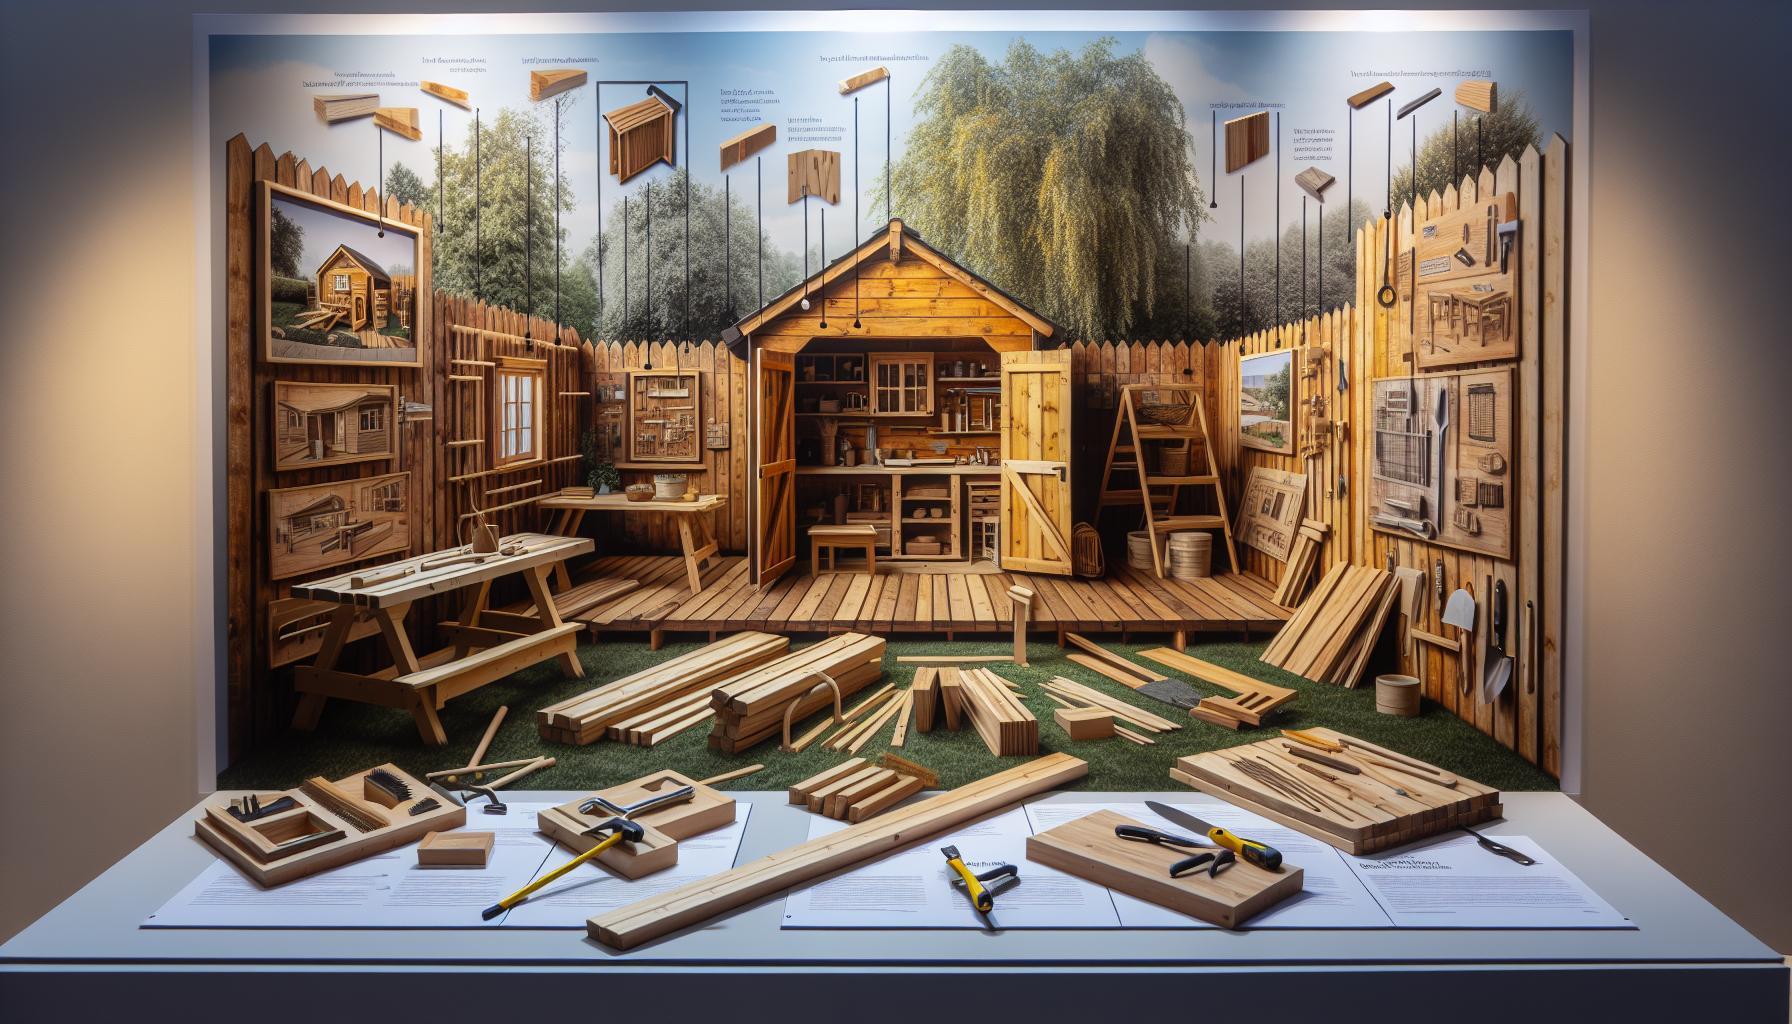
Are you struggling to find adequate storage for yoru outdoor tools and equipment? Building your own shed can not only solve this problem but also enhance your backyard’s functionality and aesthetic. With a step-by-step approach, you can create a custom structure that meets your needs, transforms your space, and adds value to your home.
1. Choosing the Right Location for Your Shed: Factors to Consider
When envisioning your dream shed, the location you choose is equally as crucial as the shed’s design itself. The right site can enhance functionality, ensure longevity, and maximize the aesthetic appeal of your backyard. Here’s a closer look at the vital factors you need to consider when selecting the optimal spot for your shed.
Sunlight and Shade
One of the first elements to evaluate is the sunlight exposure in the area you’re considering. A shed that receives too much direct sunlight can overheat and may lead to the deterioration of materials faster. Conversely, a location that is predominantly shaded might create moisture issues, increasing the likelihood of mold and decay.
- Morning Sun: Positioning your shed to receive morning light can definitely help dry any dew, reducing moisture buildup.
- Afternoon Shade: Ideal for keeping interiors cooler during the hot summer months.
Drainage and Ground Conditions
The condition of the ground where you place your shed is critical, particularly concerning drainage. Poor drainage can lead to water pooling around your shed’s foundation, resulting in structural problems over time. Ensure the area has good drainage by observing it after heavy rains.
Consider the following when assessing ground conditions:
| Ground Type | Best Practices |
|---|---|
| Sandy Soil | Excellent drainage; consider adding gravel for a stable base. |
| Clay Soil | Tends to retain water; elevate your shed with a solid foundation. |
| rocky Ground | May require excavation; ensure a level foundation is achieved. |
Proximity to Utility Connections
If you plan on using electricity or water in your shed, proximity to existing utility connections can save you time and money during the build. Assess how close your chosen site is to these utilities and weigh the costs of extending them versus selecting a more convenient location.
In addition, check with local authorities to understand zoning and building codes that apply to shed constructions in your area. This can greatly influence where you can place your shed and ensure that you comply with regulations as you explore how to build a shed through the seven simple steps.Ultimately, choosing the right location for your shed sets the foundation for both your structure’s functionality and aesthetic appeal, allowing you to enjoy your perfect backyard retreat for years to come.
2. Designing your Shed: Essential Features and Personalized Touches
Designing your shed is an exciting journey that allows you to reflect your personal style while maximizing functionality. One of the most critical aspects to consider is how your shed’s design will harmonize with the overall aesthetics of your property. Whether you envision a quaint garden shed that blends seamlessly with blooming flowers or a more robust storage unit that stands out as a feature, the right design choices make all the difference.
Essential Features to Consider
When embarking on the design process, it’s critically important to factor in several key features that will enhance both usability and appeal. Consider the following elements:
- Size and Layout: Determine the size based on the intended use — whether it’s for garden tools, a workshop, or a play area. A well-planned layout can optimize storage and accessibility.
- Roof Style: The roof can substantially affect your shed’s character. Options include gable, hip, or shed roofs, each offering different aesthetics and functional benefits like improved drainage.
- Doors and Windows: Incorporating windows not only allows natural light to flood your shed but also adds ventilation. Choose door styles that provide easy access, such as double doors for larger equipment.
- Materials: Select durable materials that withstand local weather conditions and complement your home. Options range from customary wood to maintenance-free vinyl or metal.
Personalized Touches
Making your shed truly yours involves adding personalized touches that resonate with your style and needs. Here are some ideas to inspire your creativity:
- Color Schemes: Choose colors that coordinate with your home or landscape for a cohesive look. Bright colors can add a pop of vibrancy, while muted tones provide a more classic feel.
- Custom Features: Consider adding shelving, workbenches, or hooks for tools that can be tailored to your storage needs. These bespoke modifications can significantly enhance functionality.
- Landscaping: Surround your shed with plants, decorative stones, or pathways to create a welcoming atmosphere and integrate the structure into your yard.
- Lighting: Installing exterior lights can enhance the shed’s visibility at night, while interior lighting makes it a practical workspace.
By blending these essential features with personalized aspects, your shed can become not just a functional structure but a beloved part of your backyard. As you explore options for constructing your perfect backyard structure,remember that the design phase is crucial in making a long-lasting and enjoyable addition to your property. Whether following the steps outlined in “How to Build a Shed: 7 Simple Steps to Your Perfect Backyard Structure” or seeking inspiration elsewhere, a well-thought-out design will elevate your overall backyard experience.
3. Gathering the necessary Materials: What you’ll Need for the Build
When embarking on the journey to construct a shed in your backyard, having the right materials at your fingertips is crucial. This not only ensures a smoother building process but also guarantees the longevity and durability of the structure you’ll create. Knowing what materials to gather can save time and prevent frustration later on, so let’s delve into the essentials you’ll need for your project.
A successful shed build typically requires a mix of foundational materials, framing elements, exterior finishes, and insulation supplies.Here’s a breakdown of what to gather:
Essential Materials for Your Shed Build
- Foundation: Concrete blocks or treated lumber will suffice for the base. Assess your local climate and soil type to decide wich is more suitable.
- Framing Materials: 2×4 or 2×6 lumber should be on your list for the walls and roof structure. If you’re looking for a more durable option, consider using metal framing.
- Roofing: Choose between asphalt shingles, metal sheets, or wood shakes depending on your aesthetic preference and local weather conditions.
- Siding: Options include plywood, T1-11, or vinyl siding to protect the walls from the elements.
- Doors and Windows: Pre-hung doors and fixed or operable windows can be purchased or built to enhance functionality and aesthetic appeal.
- Insulation: If you plan to use the shed in various weather conditions, insulation materials such as fiberglass batts or rigid foam will keep it comfortable inside.
For those who might be on a budget or prefer a more sustainable build,consider using reclaimed wood or repurposed materials where possible. Not only does this reduce waste, but it can also add unique character to your shed.
Sample Materials Checklist
| Material | Quantity Needed | Notes |
|---|---|---|
| Concrete blocks or Treated Lumber | Varies | Depends on shed size |
| 2×4 or 2×6 lumber | 10-15 pieces | For walls and roof |
| Roofing Material | Varies | Based on roof design |
| Siding Material | Varies | depending on shed size |
| Doors and Windows | 1 each | Consider size and style |
| Insulation | As needed | For climate control |
Having your materials organized before you start building not only simplifies the construction process but also helps you stay within your budget and timeline. Gathering everything from foundational components to finishing touches is a critical step in the engaging journey of learning how to build a shed. It sets the stage for creating the perfect backyard structure that meets your needs and style.
4. Step-by-step Guide to Preparing the Foundation: Laying the Groundwork
Before you embark on the exciting journey of constructing your backyard shed, it’s crucial to focus on one of the most vital aspects of any building project: the foundation. A well-prepared foundation not only ensures stability and longevity for your shed but also serves as a level base for assembly,safeguarding against structural issues in the future. Understanding how to properly lay this groundwork is essential, and with a bit of readiness, you can set the stage for a successful build.
Assessing Your site
Start by evaluating your chosen location. Look for a space that is:
- Level: A flat surface minimizes work and prevents movement over time.
- Well-Drained: Ensure good drainage to avoid water pooling around your shed, which can lead to rot and structural damage.
- Accessible: Consider proximity to your home and any utilities or pathways to ensure you can easily access supplies and work on your shed.
Once you have identified the ideal location,mark the dimensions of your shed to visualize the footprint. Utilize stakes and string to outline the perimeter, which will aid in keeping your measurements precise.
Choosing the Right Foundation Type
Next,deciding on the type of foundation is pivotal as it depends on the shed’s size and your specific needs. Common options include:
| Foundation Type | Description | Best For |
|---|---|---|
| Concrete Slab | A solid, flat surface made of concrete. | Permanent structures requiring durability and stability. |
| Wooden Skids | Timber beams laid directly on the ground. | Small sheds that may need to be relocated. |
| Gravel pad | A layer of gravel that provides drainage and stability. | lightweight sheds or when you’re in areas with good drainage. |
| Block Foundation | Concrete blocks that elevate the shed above ground. | Areas prone to flooding or moisture issues. |
Choosing the right foundation can significantly impact your shed’s structural integrity and longevity. For heavy sheds, a concrete slab is usually ideal, while lighter versions may thrive on a gravel pad.
Preparing the Site
with a solid foundation choice in mind, it’s time to prepare the site. Follow these steps:
- Clear the Area: Remove any grass, debris, or large stones from the site to ensure a clean base.
- Level the Ground: Use a shovel to level the ground,making it as even as possible to avoid any issues later.
- Add a Barrier (if needed): For areas with frequent weeds,consider laying landscaping fabric to prevent growth.
- Compact the Soil: Use a tamper or plate compactor to create a solid surface,enhancing stability.
By thoroughly preparing the foundation,you’ll set a reliable stage for your new structure. Each of these steps is a building block towards achieving your perfect backyard shed—be attentive to detail, and success will follow.
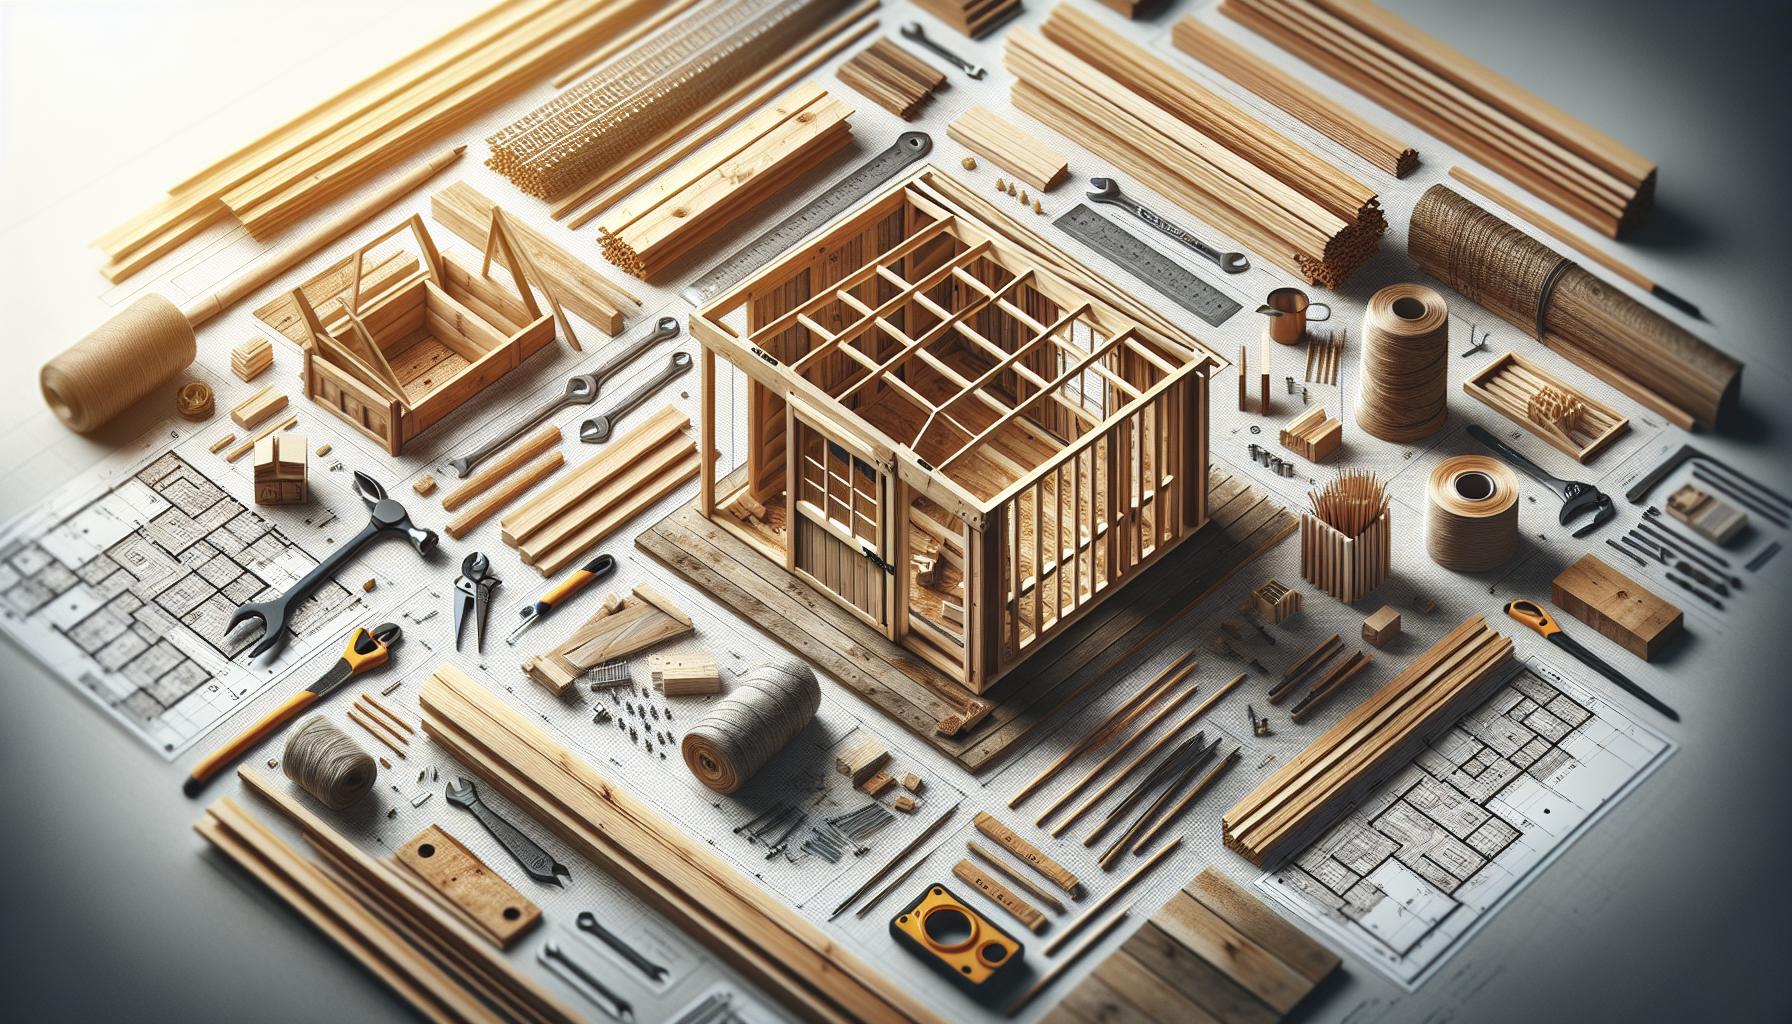
5. Constructing the Frame: Techniques for Stability and Strength
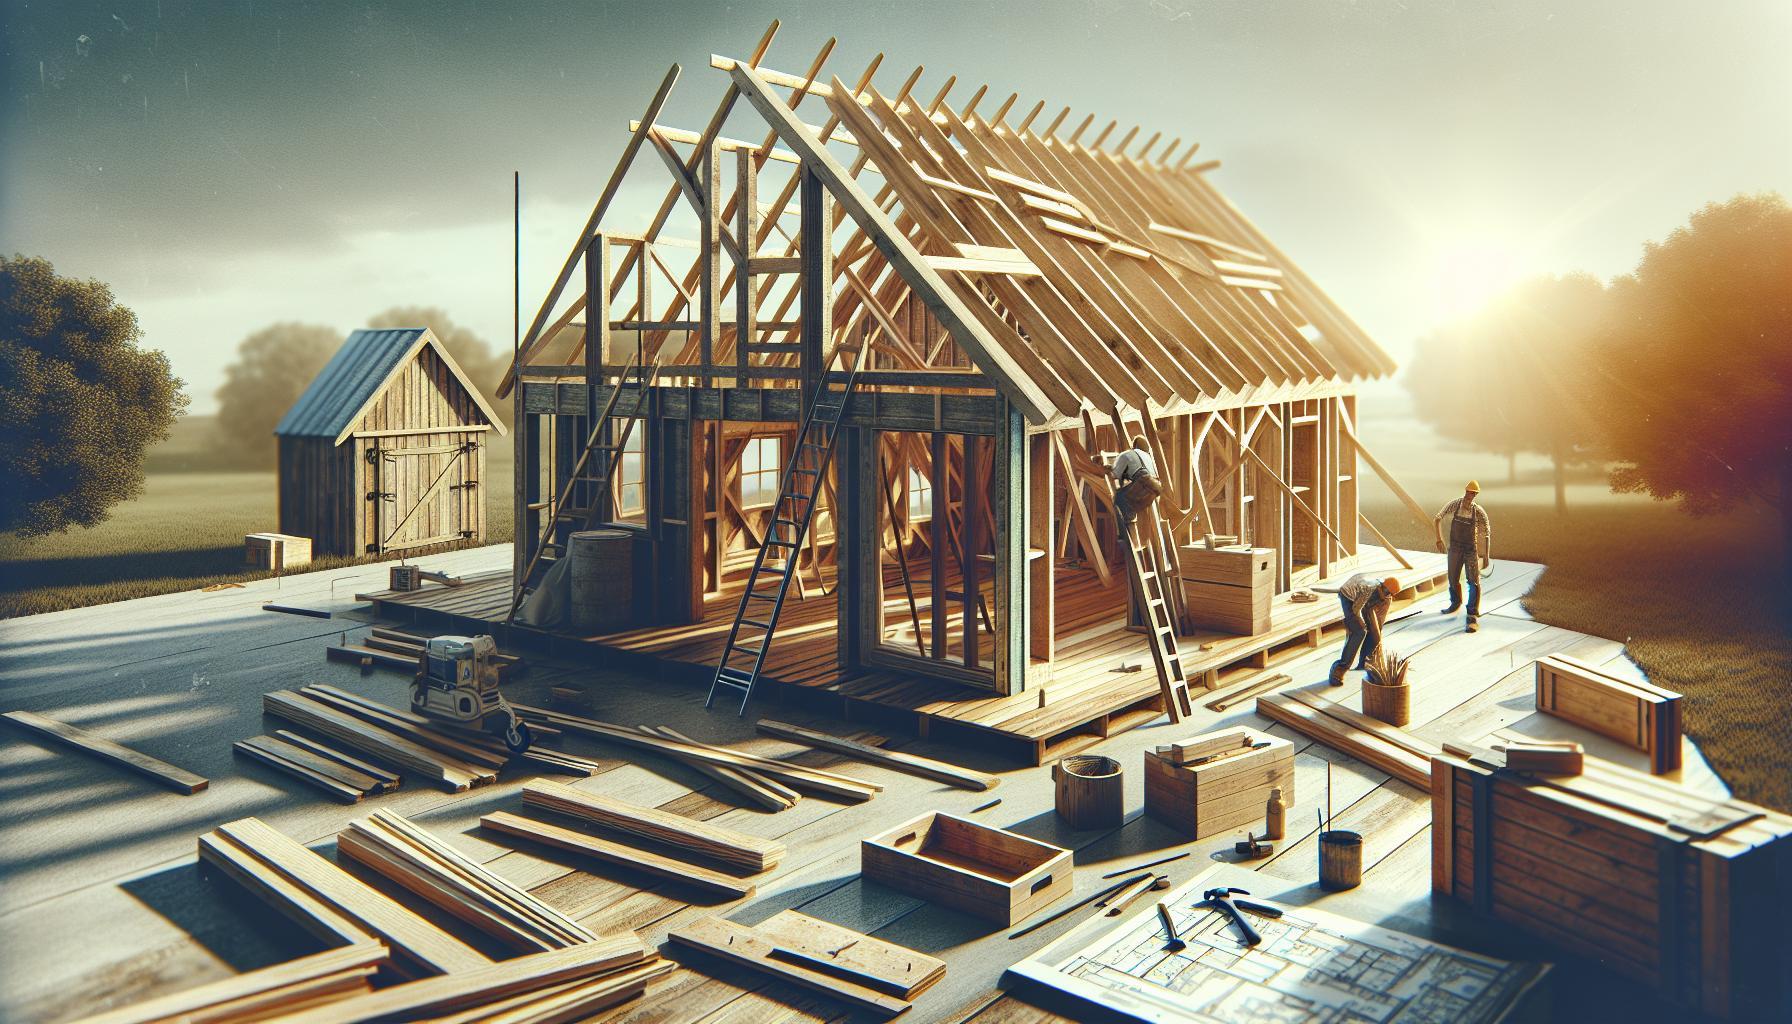
Building a sturdy frame is essential in ensuring that your shed stands the test of time against wind, rain, and snow. One of the most critical elements when learning how to build a shed is understanding the various techniques to craft a stable and strong structure. Starting with a solid foundation sets the tone for the entire build, but it’s the framing that truly supports your shed’s weight and integrity.
Choose the Right Materials
Selecting the right materials for your frame can make all the difference in durability and strength. Opt for pressure-treated lumber, especially for components that come into direct contact with the ground, as this will help prevent rot and insect damages.A typical frame begins with vertical studs and horizontal beams, which should be spaced either 16 or 24 inches apart, depending on the size of your shed and the load it must bear.
Essential Framing Techniques
Here are some key techniques to incorporate while constructing your shed frame:
- Use a Level: Always ensure that your base is level before starting to frame. This prevents structural issues that could arise from uneven weight distribution.
- Secure Connections: Use screws instead of nails for better holding power. If necessary, reinforce joints with metal brackets.
- Cross Bracing: For increased stability, install diagonal bracing between the studs. This helps to reduce sway and strengthen the overall structure.
- Double Up on Important Joists: Areas that bear more weight, like under doors or shelving, can benefit from using doubled up joists to improve load capacity.
Common Mistakes to Avoid
When learning how to build a shed, understanding common pitfalls can save you time and frustration.Avoid the temptation to cut corners on materials; using lower-quality wood may seem cost-effective upfront but can lead to costly repairs in the future. Additionally, ensure all frames are squared properly using the 3-4-5 triangle method—measuring a 3-foot length, then a 4-foot length, and ensuring the diagonal is 5 feet helps to achieve a perfect right angle.
| Material | Recommended Use | Example Cost |
|---|---|---|
| Pressure-Treated Lumber | Base, floor joists | $3-$5 per linear foot |
| Standard Lumber | Framing, walls | $2-$4 per linear foot |
| Metal Brackets | Reinforcement | $1-$3 each |
By implementing these techniques, you’ll not only improve the stability and strength of your shed but also ensure it stands resilient against the elements. Following these practical advice from the article on how to build a shed will lead you toward a successful project and a lasting structure.
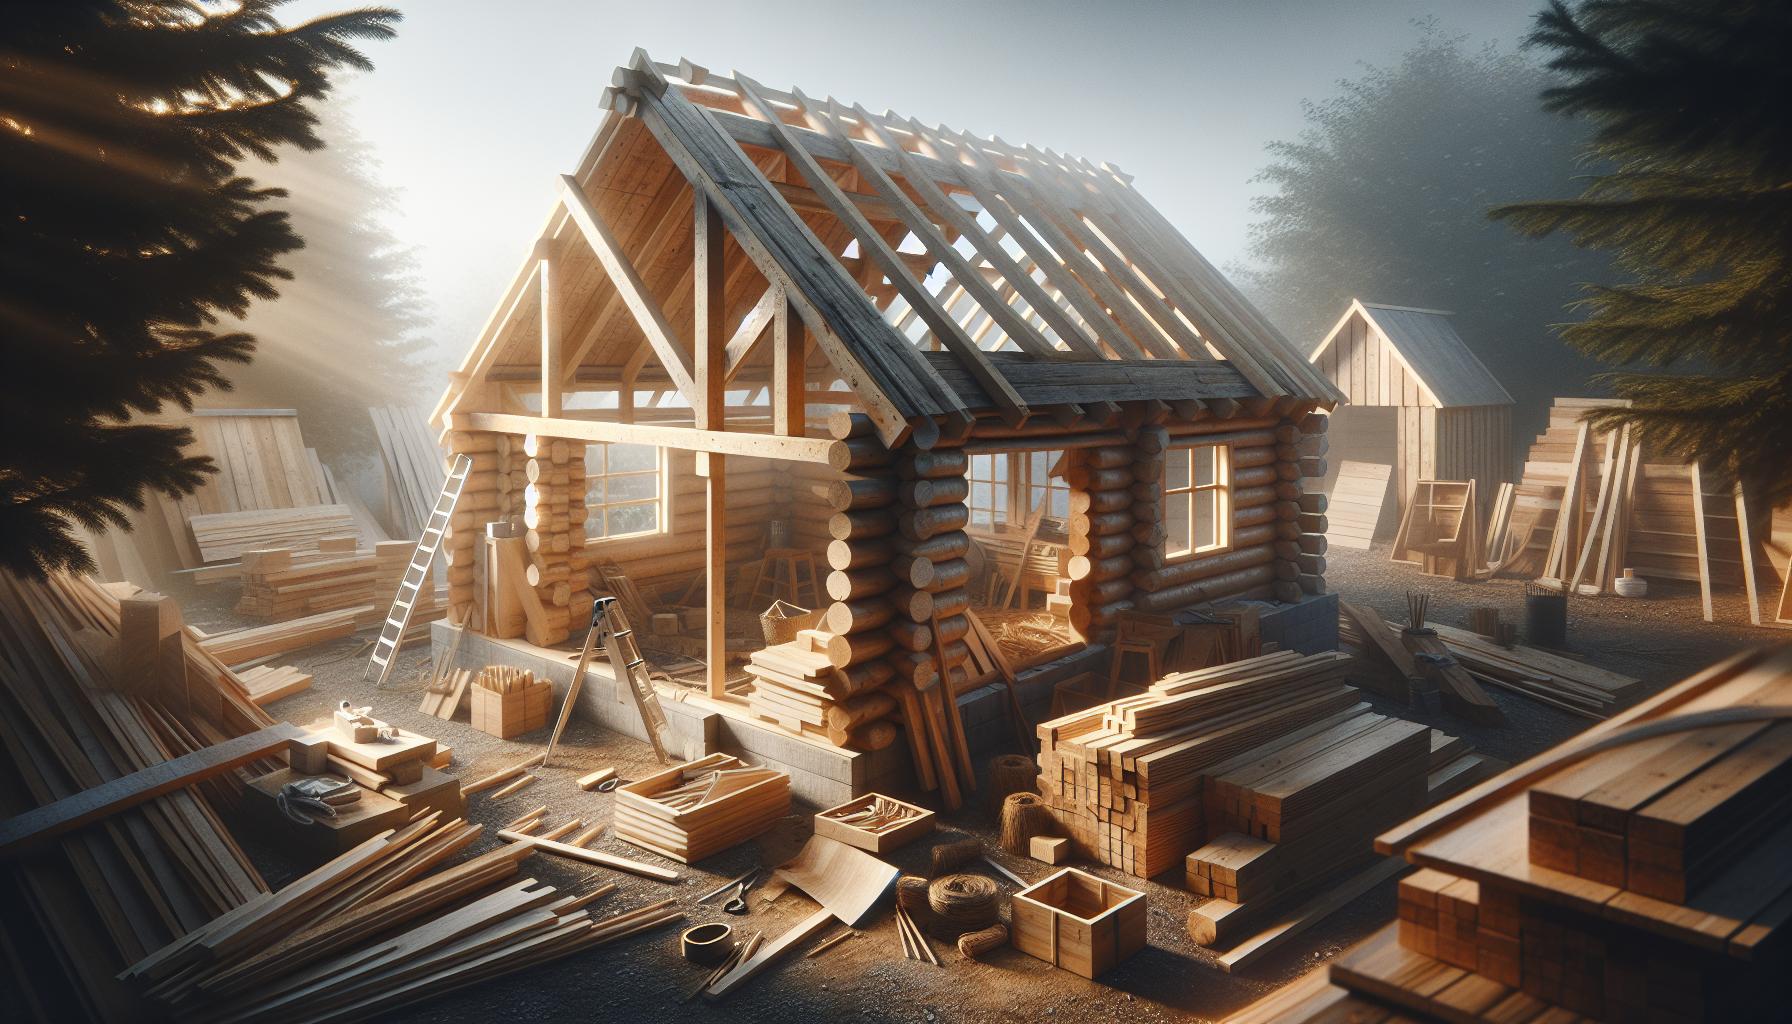
6. Installing Walls and Roof: Ensuring Durability Against the Elements
Constructing a durable shed requires careful attention to the installation of walls and roofs, as these elements are vital for protecting your structure from harsh weather conditions. Properly built walls not only provide the necessary strength but also enhance the overall aesthetic of your shed. When selecting materials,consider options that resist rot,moisture,and pests,ensuring that your shed stands the test of time.
Choosing Materials for Longevity
The selection of materials for both walls and roofs is crucial in determining the longevity and durability of your shed. common materials include:
- wood: While traditional and attractive, wood requires treatment to withstand moisture and pest damage.
- Vinyl: Low maintenance and resistant to weathering, vinyl is an excellent option for shed walls.
- Metal: Often used for roofs,metal provides superior durability and fire resistance.
To help in decision-making, here’s a comparison table of material options regarding their durability, cost, and maintenance requirements:
| Material Type | Durability | Cost (per sq. ft.) | Maintenance |
|---|---|---|---|
| Wood | Moderate (needs treatment) | $3 – $5 | Regular sealing and repair |
| Vinyl | high | $4 – $7 | Minimal cleaning |
| Metal | Very High | $2 – $5 | Occasional rust treatment |
Installation Techniques for Optimal Protection
to ensure your shed walls and roof provide maximum protection, employ robust installation techniques. For walls, start by constructing a solid frame with treated lumber—this will create a strong backbone. Attach plywood sheathing to the frame, which helps increase strength and provides a surface for insulation if desired.
When it comes to roofing, consider sloped designs that facilitate water run-off, preventing pooling and subsequent damage. utilize durable roofing materials like asphalt shingles, which are cost-effective and offer good protection against rain and snow. Ensure your roof is properly ventilated to prevent moisture buildup, which can lead to mold and deterioration.
Utilizing these techniques and appropriate materials will not only enhance the durability of your shed but also ensure it withstands varying elements effectively. By following the steps outlined in guides like ’How to Build a Shed: 7 Simple steps to Your Perfect backyard Structure,’ you’ll create a dependable storage space that serves you well for years to come.
7. Personalizing Your Shed: Storage Solutions and finishing Touches
Creating a personalized space within your shed can transform it from a mere storage unit into a functional and inviting extension of your home. Imagine walking into a well-organized shed where every tool, pot, and gardening supply has its place, blending practicality with your personal style. With the right storage solutions and a few thoughtful finishing touches, you can elevate your shed to become a true oasis for creativity and productivity.
Innovative storage solutions
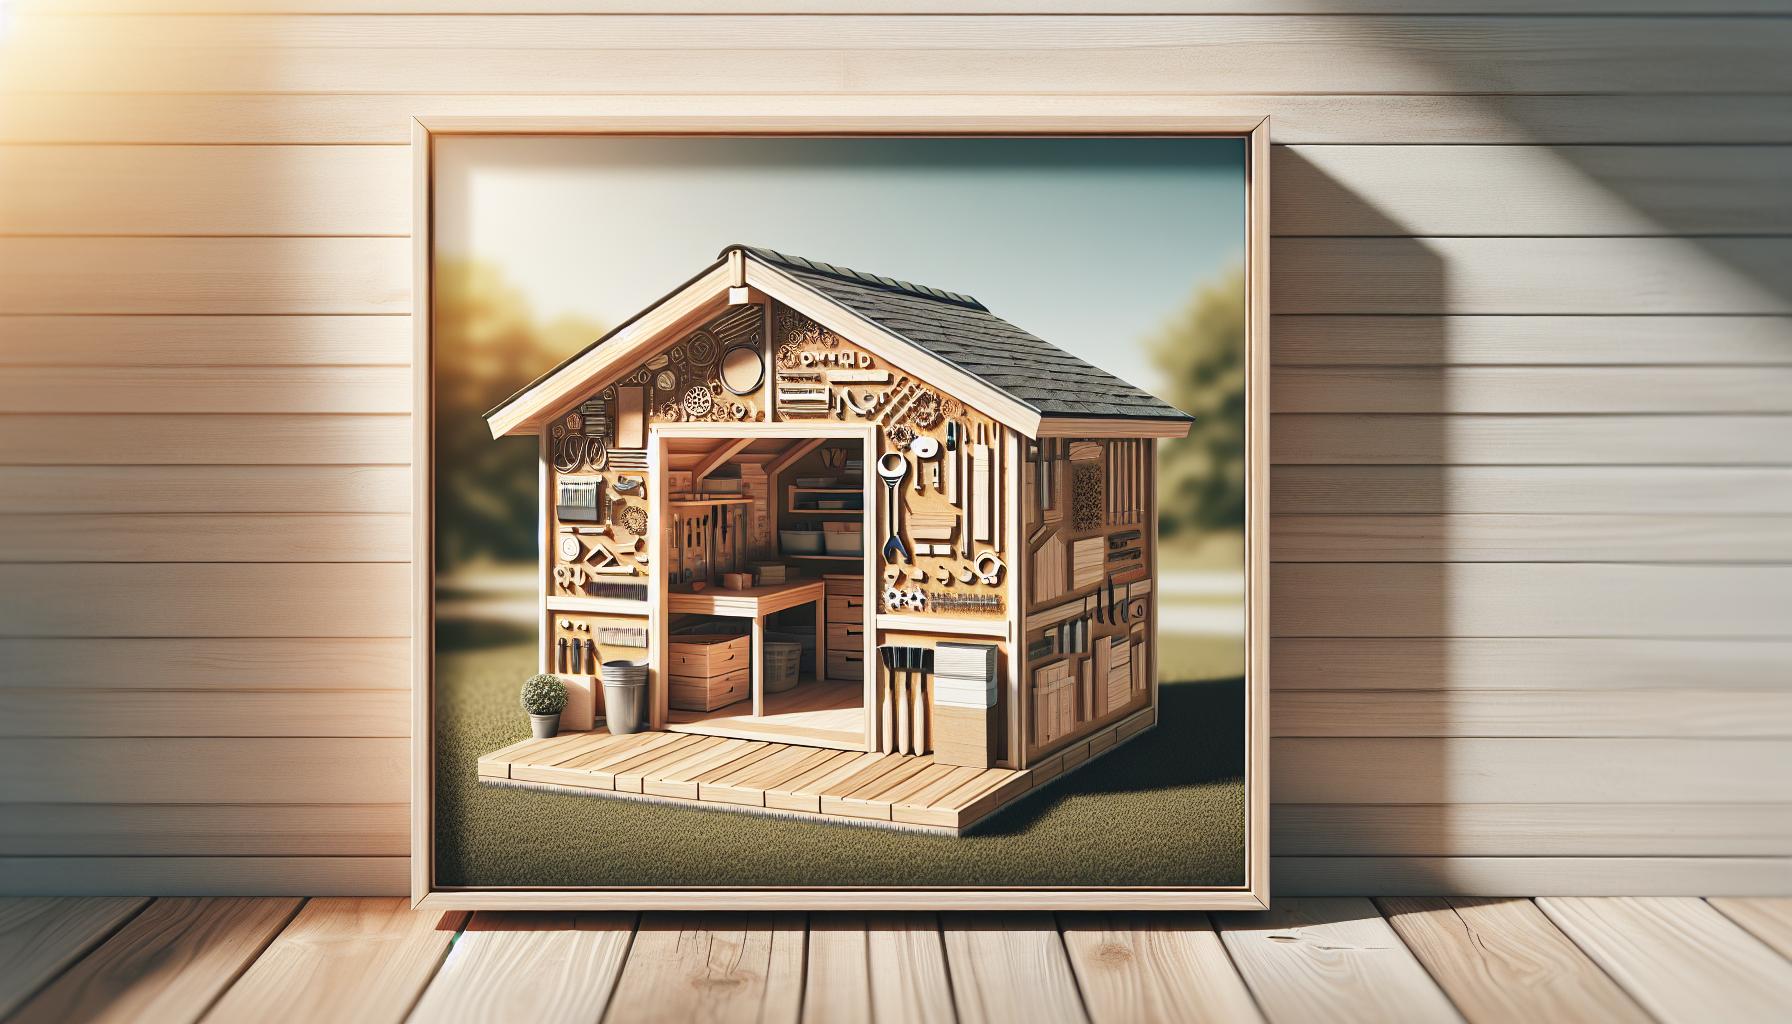
To begin personalizing your shed, consider organizing your items with clever storage solutions. Utilize vertical space by installing shelves or pegboards, allowing easy access to frequently used tools while freeing up floor space. Here are some effective ideas for maximizing your shed’s storage:
- Wall-mounted Shelving: Create a dedicated area for tools and equipment; this keeps them off the floor and easily accessible.
- Baskets and Bins: use decorative bins to store smaller items. Label them for speedy identification.
- Multi-tiered Storage Racks: Perfect for pots and soil; these can hold heavier items with ease.
- Recycled Containers: Old buckets or jars can be repurposed for plant markers or gardening tools.
Incorporating unconventional materials, like pallets or crates, not only provides a rustic aesthetic but also promotes sustainability. These elements enhance both the functionality and the character of your shed.
Finishing Touches for Personal Flair
Once you’ve established an organized layout, it’s time to consider the finishing touches that will reflect your style. Adding personal elements can create an inviting atmosphere. Paint the shed in your favorite colors or use stencils for artistic flair, transforming its exterior into something special.
Consider adding accessories like a comfortable chair or a small table where you can relax or plan your gardening projects. Including plants or decorative items can bring life to the space. Here are some tips to personalize your shed:
- Artwork: Hang up a few pieces that inspire you or reflect your hobbies.
- Indoor Plants: Introduce greenery to enhance air quality and aesthetics.
- Personal tools: Engrave or decorate your tools for a personal touch.
By blending smart storage solutions with thoughtful decoration, you can create a shed that not only serves a practical purpose but also encapsulates your unique style—a perfect embodiment of the ideas presented in ’How to Build a Shed: 7 Simple Steps to Your Perfect Backyard Structure.’
Achieving the perfect balance between institution and personalization reinforces the notion that your shed can evolve into a functional workshop, a gardening sanctuary, or even an art studio—whatever fulfills your needs and ignites your passion.
Q&A
How to Build a Shed: 7 Simple Steps to Your Perfect Backyard Structure?
To build a shed, follow these seven simple steps: plan your design, gather materials, prepare the site, build the foundation, construct the walls, install the roof, and finish with doors and windows. This structured approach ensures a successful build and a sturdy shed.
Start with a clear design plan that includes dimensions and features. Then, select appropriate materials based on your climate and budget. Preparing a level site is crucial for stability. each phase of construction builds upon the last, so take your time at each step to ensure quality.
What materials do I need to build a shed?
To build a shed, you’ll need basic materials such as wood (for framing and walls), roofing materials, nails, screws, and treats for floors.Consider purchasing a shed kit which includes everything needed for assembly.
for durability, opt for rot-resistant wood or composite materials. Additionally, tools such as a hammer, saw, and level are essential. Researching materials can also help you make environmentally friendly choices, ensuring your shed lasts for years and looks great.
Can I build a shed without any prior experience?
Yes, you can build a shed without prior experience! With a thorough plan and guidance, even beginners can successfully construct their own shed.
Start by choosing a simple design and gradually familiarize yourself with basic tools and techniques.Many resources are available, including tutorials and videos, to help guide you. Taking your time and asking for help when needed will make the process enjoyable and educational.
Why does site preparation matter when building a shed?
Site preparation is critical when building a shed because it ensures a level and stable foundation, preventing future structural issues.
A poorly prepared site can lead to water accumulation, shifting or sinking of the foundation, and ultimately, an unstable structure. Clear the area of debris and mark out your foundation size carefully. If you need help with site preparation techniques, check out our detailed guide.
What size shed should I build for my backyard?
The size of your shed depends on its intended use. Common sizes range from 6×8 feet for gardening tools to 12×20 feet for larger storage needs.
Consider how much space you have and what items you plan to store. Always measure your available backyard space and ensure compliance with local zoning laws. Consulting your local community guidelines can also provide insights into optimal sizes for backyard structures.
Do I need a permit to build a shed?
Whether you need a permit to build a shed depends on local regulations, including size and location. Many areas require permits for larger structures.
Before starting your project, check with your local building department or municipality to understand specific requirements. often,smaller sheds may not need a formal permit,but it’s best to confirm to avoid future complications.
How long does it take to build a shed?
The time it takes to build a shed varies based on its size and complexity, but most DIYers can complete a basic shed in 1-3 days.
Preparation, such as gathering materials and planning, will add time to your project. Don’t rush; focusing on quality will pay off in the long run.It’s essential to take breaks and possibly recruit a friend to help,making the project more enjoyable and efficient.
What are the best practices for shed maintenance?
Regular maintenance is vital for your shed’s longevity. Key practices include checking for leaks, painting or sealing the wood, and keeping the area around the shed clear of debris.
plan to inspect your shed at least twice a year. Regular maintenance not only preserves the aesthetics of your shed but also protects your investment. For more tips on maintaining your outdoor structures, explore our maintenance guide.
To Wrap It Up
Building a shed can be an incredibly fulfilling project, offering both practical storage solutions and the chance to exercise your DIY skills. by following the seven straightforward steps outlined in this article, you’ve taken the first stride toward creating a perfect backyard structure that meets your unique needs. Remember, preparation is key—taking the time to plan and gather your materials will save you valuable time and effort down the line.
as you embark on this journey,don’t hesitate to embrace any challenges that may arise. Whether you’re grappling with measurements, construction techniques, or unexpected hurdles, know that every problem has a solution. Lean on the wealth of resources available to you, from instructional videos to community forums, and always keep that spirit of exploration alive.We encourage you to share your progress and questions as you construct your shed. Your experience may inspire others and foster a sense of community among fellow DIYers. Remember,quality craftsmanship is within your reach,and with patience and practice,you’ll not only build a shed but also gain invaluable skills for future projects. Dive in, enjoy the process, and watch as your backyard transforms into a more organized and functional space! Happy building!

