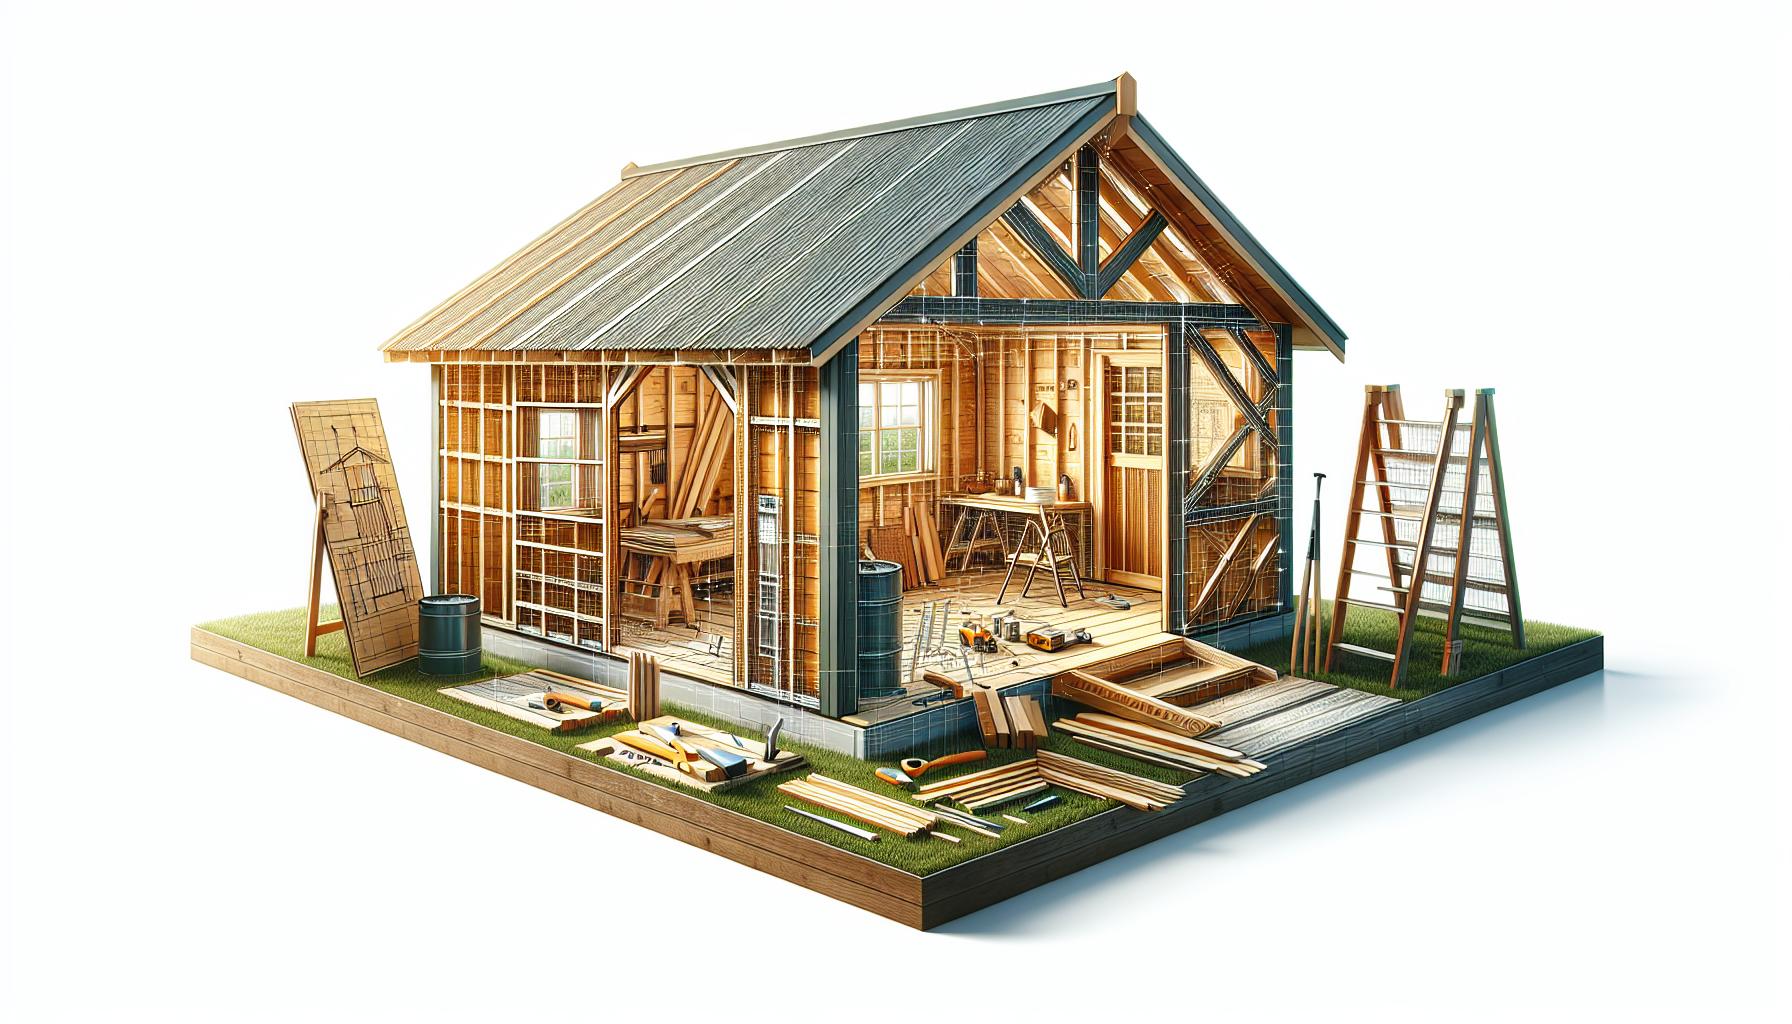
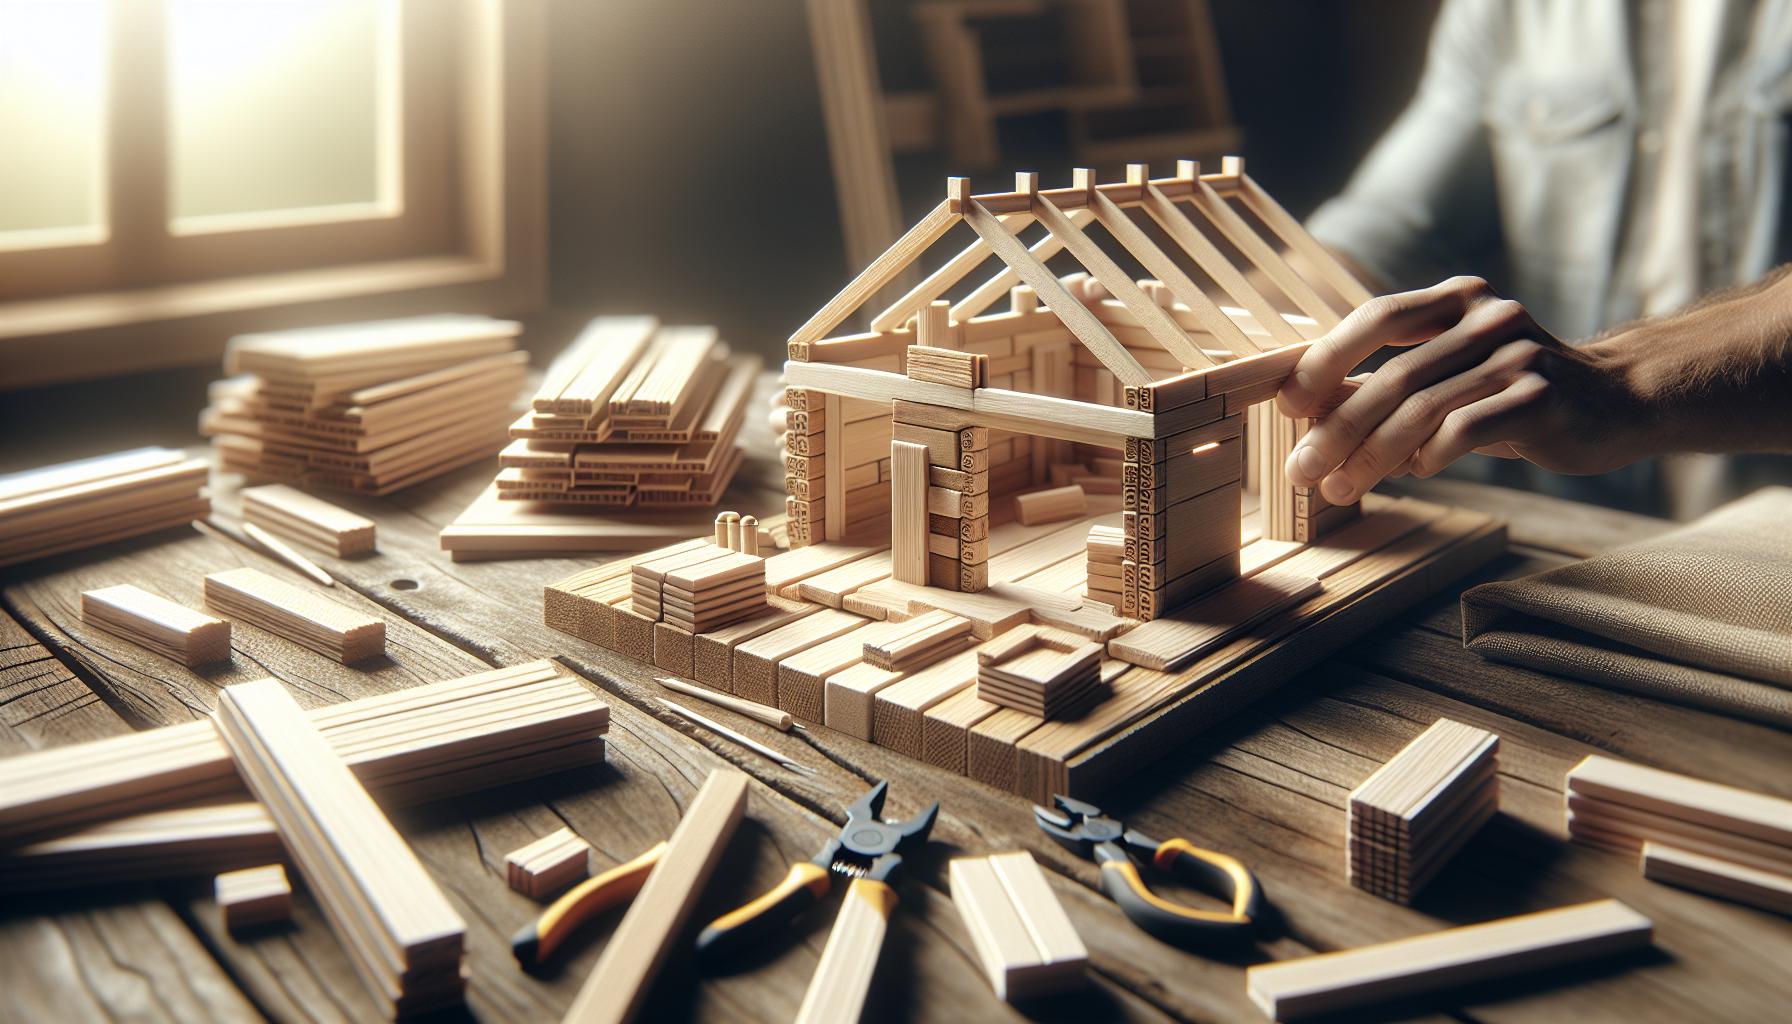
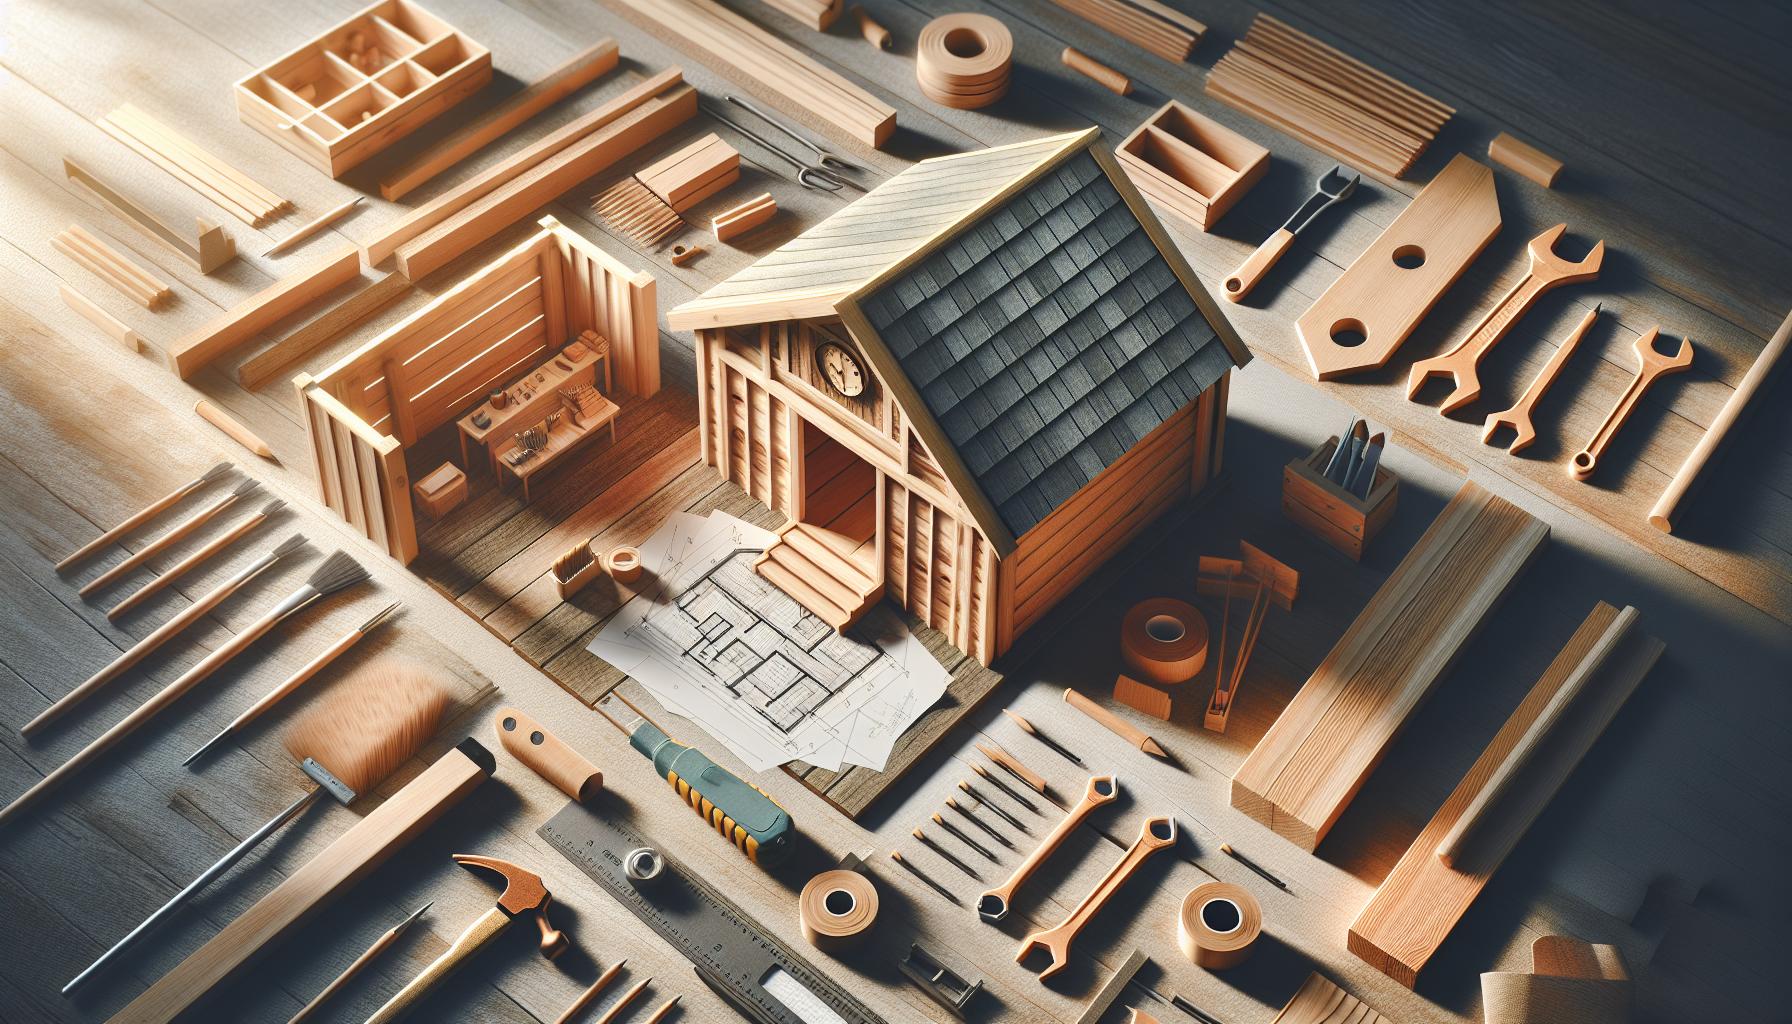
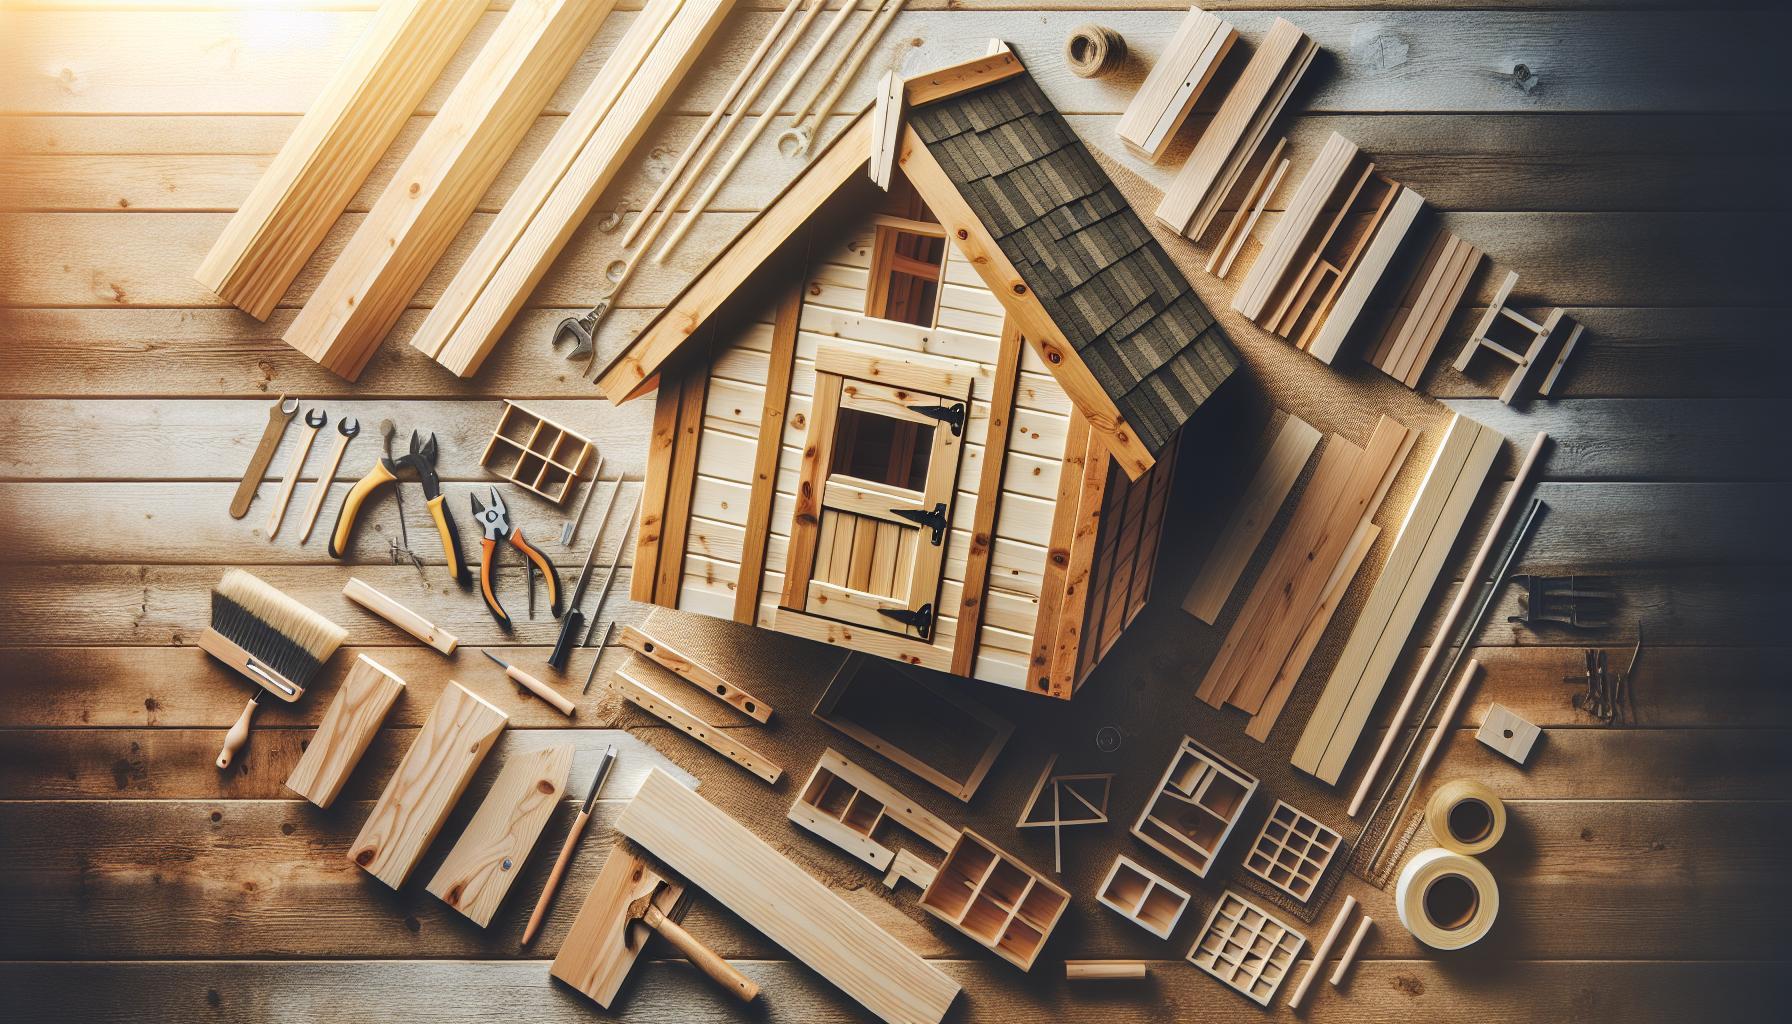
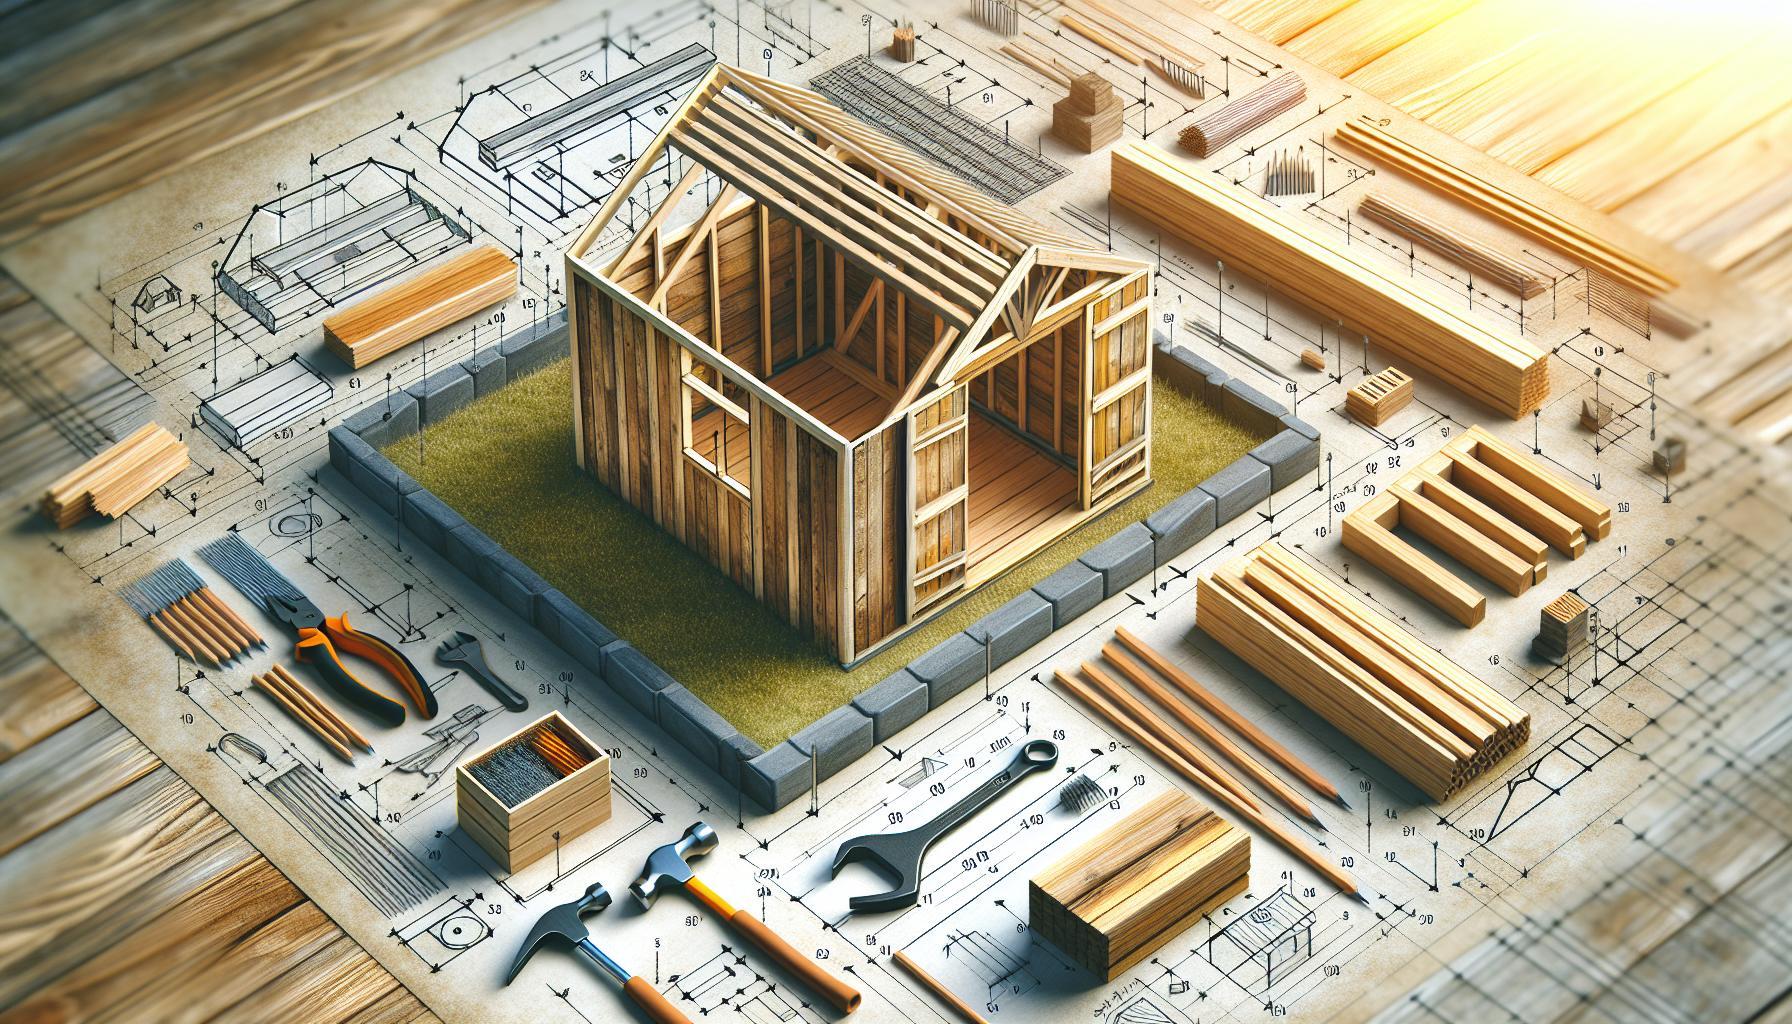
Building your own outdoor storage space can feel overwhelming, but with a structured approach, it doesn’t have to be. Knowing how to navigate the essential stages of the process not only simplifies construction but also ensures a functional and delightful addition to your property.Explore our foolproof steps to create your ideal shed and unlock your backyard’s potential!
Laying the Foundation: Understanding the Basics of Shed Construction
Building a shed on a solid foundation is paramount to ensuring its longevity and functionality. Without a strong base, your shed can succumb to moisture, pests, and structural weakness over time. Understanding the fundamentals of shed foundations is crucial for anyone embarking on the journey of constructing their own outdoor structure—as highlighted in the stages of creating your dream shed.
Types of Shed Foundations
When considering how to build a shed, the type of foundation you choose can substantially affect its stability and durability. here are the most common foundation types:
- Concrete slab: This is the most stable and long-lasting option. A concrete slab can support heavy loads and is resistant to pests and moisture.
- Wooden Skids: Ideal for smaller sheds, wooden skids are placed on the ground and elevate the shed, allowing for drainage and air circulation.
- Concrete Blocks: These blocks are an affordable choice that provides elevation and stability while allowing for drainage beneath the shed.
- Pier Foundation: This foundation type uses concrete piers dug into the ground,making it suitable for uneven terrains.
Preparing the Site
Proper site preparation is a vital step in ensuring a prosperous build. Begin by choosing a level area free from debris, rocks, and vegetation. To assess the topography, you might find it helpful to use a level or a tape measure to ensure that your foundation will sit evenly.
- Mark the Area: Use stakes and string to outline the shed’s dimensions.
- Excavate the Site: Remove the top layer of soil to create a flat surface. Depending on your foundation choice, this may include digging deeper for concrete footings or block foundations.
- Compaction: It’s crucial to compact the soil to prevent shifting or settling over time, which can lead to structural issues.
building the Foundation
Once your site is prepped, you can start constructing the foundation. For a concrete slab, this will involve the following steps:
- Set up Forms: Use wooden boards to create a frame that will hold the concrete in place.
- Pouring Concrete: Mix and pour the concrete, ensuring it’s level all around.
- Curing: allow the concrete to cure properly, usually for at least a week before placing any weight on it.
For wooden skids or blocks, you’ll need to position them well to ensure they are level and can handle the shed’s weight.
With these foundational steps, you are establishing a durable base for your shed. Remember, taking the time to create the right foundation isn’t just a preliminary task; it’s laying the groundwork for a successful construction experience. Following these guidelines, as highlighted in the stages of the shed-building process, will lead you closer to your dream outdoor structure.
Designing Your dream Shed: Choosing the Right Plans and Materials
When embarking on the journey of constructing a shed, choosing the right plans and materials is crucial to achieving a structure that is both functional and aesthetically pleasing. With the right guide, even novices can craft their dream sheds, transforming their outdoor space into a practical storage solution or a stunning backyard retreat. To begin, it’s important to identify your needs: what will the shed be used for? Will it serve as a simple storage space, a workshop, or perhaps a gardening haven? Understanding the purpose of your shed will greatly influence the design and materials selected.
It’s essential to explore various shed plans that cater to different styles, sizes, and budgets. Websites like Menards offer a variety of storage building plans that can guide you through the process, providing clear instructions and material lists to ensure you have everything needed to complete your project successfully [[1](https://www.menards.com/main/building-materials/books-building-plans/shed-plans/c-9668.htm)]. When selecting a plan, consider factors such as local building codes, zoning requirements, and the overall aesthetic you desire for your yard. it’s also wise to review online communities, such as Reddit’s shedditors forum, where shared experiences can provide practical tips and inspiration from fellow DIYers [[2](https://www.reddit.com/r/shedditors/comments/1cvr7oa/i_want_to_build_a_shed_where_to_start/)].
In terms of materials, choosing high-quality, durable options is key for ensuring the longevity of your shed. Utilizing treated lumber for the foundation and walls, alongside quality siding materials like LP Smart Siding, can provide a solid structure that withstands the elements [[3](https://roomfortuesday.com/our-shed-build-supply-list-and-budget/)]. Here’s a simple breakdown of essential materials you might consider:
| Material | Purpose |
|---|---|
| Treated Lumber | Foundation and framing |
| Douglas Fir Studs | Wall framing |
| LP Smart Siding | Exterior siding |
| Metal Roofing | Durable roofing option |
| Insulation | Temperature control (if necessary) |
With a solid plan and the right materials in hand, you are well on your way to creating a shed that not only meets your functional requirements but also adds charm and value to your property. As you proceed, continually refer back to authoritative resources that walk through the complete stages of building, ensuring every step aligns with your vision for that dream outdoor structure.
Gathering Your Tools: Essential Equipment for Every Builder
Starting a construction project, whether it’s a simple shed or a more elaborate structure, requires more than just ambition; it necessitates the right equipment. Having the correct tools at your disposal not only streamlines the building process but also enhances safety and efficiency. This is critical when embarking on your endeavor of building a shed, as outlined in the comprehensive guide titled “How to Build a Shed: 5 Foolproof Stages for Your Dream Outdoor Structure.” Let’s explore essential tools every builder should gather before diving into those stages.
Essential Tools for your Build
When it comes to constructing a shed, the right tools are essential. Here’s a breakdown of the key items you should have:
- Measuring Tools: A tape measure, level, and square are crucial for accurate measurements and ensuring straight cuts.
- Cuts and Fasteners: Ensure you have saws (circular,hand,and miter) for cutting wood,alongside a reliable assortment of nails,screws,and anchors.
- Power Tools: A drill and an impact driver will significantly speed up your work, while a jigsaw can offer precision on intricate cuts.
- Hand Tools: Hammers, wrenches, and pliers are basic yet indispensable for any builder.
- Safety Gear: Don’t forget your safety glasses, gloves, and a hard hat to protect yourself during the build.
Organizing Your equipment
Preparation is key in any successful construction project. Organizing your tools beforehand can prevent delays and frustrations. Consider using a sturdy toolbox or a portable workbench, which can keep your equipment easily accessible yet secure.
Additionally, creating a dedicated space for your tools can help keep your building area safe and efficient. Remember that keeping everything in its designated spot not only saves time but also minimizes the risk of accidents.
| Tool Category | Example Tools | Purpose |
|---|---|---|
| Measuring Tools | Tape Measure, Level | Ensures accurate dimensions and alignment. |
| Cutting Tools | Circular saw, Jigsaw | Required for cutting wood and materials. |
| Power Tools | Drill, Impact Driver | For efficient assembly and installations. |
| Safety Equipment | Safety Glasses, Gloves | Protects against injuries on the worksite. |
Preparing adequately with the right tools is an investment in your project’s success.By gathering these essential items, you are setting yourself up for a smoother experience as you follow the stages detailed in “How to Build a shed: 5 Foolproof Stages for Your Dream Outdoor structure.” With everything in place,you’ll be well-equipped to tackle your build with confidence and precision.
Mastering the Build: Step-by-Step Techniques for a Sturdy Structure
Building a shed is not just about having a space to store your tools; it’s about creating a sturdy structure that can withstand the elements and serve you reliably for years to come. As you embark on this journey, mastering the essential techniques will make all the difference in crafting a durable and functional shed. Each stage in the process is crucial, and following a structured approach can turn a possibly chaotic project into a satisfying accomplishment.
Planning and Foundation
Before you lift a hammer, the foundation of your shed is paramount. Depending on your location and climate, you may need to adjust your foundation type. Common choices include gravel pads,concrete blocks,or a full concrete slab. Make sure to clear the area of any debris and level the ground to ensure stability.For sloped sites, consider using post foundations, similar to a deck structure, which allows for proper drainage and minimizes moisture problems.
- Site Preparation: Clear vegetation and level the ground.
- Foundation Options: Choose between gravel, concrete blocks, or a slab based on your needs and local soil conditions.
- Measuring and Layout: Use stakes and string to mark the perimeter of your shed.
Framing the Structure
Once the foundation is set, framing the walls and roof is next. Using treated lumber for the framing materials helps protect against rot and pests. Begin by constructing the floor frame, ensuring to incorporate necessary reinforcements for increased load-bearing capability. The walls should be framed to your desired height and should include windows or doors as planned. For additional structural integrity, consider using diagonal bracing, which helps prevent sway and provides stability.
- Materials Needed: 2x4s for walls,plywood for flooring,and appropriate fasteners.
- assembly Tips: Assemble walls flat on the ground, then raise them into position.
- Inspections: Regularly check measurements and alignments during assembly.
Roofing and Siding
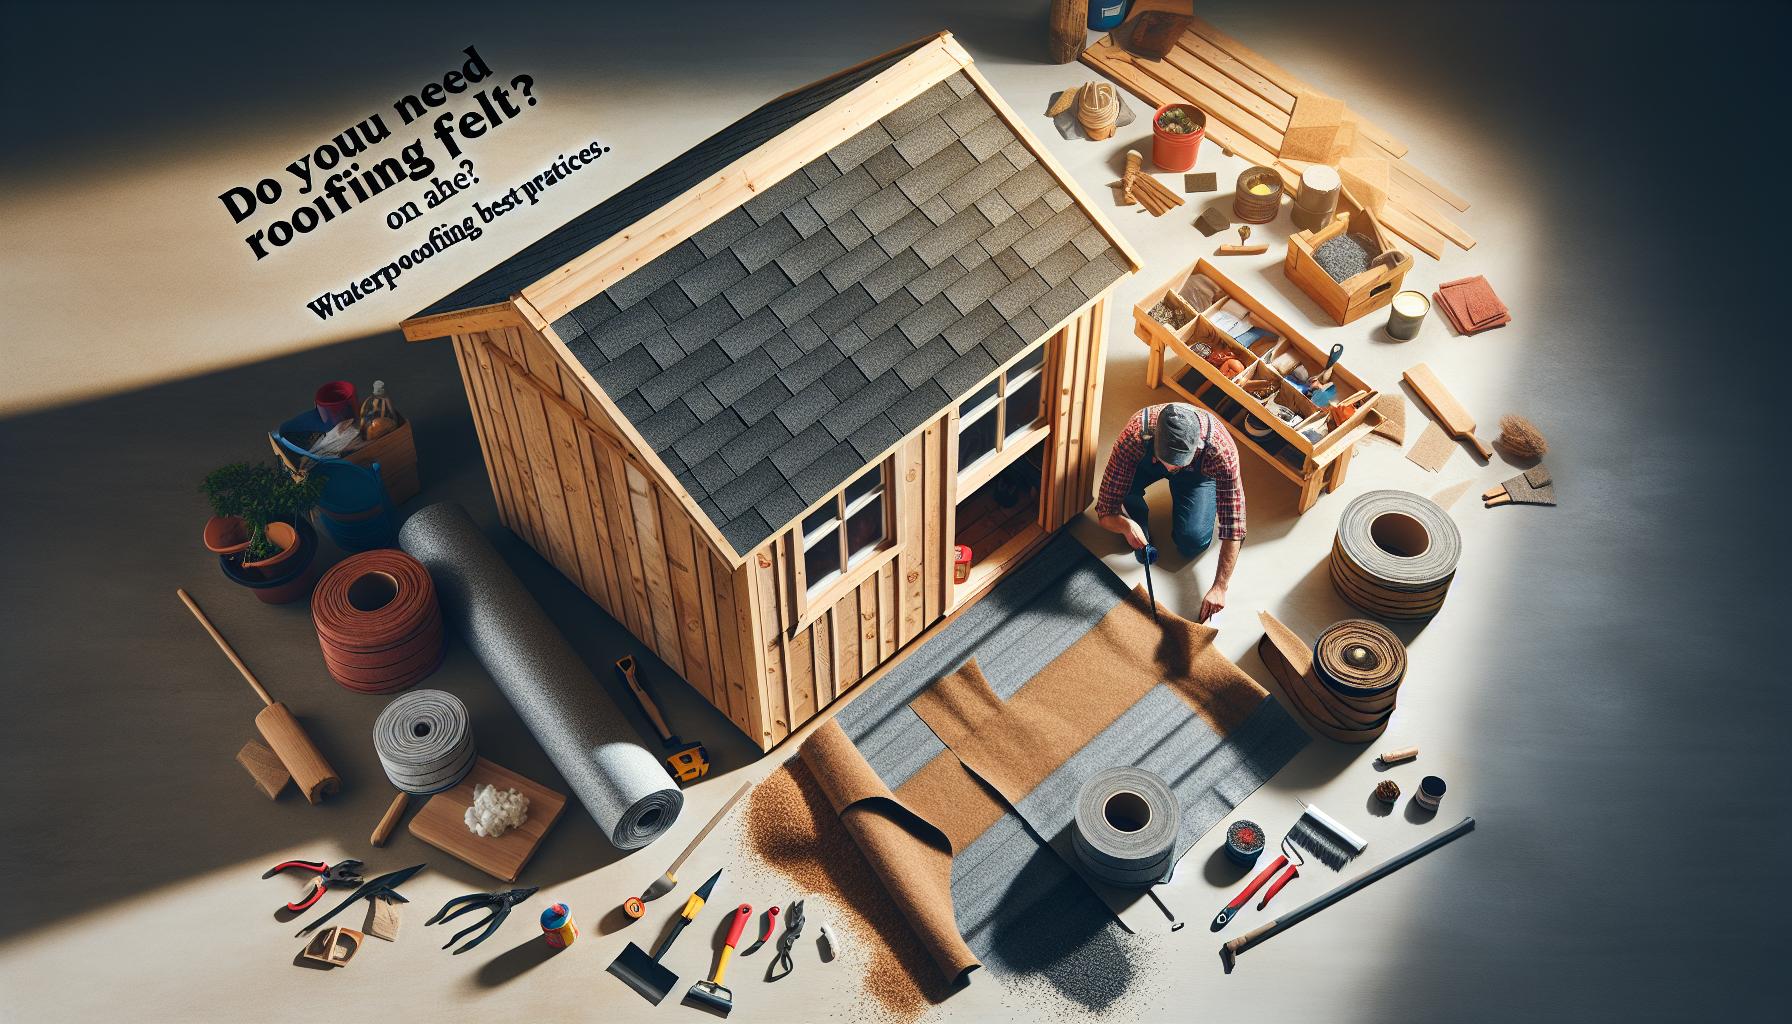
the roof is one of the most crucial elements of your shed, protecting your belongings from rain and snow. Choose roofing materials that suit your climate, whether shingles, metal panels, or corrugated roofing. Install the roof frame first, ensuring it is square and securely attached to the wall framing. follow this by applying your chosen siding material. Proper installation not only enhances aesthetics but also contributes significantly to the structural integrity of the shed.
| material | Benefits | Considerations |
|---|---|---|
| Wood Shingles | natural appearance, good insulation. | Requires maintenance. |
| Metal Roofing | Durable,fire-resistant. | Can be noisy; may require insulation. |
| Asphalt Shingles | Cost-effective, easy to install. | Less durable in extreme weather. |
Mastering each of these building stages ensures a long-lasting structure tailored to your needs. By applying these meticulous techniques, you will take meaningful strides toward achieving a well-built shed, anchoring down each component solidly as you move through the process of building your dream outdoor structure.
Navigating permits and Regulations: What You Need to Know Before You Start
before embarking on your shed-building project, it’s essential to understand the necessary permits and regulations that may apply to your area. Ignoring this critical step can lead to costly fines or extensive modifications down the line.In many jurisdictions,including Denver,construction regulations require permits for most building activities,especially when it involves structures over a certain height or size. As an example, walls of less than four feet typically don’t require a permit, but any wall over that height will. This underscores the importance of knowing your local codes before you begin constructing your dream shed.
When considering how to build a shed, it’s helpful to compile a list of the different permits you may need. This might include zoning permits, building permits, and possibly even electrical or plumbing permits, depending on your shed’s intended use.Each type serves a specific purpose. Such as, zoning permits ensure that your shed complies with local zoning laws, including land use and property lines, while building permits verify that your structure meets safety and construction standards.
To simplify your preparation, follow these steps:
- Research local regulations: Start by checking with your city or county for specific requirements related to shed construction.
- Complete necessary applications: Gather the required documentation, including your property deed and building plans, and submit your permit applications.
- Consult professionals: If you’re unsure about the permitting process, consider hiring a local contractor or consultant who knows the ins and outs of construction regulations.
- Stay organized: Keep copies of all your submissions and communications with city departments, as this will help you navigate any questions or issues that arise.
Understanding the nuances of permits and regulations is pivotal to a successful build. In places like Denver, the City and County provide guides and resources that detail the specific steps homeowners need to follow, which can greatly ease the process. For comprehensive facts, check the city’s residential permitting guide, which outlines the requirements for different structures and modifications. Preparing ahead of time not only saves you from unexpected delays but also ensures that your shed is a safe and legal addition to your property.
Customizing Your Shed: Adding Personal Touches and Practical Features
When designing your shed, customization not only enhances its aesthetic appeal but also increases its functionality, turning a simple storage space into a personal haven. Incorporating personalized touches and practical features can elevate your outdoor structure from basic to remarkable. Consider options that reflect your style and meet your specific needs,transforming a utilitarian space into an extension of your home.
Design Elements to Consider
Start by thinking about the exterior of your shed.Options such as paint color, siding material, and roofing style play a crucial role in how your shed blends with your landscape. You might choose a classic wooden finish for a rustic look or opt for sleek metal siding for a modern twist. Don’t forget about functional elements like windows,which not only allow natural light to flood in but can also create a more inviting atmosphere.
- Windows: Choose styles that open for ventilation or fixed for aesthetic appeal.
- Doors: Consider double doors for easy access or an engaging entry design with decorative hardware.
- Roofing: Select a durable material that complements your home’s architecture, like shingles or metal.
Practical Features to Enhance Functionality
Beyond aesthetics, practical features can significantly enhance your shed’s usability. Lighting and electrical systems are essential if you plan to use your shed as a workshop or hobby space. Installing a mini-split unit provides heating and cooling, ensuring comfort year-round, especially for those who spend extended time in the shed.
For security, consider reinforced doors and windows or even a monitored alarm system. Additionally, implementing shelving or tool racks can definitely help keep your tools organized and accessible. These features not only maximize space but also ensure safety and efficiency.
| Feature | Benefit |
|---|---|
| Electrical Outlets | Power tools and lighting for increased functionality. |
| Insulation | Maintain optimal temperatures and save on energy costs. |
| Shelving Systems | Organize tools and gardening supplies effectively. |
By thoughtfully selecting design elements and practical features during your shed construction, you can create a tailored space that meets both your aesthetic desires and functional requirements. This approach ensures that your shed serves as a personalized sanctuary right in your backyard, perfectly aligned with your lifestyle.
Maintenance Matters: Keeping Your Shed in Top Shape Year-Round
Keeping your outdoor structure in pristine condition isn’t just about aesthetics; it significantly enhances its lifespan and functionality. regular maintenance ensures that the investment you made in your shed doesn’t deteriorate prematurely. after understanding how to build a shed through the five foolproof stages, it’s essential to implement a routine that will preserve its integrity throughout the year.
Regular Inspections
Start by scheduling seasonal inspections to check for any visible damage. Look for leaks, cracks, and any signs of wear around doors and windows.These measures can prevent larger issues down the line. Be proactive in identifying problems early,such as:
- inspect the roof for missing shingles or cracks.
- Check for any pest infestations, which can harm both the structure and the items stored inside.
- Test the seals around windows and doors to ensure they are tight.
Cleaning and Organizing
A clean shed is a happy shed! Periodically wipe down surfaces, including shelves and workbenches, with mild soap and water to prevent mold and mildew buildup. It’s also a great time to take inventory of your tools and supplies. Consider implementing a system for organization by categorizing items and using clear storage bins. This not only improves accessibility but also keeps pests at bay.
Maintenance Checklist
To streamline your maintenance tasks, utilize a straightforward checklist that you can follow every few months:
| Task | Frequency |
|---|---|
| Inspect for leaks and cracks | Every 3 months |
| Lubricate hinges and locks | Every 6 months |
| Clean surfaces and organize contents | Every 4 months |
| Clear gutters and downspouts | Bi-annually |
By committing to these practical and actionable maintenance strategies, you’ll ensure that your shed remains functional and aesthetically pleasing for years to come. Keeping your investment in check will also save you time and money in the long run, allowing you to focus more on enjoying your outdoor space rather than fixing avoidable issues.
Troubleshooting Common Challenges: Solutions for Every Builder’s Journey
Building a shed can be a rewarding project, but it often comes with its own set of challenges that can turn the experience into a frustrating ordeal. Whether it’s managing uneven ground, ensuring proper drainage, or navigating through weather variations, understanding how to troubleshoot these common issues is essential for any builder aiming for success in their backyard endeavor. By being prepared and adopting proactive strategies, you can avoid pitfalls and keep your shed construction on track.
Leveling the Foundation
One of the most critical aspects of constructing a shed is ensuring that the foundation is level. Uneven ground can lead to structural instability later on. To tackle this issue effectively, start by removing any topsoil and digging down to a solid surface, as recommended by shed building enthusiasts. This initial step not only provides a stable base but also minimizes future water concerns by preventing pooling around the shed. Here are some steps to consider:
- Check for Level: Use a level to ensure that both corners and the middle of your foundation are aligned.
- Adjust as Needed: If you find inconsistencies, use shims or additional gravel to raise low points.
- Recheck Regularly: Continuously verify that your foundation remains level throughout the building process.
Addressing Water Management
Another prevalent issue is the risk of water damage due to poor drainage. Elevating your shed can significantly reduce water concerns. Make sure to follow these guidelines for effective water management:
- elevate the Shed: Build the floor on a raised platform to help it stay dry.
- Install Gutters: Adding gutters can help divert rainwater away from the structure.
- Choose Materials Wisely: Use water-resistant materials for parts of the shed that are prone to moisture exposure.
Weather-Related Challenges
Weather can impact your building schedule and the materials used during construction. If you encounter rain or excessive heat,it’s crucial to adjust your plans accordingly. monitor local weather forecasts and be prepared to:
- Postpone Work: If rain is anticipated,delay any open-air tasks,particularly roofing.
- secure materials: Store wood and other materials under cover to prevent warping or rot.
- Create a Strategic Timeline: Plan your construction phase around the seasons and typical weather patterns in your area.
By applying these practical solutions to common building challenges, you can ensure a smoother and more successful journey in constructing your dream structure.As you learn how to build a shed through its various stages, keep these troubleshooting tips handy to maintain your momentum and confidence.
Q&A
how to Build a Shed: 5 Foolproof Stages for Your Dream Outdoor Structure?
To build a shed, you need a clear plan outlining the 5 foolproof stages: foundation, floor, walls, roof, and finishing touches. Start with solid research and preparation to ensure a successful build!
each stage of building a shed involves specific tasks and materials. Begin by designing your shed and acquiring necessary permits if your shed exceeds size limits or local regulations. Whether you’re a beginner or an experienced builder, understanding these stages will make your project more manageable. Consider using detailed guidelines for better results.
What permits do I need to build a shed?
In many areas, a permit is not required for sheds under 100 square feet. Tho,for larger structures,or those with specific zoning restrictions,you may need to obtain a permit.
always check local regulations to avoid fines and ensure compliance. Building permits can vary significantly based on your location and intended use of the shed. For example, if you’re building a shed intended for storage of equipment, different rules may apply compared to a shed used for recreational purposes.
What materials do I need to build a shed?
Key materials include wood for the frame, plywood for walls, roofing materials, and concrete for the foundation. Don’t forget tools like a saw,hammer,and drill!
Choosing the right materials is essential for durability and functionality. You can opt for pressure-treated lumber to resist rot, and metal or asphalt shingles for roofing. Always consider your local climate when selecting materials to ensure your shed withstands weather conditions.
Can I build a shed on my own?
Yes,many people successfully build sheds on their own,especially with detailed plans and resources.It’s a rewarding project with proper preparation!
While some may find it challenging, breaking down the tasks into manageable stages makes it easier. Consider asking for help with heavy lifting or specialized tasks. Each person’s skill level varies, so don’t hesitate to reach out for guidance or tutorials if needed.
Why is it critically important to have a proper foundation for my shed?
A proper foundation is crucial as it provides stability, keeps moisture away, and extends the lifespan of your shed. It’s the base of your structure!
Common foundation types include concrete slabs, wooden beams, and gravel pads. Each type has its benefits, like concrete for strength and wooden beams for flexibility in leveling. A solid foundation ensures your shed remains level and can handle weight, preventing future sagging or shifting.
How long does it take to build a shed?
Building a shed can take anywhere from a weekend to a few weeks, depending on size, complexity, and your experience level.
Plan for additional time if you’re a beginner, as learning curves will extend the process. Weather and scheduling also play a role. By setting realistic goals and maintaining a clear timeline, you can enjoy building without feeling rushed.
What features can I add to enhance my shed?
You can enhance your shed with windows, shelving, electricity, and insulation, making it a versatile space for storage or workspace.
Adding windows increases natural light, while shelves maximize storage.If you plan to use the shed as a workshop, consider installing electrical outlets and better insulation for year-round use. Customization is key; make it suited to your needs!
to sum up
Building a shed is an exciting journey, and by following these five foolproof stages, you can transform your vision into reality. From careful planning and choosing the right materials to the actual construction and finishing touches, each phase is crucial to creating a structure that not only meets your needs but also stands the test of time.Remember, while there may be challenges along the way, each step is an opportunity to learn and grow as a builder.
As you embark on this project, consider the legal requirements and practical limitations that may influence your design and execution. With an open mind and a willingness to adapt, you’re well on your way to achieving your dream outdoor structure. Embrace the process, and don’t hesitate to explore more resources, connect with fellow enthusiasts, and even seek professional advice as needed. Your shed-building adventure is just the beginning—dive deeper and discover the joys of crafting your personal space!


