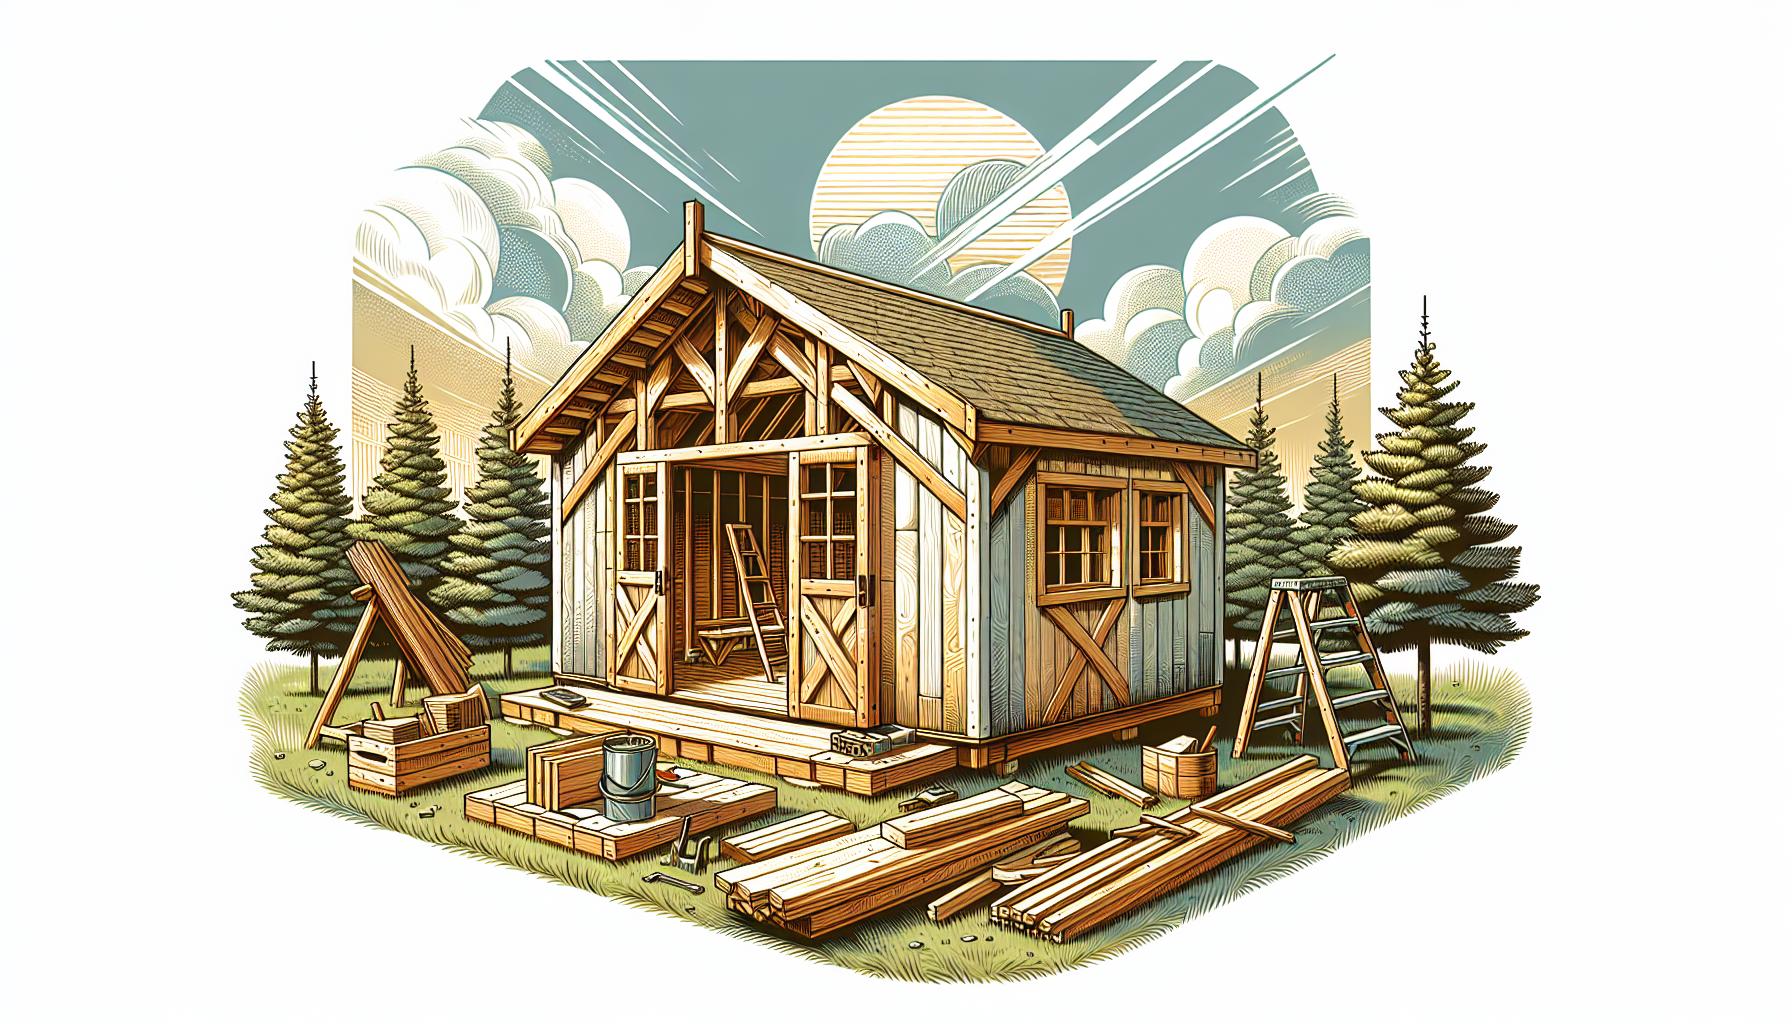
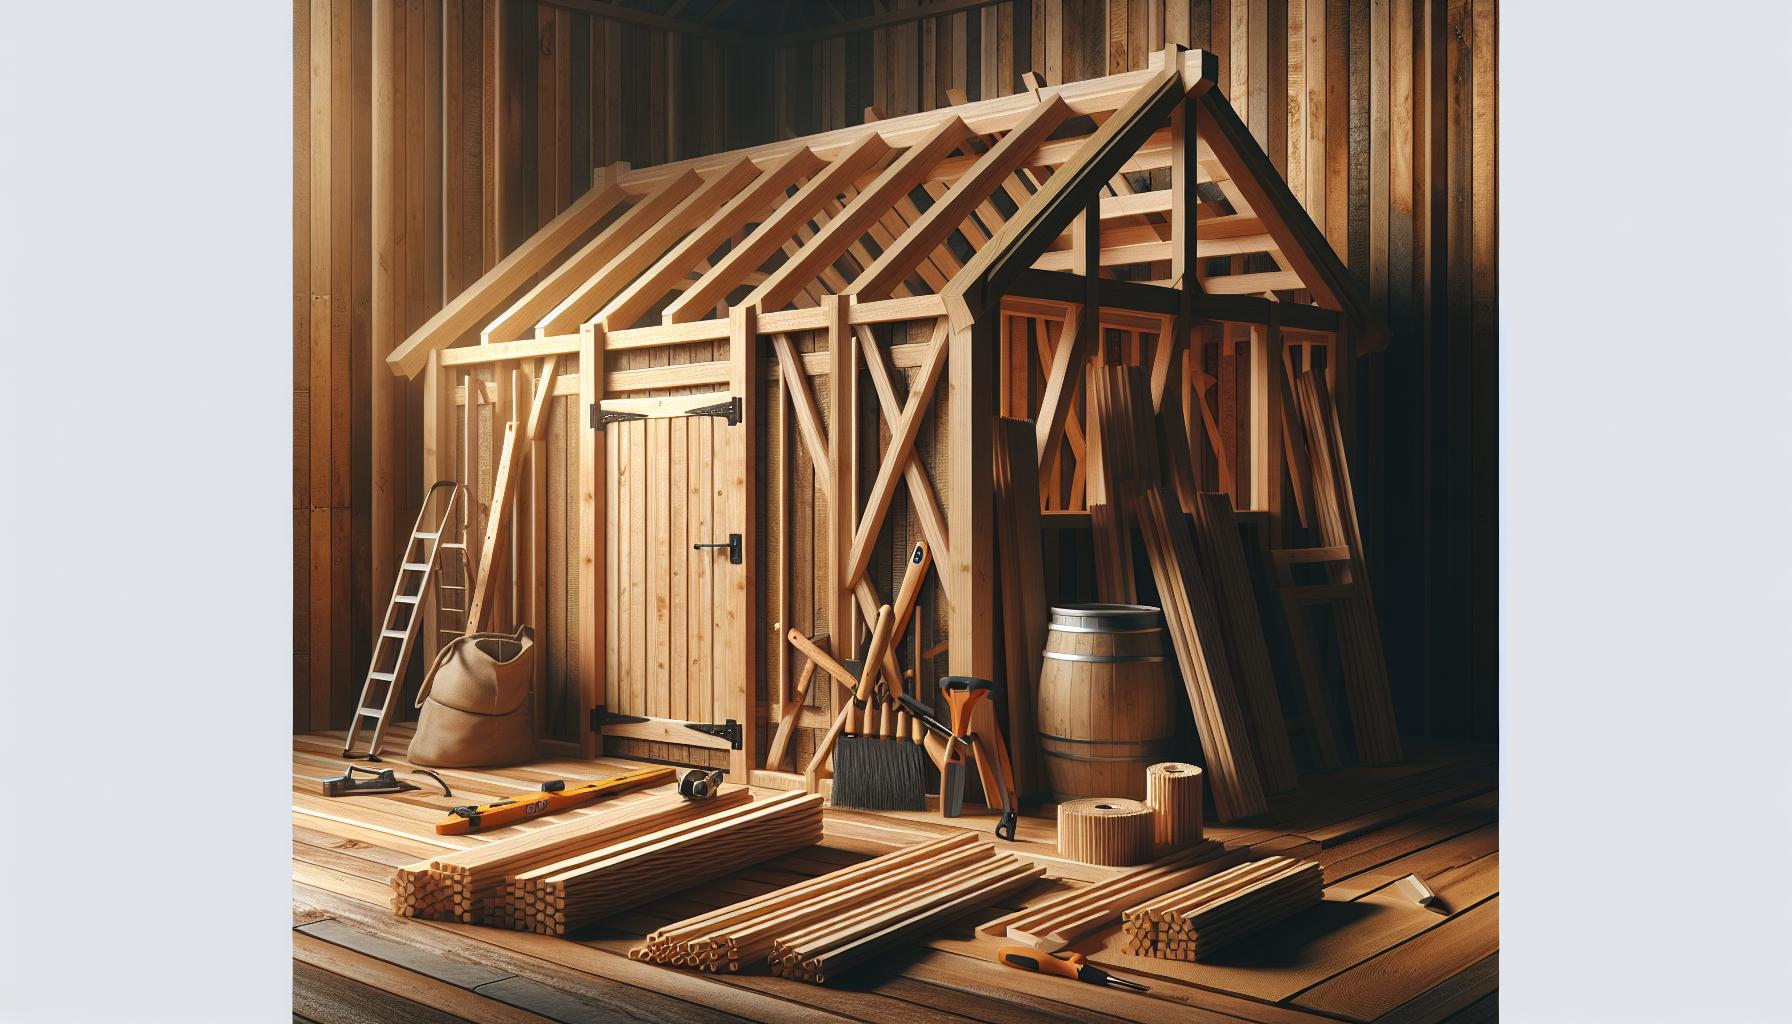
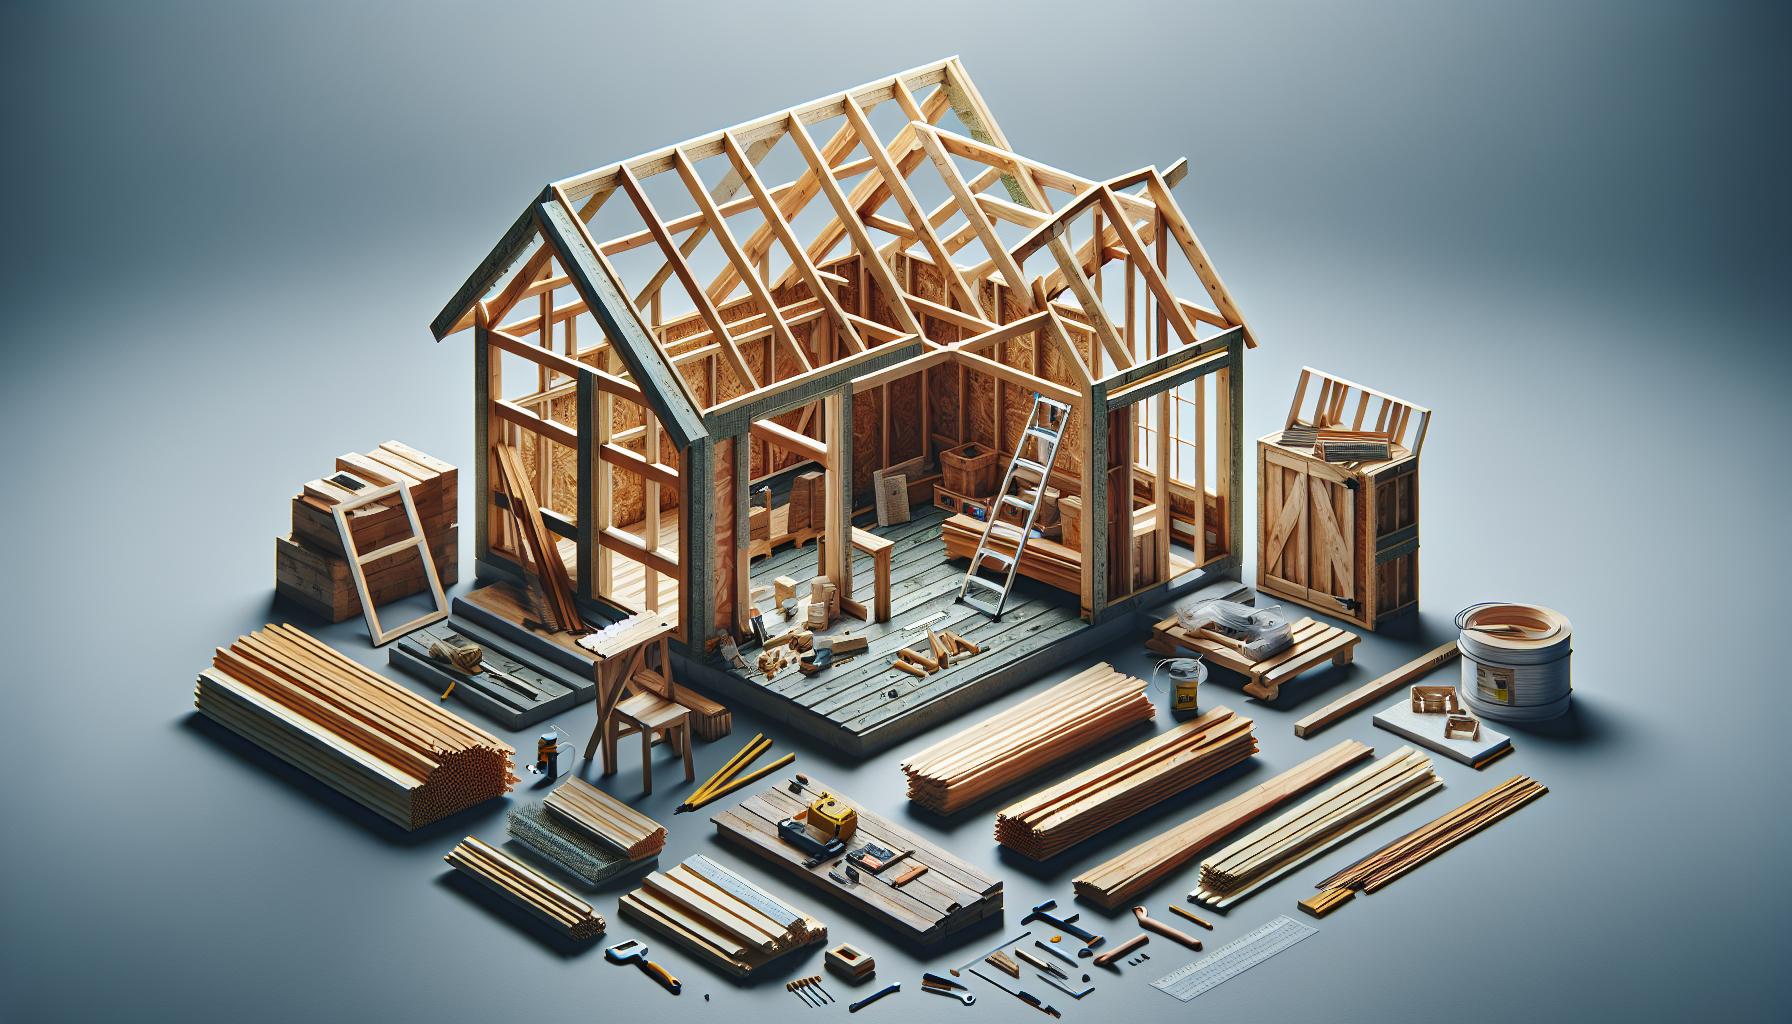
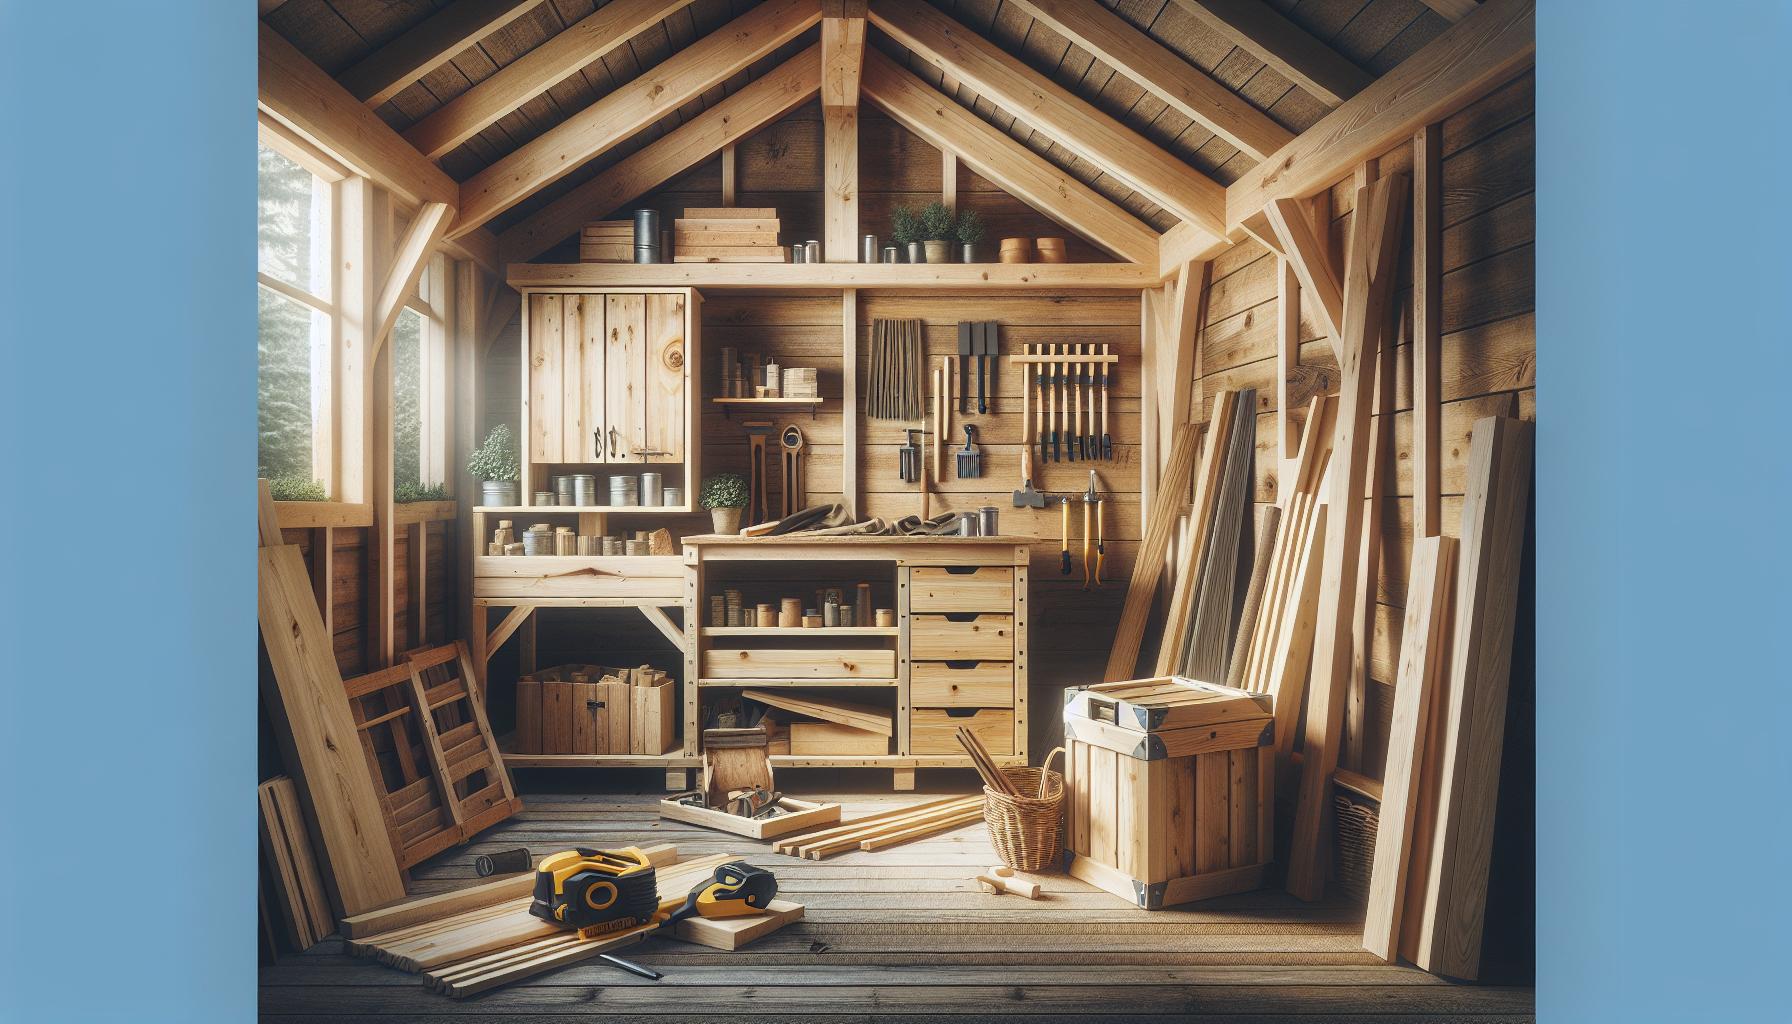
Struggling to find the perfect storage solution in your backyard? Building a shed can be the answer, providing both functionality and style. With the right guidance, constructing your ideal outdoor structure becomes a rewarding project. Discover the key steps to create a space that meets your needs and enhances your home’s landscape.
Understanding your Shed Needs: Choosing the Right Design
When embarking on the journey of building a shed, understanding your specific needs is crucial to selecting the right design. The first step is to assess what you intend to use the shed for, whether it’s for storing gardening tools, creating a hobby space, or housing a small workshop. This foundational decision will guide many other aspects of your design, from size to features. For example, if your primary goal is to store larger equipment, such as a lawnmower, you will need a taller and possibly wider structure compared to a simple garden shed.
Key Considerations for Shed Design
As you navigate through the process of selecting a shed design, consider the following factors:
- Size: Measure the space in your yard where you plan to build the shed. Popular sizes like 6×8, 8×8, and 10×10 are available in various plans, allowing you to find one that fits your needs and available space [[1]](https://www.thespruce.com/free-shed-plans-1357751).
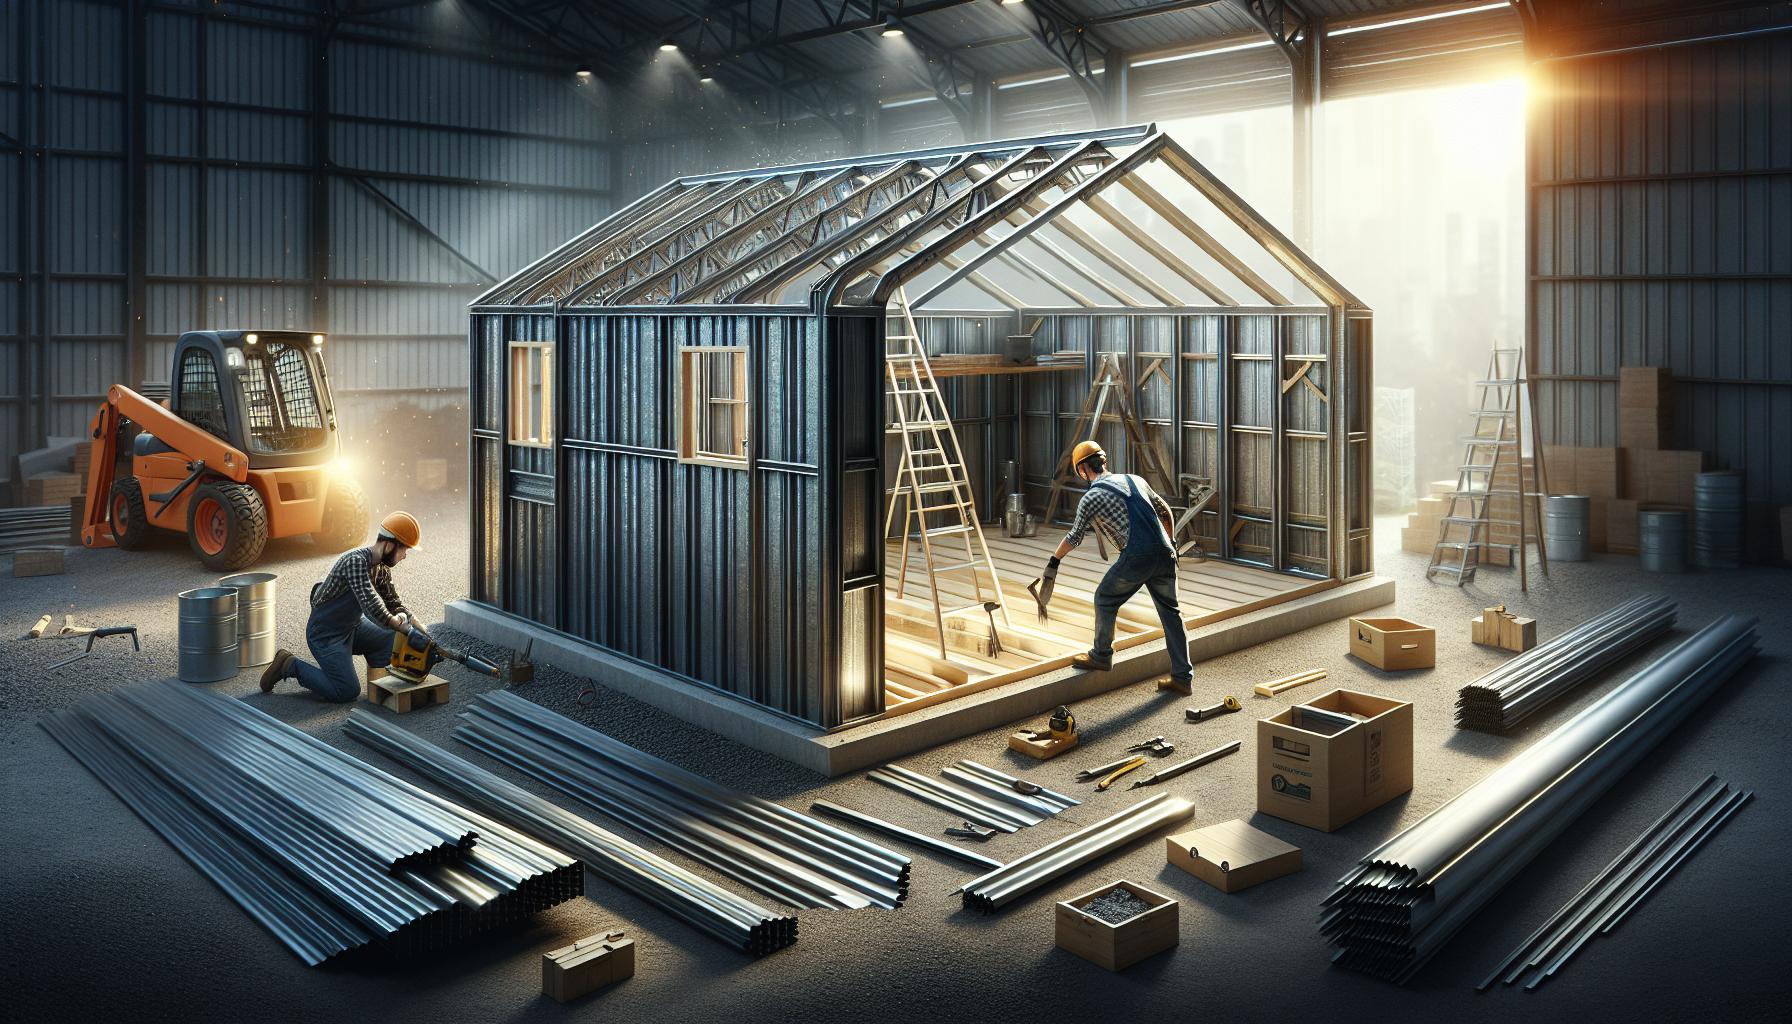
- Material: Choose materials that are suitable for your environment. Wooden sheds offer a conventional aesthetic, while metal sheds tend to be more durable and resistant to the elements.
- Style: Consider architectural styles that complement your home and garden. Options range from modern designs with clean lines to rustic styles that blend into the landscape.
- Features: Think about additional features like windows for natural light, ventilation, shelving, and ramps for easy access. Each feature can enhance functionality based on your needs.
To optimize your shed’s design, create a list of features essential for your usage. Such as, a gardening shed might need additional shelves for potting supplies, while a workshop might require heavy-duty workbenches and electrical outlets.
Evaluating Your Landscape
Taking a close look at your yard’s landscaping is another critical aspect in choosing the right shed design. Note the terrain and any existing structures that could affect your building plans. For instance,if your space is uneven,you may need to account for grading and possibly investing in a foundation. Additionally, proper drainage is essential to prevent water from pooling around your shed, which can lead to structural issues over time.
Utilizing resources that provide free shed plans can substantially simplify the design process. Websites like MorningChores offer over 100 options that cater to various storage needs and budgets [[2]](https://morningchores.com/shed-plans/). By careful consideration and planning, you can ensure that your shed not only meets your practical needs but also complements your yard’s overall aesthetic.
Essential Tools and Materials: What You’ll Need Before You Start
Building a shed can be one of the most rewarding DIY projects you’ll ever undertake—transforming your backyard while providing valuable storage space. However, before you dive into the 12 expert steps required to create the perfect backyard structure, ensuring you have the right tools and materials is essential. The quality of your shed will heavily depend on the preparation you undertake. Let’s take a closer look at the must-have items you’ll need to get started on your adventure.
key Tools for the Job
Having the right tools is crucial for ensuring a smooth construction process. Here’s a list of essential tools you shouldn’t be without:
- Measuring Tape: For precise measurements.
- Level: To ensure that your shed is perfectly upright.
- Square: A framing square will help you create perfect right angles.
- Saw: Both circular and hand saws can be useful for cutting wood.
- Drill: An electric drill will make it easier to drive screws and drill holes.
- Hammer: A reliable hammer for nailing components together.
- Safety Gear: Don’t forget gloves,safety glasses,and ear protection.
Materials You’ll Need
Next, let’s talk about the materials that will form the backbone of your shed. Depending on your design, you may need a variety of items. below is a simplified list of essential materials:
| Material | Purpose |
|---|---|
| Pressure-Treated Lumber | for the floor frame and skids, to resist rotting. |
| Plywood Sheets | Used for walls and the roof,providing structural integrity. |
| Shingles | For waterproofing the roof, especially if it’s pitched. |
| Cement or Gravel | For a solid foundation if building from the ground up. |
| Paint or Stain | To protect your shed from the elements and add aesthetic appeal. |
| Fasteners (Nails/Screws) | For connecting all components securely. |
Understanding what tools and materials are essential not only prepares you for the build but also saves you time by keeping your workflow efficient. With these items at your disposal, you’re well on your way to mastering the steps needed to construct the shed of your dreams, enhancing your outdoor space while keeping everything organized. Make sure you gather everything before you start; proper preparation will lead to a successful project and a shed that stands the test of time.
Site selection and Preparation: Laying the Foundation for Success
Building a shed can transform your outdoor space, providing invaluable storage and utility while enhancing your property’s value. However, before starting your construction project, careful site selection and preparation are crucial. Your shed’s location can affect its functionality, aesthetics, and even longevity, making it essential to choose wisely and prepare adequately.
Key Considerations for Site Selection
When deciding where to place your shed, consider the following factors:
- Accessibility: Ensure the shed is easily reachable for both construction access and ongoing use. Think about how frequently enough you’ll need to transport items in and out.
- Drainage: Avoid low-lying areas where water gathers. A well-drained site will prevent water damage to your shed and its contents.
- Sunlight: Consider the sun’s path. Placing your shed in a sunny spot can help prevent moisture buildup, while strategic shading can protect from heat and fading.
- Local Regulations: Check zoning laws and building codes in your area to ensure compliance regarding shed placement and size.
Preparing the Ground
Once you’ve selected the ideal site, the next step is preparation. Proper groundwork is essential for a stable foundation,which can involve several critically important stages:
- Clearing the Area: Remove any debris,grass,or plants from the site. This provides a clean surface for construction and helps you identify any potential issues with the ground.
- leveling the Ground: Use a level to ensure that the ground is flat. If the terrain is uneven, consider digging down or adding soil to raise low spots.
- Creating a Base: Depending on your shed’s size, a concrete slab or gravel base provides stability and prevents pest intrusion. A portable shed can work well on a compacted gravel area which allows for good drainage.
- Marking the Layout: Use stakes and string to outline the dimensions of your shed on the ground. This helps visualize the project and assists in ensuring precise construction.
Preparing your site with these detailed steps will lay a solid foundation for creating your perfect backyard structure. Following these initial site selection and preparation guidelines not only makes the construction process smoother but also contributes to the longevity and effectiveness of your shed. By executing these strategies, you’ll be on your way to achieving a functional and attractive addition to your outdoor space.
Step-by-Step Frame Construction: Building a Sturdy Structure
Building a shed can be an incredibly rewarding project,providing not only valuable storage space but also a sense of accomplishment as you craft a structure tailored to your needs. Central to this endeavor is the construction of a sturdy frame, which serves as the backbone of your shed and ensures its longevity. With the right materials and techniques, you can create a robust framework that withstands the elements and offers functionality for years to come.
gathering Your Materials
Before diving into the construction, it’s essential to gather all necesary materials, which typically include:
- Pressure-treated lumber: Ideal for ground contact to resist decay.
- Wood screws: For secure fastening of the framework.
- Metal brackets: To add extra strength at joints.
- Measuring tools: Such as a tape measure, level, and square.
- saw: Either a circular saw or miter saw for precision cuts.
Preparing in advance will help streamline the process as you follow the steps outlined in “How to Build a Shed: 12 Expert Steps for Your Perfect Backyard Structure.”
Constructing the Base
The first step to a solid shed is constructing the base. To start, lay down your pressure-treated lumber to form a rectangular frame. Make sure to use a level to ensure that your base is perfectly even. Once your base is squared, secure the corners with metal brackets and drive wood screws through the joints for added stability. This foundation will provide the necessary support for the walls and roof.
Next, add floor joists within the frame at regular intervals—typically every 16 inches. These joists will bear the weight of your shed’s floor, so it’s crucial they are well-aligned and securely fastened. Once the joists are in place, cover the top with plywood sheets, anchoring them down with screws.This creates a solid floor surface that will be essential in maintaining the integrity of your shed.
Building the Walls
Once your base is ready, it’s time to erect the walls. Construct each wall separately on the ground, using vertical studs spaced 16 inches apart. This spacing is not only standard but also provides optimal support and insulation capability. Ensure each wall is framed out with a top and bottom plate, and make sure to measure carefully so that everything aligns correctly when you raise them.
When it’s time to raise the walls, obtain assistance if necessary, as they can be heavy and unwieldy. Secure each wall to the base with screws, ensuring they’re plumb and connected securely at the corners. Add diagonal bracing to prevent wobbling and increase your shed’s overall sturdiness.
Finalizing the Frame
With the walls up, complete the frame by adding the roof structure. This typically involves installing rafters or trusses at regular intervals along the top plates. Cut the rafters to the desired pitch of your roof,and attach them securely to both the top plate and the ridge board (if using).
As you finish constructing the frame, take a step back and inspect your work. A well-constructed frame not only enhances the appearance of your shed but also ensures it stands strong against wind and weather. by following these detailed steps, you align closely with the expert advice provided in “How to Build a Shed: 12 Expert Steps for Your Perfect Backyard Structure,” ultimately leading to a successful and enjoyable building experience.
Roofing Options: Protecting Your Shed from the Elements
When it comes to safeguarding your shed against harsh weather conditions, the choice of roofing material is crucial. A well-selected roof will not only enhance the aesthetic appeal of your shed but will also provide vital protection from rain, snow, and UV rays. There are several roofing options available, each with their own unique benefits and considerations. Understanding these can definitely help you make an informed choice for your backyard structure.
Popular Roofing Materials for Sheds
Choosing the right roofing material requires weighing factors such as durability, cost, and maintenance. Here’s a closer look at some excellent options:
- Asphalt Shingles: Affordable and widely used, asphalt shingles come in various colors and styles. They are easy to install and provide decent protection against the elements. Typically, they last 15-30 years.
- Metal Roofing: Metal roofs are gaining popularity for their longevity (up to 50 years) and excellent weather resistance. They reflect heat, keeping your shed cooler in summer, and can be made from recycled materials, making them an eco-kind option.
- Wood Shakes: Offering a rustic aesthetic, wood shakes can be a gorgeous choice for a shed. However, they require regular maintenance and treatment to resist rot and insects, and their lifespan ranges from 20-40 years.
- Rubber roofing: Made from recycled tires, rubber roofing is a durable, lightweight option that’s less prone to leaking and lasts up to 50 years with minimal upkeep.
Comparing roofing Options
To better understand the benefits of each roofing type, here’s a comparison table to help you visualize their pros and cons:
| Material | Durability | Cost | Maintenance |
|---|---|---|---|
| Asphalt Shingles | 15-30 years | Low | Moderate |
| Metal Roofing | 40-50 years | Medium to High | Low |
| Wood Shakes | 20-40 years | Medium | High |
| Rubber Roofing | 50 years | Medium | Low |
Selecting the correct roofing material is a critical step outlined in the journey of how to build a shed. Each option has its distinct characteristics, so consider your local climate, budget, and aesthetic preferences when making your choice. A solid roof will ensure that your shed remains a reliable storage solution and a feature of beauty in your backyard for years to come.
Interior Organization: Maximizing Space for Functionality
Finding efficient ways to keep your shed organized can transform it from a cluttered space into a functional haven. An interior that maximizes space not only enhances usability but also helps you keep track of your tools, gardening supplies, or seasonal decorations. With strategic planning, you can create a well-ordered environment that serves all your needs.
Plan Your Layout wisely
Before you start filling your newly built shed with items, take time to visualize the layout. Consider what you will store and how frequently you need access to different items. This will help determine the best use of vertical and horizontal space. Here are some effective strategies:
- Zone your storage: Allocate specific areas for different categories of items, such as tools, gardening supplies, and seasonal decorations.
- Vertical storage solutions: Install shelves or pegboards to utilize wall space effectively. Hooks can hold tools, while shelves can store bins and boxes.
- Accessibility: Place frequently used items at eye level and towards the front, making them easier to grab.
Utilize Multifunctional Furniture
Maximize the utility of your shed with furniture that serves multiple purposes. Invest in benches that have built-in storage, which can definitely help keep the floor clear while also providing a spot for work or resting. Folding chairs can be stowed away when not in use, opening up valuable floor space for larger projects.
Sample Organization Ideas
Using the right organization tools can change the functionality of your shed. Here’s a simple table that illustrates some popular solutions:
| Storage Solution | Benefit |
|---|---|
| Shelving Units | maximizes vertical space and keeps items off the floor. |
| Clear Storage Bins | Allows for easy visibility of contents and stacking. |
| Wall-mounted Tool Racks | creates a designated space for tools and reduces clutter. |
| Magnetic Strips | Secures small metal tools while saving space. |
By implementing these suggestions for organization, your shed can become a model of efficiency and a great resource for all your projects. Remember,an organized space is not only more functional,but it also minimizes frustration and maximizes productivity,making your shed a true extension of your home.
Additions and Accessories: Personalizing Your Shed with Style
Transforming your shed into a personalized oasis not only enhances its functionality but also adds a touch of style to your backyard. With the right additions and accessories, you can create a unique space tailored to your needs, whether it’s a serene retreat, a storage haven, or a dynamic workshop. the incorporation of thoughtful design elements allows for a seamless integration of utility and aesthetics, making your shed a standout feature.
A variety of accessories can elevate the functionality of your shed. Consider installing shelves and hooks for efficient organization; these can transform clutter into a well-ordered space where everything has its place. For example, multi-purpose hooks are excellent for hanging tools, bikes, and sports equipment, optimizing vertical space and keeping your floor clear for other uses. Upgrading to strong,durable shelving units can further enhance storage,allowing you to categorize and access equipment easily. some great options are available, such as those from Rubbermaid, which offer innovative designs specifically tailored for sheds[3].
Lighting is another essential addition that can dramatically change the ambiance of your shed. Installing LEAD lights or even solar-powered fixtures not only brightens the space during evening hours but can create an inviting atmosphere for hobbies or social gatherings. Additionally, consider adding windows or skylights for natural light, enhancing morale while reducing energy costs.For those who want to personalize their shed further,decorative elements such as potted plants,outdoor furniture,or themed décor can transform a simple structure into a cozy retreat. A small seating area adorned with cushions and plants can serve as a peaceful getaway right in your backyard. By thoughtfully selecting accessories and features, you create a space that reflects your personality and meets your needs, making a shed not just a storage space but a cherished part of your home.
Maintenance Tips: Ensuring Longevity for Your Backyard Haven
Creating a sanctuary in your backyard not only enhances the aesthetic appeal of your property but also provides a personal retreat from the hustle and bustle of daily life.To ensure the longevity of your backyard haven, notably the shed you’ve built following the expert steps, regular maintenance is key. From the structural integrity to the outdoor aesthetics, mindful upkeep can save costs and extend the life of your investment.
Routine Inspections
Start by conducting seasonal inspections of your shed to check for signs of wear and tear. Look for:
- Roof Damage: Inspect for missing shingles or leaks, especially after storms.
- Foundation Integrity: check for cracks or shifts in the foundation that could affect stability.
- Wood Rot: Ensure that wooden parts are not rotting, particularly where moisture accumulates.
If you notice any issues, remediate them immediately. Timely repairs can prevent more extensive damage and help maintain the overall appearance and functionality of your backyard structure.
cleaning and Debris Management
keeping your shed clean is vital. Regularly clear away leaves, dirt, and debris from around the shed to prevent moisture buildup that can lead to rot or mold. Schedule cleaning sessions at least twice a year. Here’s a quick cleaning checklist:
- Wash Surfaces: use a mild detergent solution to clean the exterior.
- Check Gutters: Clear out any debris from gutters to ensure proper water drainage.
- Organize Interior: Regularly declutter the interior to maintain an efficient workspace.
These actions not only keep your shed looking great but also enhance its functionality.
Protective Measures
To further extend the life of your shed, consider applying protective treatments.Here are some effective options:
- Water repellent: Treat wooden surfaces with a water-repellent sealant every few years.
- Paint or Stain: Regularly repaint or stain the exterior to guard against weathering and UV damage.
- Pest Control: Use pest deterrents to prevent infestations of rodents or insects.
By implementing these protective measures, you create a barrier against the elements and maintain the aesthetic charm of your outdoor space.
By following these simple yet effective maintenance tips, your backyard haven can remain a treasured retreat for years to come.The insights drawn from “How to Build a Shed: 12 Expert Steps for Your Perfect Backyard Structure” can guide you not only in the construction phase but also in the ongoing care of your space, ensuring you enjoy it fully as it ages gracefully.
Q&A
How to Build a Shed: 12 Expert Steps for Your Perfect Backyard Structure?
To build a shed, follow our 12 expert steps which include planning your design, selecting materials, preparing the site, and constructing the foundation, walls, and roof. Each step ensures a solid and durable structure that complements your backyard.
Start with a detailed plan that includes the size, style, and layout of your shed. After gathering materials,prepare the ground where your shed will sit. Paying close attention to these initial stages helps avoid issues later. For a extensive guide, check out this article on different shed designs.
What is the best material for building a shed?
The best material for a shed usually includes wood, metal, or resin. Each offers unique advantages like durability, maintenance needs, and aesthetic appeal. For example, wood provides a classic look but requires regular maintenance, while metal is typically low-maintenance and very strong.
Consider what suits your needs best: if you desire durability with minimal upkeep, metal is ideal. For a rustic charm, wood is perfect, even though it may come with an initial higher cost and ongoing maintenance. Be sure to factor in your climate and local weather conditions to choose the right materials.
Why does planning matter when learning how to build a shed?
Planning is crucial when learning how to build a shed as it sets the foundation for the entire project. A well-thought-out plan helps you avoid costly mistakes, reduces material waste, and ensures your shed meets your needs.
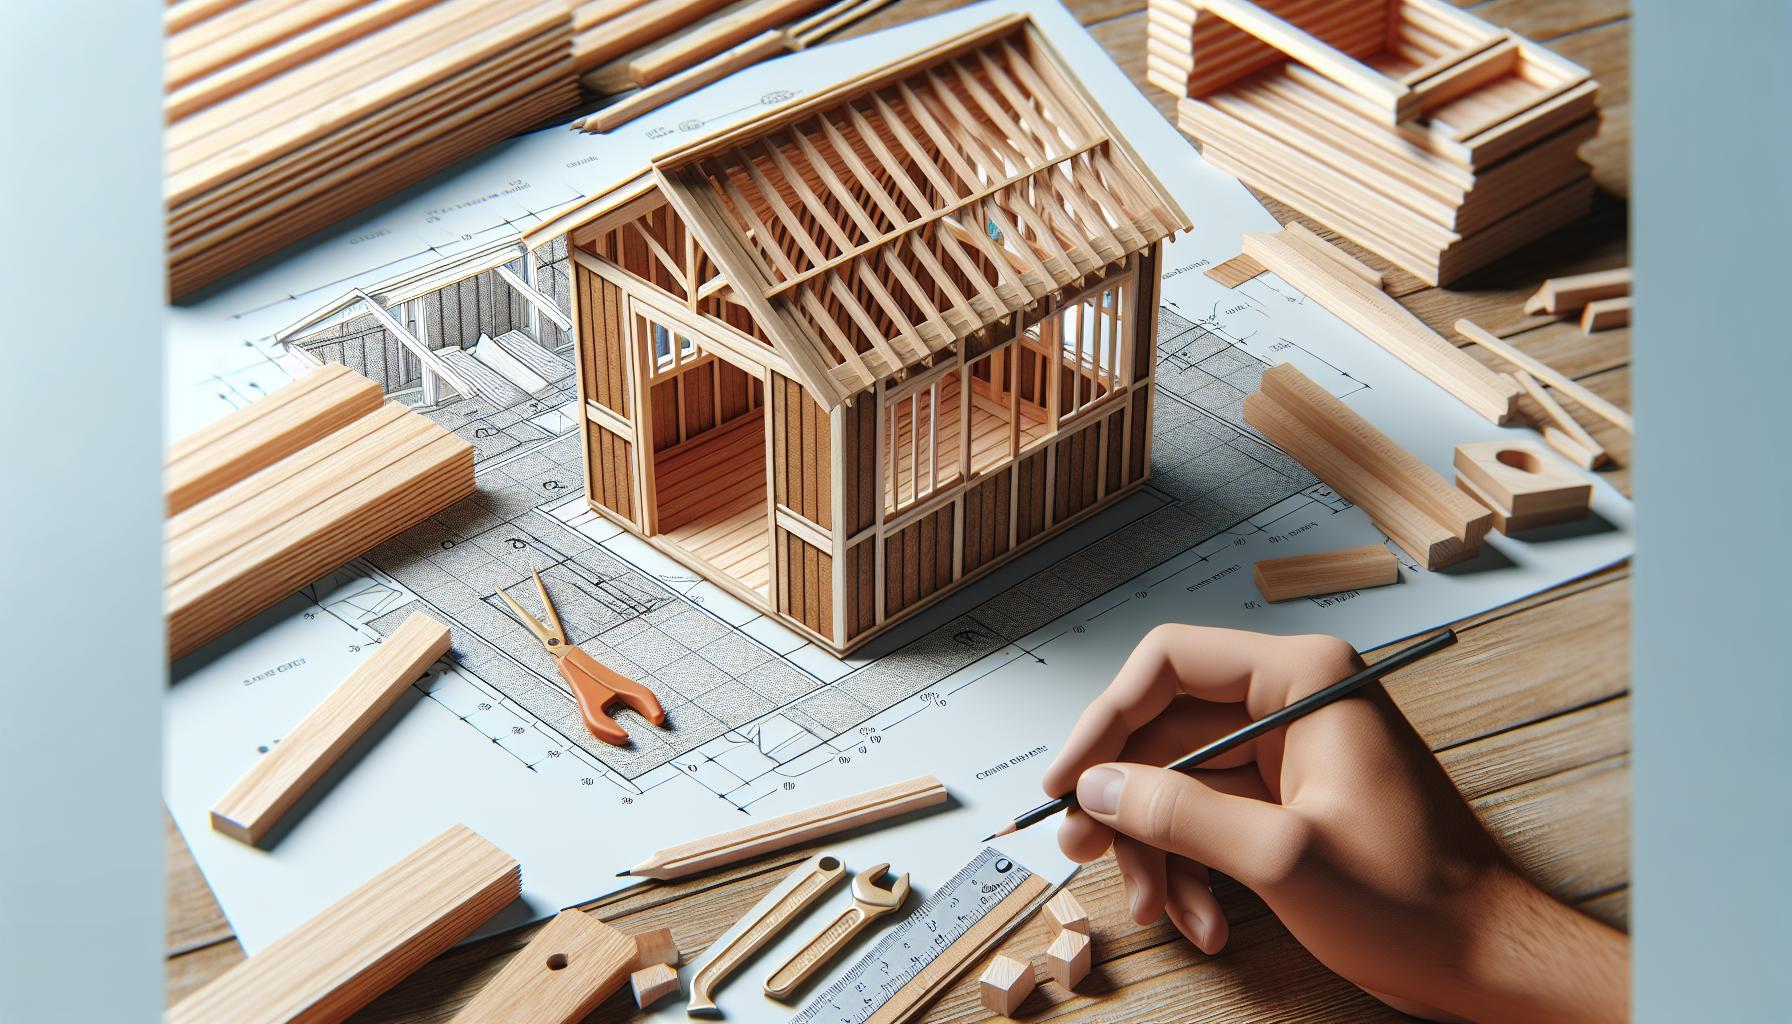
Careful planning involves sketching your design, budgeting for materials, and checking local regulations or zoning requirements. Skipping this step can lead to structural issues or unexpected costs, so take your time upfront to save effort later.Remember,a solid plan equals a successful build!
Can I build a shed without prior construction experience?
Yes,you can build a shed without prior construction experience by following our detailed guidelines and seeking help when needed. many DIY enthusiasts start with limited skills and successfully complete their projects by learning as they go.
Utilize online tutorials, watch video guides, and consult experienced friends or local workshops for support. start with smaller projects to build confidence before tackling a full shed build. Remember, the key is patience and practice, which will help you enhance your skills as you work.
What tools do I need to build a shed?
Essential tools for building a shed include a hammer, saw, level, measuring tape, and drill. These basic tools are vital for cutting, securing, and ensuring precise measurements throughout your construction process.
Additionally, consider investing in safety gear like gloves and goggles, as well as tools like a square and a pry bar for an easier build. Depending on your design, you might need specialized tools, so reviewing your plans beforehand can help you gather everything you need. A proper toolset not only makes the work smoother but also contributes to more precise craftsmanship.
How much does it cost to build a shed?
The cost to build a shed varies widely based on size,materials,and labour. On average,expect to spend between $500 to $3,000 depending on your selections. Planning your budget based on these factors will help you manage costs effectively.
To keep expenses down, consider DIYing as much as possible, utilizing reclaimed materials, or selecting more affordable options. Specific features like insulation, electrical wiring, or customized doors can increase costs significantly, so decide what’s essential for your shed before you start building.
what are common mistakes to avoid when building a shed?
Common mistakes when building a shed include poor planning, neglecting local codes, and using improper materials. Focusing on the details from the start can help you avoid these pitfalls, ensuring your project succeeds.
Always research local building regulations to ensure your shed complies, and don’t skimp on quality materials; a sturdy shed should withstand weather and time. Asking questions at local hardware stores or seeking advice from more experienced builders can also prevent costly oversights. Empower yourself with knowledge to overcome these challenges!
Final Thoughts
Congratulations on taking the first step toward building your dream shed! By following these 12 expert steps, you’ve equipped yourself with the knowledge to transform your vision into a reality. Remember, preparation is key, so take the time to plan your layout, select quality materials, and ensure everything is measured accurately. Embrace the learning process—every nail you drive and every board you cut is a step closer to your perfect backyard structure.
If challenges arise, don’t be discouraged; they are simply opportunities to refine your skills.Seek out solutions and don’t hesitate to reach out for advice or resources. Whether you’re a seasoned DIYer or just starting out, each project enhances your craftsmanship and builds confidence.
We encourage you to dive deeper into each aspect of shed building, exploring tools, materials, and design options that suit your unique needs. Connect with others in the DIY community for support and inspiration as you work toward your backyard oasis. Happy building, and may your shed become a cherished addition to your outdoor space!


