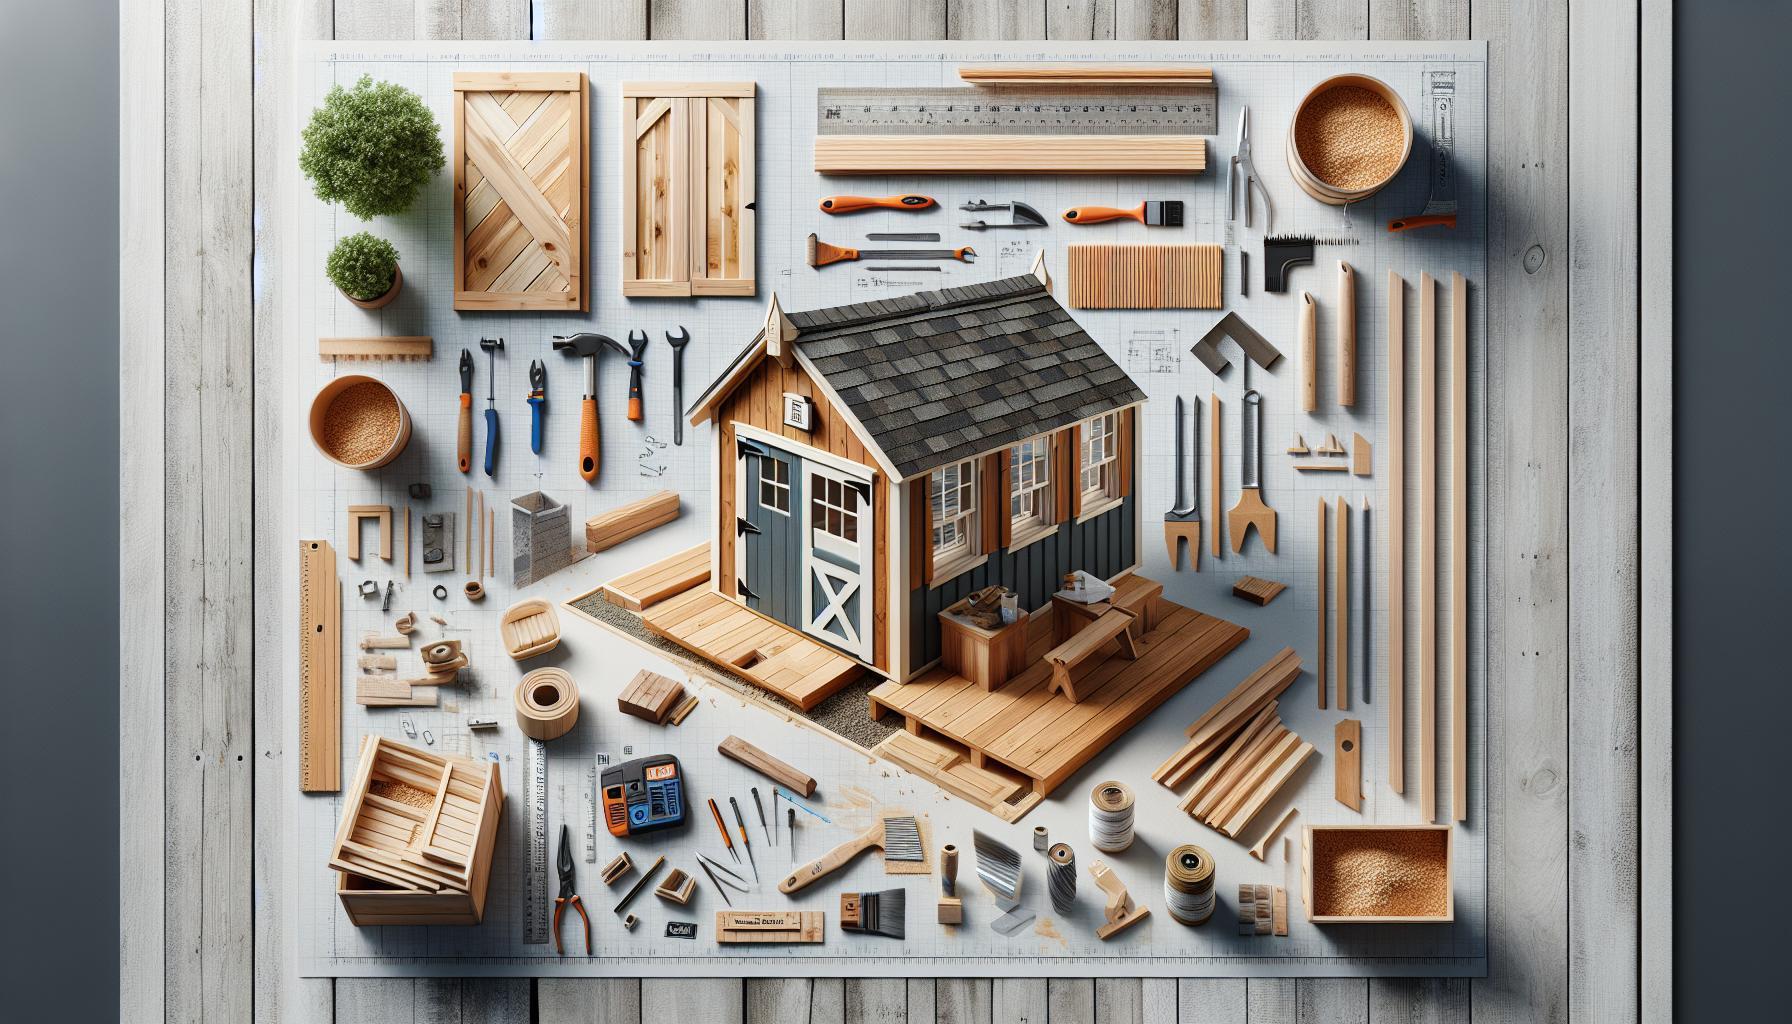
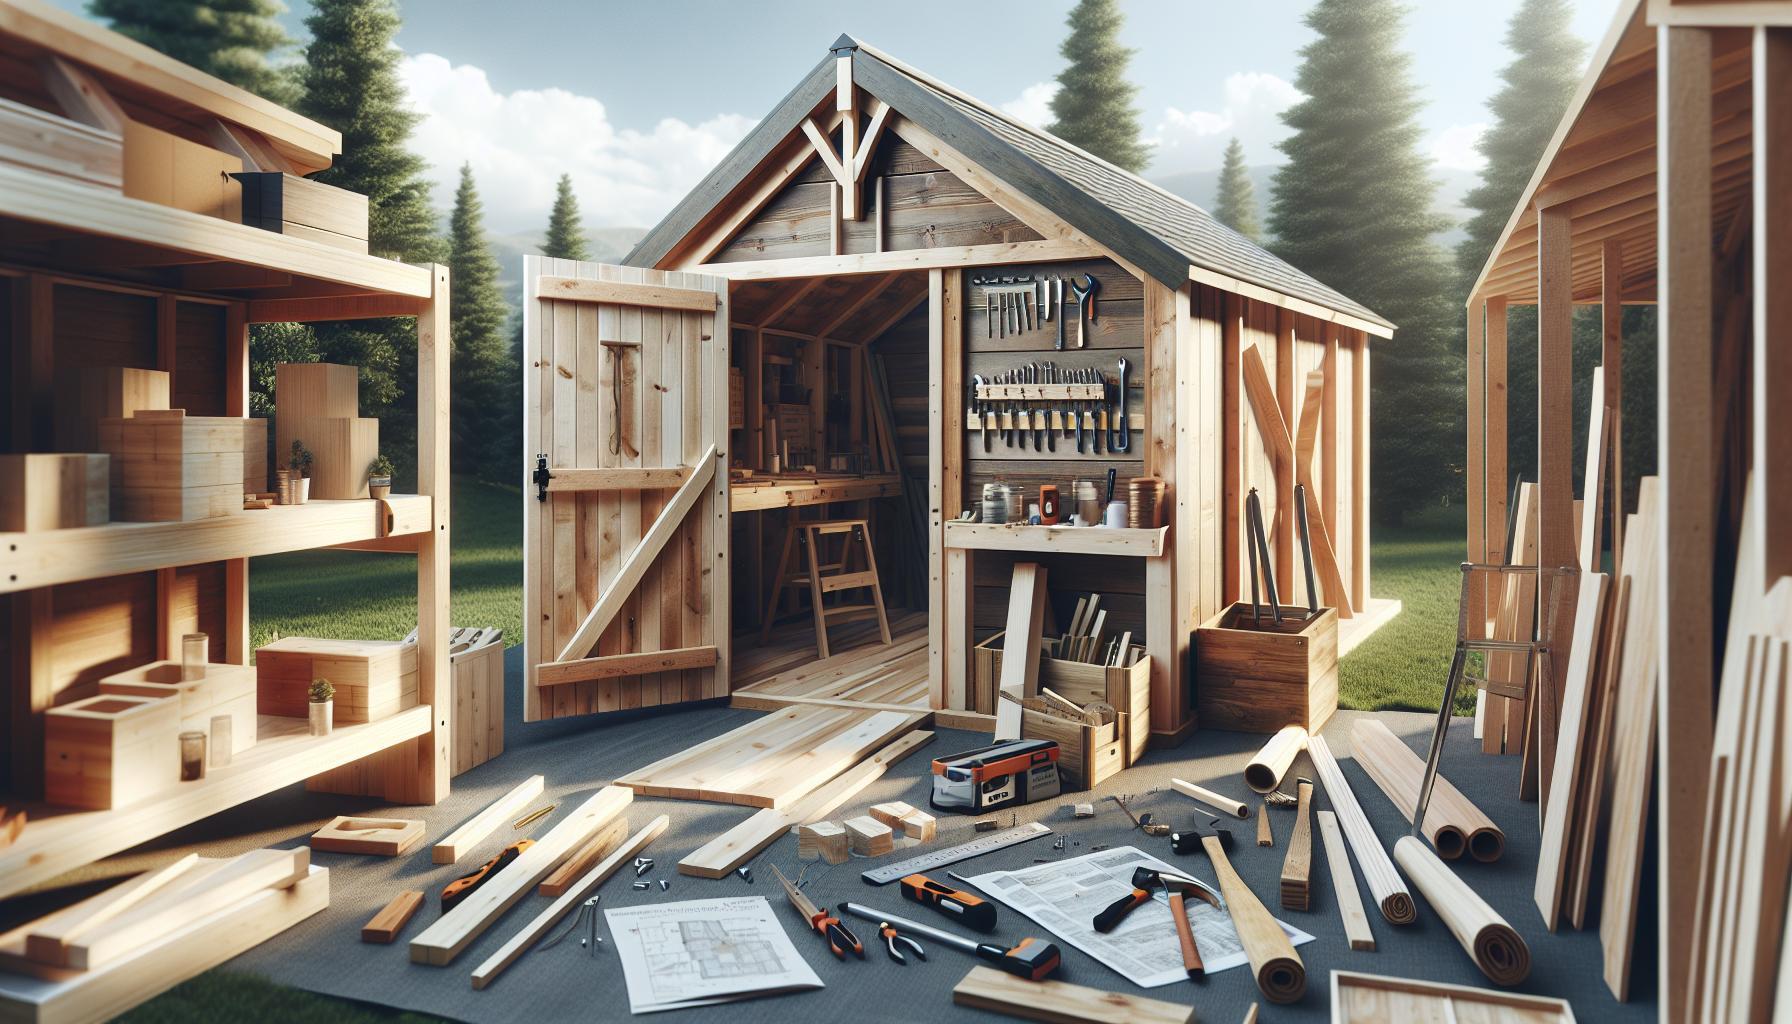
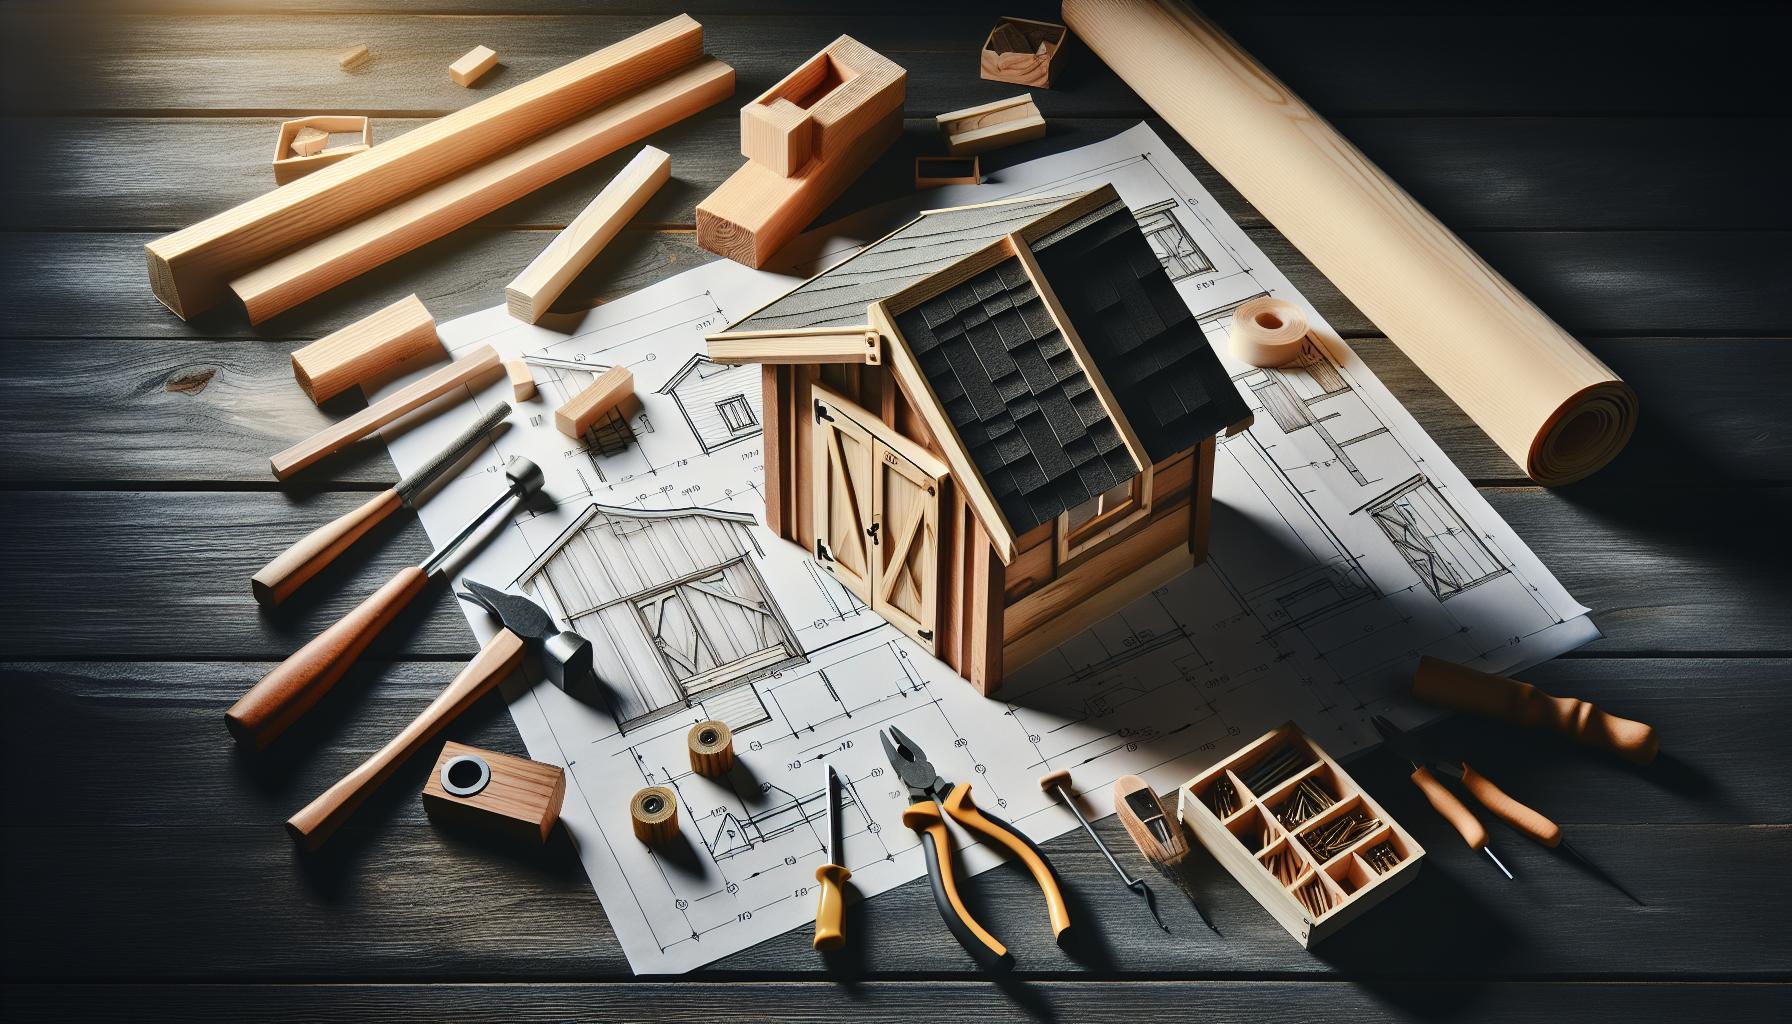
Looking to add unique charm and practical storage to your backyard? A saltbox shed offers a stylish solution that blends functionality with classic New England aesthetics. This guide will walk you through the easy steps to build one, ensuring you enjoy both the process and the timeless beauty of your new outdoor space.
Understanding the Saltbox Design: A Brief History and Its Charm
The saltbox style of architecture has its roots deeply embedded in colonial New England,where practicality met aesthetics in a most enchanting way. Characterized by its distinctive asymmetrical roofline, the saltbox’s design was born out of necessity, crafted to adapt to the changing needs of households during the 17th century. The name itself originates from the shape of the salt containers used at the time, which showcases how form and function can come together beautifully.
the Evolution of the Saltbox Design
saltbox homes were initially built as two-story structures but often underwent modifications to suit economic and practical needs. As families grew or resources shifted,many opted for the unique one-and-a-half or single-story adaptations,leading to the iconic shape we recognize today.This architectural style effectively maximized living space while minimizing the footprint,allowing homeowners to enjoy the great outdoors. Some of the key features that define a saltbox structure include:
- Asymmetrical Roof: A pitched roof that slopes down on one side, providing an interesting visual contrast.
- Large Windows: Strategically placed to enhance natural light in the living areas.
- Central Fireplace: Often the heart of the home, providing warmth and a gathering place.
The Allure of Saltbox Sheds
In recent years, the charm of the saltbox design has transcended traditional homes, capturing the imagination of those looking to create functional outdoor spaces. Building a saltbox shed is a fantastic way to infuse classic new England style into your own property, offering a practical storage solution while elevating your yard’s aesthetic appeal. The unique structure can serve multiple purposes, from garden storage to a cozy workshop or a serene retreat.To successfully create a saltbox shed, consider the following essential aspects:
| Feature | Description |
|---|---|
| Materials | Opt for durable wood, ideally cedar or pine, that can withstand the elements. |
| Roof Structure | Ensure a steep pitch on one side for effective rain runoff and aesthetic balance. |
| Windows | Incorporate large, functional windows to enhance the charm and allow natural light. |
| Layout | Design an open space inside to accommodate your specific needs. |
By embracing the essence of the saltbox in your shed design,you not only honor a historical architectural style but also create a timeless space that resonates with quality and craftsmanship. This blend of history and practicality lays the groundwork for a beautiful addition to your outdoor landscape, making it a worthwhile consideration for anyone wanting to emulate classic New England style.
Planning Your Saltbox Shed: Essential Tools and Materials
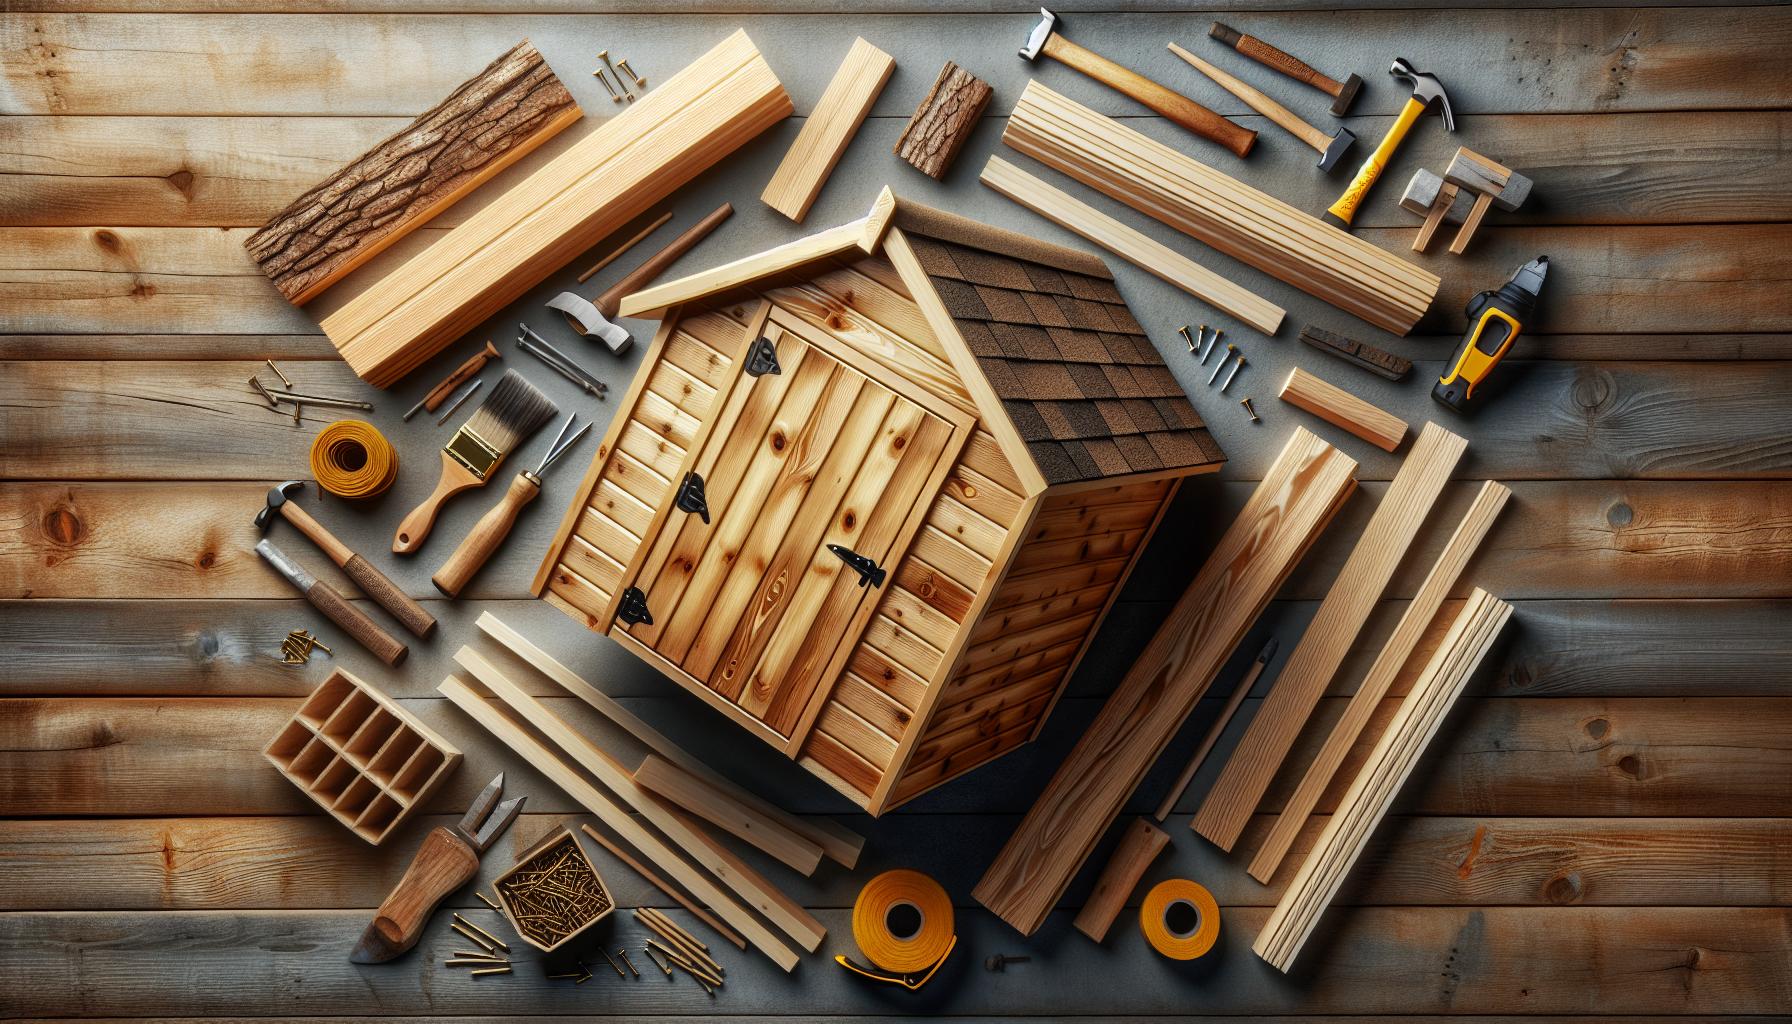
When embarking on the journey of constructing your very own saltbox shed, having the right tools and materials is paramount to ensure a smooth building process and a prosperous final result. This classic structure, with its distinct sloped roof and ample storage space, can become a valuable addition to your property when executed with precision. Here’s what you need to kickstart your project, inspired by techniques from the article on how to build a saltbox shed in a classic New England style.
Essential Tools
Equipping yourself with the right tools not only speeds up the building process but also guarantees that each component of your saltbox shed is constructed with care. Below is a list of tools you’ll need:
- measuring Tape: Accurate measurements are crucial for every stage of construction.
- Level: Ensure that your shed is perfectly horizontal or vertical as needed.
- Saw: A circular saw or a hand saw for cutting wood to the required lengths.
- Drill: For making holes and attaching screws securely.
- Hammer: A fundamental tool for assembling the framework and other parts.
- Screwdriver: For tightening screws throughout the build.
- Safety Gear: Don’t forget gloves, goggles, and a hard hat to stay protected.
Materials you’ll Need
Selecting high-quality materials can make a significant difference in the durability and aesthetic of your saltbox shed. Below is a detailed table listing essential materials alongside their preferred types and suggested quantities:
| Material | Type | Estimated Quantity |
|---|---|---|
| Softwood Lumber | 2x4s for framing, 1x6s for siding | Varies by size (approx. 30-40 pieces) |
| Plywood Sheets | For flooring and roof sheathing | 5-8 sheets |
| Roofing Material | Asphalt shingles or metal panels | Based on roof area |
| Paint/Stain | Weather-resistant exterior paint or wood stain | 1-2 gallons |
| Fasteners | Screws and nails (galvanized preferred) | Depends on quantities needed; 1-2 boxes recommended |
Preparing your site with the optimal tools and materials can lead to a seamless process in crafting your saltbox shed that mirrors the classic aesthetics of New England architecture. As you gather your supplies, keep in mind that attention to detail during the planning phase significantly contributes to the sturdy and timeless appeal of your final structure. When done correctly, not only will you achieve a functional shed, but you’ll also cultivate a proud addition to your landscape that harmonizes with its surroundings.
Step-by-Step Guide to Building the Frame: From Foundation to Roof

Building a structure that combines functionality with aesthetic appeal can be a rewarding project, especially when it comes to creating a saltbox shed. This classic New England design not only provides a quaint charm but also offers ample storage space and versatility. By following a clear step-by-step method, anyone can construct a saltbox shed, transitioning from a solid foundation to a weatherproof roof. Let’s delve into the essential stages of this build, ensuring you have all the knowledge needed to see it through.
Preparing the Foundation
Laying a solid foundation is crucial for any building, and a saltbox shed is no exception. A strong base ensures the structure remains stable and can withstand the elements for years to come. Here’s how to prepare your foundation effectively:
- Select the Location: Choose a level area away from trees and water runoff. Consider the sun’s path and accessibility.
- Measure and Mark: Use stakes and string to outline the shed dimensions, typically around 8 feet by 12 feet for a standard saltbox.
- Excavate the Area: Depending on your foundation choice—whether a gravel base, concrete blocks, or a poured slab—excavate the site accordingly.
- Lay the Foundation: for a gravel foundation, spread 4-6 inches of gravel evenly.If using concrete blocks, position them at the corners and midpoints of your layout.
Constructing the Frame
Once your foundation is set, it’s time to start framing your saltbox shed.this step divides into constructing the floor, walls, and roof. Begin with the floor:
- Install the Floor Joists: attach 2×6 floor joists to the perimeter,ensuring they are level and spaced 16 inches apart.
- Add the Floorboards: Cover the joists with plywood sheets, securing them with screws to create a sturdy floor.
Next, construct the walls:
- Build Wall Frames: Frame the walls with 2×4 studs, with vertical studs every 24 inches, and include space for doors and windows.
- Raise the Walls: Lift the wall frames onto the floor and secure them together at the corners with nails, ensuring they are plumb with a level.
Framing the roof
The saltbox design is characterized by its asymmetrical roof, which adds to its charm. Here’s how to frame it:
- Create Roof Rafters: Cut 2×6 boards into rafters,adjusting the length according to your desired roof pitch. The back slope is usually steeper than the front.
- Attach the Rafters: Use brackets to secure the rafters to the top plate of the wall frames, ensuring even spacing that provides adequate support for your roofing material.
- Install the Roof Sheathing: Cover the rafters with plywood, laying it perpendicular for best structural integrity.
the final touch involves protecting the structure from the weather:
- Add Roof Covering: Whether choosing shingles, metal, or another material, ensure your roof is watertight and built to withstand your local climate.
This structured approach guarantees that you build a saltbox shed that’s not only useful but also an attractive addition to your property. By adhering to these steps, you can enjoy the results of your labor with a shed that embodies the enchanting spirit of classic New England architecture.
Choosing the Right Siding and Roofing for Your Saltbox Shed
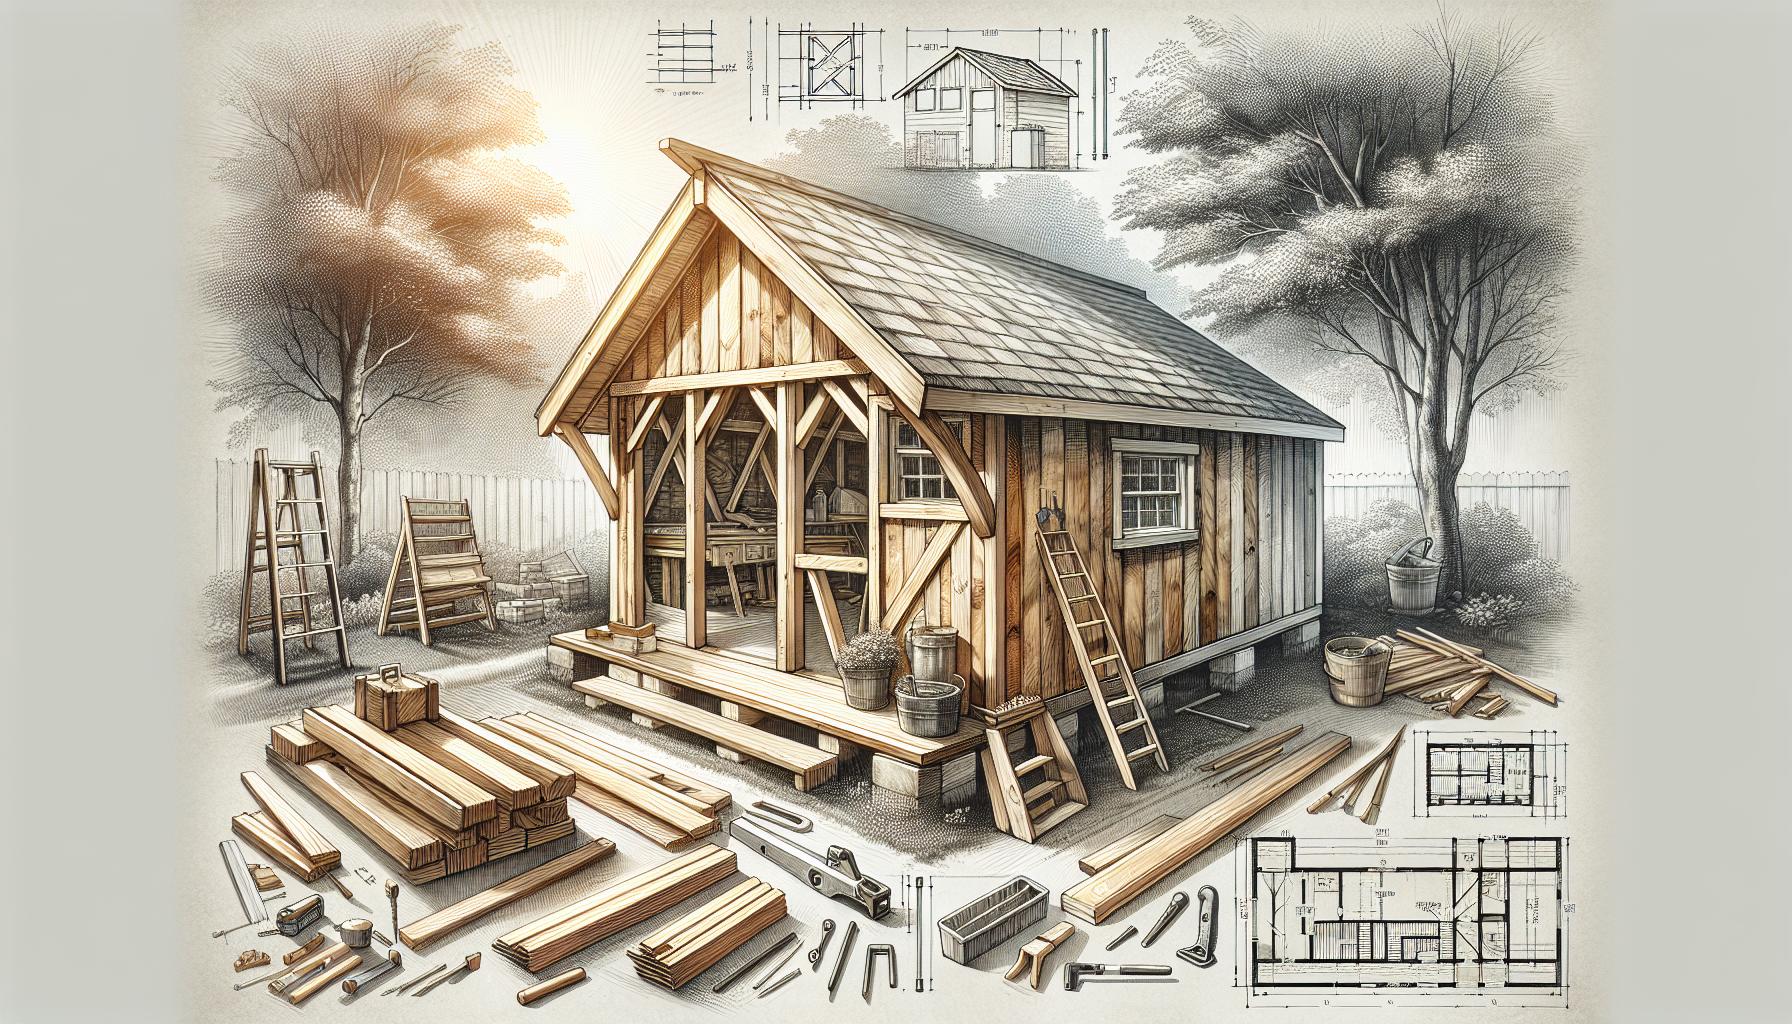
When constructing a saltbox shed, the choice of siding and roofing is crucial not only for aesthetic appeal but also for durability and functionality. This distinctive style, characterized by its asymmetrical roofline and charming, rustic appearance, can significantly benefit from high-quality materials that enhance its traditional look while providing robust weather protection. Consideration of local climate conditions is essential, as it influences not just the choice of materials but also the long-term maintenance requirements of your saltbox shed.
Choosing the Right Siding
Selecting appropriate siding is vital for achieving that classic new England aesthetic while ensuring longevity and performance. Here are some popular options to consider:
- Vinyl Siding: Affordable and low-maintenance, vinyl siding comes in various colors and styles. it’s resistant to rot and insects, making it a practical choice for regions with varied weather conditions.
- Wood Siding: Ideal for a traditional look, wood siding provides warmth and character. Though,it requires regular maintenance to protect against weathering and pests.
- Composite Siding: This material combines wood fibers and resins, offering the aesthetic appeal of wood with added durability and less maintenance. It’s available in a variety of finishes that mimic natural wood.
- Fiber Cement Siding: Known for its resilience, fiber cement siding is fire-resistant and impervious to rot and termites. It requires minimal upkeep while still allowing for a variety of textures and colors.
Roofing Materials to Consider
The roof of your saltbox shed should be equally considered, as it plays a key role in protecting your shed’s structure.Options include:
- Asphalt Shingles: A cost-effective and versatile option, asphalt shingles are widely available and easy to install. They can effectively mimic the look of more expensive materials.
- Metal Roofing: Highly durable and energy-efficient, metal roofing can withstand harsh weather and can last for decades with minimal maintenance.
- Wood Shingles: For that authentic, rustic touch, wood shingles can create a distinctive appearance.Though, they require regular treatment to prevent degradation.
- Slate Roofing: Though a more expensive option,slate offers unmatched durability and elegance,enhancing the overall aesthetic of your saltbox shed.
Utilizing the right combination of siding and roofing not only enhances the beauty of your saltbox shed but also ensures its protection and longevity. Assess your local climate conditions and the level of maintenance you are willing to commit to, and choose materials that will complement the classic New England style while fulfilling practical needs. Whether you lean towards durable composites or embrace traditional wood, your selection will play a pivotal role in the overall success of your construction project as outlined in guides like “How to Build a Saltbox Shed: Classic New England Style Made Easy.”
Interior Considerations: Maximizing Space and Functionality
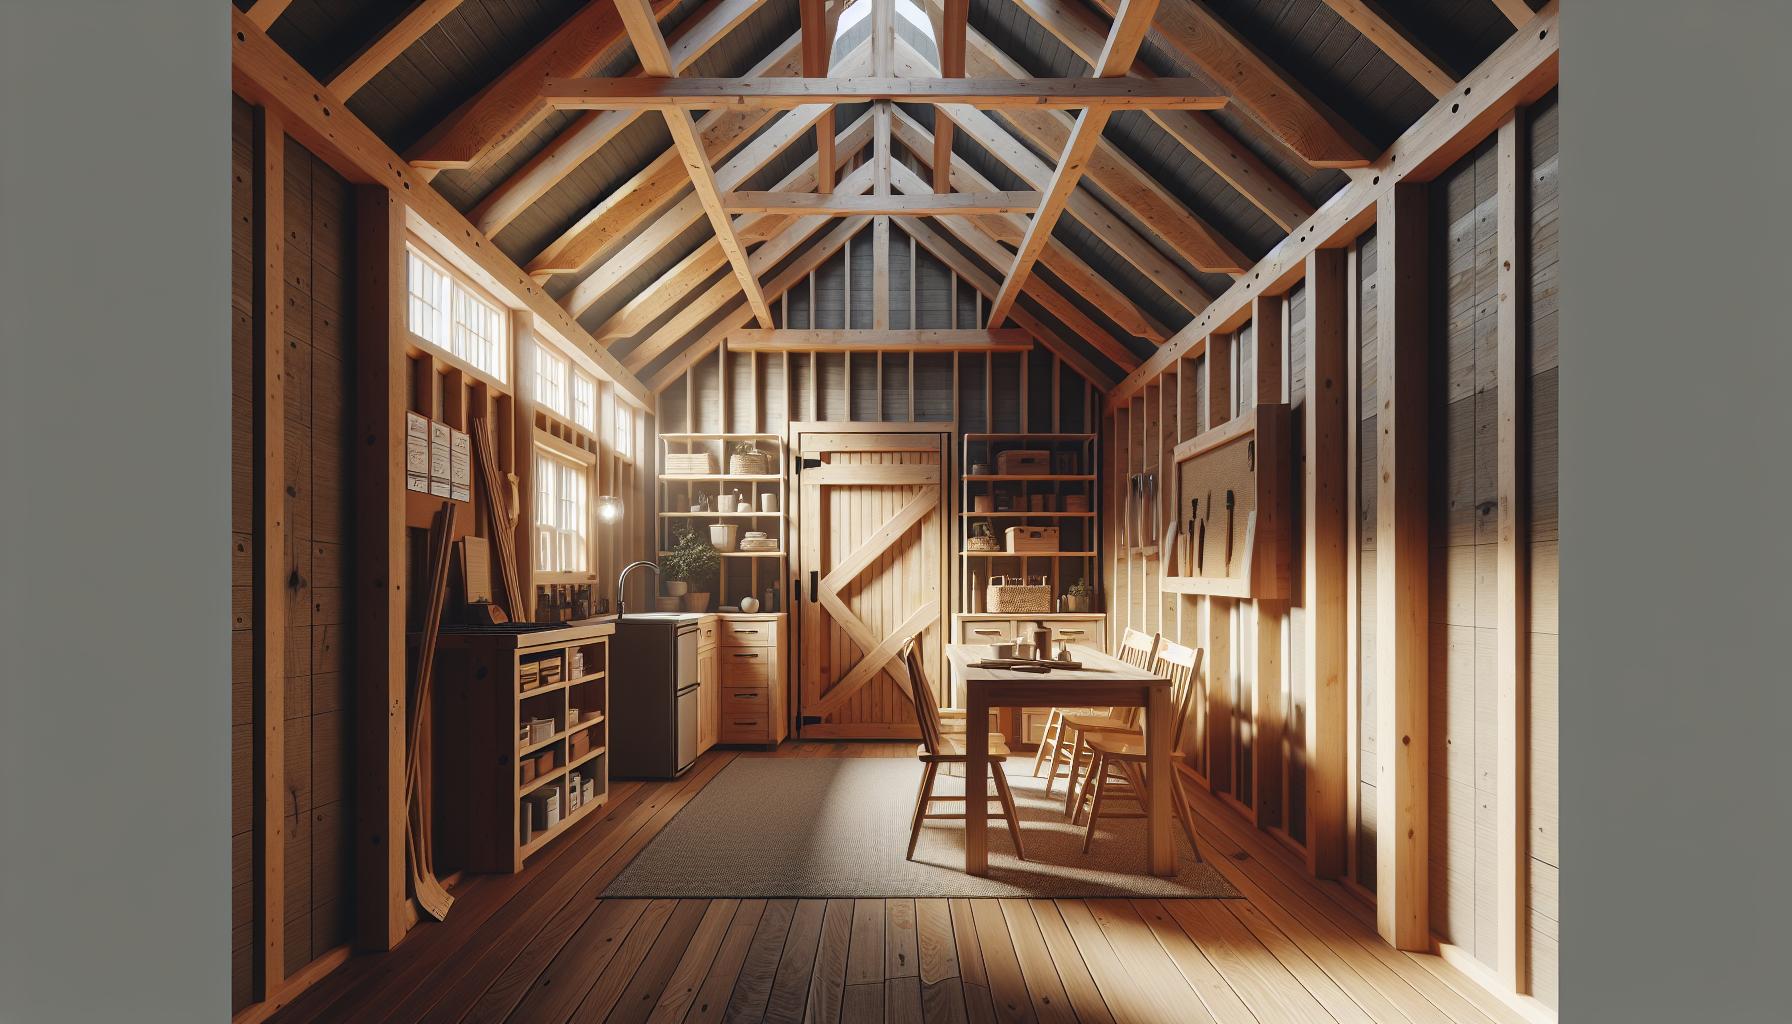
Building a functional and stylish saltbox shed not only enhances your backyard but also serves as a practical solution for storage and workspace needs.To optimize the unique design features of a saltbox shed, it’s essential to consider how the interior layout can maximize both space and functionality. Here, we’ll explore strategic design elements that will help you create an efficient environment inside your classic New England-style shed.
Strategic Use of Vertical Space
One undeniable advantage of a saltbox shed is its sloped roof, which provides ample vertical space. To capitalize on this, installing shelving units that reach up to the highest point of the walls can significantly increase storage capacity. Here are some options to consider:
- High Shelving: Perfect for infrequently used items like holiday decorations or seasonal tools.
- Wall-Mounted Hooks: Ideal for hanging bicycles, garden tools, or other equipment, freeing up floor space.
- Overhead Storage Bins: Use beams or rafters to hold bins that can store less frequently accessed items.
Integrating these features will not only keep your shed organized but also make it visually appealing by maintaining an open floor plan.
Creating Multi-Functional Zones
When planning the interior layout, consider dividing your saltbox shed into distinct areas tailored for specific tasks.This helps to optimize functionality and ensures that everything has its place. Here are some suggested zones to incorporate:
| Zone | Purpose | Suggested Features |
|---|---|---|
| Storage Area | For tools and equipment | Shelving, pegboards, and bins |
| Work Space | For gardening or DIY projects | Workbench, task lighting, power outlets |
| Relaxation Zone | A place for leisure or hobbies | Seating, small table, and decor |
By thoughtfully allocating areas for storage, work, and leisure, you can ensure that your saltbox shed functions seamlessly for diverse activities, all while maintaining an organized and inviting atmosphere.
Incorporating Natural Light and Airflow
Utilizing natural light can significantly affect the usability of your saltbox shed. Consider these elements to enhance the interior experience:
- Windows: Position large windows strategically to catch maximum sunlight throughout the day. Adding window boxes or shutters can elevate the aesthetic.
- Skylights: A great way to brighten up the interior and add ventilation. They’re especially effective in low-light areas.
- Ventilation: Install vents to promote airflow, which is crucial in preventing moisture buildup and maintaining a comfortable environment.
By implementing these design considerations, you’ll create a saltbox shed that not only looks great but also serves as a highly functional space for your needs. Remember, the key to a successful build lies in maximizing each square foot to ensure that your shed works for you, embodying the charm and practicality of classic New England style.
Weatherproofing Your Shed: Ensuring Durability Through the Seasons
When it comes to your shed, especially one built in the timeless Saltbox style, taking steps to ensure it withstands harsh weather conditions is crucial for prolonging its lifespan and usability. With varying climates influencing maintenance needs,focusing on weatherproofing can protect your investment and keep your tools,equipment,and other stored items safe from the elements. Understanding the core components of weatherproofing can transform your shed from a simple storage solution into a robust structure, providing year-round security.
For those looking to fortify their Saltbox shed against nature’s fury, consider the following essential strategies:
Seal and Insulate
Proper sealing is vital to prevent moisture infiltration and heat loss. Here are key actions to take:
- Use High-Quality Caulk: Check window and door frames for gaps. Filling these with a durable caulk not only prevents leaks but also helps maintain internal temperatures.
- Weatherstripping: Apply weatherstripping around doors and windows. This simple step can significantly reduce drafts and moisture entry.
- Insulate Walls and Roof: If you plan to use your shed for activities like gardening or woodworking, insulate with fiberglass batts or foam boards to maintain a stable and comfortable atmosphere.
Durable Roofing Solutions
A sturdy roof is essential in weatherproofing your Saltbox shed. Given its unique design, here are several recommendations:
- choose Quality Roofing material: Opt for asphalt shingles or metal roofing, both of which offer excellent protection against rain and snow. Metal, in particular, has the added benefit of reflecting UV rays, which can keep your shed cooler in summer.
- Install Gutters and Downspouts: Prevent water damage by installing a proper drainage system. This will divert runoff away from your shed, protecting the foundation and sides.
- Regular Maintenance: Periodically check for loose shingles and clear leaves or debris from the roof and gutters to prevent blockages and water accumulation.
Foundation and Ventilation
A solid foundation is as vital as a well-constructed roof. Proper support prevents moisture from rising into your shed, while adequate ventilation keeps the interior dry.
- elevate Your Shed: Position your shed on a concrete slab or treated lumber skids to minimize contact with the ground. This can reduce the risk of rot and damage from standing water.
- Incorporate Ventilation: Install vents or windows to promote airflow. This will help control humidity levels inside the shed, reducing the likelihood of mold and mildew growth.
Weather-Resistant Finishing Touches
don’t overlook the finishing aspects that contribute to a weatherproof structure.
| Finish Type | Benefits |
|---|---|
| Exterior Paint | Waterproofs the wood and provides UV protection. |
| Stain | Pens moisture while allowing wood grain visibility. |
| Sealant | Enhances durability against weather conditions. |
By implementing these strategies, you’ll not only enhance your structure’s longevity but also increase its functionality. A weatherproofed Saltbox shed can become an ideal haven for your gardening tools, seasonal decorations, or even as a workspace, ensuring it remains a valuable asset through every season.
Personalizing Your Saltbox Shed: Creative Finishing Touches
Creating a unique and charming saltbox shed goes beyond just its functional build; personalizing it can transform your outdoor space into a distinctive retreat that reflects your style. Whether you want a simple storage solution or a creative garden getaway, there are numerous finishing touches and embellishments that can make your saltbox shed stand out.
Color and Exterior Finishing
One of the easiest ways to personalize your saltbox shed is through color. Consider painting your shed in vibrant shades that complement your home’s exterior or opting for more subdued,earthy tones that blend seamlessly with your garden. For a classic look,sticking to traditional colors like barn red,forest green,or soft gray can be effective. Additionally, adding a textured finish, such as shingles or clapboard siding, enhances the aesthetic while also providing durability.
Landscaping and Surroundings
The area surrounding your shed can also play a significant role in its overall appeal. Simple landscaping can create a picturesque setting. You can incorporate
- Flower beds with vibrant blooms
- Pathways made from stones or pavers leading up to the shed
- decorative fencing or trellises adorned with climbing plants
Consider creating a small seating area with chairs or a bench nearby to make your shed not just a storage space but also a cozy retreat.
Decorative Hardware and fixtures
adding decorative hardware can significantly enhance the character of your saltbox shed. opt for vintage-style door handles,decorative hinges,and unique window boxes. You can also install outdoor lighting fixtures that provide both functionality and ambiance. A few well-placed lanterns or string lights can add charm, especially during evening hours, making the shed a welcoming space.
Functional Additions
Don’t forget about functionality when personalizing your saltbox shed. Incorporate shelving or storage solutions that match the aesthetic, such as using reclaimed wood for shelves or incorporating rustic metal hooks for tools. If you plan to use the shed as an outdoor workshop or studio, ensure that you have enough workspace and consider adding a small desk or table inside.By creatively personalizing your shed with these elements,you can craft a space that is not only functional but also a beautiful extension of your home and garden. Each touch adds personality and can greatly enhance the enjoyment you’ll get from this versatile outdoor structure.
Common Challenges and Solutions: Navigating Hurdles with Confidence
Building a saltbox shed can be a rewarding project, drawing on historical designs while offering practical storage solutions.However, as with any DIY endeavor, challenges are an certain part of the journey. Understanding these common obstacles allows you to navigate them with confidence, ensuring your shed turns out not only functional but aesthetically pleasing.
Identifying Common Challenges
Embarking on the process of constructing a saltbox shed frequently enough reveals a variety of challenges that can discourage even the most enthusiastic DIYer. Here are some common hurdles you might encounter:
- Design Complexity: The distinctive sloped roof of a saltbox shed can be architecturally intricate, leading to confusion during the cutting and assembly phases.
- Material Sourcing: Finding the right type of wood and other building materials that are both cost-effective and suitable for outdoor use can be tricky.
- Weather Elements: Inclement weather can disrupt your build schedule, causing delays and potential damage to materials kept outdoors.
- Local Building Codes: it’s essential to be aware of zoning laws and regulations that could impact your construction plans.
Effective Solutions to Overcome Hurdles
When tackling the challenges of how to build a saltbox shed, having a strategic approach is vital. Here are some practical solutions that can keep your project on track:
- Simplifying the Design: If the design feels overwhelming,consider simplifying the roofline or consulting building plans that have already been drafted. Online resources often have pre-made plans specifically for saltbox sheds.
- Reliable Suppliers: Research and contact multiple suppliers for your materials. Look for local lumber yards that may offer a wider selection, or recycled material centers that can provide enduring options.
- Weather Readiness: Monitor the weather forecasts closely and plan your work sessions accordingly. consider investing in a waterproof tarp to protect materials from rain, and utilize temporary shelters if necessary.
- Check Regulations: Before starting, visit your local building office or their website to understand the necessary permits. having all documentation in order prevents hiccups down the line.
Planning Your Project Efficiently
A well-structured approach can significantly enhance the efficiency of your build.Utilizing a timeline could be beneficial, detailing each step involved in constructing your saltbox shed while allowing for flexibility in case of setbacks. Consider creating a simple table to project your milestones:
| Phase | Task | Expected Duration |
|---|---|---|
| Preparation | Gather materials, tools, and permits | 1 week |
| Foundation | Build the foundation and floor | 2-3 days |
| Framing | Construct walls and roof framework | 3-5 days |
| Finishing | Add siding, roof, and interior finishing touches | 1-2 weeks |
arming yourself with knowledge about potential challenges and solutions not only boosts your confidence but also enriches the experience of learning how to build a saltbox shed: classic New England style made easy. With the right preparation and a proactive mindset, these hurdles can transform into stepping stones toward creating a personal outdoor sanctuary.
Frequently asked questions
How to build a saltbox shed?
To build a saltbox shed, start by gathering materials like wood, nails, and roofing. Follow planning steps such as obtaining permits, creating a design, and preparing the foundation. construct the frame, add siding, and finish with roofing.
Make sure to choose quality materials that will withstand the New England climate. A typical saltbox shed features a sloped roof that helps with snow runoff. For detailed instructions,consider checking out our guide on how to build your own shed which offers step-by-step insights.
What is a saltbox shed?
A saltbox shed is a traditional New England-style storage structure characterized by its asymmetric roof,which extends lower on one side. This design not only adds charm but also improves functionality.
The unique shape of a saltbox shed is practical, allowing for easy snow removal and additional storage space. Its aesthetic appeal often makes it a desirable feature in gardens and backyards, blending classic architecture with modern utility.
Why does a saltbox shed have an asymmetrical roof?
The asymmetrical roof of a saltbox shed is designed to facilitate snow runoff and to maximize interior space without requiring a larger footprint.
This practical design originated in colonial New England, allowing early settlers to adapt their wood structures to the harsh winter conditions. Along with its functional benefits, the sloped roof maintains a classic, timeless aesthetic. You can find examples of diverse designs in our article on shed styles.
Can I build a saltbox shed without prior experience?
Yes, you can build a saltbox shed without prior experience! With the right guidance and willingness to learn, even beginners can succeed.
Start by following a detailed plan that outlines each step clearly. Take your time,ask for assistance as needed,and consider using online resources or tutorials to build your confidence. Engaging in DIY projects is a fantastic way to develop skills and feel accomplished.
What materials do I need to build a saltbox shed?
To build a saltbox shed, you’ll need materials such as pressure-treated lumber, plywood, roofing shingles, and nails. Optional features may include windows and doors for added functionality.
Quality materials are key to ensuring your shed lasts for years. Don’t forget tools like a saw, hammer, and level. shopping at a local hardware store often provides the advantage of informed staff who can guide you in selecting the right materials for your project.
How do I prepare the ground for a saltbox shed?
Preparing the ground for a saltbox shed involves clearing the area of debris, leveling the soil, and possibly adding a concrete slab or gravel for stability.
It’s essential to ensure proper drainage to prevent water from pooling around your shed,which can lead to damage over time. Consider using a landscaping fabric under gravel if applicable. Proper preparation not only ensures a solid base but also prolongs the life of your shed.
What should I consider when designing my saltbox shed?
When designing your saltbox shed, consider the size, purpose, and location. Assess your storage needs and ensure it complements your yard’s aesthetics.
Additionally, think about ventilation and access points to maintain air flow and ease of use. Planning for insulation can be beneficial if you want to use it year-round.Remember to check local building codes and requirements to ensure compliance.
To Conclude
building your very own saltbox shed is not just a rewarding DIY project but an opportunity to express your craftsmanship and enhance your outdoor space.By following the step-by-step instructions we’ve laid out, from laying a solid foundation to finishing touches, you’ll gain the skills and confidence needed to tackle this charming New England-style structure.
Remember, it’s fully normal to encounter challenges along the way—but with patience and a problem-solving mindset, you can overcome them. Don’t hesitate to take your time, consult the resources available to you, and maybe even reach out to fellow DIYers for advice. Each piece of lumber you cut and every nail you drive contributes to your growth as a builder.
We encourage you to explore additional design options, tools, and materials to personalize your shed, making it uniquely yours.So grab those tools and get started—your dream Saltbox shed is waiting for you to bring it to life! happy building!

