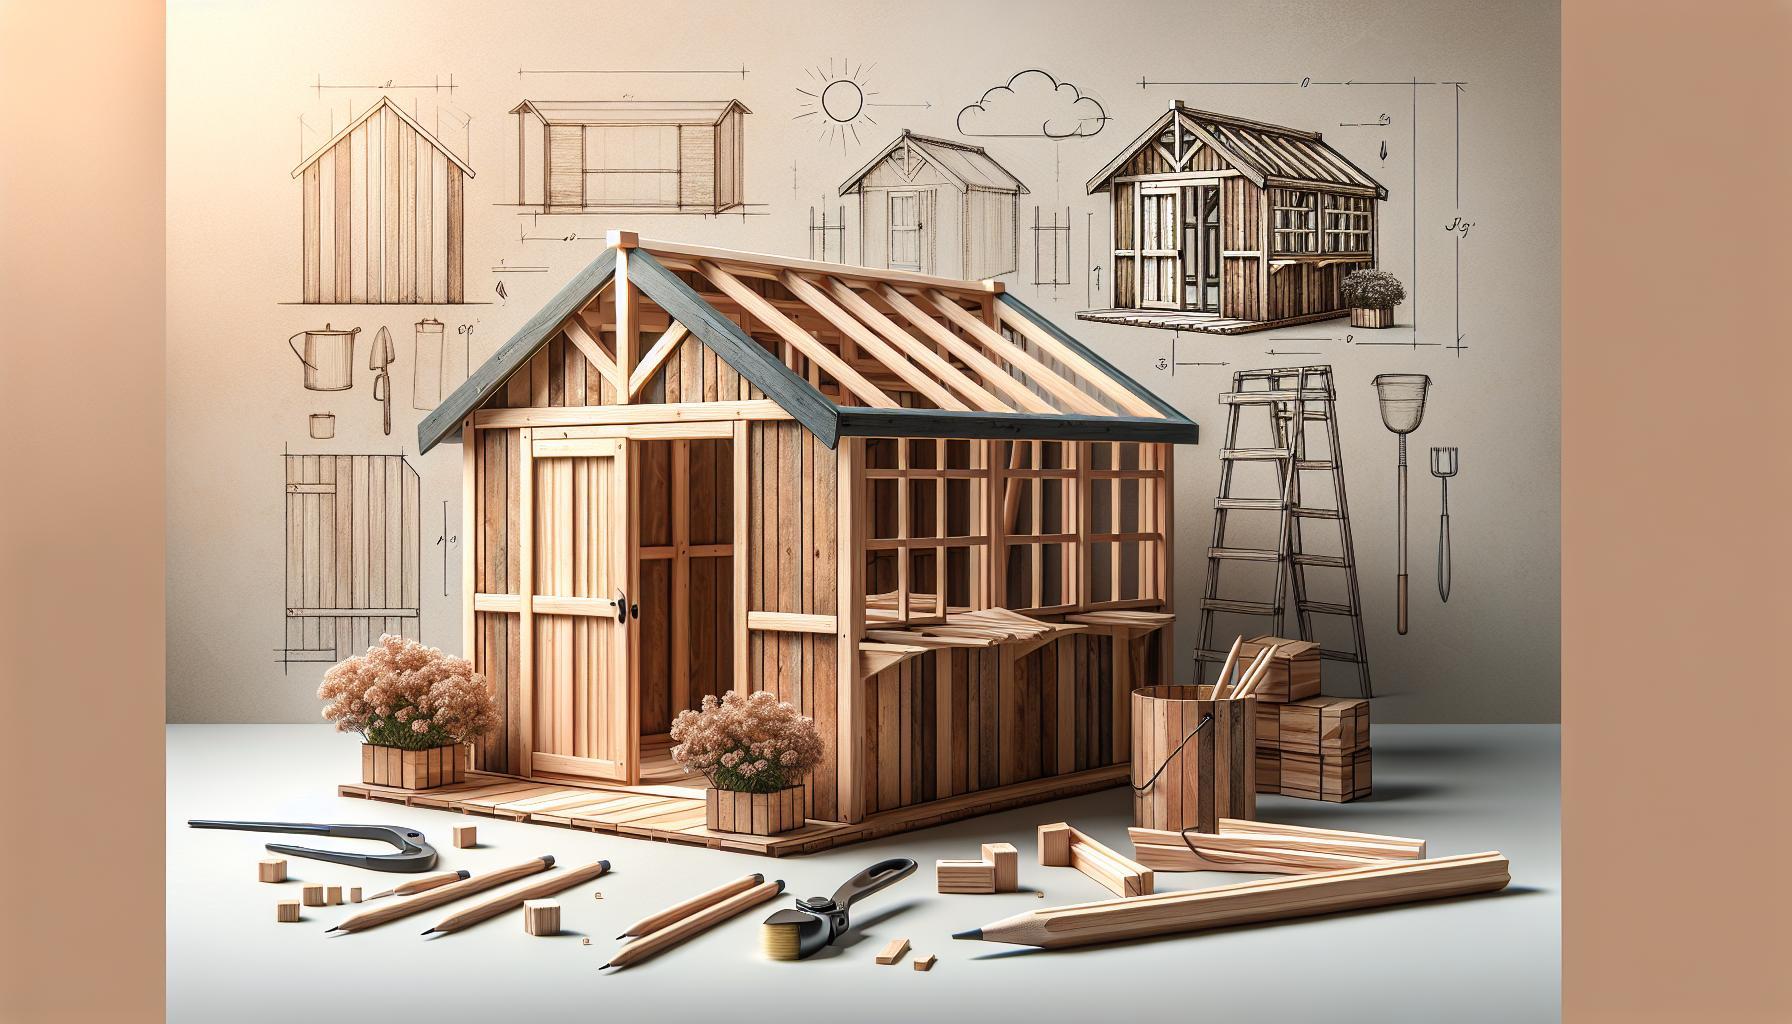
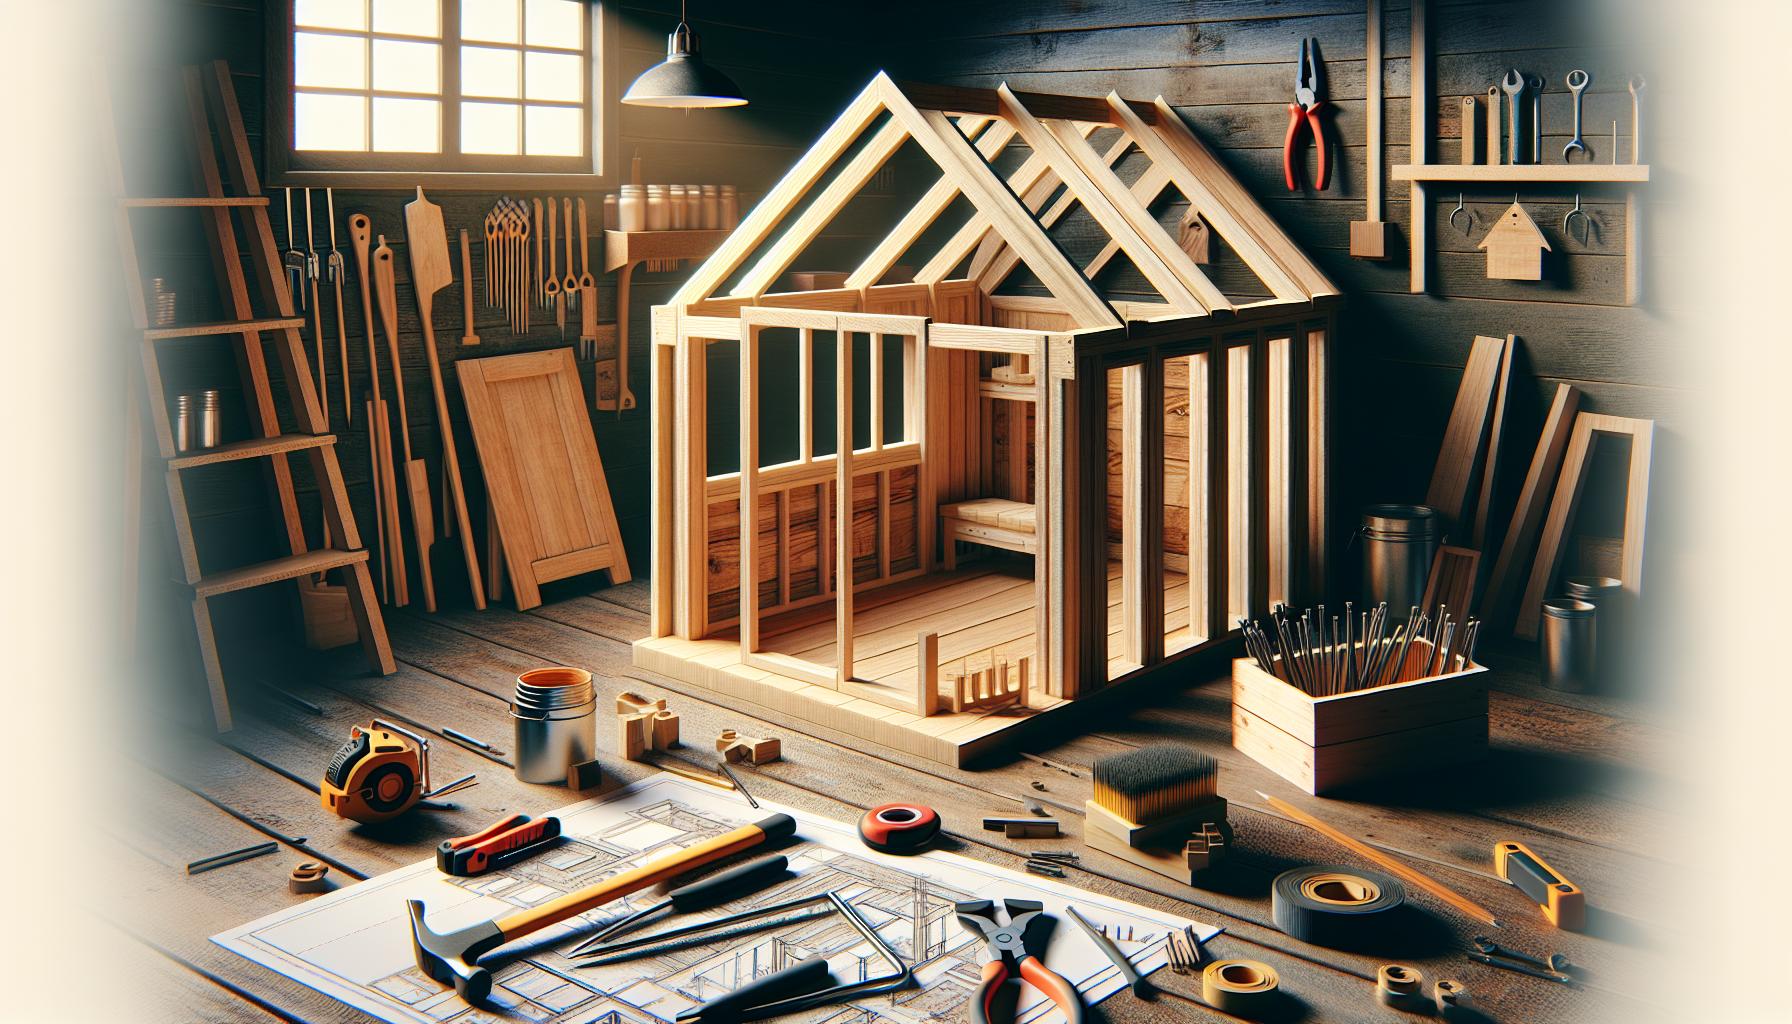
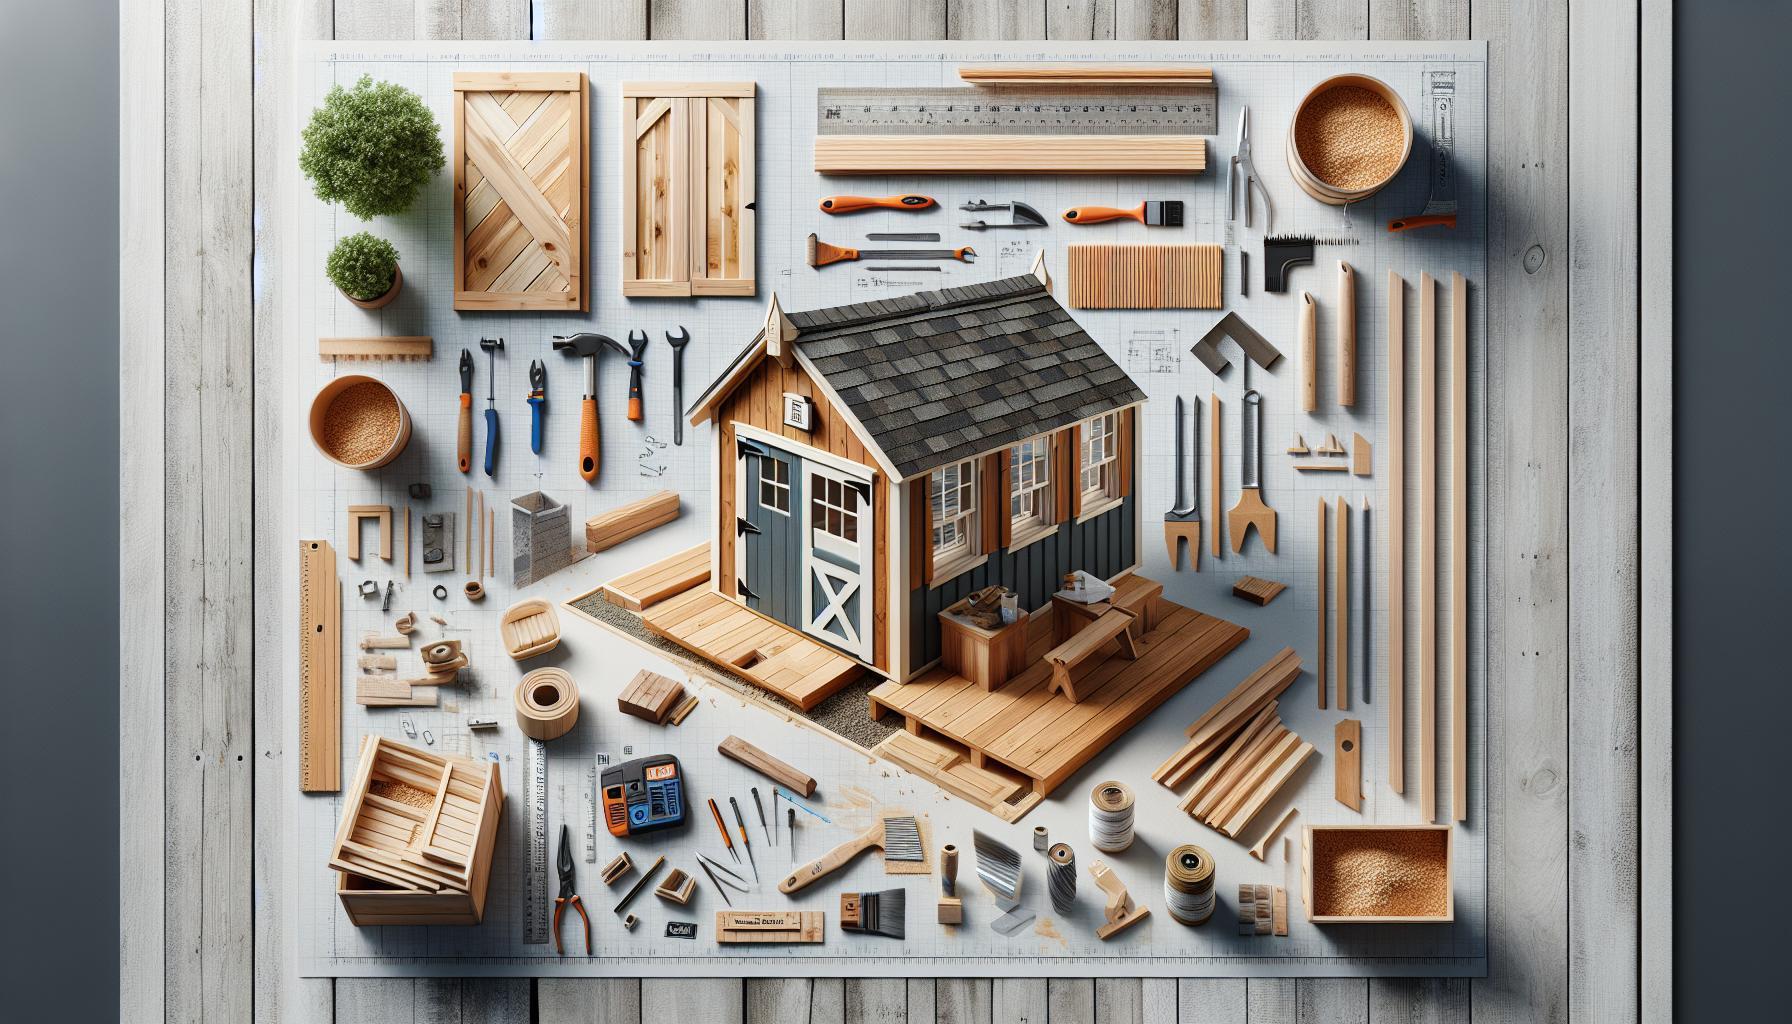
Creating a dedicated potting area can transform your gardening experience, providing an organized space for tools and plants. This essential garden workspace not only enhances your efficiency but also inspires creativity. Discover how to build your own potting shed with our simple, step-by-step guide, designed to meet every gardener’s needs and elevate your gardening journey.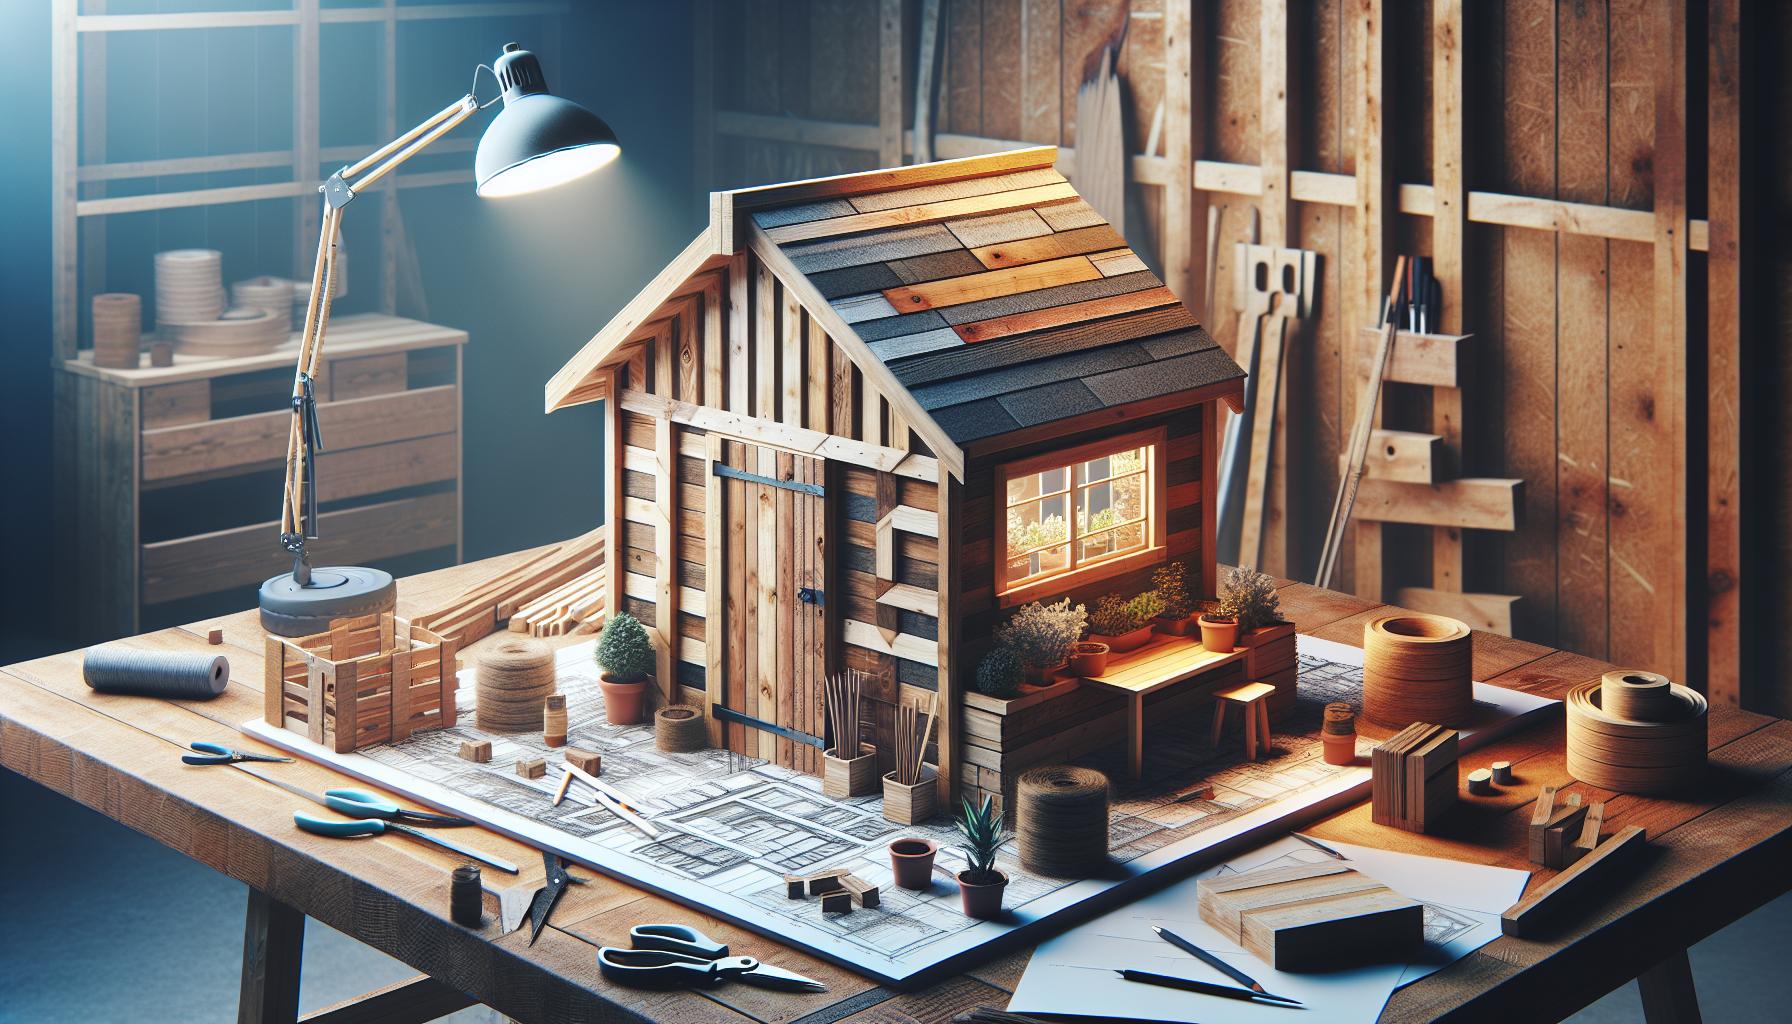
Choosing the Right Location for Your Potting Shed
When embarking on the exciting journey of crafting your ideal potting shed,one of the most crucial decisions lies in selecting the perfect location. The right spot not only enhances the efficiency of your gardening tasks but also creates an inviting atmosphere that encourages creativity and productivity. Before the shovels hit the ground, let’s explore the key factors to consider for establishing a potting shed that fits seamlessly into your garden landscape.
Consider accessibility
Choosing a location that allows easy access is paramount. A potting shed positioned to far from your garden can turn simple planting tasks into a cumbersome chore. Aim to place your shed within a pleasant distance from your flower beds, vegetable patches, and compost bins. This proximity will save you time and effort, ensuring you can smoothly transition between planting and caring for your plants.
Evaluate Sunlight Exposure
Natural light plays a vital role in effective gardening. A potting shed flooded with sunlight will not only brighten your workspace but also support plant growth if you’re starting seedlings inside. When selecting a site, observe how the sunlight travels across your garden throughout the day. Opt for a location that receives at least 6 hours of direct sunlight daily, but also consider adding shade options for the hotter months.
Ground Conditions and Drainage
The foundation of your potting shed is equally crucial as its location.Potential flooding from heavy rains can severely damage your tools and plants.Ensure the chosen area has good drainage to avoid water pooling. Look for spots on slightly elevated ground or clear drainage paths in the garden. Additionally, well-drained soil contributes to an easy setup for any foundation you plan to establish.
Proximity to Utilities
having access to water and electricity can considerably enhance how effectively you use your potting shed. If you need an electrical outlet for lights, fans, or power tools, consider placing your shed near existing electrical lines. Similarly, if you plan to include a sink for easy clean-up, positioning your shed near a water source will streamline your gardening experience.
| Considerations | Details |
|---|---|
| Accessibility | Keep it close to your main gardening areas. |
| Sunlight Exposure | Aim for 6+ hours of direct sunlight for optimal plant growth. |
| Ground Conditions | Look for well-draining soil to prevent flooding. |
| Utilities Access | Consider proximity to water and electricity for convenience. |
By evaluating these key factors, you’ll be well on your way to establishing an efficient, enjoyable workspace tailored to your gardening needs. is the frist step toward creating a perfect garden workspace, as outlined in the guide on how to build a potting shed in 10 steps.
Essential Tools and Materials Needed for Construction
Creating a potting shed not only enhances your gardening experience but also brings a touch of personalized elegance to your backyard.To embark on this rewarding project, it’s essential to gather the right tools and materials that will streamline the building process. Equipping yourself with the right items can transform a perhaps overwhelming task into a manageable and enjoyable hands-on experience.
Essential Tools
- Circular Saw: ideal for quick cuts and precise angles, a circular saw will speed up the process when cutting wood for your potting shed.
- Drill/Driver: Essential for making holes and driving screws, a cordless drill/driver offers the flexibility you need around the site.
- Measuring Tape: Accurate measurements are key to any triumphant construction project; a sturdy 25-foot measuring tape will suffice.
- Level: To ensure your potting shed is perfectly aligned and stable, use a spirit level to check your surfaces.
- Square Tool: This tool guarantees that your corners are perfectly aligned for a strong and tidy construction.
- Hammer: A versatile tool for both framing and finishing touches, a reliable hammer is indispensable.
- Safety Gear: Prioritize your safety by using protective eyewear, gloves, and hearing protection when using power tools.
Quality Materials
When selecting materials to build your potting shed, consider durability and weather resistance. Here’s a list of materials you will typically need:
| Material | Purpose |
|---|---|
| Pressure-Treated Lumber | Best for framing and flooring, this lumber resists rot and insect damage. |
| Plywood or OSB | Used for walls and roofing; ensures sturdiness while being easy to work with. |
| Roofing Material (Shingles or Metal) | A roof that stands up to the elements will maintain the integrity of your potting shed. |
| Exterior Paint or Stain | Protects your shed from moisture and UV damage while allowing for custom aesthetics. |
| Hardware (Screws, Nails, Hinges) | Essential for assembly; opt for galvanized options to prevent rust. |
By ensuring you have these essential tools and materials on hand, you’ll be well on your way to constructing a potting shed that’s not only functional but also a beautiful addition to your garden space.Each step,from measuring to assembly,becomes an possibility for creativity and practical learning,ultimately culminating in a workspace tailored to your gardening needs.
Step-by-Step Guide to Building the Foundation
Building the foundation for your potting shed is a crucial step that ensures stability and longevity for your garden workspace. A solid and level foundation not only supports the structure but also prevents moisture accumulation, keeping your tools and plants safe from the elements. here’s an in-depth guide to help you lay the groundwork with precision and care.
Choosing the Right Foundation Type
Before you begin laying bricks or pouring concrete, it’s essential to decide on the type of foundation best suited for your potting shed.Here are the most common options:
- Concrete Slab: Ideal for a permanent and durable base; great for heavy sheds.
- Pressure-Treated Wood Beams: A flexible option, suitable for lighter structures.
- Concrete Blocks or Piers: Offers good drainage and elevates the shed off the ground.
consider the climate in your area and the materials you plan to store. If you live in a region prone to heavy rains, a raised foundation with concrete blocks may be the most effective choice.
Preparing the Site
Once you’ve selected your foundation type, it’s time to prepare the site. Follow these steps:
- Locate the Ideal Spot: Choose a level area in your garden that receives ample sunlight and has good drainage.
- mark the Dimensions: Use stakes and string to outline the footprint of your potting shed. Ensure that the outline reflects the exact measurements of your planned structure.
- Clear the Area: Remove any vegetation, rocks, or debris from within the marked region, ensuring a smooth surface for your foundation.
Laying the foundation
Depending on the foundation type you’ve chosen,the construction approach will vary:
| Foundation Type | Materials Needed | Basic Steps |
|---|---|---|
| concrete slab | Concrete mix,rebar,leveling tools |
|
| Wood Beams | Pressure-treated lumber, gravel, screws |
|
| Concrete Blocks | Concrete blocks, gravel |
|
Each foundation type has its nuances, but following these steps will lead you to a strong base. Always keep in mind the overall height and ensure that your foundation is level before proceeding to the next steps in building your potting shed. Taking the time to create a robust foundation will pay off, providing you with a perfect garden workspace for years to come.
Designing Your Potting Shed: Layout and Features
Creating a functional potting shed is about more than just having a place to store your gardening supplies. An effective layout can greatly enhance your gardening experience, allowing for seamless transitions between tasks and maximizing your workspace.With the right design, you can craft an environment that not only supports your gardening activities but also inspires creativity and relaxation.
When planning your potting shed, consider these essential features that cater to both functionality and aesthetics:
Key Elements to Include
- Work Surface: A sturdy, spacious workbench is the heart of your potting shed. Choose a height that is comfortable for you to work at; many people prefer between 30 and 36 inches.
- Storage Solutions: Organize your tools, pots, and soil with shelving units, pegboards, and cabinets. Clear bins can keep smaller items easily accessible while maintaining a tidy appearance.
- Water Source: If possible, include a sink or an outdoor spigot to facilitate easy cleanup and watering of plants right in your workspace.
- Natural Lighting: Proper windows or skylights can brighten your shed and make it a pleasant place to spend time while working.
Optimizing the Layout
To effectively optimize your potting shed layout,think about the workflow. A common arrangement involves establishing zones for different activities, such as potting, storage, and maintenance. For instance, position your workbench near a door for easy access to your garden, and place shelving units against walls to free up floor space. Consider creating a designated area for mixing soil and planting, as this can definitely help keep your shed clean and organized.
Design Considerations
As with any workspace, functionality meets design in your potting shed. Here are some suggestions to enhance the ambiance while maintaining practicality:
| Feature | Purpose | Design Tip |
|---|---|---|
| Window Boxes | For growing herbs or flowers | Position them near sunlight |
| Hooks and pegboards | For hanging tools and equipment | Use labeled hooks for easy retrieval |
| Bench Seating | For relaxing during breaks | Add cushions for comfort |
| Indoor Plants | Enhance oxygen and aesthetics | Choose low-maintenance varieties |
By weaving these elements into your potting shed design,you’ll create a perfect garden workspace that not only meets your needs but also nurtures your passion for gardening. Remember, the journey of building your potting shed is as significant as the destination; let your creativity blossom as you shape your ideal gardening retreat.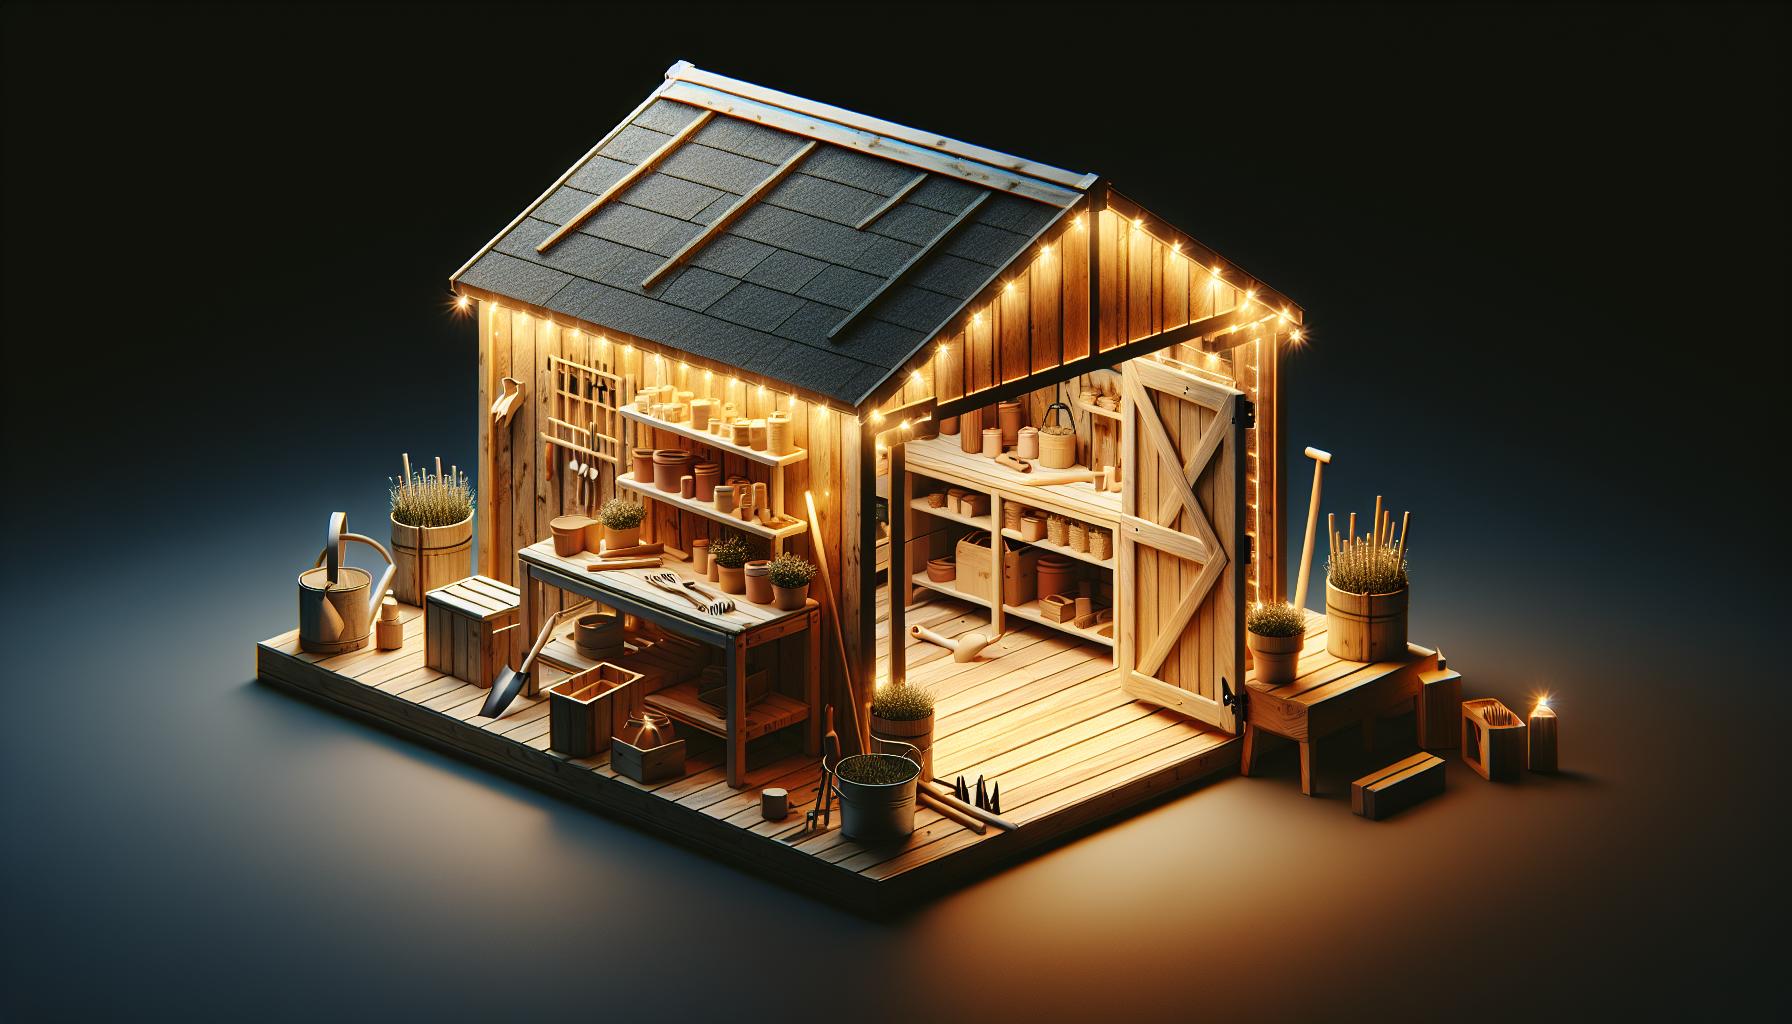
Weatherproofing and Insulation Tips for Your Shed
Creating a comfortable and functional potting shed goes beyond just the structure itself; it requires an understanding of how to keep it warm in the winter and cool in the summer. Weatherproofing and insulation are essential components in ensuring that your potting shed remains a perfect garden workspace all year round. proper insulation not only enhances the comfort of the space but also protects your tools and plants from fluctuating temperatures and moisture.
Key Insulation techniques
To start, consider using high-quality insulation materials in your walls, ceiling, and floor. here are a few valuable options:
- Fiberglass Insulation: This is a popular and cost-effective choice, known for its excellent thermal resistance. It’s available in batts or loose-fill, making it versatile for various shed designs.
- Foam Board Insulation: For optimal thermal protection, foam board can be used in conjunction with standard insulation. It adds an extra layer of insulation and can be applied to the exterior of your shed’s walls.
- Reflective Radiant Barriers: Installed in roof spaces, these barriers reflect heat away during hot months, keeping your shed cooler in the summer.
Weatherproofing Strategies
Weatherproofing is equally crucial for maintaining a sturdy and functional shed. Effective weatherproofing techniques include:
- Seal Gaps and Cracks: Use caulk or weatherstripping to seal any gaps around windows, doors, and roof joints. this will prevent drafts and water leaks that can damage your shed’s interior.
- Choose Durable Materials: Opt for weather-resistant materials such as treated wood or metal siding for the exterior of your shed. These materials resist rot and corrosion, extending your shed’s lifespan.
- Install a Proper Drainage system: Elevating your shed and adding gutters can help manage water runoff effectively, protecting the structure from moisture-related issues.
Creating a Comfortable Climate
With the right insulation and weatherproofing in place, you can further enhance the climate in your potting shed. Consider the following additions:
| Feature | Benefits |
|---|---|
| Heaters | electric space heaters or propane heaters can provide additional warmth during cold months, making it more comfortable to work in. |
| fans | Installing a fan can help circulate air and keep your shed cool during hot summer days, preventing overheating of tools and plants. |
| Thermal Curtains | Using thermal curtains on windows can reduce heat loss in winter and keep sunlight from overheating the interior in summer. |
By focusing on these insulation and weatherproofing strategies, your potting shed will not only function as a perfect garden workspace but also remain a cozy retreat throughout all seasons. whether you’re getting ready to plant in the spring or prepping for winter storage, ensuring a well-insulated and weather-protected environment will enhance both your gardening experience and protect your investment.
Organizing Your Potting Shed: Creating Functional Workspaces
The potting shed serves as more than just a space for planting; it’s a sanctuary where creativity flourishes and plants come to life. A well-organized potting shed can dramatically enhance your gardening experience, allowing you to work efficiently and comfortably. By thoughtfully arranging your tools, materials, and setup, you can transform a cluttered area into a functional workspace, making your gardening tasks more enjoyable and less stressful.
Essential Zones for an Efficient Workspace
to maximize the functionality of your potting shed, consider dividing the space into specific zones, each dedicated to a particular type of work. Here’s how you can create distinct areas:
- Potting Zone: This is the heart of your shed. A sturdy table at a comfortable height makes potting a breeze. Keep your soil, pots, and trays within arm’s reach to avoid unnecessary trips.
- Tool Storage: Install pegboards or shelves for easy access to your hand tools, trowels, and pruners. Use labeled containers or hooks to keep everything visible and organized.
- Seed Starting Area: Dedicate a countertop or shelf for seed trays, grow lights, and watering supplies. Consider using heat mats here to give your seedlings a warm start in the spring.
- Harvest and Maintenance Zone: Set aside space for gathered produce and garden maintenance supplies. this could include baskets for picking, storage for fresh herbs, and containers for damaged plants.
optimizing storage Solutions
When it comes to storage, utilizing vertical space can significantly improve the association of your potting shed. Consider the following ideas:
| Storage Idea | Description |
|---|---|
| Wall Shelves | Install a few shelves above your work area to keep frequently used supplies like pots and labels off the ground but within easy reach. |
| Magnetic Strips | Use these for small metal tools and clips, allowing them to hang neatly on the wall, thus saving drawer space. |
| Clear Bins | Store items like seeds, fertilizers, and plant food in clear bins for visibility and quick access. |
| Rolling Carts | A mobile cart can store supplies you need frequently and be moved where you need it in your shed. |
Each of these storage solutions contributes to making your potting shed not only functional but also aesthetically pleasing. As you consider how to build a potting shed that serves as the perfect garden workspace, keep in mind that organization is key to an efficient gardening life. The time you invest in planning and arranging your workspace will pay dividends when the planting season arrives.
Adding Personal Touches: Customization Ideas for Every Gardener
As you embark on the journey of how to build a potting shed that reflects your unique gardening style, incorporating personal touches can transform a functional space into a garden sanctuary. This is your chance to let your personality shine through every corner of the shed.Personalizing your workspace not only enhances your gardening experience but also makes it a pleasant retreat to enjoy while nurturing your plants.
Unique Storage Solutions
- Upcycled Materials: Consider using reclaimed wood from pallets or old furniture to create shelves or storage units. This not only adds charm but is eco-amiable.
- Magnetic Spice Racks: These can be repurposed for storing small tools or seeds. Attach them to the wall for easy access and a clean look.
- Labeling system: Customize jars or containers with your own labels. This will help you quickly identify tools or seeds and adds a personal touch.
Decorative Elements
The aesthetic of your potting shed can greatly benefit from thoughtful decorative choices. Incorporate elements that inspire creativity and resonate with your gardening ideology.
- Artisan Pots: Display unique pottery or handmade planters as part of your décor. They can serve as inspiration for your planting styles.
- Green Accents: Hang wall planters or incorporate vertical gardens to breathe life into your space. Use plants that thrive indoors for easy maintenance.
- Garden Art: Consider adding personalized art pieces, such as painted signs, rustic decorations, or your own botanical illustrations to enhance the visual appeal.
Functional and Fun Features
Think about adding elements that boost both functionality and enjoyment:
| Feature | Description |
|---|---|
| Water Stations: | Install a sink for washing tools and watering plants conveniently. A vintage trough can add character. |
| Seating Area: | A cozy nook with a chair or bench allows for breaks where you can enjoy the fruits of your labor. |
| Work Benches: | Create a multi-functional workspace with a sturdy bench. Personalize it with your favorite colors or stains. |
Ultimately, designing your potting shed to suit your personal tastes underscores the joy of gardening. Each customization not only serves a purpose but also tells a story about who you are as a gardener. From unique storage ideas to decorative accents, let your potting shed be a testament to your love for gardening and personal style, making it the perfect workspace as you implement the steps provided in your guide.
Maintenance Tips to Keep Your Potting Shed in top Shape
Maintaining a potting shed is essential for keeping your gardening tasks organized and your tools in prime condition. Just like any workspace, a potting shed benefits greatly from regular upkeep, helping you maximize productivity while minimizing frustration. By adhering to some straightforward maintenance tips,you can ensure your garden workspace remains a sanctuary for creativity and cultivation.
Regular Cleaning and Organization
One of the simplest yet most effective strategies for maintaining your potting shed is to keep it clean and organized. after every gardening session, spend a few minutes tidying up. Collect any stray soil, and sweep away debris to prevent buildup that could attract pests. Create designated zones for different activities—potting, tool storage, and plant care—to enhance efficiency.
Here are some tips to help you maintain a clean workspace:
- Use sealed bins for potting soil, fertilizers, and other materials to keep them fresh and free from pests.
- Label containers clearly for quick access to supplies.
- Store tools on a pegboard to save space and ensure they are easy to find.
Inspecting and Repairing Structures
the structural integrity of your potting shed is crucial for long-term use.Regularly inspect for any signs of wear, moisture, or pest damage.Pay special attention to the roof and any joints or seams. Conduct repairs promptly to avoid larger issues down the line.
Key areas to focus on during inspections include:
| Area | Maintenance Tip |
|---|---|
| Roof | Check for missing shingles or leaks and repair them immediately. |
| walls | Look for cracks and gaps where pests can enter; seal them as necessary. |
| Foundation | Ensure it is indeed level and free from erosion; reinforce if needed. |
Climate Control and Ventilation
Maintaining optimal temperature and humidity levels in your potting shed is vital,especially if you’re germinating seeds or overwintering delicate plants. Ensure that your shed is well-ventilated to prevent mold and mildew, which can thrive in damp environments.
To achieve effective ventilation:
- Install windows that can open to allow fresh air circulation.
- Consider adding a small fan for improved airflow during warmer months.
- Use thermal curtains or shades to control heat during summer.
By following these maintenance tips, you can transform your potting shed into a thriving hub for your gardening endeavors while preserving the hard work you’ve put into creating your perfect garden workspace. remember, a well-maintained potting shed not only aids in functionality but also enhances your gardening experience.
Faq
How to Build a Potting Shed: Perfect Garden Workspace in 10 Steps?
To build a potting shed, follow these essential steps: plan your design, choose the right materials, prepare the site, construct the frame, install the roof, add walls, fit the door and windows, and finish the interior. This will create a functional space for gardening activities.
When you set out to learn how to build a potting shed: perfect garden workspace in 10 steps,it’s crucial to plan beforehand. Consider factors like location, size, and the materials you’ll use, which will ultimately influence your shed’s durability and aesthetics. with patience and careful planning, your potting shed can become a beloved feature in your garden.
What materials do I need to build a potting shed?
You will need essential materials such as wood for the frame, roofing materials (like shingles), nails, screws, and possibly cement for a foundation. Don’t forget tools like a saw, hammer, and drill!
The choice of materials can significantly effect your potting shed’s longevity and appearance. For instance,treating the wood can protect it against moisture and pests. Consider using reclaimed or eco-friendly materials to enhance sustainability while giving your shed character.
Can I customize my potting shed design?
Absolutely! A potting shed can be tailored to fit your personal style and specific gardening needs. From window boxes to built-in storage, customization options are virtually limitless.
Consider features like _shelving for pots_,_workspace benches_,and _lighting_ to enhance functionality. You can explore various architectural styles to make it a beautiful focal point in your garden. Take inspiration from other DIY projects and integrate design elements that resonate with your personal taste.
Why does a potting shed matter for gardening?
A potting shed provides a dedicated workspace for gardening tasks, keeping your gardening tools, soil, and plants organized. It protects your materials from weather conditions and enhances your overall gardening experience.
Additionally, having a proper space allows you to concentrate better on planting, potting, and tending to your plants without distractions. This organized environment can significantly reduce time spent searching for tools or materials, making your gardening process smoother and more enjoyable.
How much does it cost to build a potting shed?
The cost of building a potting shed varies widely based on size, materials, and design choices, but you can expect to spend anywhere from $500 to $5,000. Planning your budget is essential before starting.
Consider looking for affordable materials such as second-hand wood or repurposed items to save money. By closely following the guide on how to build a potting shed: perfect garden workspace in 10 steps, you can keep costs in check while still achieving a high-quality build.
Can I build a potting shed without prior experience?
Yes! Building a potting shed is a manageable DIY project for beginners. By following step-by-step instructions and utilizing the right tools, you can create your shed with relative ease.
Start with a simple design and gradually increase complexity as your skills improve. Don’t hesitate to ask for help from friends or consult online resources. Embrace mistakes as learning opportunities and remember that the most important part is enjoying the creative process.
What are some common mistakes to avoid when building a potting shed?
Some common mistakes include poor planning, not considering the size of your tools, and neglecting ventilation. These issues can lead to a shed that is less functional than anticipated.
To avoid these pitfalls, take the time to draw up detailed plans. Research venting options to keep the shed airy and prevent moisture build-up, ensuring a healthier environment for your plants and supplies. A well-thought-out potting shed will provide you with a productive workspace for years to come.
To Conclude
building a potting shed is not just a project; it’s an opportunity to elevate your gardening experience while creating a dedicated workspace tailored to your needs. By following these 10 clear steps—starting from selecting the perfect location and designing your layout, to building and organizing your shed—you can transform a simple idea into a functional and beautiful addition to your garden.
Remember,every DIY journey comes with its unique set of challenges,but with patience and the right approach,you can overcome them and enjoy the satisfaction of your handiwork. Don’t hesitate to modify our tips to suit your style and the specific requirements of your space.
We encourage you to gather your materials, invite friends or family to lend a hand, and embark on this rewarding project—your dream potting shed is just a few steps away! Explore further by diving into additional resources, engaging with fellow gardening enthusiasts, and sharing your journey. Your creativity and craftsmanship can inspire others, so let your potting shed become your new favorite retreat in the garden! Happy building!

