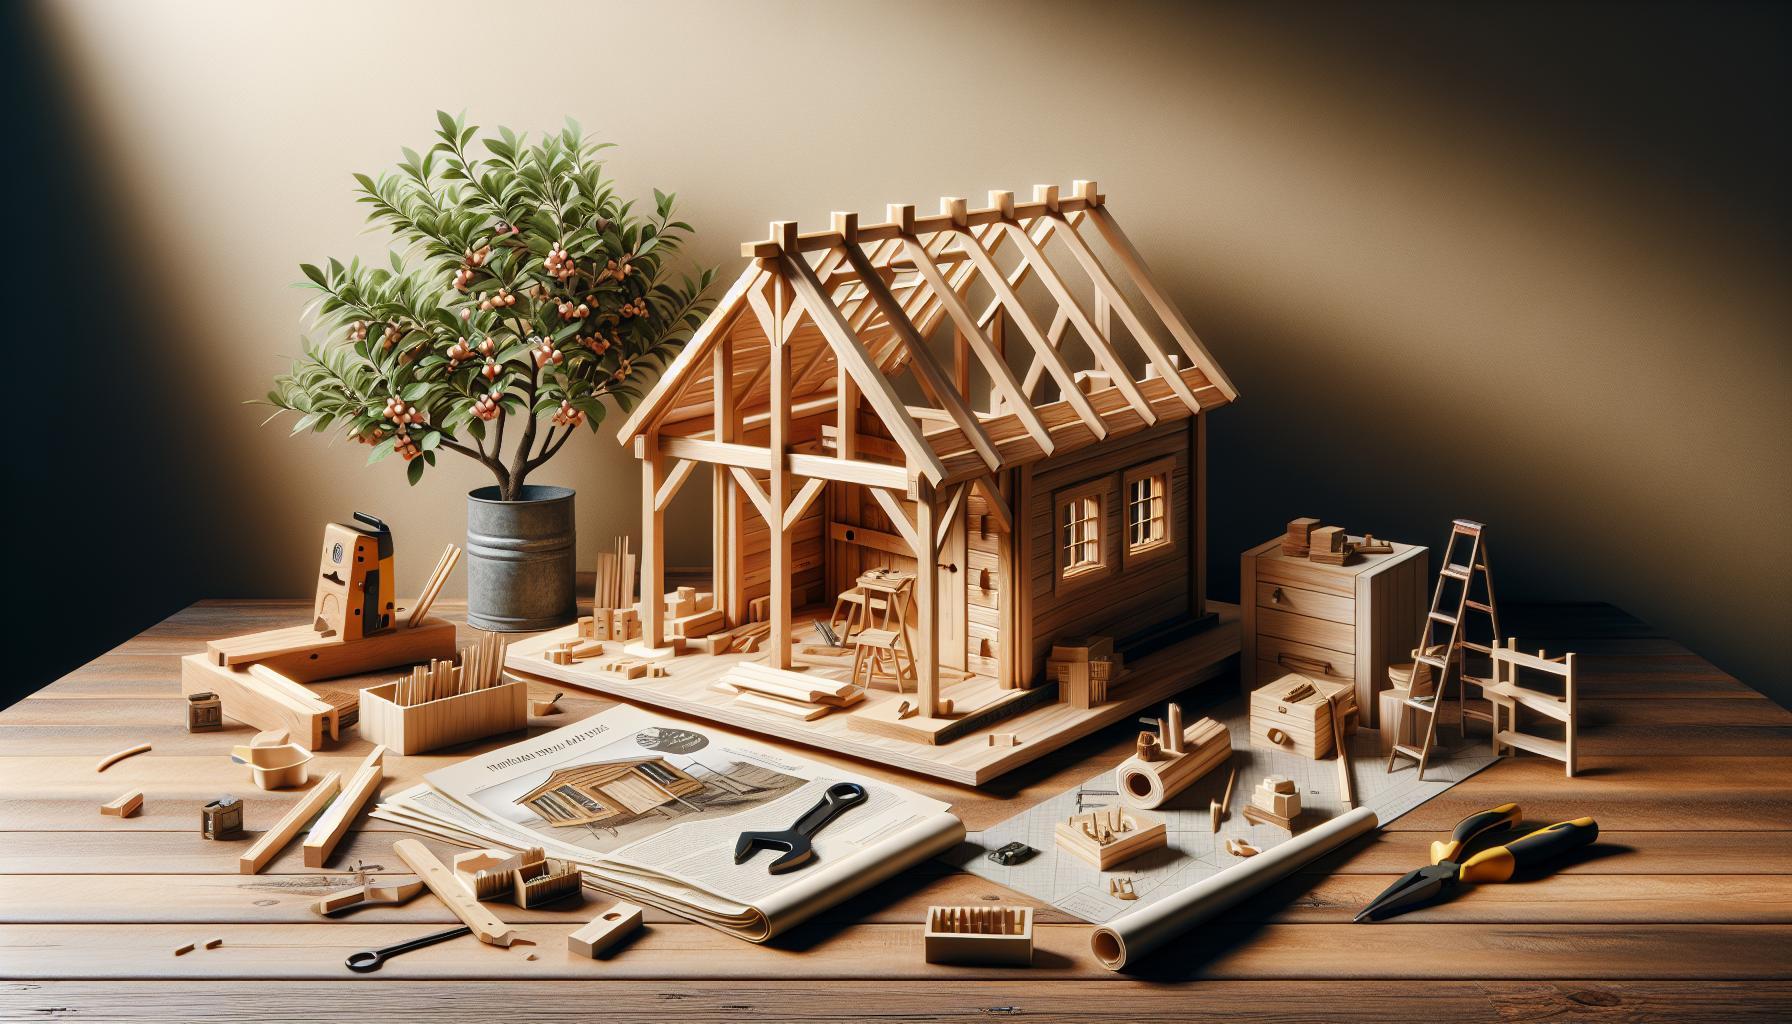
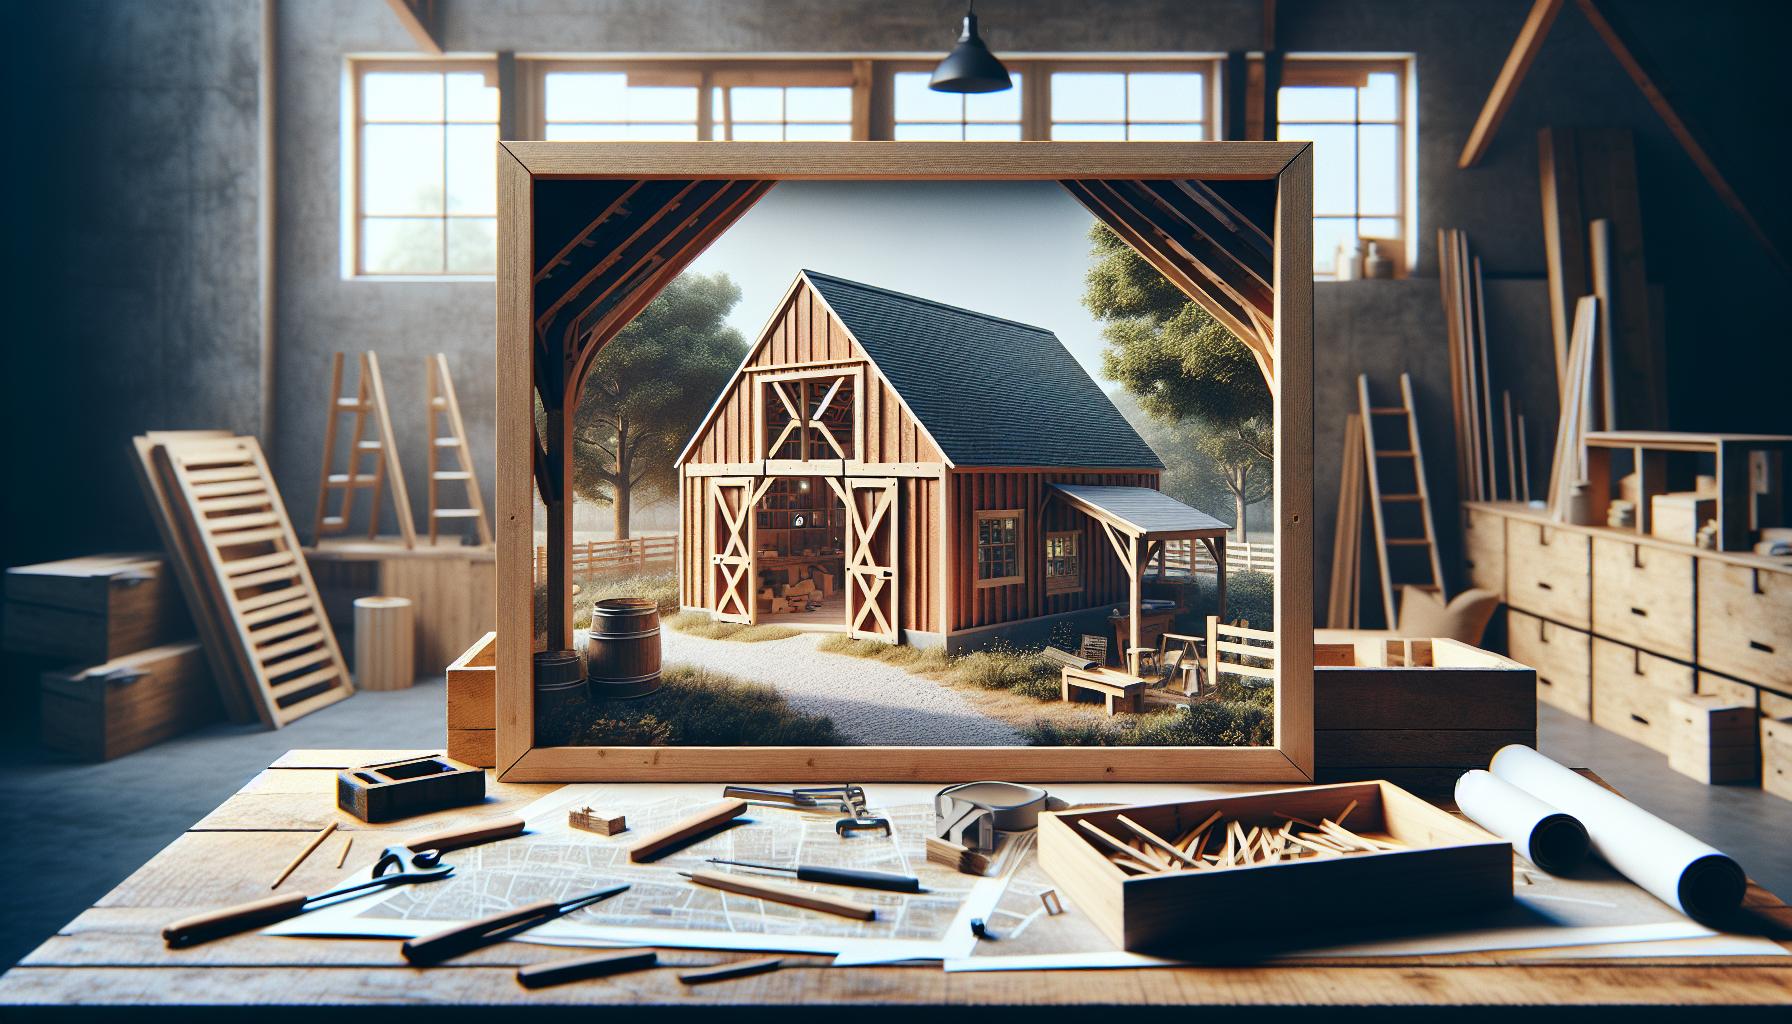
struggling to find a dedicated space for your gardening tools and plants? Transforming a cluttered yard into a flourishing plant haven doesn’t have to be a daunting task. Building a garden shed not only organizes your outdoor space but also enhances your gardening experiance. In just a weekend, you can create a stylish and functional storage solution that perfects your gardening journey.
Choosing the Right Location: Ideal Spots for Your Garden shed
Finding the perfect location for your garden shed is essential to maximizing its functionality and aesthetics. A well-situated shed can enhance your gardening experience,serve as a practical storage solution,and even provide a tranquil space for relaxation.When determining the ideal spot for your garden shed,several factors should come into play,including accessibility,sunlight,and proximity to other gardening features.
Consider Accessibility and Visibility
When deciding on a location, first assess how easily you can access the shed from your main gardening areas. You’ll want a spot that’s not only convenient but also allows you to quickly reach tools, seeds, and other supplies. Think about laying down a pathway with pavers or gravel leading to the shed. This not only improves accessibility but also adds a charming aesthetic element. Additionally, visibility is crucial; placing your shed in a location where it can be easily seen from your home will remind you to use it regularly and can potentially deter unwanted visitors.
Evaluate Natural light
Sunlight availability is another critical factor when choosing a location. Most garden activities benefit from natural light,so consider placing your shed where it can receive adequate sunshine throughout the day. This positioning is especially important if you plan to use the shed for starting seeds or potting plants, as these activities require ample light. However, if you live in a particularly hot climate, you might prefer a spot with some afternoon shade to keep the interior from overheating.
Proximity to Utilities and Other Structures
Think about how close your shed will be to existing utilities. if you plan to include electricity for lights or power tools, ensuring proximity to your home will help minimize extension cords and connections. Similarly, placing your shed near other structures, such as a greenhouse or raised beds, can create a cohesive gardening space.
| Criteria | Considerations | Examples |
|---|---|---|
| Accessibility | Ease of access from garden areas | Pathways,near frequently used tools |
| Sunlight | Amount of natural light received | South-facing location for sun exposure |
| Utilities | Proximity to power and water sources | Close to home for electricity and watering |
| View | Aesthetic and environmental impact | Visible from the house without obstructing views |
Carefully selecting your shed’s location ensures that it serves as an effective tool for your gardening endeavors while also complementing your outdoor space. Whether you’re looking to simply store tools or create a sanctuary amidst your plants, the right spot can make all the difference. Think strategically about accessibility, light, and utility proximity to create your perfect plant haven in just a weekend.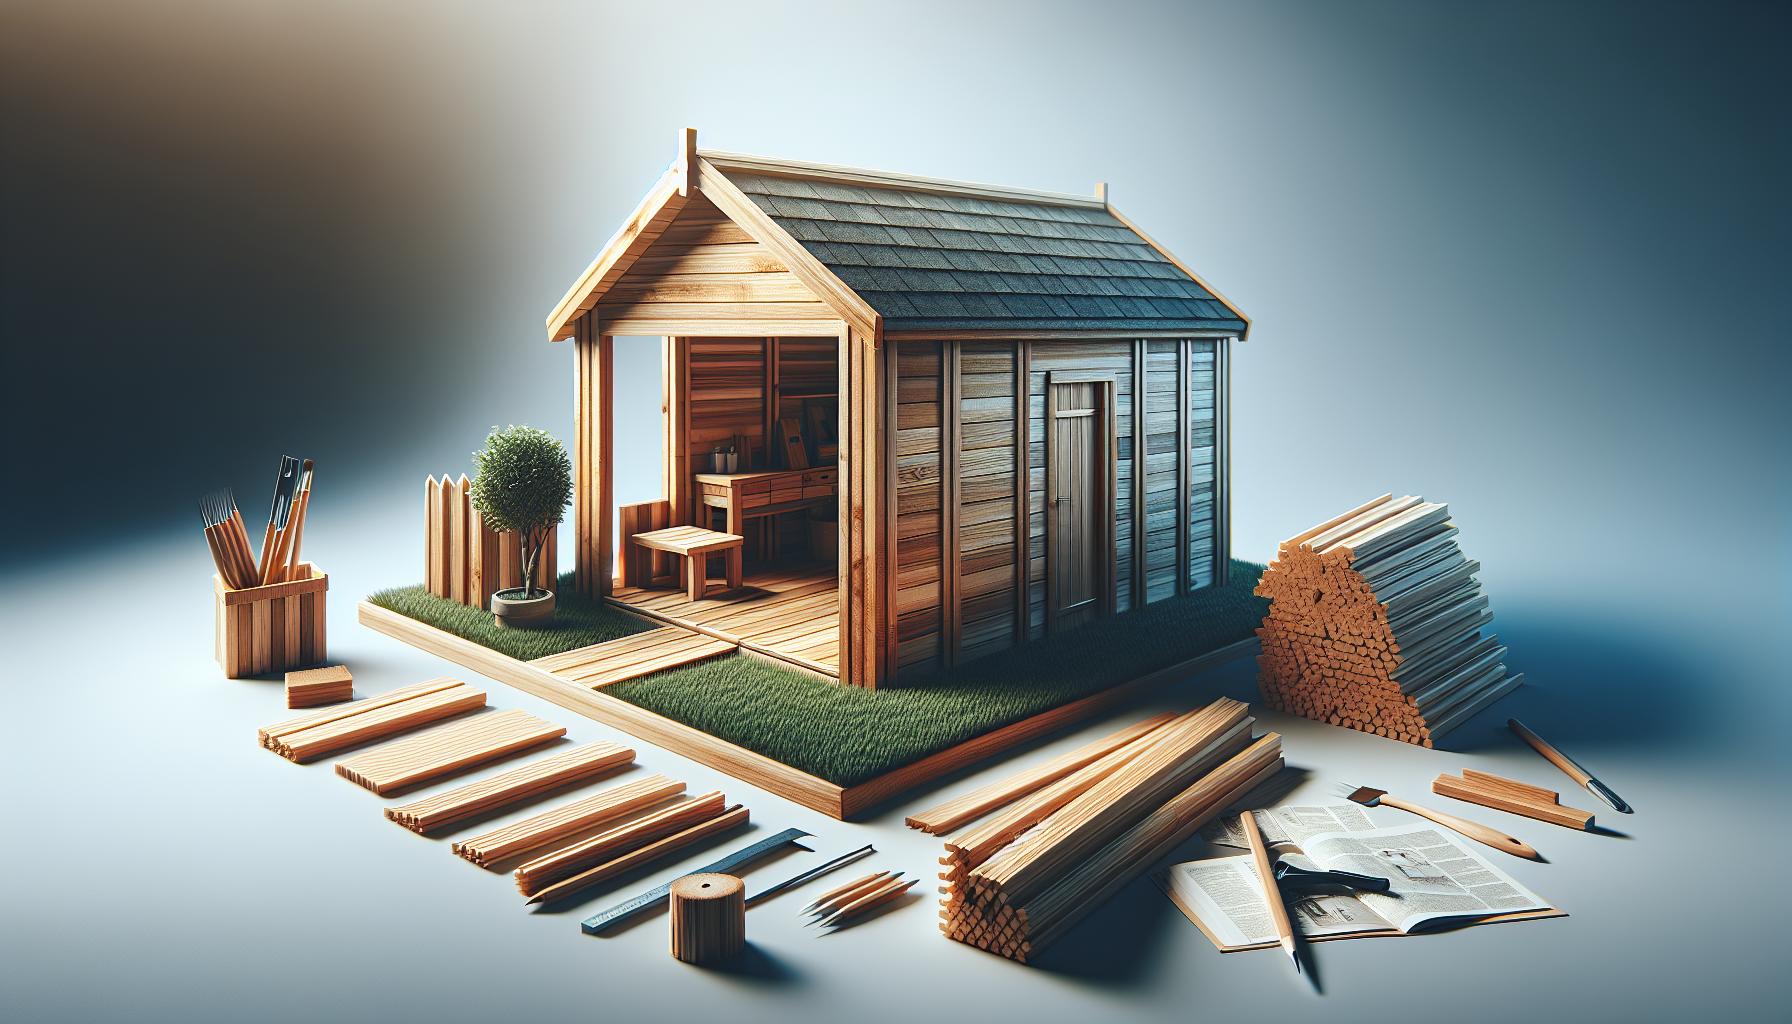
Essential Tools and Materials: What You’ll Need for a Successful Build
Building your own garden shed can be a fulfilling project, especially when you see the fruits of your labor transforming your outdoor space. However, embarking on this adventurous task requires proper preparation and the right set of tools. The success of your shed building endeavor lies not only in the plans but also in the materials and tools you select to bring your vision to life.
Essential Tools
Before you dive into construction, it’s vital to gather a range of tools that will aid you throughout the building process. Below is a list of necessary tools, along with their uses to ensure you’re well-equipped:
- Measuring Tape: Ensures accurate dimensions when cutting materials.
- Level: To confirm that your shed is built evenly, preventing future structural issues.
- Power Drill: Used for making holes and driving screws, speeding up the assembly process.
- Saw (Circular or Hand Saw): Essential for cutting wood to size according to your plans.
- Hammer: A classic tool for driving nails into the supports and frame.
- Screwdriver Set: For securing various components as required.
- Safety Gear: Include gloves, goggles, and a dust mask to protect yourself while building.
material Checklist
When constructing your garden shed, the selection of materials is equally important.Below is a detailed table highlighting the essential materials needed for a successful build:
| Material | Description |
|---|---|
| Wood (Plywood, Dimensional Lumber) | For walls, flooring, and roof structure. |
| Nails and Screws | Fasteners to securely join your wood components. |
| Roofing Material (Asphalt shingles or Metal Sheets) | To protect your shed from the elements. |
| Paint or Stain | For aesthetics and to protect wooden surfaces from decay. |
| Wood Preservative | To extend the life of your timber against moisture and pests. |
By assembling these essential tools and materials, you’ll lay a strong foundation for your garden shed project. This preparation will not only streamline your building process but also enhance the overall quality of your work. As you embark on your journey to create the ultimate plant haven, remember that having the right equipment is key to a seamless experience.
Step-by-Step Construction: From Foundation to Roof
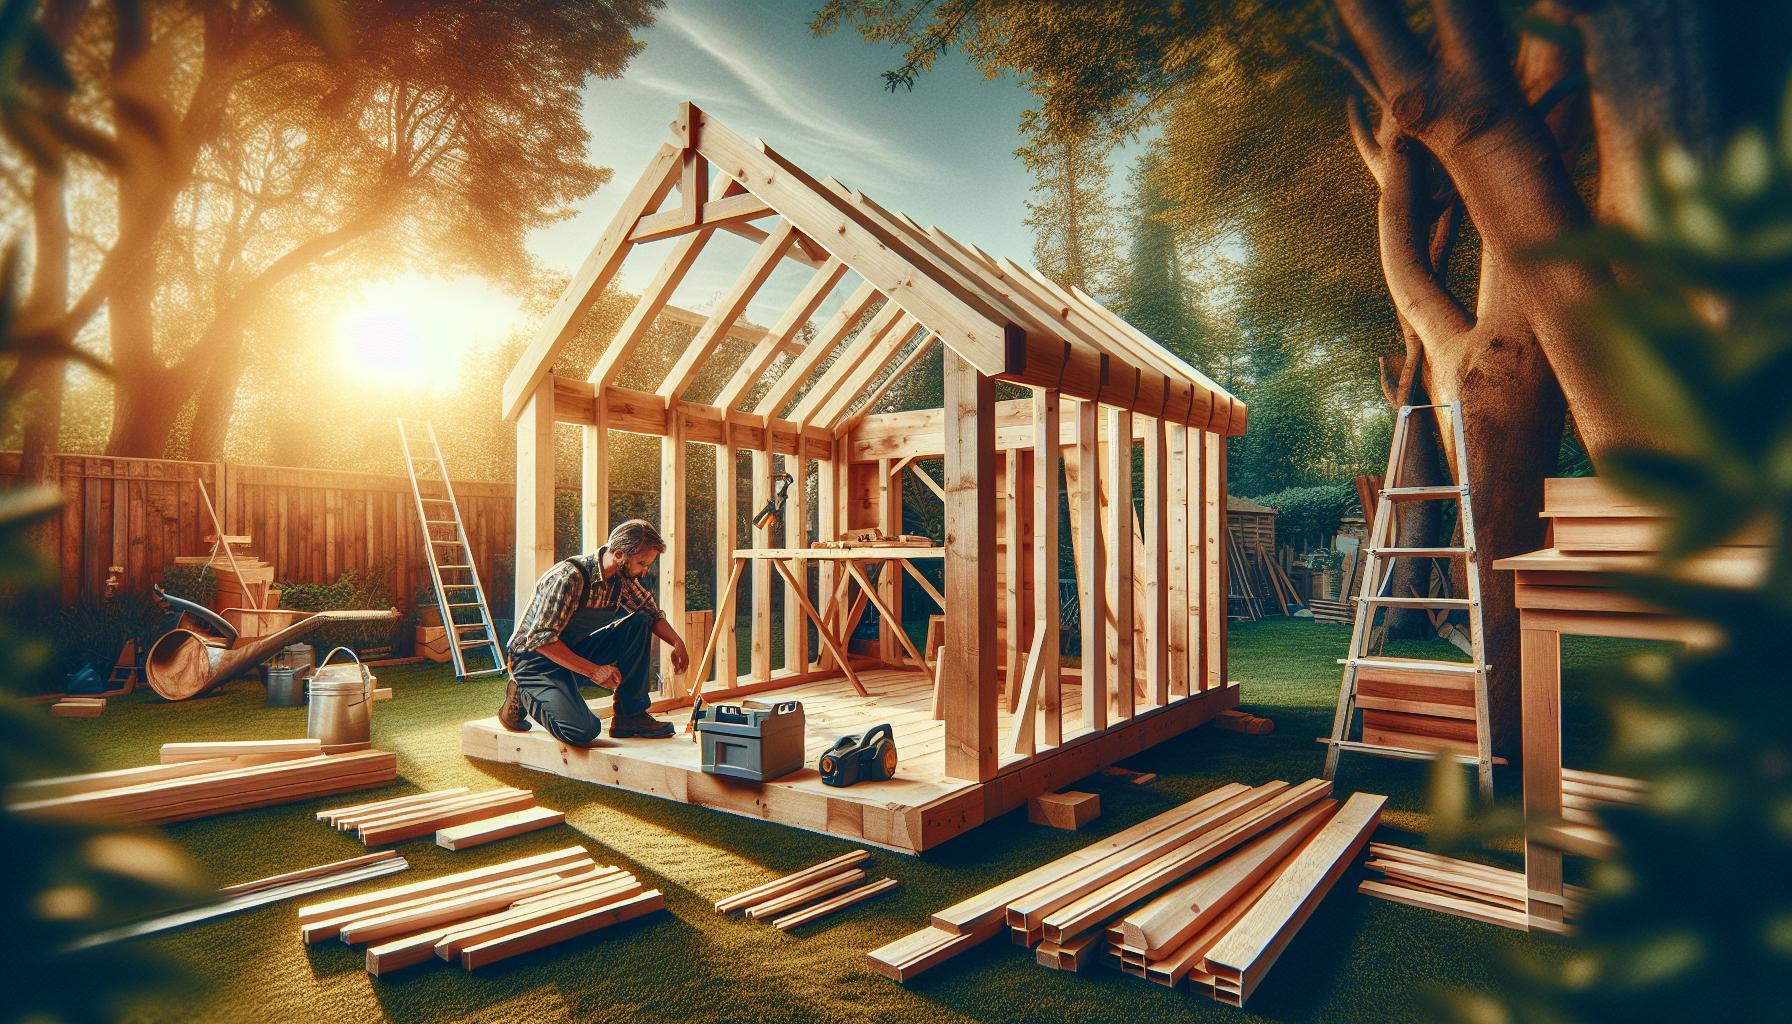
Building a garden shed can be an exciting journey,one where you get to flex your DIY skills and create a tailored space for all your gardening tools and plants. With a solid plan in mind, this weekend project can transition from a mere concept to a functional reality. Here’s a detailed guide to help you construct your dream garden shed, covering everything from the initial groundwork to the last shingle on the roof.
Preparing the Foundation
A robust foundation is pivotal in ensuring the longevity and stability of your shed.Start by selecting a level area in your garden that receives adequate sunlight and is easily accessible. Here’s a general outline of the steps involved:
- Mark the Area: Use stakes and string to outline the exact dimensions of your shed.
- Excavate: Clear away the marked area of grass, weeds, and topsoil.
- Level the ground: Make the soil as even as possible,inserting gravel if necessary for drainage.
- Lay the foundation: Use concrete blocks, treated timber, or a concrete slab as your foundation, ensuring it is square.
Constructing the Frame
With the foundation in place, it’s time to build the frame. This framework serves as the skeleton of your shed,providing structure and support. For a basic frame, consider the following:
- Walls: Begin by constructing the wall frames on the ground using 2×4 lumber. Each wall typically consists of vertical studs spaced 24 inches apart.
- Connecting Walls: Raise the walls onto the foundation, securing them together with screws or nails.
- Supporting Structure: Don’t forget to include horizontal headers over openings where doors and windows will be installed.
Adding the Roof
A well-constructed roof not only protects your shed from the elements but also contributes to its overall aesthetic. You can choose a gable,flat,or shed roof style depending on your preferences. Here’s how to tackle this step:
- Rafters: Cut your rafters to the required length and angle for your chosen roof type.Secure them at the peak and at the wall corners.
- Plywood Sheathing: Attach plywood sheets over the rafters to provide a solid base for roofing material.
- roofing Material: Apply shingles or metal panels as your roofing finish, making sure to overlap each row for water resistance.
| Material | Size (inches) | Purpose |
|---|---|---|
| Plywood Sheets | 4×8 | Roof Sheathing |
| 2×4 Lumber | Length varies | Wall Frames and Rafters |
| Concrete Blocks | Standard | Foundation Support |
Building a garden shed is a rewarding project, making it an ideal activity for a weekend.Each stage,from laying a solid foundation to the last piece of roofing material,contributes to shaping your perfect plant haven. Make sure to double-check measurements throughout the construction process to avoid mishaps. With the right approach and a sprinkle of creativity, your shed will soon bloom into a cherished asset in your garden!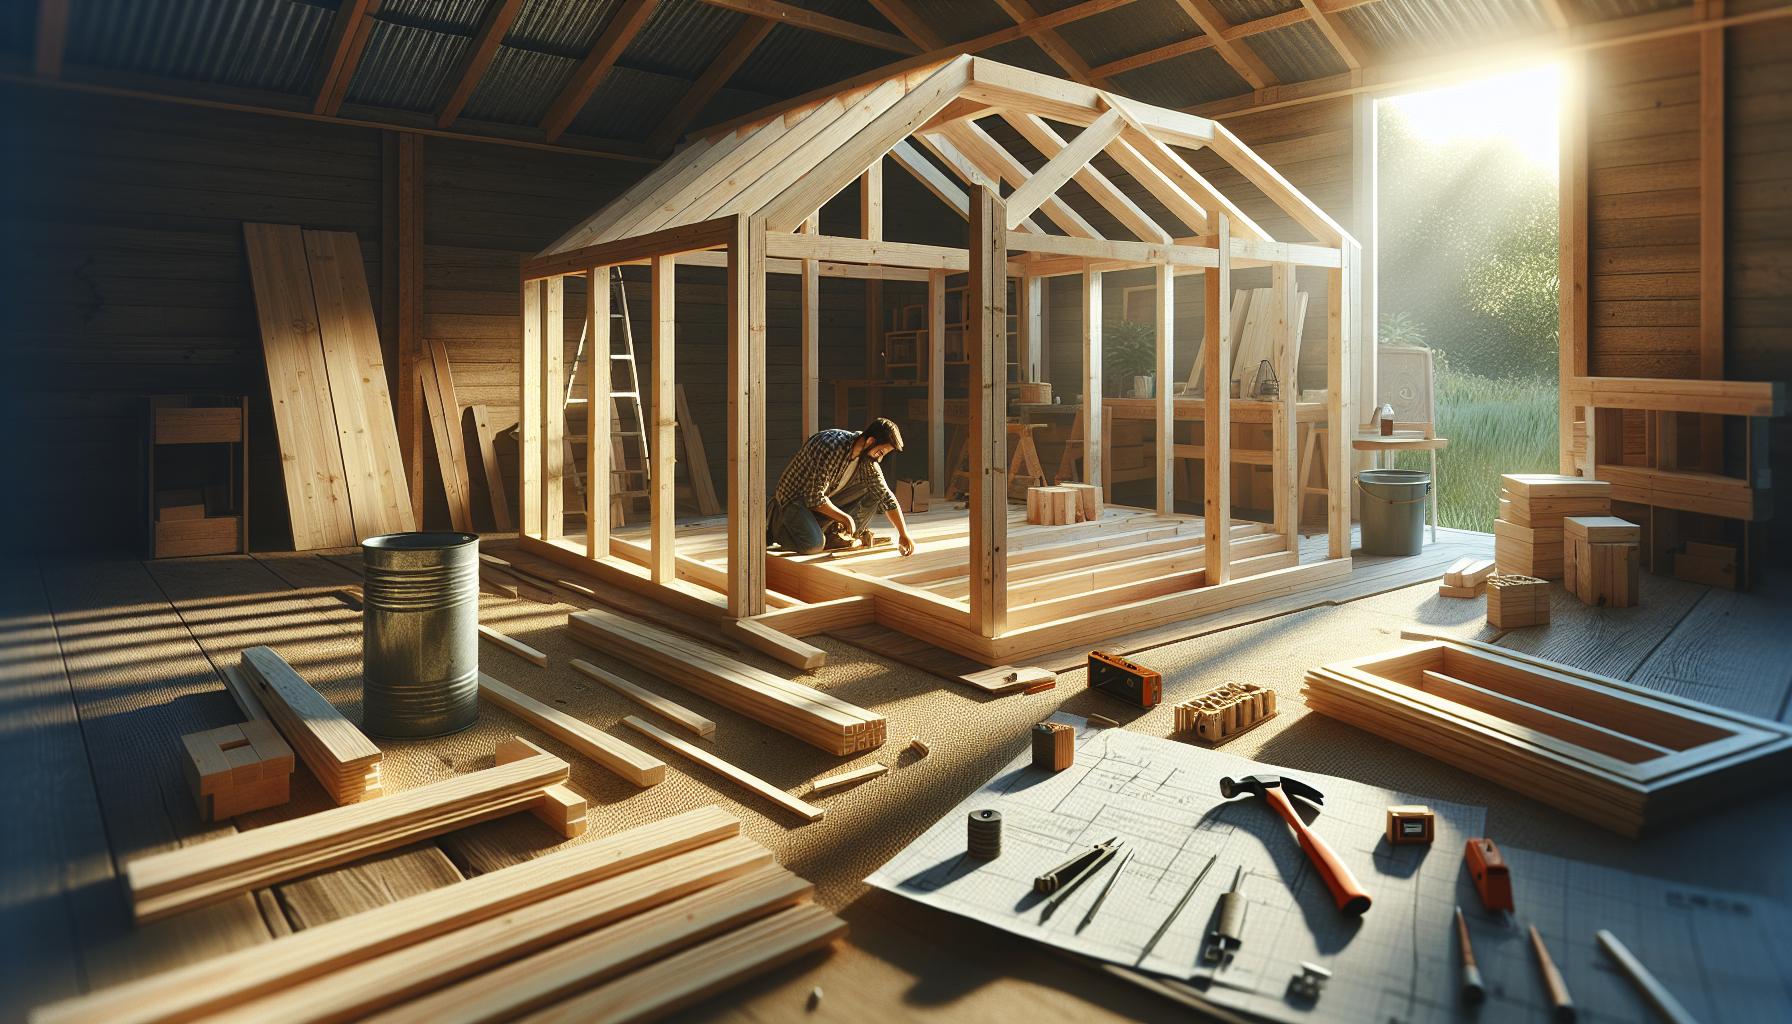
Personalizing Your Shed: Tips for Customizing Your Space
Imagine stepping into a garden shed that feels uniquely yours—a personal retreat tailored to your gardening passion or a hobbyist’s paradise that reflects your style. Personalization not only enhances the aesthetic appeal of your space but also maximizes its functionality. After building your shed as outlined in “How to Build a Garden Shed: Create Your Perfect Plant Haven in a Weekend,” it’s time to infuse your personality and needs into this space.Here are some tips to transform your garden shed into a customized haven.
functional Layouts
To optimize your shed, consider how you will use it. Different activities require different setups.As an example, if you’re primarily using your shed for planting and potting, ensure that there’s ample countertop space and shelving for tools and pots. Conversely, if you envision a cozy reading nook or a workshop, arrange seating away from the tools while still maintaining easy access to them.
- Design Work Zones: Create specific areas for various tasks like tool storage,potting plants,or lounging.
- Use Multi-Functional Furniture: Invest in benches with storage underneath or foldable tables that can be put away when not in use.
- Incorporate Vertical Space: Utilize wall shelves or pegboards to keep everything organized and easily accessible.
Personal Touches
Add elements that reflect your personality and gardening style. Whether you prefer a rustic vibe or sleek modern aesthetics,infusing style into your shed can turn it into a delightful retreat.
- Choose a Colour Palette: Paint the walls or add decorative touches in your favorite colors; consider soft pastels for a cozy feel or bold hues for a vibrant atmosphere.
- Incorporate Art: Hang gardening-themed paintings or photographs that inspire you and resonate with your love for nature.
- Add Greenery: Incorporate indoor plants on windowsills or shelves to enhance air quality and further connect your space with your gardening passion.
Smart Storage Solutions
A clutter-free space is essential for creativity and productivity. Invest in storage solutions that suit your shed’s layout and your gardening habits. Here’s how to achieve smart storage:
| Storage Type | Benefits |
|---|---|
| Shelves | Maximize vertical space and keep essentials within reach. |
| Baskets | Keeps miscellaneous items organized and out of sight. |
| Wall Hooks | Skyrocket functionality by organizing tools and equipment. |
By investing thoughtfulness into the layout,style,and storage of your garden shed,you can create a bespoke space that is not only functional but also a reflection of your personal style. this customized approach ensures that your shed becomes an integral part of your gardening experience, making every visit to your plant haven a delight.
Understanding Local Regulations: Permits and restrictions to Consider
Navigating the landscape of local regulations while planning your garden shed project can feel daunting, yet it’s an essential step to ensure your new plant haven can flourish without legal hiccups. Every locale has its own set of laws that dictate what can be built, where it can be placed, and what permits are necessary for construction. Ignoring these requirements can lead to fines, mandatory removal of your structure, or even disputes with neighbors, so it’s critically important to research and prepare beforehand.
Researching Local Building Codes
Before diving into the exciting world of shed building, start with a deep dive into your local building codes. Most cities and counties have guidelines posted on their official websites, outlining necessary permits for various structures, including garden sheds. Here’s a fast checklist of what to look for:
- Building Permits: For many areas, any shed over a certain size (often 100-200 square feet) requires a building permit.
- Zoning Restrictions: Some neighborhoods have zoning laws that dictate where structures can be built on your property.
- Setback Regulations: You may need to maintain a certain distance from property lines, especially in residential areas.
- Design Limitations: In historic districts or areas with homeowner associations, design aesthetics might be regulated.
Understanding Property Restrictions
In addition to formal regulations, consider informal property restrictions that may exist. Homeowners’ associations (HOAs) often have their own sets of rules that extend beyond local and state regulations. These could range from the type of materials you can use to the specific dimensions of your shed.If you live in an area governed by an HOA, obtaining approval before commencing construction could save you a lot of headaches.
Such as, certain communities may allow only wooden structures, while others may prohibit any sheds deemed unattractive or out of character with the neighborhood’s aesthetics. Always check your HOA guidelines to avoid conflicts and ensure that your garden shed blends harmoniously into its surroundings.
Steps to Follow
- Visit Local Government Offices or Websites: Familiarize yourself with local regulations and application processes.
- Consult with Professionals: If unsure, hiring a contractor or land planner familiar with local zoning can simplify the process.
- File for Permits Early: Start your permit applications early in the planning phase to avoid delays in your shed construction timeline.
A well-planned approach to understanding and complying with local regulations will not only save you time and money in the long run but also ensure that your shed enhances your garden as intended, making it the perfect plant haven for years to come.
Maximizing Functionality: Designing Your Shed for Storage and organization
Designing a garden shed that maximizes functionality is crucial for getting the most out of your space. A well-organized shed can transform from a simple storage area into a hub of efficiency for your gardening activities.By carefully planning the layout and incorporating smart storage solutions, you can ensure that every inch of your shed is utilized effectively, making your gardening tasks easier and more enjoyable.
Smart Storage Solutions
One of the first steps in optimizing your shed’s functionality is to implement versatile storage solutions. Consider installing:
- Wall-mounted shelving: use vertical space by adding shelves above workbenches or around the perimeter of the shed.
- Pegboards: These are excellent for hanging tools and gardening supplies, keeping them easily accessible while maximizing floor space.
- Storage bins: Clear bins can definitely help you categorize items such as seeds, fertilizers, and hand tools. Labeling the bins enhances organization.
Along with these options,utilizing the area under work surfaces can provide further storage without sacrificing space. Drawers or baskets can be designed to fit beneath workbenches, perfect for stowing away small items.
Effective Layout
When planning the layout of your shed, think about the workflow you typically follow when gardening. Position your most-used tools and supplies closer to the door to save time. as an example, frequent access to gloves, hand tools, and soil can be facilitated by organizing them at the front, while rarely used items like seasonal decorations can be stored towards the back.
To illustrate a functional layout, consider the following table of typical shed zones:
| Zone | purpose | Suggested Items |
|---|---|---|
| Entry | Easy access to essential tools | Gloves, hand tools, watering can |
| Work Zone | Space for potting and maintenance | Workbench, soil, pots |
| storage | Organized storage for equipment | Rakes, shovels, plant food |
| Seasonal | Storing non-regular items | Holiday decorations, supplies |
Maximizing functionality in your shed isn’t just about storing items; it’s about creating a sanctum that inspires your gardening passion.By carefully considering layout, implementing smart storage solutions, and ensuring easy access to your most-used items, you will create a garden shed that supports your activities and enhances your gardening experience. Through practical planning, your shed can transition from simply being a storage solution to a vital part of your gardening toolkit, aligning perfectly with the principles discussed in the guide on creating your perfect plant haven in a weekend.
Eco-Friendly Building Practices: Sustainable Choices for Your Garden Shed
Building a garden shed can be an exciting project, offering not just a space for your tools and plants, but also an opportunity to embrace eco-friendly building practices that can enhance your outdoor surroundings.With a growing awareness of sustainability and the impact of construction on our planet, opting for environmentally responsible choices in your shed project can make a significant difference. From selecting the right materials to incorporating energy-efficient features, here are some sustainable strategies that will help you create your perfect plant haven while being kind to Mother Earth.
Choose Sustainable Materials
Using sustainable materials is one of the most impactful choices you can make when constructing your garden shed. Consider the following materials that not only look great but also have minimal environmental impact:
- Reclaimed wood: Salvaged wood adds character and reduces waste. Look for reclaimed barns, pallets, or local sources that provide legally sourced timber.
- Bamboo: This fast-growing grass is a renewable resource that can be highly durable and aesthetically pleasing.
- Composite materials: Made from recycled wood fibers and plastic, these materials are designed to withstand the elements without sacrificing functionality.
Incorporate Energy-Efficient Features
Energy efficiency doesn’t just apply to homes; your garden shed can benefit from these elements as well. By integrating energy-efficient designs, you’ll not only reduce energy usage but also contribute positively to your backyard ecosystem.
- Natural lighting: Install skylights or windows that maximize natural light, minimizing the need for artificial lighting during the day.
- Solar panels: If your shed is large enough, consider small solar panels to power outdoor lights or gardening tools.
- Insulation: Using eco-friendly insulation materials like sheep’s wool or recycled denim can definitely help maintain temperature control,reducing the need for additional climate control devices.
Practice Responsible Water Management
Creating an eco-friendly garden shed includes considering how you’ll manage water. By implementing effective water conservation strategies, you can ensure that your shed—and the area around it—remains healthy and low-impact.
- Rainwater harvesting: Incorporate a drainage system that directs rainwater from the roof to a barrel or cistern for watering plants.
- Permeable paving: If your shed has a pathway or foundation, choose permeable materials to reduce runoff and foster groundwater recharge.
- native plants: Surround your shed with hardy, native plants that require less water and maintenance, thereby enhancing biodiversity.
Creating your ideal garden shed with sustainable practices not only beautifies your yard but also illustrates an critically important commitment to environmental stewardship. Making informed choices about materials, energy efficiency, and water management can significantly reduce your building’s carbon footprint and create a healthier outdoor space. The investment you make in these eco-friendly practices pays off in creating a thriving haven for plants and wildlife as well.
maintaining Your Garden Shed: Tips for Longevity and Care
Creating your ideal garden shed is only the beginning; ensuring it remains a functional and beautiful space for years to come is equally important. Just like your garden thrives with consistent care, so too should your shed.Regular maintenance not only prolongs its life but also keeps it looking great,enhancing your backyard’s appeal. Here are essential tips to keep in mind to ensure your garden shed remains the perfect plant haven.
Regular Inspections
Conducting routine inspections is a key step in maintaining the overall health of your garden shed. Look out for the following:
- Signs of damage such as cracks in the walls or roof.
- Water leaks and sources of moisture that may lead to mold.
- Termite damage or any signs of pest infestation.
- Rust or corrosion if your shed contains metal components.
Addressing these issues promptly can prevent more extensive repairs down the line.
Cleaning and Upkeep
Keeping your garden shed tidy can significantly enhance its longevity. Make a habit of cleaning it out at least twice a year. Here’s how to make the most of your maintenance cleaning:
- Declutter: Remove items that are no longer needed.
- Dust and Sweep: Clear out dirt and debris to reduce pests and allergens.
- Wash Surfaces: Use mild soap and water to clean exterior surfaces, followed by a thorough rinse.
Doing this ensures that your shed remains functional and organized, allowing you to find tools and supplies easily.
Protection from the Elements
Your garden shed endures various weather conditions, so protective measures are essential. Consider the following:
| Element | Protection Method |
|---|---|
| Rain | Install a sloped roof to prevent water pooling. |
| Sun | Use UV-resistant paint and consider installing shade features. |
| Snow/Ice | Regularly clear snow loads from the roof to prevent structural stress. |
| Wind | Secure loose items and check that doors and windows are properly sealed. |
Taking proactive measures to protect your investment ensures it will endure and serve you well as you create your perfect plant haven.
By integrating these maintenance practices, you’ll not only safeguard your garden shed but also keep your gardening tools, pots, and plants organized and accessible. This way,every time you step into your shed,you can focus on what truly matters—cultivating your own piece of paradise in your backyard.
Frequently Asked questions
How to Build a garden Shed: Create Your Perfect Plant Haven in a Weekend?
What materials do I need to build a garden shed?
To build a garden shed, you’ll need plywood, pressure-treated lumber, and roofing materials. Additional items such as nails, screws, and paint may also be necessary.
The specific materials can vary based on your design. For a basic shed, start with high-quality plywood for the walls and a sturdy foundation using pressure-treated lumber. Don’t forget to include the roofing material, such as shingles or metal sheets, to protect your shed from the elements.
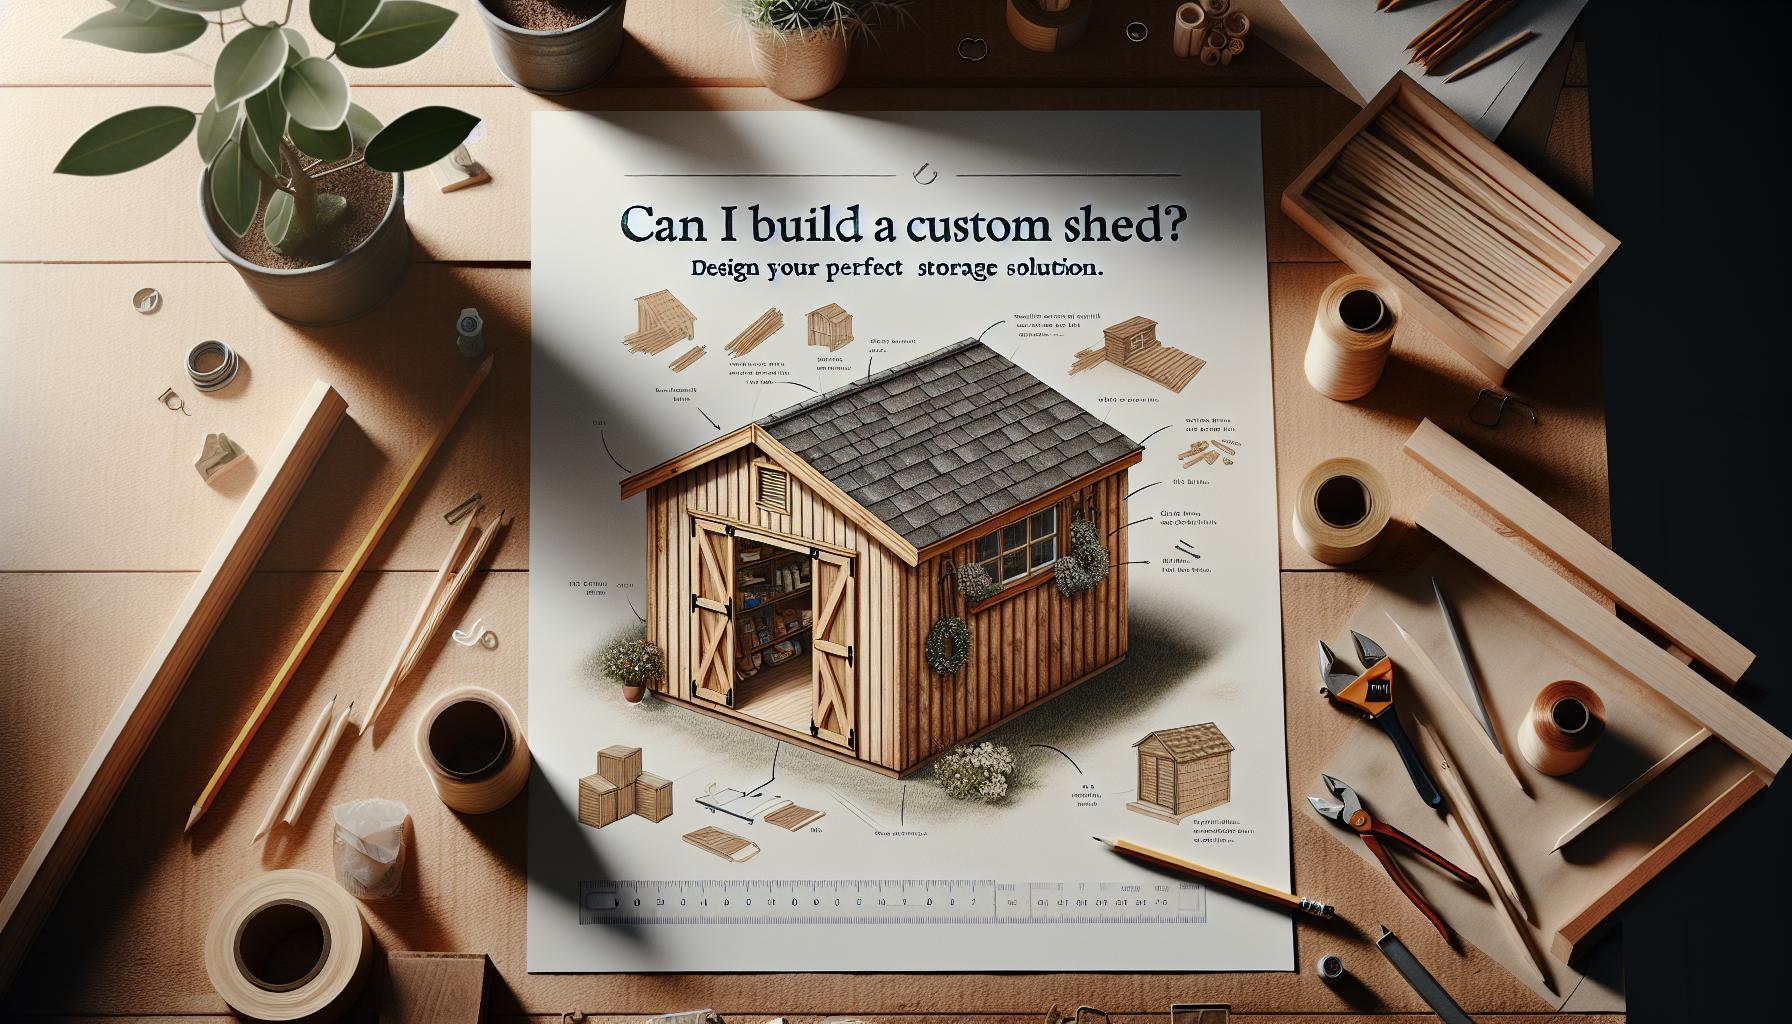
Can I customize my garden shed design?
Absolutely! You can modify dimensions, add windows, and include shelves to create a personalized touch in your garden shed.
Customization is one of the most rewarding parts of the building process. Consider how you will use the shed—whether for gardening tools, potting plants, or even as a creative workspace.Features like built-in benches or additional storage can enhance your shed’s functionality.
Why does my garden shed need ventilation?
Ventilation prevents moisture buildup, which can lead to mold and rot, especially in a garden shed filled with soil and plants.
Proper airflow keeps tools dry and your plants healthy, making ventilation crucial for any shed intended for gardening. Simple solutions include installing vents high and low on the shed walls or using a screened window for airflow without pests.
What tools do I need to build a garden shed?
You’ll need basic tools such as a circular saw, drill, level, and measuring tape to build your shed effectively.
Having the right tools simplifies the building process.A miter saw is also handy for making precise cuts, while a nail gun can speed things up if you have a larger project. Always prioritize safety and consider renting tools if you don’t own them.
How long does it take to build a garden shed?
Building a garden shed can typically be completed in a weekend, roughly 1-3 days, depending on your design and experience level.
preparation, including gathering materials and tools, usually takes time, so planning your project beforehand is key. For beginners,allow extra time for learning curves and the certain challenges that arise when constructing your shed.
Can I build a garden shed without a permit?
Whether you need a permit to build a garden shed depends on local regulations, so it’s essential to check with your municipal office.
In many areas, small sheds may not require a permit, but it’s wise to verify to avoid any future complications. Following zoning laws and restrictions can save you hassle later,especially if your shed is near property lines or public spaces.
What are some tips for maintaining my garden shed?
To keep your garden shed in great condition, periodically check for signs of damage, maintain the roof, and ensure proper ventilation.
Regular maintenance extends the life of your shed significantly. Consider cleaning it out seasonally, ensuring that any debris is removed, and checking for rust on metal parts or rot in wooden sections. Don’t forget to repaint or stain your shed to protect it from weather damage.
Insights and Conclusions
building your perfect garden shed can transform your outdoor space into a functional and inspiring plant haven—all in just a weekend. By following the steps outlined in this guide, from planning and obtaining the proper permits to selecting the right materials and construction techniques, you’re well on your way to creating a personalized retreat for your gardening tools and supplies. Remember that every project comes with its set of challenges, but with a bit of patience and creativity, you can overcome them and take pride in your handiwork.
As you embark on this journey, consider the opportunities to customize your shed design to reflect your personality and gardening needs. Whether you’re a novice or a seasoned builder, there’s always something new to learn on this path. Don’t hesitate to explore further advice, participate in community discussions, or watch instructional videos to enhance your skills. Your dream garden shed awaits, and every effort you invest will yield not just a physical structure but also a space that nurtures your gardening passion. Happy building!

