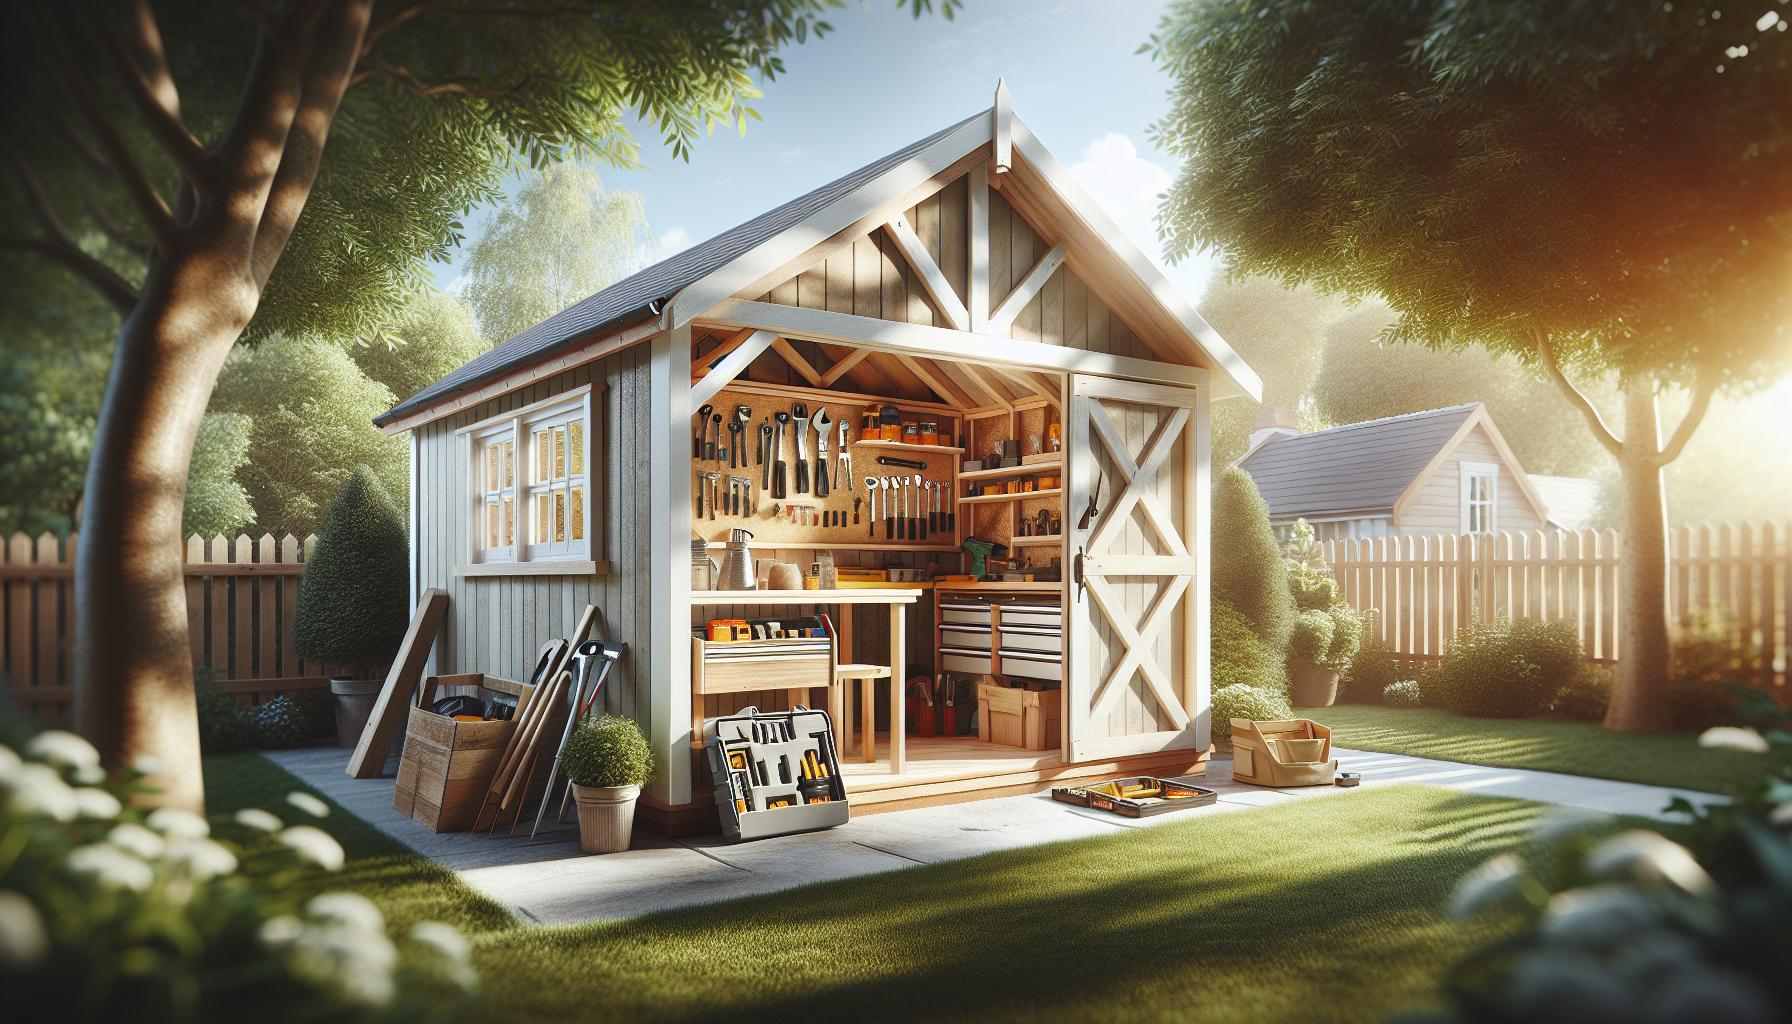
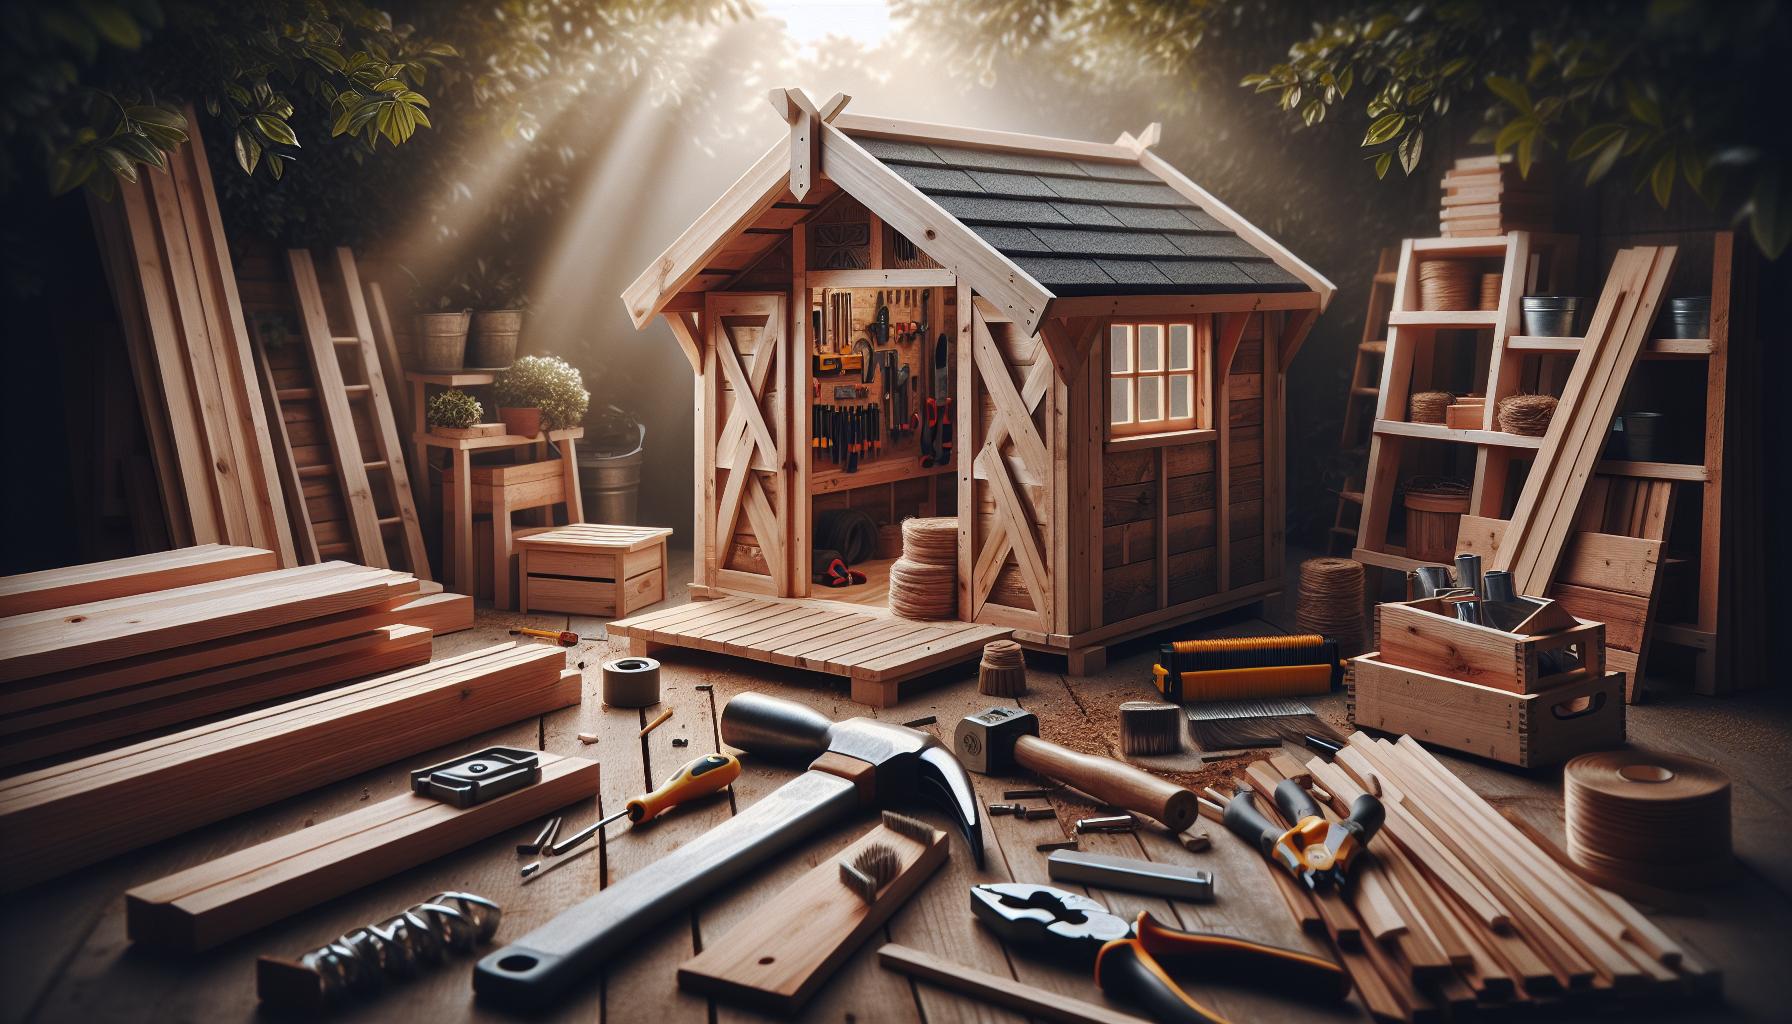
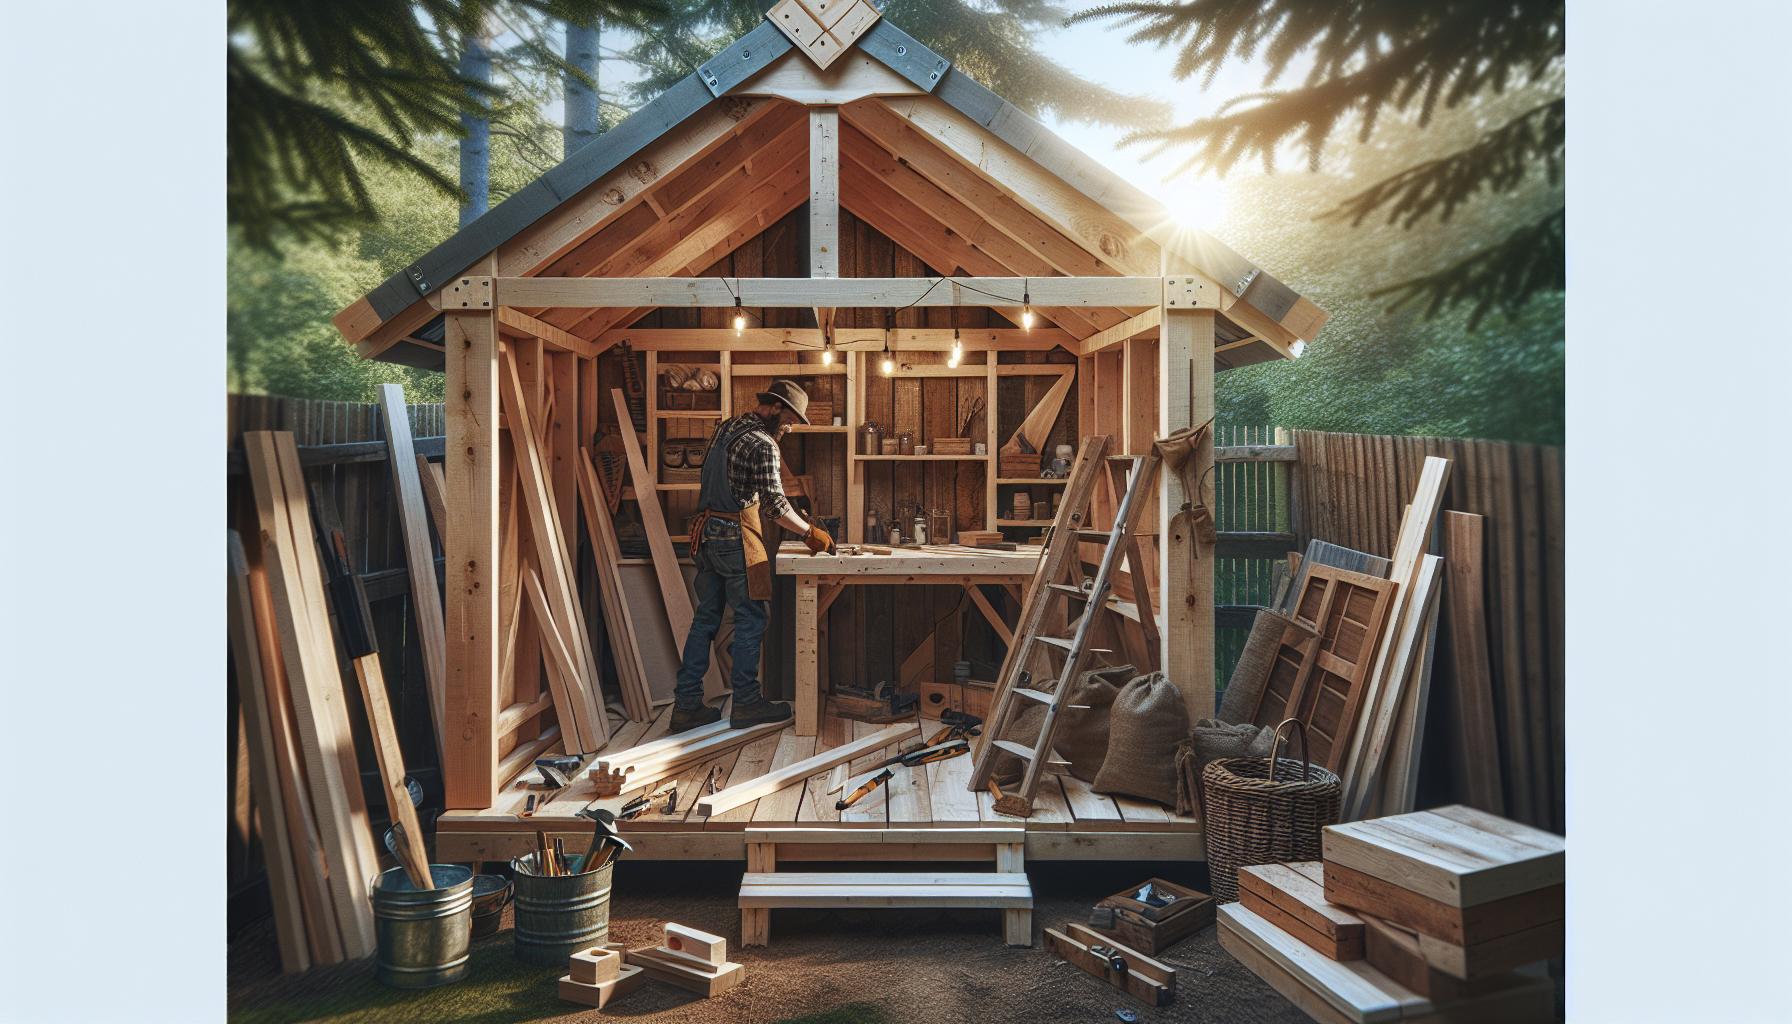
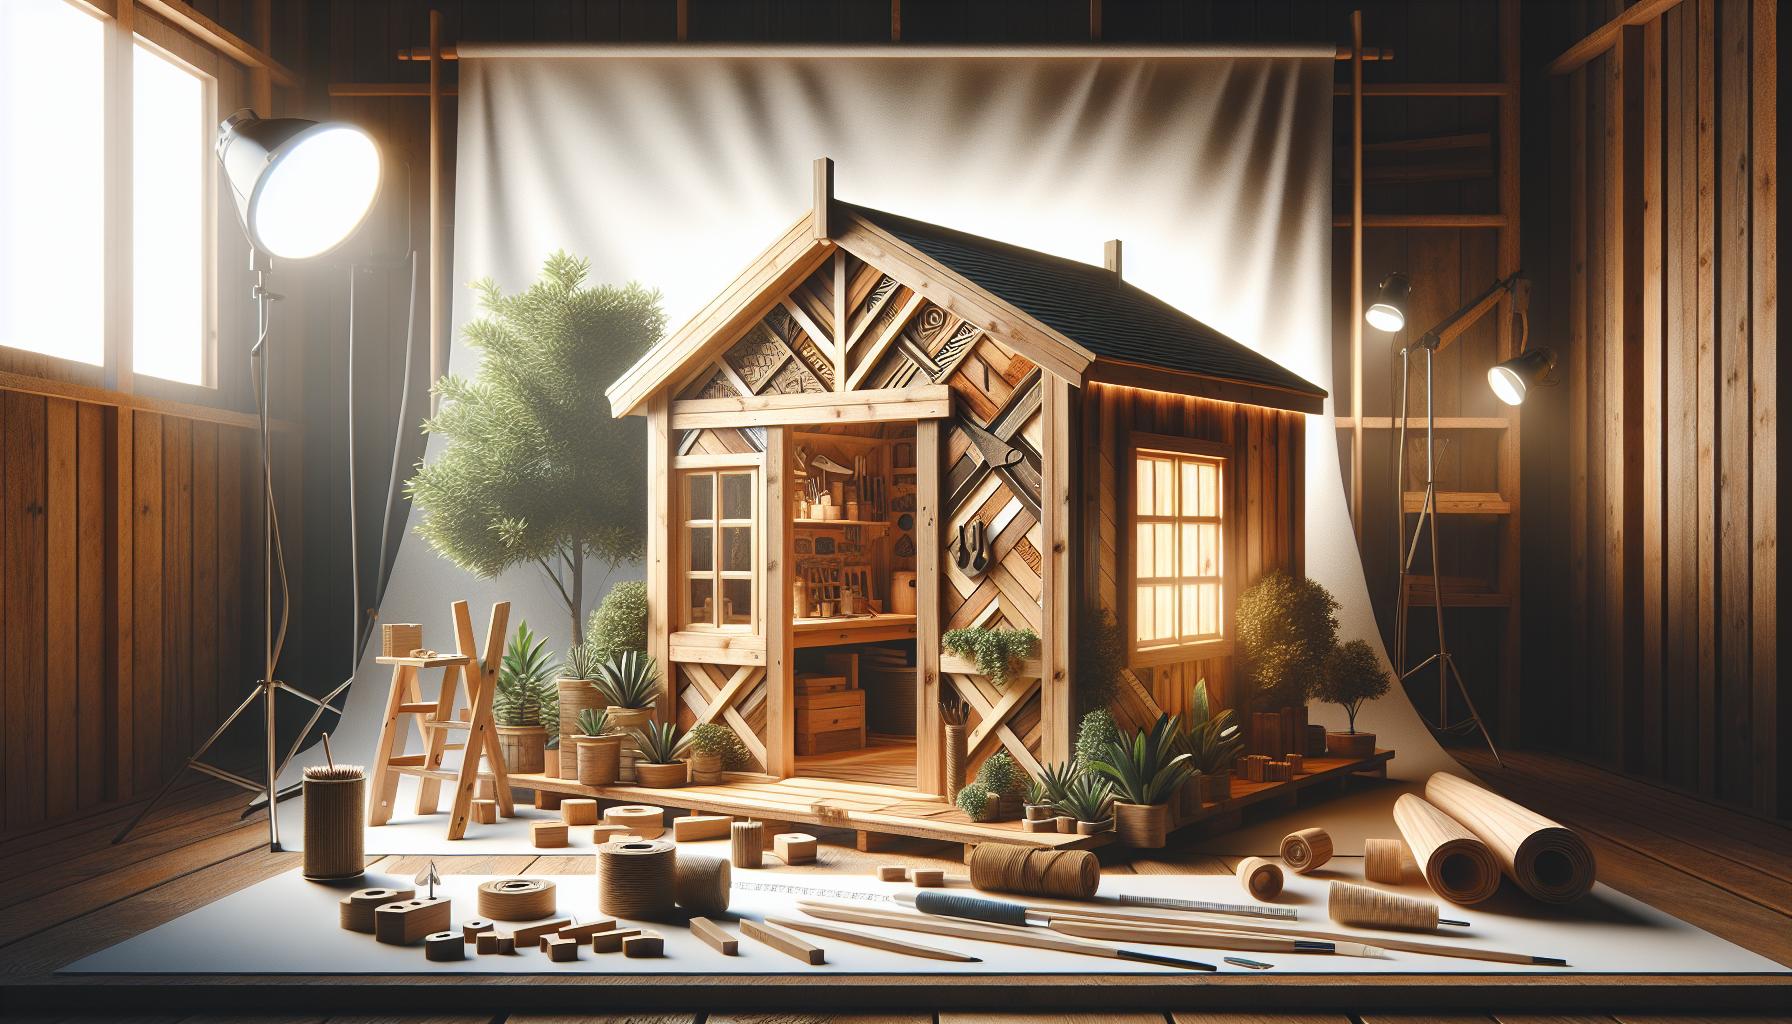
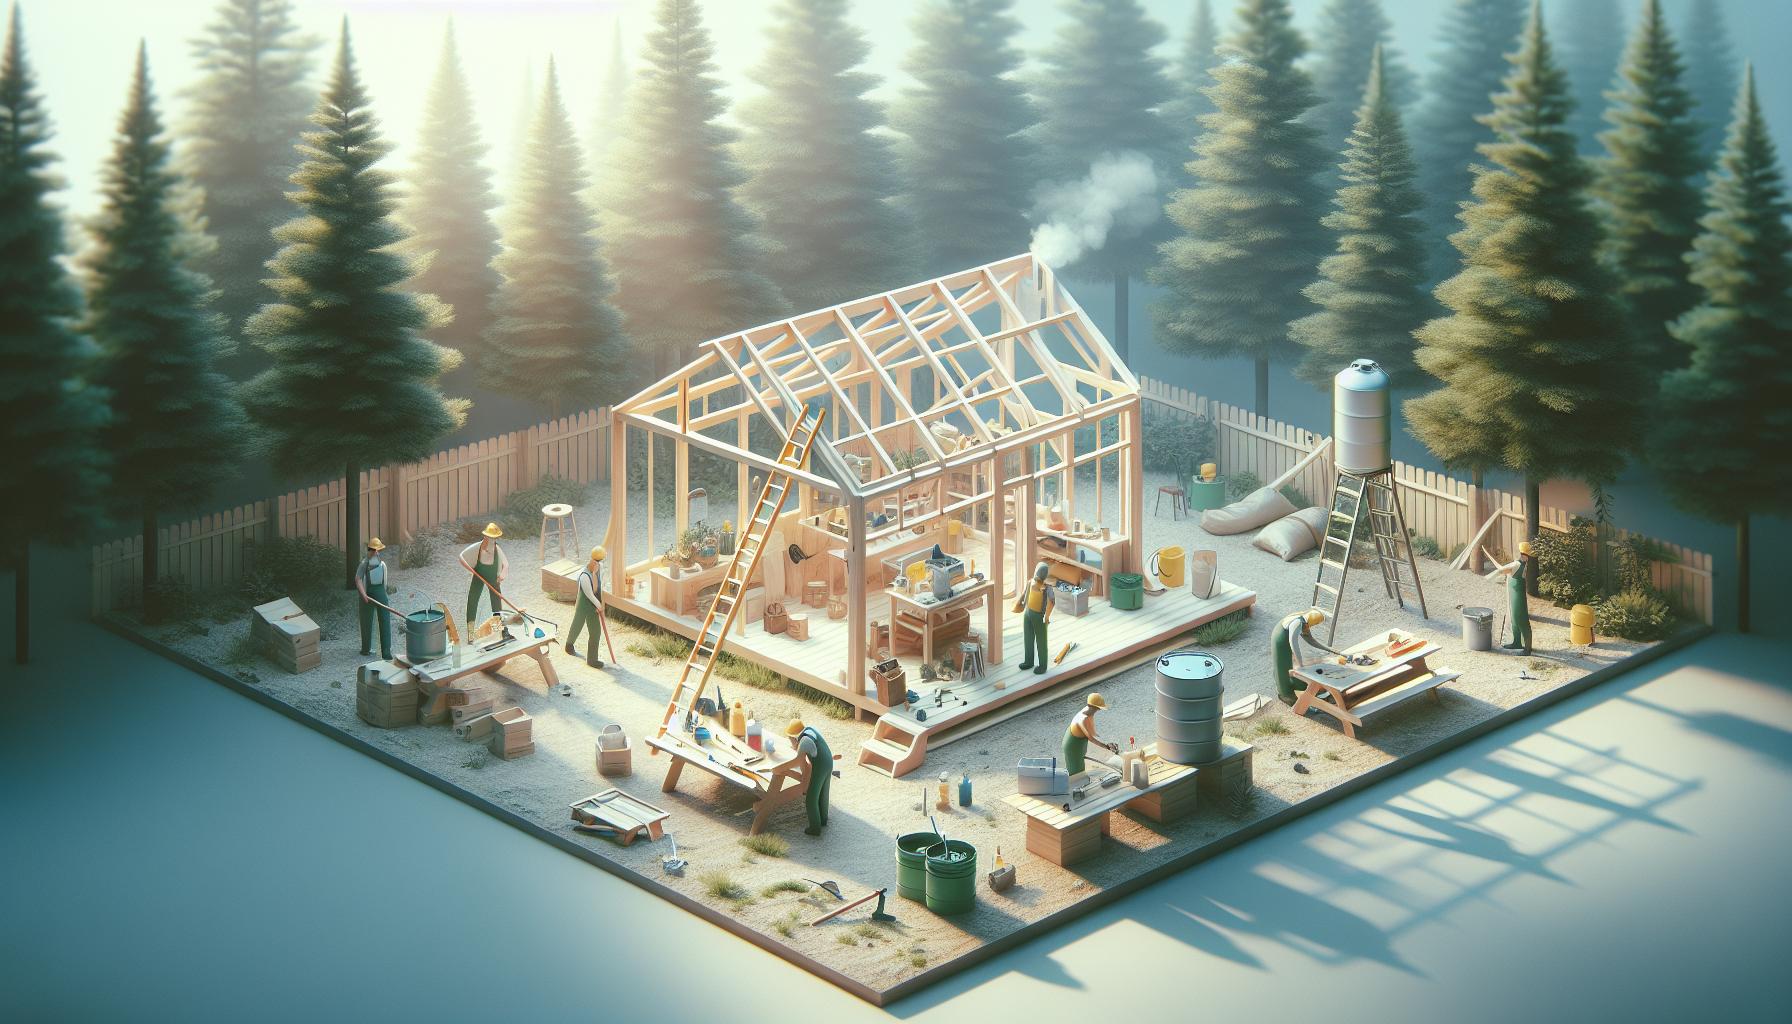
Are cluttered garages and lost tools holding you back from your gardening goals? Building a garden shed not only provides a dedicated space for your tools but also enhances your outdoor experience. In just a weekend, you can create your ideal tool haven, maximizing both organization and accessibility while elevating your gardening game.
Choosing the Right Location for Your Shed: Tips for optimal Placement
When it comes to constructing a garden shed, proper location selection can considerably affect both the functionality and visual appeal of your new space. A well-placed shed enhances accessibility to your tools and equipment, while also contributing to the overall balance of your garden’s design. Follow these guidelines to find the perfect spot for your shed, ensuring it complements your landscape and meets your practical needs.
Assess Sunlight and Shade
Understanding how the sun moves across your garden is crucial for optimal shed placement. Adequate sunlight can prevent moisture buildup, which deters mold and other damaging elements. Conversely,too much exposure to direct sunlight can lead to heat buildup inside the shed and possibly damage sensitive tools. To strike a balance, consider these tips:
- Observe how sunlight interacts with your garden throughout the day.
- Avoid shaded areas that may harbor dampness.
- Choose a location that receives morning sunlight, promoting air circulation while keeping the afternoon heat manageable.
Consider Accessibility
Ease of access is another key factor when positioning your shed. You should be able to reach it conveniently from your home as well as other frequently used areas in your garden. Think about:
- Proximity to your gardening spaces and areas where you store materials.
- Creating pathways leading to your shed for easy access, even in wet or muddy conditions.
- Ensuring there’s enough space around the shed for easy maneuverability, especially if you plan to store larger tools or equipment.
Visual Integration
A shed should not only be functional but also aesthetically pleasing. Make sure the design and location of your shed fit seamlessly within your garden’s overall style. Here are some considerations to keep in mind:
- Match the shed’s color and materials with your home and existing garden structures.
- Position the shed where it complements flower beds, trees, and other landscape features.
- Think about the view from your home—choose a location that adds beauty to your surroundings rather than detracting from them.
Environmental factors
Don’t underestimate the impact of environmental aspects such as wind direction and drainage.A sheltered location can help protect your shed from harsh weather conditions. Evaluate these considerations:
- Identify natural windbreaks like trees or fences that can shield your shed from strong winds.
- Ensure the ground is well-drained to prevent water pooling around your shed’s foundation.
By evaluating these crucial factors, you can make informed decisions about where to establish your shed. Keeping these tips in mind as you proceed with your project on how to build a garden shed will not only create a dream tool haven but also enhance the overall aesthetic and functionality of your outdoor space.
Essential Tools and Materials: What You Need to Get Started
When embarking on the exciting journey of constructing your own garden shed, having the right tools and materials on hand can make all the difference between a stress-free project and a head-scratcher filled with delays. A well-equipped workspace contributes not only to efficiency but also ensures that your endeavor to create a dream tool haven unfolds without any hiccups.
To kickstart your shed-building adventure, it’s essential to gather a solid toolkit. Here’s a comprehensive list of must-have tools for making the construction process smooth:
Basic Tools You Will Need
- Measuring Tape: Essential for accurate dimensions.
- Level: Ensures that your shed is built straight and will stand the test of time.
- Claw Hammer: Perfect for driving nails and removing them if necessary.
- Power Drill: Speeds up the process of creating pilot holes and driving screws.
- Saw: A circular saw is ideal, but a handsaw can also work for smaller cuts.
- Screwdriver Set: Phillips and flathead screwdrivers are critical for various fastening tasks.
- Safety Gear: Don’t forget your gloves, safety glasses, and possibly ear protection.
In addition to these tools, selecting the right materials is crucial for durability and aesthetics. Depending on your design, here’s a table summarizing the primary materials you’ll need:
| Material | Purpose | Recommended Type |
|---|---|---|
| Wood (e.g., plywood, lumber) | Framework, walls, and roof | Pressure-treated for outdoor resilience |
| Roofing Material | Protection against weather | Asphalt shingles or metal roofing |
| Flooring Material | Stable base for tools and storage | Composite decking or plywood |
| Paint or Wood Sealant | Protection and aesthetic finish | outdoor-grade paint or sealants |
With these tools and materials assembled, you’ll be well-equipped to tackle your garden shed project. Remember, preparation is key to achieving a successful build in just one weekend. Being organized not only enhances your workflow but also contributes to the enjoyment of turning your vision into reality.
Step-by-Step Guide to Shed Construction: Building your Frame and Walls
Building a sturdy frame and walls for your garden shed is the foundation of your tool haven, ensuring it stands the test of time and elements. Understanding how to properly structure this part of your project not only enhances the aesthetic appeal of your shed but also provides a safe and organized space for all your gardening tools and equipment.Let’s dive into the step-by-step process of constructing your shed’s frame and walls,making your weekend DIY project as efficient as possible.
Gather Your Materials
Before starting your shed construction, it’s crucial to have the right materials on hand.this ensures a smooth building process and helps in avoiding interruptions once you start. Here’s a comprehensive list of materials you’ll need:
| Material | Quantity | Notes |
|---|---|---|
| Pressure-treated lumber | 4×4 for the base, 2×4 for walls | Durable and resistant to moisture |
| Plywood sheets | 5 sheets (3/4” thick) | For wall sheathing |
| Screws | 1 box | Wood screws for assembly |
| Nails | 1 box | For securing sheathing |
| Exterior-grade paint/sealant | 1 gallon | To protect wood surfaces |
Construct the Frame
With your materials ready, the first step in building your frame is to lay out the base. Start with the pressure-treated lumber to construct a rectangular base that matches your shed’s dimensions. Use a level to ensure the base is even, and secure the corners with screws. Afterward, erect the vertical supports:
- Measure and cut your 2×4 lumber for the vertical supports, typically spaced 24 inches apart.
- Attach the vertical supports to the base using screws, ensuring they are plumb (vertically straight).
- Install horizontal cross beams at the top of the vertical supports to provide extra stability.
Once your frame is complete, revisit the level of the frame before proceeding.Any slight adjustments now will save you a lot of hassle later.
Building the Walls
After the frame has been erected and secured, it’s time to panel the shed with plywood. This step solidifies the structure and provides a surface for aesthetics and insulation:
- Cut the plywood sheets to match the dimensions of your walls.
- Attach the plywood sheets to the frame using nails or screws, ensuring they are flush with the frame edges to prevent any bowing.
- Make sure to leave a small gap at the bottom for ventilation and moisture control.
Once the walls are up, consider adding windows or ventilation panels, which not only enhance functionality but can also give your shed a unique character.
Don’t forget to finish with an exterior-grade paint or sealant to protect the wood from moisture and pests, ensuring your garden shed remains your dream tool haven for years to come. by following these steps, you will have foundational walls that are not just strong but also ready for the finishing touches that will complete your weekend project.
Creating a Functional Layout: Designing Your Dream Tool Haven
Creating a tool haven is not just about building a functional space; it’s about designing a sanctuary for your gardening endeavors and personal projects.Imagine walking into a well-organized shed where every tool has its place, and creative ideas flow freely. A thoughtful layout maximizes both usability and accessibility, ensuring that you can easily find what you need when you need it.Let’s delve into strategies for crafting your perfect tool haven, making the most of every corner.
Assessing Your Needs
Before diving into the layout process, it’s vital to assess the specific tools and equipment you own. Consider both your current inventory and any future purchases. This foresight will guide how you organize your space. Here are some categories to consider:
- Hand Tools: Hammers, screwdrivers, pliers, etc.
- Power Tools: Drills, saws, sanders, etc.
- Garden supplies: Pots, soil, seeds, fertilizers.
- Maintenance Equipment: Lawn mowers, trimmers, shears.
Next, think about how often you use each type of tool. Frequent-use items should be placed where they are easily accessible, while rarely-used items can be stored higher or further back.
Designing the Layout
With an understanding of your needs, it’s time to layout your space effectively. A smart design can transform a cramped shed into an efficient tool haven. Start by dividing your shed into dedicated zones:
| Zone | Purpose |
|---|---|
| work Area | A cleared space for projects; should include a sturdy workbench. |
| Tool Storage | custom shelving, pegboards, or cabinets that keep hand and power tools organized. |
| Supplies Section | Dedicated storage for seeds, soil, and fertilizers, ideally with some venting. |
| Garden Equipment | A designated spot for larger items such as mowers and trimmers, possibly near an outside door for easy access. |
When planning your layout, consider vertical storage solutions. Utilizing wall space with pegboards or shelving not only frees up floor space but also makes items readily visible and accessible. this can dramatically increase the efficiency of your tool haven, helping you find what you need without having to sift through clutter.
Implementing flexible Solutions
As your gardening tasks evolve, so might your tool needs. Implementing flexibility in your layout allows for easy adjustments over time. Such as, consider using rolling carts for frequently used tools or creating modular shelving units that can be reconfigured based on your needs. This adaptability will ensure that your garden shed remains a functional dream tool haven for years to come.
By thoughtfully designing your layout and considering the organization and functionality of your shed, you’re setting the stage for enhanced productivity and enjoyment in your gardening endeavors.With the right strategies in place, your weekend project can quickly turn into an essential part of your gardening journey, reflecting both your style and practicality.
Weatherproofing and Insulating Your Shed: Protecting Your Investment
When it comes to maintaining your garden shed in prime condition, effective weatherproofing and insulation can make all the difference. Not only do these measures protect your investment from the elements,but they also ensure that your tools,plants,and gardening supplies remain safe and dry year-round. Understanding how to enhance your shed’s durability is crucial in creating the ultimate tool haven discussed in your weekend building project.
Sealing the Elements Out
To start, it’s vital to ensure that your shed is airtight and water-resistant. Here are some effective strategies:
- Roofing and Gutters: Opt for quality roofing materials that can withstand harsh precipitation. Adding gutters will help manage rainwater runoff and direct it away from the shed’s foundation.
- Weatherstripping: Apply weatherstripping around doors and windows to prevent drafts and moisture ingress. This simple, cost-effective addition can dramatically improve your shed’s thermal efficiency.
- paint and Sealants: use a weather-resistant paint or wood sealant on all exterior surfaces to create a barrier against moisture, UV rays, and pests.
Each of these steps helps prolong the life of your shed while enhancing its overall functionality.
Insulation Options for Climate Control
In addition to sealing off moisture, insulating your garden shed is key to maintaining a comfortable internal habitat for your tools. Consider these insulation materials:
- Foam Board Insulation: This is an efficient and easy-to-install option that can be cut to fit snugly between the studs in your shed walls.
- Fiberglass Insulation: For a more conventional approach, fiberglass offers excellent thermal resistance, though ensure to wear protective gear during installation.
- reflective or Radiant Barriers: Notably useful if you live in a hot climate, these barriers reflect heat away from the interior of the shed, keeping it cooler.
Applying one or a combination of these insulation methods will not only protect your tools in extreme temperatures but also create an ideal work environment no matter the season.
Maintenance Practices for Longevity
To maintain the integrity of your weatherproofed and insulated shed, regular upkeep is essential. Consider the following maintenance tips:
| Task | Frequency | Details |
|---|---|---|
| Inspect Roof and Gutters | Seasonally | Check for leaks, debris buildup, and damage. |
| Check Weatherstripping | Annually | Look for signs of wear or gaps and replace as necessary. |
| Repaint or Reseal exterior | Every 2-3 years | Ensure your shed remains protected from moisture and sun damage. |
Implementing these practices will help ensure that your investment remains in excellent shape for years to come, allowing you to enjoy your garden shed as the ultimate tool haven for all your projects. By effectively weatherproofing and insulating your space, you’re not just building a shed; you’re fostering a reliable, year-round workshop that enhances your gardening experience.
Personal Touches: Customizing Your Shed to Fit Your Style
Transforming your garden shed from a functional tool storage space into a personalized retreat can make all the difference. Personal touches not only enhance the aesthetics but also ensure that the shed reflects your unique style and meets your specific needs. When considering how to build a garden shed, think beyond mere utility and imagine how you can create a space that feels like an extension of your home.
Incorporating Color and Texture
One of the simplest ways to give your shed personality is through color. Paint the exterior a hue that complements your garden or home; consider soft pastels for a cottage feel or vibrant colors for a modern touch. Additionally, you can add texture with materials like wood paneling or stone veneer to create visual interest. Other enhancements include:
- Accent Trim: use contrasting colors for trim around windows and doors.
- Decorative Hardware: Replace standard door knobs and hinges with vintage or stylish alternatives.
- Planters: Attach window boxes or hanging planters filled with flowers to add life.
Functional Yet Stylish Additions
While aesthetics are essential, the practicality of your upgraded garden shed shouldn’t be overlooked. Smart storage solutions can mesh functionality with design. For instance, consider installing wall-mounted shelving that showcases your tools while keeping them easily accessible.
| Type of Storage | Style Ideas |
|---|---|
| Wall-Mounted Shelving | Floating shelves painted to match the shed color for a sleek look. |
| Tool Organizers | Corkboard or pegboard with painted hooks for an artistic touch. |
| Bench Seating | Built-in benches with colorful cushions for comfort. |
Personalize Your Space
Think about the activities you’ll be doing in your shed. Whether it’s gardening, crafting, or simply seeking a quiet place to unwind, customize your shed with features that enhance your experience. Adding a small desk for potting plants or crafts can make your shed a multi-purpose space.
Consider these personalization ideas:
- Lighting: Install string lights or lanterns to create a cozy atmosphere.
- artwork: Hang your favorite garden-themed artwork or personal photos.
- Comfort elements: Include comfortable seating or a small coffee station for breaks.
by thinking creatively and incorporating your personal style, your shed can become a true sanctuary—perfectly reflecting who you are and what you love.
Maintenance Tips: Keeping Your Garden Shed in Top Shape
Maintaining your garden shed is essential for ensuring its longevity and functionality,transforming it into the perfect home for your tools and gardening supplies. Just as you wouldn’t neglect the care of a cherished garden, your shed deserves attention to keep it looking great and operating efficiently. Regular maintenance can help prevent costly repairs and extend the lifespan of your outdoor workspace, making it a valuable addition when learning how to build a garden shed to create a dream tool haven in a weekend.
Routine Inspections
Start by scheduling routine inspections, ideally at the change of each season. Look for issues such as loose roofing, cracks in the walls, or signs of rot. Proper attention to these details not only preserves your investment but also helps maintain an organized environment for your gardening tools. Make it a habit to check for:
- Roof Condition: Ensure that shingles are intact and check for signs of leaks.
- Walls and Foundation: Look for cracks or shifting in the foundation and walls, which could compromise the shed’s structure.
- Doors and Windows: Ensure they open and close smoothly, and check for any gaps that could allow moisture, insects, or rodents to enter.
Cleaning Routine
Keeping the inside of your shed clean is just as vital. Remove dust, cobwebs, and remnants of gardening projects regularly to create a welcoming workspace. Aim to perform a thorough cleaning every few months. Consider using a simple checklist:
| Task | Frequency |
|---|---|
| Dust surfaces and shelves | Monthly |
| Sweep the floor | Every 2 weeks |
| Wipe down tools and equipment | After each use |
| Organize tools and materials | Every 6 months |
Protect Against the Elements
Weather can be harsh on outdoor structures, so apply protective measures. Consider sealing gaps with caulk, using paint or wood preservatives to protect your shed against moisture and pests, and ensure adequate drainage around the shed to prevent flooding or dampness. Adequate ventilation is crucial as well; incorporating vents can reduce moisture buildup, making your shed not just a storage place but a safe haven for your tools.
With just a little effort and a proactive approach, you can keep your garden shed in top shape, ensuring it continues to serve as a dream tool haven constructed over a weekend. Embrace these maintenance tips as part of your gardening routine,and you’ll enjoy a fully functional,aesthetically pleasing shed for years to come.
Troubleshooting Common Shed-Building Challenges: Solutions for Smooth Sailing
Building a garden shed can be an immensely satisfying project, but even the most planned-out endeavors can hit a snag. Understanding common challenges that arise during construction can prevent frustration and help keep your shed project on track. By preparing for these issues, you can ensure that your dream tool haven becomes a reality without sacrificing a whole weekend to unexpected delays.
Common Challenges and Practical Solutions
The hurdles you may encounter while assembling your garden shed frequently enough boil down to three primary areas: material issues, design complications, and environmental factors.
- Material Issues: Sometiems, your wood or other building materials can warp, splinter, or even break. To minimize this, always inspect your materials before use. If you’re working with wood, consider using treated lumber that can better withstand the elements.
- Design complications: If you’re following a DIY blueprint and find yourself confused, take a moment to review the plans thoroughly. Mark critical dimensions on your materials to avoid errors. For rapid fixes, reach out to online forums or videos showing similar processes.
- environmental Factors: Weather can drastically affect your project timeline. If rain is in the forecast, make sure to cover your materials or adjust your construction schedule. Using a larger tarp can provide temporary shelter for both you and your supplies.
Planning Ahead
Incorporating a few preventive measures can save you from many headaches. As an example, if you’re working with a partner, establish clear communication and designate roles to improve efficiency. Use checklists before you begin each day of work to ensure you’re not missing essential tools or materials, which could lead to unneeded delays.
Quick Reference Table for Troubleshooting
| Challenge | symptoms | Potential Solutions |
|---|---|---|
| Warped Wood | Uneven joints, difficulty fitting pieces together | Choose treated lumber, store it in a dry place before use |
| Confusing Plans | Errors in measurements, misalignment | revisit the blueprint, watch instructional videos |
| Unexpected Rain | Wet materials, delays in construction | Use tarps for protection, have backup indoor tasks ready |
By acknowledging these common building challenges and applying these solutions, you will set yourself up for success in creating your ideal garden shed.This proactive approach will allow you to relax, enjoy the process, and ultimately complete your weekend project efficiently.
Frequently asked questions
How to Build a Garden Shed: Create Your Dream Tool Haven in a Weekend?
This project can be completed in a weekend if you plan properly and gather all necessary materials ahead of time. Start with a clear design,gather tools,and follow a step-by-step guide to construction for an efficient build.
Begin by outlining your shed’s size and layout based on your tools and garden items. Make a detailed list of materials and tools required. Once you have everything, follow a structured process—starting from the foundation to the roof—ensuring you stay organized and work efficiently.
What materials do I need to build a garden shed?
You’ll need wood for the frame, plywood for the walls, and a solid roof material, like metal or shingles. Additionally,screws,nails,and a protective wood treatment are essential.
Explore options like pressure-treated wood for durability and ensure you select materials that suit your climate. Don’t forget to check local regulations or guidelines regarding shed structures, as this can affect materials and design.
Can I build a garden shed without prior experience?
Yes, even DIY beginners can successfully build a garden shed by following clear instructions. With the right plan, determination, and a few tools, you can achieve a fantastic outcome.
Start by choosing straightforward designs and layout plans that are tailored for beginners. Take your time to understand each step, and feel free to seek help from local builders or community workshops for additional guidance.
Why does a garden shed need a strong foundation?
A strong foundation is essential for keeping your shed stable and protecting against moisture damage.It evenly distributes weight and provides a level surface for construction.
Consider using concrete blocks or a wooden frame for elevated platforms to prevent direct contact with the ground. This approach will enhance durability and longevity. For insightful resources on foundation types, visit our [Shed Foundation Guide](#).
What tools do I need to build a garden shed?
-Basic tools include a saw, hammer, drill, level, and measuring tape. More advanced projects may require additional tools, like a miter saw or nail gun for efficiency.
Investing in good quality tools can make a big difference in the ease and quality of your work. Familiarity with each tool’s function will streamline the process and give you confidence as you build.
How can I ensure my garden shed is weatherproof?
To make your shed weatherproof,use quality materials,seal all joints,and apply protective coatings. Adequate ventilation will also help stave off moisture buildup inside.
Choose roofing materials that can withstand your local climate, and ensure the structure has proper drainage solutions. Regular maintenance will also keep your shed in great shape.
What are some design ideas for my garden shed?
Design ideas can range from simple and functional to more elaborate structures with windows, shelving, and decorative elements. Consider functionality as well as aesthetic appeal.
Incorporate features like large doors for easy access and luminous colors that enhance your garden space. Building plans with these ideas can further inspire your vision—look for resources tailored to creative shed designs.
Future Outlook
As you embark on your journey to create the perfect garden shed, remember that the key to success lies in a blend of careful planning, attention to detail, and a willingness to learn. By following the outlined steps, you can transform your vision into a functional haven for tools, outdoor gear, and gardening supplies—all in just one weekend! Embrace the challenges that may arise, such as selecting the right materials or tackling the assembly process; each hurdle brings you one step closer to mastering your DIY skills.
Don’t hesitate to share your progress and ask questions as you go along—connecting with fellow DIY enthusiasts can provide invaluable support and inspiration. Remember,quality craftsmanship begins with confidence,and with each nail you drive and board you cut,you’re building more than a shed; you’re crafting a space that reflects your dedication and creativity. So gather your tools, roll up your sleeves, and dive into this rewarding project. Your dream tool haven is within reach—let’s make it happen!

