Are you looking for a reliable way to enhance your shed’s functionality and aesthetics? Building a gable roof not only provides excellent structural integrity but also adds timeless charm to your space. This guide will walk you through the simple steps to create a durable and visually appealing gable roof, ensuring your shed stands out while standing the test of time.
Understanding the Gable Roof: A timeless Design Choice for Your shed
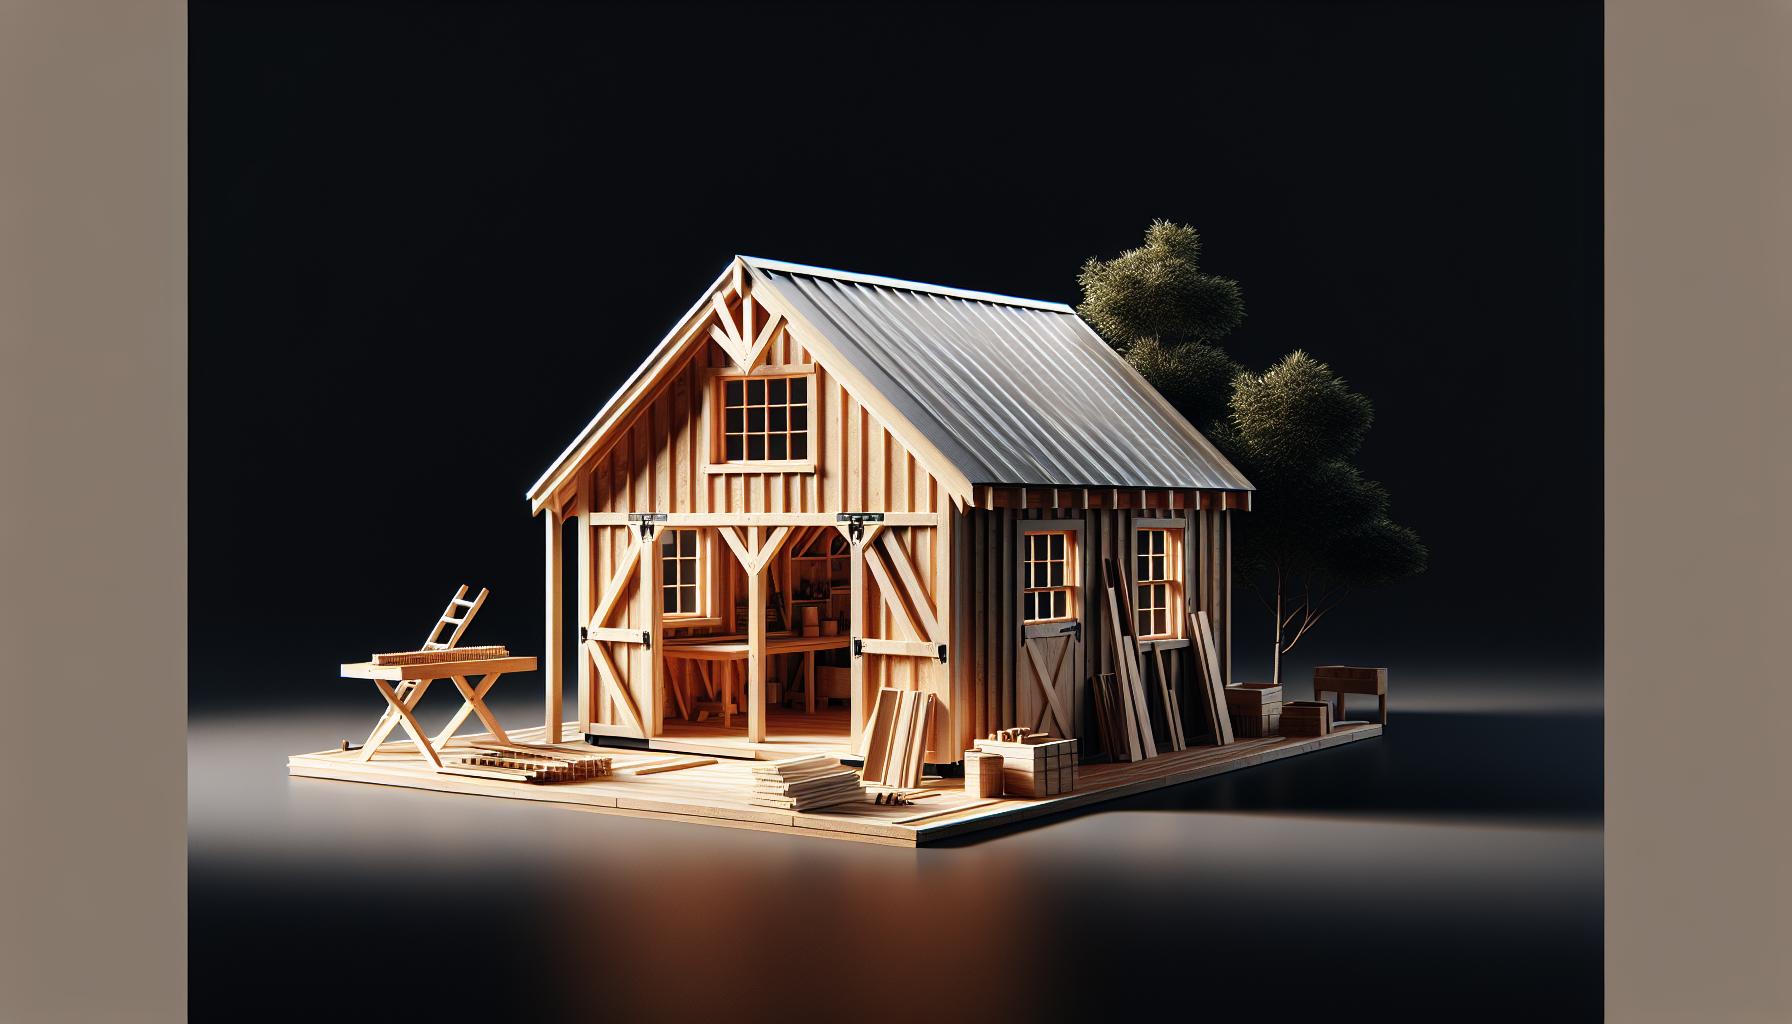
the appeal of a gable roof lies not only in its iconic triangular shape but also in its remarkable versatility for a variety of structures, including sheds. Known for their efficient design, gable roofs help shed rainwater effectively, which is invaluable for maintaining the longevity of a shed. This roofing style is characterized by two sloping sides that converge at the top, creating a gable at each end. This design not only enhances the aesthetics but also provides additional vertical space, making it easier to store or organize tools and equipment.
Along with their functional benefits, gable roofs are visually striking and complement various architectural styles.Here are some reasons to consider this roofing design for your shed:
- Enhanced Ventilation: The high pitch of a gable roof allows for better airflow, reducing moisture accumulation and the risks of mold.
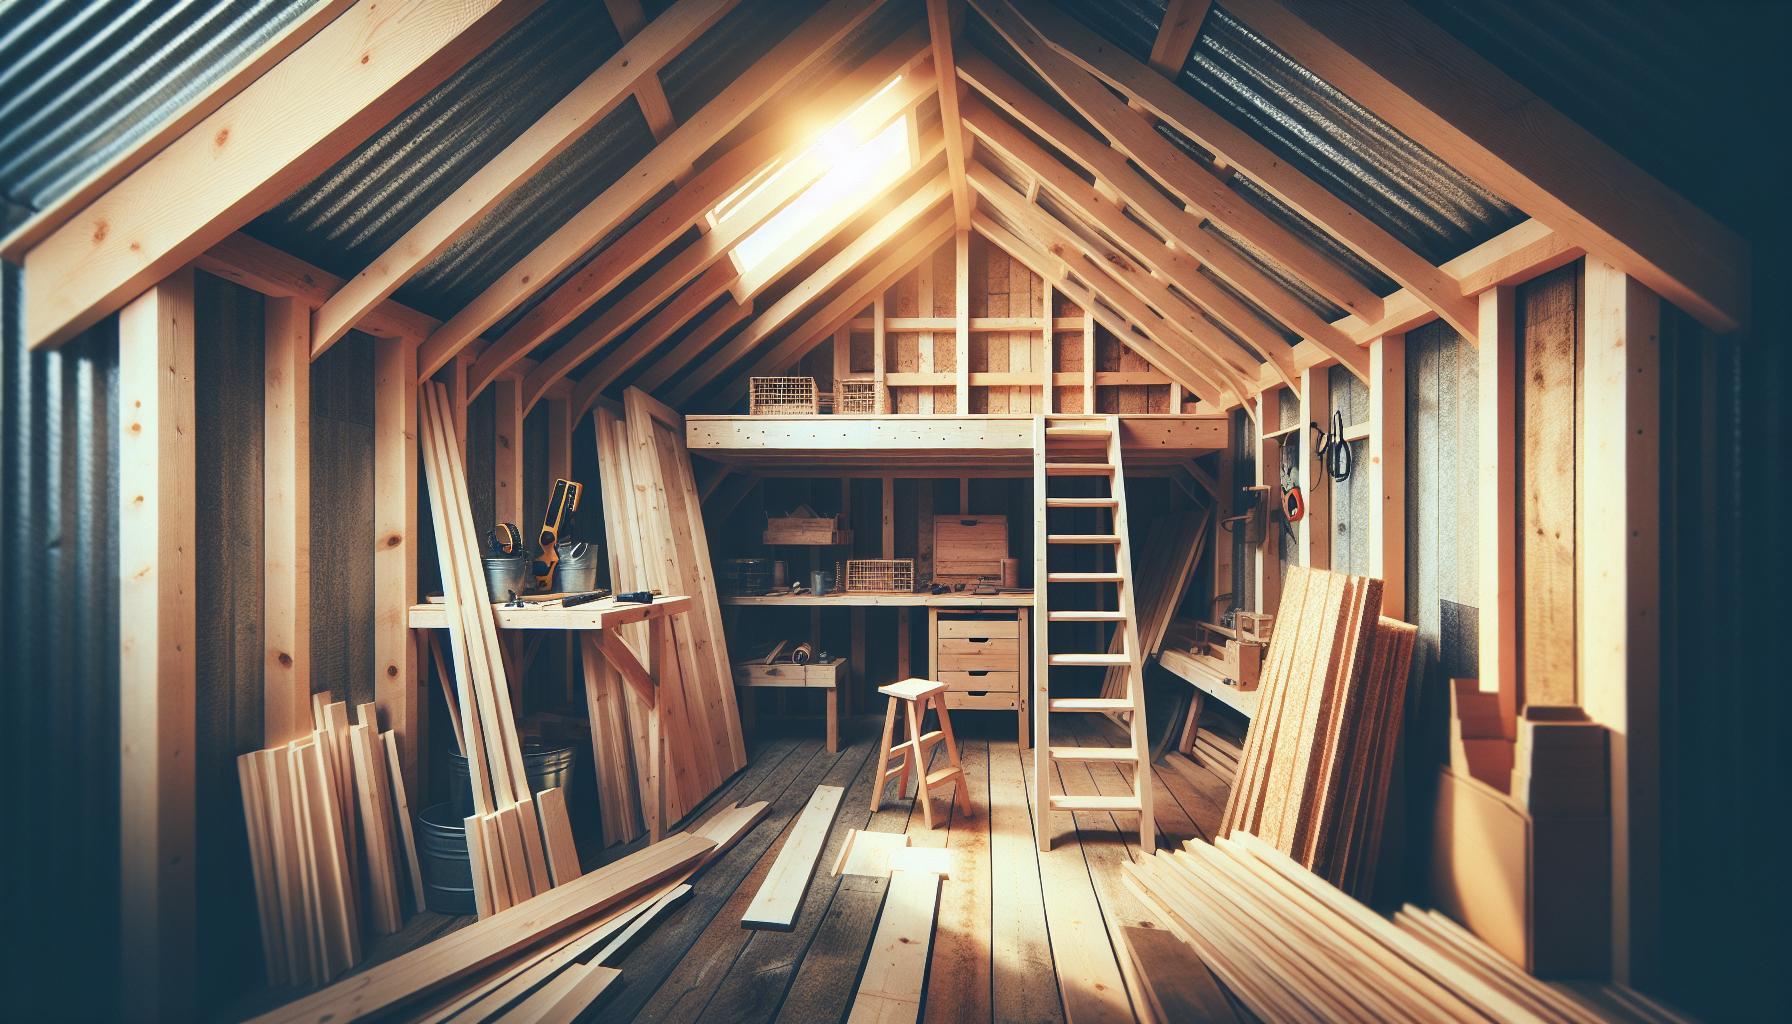
- Increased Attic Space: The design creates an overhead space that can be utilized for storage, benefiting those who seek to maximize their shed’s utility.
- Simple Construction: Building a gable roof is often more straightforward compared to other roofing styles, making it an accessible option for DIY enthusiasts.
- Durability: The sloped design inherently reduces the potential for water pooling, thereby extending the lifespan of roofing materials.
When planning to build a gable roof for your shed, it’s crucial to consider the materials and the specific pitch angle to meet your local weather conditions and personal aesthetic preferences. A well-designed gable roof can elevate your shed’s functionality and visual appeal, creating a space that seamlessly integrates into your yard while serving your practical needs. Embracing this timeless roofing style not only reflects good taste but also contributes to the overall value of your property, showcasing that classic design elements like the gable roof indeed never fail.
Key Materials and Tools You’ll Need for your Gable Roof Project
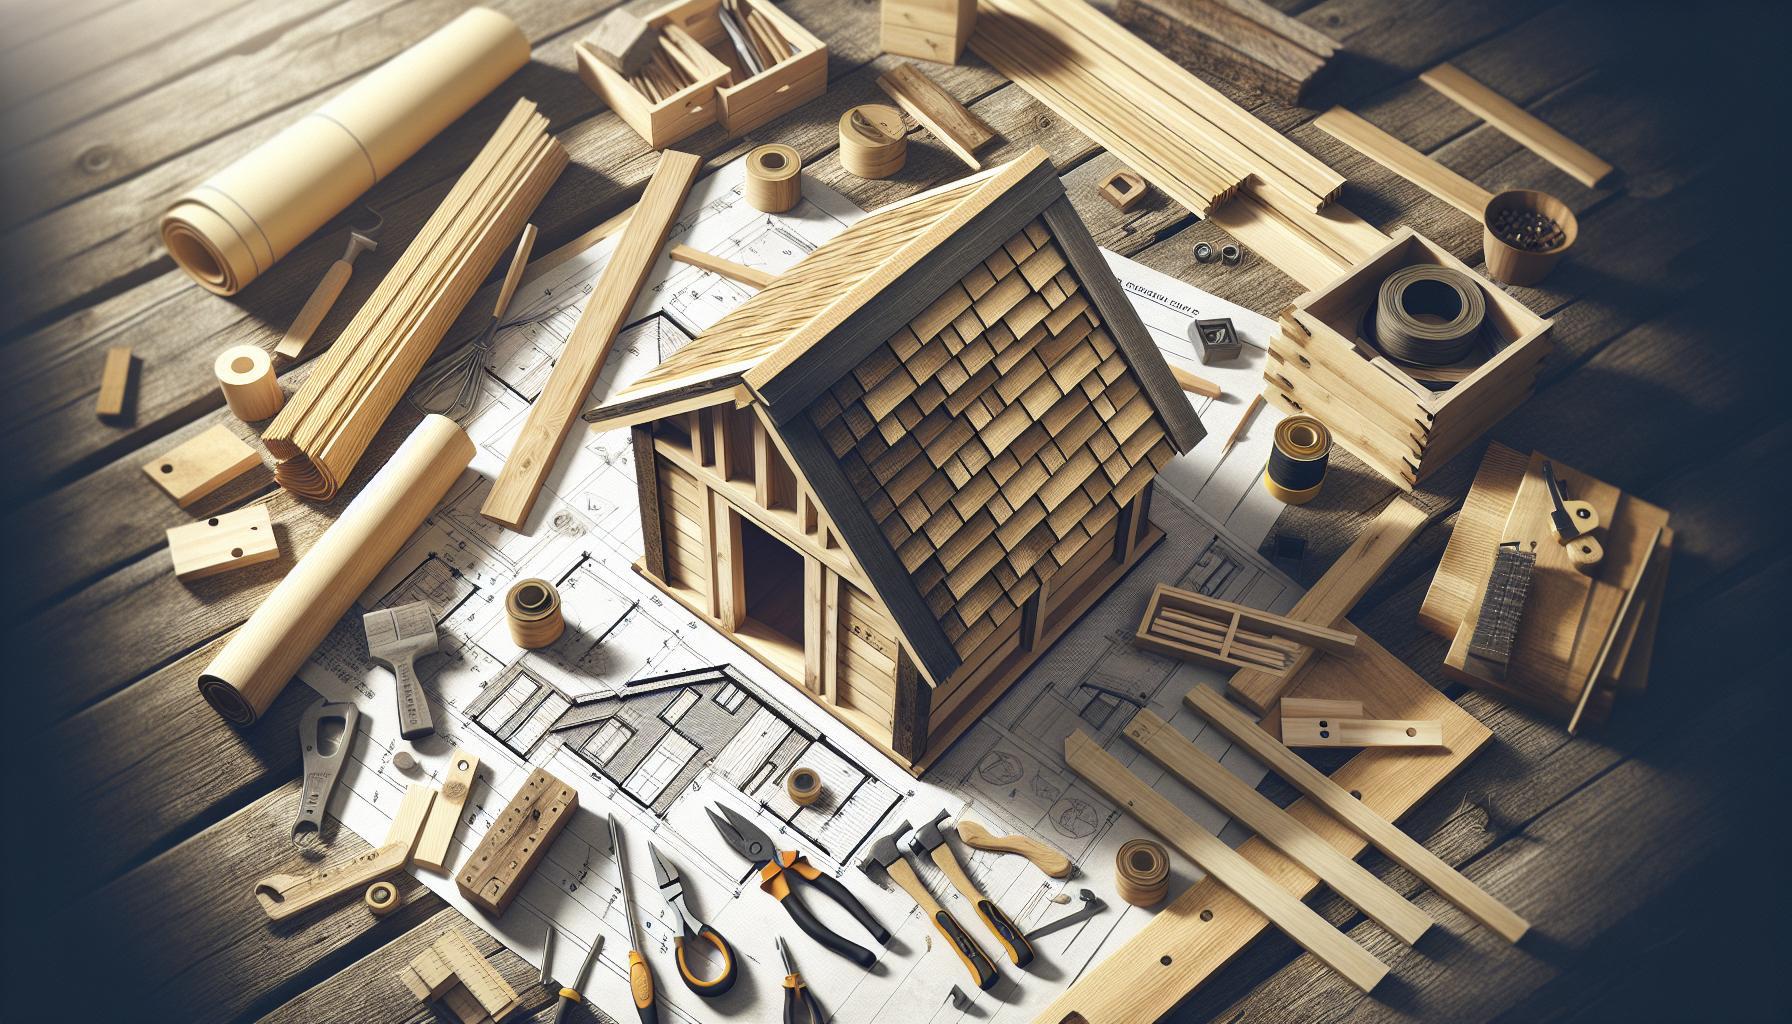
Planning your gable roof project requires more than just ambition; it involves a precise selection of materials and tools to ensure success. The right components not only enhance the structural integrity of your shed but also contribute to the aesthetic appeal of this classic design. A gable roof, characterized by its triangular shape, can withstand various weather conditions, making it a popular choice among DIY enthusiasts. Here’s a detailed overview of the essential materials and tools you’ll need to make your project run smoothly.
Essential Materials
When embarking on the journey of building a gable roof, it’s crucial to gather high-quality materials. Here’s a comprehensive list:
- Roofing Material: Choose either asphalt shingles for a cost-effective option or metal panels for long-lasting durability.
- Framing Lumber: Use pressure-treated wood for the roof rafters and ridge board to ensure maximum strength and resistance to decay.
- Plywood or OSB: Use for roof sheathing, providing a solid base for your roofing material.
- Roofing Felt: This underlayment helps protect your roof from moisture.
- Flashing: Vital for sealing joints and ensuring waterproofing at critical points such as valleys, ridges, and vents.
- Nails/Screws: Select corrosion-resistant fasteners to secure all components firmly and prevent rust.
Critical Tools
equipping yourself with the right tools can streamline the building process of your gable roof. Here’s what you’ll need:
- Measuring Tape: Essential for accurate measurements of lumber and roofing material.
- Speed Square: helps in marking and cutting rafters at the correct angles.
- Power saw: A circular saw or miter saw will make precise cuts much easier and faster than manual saws.
- Nail Gun: Speeds up the process of fastening materials together, particularly for large surfaces.
- Ladder: Make sure you have a sturdy ladder to safely reach high areas during the installation.
| Material/Tool | Purpose | Tips |
|---|---|---|
| Roofing Material | Covers the top of the roof | Consider local climate when choosing type |
| Framing Lumber | Forms the structural support | Use pressure-treated for longevity |
| Plywood/OSB | Base for roofing material | Thickness affects structural strength |
| Nail gun | Efficient fastening | Practice safety with pressure settings |
successful construction of a gable roof for your shed hinges on having the right materials and tools ready at your disposal. Prioritize quality to ensure not only the longevity of the shed but also the ease of your build. By preparing thoughtfully, you’ll facilitate a smoother building process and ultimately achieve a roof design that reflects classic principles while providing functional benefits.
Step-by-Step Guide: Constructing Your gable Roof Frame
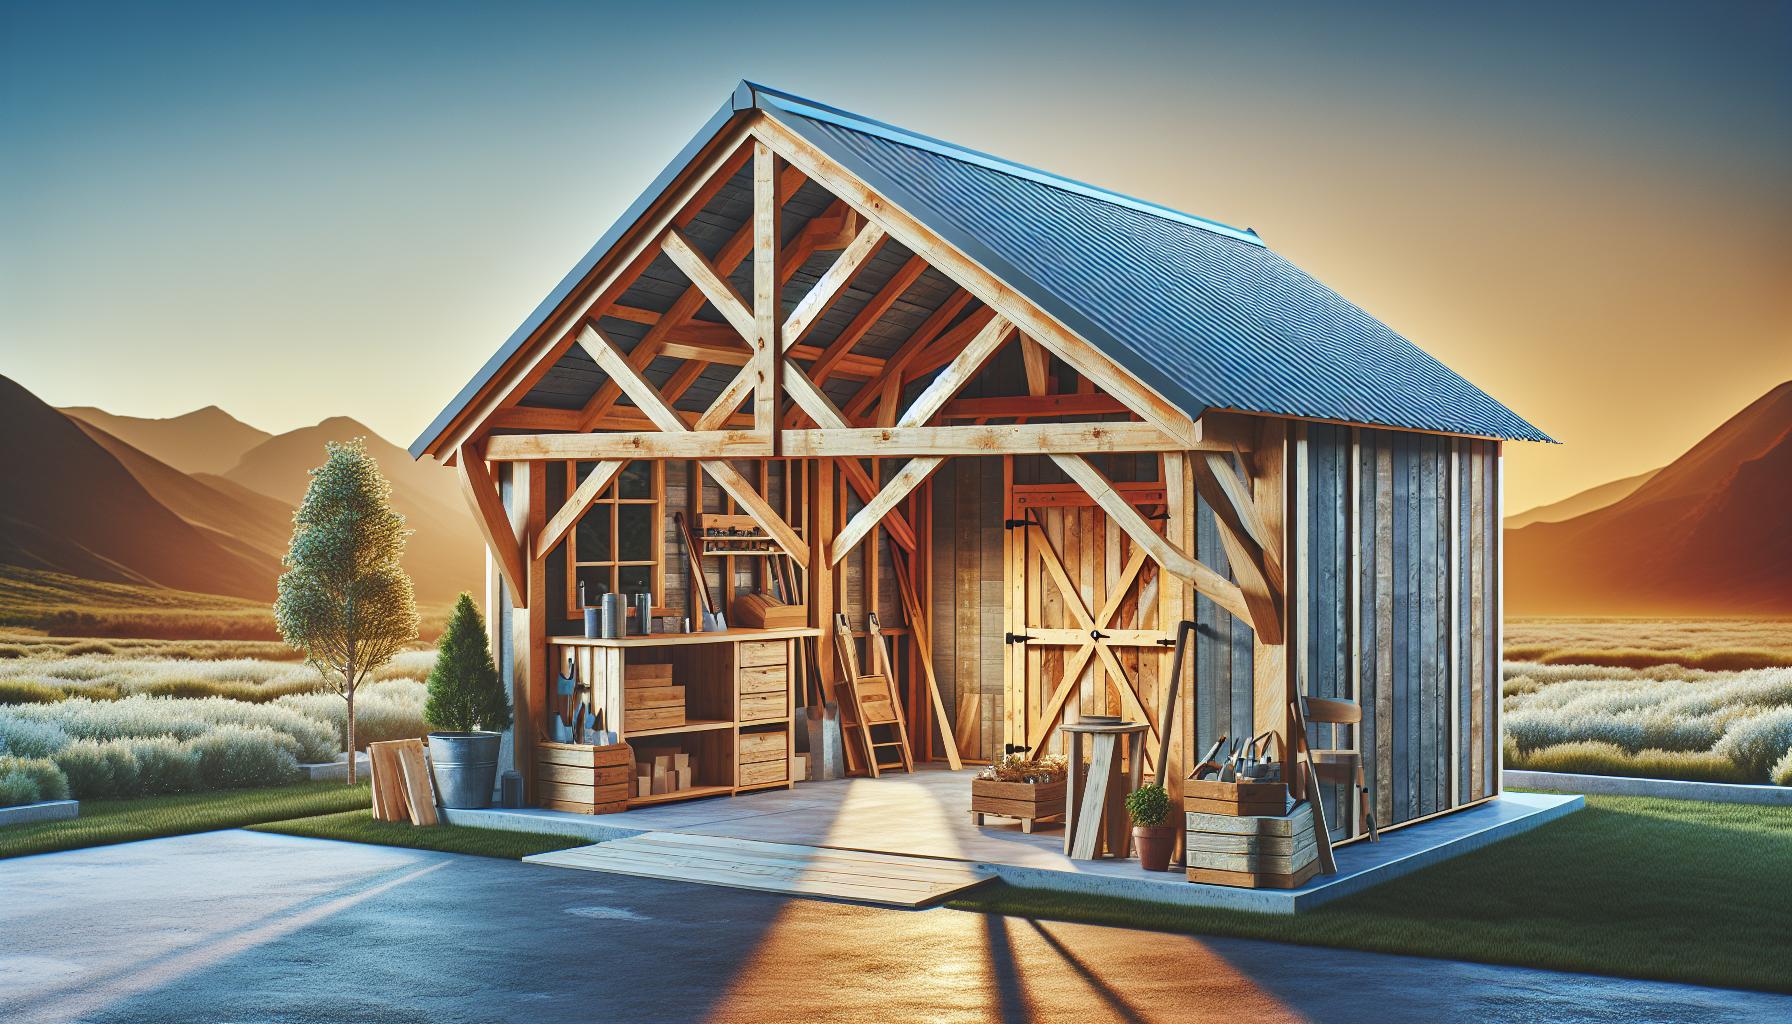
When it comes to roofing solutions for your shed, few designs are as timeless and effective as a gable roof. This architecture not only enhances the aesthetic appeal of your structure but also allows for optimal water drainage and increased headroom inside. By following a strategic approach to construction, you can create a sturdy and visually pleasing gable roof frame that stands the test of time. Here’s a comprehensive guide to help you through the process of framing your gable roof with ease.
Readiness and Tools
Before diving into construction, gathering the right materials and tools is crucial for a successful build.Here’s a checklist:
- Materials: Pressure-treated lumber for the frame, plywood for the roof sheathing, roofing felt, shingles, nails, and any necessary brackets.
- Tools: Circular saw, hammer, level, measuring tape, safety goggles, and a ladder.
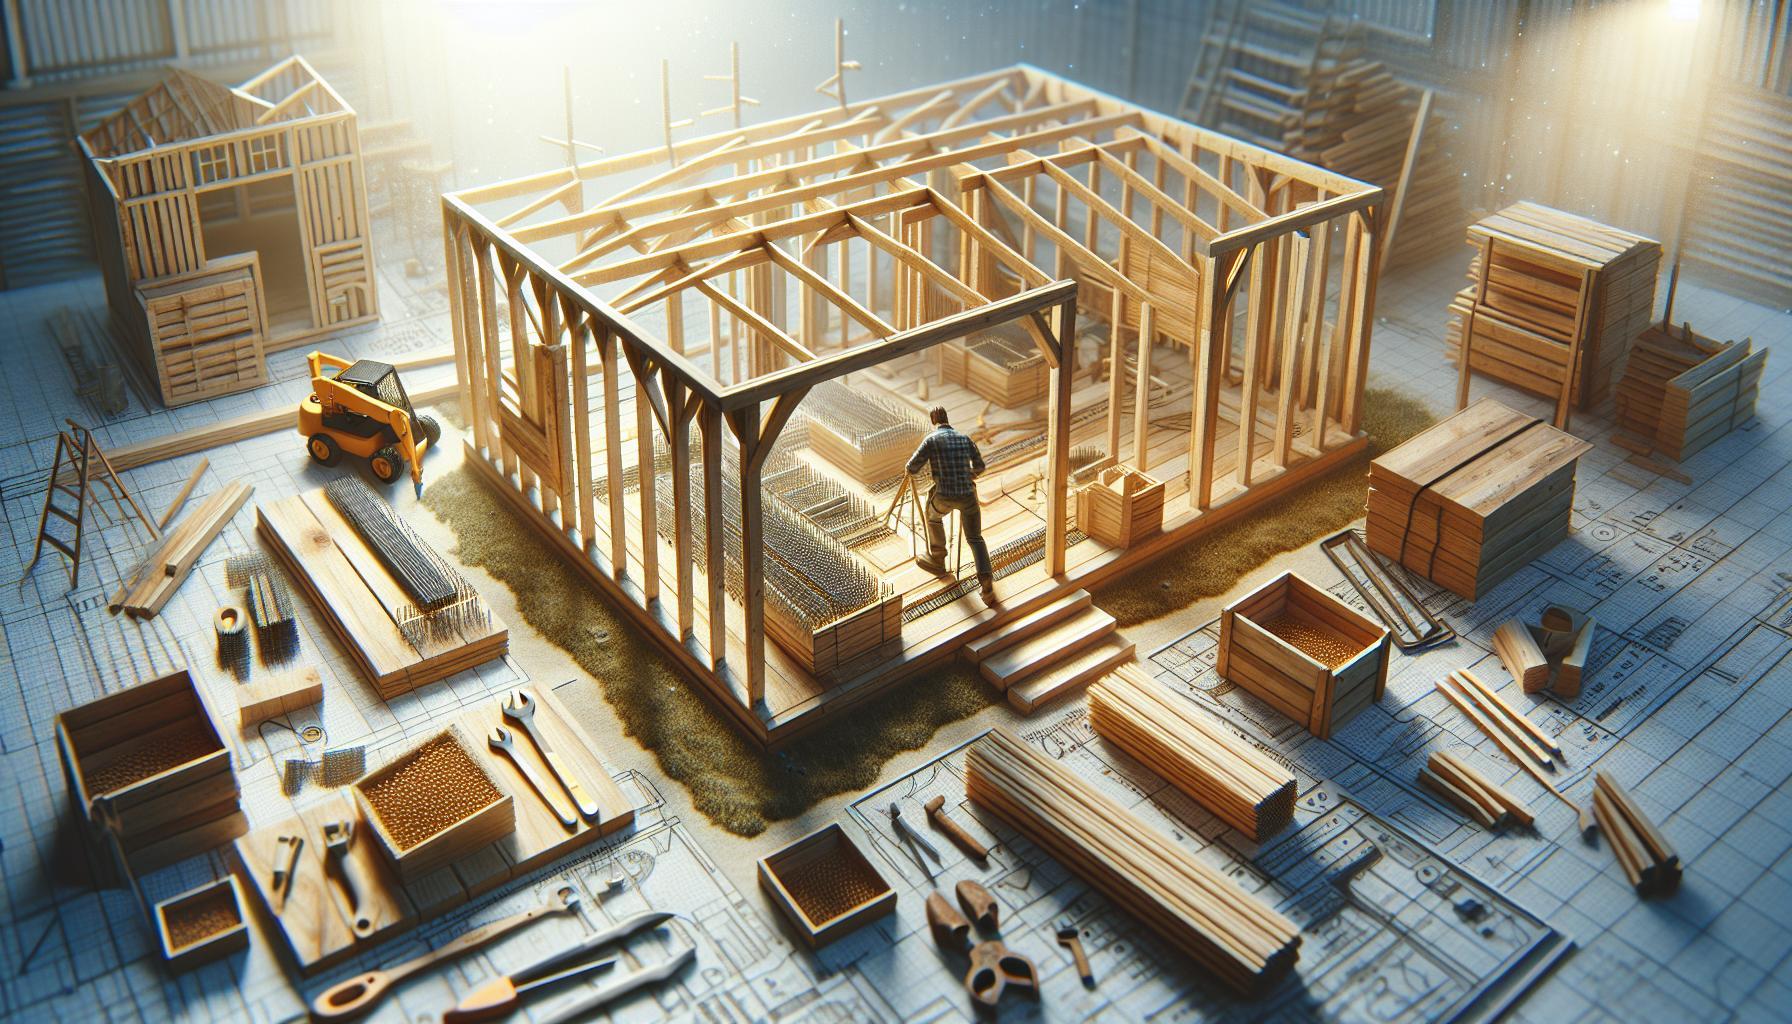
Measuring and Cutting the Roof Rafters
Begin with precise measurements to ensure a symmetric and stable frame. Determine the pitch of your gable roof; a common angle is 4:12, meaning for every 12 inches of horizontal run, the roof rises by 4 inches. Here’s how to proceed:
- Measure the Width: Use your measuring tape to find the width of your shed plus an overhang if desired.
- Calculate Rafter Length: Apply the Pythagorean theorem if necessary to find the length. For a 4:12 pitch over a 12-foot span, the rafters would each be approximately 5.66 feet long.
- Cut Rafters: Mark and cut your rafters according to the measured dimensions using your circular saw. Ensure both sides are cut at the correct angle for a snug fit at the peak.
Constructing the Top plate and Wall Frame
Next, you need to assemble the top plate that will support the rafters. This is a critical step for achieving the desired structural integrity.
- Install the Top Plate: Secure a long piece of lumber horizontally across the top of your shed walls. Make sure it’s level.
- Attach end Walls: Construct the end walls by securing the vertical studs to the base plate.These will eventually support the rafters.
- ensure Stability: Use diagonal braces to keep the wall frame in place during rafter installation.
Fitting and Securing the Rafters
With your wall frame ready,it’s time to fit and secure the rafters. Follow these actionable steps to ensure they are properly placed:
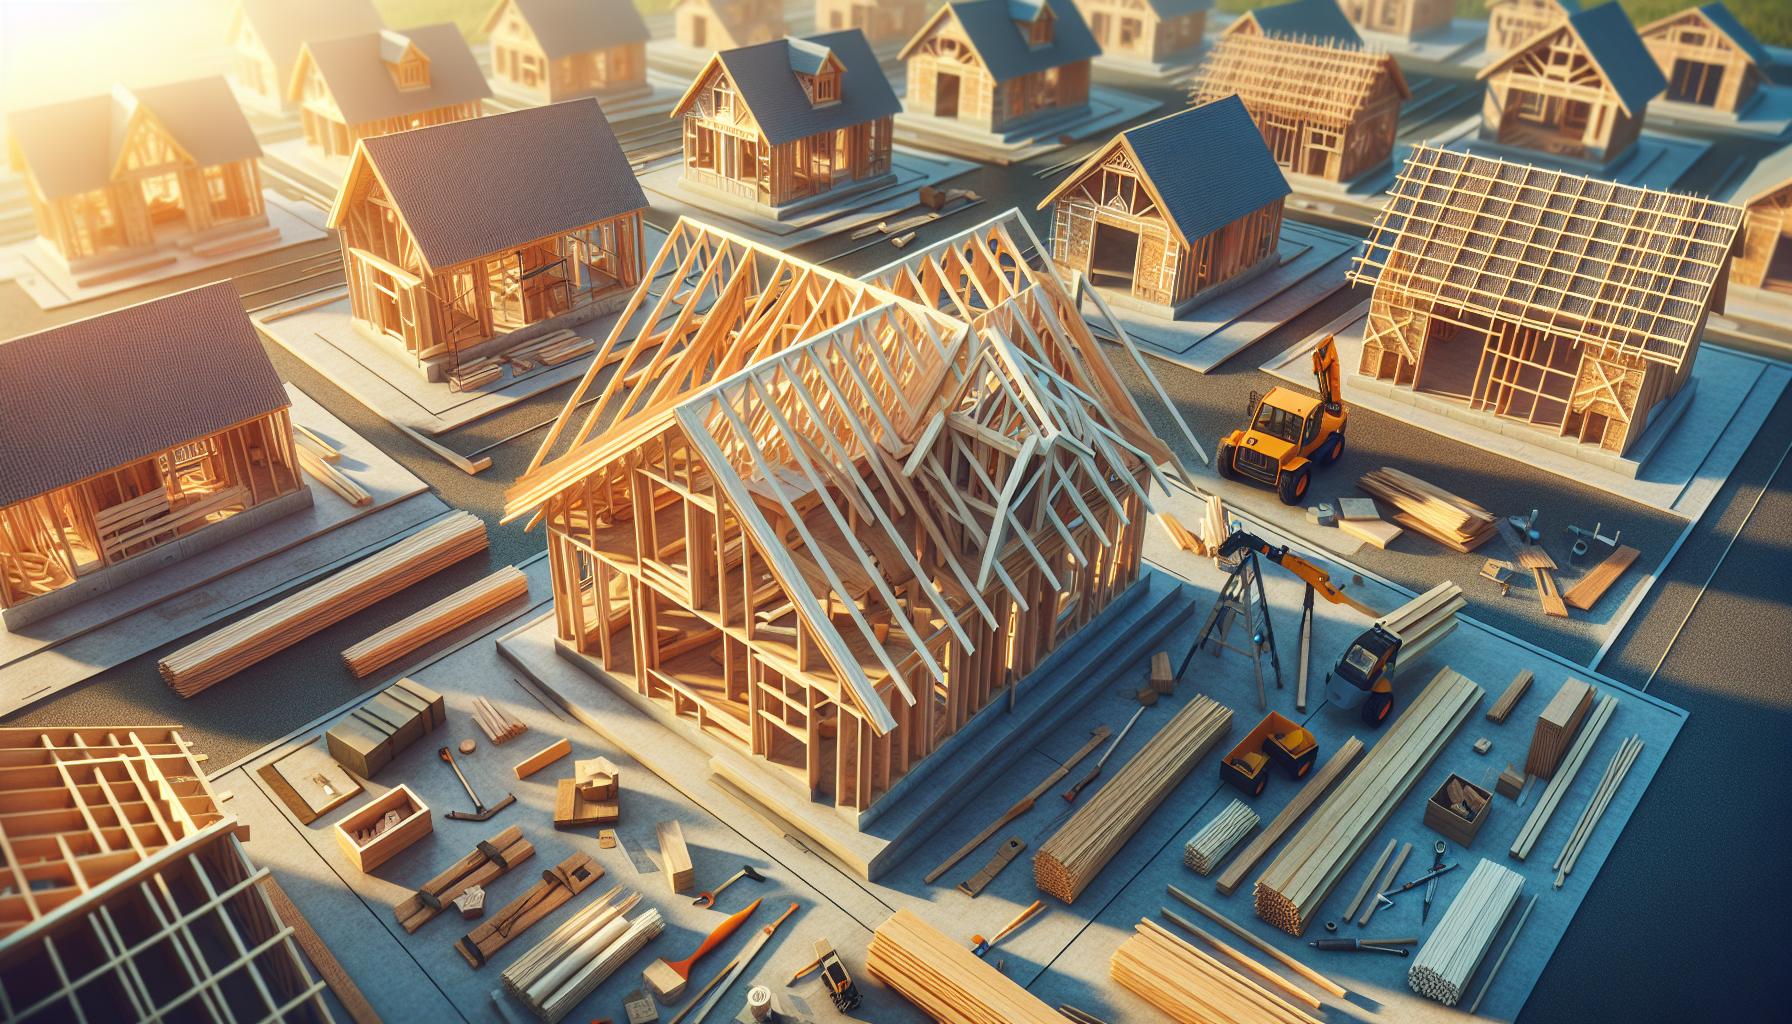
- Position Rafters: Start by positioning the rafters symmetrically along the top plate, leaving equal spacing between them. A standard distance is 24 inches on-center.
- Attach at the Peak: Secure the tops of the rafters together at the peak using metal brackets or nails, ensuring a strong connection.
- Bracing the Rafters: For added strength, use diagonal braces between the rafters and the top plate. This will help stabilize the structure against high winds or heavy snow loads.
Final Touches
Once your rafters are in place, it’s time for some finishing touches. Make sure to:
- Install Roof Sheathing: Lay down plywood sheets over the rafters, nailing them securely to create a solid base for the roofing material.
- Weatherproof: apply roofing felt to safeguard against moisture before finally laying down your shingles.
By following these steps in constructing your gable roof frame, you’re not just enhancing the functionality of your shed; you’re also investing time into a classic design that has proven durable and practical through the ages. happy building!
Essential Techniques for Weatherproofing Your Shed Roof
Whether you’re building a gable roof for your shed or upgrading an existing structure, weatherproofing is a critical step that ensures longevity and durability. A well-protected roof prevents water damage,mold growth,and structural deterioration,which can diminish your shed’s functionality. Here are some essential techniques to effectively weatherproof your gable roof, ensuring it stands the test of time and the elements.
Choosing the Right Materials
the first step in weatherproofing your shed roof is selecting materials that resist moisture and extreme weather conditions. Consider using:
- Metal Roofing: Known for its durability, metal roofs can withstand heavy rain and snow, minimizing the risk of leaks.
- Asphalt Shingles: These are popular due to their affordability and effectiveness in shedding water.
- Rubber Roofing: Ideal for flat or low-pitched gable roofs, rubber membranes provide a waterproof barrier.
Investing in high-quality materials specifically designed for roofing not only enhances the roof’s performance but also extends its lifespan.
Proper Flashing Installation
Effective flashing is a vital component in preventing water from seeping into the seams and joints of your gable roof. Flashing is installed around areas such as valleys, chimneys, and roof edges. Ensure that the flashing is made of corrosion-resistant materials like galvanized steel or aluminum, and install it properly to create a watertight seal.
| Flashing Type | Use Case | Material Recommendations |
|---|---|---|
| Valley Flashing | Where two roof slopes meet | Aluminum or lead |
| base Flashing | At roof edges | Galvanized steel |
| Counter Flashing | Around chimneys | Copper or aluminum |
Ventilation Solutions
Inadequate ventilation can lead to moisture buildup in your shed, ultimately harming the roofing material and interior contents. Incorporate ventilation solutions such as:
- Ridge Vents: Placed along the peak of the roof, allowing hot air to escape.
- Soffit Vents: Installed under the eaves to promote airflow from the outside.
- Gable Vents: Positioned on the gable ends to enhance air circulation.
These ventilation options not only reduce heat accumulation but also prevent condensation, keeping your shed dry and your gable roof intact.
By applying these techniques, you can substantially improve the weatherproofing of your gable roof, ensuring it remains resilient against the elements and serves its purpose well for years to come.
Navigating Building Codes and permits for Your Gable Roof
Building a gable roof for your shed is both a practical choice and a timeless design.Though, before you start hammering away, it’s crucial to ensure that your project aligns with local building codes and regulations. Navigating these codes can seem daunting, but understanding the requirements is essential for the success of your project. Compliance not only keeps your structure safe and sound but also protects you from potential fines or issues when selling the property.
First and foremost, check with your local building authority to determine which specific codes apply to your area. These codes can cover a range of elements including structural integrity, materials used, and even aspects related to energy efficiency. For instance, states like Georgia have particular guidelines that focus on sustainability and safety, establishing a framework builders must adhere to when constructing new structures like gable-roofed sheds [[2]].
Key Aspects to Review
When planning your shed, consider the following components that customary building codes frequently enough address:
- Structural Stability: Ensure the roof’s design can withstand local weather conditions, including snow loads and wind resistance.
- Materials: Use approved materials that meet safety standards.
- Utility Installations: If you’re adding electrical wiring or plumbing, additional permits may be required.
- Setback Requirements: Verify how close you can build to property lines.
Moreover, obtaining the necessary permits is a critical step.Depending on the complexity of your project and local regulations, you may need to submit detailed plans for approval. This often includes structural drawings, material specifications, and sometimes a description of how the shed will be utilized. Engaging with local building offices early in the process can streamline approvals and provide insights into any potential pitfalls, allowing you to build your gable roof efficiently and without unexpected delays.
By following the guidelines outlined in your area’s building codes, you ensure that your gable roof shed not only looks great but is also a safe and compliant addition to your property, reflecting the classic design principles featured in comprehensive guides on building a gable roof for a shed.
Common Challenges in Gable Roof Construction and How to Overcome Them
Building a gable roof for a shed can be a rewarding yet challenging endeavor. Whether you’re a seasoned DIY enthusiast or a newcomer to construction, knowing the common challenges that may arise during the process is crucial. Understanding these issues can definitely help you prepare better and ensure the structural integrity of your roof. Here are some frequent obstacles you’ll face while constructing a gable roof and practical strategies to overcome them.
Structural Stability
One of the primary concerns when constructing a gable roof is ensuring structural stability. The sloping design can create uneven load distribution, requiring careful planning to prevent sagging or even complete structural failure.
- Use Proper Materials: Choose high-quality lumber and trusses designed to support the weight of the roof and any additional loads,such as snow or rain.
- Reinforce with bracing: Incorporate diagonal bracing in your frame to add stability and prevent lateral movement.
By paying attention to the choice of materials and employing reinforcement techniques, the integrity of your gable roof can be maintained effectively.
weather Resistance
Adverse weather conditions can pose critically important challenges during the gable roof construction process. Rain, snow, or extreme temperatures can hinder the installation, compromise materials, or even create safety hazards.
- Choose the Right Time: Plan your construction project for a season with milder weather conditions to minimize interruptions.
- Waterproofing Measures: Use quality underlayment and ensure proper sealing at roof junctions to prevent leaks.
Implementing these strategies will protect your investment and assure the durability of your gable roof design.
precision in Measurements
Accuracy in measuring and cutting materials is crucial in gable roof construction. Incorrect measurements can lead to ill-fitting pieces and a final product that lacks the intended aesthetic and functionality.
- Double-Check Your Dimensions: Take measurements multiple times to confirm accuracy before making cuts.
- Invest in Quality Tools: Utilizing well-calibrated tools like laser levels or framing squares can enhance precision in your work.
Adopting a meticulous approach to measurements will help you achieve the perfect fit for your gable roof, reflecting the classic design that never fails.
Finding the Right Pitch
Determining the appropriate pitch of your gable roof is essential not only for aesthetics but also for functionality, impacting water drainage and the overall look of your shed. choosing a pitch that is too steep or too shallow can lead to issues down the line.
- Follow local Building Codes: Research zoning regulations and recommended roof pitches in your area to ensure compliance.
- Consult Design Resources: Utilize architectural guides or online resources to help find the ideal pitch for your specific needs.
With careful consideration and planning, you can resolve challenges related to pitch, ensuring your shed remains both lovely and practical.
By preparing for these common challenges in gable roof construction, you stand a better chance of creating a sturdy and visually appealing design that aligns with the tried-and-true principles of how to build a gable roof for a shed: classic design that never fails.
Aesthetic Finishing Touches: Selecting Roof Materials and Colors
Selecting the right materials and colors for your roof can significantly enhance the overall aesthetic appeal of your gable roof shed. The roof is not just a functional component; it’s an integral part of your structure’s character and can reflect your personal style and the architectural essence of your property. Various roofing materials are available, each contributing differently to the look and functionality of your shed while complementing the surrounding surroundings.
When considering roofing materials,think about the balance between aesthetics and practicality. Here are some popular options to consider:
- Asphalt Shingles: These are highly versatile and come in a wide range of colors and styles. They are both cost-effective and easy to install, making them a popular choice for shed roofing.
- Metal Roofing: Known for its durability and modern aesthetic, metal roofing can be found in various finishes, including galvanized steel and aluminum. It provides a sleek look while being incredibly resistant to harsh weather conditions.
- Wood Shingles: For a more rustic feel, wood shingles offer natural beauty and character. However, it’s essential to consider the maintenance and potential for weathering over time.
- Tile or Slate Roofing: These materials add a touch of elegance and are extremely durable, though they can be heavier and more expensive. They are perfect for those aiming for a classic or upscale appearance.
Choosing Colors Wisely
The color of your roofing material can drastically alter the aesthetics of your shed. Light colors reflect sunlight, helping to keep the interior cooler in warmer climates, while darker colors can create a striking contrast against lighter walls and offer a more traditional look. To achieve a cohesive design, consider the following tips:
- Complement Your Surroundings: Choose colors that align with the natural environment or existing structures to create harmony within your landscape.
- Match with Existing Decor: Take into account the colors of your shed siding and surrounding features to select roof colors that enhance the overall theme.
- Use Color Samples: before finalizing, take small samples of roofing materials and place them next to your shed to see how they look in different lighting conditions.
| Roof Material | Color options | Durability |
|---|---|---|
| Asphalt Shingles | Variety of colors | 10-30 years |
| Metal Roofing | Painted finishes, natural metal | 40-70 years |
| Wood Shingles | Natural wood colors | 20-50 years |
| Tile/Slate | Earth tones, mixed colors | 50+ years |
By carefully selecting roof materials and colors, you not only enhance the aesthetic of your gable roof shed but also ensure that it stands the test of time while harmonizing with its surroundings. Remember that a well-thought-out choice can lead to a beautiful, functional space that aligns with your vision for the shed, ultimately reflecting your personal taste and enhancing value.
Maintenance Tips for Ensuring Longevity of Your Gable Roof
Maintaining the integrity of your gable roof is crucial for ensuring it stands the test of time and continues to perform its essential function. A well-installed gable roof not only enhances the aesthetic appeal of your shed but also protects it from the elements. Implementing a regular maintenance routine can definitely help you avoid costly repairs and prolong the life of your roof. Here are some essential tips that will keep your gable roof in great shape.
Regular Inspections
Conducting frequent inspections is vital to catching potential issues before they escalate. Aim to inspect your gable roof at least twice a year—once in the spring and once in the fall. During these inspections,look for signs of wear,such as:
- Damaged or missing shingles
- Cracked flashings around chimneys and vents
- Accumulation of debris in valleys or eaves
- Evidence of water stains or leaks inside the shed
If you spot any of these problems,address them promptly to prevent further damage.
Keep Gutters Clean
Clogged gutters can lead to water backup,which can damage your gable roof and the underlying structure. Make it a habit to clean your gutters at least twice a year, ideally during your spring and fall inspections. Remove leaves, twigs, and any other debris that can impede proper drainage. Consider installing gutter guards to minimize the frequency of cleanings and help channel water away from your roof effectively.
Maintain Proper Ventilation
A gable roof can benefit significantly from adequate ventilation, which helps regulate temperature and moisture levels within your shed. Poor ventilation can lead to mold growth and premature wear on your roofing materials. Ensure that your gable roof has proper vents installed at both the ridge and eaves. Inspect these vents periodically to ensure they are not blocked by debris or insulation.
address Damage Promptly
Even with regular maintenance, issues may arise.If you discover damage,such as a small area of rot or a broken shingle,tackle these repairs quickly. Prompt action can prevent more extensive damage that could compromise the entire structure. For minor repairs, you can often do it yourself with materials that match your roof. However, for larger issues, consider hiring a professional to ensure the work is done correctly.
By incorporating these maintenance tips into your routine, you can ensure the longevity and functionality of your gable roof. Like any part of your shed, it requires attention and care to continue serving you well for years to come.
FAQ
How to Build a Gable Roof for a Shed: classic Design That Never Fails?
To build a gable roof for a shed, start by establishing your framework and choosing quality materials. You’ll need two sloping sides, an apex to form the peak, and sturdy support beams.Constructing this classic design provides excellent drainage and adds visual appeal.
Begin by measuring your shed’s dimensions and cutting the rafters accordingly. Securely attach these rafters to the walls and construct a ridge beam at the top. The gable roof design is not just aesthetic; it enhances shed functionality by allowing snow and rain to flow off easily. For detailed step-by-step instructions, visit our full guide on shed construction techniques.
What materials do I need to build a gable roof for my shed?
For a gable roof, you will typically need roofing sheets, rafters, and supports. common materials include plywood for sheathing, asphalt shingles for roofing, and treated wood for structural elements. Ensure your materials are durable to withstand the elements.
Add insulation if you’re planning to use your shed year-round. Using quality fasteners and hardware is critical for stability. If this is your first project, consider consulting with a hardware expert for material recommendations based on your local climate.
Why does a gable roof design work well for a shed?
A gable roof works exceptionally well for a shed as it provides optimal drainage and enhances structural integrity. The two sloping sides of the roof facilitate effective water runoff, minimizing the risk of leaks or roof damage.
This design is particularly advantageous in regions with heavy snowfall or rainfall. Furthermore, a gable roof allows for additional storage space in the attic, making it a versatile choice for shed users looking to maximize their available space.
Can I build a gable roof for a shed on my own?
Yes,you can build a gable roof for a shed on your own,provided you have basic carpentry skills and tools. Many DIY enthusiasts successfully construct their roofs with careful planning and adherence to safety measures.
however, if you’re inexperienced or uncertain, consider seeking assistance from a skilled friend or hiring a professional for critical parts. Watching tutorial videos can also be helpful; these provide visual guidance that can boost your confidence.
What tools are necessary for constructing a gable roof for a shed?
Essential tools for constructing a gable roof for your shed include a circular saw,a measuring tape,a level,and a hammer. These tools help ensure precise cuts and secure fittings.
Additionally, a nail gun can speed up the construction process, while safety equipment such as gloves and goggles is crucial. Having the right tools will simplify the gable roof building process and result in a durable structure.
What are the common mistakes to avoid when building a gable roof?
common mistakes include underestimating material quantities, failing to secure proper measurements, and neglecting to account for local building codes. Each of these oversights can lead to additional expenses and structural issues down the line.
Always double-check your cut measurements and consider obtaining necessary permits. A well-planned design and thorough preparation will ultimately save you time and frustration during the construction process.
How can I ensure my gable roof lasts for years?
To ensure your gable roof lasts,focus on using high-quality materials and performing routine maintenance.Regular inspections for damage or wear can prevent minor issues from becoming major problems.
Additionally, proper ventilation in the attic area can reduce moisture buildup, extending the roof’s lifespan. Consider reinforcing joints with extra brackets for added stability, especially in harsh weather regions.
to Wrap It Up
building a gable roof for your shed is a rewarding project that combines timeless aesthetics with functional versatility.By breaking the process into manageable steps—advantages of the gable design, essential materials, precise measurements, and the critical installation techniques—you ensure a structure that not only enhances your property but also supports your storage needs for years to come. Remember to consider local building codes and zoning regulations before embarking on your project; these guidelines can significantly influence your design choices and construction methods.
We encourage you to delve deeper into the nuances of roofing, broaden your skill set, and embrace the challenges that come with DIY building projects. Whether you’re just beginning or are honing your craft,each step forward in your shed-building journey is a testament to your persistence and creativity. Don’t hesitate to share your progress, ask questions, or seek advice from fellow enthusiasts—your experience can inspire others. Happy building!

