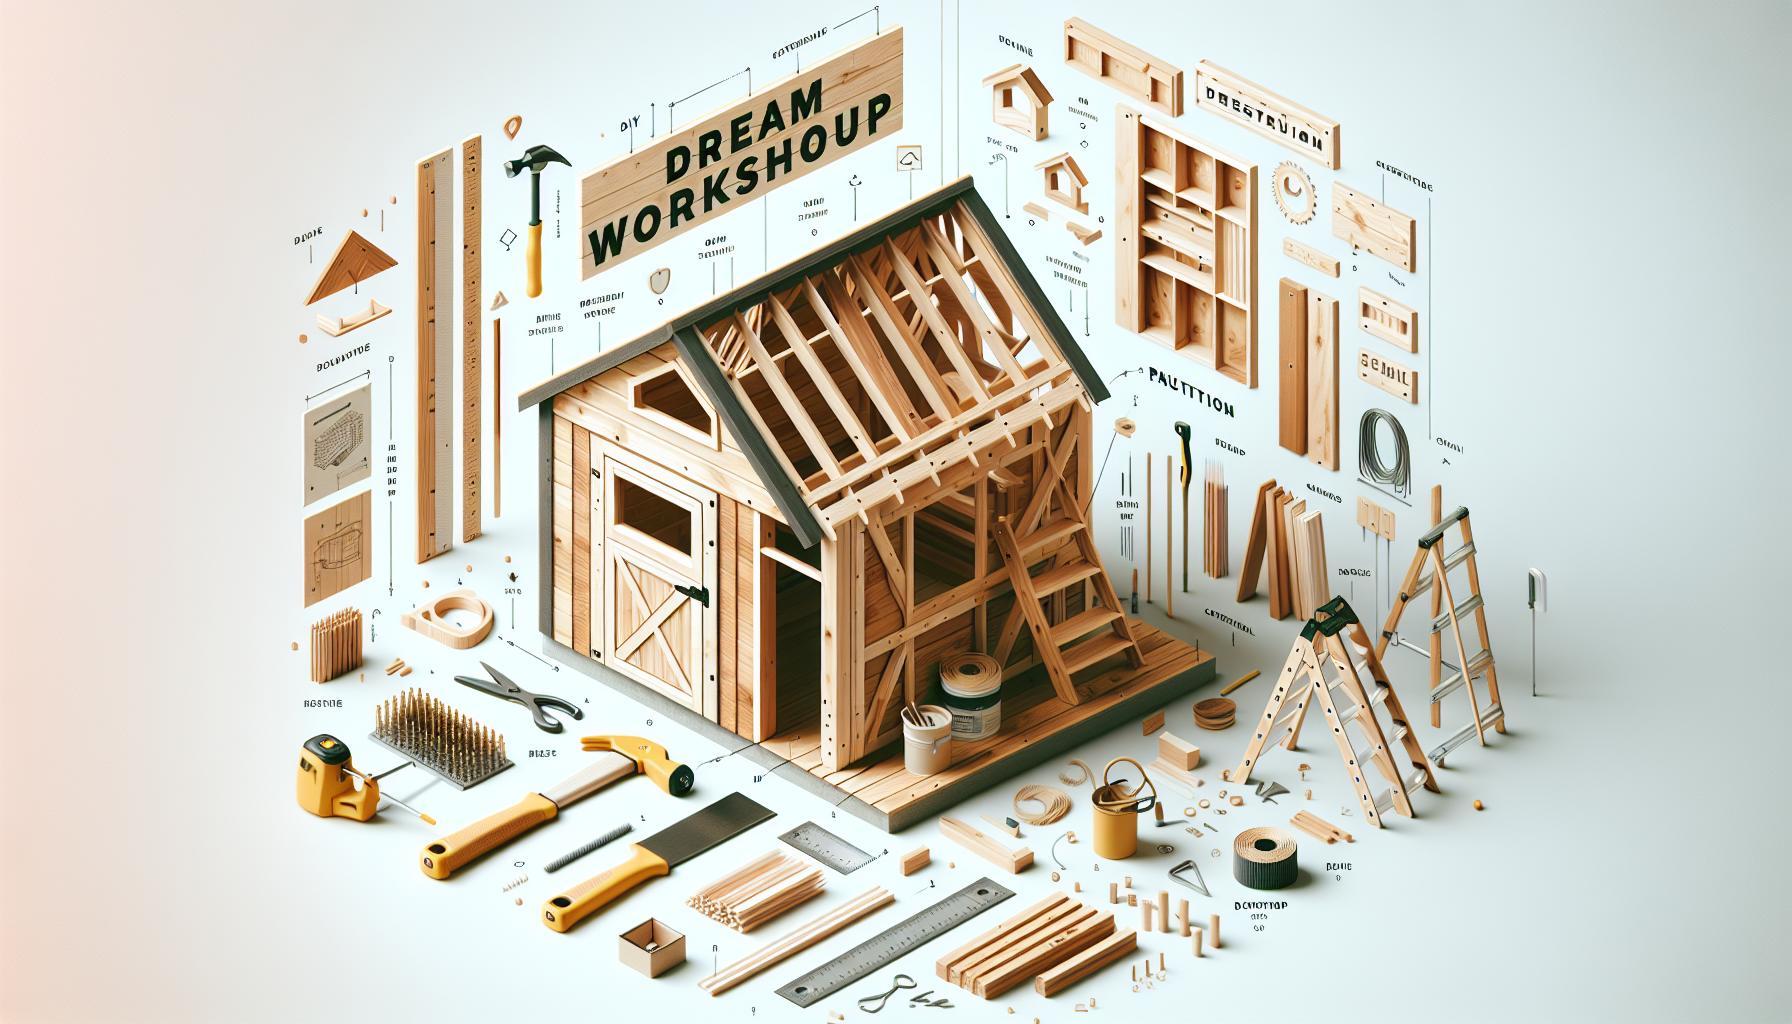
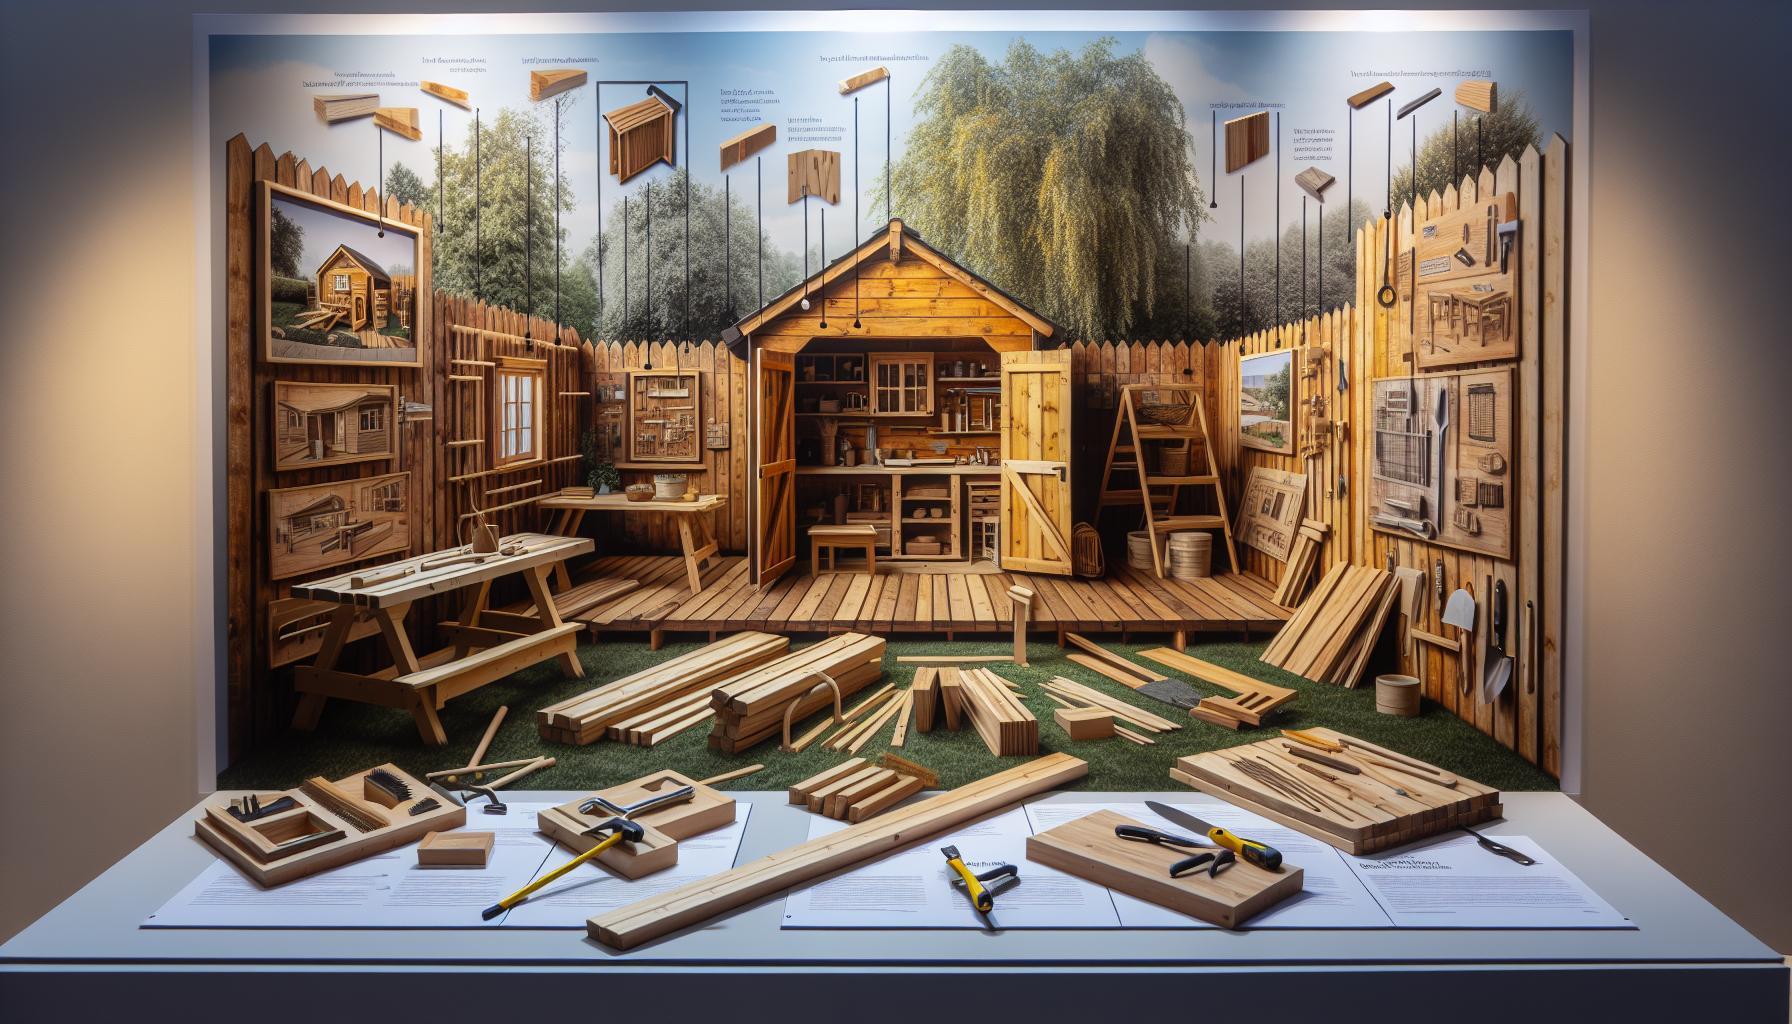
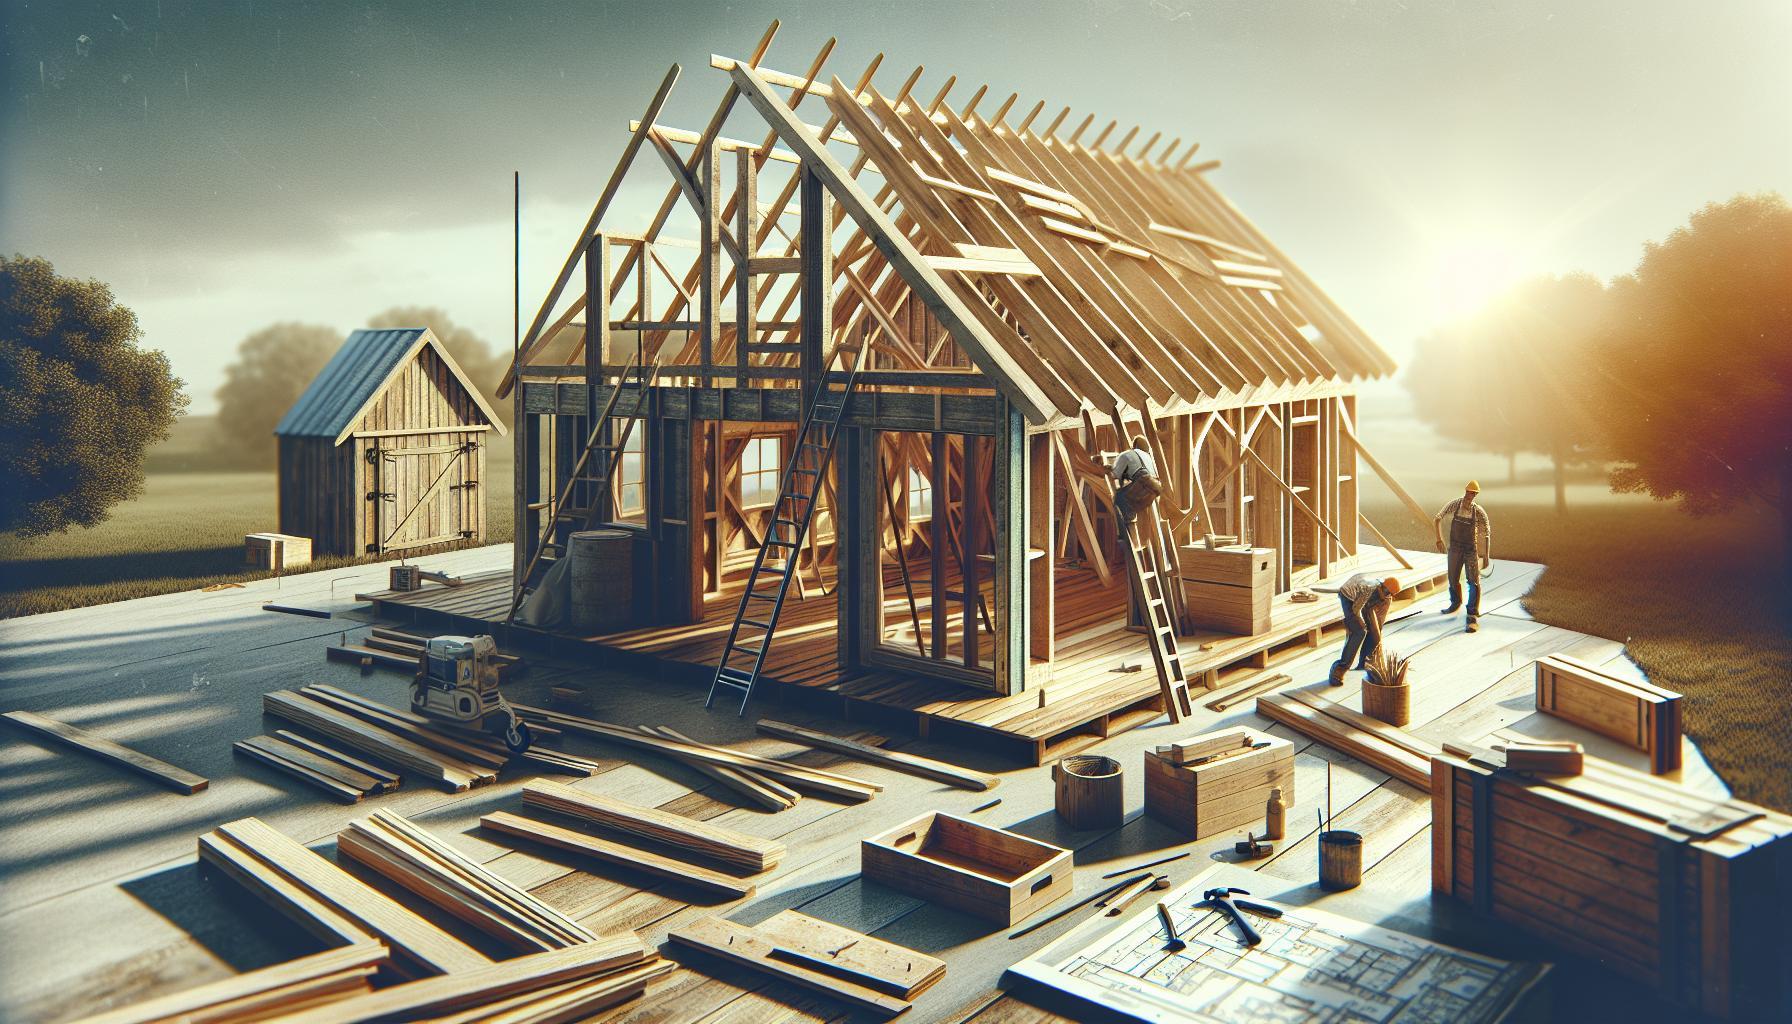
Are you tired of clutter in your garage or basement? Building a spacious 12×16 shed can transform your outdoor space into a functional workshop, providing the perfect solution for storage and creativity. In this guide,we’ll walk you through essential design plans and practical tips to create your dream workspace right in your backyard.
Understanding the Basics: Essential Tools and Materials for Your Shed Project
The satisfaction of constructing your own 12×16 shed is not just in the final product but also in how you approach the project. It begins with understanding the essential tools and materials that will bring your workshop dreams to fruition. having the right toolkit not only streamlines the building process but also ensures safety and precision, ultimately leading to a professional-looking outcome.
Key Tools for Your Shed Project
To successfully bring your shed design plans to life, you will need a variety of tools. Here’s a comprehensive list to consider for your construction project:
- Measuring Tools: A tape measure, square, and level are essential for ensuring accuracy in your dimensions.
- Cutting Tools: A circular saw for cutting larger sheets of wood, along with a hand saw for more intricate cuts.
- Power Tools: A drill/driver will be indispensable for making holes and driving screws efficiently.
- Fastening Tools: Stocks of nails, screws, and a nail gun can save you time and effort.
- Safety Gear: Don’t forget goggles, gloves, and ear protection to keep yourself safe while working.
Essential Materials for Your 12×16 Shed
Materials can make or break your shed’s durability and functionality.Consider the following list for your project:
- Frame Material: Use treated lumber for the frame to resist decay; pressure-treated wood is ideal for contact with the ground.
- Wall Panels: Opt for plywood or OSB (oriented strand board) for wall sheathing, providing a solid envelope for insulation.
- Flooring: Consider using a sturdy plywood for the floor, while ensuring it is raised off the ground to prevent moisture damage.
- Roofing Material: Choose between asphalt shingles for aesthetic appeal or corrugated metal for durability and longevity.
- Doors and Windows: Invest in durable doors and energy-efficient windows to enhance usability and light entry into the workshop.
Putting it All Together
Having a well-organized plan for your tools and materials is essential to effectively executing on how to build your 12×16 shed. Below is a simple table to help you keep track of your purchases and ensure you don’t miss any essential items:
| item | Quantity | Notes |
|---|---|---|
| Treated lumber | Quantity as per your design | For frame |
| Plywood/OSB | As needed | Wall panels |
| Concrete blocks | Varies (for foundation) | Elevate floors |
| Asphalt shingles | Based on roof area | Choose style and color |
By carefully selecting and preparing these tools and materials, you’ll not only set yourself up for success but also enhance your overall building experience. The journey involves planning and execution, both critical components of realizing your dream workshop through effective design plans.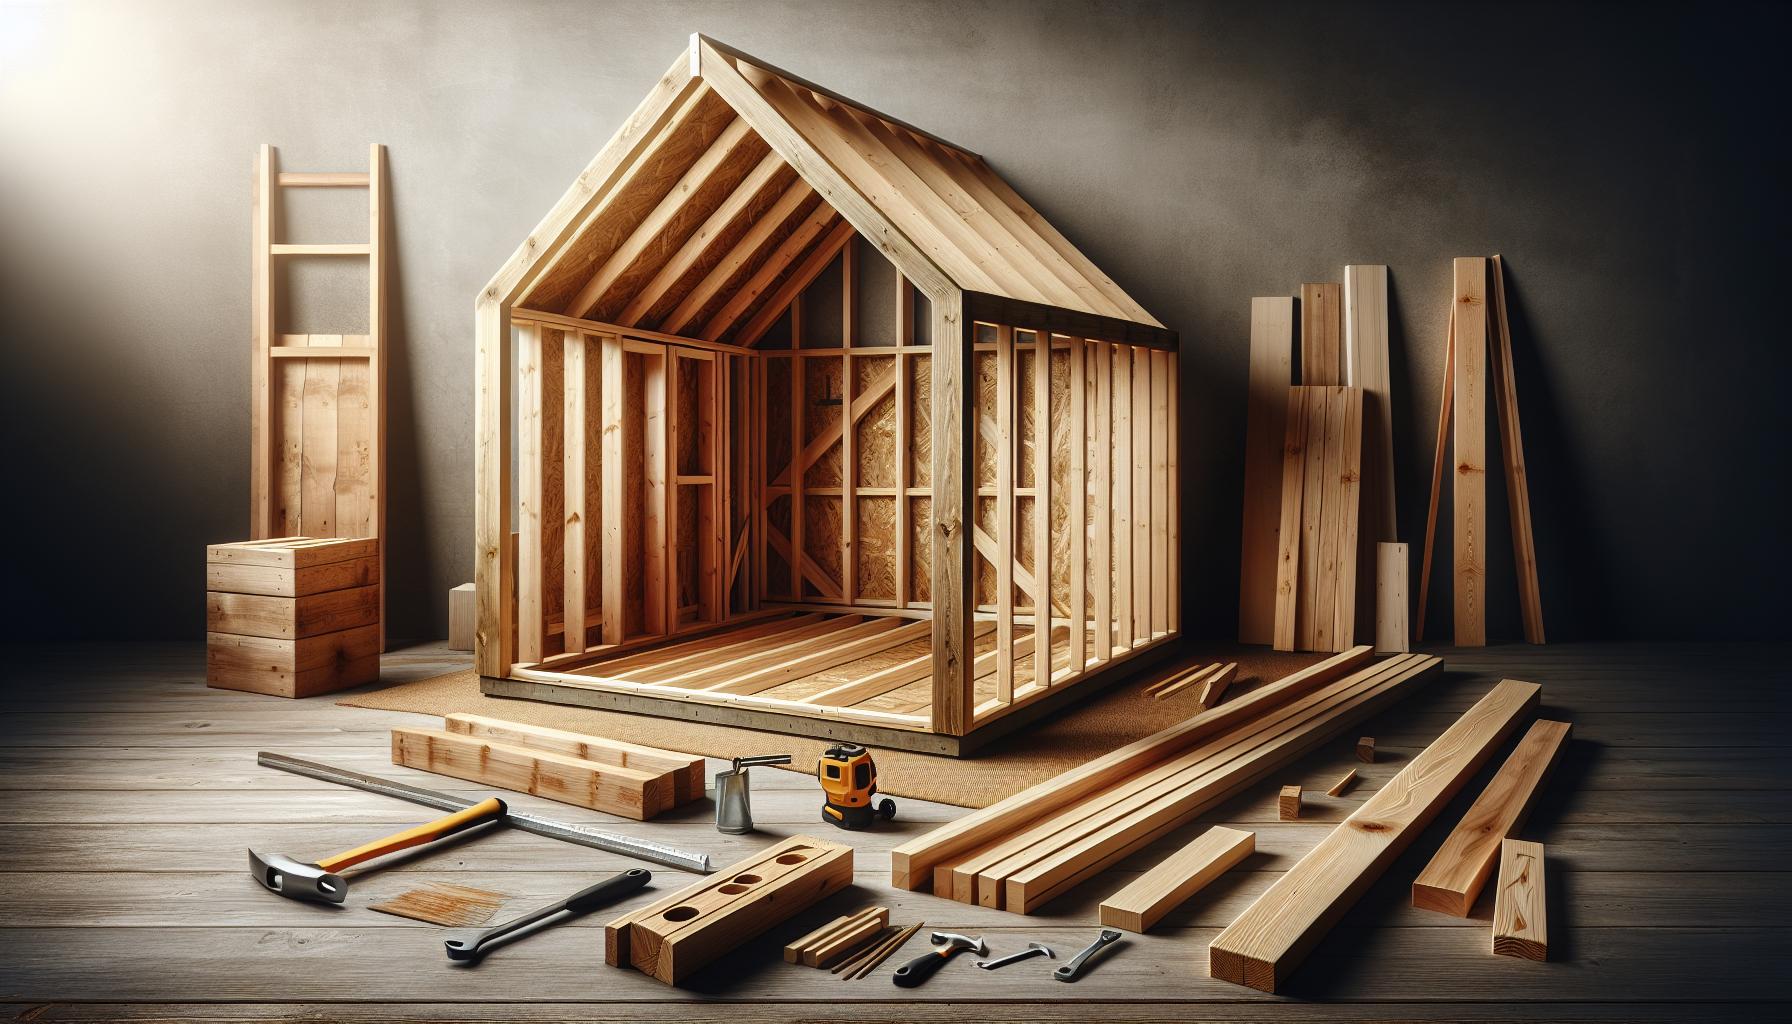
Step-by-Step Guide to Crafting a Solid Foundation for Your 12×16 Shed
Creating a sturdy base is paramount when constructing your 12×16 shed. A well-built foundation not only supports the structure itself but also provides long-term durability against environmental elements. Whether you’re planning to use your shed as a workshop or storage space, following a systematic approach to foundation building will set the stage for a accomplished project. Let’s delve into the steps required to establish a solid foundation that can withstand the test of time and use.
Choosing the Right Foundation Type
The first decision is selecting the appropriate foundation type for your shed. The two most common foundation methods for a 12×16 shed are concrete slab and timber skids. Here’s a fast comparison:
| Foundation Type | Pros | Cons |
|---|---|---|
| Concrete Slab |
|
|
| Timber Skids |
|
|
Preparing the Site
Once you’ve selected your foundation type,the next step in building your 12×16 shed is preparing the site. Start by checking the local zoning laws to ensure compliance and avoid any legal issues down the line. Then, follow these steps for site preparation:
- Clear the Area: Remove any vegetation, rocks, and debris from the construction site.
- Level the Ground: Use a shovel and rake to level any high spots and fill in low areas. You can check the ground level with a spirit level for accuracy.
- Measure and Mark: Using stakes and string, mark out the perimeter of the shed, ensuring that the corners form right angles.A simple way to confirm this is by applying the Pythagorean theorem (3-4-5 rule).
Building the Foundation
Depending on your chosen foundation, the construction steps will vary slightly. For a concrete slab,you’ll need to excavate a base,build forms,mix,pour,and finish the concrete. For timber skids, lay down treated wooden beams parallel to each other and install cross supports.
Concrete Slab steps:
- Excavate at least 4 inches deep to accommodate gravel for drainage.
- Lay down a 2-4 inch layer of gravel for drainage and compact it well.
- build wooden forms around the perimeter to hold the concrete.
- Mix and pour concrete,then smooth it out with a trowel.
Timber Skid Steps:
- Place the skids perpendicular to the frame of the shed, ensuring they’re level.
- Add cross beams for additional support, spaced about 4 feet apart.
- Use concrete blocks or bricks as additional support if necessary.
By following these meticulous steps, you’re well on your way to laying a robust foundation that will sustain your 12×16 shed and serve you well for years to come. Remember, investing time and effort in your foundation now will pay dividends when it comes to the overall integrity and longevity of your workshop or storage space.
Designing Your Space: Optimizing Layout and Functionality in Your Workshop
Creating an efficient and inspiring workshop surroundings is crucial for maximizing productivity and creativity. A well-designed layout not only enhances the functionality of the space but also influences the overall atmosphere where projects come to life. When considering how to build a 12×16 shed as your dream workshop, it’s essential to think strategically about how you will utilize the space, ensuring that every square foot enhances your crafting or working experience.
Understanding Your Needs
Before diving into the aesthetics of your workshop, assess your specific needs. Make a list of all the activities you plan to undertake,such as woodworking,painting,or crafting. Here are a few key considerations:
- Tool storage: Ensure adequate space for tools and equipment, considering both frequently used items and larger machinery.
- Work surfaces: Plan for multiple workstations that can accommodate different projects and allow for collaboration if needed.
- Ventilation and lighting: Incorporate windows or ventilation systems to keep the air fresh and bright,preventing fatigue while working.
Integrating storage solutions such as wall-mounted shelves or pegboards can definitely help keep the workspace organized and accessible, preventing clutter and enhancing workflow.
Optimizing Layout for Functionality
The layout directly impacts how effectively you can work in your 12×16 shed. Begin by sketching a floor plan that divides the area into distinct zones for different tasks. Essential zones might include a practical workspace, a finishing area for painting or varnishing, and storage. Consider these tips for an optimized layout:
- workflow efficiency: Arrange tools and materials in a sequence that follows your natural workflow—moving from preparation to execution to finishing.
- Space for movement: Leave ample room between workstations to facilitate easy movement, which is vital for tasks that require attention to detail and multiple changes of position.
- Flexible areas: If possible, design parts of the workshop that can be easily adapted or rearranged for different projects.
Inspirational Examples and Solutions
When you’ve gathered your ideas, looking at real-world examples can solidify your concept.As a notable example, some workshops incorporate movable workbenches that can be adjusted based on current tasks, while others use vertical storage to maximize space without sacrificing accessibility.
Consider a table layout that outlines various stations and their intended use:
| Station | Primary Function | Recommended Size |
|---|---|---|
| woodworking Station | Cutting and assembling wood projects | 4×6 ft |
| painting Station | Finishing work with paints and stains | 4×4 ft |
| Storage Area | Tools and materials organization | 3×6 ft |
By integrating your layout with functional aesthetics, you can maximize both the beauty and practical use of your dream workshop, ensuring a welcoming and productive environment that inspires creativity and craftsmanship.
Framing Fundamentals: Building the Structure that Supports Your Dream Shed
Building a sturdy and reliable structure is the foundation of any successful construction project, particularly when crafting your ideal 12×16 shed. The framing process may seem daunting, but with the right guidance and a little bit of confidence, it can turn into a rewarding journey. Whether you intend to use your shed as a workshop, storage space, or a cozy retreat, establishing a solid frame will ensure that your structure withstands the test of time and the elements.
Choosing the Right Materials
Before diving into the assembly of your shed, it’s crucial to select high-quality materials that will form the backbone of your framing. Here’s a quick list of essential materials needed for framing your 12×16 shed:
- Lumber: Typically, 2x4s and 2x6s are used. Use treated lumber for parts that will be in contact with the ground to prevent rot.
- Nails/screws: Opt for galvanized screws or nails to resist rust, especially in outdoor conditions.
- Bracing: Consider using diagonal braces made from plywood or 1x4s to add strength and stability.
- Metal Connectors: These aid in securely connecting the framing members and enhancing the overall structural integrity.
Framing the Base
Starting with the floor framing is essential for creating a level base. Here are the key steps to build a robust framework for your shed:
- Lay Out Your Foundation: Determine your shed’s location,ensuring it’s level and free from debris. Place concrete blocks or wooden skids to act as the foundation.
- Build the Floor Joists: Use 2×6 lumber spaced 16 inches apart. Secure them using nails or screws.This arrangement will provide a strong platform for the floor.
- Install the Rim Joists: These are the outer perimeter joists that you attach to the ends of your floor joists, forming a box-like structure.
Constructing the Walls
With the floor securely framed, it’s time to tackle the walls. Here’s a straightforward guide to help you with this stage:
- Create Wall Panels: Construct each wall panel separately on the ground for ease of assembly. Use 2×4 lumber to form vertical studs placed 24 inches apart, connecting them with top and bottom plates.
- Raise the Panels: With assistance,lift each panel into place,ensuring they are aligned and plumb. Use temporary braces to hold them upright while securing them together.
- Adding Cross Bracing: To prevent the walls from swaying and to add structural integrity, install diagonal bracing between the studs.
Here’s a simple table summarizing the framing components for ease of reference:
| Component | Dimensions | Material |
|---|---|---|
| Floor Joists | 2×6 | Treated Lumber |
| Wall studs | 2×4 | Standard Lumber |
| Top and Bottom Plates | 2×4 | standard Lumber |
| Bracing | 1×4 or Plywood | Standard or Treated |
With the basic framework in place, you can now prepare to add the roof and siding, further transforming your 12×16 shed into a functional workspace. Each step of the construction is essential, providing the needed support that will make your workshop a reality. Start strong with your structure, and it will serve you faithfully for years to come!
Roofing Options: Choosing the Best Materials for Durability and Style
Selecting the right roofing material is crucial when designing your workshop, not just for aesthetic appeal but also for long-lasting durability. The roofing options available vary widely,each offering unique advantages and considerations. Understanding your choices in materials can substantially influence both the longevity of your shed and your overall satisfaction with the structure.
Top Roofing Materials for Your Shed
When contemplating roofing for your 12×16 shed, consider the following popular materials, each known for their distinctive qualities and styles:
- Asphalt Shingles: Affordable and easy to install, asphalt shingles are a favorite choice for many shed builders. They are available in various colors and styles, allowing for customization to match your workshop’s design.
- Metal Roofing: Renowned for its durability and longevity, metal roofing can withstand harsh weather conditions and is resistant to rust. Available in a range of colors, it can complement a modern or rustic aesthetic alike.
- Wood Shakes: For a traditional look, wooden shakes offer a unique and natural appearance.However, they require more maintenance and may have a shorter lifespan compared to other materials.
- Clay tiles: While more common in warmer climates, clay tiles provide excellent durability and a distinctive style. They are fire-resistant and can last for decades, making them a worthwhile investment for your shed.
Comparing Costs and Benefits
understanding the costs associated with different roofing materials can also guide your decision-making process. Below is a simple comparison of various roofing materials often considered for sheds:
| Material | Estimated Cost per Square Foot | Durability | Maintenance |
|---|---|---|---|
| Asphalt Shingles | $1 – $5 | 10-30 years | Low |
| Metal roofing | $3 – $12 | 40+ years | Very Low |
| Wood Shakes | $6 – $12 | 30-40 years | Medium |
| Clay Tiles | $10 – $15 | 50+ years | Low |
By evaluating the benefits and costs of these materials, you can align your choice with your budget and the aesthetic you envision for your workshop. For instance, if you’re looking for a combination of durability and style, metal roofing might be the best option. However,if your priority is low maintenance and cost-effectiveness,asphalt shingles could serve your needs well.
Incorporating the right roofing option into your plans will ensure that your 12×16 shed remains an attractive, functional, and durable addition to your property for years to come.Make your decision based on your specific needs, local climate, and personal preference to achieve the ideal balance between durability and style.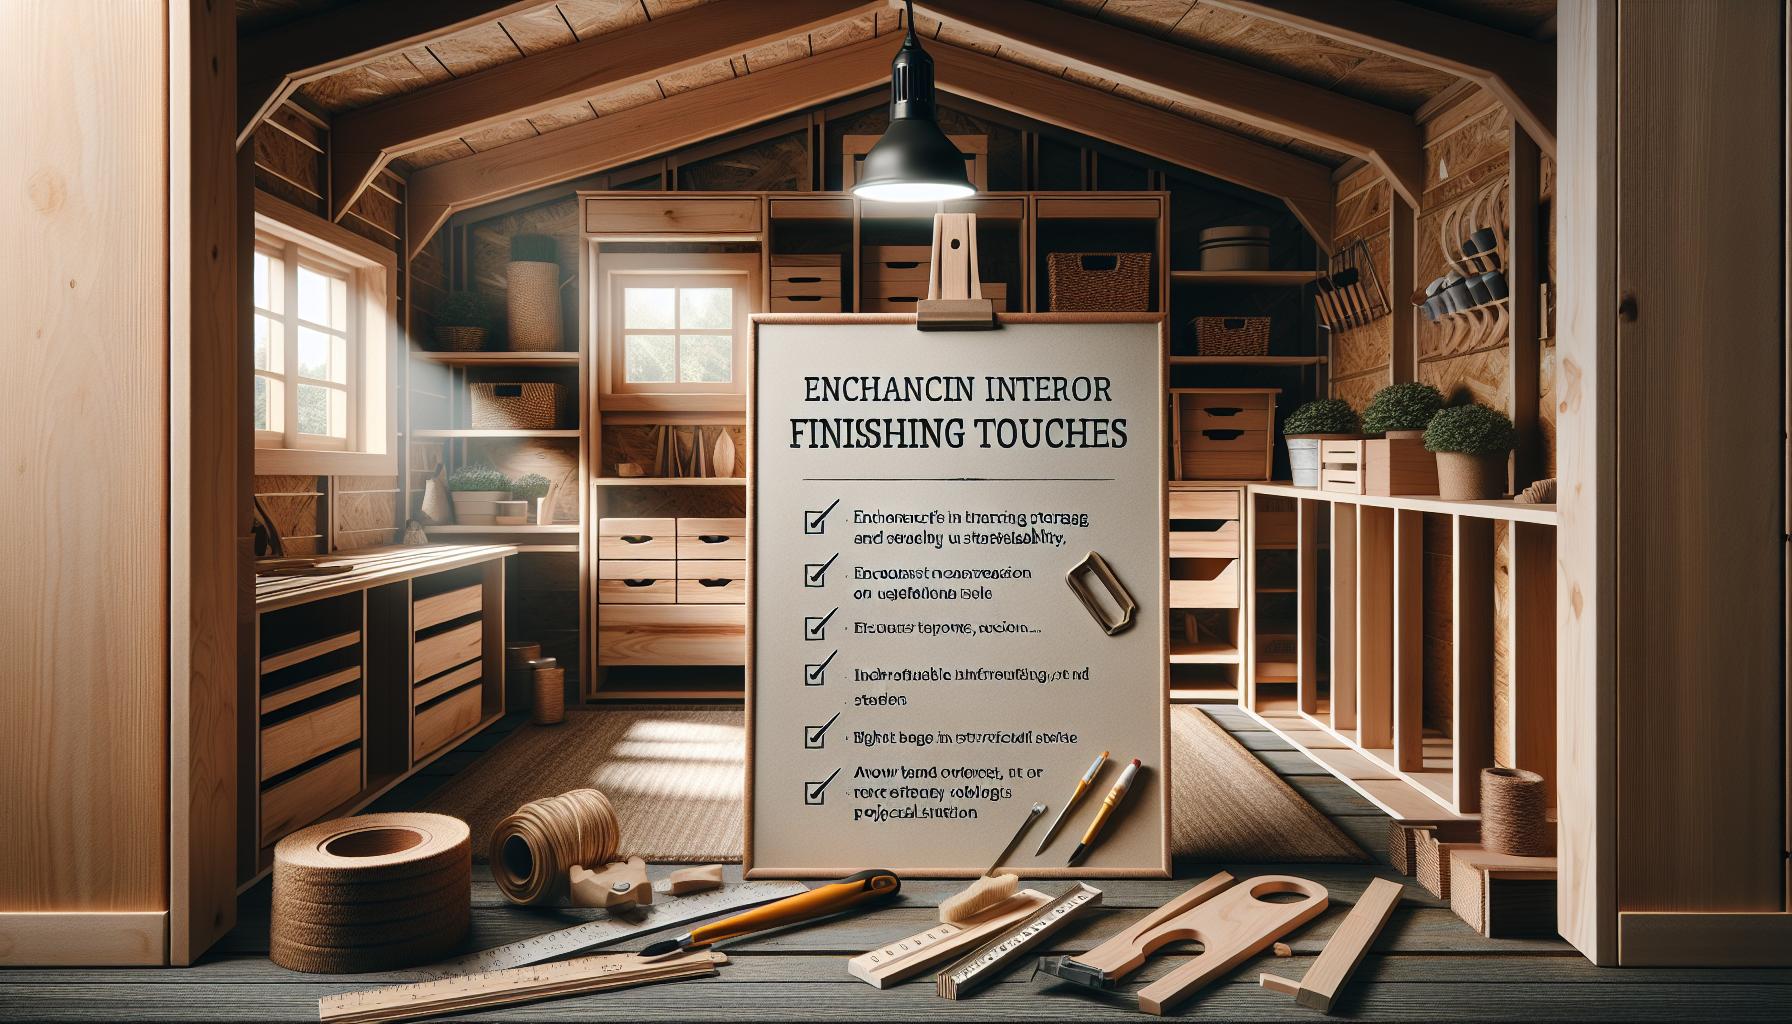
Interior Finishing Touches: Maximizing Storage and Usability in Your Shed
Creating a functional and efficient workspace in your shed goes beyond just the structure itself; it involves maximizing the interior for storage and usability. With thoughtful planning and a few strategic finishing touches, your 12×16 shed can transform into an organized workshop that accommodates all your tools and materials.
Smart Storage Solutions
In a 12×16 shed, every square inch counts, and innovative storage solutions can definitely help you make the most of your available space. Consider implementing the following:
- Vertical Storage: Use wall-mounted shelves and pegboards to utilize vertical space. Hang tools and equipment at eye level,making them easily accessible while keeping the floor clear.
- Overhead Racks: Install ceiling-mounted racks to store less frequently used items, such as seasonal tools or bulky materials, out of the way yet within reach.
- Multi-purpose Furniture: Consider furniture that doubles as storage, such as a workbench with drawers or a folding table that can be stowed away when not in use.
Enhancing Usability
When planning the interior layout of your shed, usability is key. Here are some practical tips that can heighten your workspace’s functionality:
- Task Zones: Establish specific areas for different tasks—such as a woodworking zone, a landscaping tool area, and a potting station—making it easier to find what you need when you need it.
- Good Lighting: Incorporate both natural and artificial lighting. Skylights or strategically placed windows can provide daytime light, while LED fixtures ensure brightness at night.
- Easy Access to Power: Plan for electrical outlets in convenient locations throughout your shed to power tools and lights without the hassle of extension cords.
Table of Quick Finishing Touches
A quick reference table can help distill these ideas into actionable steps.
| Action | Description |
|---|---|
| Install Shelving | Use wall-mounted units to maximize floor space. |
| Create Work Zones | Designate areas for specific projects to minimize distraction. |
| Set Up Lighting | Prioritize bright, accessible light sources for safety and efficiency. |
| Secure Power Sources | plan for multiple outlets to accommodate various tools and devices. |
By focusing on interior finishing touches that prioritize storage and usability, you can create a 12×16 shed that not only meets your storage needs but also enhances your overall productivity and enjoyment in your dream workshop. With these strategies, you’re well on your way to crafting a space that functions as an efficient hub for all your projects.
Navigating Common Challenges: Tips for Troubleshooting During Construction
Every DIY construction project can present its unique set of challenges, especially when it comes to building somthing considerable, like a 12×16 shed for your dream workshop. Whether you’re grappling with unexpected weather changes or miscalculating material measurements, encountering obstacles is part of the process. Fortunately, with the right troubleshooting strategies, you can navigate these hurdles effectively and keep your project on track.
Preparation is Key
Before you dive into construction, prepare yourself and your workspace diligently. Here are a few suggestions to set the stage for success:
- Review Plans thoroughly: Revisit your design plans to ensure you understand every aspect of the construction. Familiarity with the steps will help you identify potential issues early.
- Gather Tools and Materials: Compile a complete list of tools and materials needed. Have backups for critical items, such as fasteners and sheets of plywood, to avoid delays.
- Clear and Level Site: An uneven surface can lead to structural problems. Ensure the ground where your shed will sit is level and free from debris.
Common Construction Challenges and Solutions
Despite your best preparations, obstacles may arise. Here are some common issues you might face during the construction of your 12×16 shed and tips on how to solve them:
| Challenge | Possible Solutions |
|---|---|
| poor Weather Conditions | Schedule construction when the forecast is clear. If rain threatens, cover materials and work areas properly to prevent damage. |
| Material Shortages | Double-check your material list and order extra ahead of time. Establish relationships with local suppliers for quick access. |
| Misalignment of Framework | Use a level and square regularly throughout the building process to ensure proper alignment. Small adjustments early on prevent larger issues later. |
| Inaccurate Measurements | Measure twice, cut once. Utilize a partner to check your measurements to catch errors before they become major mistakes. |
Using these strategies not only prepares you for common construction challenges but also enhances your overall experience as you bring your vision of a 12×16 shed to life.Building your dream workshop is not just about following plans; it’s about cultivating problem-solving skills that will serve you well, both during construction and beyond.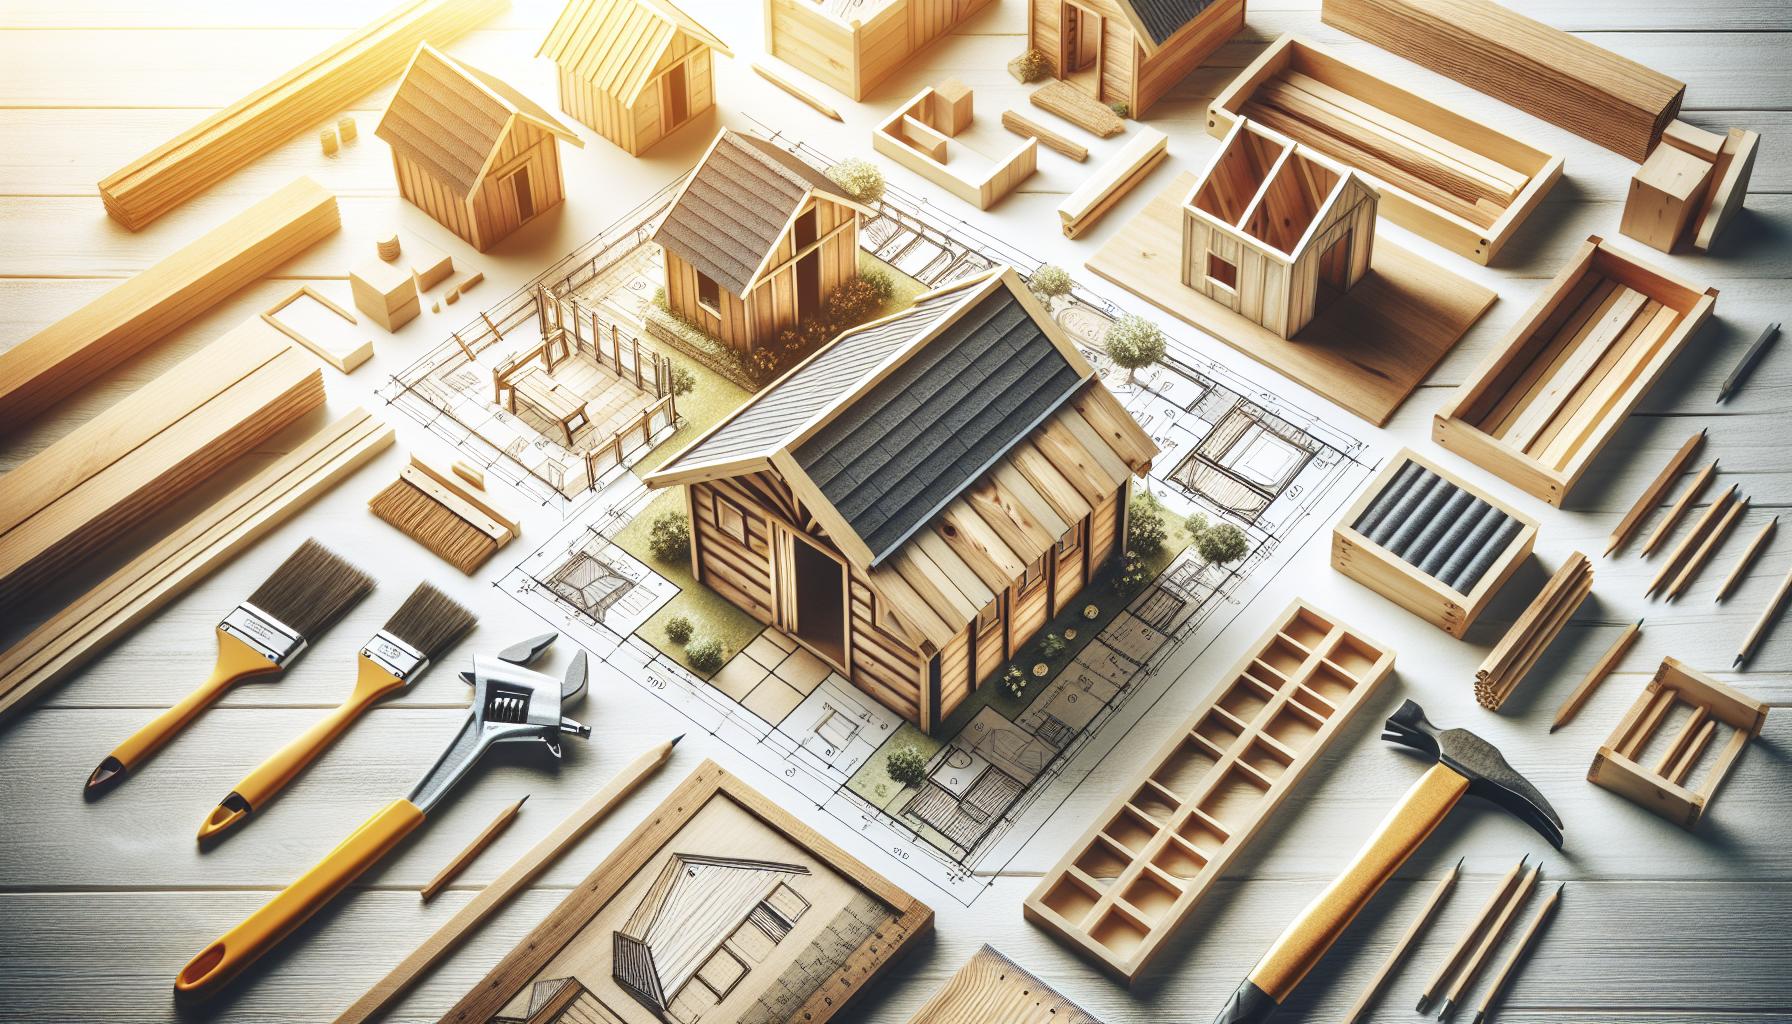
Enhancing Your Shed: ideas for Custom Features and Personal Touches
When creating your dream workshop, it’s the little details that can transform a functional space into a personalized haven. A standard 12×16 shed can easily become a reflection of your style and needs, turning it into more than just a storage or work area. By adding custom features and personal touches, you can enhance the aesthetic appeal, improve functionality, and create an environment that inspires creativity and productivity.
Personalize Your Space
One of the simplest ways to infuse personality into your shed is through color and decor. Consider painting the exterior in a unique hue or adding decorative trim that complements your home’s architecture. Inside,you can hang artwork or motivational quotes that resonate with you. Here are a few impactful ideas for personalization:
- Custom Signage: Create a sign with your name or workshop name to hang at the entrance.
- artwork and Photos: Frame and display personal photos or artwork that inspire you.
- Themed Decor: Choose a specific theme—like rustic, farmhouse, or modern industrial—to guide your design choices.
Functional Features for Enhanced usability
Maximizing the functionality of your shed is crucial for a seamless work experience. here are some features that can support your projects while adding to the shed’s charm:
| Feature | Description |
|---|---|
| Built-in Shelving | Install adjustable shelving to store tools and materials, making it easier to access what you need. |
| Workbench variations | Create a multi-functional workbench that can be used for various projects, perhaps even adding foldable extensions. |
| Lighting Options | Incorporate natural light with larger windows or skylights, and use task lighting for intricate work. |
Outdoor Enhancements
The area surrounding your shed is just as important as the inside. Enhancing the outdoor space can elevate your shed from a simple structure to an appealing retreat. Here are some ideas:
- Garden Pathway: Create a stone path leading to your shed, bordered with flowers or shrubs to enhance visual appeal.
- Outdoor Seating: Consider adding a small deck or patio area where you can relax or brainstorm ideas outside.
- Vertical Gardens: Utilize wall space by establishing a vertical garden for herbs or flowers, adding both beauty and functionality.
Incorporating these custom features and personal touches not only improves the look and utility of your shed but creates an individual space that consistently inspires you. Whether your goal is to use the 12×16 shed as a workshop, garden tool storage, or a creative studio, tailoring it to your needs will ensure it becomes your favorite retreat.
Faq
What is the best foundation for a 12×16 shed?
The best foundation for a 12×16 shed typically includes concrete blocks or a gravel pad. This ensures stability and prevents water damage from the ground.
When constructing a shed, a solid foundation is crucial for longevity. Concrete pads provide the most durability, while gravel allows for good drainage. Consider local soil conditions and climate when choosing your foundation type. For detailed steps on foundation building, check our shed foundation guide.
How to build a 12×16 shed: spacious design plans?
Building a 12×16 shed involves planning your layout, gathering materials, and following a step-by-step guide. Start with a detailed design plan to maximize space.
Use a sketch to determine where different elements will go, like windows and doors. A spacious design ensures you have effective workspace and storage. There are many online resources and plans available to guide your project,helping you visualize the end goal.
Can I build a 12×16 shed without prior experience?
Yes, you can build a 12×16 shed even if you have no prior experience. with clear plans and proper tools, beginners can successfully complete this project.
Start by familiarizing yourself with basic construction techniques and safety measures. Many DIYers find that breaking the project down into smaller tasks makes it more manageable and enjoyable. Utilize online tutorials to further boost your confidence.
Why does a 12×16 shed need ventilation?
A 12×16 shed needs ventilation to prevent moisture buildup and reduce humidity levels, which can lead to mold and mildew growth.
Proper ventilation promotes air circulation, extending the life of your tools and materials stored inside. Installing vents or windows can significantly improve air quality. understand the location of your shed when planning ventilation for optimal effectiveness.
What materials do I need to build a 12×16 shed?
To build a 12×16 shed, you will need materials like lumber, plywood, roofing shingles, nails, and possibly insulation. Having a complete list before you start will help streamline your project.
Additionally, consider tools such as a saw, hammer, and level.Selecting the right materials is crucial; choose pressure-treated wood for the base to resist rot. Resources that list essential materials can be invaluable.
How long does it take to build a 12×16 shed?
Typically, building a 12×16 shed can take anywhere from a weekend to a few weeks, depending on your experience, the complexity of the build, and whether you work alone or have help.
Plan to dedicate several days to the construction process, especially for foundations and framing. Splitting the project into manageable chunks can keep you motivated and on schedule.Establish a timeline that fits your availability for best results.
What tools do I need to construct a 12×16 shed?
Essential tools for constructing a 12×16 shed include a power saw,level,hammer,measuring tape,and drill. These tools will help you achieve precision in your build.
Having the right tools not only facilitates a smoother construction process but also ensures that your shed is built to last. If you’re new to DIY, consider borrowing or hiring tools you may not own, reducing overall costs.
Can I customize the design of my 12×16 shed?
Absolutely! You can customize the design of your 12×16 shed to meet your specific needs, adding features such as windows, shelving, or even electrical outlets.
Customization allows you to tailor your shed to function as a workshop, storage area, or hobby space. Use a flexible design process, keeping in mind structural integrity and local building codes for alterations.
To Wrap It Up
As we wrap up this guide on building your 12×16 shed, it’s clear that taking the plunge into DIY projects can be incredibly rewarding. You’ve learned how to create a spacious workshop tailored to your needs, with clear design plans and step-by-step instructions. Remember, preparation is key; gather your materials and tools thoughtfully, and don’t hesitate to consult local building codes to ensure compliance.
Embrace the challenges you might face—each one is an possibility to enhance your skills and knowledge. If you run into difficulties, consider reaching out to fellow DIYers or online communities where you can exchange tips and advice. Remember, every expert was once a beginner, and you’re on your way to joining their ranks.Now that you have the basis for your shed, we encourage you to explore further. Dive deeper into specific construction techniques, learn about insulation options, or discover creative storage solutions to optimize your new space.Engage with our community,share your progress,and don’t hesitate to ask questions along the way. Your dream workshop is just a project away—let’s make it a reality together!

