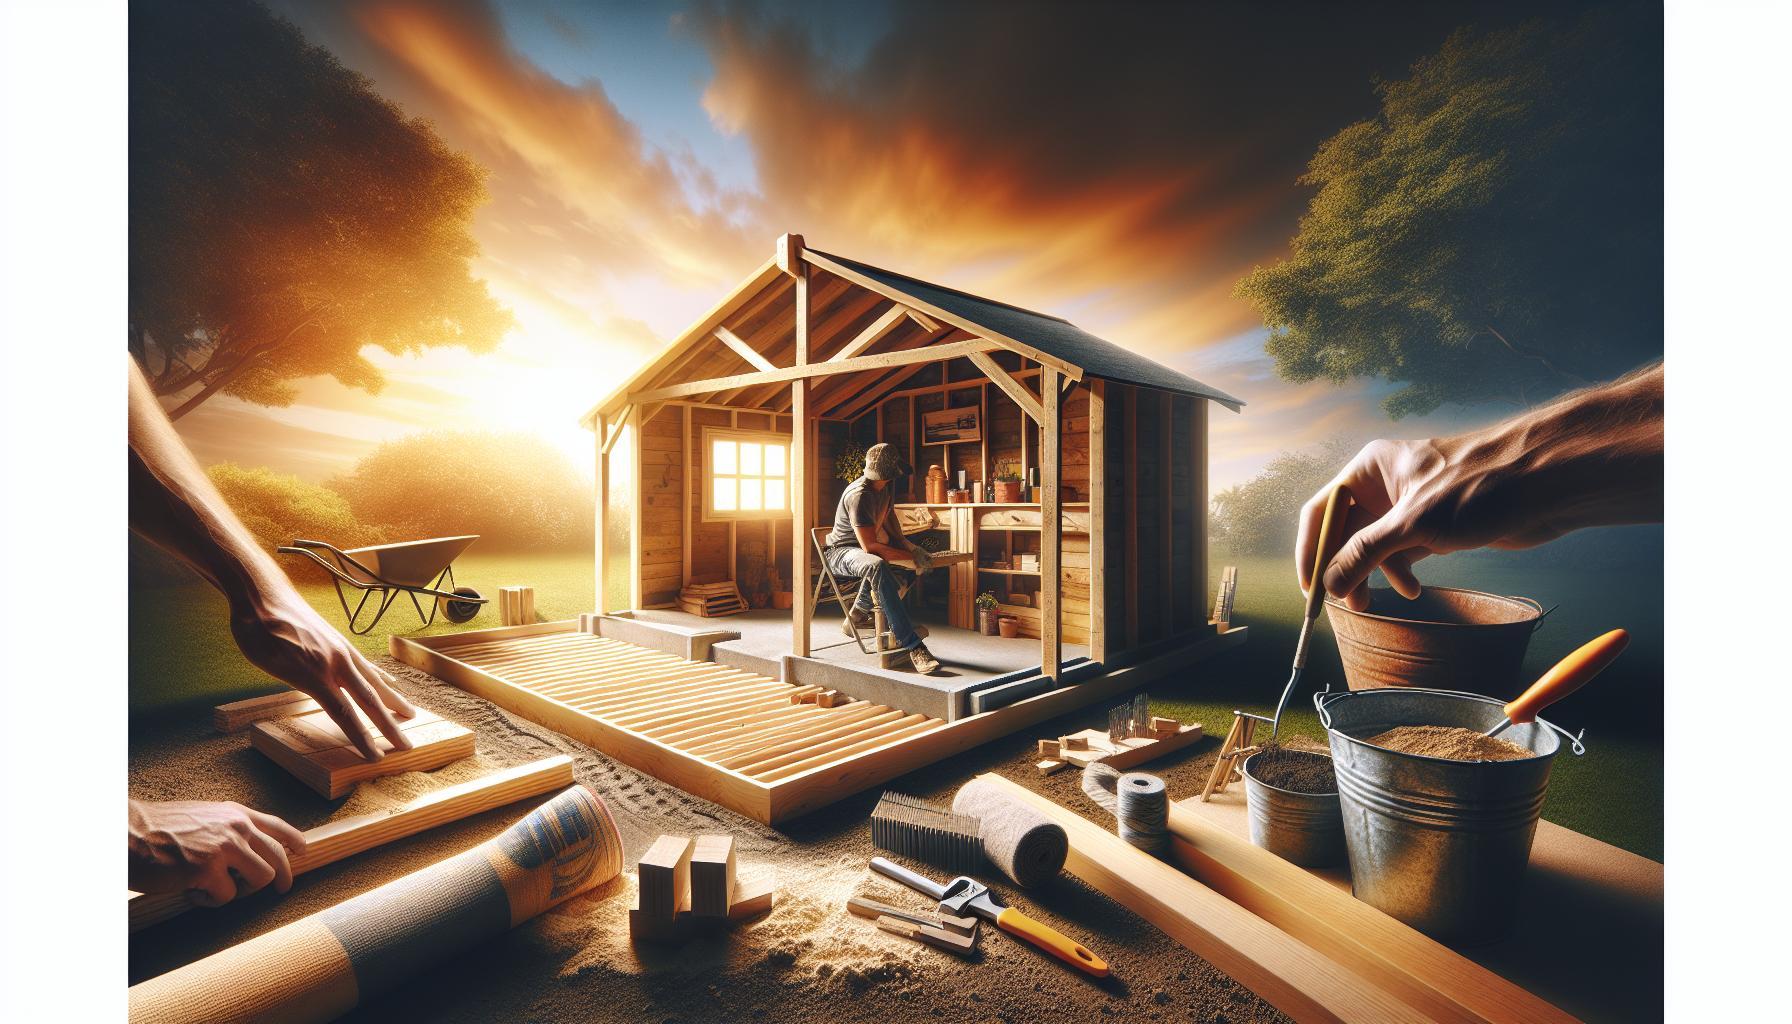
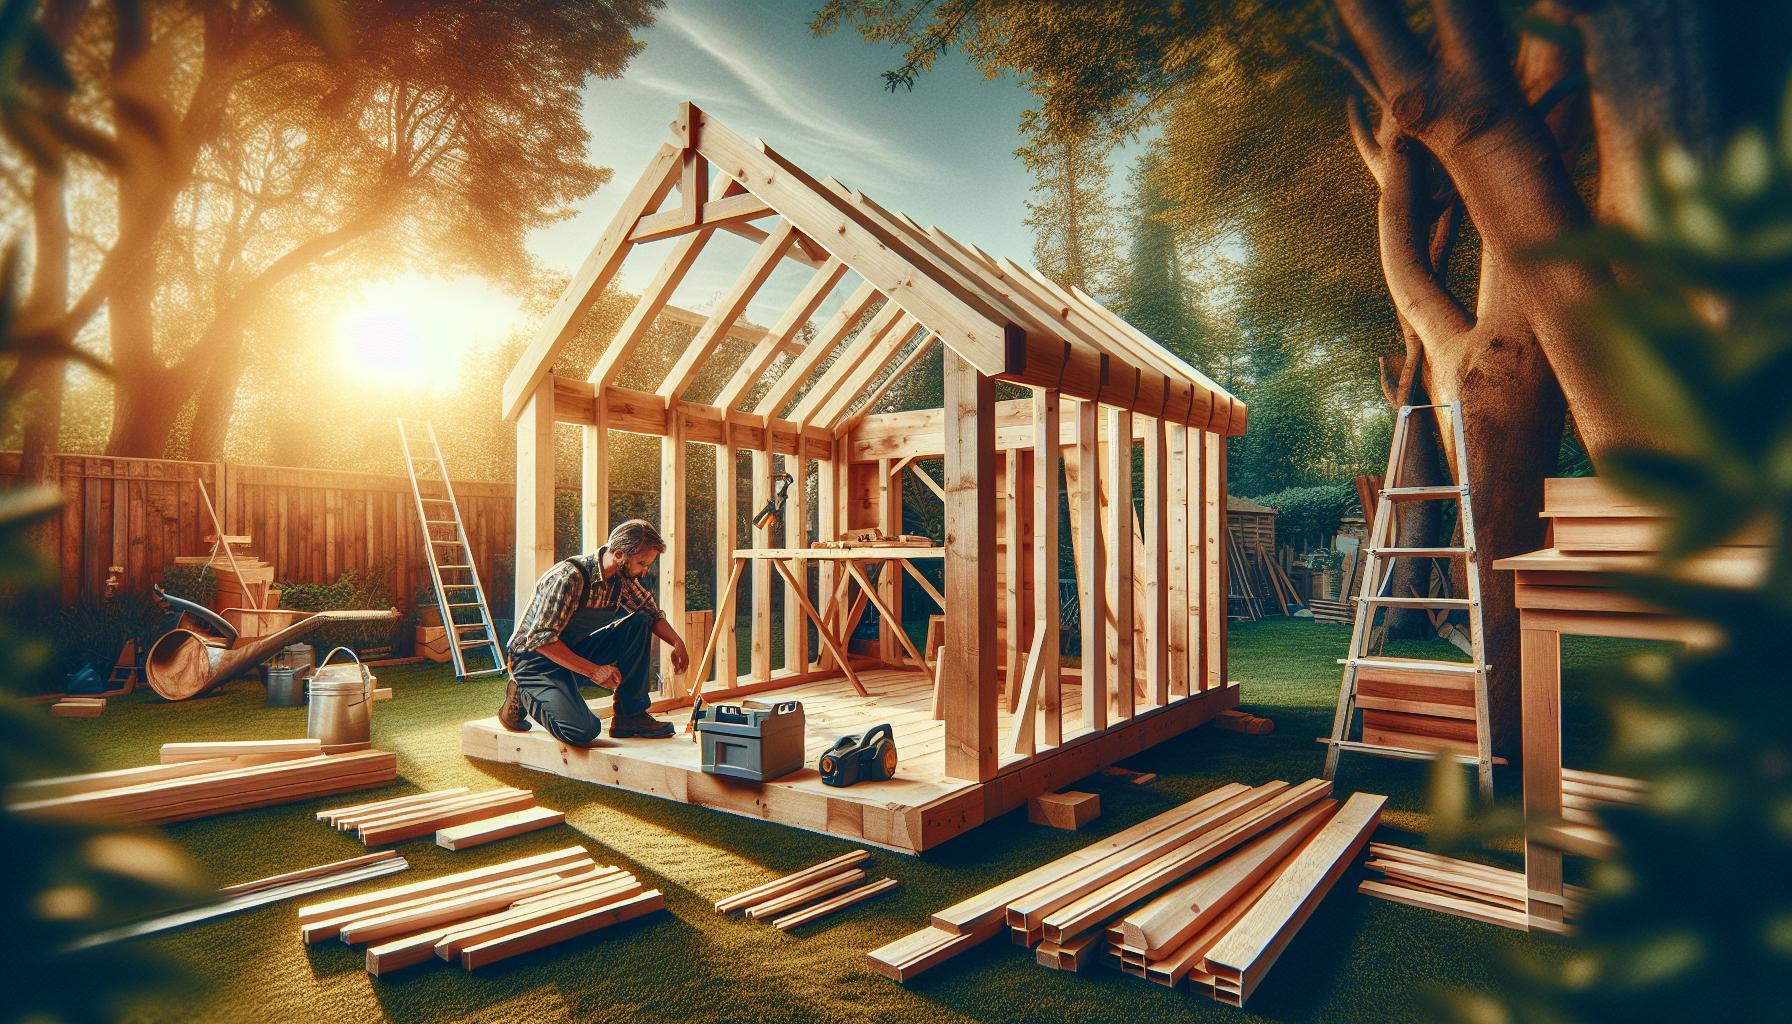
Building a shed can seem daunting, raising a critical question: how long will it take? Understanding the timeline for construction is essential for planning your DIY project and ensuring a smooth process.Weather you’re a seasoned builder or a first-timer, knowing the expected duration can definitely help you manage your time effectively and set realistic expectations for your outdoor space.
Understanding the Factors Influencing Shed Construction Time
constructing a shed can be a rewarding DIY project,but the time it takes to see it through depends on a variety of factors. Understanding these influences can definitely help you effectively plan and execute your project, ensuring that you’re not caught off-guard by unexpected delays or challenges. Key elements that determine the timeline for shed construction include the type of shed, preparation work, weather conditions, and your personal skill level.
Type of Shed
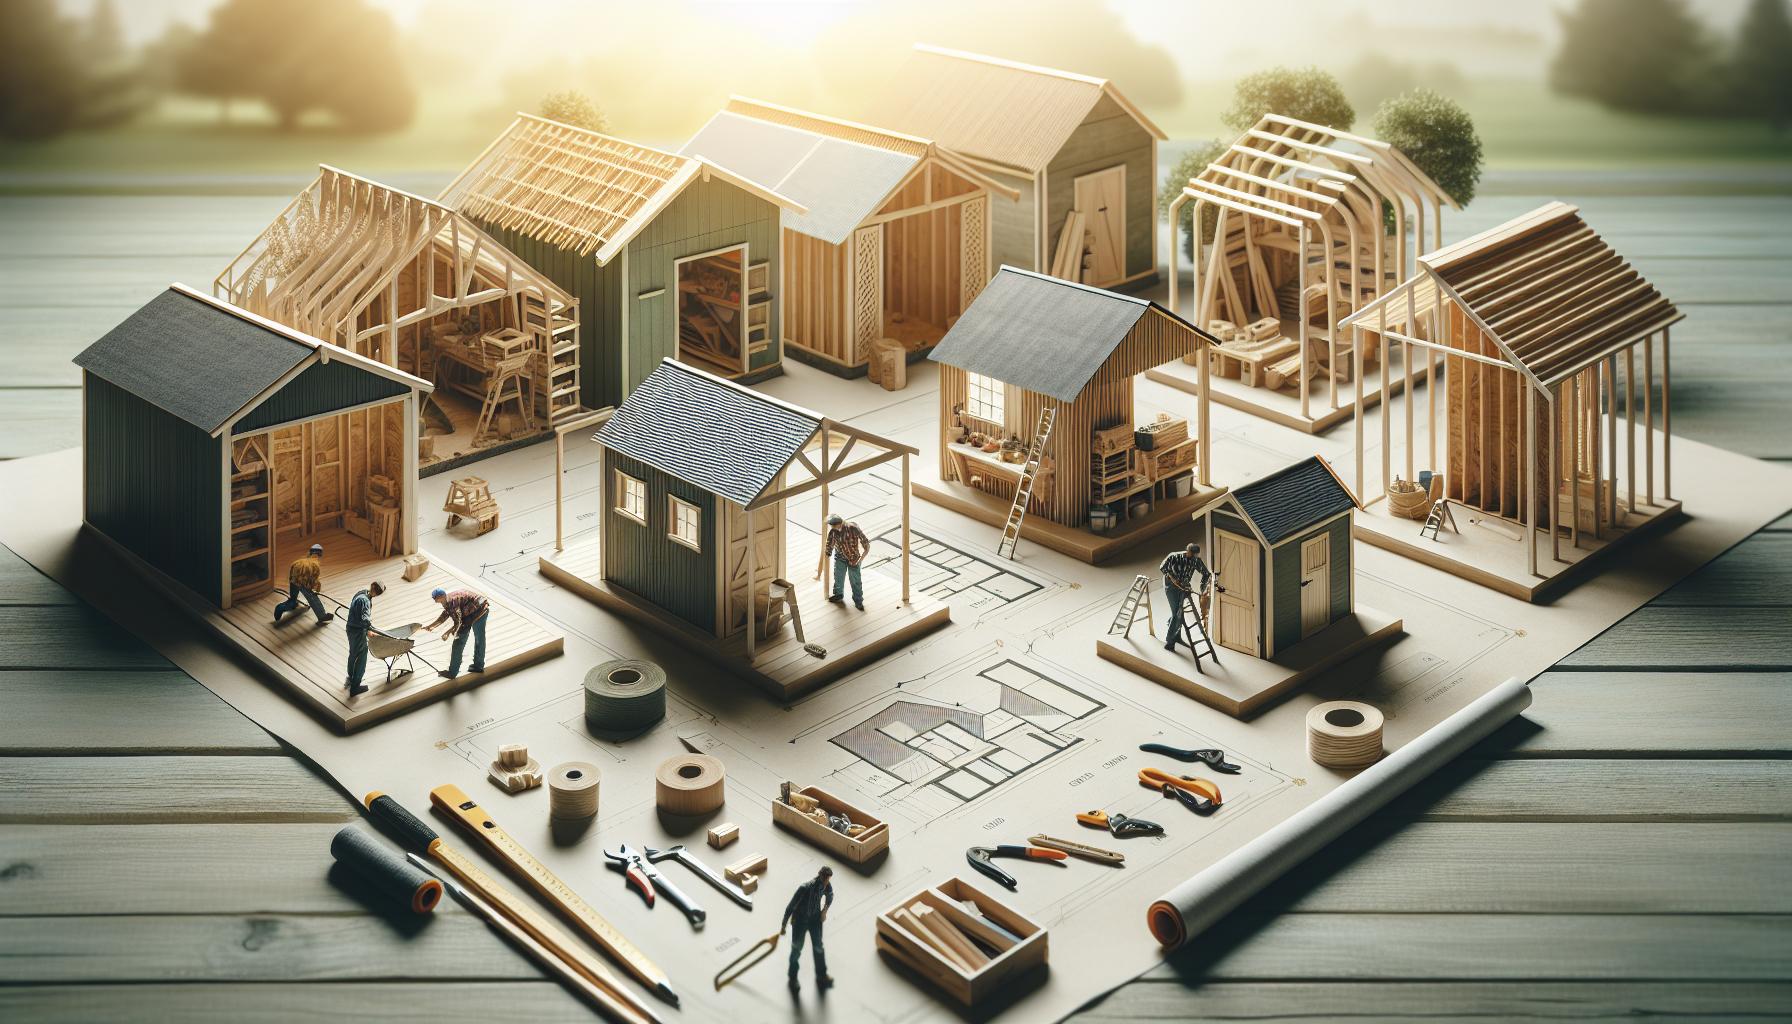
The design and materials you choose for your shed can significantly impact the overall construction time. As a notable example, a basic lean-to shed typically requires less time to assemble compared to a more elaborate gabled shed with detailed window installations or porch additions. Additionally, pre-fabricated kits can simplify the process, reducing assembly time dramatically. Conversely, building from scratch demands more effort in terms of planning, gathering materials, and construction techniques, usually extending the timeline from a few days to several weeks.
preparation and Site Work
preparation also plays a vital role in determining how long it takes to build a shed. this includes the time spent on choosing a suitable location, clearing the area, and laying a foundation. A well-prepared site might save you hours or even days of work during construction. If you’re building on uneven ground or need to establish a concrete slab or wooden base, factor in additional time for these tasks. A well-thought-out site plan leads to smoother construction, allowing you to focus more on building rather than troubleshooting.
weather Conditions
Another crucial factor is the weather. Inclement weather—such as rain, snow, or extreme heat—can stall your progress. Ideally, you want to plan your building sessions for dry days to prevent delays. In areas with unpredictable climates, it’s wise to have flexible scheduling in place and keep a close eye on local forecasts. Organizing your build during seasons with favorable weather can enhance efficiency and ease the overall process.
skill Level and Help
Lastly, your personal proficiency in construction as well as the number of people you have assisting you can significantly alter the timeline. If you’re a seasoned DIY enthusiast, you may complete the project quicker than someone with minimal experience. However, it may be helpful to enlist help from friends or family, as this can speed up the building process and introduce collective knowledge and skills.it’s frequently enough recommended to assemble a team before starting; not only can this make the construction more enjoyable, but it can also reduce the likelihood of mistakes that could lead to setbacks.
Understanding these factors and how they influence the timeline for your shed construction allows you to better plan your project and set realistic expectations,paving the way for a successful and timely completion.
Breaking Down the Shed Building Process: A step-by-Step Timeline
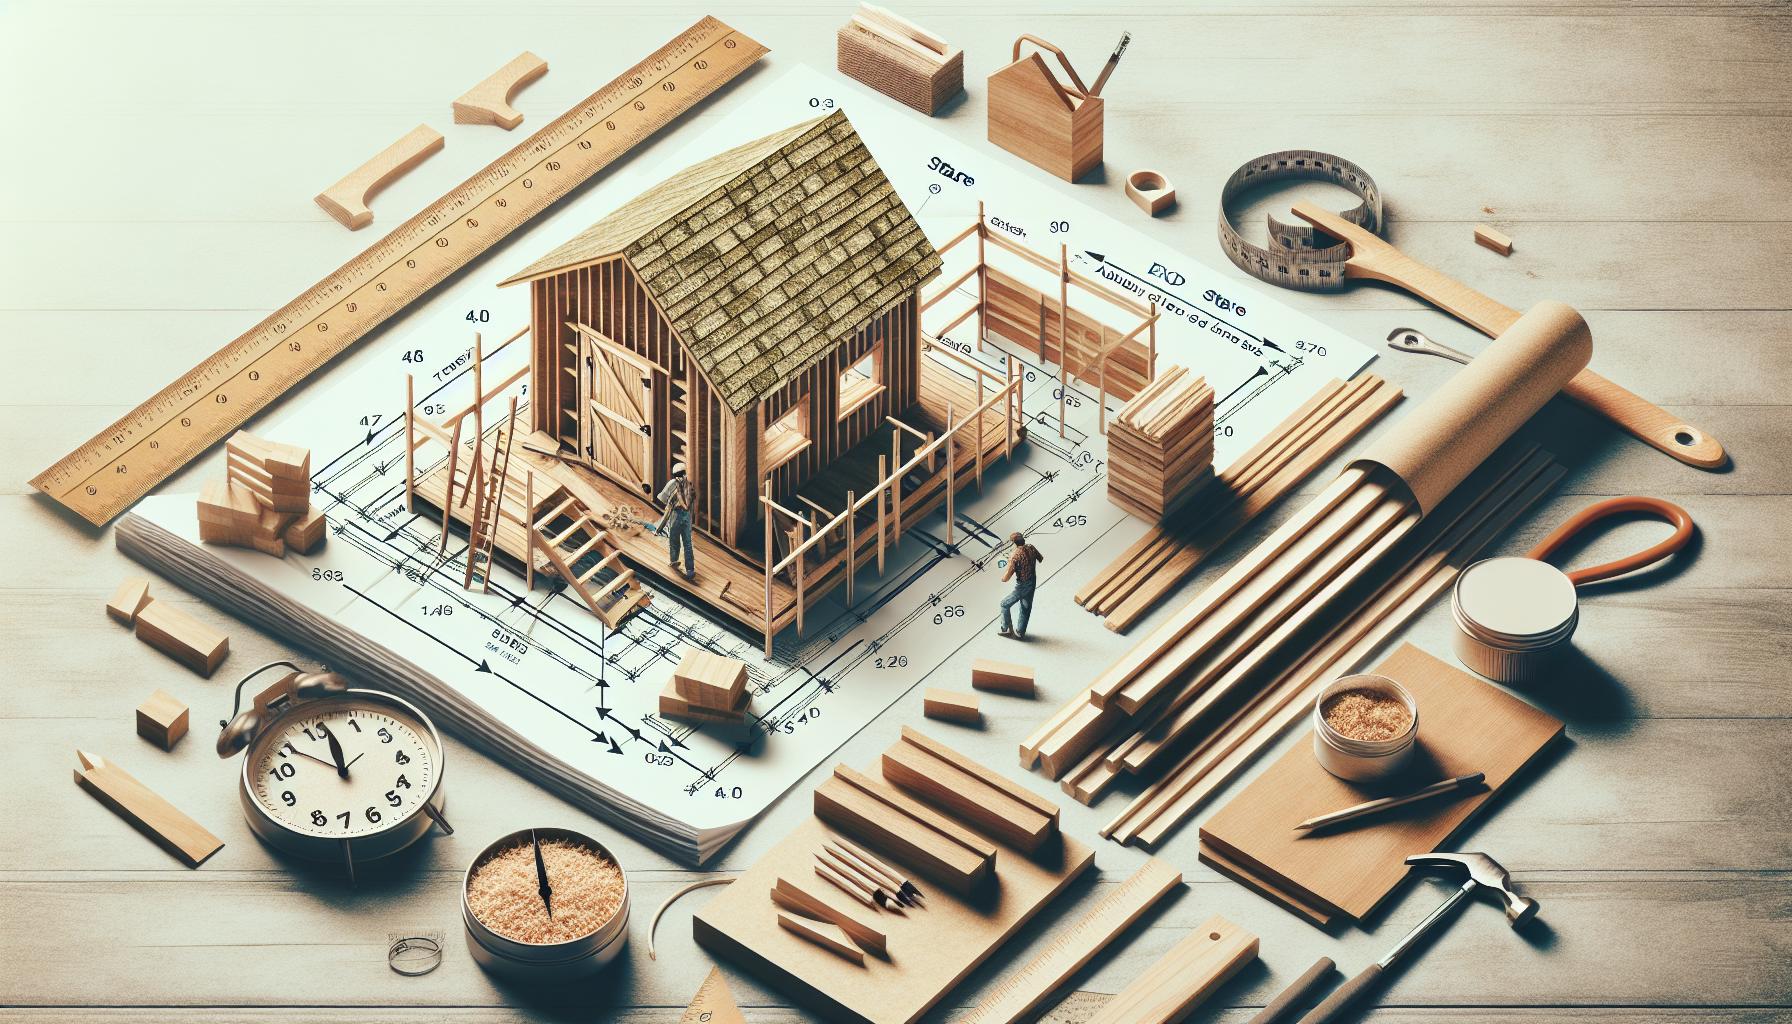
The journey of building a shed can be as rewarding as it is time-consuming, depending on various factors such as design complexity and your experience level. For those considering this DIY venture, understanding the timeframe is crucial to planning effectively. On average, the completion of a basic 10×10 shed can take around 20 to 25 hours of labor if you’re moderately skilled, but many factors—like material choice, the level of detail in construction, and weather—can influence this timeline significantly.
Initial Planning and Preparation
Before you even pick up a tool,the groundwork—quite literally—is essential. This phase includes selecting a suitable location, obtaining permits if necessary, and gathering materials. Expect this to take a couple of days to ensure that everything is in order. Time spent on planning greatly reduces delays during the building phase.
Construction Timeline
Onc preparations are complete, the actual construction can begin. This phase can generally be broken down as follows:
| Phase | Estimated Time |
|---|---|
| Foundation and Floor Framing | 3-5 hours |
| wall Framing and Construction | 4-6 hours |
| Roof Installation | 3-5 hours |
| Doors and Windows Installation | 2-4 hours |
| Finishing Touches (painting, siding) | 3-5 hours |
From laying the foundation to the final paint touch-ups, each step contributes to the overall timeline of how long it takes to build a shed, with some projects wrapping up in just a weekend while others may extend over weeks, depending on your agenda and weather conditions.
Final Considerations
After construction, ensure to allocate time for adjustments and checks. As a notable example, if you’ve opted for electrical installations or other complex features, these tasks could add extra hours to your project. Eventually, taking the time to enjoy your new shed or adjust it as needed is all part of the rewarding experience of building your own space, making the question of “How long does it take to build a shed?” not just about the hours spent, but the joy and satisfaction derived from your hard work and creativity.
Essential tools and Materials: Setting Yourself Up for Success
When embarking on the journey of building your own shed, preparation is key to not only ensuring a smooth construction process but also keeping your project within the projected timeline outlined in guides like “How Long Does It Take to Build a Shed? Timeline for DIY Success.” Having the right tools and materials not only enhances your efficiency but also your confidence in executing the project effectively.
Essential Tools
to start, gather the essential tools that will help streamline your build process. Here’s a list of the most critical items you’ll need:
- Measuring Tape: Accurate measurements are crucial for cutting and assembling various components.
- Level: Ensure walls are plumb and the structure is square.
- Hammer: For driving nails and assembling framework.
- Saw: A circular saw or hand saw will be necessary for cutting wood to size.
- Screwdriver: Either manual or electric, this is vital for screwing together parts.
- Square: Helps with achieving right angles in your construction.
- Power Drill: Essential for quick assembly and taking screws in and out.
- Ladder: Needed for reaching high areas during the construction of your shed.
Materials Needed
Next,you’ll need to select your materials carefully.The choices you make can significantly influence both the durability and aesthetics of your shed.Here is a breakdown of commonly used materials:
| Material | Description |
|---|---|
| Wood | Typically 2x4s or 2x6s for framing, and plywood or OSB for sheathing. |
| Roofing Material | asphalt shingles or metal roofing are popular choices due to their durability. |
| Paint or Stain | For protecting the wood from the elements and adding visual appeal. |
| Screws and Nails | Essential for securing all parts of your shed together. |
| Foundation Blocks or concrete | Provides a sturdy base to prevent moisture damage. |
By assembling your arsenal of tools and materials ahead of time, you can mitigate delays and remain on track with your construction timeline. This meticulous preparation not only boosts your chances of finishing your shed promptly but also provides a rewarding DIY experience as you can see your project come to life efficiently. Whether you’re a seasoned builder or a beginner following the guidance of “How Long Does It take to Build a Shed? Timeline for DIY Success,” having these essentials in place will pave the way for a successful shed construction.
Common challenges in DIY Shed Building and How to Overcome Them
Building a shed can be an exciting DIY project, but it often comes with its own set of challenges that can hinder progress and lead to frustration. One of the most common issues faced by DIYers is misjudging the amount of time and effort required to complete the project. Weather conditions, supply chain delays, and personal time constraints can all add unexpected delays to your timeline. as an example, even with the best planning, a sudden rainstorm can cause significant setbacks.To counteract these obstacles, it’s crucial to incorporate buffer time into your project schedule, allowing extra days for unforeseen circumstances.
Planning and Preparation
A lack of adequate planning is another hurdle that many encounter. Successful shed construction hinges on thorough preparation,which includes having a detailed design,a list of materials,and the right tools on hand before starting. Common mistakes include underestimating the amount of lumber needed or purchasing incorrect sizes. To avoid these pitfalls:
- Start with a clear blueprint that accounts for dimensions and materials.
- Measure twice to ensure accurate cuts and material purchases.
- Consult resources or experts if unsure about specific design elements.
Skill Level awareness
Identifying personal skill levels is also essential in the DIY process. Many first-timers may underestimate the complexity of certain tasks,leading to frustration and errors. It’s critically importent to realistically assess your skills and seek assistance for tasks that go beyond your experience, such as electrical work or specialized roofing techniques. A good practice is to practice simpler skills on smaller projects before tackling the shed, which can build confidence and competence.
Time Management and Coordination
Time management can be especially challenging when building a shed. Balancing work, family, and other commitments can lead to stalled projects.To maintain momentum, create a timeline that breaks down the construction into manageable phases with deadlines. For example, allocate specific days for site preparation, framing, and roofing. Consider using tools like project management apps to track progress and stay organized.
Incorporating these strategies into your shed building project can significantly enhance your chances of success. A well-prepared plan combined with realistic timelines and skill assessments will not only help you avoid common challenges but also contribute to a more satisfying building experience. By looking ahead and preparing for potential issues, you can enjoy the journey of constructing your own shed without unneeded setbacks.
Weather Considerations: Timing Your Build for the Best Results
Timing your construction project effectively can significantly impact the quality and longevity of your shed, making weather considerations a crucial aspect of planning. Building a shed during favorable weather conditions can not only enhance your efficiency but also reduce potential complications that arise from adverse weather. For example, constructing in dry, moderate temperatures is ideal, as this minimizes the risk of material damage and ensures proper adhesion of paint and sealants.
Choosing the Right Season
Spring and early fall are often prime times to embark on your shed-building journey. During these seasons, temperatures are generally mild, and there is less chance of extreme weather, allowing for a comfortable working habitat. Here are some factors to consider when selecting the best time:
- Precipitation: Minimize your risk of rain delays by choosing weeks that typically have lower rainfall.
- Temperature: Aim for temperatures between 50°F and 85°F for optimal material performance and worker comfort.
- Sunlight: Longer daylight hours in spring and summer can allow you to maximize your working time.
Temperature Considerations
Extreme temperatures can impede your project. As a notable example, in colder climates, building in winter may cause wood to contract, leading to gaps and structural weaknesses once temperatures rise. Conversely, summer heat can warp materials. Here’s a simple guideline for temperature:
| Temperature Range | Impact on Construction |
|---|---|
| Below 45°F | Adhesives and paints may not cure properly. |
| 45°F – 85°F | Ideal for most construction activities. |
| Above 85°F | Risk of heat stress for workers and material deformation. |
Planning is essential, especially when referencing the timeline outlined in ‘How Long Does It Take to Build a Shed? Timeline for DIY Success.’ By aligning your construction schedule with favorable weather conditions, you can not only enhance the quality of your build but also ensure a smoother construction process. Prioritize consulting local weather forecasts and historical data to choose the most beneficial time to start your project. This assessment will help you anticipate and navigate any potential weather-related challenges, contributing to a successful DIY shed-building experience.
Budgeting Your Time: How to Allocate hours for Each Stage
Building a shed can be a fulfilling DIY project, but without proper time allocation, it can quickly become overwhelming. Understanding how long each stage takes is essential for a successful build, helping you manage your expectations and stay on track. By budgeting your time effectively,you can enjoy a smoother construction process and avoid the pitfalls of inadequate planning.
Understanding the Stages of Shed Construction
To accurately allocate your hours, it’s crucial to break down the project into distinct phases. Generally, the main stages of constructing a shed include:
- Designing and Planning: This phase typically involves selecting the shed design, gathering materials, and creating a detailed plan.Depending on the complexity, this could take anywhere from a few hours to a few days.
- Foundation Setup: Preparing the ground and establishing a stable foundation is vital. Whether you’re using concrete blocks or a wooden frame,expect to devote 4 to 8 hours to this step.
- Framing: This phase can take a significant amount of time, often around 8 to 12 hours, depending on the size of your shed. Precision is key, as this structure needs to support the overall integrity of the build.
- Roofing and Siding: Installing shingles and siding is usually a two-day effort, allowing approximately 8 to 16 hours. Weather conditions may affect this timeline, so it’s wise to prepare for potential delays.
- Finishing Touches: This final phase, which includes painting and adding shelves or hooks, may take an additional 4 to 8 hours. It’s a great time to personalize your shed and make it functional.
Creating a Time Budget
Once you identify each stage, create a time budget to allocate your hours effectively. Start by estimating the time needed for each phase and then add extra time for unforeseen challenges. This buffer can be critical—you might run into unexpected issues like bad weather or material delays.
A simple approach is to develop a timeline table to visualize your plan:
| Phase | estimated Time | Buffer Time | Total Time |
|---|---|---|---|
| Designing and Planning | 8 hours | 2 hours | 10 hours |
| Foundation Setup | 6 hours | 2 hours | 8 hours |
| Framing | 10 hours | 3 hours | 13 hours |
| Roofing and Siding | 12 hours | 4 hours | 16 hours |
| Finishing Touches | 6 hours | 2 hours | 8 hours |
By structuring your time this way, you gain clarity on the total hours needed for your shed project. This organization minimizes stress and creates a roadmap for your DIY construction journey, ensuring you stay committed to achieving your vision. Remember, the key to a successful build is not only the hours logged but also the enjoyment of the process and the satisfaction of seeing your hard work come to fruition.
Tips for Streamlining Your Shed Project: Maximize Efficiency
Building a shed can be an incredibly rewarding DIY project, but efficiency is key to avoiding unnecessary delays and maximizing your investment. Understanding the timeline for shed construction is crucial, as it keeps your project on track and helps you prepare adequately for each phase.Here are some practical tips to streamline your shed project, ensuring that every step happens smoothly and effectively.
Plan Thoroughly Before You Start
A detailed plan is the backbone of any successful shed construction project. Begin with a clear blueprint or design that includes all dimensions, materials, and tools required. this step not only helps in budgeting but also minimizes the chances of mistakes during the build. consider using software tools for design visualization, which can save time and enhance planning accuracy. Be sure to check local building regulations and obtain necessary permits, as navigating this process later can significantly delay your project.
Organize Your Workspace
A cluttered workspace can lead to inefficiencies and safety hazards. Set up a dedicated area for tools and materials close to your construction site. Keep your workspace organized by using racks and toolboxes. Clearly label storage bins to quickly grab what you need. This method not only saves time but can also help prevent losing essential items during the build. Consider the layout of your shed in relation to this workspace; having easy access to materials will enhance productivity.
Gather Everything Before You Begin
Before you break ground on your shed, ensure you have all materials and tools available. This includes not only the lumber and hardware but also safety gear like gloves and goggles.A checklist can be incredibly beneficial for this purpose. Here’s a simple example of what your checklist might include:
| Materials | Tools | Safety Gear |
|---|---|---|
| wood (lumber) | Drill | Gloves |
| Nails and screws | Saw | Goggles |
| Roofing material | Measuring tape | Ear protection |
| Insulation (if needed) | Level | Mask |
Use Efficient Construction Techniques
Maximizing efficiency during construction frequently enough comes down to technique. Utilize prefabricated kits to reduce assembly time, or consider modular designs that allow for a quicker build process. When framing, use techniques that ensure strong connections, such as pocket holes or metal brackets, which can save time on repairs later.Additionally, enlist friends or family for assistance—two pairs of hands can significantly speed up the construction process.
Incorporating these effective strategies will not only help you understand how long it takes to build a shed but also enhance your overall experience, ensuring that your project is completed on time and with minimal stress. A little preparation can make all the difference, transforming your ideas into a completed shed that you can be proud of.
From Planning to Completion: Milestones to Track Your Progress
Building a shed can be a rewarding DIY project, but it requires careful planning and tracking of various milestones to ensure success. Understanding the timeline can significantly impact your overall efficiency and satisfaction with the project. By breaking down the process into manageable steps, you can maintain momentum and stay focused, ultimately answering the pressing question of how long it takes to build a shed.
Essential Milestones to Consider
To effectively manage your shed construction, consider these key milestones:
- Design and Planning: Start by sketching your shed design, considering dimensions and features. This initial step can be a creative process where you envision the functionality of your space.
- Material Selection: Choose high-quality materials compatible with your design.Preparing a detailed list of needed supplies will streamline your shopping trips and ensure you have everything on hand when construction begins.
- Site Preparation: Clear the area where the shed will sit, ensuring it’s level and free of debris. This involves measuring and marking the exact placement, which is crucial for a sturdy build.
- Foundation Work: Establishing a solid foundation is vital. Whether opting for a concrete slab or skids, ensure you follow local guidelines related to your chosen foundation type.
- Framing and Structure: The framing of your shed marks a significant milestone; it defines the structure’s layout and strength. attention to detail during this step will pay off with a sturdy final product.
- Roofing and Siding: Once the structure is framed, adding roofing and siding protects your shed from the elements. Be sure to utilize moisture barriers to safeguard your materials.
- Finishing Touches: Lastly, address any final installations, such as windows, doors, and interior organization (shelves, hooks), relevant to your usage needs.
Tracking Your Progress
To manage your project effectively, consider using a progress tracking table:
| Milestone | Completion Date | Status |
|---|---|---|
| Design and Planning | [Date] | [Pending/Complete] |
| material Selection | [Date] | [Pending/Complete] |
| Site Preparation | [Date] | [Pending/complete] |
| Foundation Work | [Date] | [Pending/Complete] |
| Framing and Structure | [Date] | [Pending/Complete] |
| Roofing and Siding | [Date] | [Pending/Complete] |
| Finishing Touches | [Date] | [Pending/Complete] |
By keeping detailed records of when each milestone is achieved, you can adjust your timeline if necessary, ensuring that you stay on track. regularly assessing your progress will also help to reinforce your motivation, turning the rewarding experience of building a shed into a successful reality.
Q&A
How long does it take to build a shed?
Building a shed typically takes anywhere from 3 to 7 days, depending on the size, complexity, and your experience level. For instance, a basic 8’x10′ shed can usually be completed in about 3 to 4 days.
Factors influencing the timeline include the shed’s design complexity, weather conditions, and whether you’re working solo or with a team. Proper preparation, such as having all materials ready and planning for unexpected delays, can also help maintain your timeline. To ensure success, consider using a detailed shed plan that outlines each step of the construction process.
What tools do I need to build a shed?
To build a shed, you will need essential tools like a circular saw, power drill, level, tape measure, and safety gear.These tools are fundamental for measuring, cutting, and assembling your shed efficiently.
Additionally, having accessories like clamps, a ladder, and possibly a nail gun can speed up the process. Investing in quality tools enhances precision and reduces frustrations during construction. For a detailed list of tools and how to use them effectively,check out our guide on shed building essentials.
Can I build a shed without a permit?
Whether you need a permit to build a shed depends on your local regulations. Many areas allow small sheds without permits, typically under 120 square feet, but it’s essential to check your local building codes.
failure to obtain necessary permits can lead to fines or have to dismantle your shed. Always contact your local building department before starting construction to confirm your requirements and avoid unexpected complications.Look for resources on permit requirements specific to your area.
What is the best time of year to build a shed?
The ideal time to build a shed is during the spring or early fall when the weather is mild and dry. These seasons provide comfortable temperatures and lower chances of rain, making construction easier.
Summer can be too hot, causing exhaustion, while winter months can present challenges like snow and freezing temperatures. Planning your project for spring or fall not only improves comfort but also promotes better material handling and drying times. For weather-related tips, refer to our seasonal construction guide.
How can I speed up my shed-building process?
to speed up your shed-building process, start by organizing your materials and tools beforehand. Having everything in place reduces downtime and keeps the project flowing smoothly.
Additionally, working with a partner can significantly accelerate construction, as you can handle tasks simultaneously. Following a clear,detailed plan,and avoiding distractions will also keep you focused and efficient. if you’re interested in strategies for better project management,check out our tips for DIY success.
What if I encounter issues while building my shed?
If you face issues while building your shed, such as misalignment or missing materials, stay calm and assess the situation before proceeding. Common problems can often be solved with a little troubleshooting.
For example, if walls are out of square, check your measurements and adjust accordingly before attaching them permanently. Having a resource like a shed-building guide or a community forum can provide additional support. For more solutions to common shed-building challenges, visit our troubleshooting FAQs.
Can I customize my shed design?
Yes, you absolutely can customize your shed design! Many DIYers choose to adapt plans to fit their specific needs, such as adding windows, shelves, or even a loft.
Customizing your shed not only makes it more functional but also adds a personal touch. Consider what you’ll use the shed for, such as storage or a workshop, to guide your design choices. Explore our collection of customizable shed plans to inspire your project.
Insights and Conclusions
building a shed can be a rewarding endeavor that opens up a world of possibilities for enhancing your outdoor space. We’ve outlined the key stages of the construction process, from planning and prepping your site to the final touches that make your shed truly yours. Remember, while timelines can vary based on design complexity, skill level, and available resources, with a little patience and diligence, you can achieve your DIY goals. Equip yourself with the right tools and knowledge, and don’t hesitate to consult planning resources or guides for support. If challenges arise, view them as opportunities to learn and improve your craftsmanship. Embrace the journey of creation, and soon you’ll take pride in a sturdy, functional shed that meets your needs. for more tips,techniques,and inspiration,continue exploring our resources and join a community of fellow DIY enthusiasts eager to share their experiences. Happy building!

