Building a shed is an exciting DIY project, but do you really need special tools to get started? Understanding the essential equipment required not only makes the process smoother but also ensures a accomplished outcome. This guide will help you identify the must-have tools for constructing your shed, making your build efficient and enjoyable.
Understanding the Basics: What Tools Do You Really Need?
When embarking on the exciting journey of shed construction, many DIY enthusiasts wonder about the necessity of specialized tools for the task at hand. While the answer may differ based on your specific design and construction goals, having the right foundational tools can significantly simplify the building process. Understanding what tools you really need can save you time, money, and potential headaches down the line, allowing you to focus more on crafting the perfect outdoor storage solution.
Essential Hand Tools
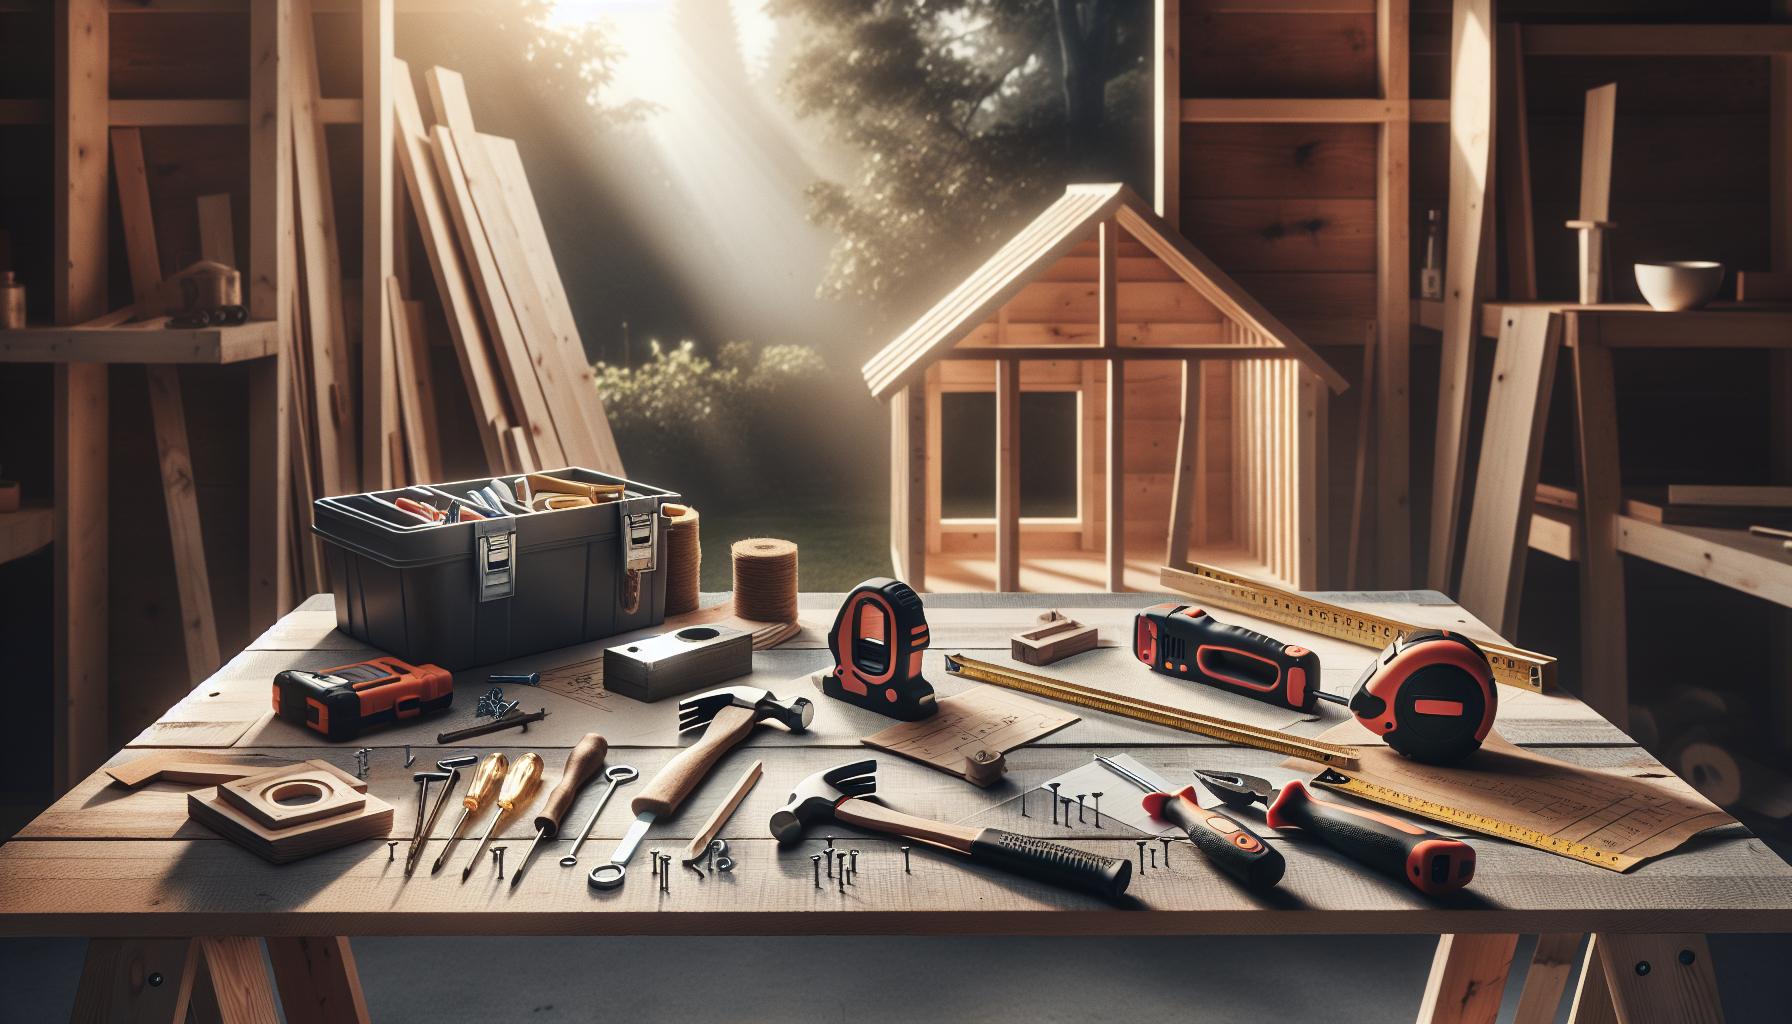
At the core of any shed-building project is a collection of reliable hand tools. These instruments will not only help you in the initial construction but also in any future modifications or repairs. Here are some indispensable items to consider:
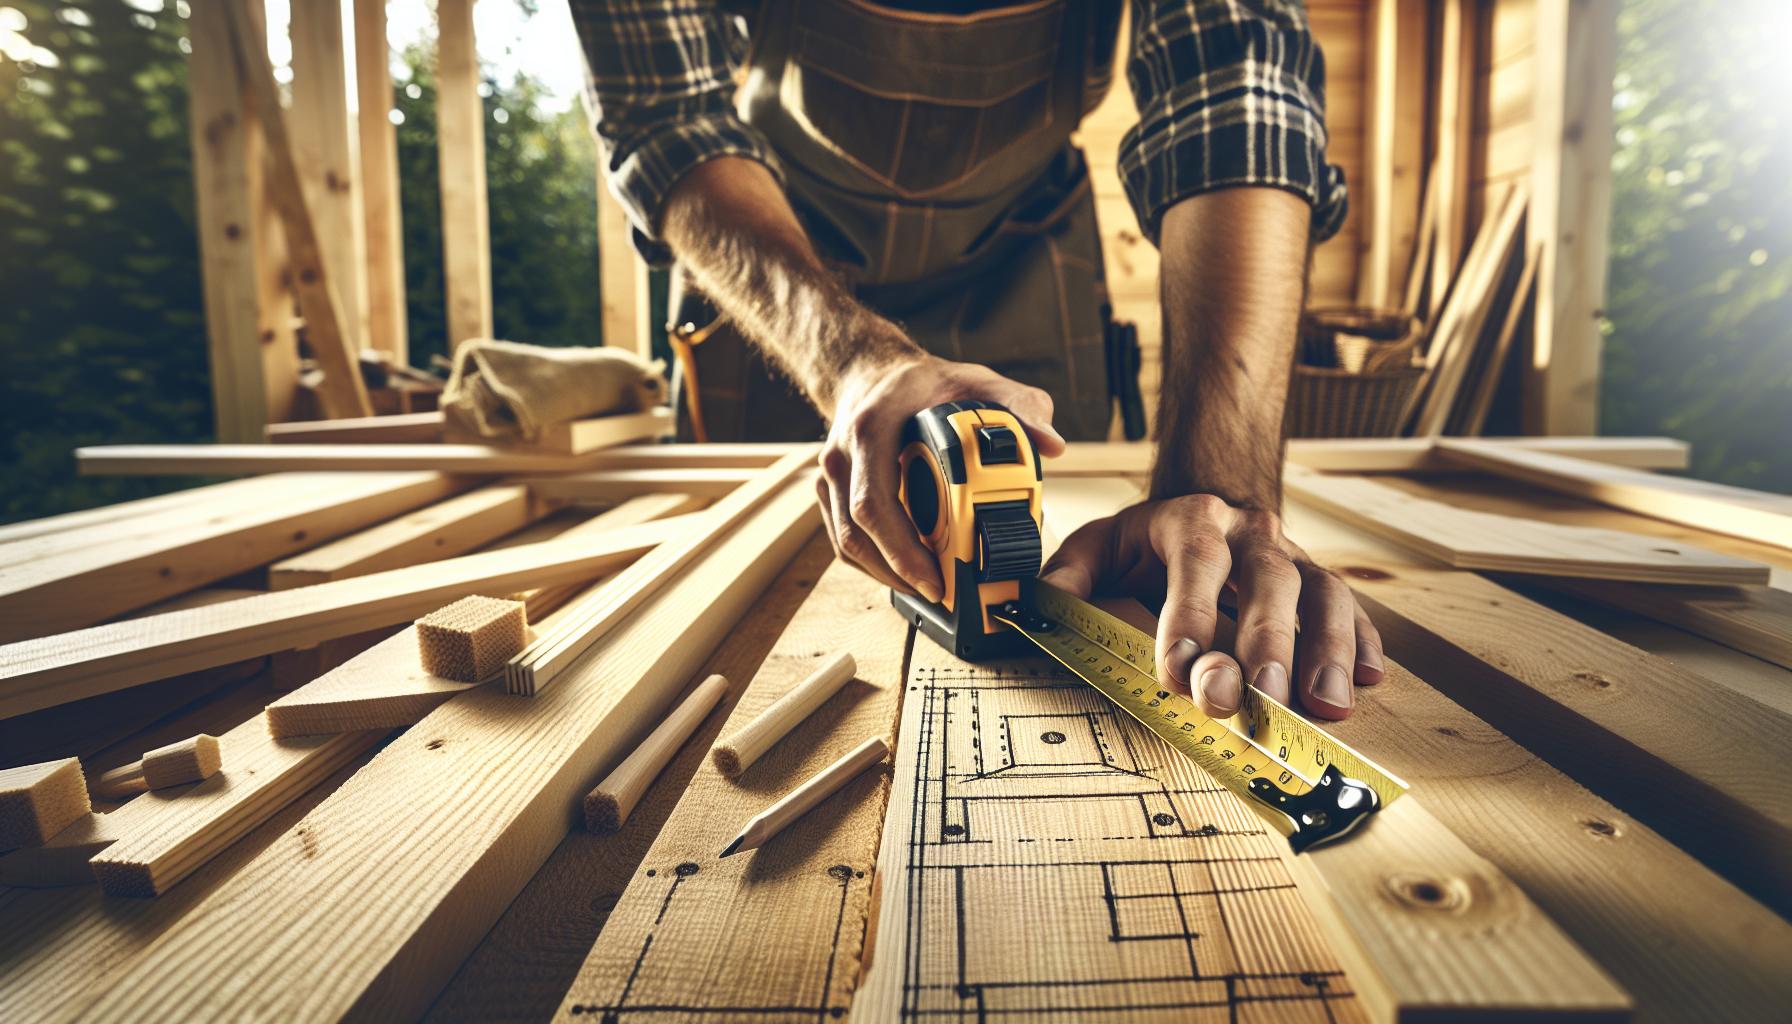
- Measuring Tape: Accurate measurements are crucial for a successful build, so invest in a good-quality measuring tape.
- Level: this tool ensures your structure is even and helps prevent structural problems.
- Square: A carpenter’s square is essential for ensuring your corners are right angles.
- Hammer: A staple in any toolset, a good hammer facilitates the driving of nails into the wood.
- Saw: Depending on your build, a handsaw or power saw will allow for precise cutting of materials.
Power Tools for Efficiency
If you plan to streamline your building process and reduce physical strain, power tools are worthwhile investments. While they may not be strictly necessary, they can provide greater precision and speed.Here are a few power tools that can enhance your efficiency:
- Drill: A cordless drill is indispensable for making pilot holes and driving screws quickly.
- Impact Driver: This tool provides extra torque, making it easier to drive in long screws into timber.
- Table Saw: For larger projects, a table saw can make precise cuts with ease, saving you time and effort.
- Miter Saw: Perfect for making angled cuts,especially for framing or trim work.
Safety Gear and Additional Equipment
Don’t overlook the importance of safety while tackling your shed project.Adequate protective gear is essential to ensure your well-being throughout the construction process. Essential items include:
- Safety Glasses: Protect your eyes from dust and debris.
- Work Gloves: Provide grip and protect your hands from cuts and splinters.
- Dust Mask: This is significant if you are working with treated lumber or generating a lot of sawdust.
Incorporating this varied toolkit not only answers the question of whether special tools are necessary but also sets you up for success. having the right equipment on hand enables you to tackle both the standard tasks of shed construction effectively, as well as any unexpected challenges that may arise.
Essential Hand Tools for Shed Construction: A Beginner’s Guide
When embarking on the journey of building your own shed, having the right tools can make the difference between a smooth experience and a frustrating one. Essential hand tools are not just useful; they are crucial for ensuring precision and efficiency in your construction project. Whether you’re a first-time builder or just looking to refresh your tool collection, understanding which tools to have on hand is vital. Below,we explore the essential hand tools you’ll need,highlighting their purposes and best practices for use.
Key Hand Tools for Your Shed Project
To successfully build a shed, certain hand tools are indispensable. These tools help in cutting, measuring, securing, and finishing your structure. Here is a list of must-have hand tools for your shed construction project:
- Measuring Tape: This indispensable tool ensures accurate dimensions for your shed. A 25-foot measuring tape is typically sufficient for most shed sizes.
- Level: A great tool for ensuring your walls and floor are straight and level, preventing future structural issues.
- hammer: For driving nails into wood and ensuring a secure build. A good framing hammer typically weighs around 16 ounces.
- Screwdriver Set: A set that contains both flathead and Phillips screwdrivers will cover you for most fastening needs.
- Handsaw: If you prefer a more customary approach, a handsaw is perfect for cutting wood to the desired lengths. Alternatively, a miter saw can offer more precision for angled cuts.
- Utility Knife: Useful for scoring and cutting materials like shingles or plastic sheeting.
Specialized Tools for Additional Precision
In addition to the basic tools, you may also consider adding some specialized options that can enhance your efficiency:
| Tool | Function |
|---|---|
| Square: | Ensures right angles, critical for framing walls and corners. |
| Clamps: | Hold pieces of wood in place while you secure them, providing extra stability. |
| Adjustable Wrench: | Versatile for tightening or loosening bolts during assembly. |
Equipping yourself with these essential hand tools will not only facilitate a smooth construction process but will also build your confidence as a DIY enthusiast. As you gather these tools, remember that careful planning and practice will ultimately lead to a successful and well-constructed shed. Whether building a simple storage space or a beautifully designed garden shed, the right tools are instrumental in turning your vision into reality. This thoughtful checklist serves as a starting point in your quest for the perfect shed, ensuring you’re fully prepared for the task at hand.
Power Tools to Consider: Boosting Efficiency and Precision
Building a shed can be an incredibly gratifying project, especially when armed with the right tools that enhance efficiency and precision. Investing in quality power tools can streamline the construction process,saving you time and ensuring a professional finish. From cutting to fastening, having the appropriate equipment can make all the difference when tackling the checklist outlined in the article about necessary equipment for shed construction.
Essential Power Tools
To elevate your woodworking skills and achieve cleaner cuts, consider these power tools as essential companions in your shed-building journey:
- circular Saw: Perfect for making straight cuts in large sheets of plywood or dimensional lumber, a circular saw is versatile and easy to handle.
- Impact Driver: This tool is invaluable for driving screws effortlessly, especially in tougher materials. It also minimizes the risk of stripping screws.
- Jigsaw: If your shed design features curves or intricate cuts, a jigsaw is the perfect tool. It’s handheld design allows for maneuverability in tight spaces.
- drill/Driver Combo: A must-have for any DIY project, this tool can drill holes and drive screws, making it indispensable for assembly work.
Consider also incorporating tools like a miter saw for precise angled cuts and a sander to give your shed a polished look. These power tools not only boost your efficiency significantly but also improve the accuracy of your work, aligning perfectly with the answers to “do I Need Special Tools to Build a Shed? Essential Equipment Checklist.”
Choosing the right Tools
When selecting power tools, prioritize quality over cost. Durable tools might require a higher initial investment, but they offer longevity and reliability that can enhance your building experience. Brands that specialize in construction tools frequently enough provide warranties, ensuring that your investment is protected. For example, Milwaukee, DeWalt, and Makita are well-respected brands that offer a range of power tools suited for home projects like building a shed.
Additionally, consider the weight and ergonomics of the tools, as you’ll want them to be cozy for prolonged use. If you’re planning extensive building projects,cordless options could provide greater flexibility and ease of movement,helping you refer more frequently to your equipment checklist without the hassle of managing cords.
By carefully choosing the right power tools to incorporate into your project, you can transform the daunting task of building a shed into an efficient, enjoyable experience that ultimately leads to a stunning backyard addition.
Safety First: Must-Have Protective Gear when Building a Shed
When embarking on the exciting journey of building a shed, safety shoudl be at the forefront of your preparations. many overlook the importance of protective gear, often focusing solely on the tools and materials.However, wearing the right safety equipment not only helps prevent injuries but also enhances your overall comfort and efficiency while working.With saws whirring and hammers ringing,the hustle of construction can lead to accidents,making personal protective equipment (PPE) an essential addition to your tool checklist.
Before diving into the construction phase, equip yourself with the must-have protective gear. A sturdy pair of work gloves can protect your hands from cuts and splinters, providing a secure grip on tools. Additionally, investing in a high-quality pair of safety goggles is crucial to shield your eyes from flying debris and dust. According to guidelines from safety experts, a hard hat should also be considered, especially if you are working in an area where there might be overhead hazards.
Essential Protective Gear Checklist
- Safety Gloves: Opt for heavy-duty, cut-resistant gloves to handle rough materials.
- Safety Goggles: Look for goggles that offer splash protection and a snug fit to avoid any dust or debris.
- Hard Hat: Essential for areas where falling objects may pose a risk.
- Hearing Protection: Earplugs or earmuffs can mitigate noise exposure from power tools.
- Respirators: If you’re working with materials that produce harmful dust or fumes, such as wood or certain paints, N95 masks can provide vital respiratory protection.
By prioritizing safety attire, you’re not only adhering to best practices but also ensuring a smoother project experience. Remember that PPE can also keep you comfortable in varying weather conditions—consider breathable fabrics for hot days and insulated options for cold environments. Taking these measures is an investment in your health and a key component of the overall equipment check—an extension of the guidance provided in “Do I Need Special Tools to Build a shed? Essential Equipment Checklist.” Keeping safety front and center will enable you to focus on your building project without unnecessary worries, allowing your creativity to flourish in a safe space.
Measuring and Layout Tools: laying the Foundation for Success
Creating a solid foundation for your shed starts long before you pick up a hammer or saw. The success of your build can largely depend on the precision and reliability of your measuring and layout tools. Accurate measurements minimize mistakes and ensure that all parts fit together seamlessly, ultimately saving you time and resources in the building process. Whether you’re asking yourself, “Do I need special tools to build a shed?” or just diving straight into your essential equipment checklist, understanding the role of measuring and layout tools is crucial.
To begin with, a reliable measuring tape is an indispensable tool. This compact device allows for quick, straightforward measurements of lengths and distances, ensuring that your materials are cut correctly. look for one that offers both metric and imperial measurements to suit your preferences. Additionally,consider a laser level for more advanced projects; this tool helps create precise horizontal and vertical lines over long distances,which is particularly useful when laying out the boundaries of your shed.
Essential Layout Tools
When it comes to layout tools, a chalk line can be your best friend. After marking the corners of your shed, a chalk line helps you establish straight lines over larger areas.This is particularly useful for marking where to dig or lay foundation materials. For right angles, investing in a carpenter’s square is vital, as it ensures that your corners are accurate, which is fundamental to the structural integrity of your shed.
To further illustrate the importance of these tools, consider the following table that highlights some essential measuring and layout tools you should have:
| Tool | Purpose | Proposal |
|---|---|---|
| Measuring Tape | Measure lengths and distances | 16 ft for smaller projects, 25 ft for larger |
| Laser Level | create straight horizontal and vertical lines | Self-leveling models for ease of use |
| Chalk Line | Mark long, straight lines | Use vibrant chalk for better visibility |
| Carpenter’s Square | Ensure accurate right angles | Choose a durable, metal option |
By incorporating these tools into your shed-building project, you set a strong framework for success. Not only do they help in achieving accurate dimensions and layouts,but they also enhance the overall quality of your work. So as you consider the question of whether special tools are needed, remember that the right measuring and layout tools are indeed the foundation upon which your shed will stand.
Specialty Tools for Advanced features: When to Upgrade Your Toolkit
When building a shed, the tools you use can significantly affect the outcome of your project. While the basic equipment outlined in the essential equipment checklist is suitable for DIY enthusiasts and first-time builders,there comes a time when you might need to consider upgrading your toolkit.Specialized tools not only enhance your efficiency but can also enable you to incorporate advanced features and improve the overall quality and durability of your shed.
Identifying the Need for Specialty Tools
Recognizing when to invest in specialized tools can save you countless hours and frustration. Here are a few indicators that it might be time to upgrade your toolkit:
- Complex Designs: If you’re transitioning from a simple gable roof design to something more intricate, such as a gambrel roof, you may require tools like a bevel gauge or a compound miter saw for precise cuts.
- Material Consideration: Using advanced materials, such as composite decking or imported plywood, might necessitate tools specifically designed to handle these products without compromising their integrity.
- Frequency of Projects: For those who frequently take on shed-building projects or other woodwork, investing in tools like a router or a laser level can greatly improve accuracy and reduce time spent on each venture.
- Desire for Perfection: If you’re aiming for a professional finish, tools such as a pocket hole jig or a nail gun can definately help achieve clean connections and flush surfaces that hand tools frequently enough cannot match.
Examples of Essential specialty Tools
Here is a brief overview of some specialty tools that could be beneficial in enhancing your shed-building experience:
| Tool Type | Primary Use | Benefits |
|---|---|---|
| Pocket Hole Jig | Creating hidden joints and frames | Provides a clean and strong joint without visible screws |
| Laser Level | ensuring straight lines and level surfaces | Eliminates guesswork for accurate measurements |
| Compact Router | Shaping edges and grooves | Enhances aesthetics and functionality |
| Nail Gun | Driving nails quickly and effortlessly | Saves time and reduces strain compared to manual nailing |
Investing in these specialty tools not only enhances your skill set but also empowers you to tackle more enterprising projects with confidence. By leveraging equipment tailored to advanced features,you will experience not just improved performance but also a greater sense of accomplishment as you create a shed that meets all your expectations. Evaluating both your current and future projects will guide you in deciding when it’s necessary to expand your toolkit beyond the essentials.
Organizing Your Workspace: Tips for an Efficient Shed Build
Creating a functional and efficient workspace is one of the most vital aspects of a successful shed-building project. A well-organized habitat not only allows you to find your tools quickly but also keeps distractions at bay and boosts productivity. Imagine rummaging through a cluttered space for that one special tool listed in your equipment checklist; it can instantly shift your focus and slow down your progress.
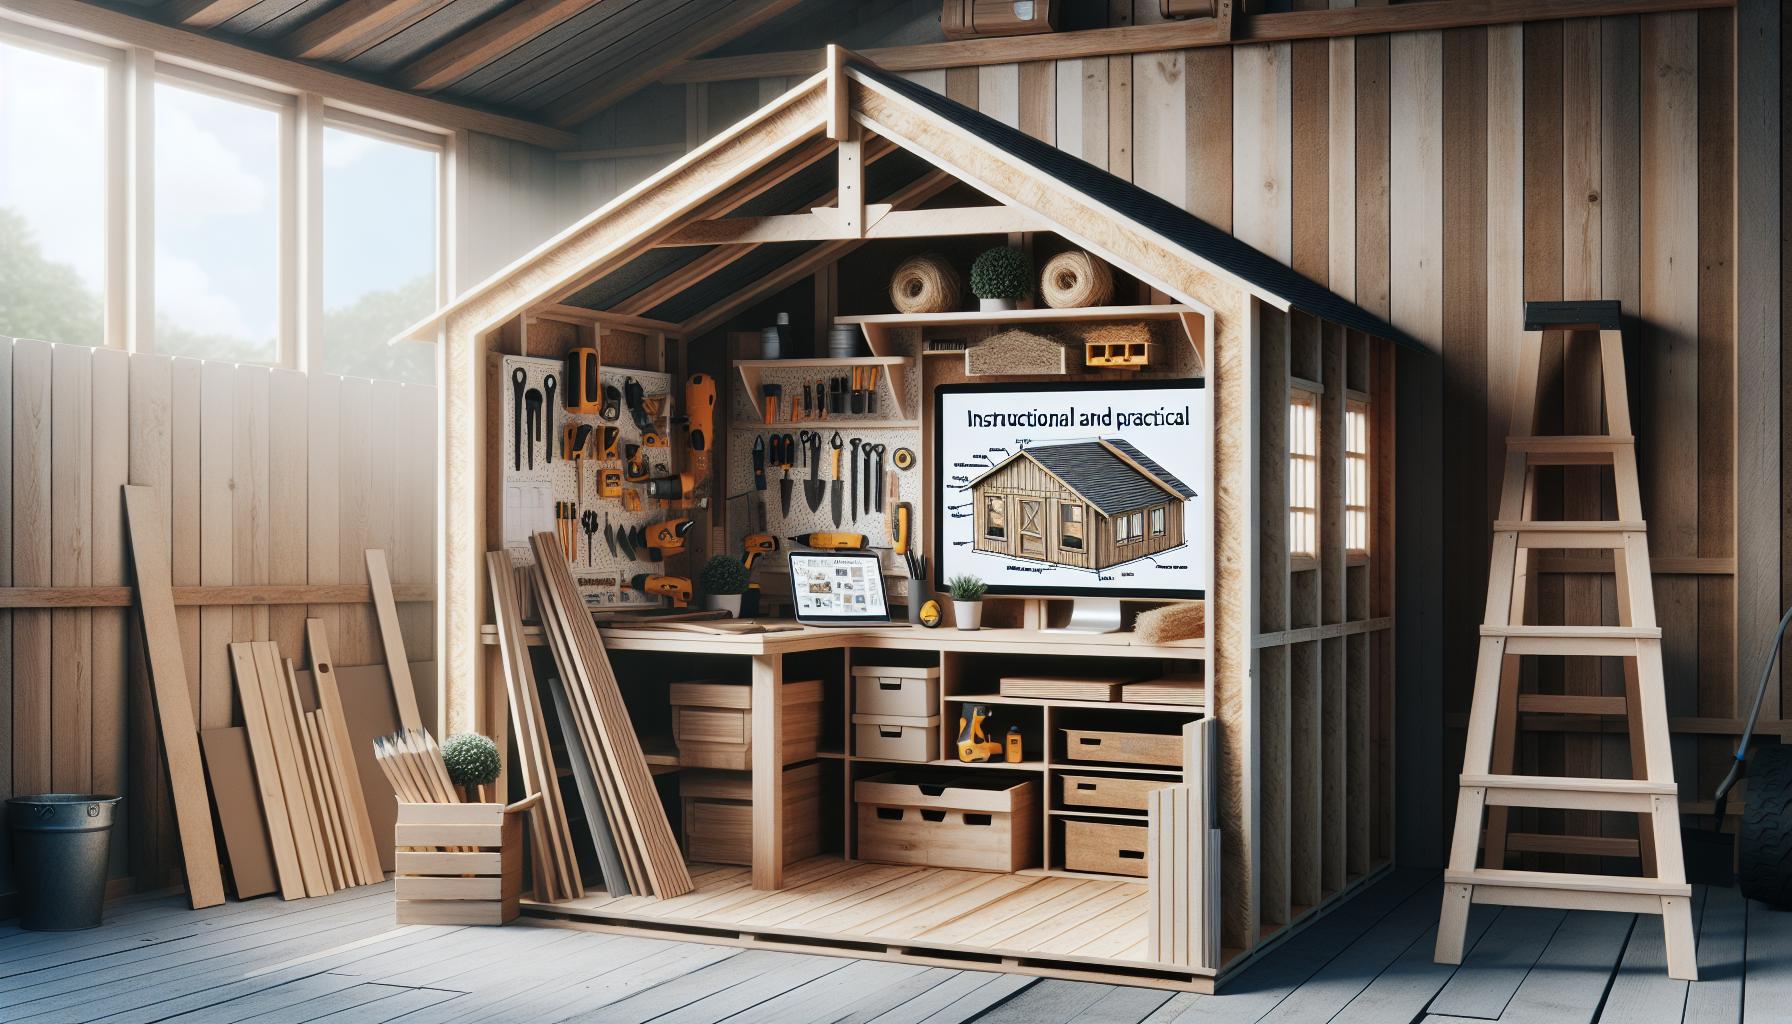
To ensure a smooth and enjoyable building experience, start by considering the layout of your workspace. This means designating specific areas for diffrent activities, such as cutting, assembling, and storing materials. Here’s how to maximize the efficiency of your shed build:
Layout Considerations
- Work Table Location: Position your worktable in a well-lit area, ideally near your main supply of tools. this not only makes tools easy to access but also allows for ample workspace to cut materials or assemble components.
- Storage Solutions: Invest in shelving units or toolboxes to store supplies and equipment. Clearly label each container so you always know where everything is located without the hassle of searching.
- Safety Zone: Keep hazardous tools and materials in a separate,secured area,especially if you have children or pets at home. Safety should always be a priority in your workspace organization.
Another important aspect is ensuring that your tools—the very heart of your building process—are easy to find and use. Refer back to the equipment checklist for any special tools you might need,such as a drill or a level. To streamline your workflow, consider setting up a dedicated tool rack where you hang tools within arm’s reach. Here’s a simple organizational tip: arrange tools by size or type to quickly grab what you need without any fuss.
Staying on Track with a cleaning Routine
Implementing a regular cleaning schedule can significantly enhance your work environment. Each time you complete a segment of the shed build, take a few moments to tidy up. Not only does this increase safety by reducing clutter, but it also helps maintain focus and allows for a clearer mind as you move on to the next task.
Here’s a quick checklist to maintain an organized workspace:
| Task | Frequency |
|---|---|
| Clear and organize tools | Daily |
| Dispose of trash and debris | After each major task |
| Restock materials | weekly |
| Wipe down work surfaces | Daily |
By following these tips for organizing your workspace, you’ll be well on your way to executing a stress-free shed build. Keeping your area clean,organized,and effective will not only save you time but also ensure that you have all the necessary tools at hand,making your experience more enjoyable and successful.
Maintenance Tools for Longevity: Keeping Your Shed in Top Shape
To ensure that your shed remains in pristine condition for years to come, investing in the right maintenance tools is essential. A well-kept shed not only functions better but also retains its aesthetic appeal and durability, protecting your investment. From cleaning supplies to repair essentials, equipping yourself with these tools can make a significant difference in upkeep and longevity.
Essential Maintenance Tools
Maintaining your shed involves a variety of tasks, including cleaning, repairs, and inspections. Here are some must-have tools to help keep your shed in top shape:
- Pressure Washer: Ideal for removing dirt, mold, and mildew from surfaces, pressure washers can effectively clean the exterior of your shed without damaging the material.
- repair Kits: Whether it’s for wood,metal,or plastic,having a quality repair kit on hand allows you to address minor damage before it escalates.
- Paint and Sealants: Regular updates of paint and sealant protect your shed from weather elements. Opt for high-quality outdoor paints and moisture-resistant sealants.
- Safety Gear: Don’t forget gloves, masks, and goggles. safety should always come first when performing maintenance tasks.
Routine Maintenance Checklist
Establishing a routine maintenance schedule can help extend the lifespan of your shed. Here’s a simple checklist to follow:
| Task | Frequency | Notes |
|---|---|---|
| Inspect for leaks and cracks | Every 6 months | Check both the roof and foundation. |
| Clean gutters and downspouts | Every season | Avoid water damage by ensuring proper drainage. |
| Repaint or reseal | every 2-3 years | Choose weather-resistant products. |
| Organize tools and supplies | Every season | Keep everything accessible and in good condition. |
By adhering to these tips and using the right tools, you can avoid premature wear and tear and keep your shed as functional and attractive as the day you built it. Remember,regular maintenance not only prolongs the life of your shed but also enhances its utility and value.
Q&A
Do I Need Special Tools to Build a Shed?
No, you don’t need special tools to build a shed, but having the right equipment is crucial. Most DIY shed projects require basic hand tools and some power tools to ensure proper assembly and structural integrity.
Essential tools typically include a measuring tape,level,hammer,and saws,among others. Using appropriate tools helps to achieve a precise fit and finish. For a detailed overview, refer to our Essential Equipment Checklist for shed building.
What is included in the Essential Equipment Checklist for building a shed?
The Essential Equipment Checklist includes tools such as a drill, circular saw, measuring tape, level, and safety gear like goggles and gloves. These are vital for effective construction and ensuring your safety.
Additionally, you may also consider power tools like nail guns and sanders for efficiency. Having the right equipment not only simplifies the process but also contributes to a high-quality build that you can be proud of.
Can I build a shed without power tools?
Yes, you can build a shed without power tools, although it may take longer and require more physical effort. Hand tools like saws and hammers can effectively complete your project.
As a notable example, using a hand saw rather of a circular saw will demand more time but can enhance your skill set. However, keep in mind that power tools can improve accuracy and speed, making the process easier, especially for larger projects.
Why does choosing the right tools matter for shed construction?
Choosing the right tools is essential for achieving a precise and durable construction. The right tools help ensure accurate measurements and efficient work processes.
Inadequate tools can lead to mistakes that might compromise the shed’s stability. This is why familiarizing yourself with your equipment and understanding their uses will significantly reduce installation headaches in your building journey.
how can I ensure I have all the necessary tools before starting?
You can ensure you have all necessary tools by reviewing an equipment checklist and conducting a quick inventory of your current tools. Make a list of any items you lack and determine if you want to purchase or rent them.
It’s also beneficial to visit your local hardware store or check online resources for recommendations. Utilize our Essential equipment Checklist to confirm you are fully prepared before starting your shed project.
What safety equipment do I need while building a shed?
Safety equipment is vital while building a shed. You should have at a minimum safety goggles, work gloves, and a dust mask to protect yourself from debris and harmful particles.
Additionally, sturdy work boots can prevent injuries on uneven surfaces. Always prioritize your safety when using tools; it’s essential for a smooth and enjoyable DIY experience.
Can I borrow tools for my shed project instead of buying them?
Yes, borrowing tools for your shed project is a practical option, especially if you don’t foresee using them again. Many neighborhoods have tool libraries or community groups where you can borrow or rent equipment.
Consider reaching out to friends or family who may have the tools you need. this approach not only saves money but also allows you to try different tools without commitment.
Insights and Conclusions
building a shed doesn’t have to feel like an insurmountable task. With the right tools and a clear understanding of your essential equipment checklist, you can confidently embark on this rewarding DIY project. Remember, each tool serves a specific purpose, from measuring and cutting to assembling and finishing, ensuring that your shed is not only functional but also beautifully crafted.
Don’t hesitate to return to this guide as you progress, and feel free to explore more resources that delve into specific techniques or challenges you might face along the way. Each step you take is an chance to sharpen your skills and enhance your craftsmanship. Embrace the journey, celebrate your achievements, and cultivate a space that reflects your style and needs. Happy building, and may your shed construction project be both enjoyable and successful!

