Are you contemplating building a shed but wondering if a floor is necessary, especially for storing heavy equipment? Understanding alternatives to traditional flooring can save you time and money while providing the stability you need.This article explores practical ground options that can support your storage needs without the hassle of constructing a full floor.
Understanding the Advantages of a Shed Without a Floor
Building a shed without a floor can be a practical choice for manny homeowners, especially those looking to store heavy equipment or tools. This flooring-free design offers unique benefits that make it an attractive option in various scenarios.instead of being confined to the constraints of a traditional wooden floor setup,choosing a shed without a floor allows for enhanced versatility and usability in outdoor spaces.
Cost-Effectiveness
One of the most significant advantages of constructing a shed without a floor is the cost-saving potential. Building a floor requires additional materials such as lumber, nails, and possibly concrete, which can add up quickly. When you eliminate the flooring, you reduce both material and labor costs. This is especially beneficial for those on a budget or for DIY enthusiasts looking to minimize expenses.
Simplified Drainage and maintenance
Sheds without floors can facilitate better drainage, making them ideal for applications were water accumulation is a concern. If you are storing heavy equipment that may be exposed to the elements, a floorless design allows rain and moisture to easily escape, minimizing the risk of rusting or damage. This can also simplify maintenance as there’s no floor that traps dirt and debris, allowing for easier cleaning.
Enhanced Flexibility
Constructing a shed without a floor offers incredible flexibility, especially concerning placement. A floorless shed can be set directly on gravel, concrete, or even compacted earth, adapting seamlessly to the existing landscape. This adaptability means you can position your shed precisely where you need it, whether that’s next to a driveway for easy access to tools or beside a garden for convenient storage of gardening supplies.
For instance,if you need a structure for housing heavy machinery like a tractor or a lawnmower,placing your shed on compacted dirt can provide a stable base while allowing the ground to absorb rainfall and prevent water pooling. Here’s a quick summary of the benefits:
| Advantage | Details |
|---|---|
| cost Savings | No need for additional flooring materials reduces overall costs. |
| Drainage | Improved water flow helps prevent equipment damage from moisture. |
| Placement Flexibility | Easily position the shed on various ground surfaces as needed. |
| maintenance | Easy to clean as there’s no floor to trap dirt. |
the ability to build a shed without a floor presents distinct advantages for many users, notably when considering the needs of storage for heavy equipment. This approach not only offers financial benefits but also enhances functionality and ease of upkeep. Understanding these advantages can help you make a well-informed decision on the best setup for your storage needs.
Exploring Ground Options: Which Surface is Best for Your Shed?
When planning a shed, especially one intended for heavy equipment, the surface it rests upon is just as critical as the structure itself. choosing the right ground option can significantly impact the longevity of your shed, the ease of access, and the overall functionality of the space. Builders often ponder,”Can I build a shed without a floor?” and while it is technically feasible,the decision regarding the ground surface should be made with care,as different options yield vastly different advantages and challenges.
Assessing Your Ground Options
Before laying down your shed, it’s essential to evaluate the various ground options available that will support its weight and use. Here’s a quick rundown of popular choices:
- gravel: This option provides excellent drainage and a stable base. It’s particularly effective in areas prone to moisture, ensuring that your shed remains dry and protected from rot.
- Concrete Slab: For those looking for a durable, long-lasting solution, a concrete foundation offers unmatched stability.This option also minimizes pest issues and provides a smooth surface for equipment movement.
- Timber skids: Placing your shed on skids is a popular method for those who may need to relocate their structure in the future. this allows for ease of movement while still offering sufficient ground protection.
- grass or Soil: This option is the most cost-effective, but it comes with its drawbacks. Over time, moisture can cause wood to rot if proper ventilation and drainage aren’t considered.
Making the Right Choice for Your needs
When contemplating “Can I build a shed without a floor?” it’s important to understand that while you can, the ground option you choose should meet your specific needs. Here are some considerations to ponder:
- Weight Capacity: The weight of the equipment or items you plan to store will dictate whether you need a more robust foundation like concrete or if lighter options like gravel suffice.
- Local Climate: If you live in an area with heavy rains or flooding, ensure your ground choice provides effective drainage to protect the shed’s integrity.
- Future Mobility: If you foresee needing to relocate your shed, select options like timber skids that offer flexibility without requiring extensive rework of a fixed foundation.
| Ground Option | Pros | Cons |
|---|---|---|
| Gravel | Excellent drainage; easy to install | Can shift or settle over time |
| Concrete Slab | Highly durable; pest-resistant | Expensive and labor-intensive |
| timber Skids | Flexible and easy to move | Less stable; may rot over time |
| Grass or Soil | Low cost; simplest setup | subject to moisture issues; possible pest problems |
By understanding the pros and cons of each option, you can better decide the best foundation for your shed without a floor. The right choice will ensure your shed remains functional and reliable, safeguarding your equipment for years to come.
Essential Considerations for Supporting Heavy Equipment on Bare Ground
When considering the placement of heavy equipment on bare ground, it’s crucial to understand the unique challenges and requirements involved. Heavy machinery generates significant weight and stress on the soil beneath it, which can lead to shifting, settling, or outright sinking if not managed correctly. The question often arises: “Can I build a shed without a floor?” This leads us to the importance of ground preparation and the potential options for supporting these structures effectively.
ground Preparation for Heavy Equipment
Before positioning any heavy equipment, soil assessment should be conducted. Soil types, moisture levels, and compaction are all critical factors that influence how well the ground can support heavy loads.Here are some essential considerations:
- Soil Testing: Analyze the soil composition to determine its load-bearing capacity. Clay and sandy soils behave differently under pressure.
- Compaction: Properly compacted soil can significantly enhance load-bearing strength. Employing machinery for compacting the ground can make a significant difference.
- Drainage Management: Ensure proper drainage to prevent water accumulation, which can weaken soil integrity and lead to settling over time.
Layering options for Stability
Installing additional layers of materials can create a more stable base for heavy equipment. Consider the following options:
- Gravel Base: A layer of gravel can be laid down to distribute the weight of heavy equipment, preventing sinking. Aim for at least 4-6 inches depth.
- Geotextiles: Utilizing geotextiles can provide support and prevent soil displacement. They are beneficial in situations where soil erosion is a concern.
- Concrete Pads: For more permanent setups, concrete pads offer excellent support and durability, but they require significant upfront investment.
Maintenance Considerations
Once heavy equipment is in place, regular maintenance is essential for ensuring stability and functionality. Monitoring the area for signs of settling or erosion can prevent larger issues down the line.
| Maintenance Task | Frequency | Description |
|---|---|---|
| Soil Inspection | Monthly | Check for shifts or cracks in the ground where equipment is stationed. |
| Dirt Compaction | Bi-annually | Re-compact the soil if signs of settling are present. |
| Drainage check | Before Rain Seasons | Ensure that drainage paths are clear to prevent water pooling. |
By following these essential considerations when supporting heavy equipment on bare ground, you can maximize the longevity and safety of both your machinery and any structures you build without floors. Understanding the underlying soil conditions and implementing the right foundational strategies will not only answer the query about building a shed without a floor but also enhance the efficiency of your operations.
Building a Shed on Gravel: Key Benefits and Installation Steps
Building a shed on gravel is not only a practical choice for many homeowners but also offers a variety of benefits that enhance the longevity and safety of your structure. A well-prepared gravel base provides excellent drainage and stabilization, essential elements for a shed that may house heavy equipment. In regions where rainfall is common, choosing gravel as your foundation reduces the risk of water pooling, leading to rot and structural damage over time.If you’re wondering about the feasibility of constructing a shed without a traditional floor,consider the numerous advantages gravel presents as a ground option.
Benefits of Using Gravel for Your Shed Foundation
Using gravel as a foundation for your shed comes with numerous beneficial characteristics:
- Superior Drainage: Gravel allows water to drain quickly, minimizing the risk of flooding and creating a drier environment for your equipment.
- Stability: A compact gravel surface provides solid support for the weight of the shed,reducing the likelihood of settling or shifting.
- Pest Control: Elevated environments help keep pests such as rodents and insects away from your equipment, preserving its condition.
- Easy Accessibility: Gravel pathways can improve access around your shed,accommodating larger vehicles or equipment.
- Cost-Effectiveness: Compared to concrete slabs,gravel is frequently enough a more affordable option and easier to install.
Installation steps for a Gravel Shed Foundation
Constructing a gravel foundation for your shed involves several straightforward steps. Here’s a practical guide to help you get started:
| Step | Description |
|---|---|
| 1. Choose a Location | Pick a flat, well-drained area away from large trees or plants.Clear the space of any debris, plants, or debris. |
| 2. Measure and Mark | Measure the dimensions of your shed and mark the outline using stakes and string.This visual guide will help keep your gravel placement precise. |
| 3. Excavate the Area | dig out the marked area to a depth of about 4-6 inches. This allows for sufficient gravel depth to support your shed. |
| 4. Add Landscape Fabric | Lay down landscaping fabric to prevent weed growth and maintain drainage. Trim to size as needed. |
| 5. Pour Gravel | Fill the excavated area with gravel, spreading it evenly using a rake. Aim for a depth of at least 3-4 inches. |
| 6. Compact the Gravel | Use a tamper or plate compactor to firmly compact the gravel. This ensures a sturdy foundation for your shed. |
| 7. Set the Shed | Once your gravel base is prepared, position your shed on the foundation, ensuring it is indeed level and aligned. |
Incorporating gravel as your foundation allows you to build a shed without a traditional floor, maintaining solid grounding for heavy equipment. With careful planning, installation, and maintenance, you’ll enjoy the benefits of a well-constructed shed that stands the test of time. Whether you’re setting up for gardening tools or heavier machinery, gravel provides a reliable base that supports your storage needs effectively.
Using Concrete Blocks: A Stable Base for Your Equipment Shed
When it comes to providing a solid foundation for your equipment shed, concrete blocks stand out as a top contender. These sturdy structures not only offer outstanding support but also create a level platform that can keep your equipment safe from moisture and ground instability. Whether you are contemplating the question, “Can I Build a Shed Without a Floor? Ground Options for Heavy Equipment,” or you’re in the planning stages of your build, it’s essential to understand the benefits of using concrete blocks effectively.
Why Choose Concrete Blocks?
Concrete blocks are renowned for their durability, making them an ideal choice for supporting heavy loads. Here are some compelling reasons to consider concrete blocks for your equipment shed:
- Robustness: Designed to withstand significant weight without cracking or shifting, concrete blocks provide unparalleled support for all types of heavy machinery.
- Moisture Resistance: Concrete naturally resists moisture, preventing rot and decay that often accompany wooden foundations.
- Cost-Effective: While the initial investment may be higher, their longevity and low maintenance make them a cost-effective choice in the long run.
- Ease of Installation: Setting up concrete blocks requires minimal tools and skills, allowing for a straightforward installation process.
Building Your Shed Base with Concrete Blocks
Establishing a stable base is crucial for the longevity and functionality of your equipment shed. start by selecting a level area on your property where water drainage is optimal to prevent flooding.
- Preparation of the Site: Clear the area of debris, grass, and rocks. Use a level to ensure the ground is even.
- Laying the Blocks: Arrange your concrete blocks in a grid pattern. the spacing can depend on the weight of the equipment you plan to store: closer spacing for heavier items and wider spacing for lighter items.
| Equipment Type | Recommended Block Spacing |
|---|---|
| Lightweight tools (e.g., lawnmowers) | 18-20 inches |
| Medium weight items (e.g., tillers) | 12-15 inches |
| Heavy machinery (e.g., tractors) | 8-10 inches |
- Leveling and Securing: Once your blocks are laid out, check again for levelness.If necessary, adjust by adding gravel or removing soil beneath the blocks to ensure they sit evenly.
- Finishing Touches: After installation, consider using a piece of plywood or a rubber mat over the blocks.This can enhance the surface and provide additional stability for your equipment.
By following these steps,building an equipment shed without a traditional floor becomes a viable and practical option. Utilizing concrete blocks can provide the structural integrity and weather resistance necessary to keep your valuable tools and machinery secure, even in challenging conditions.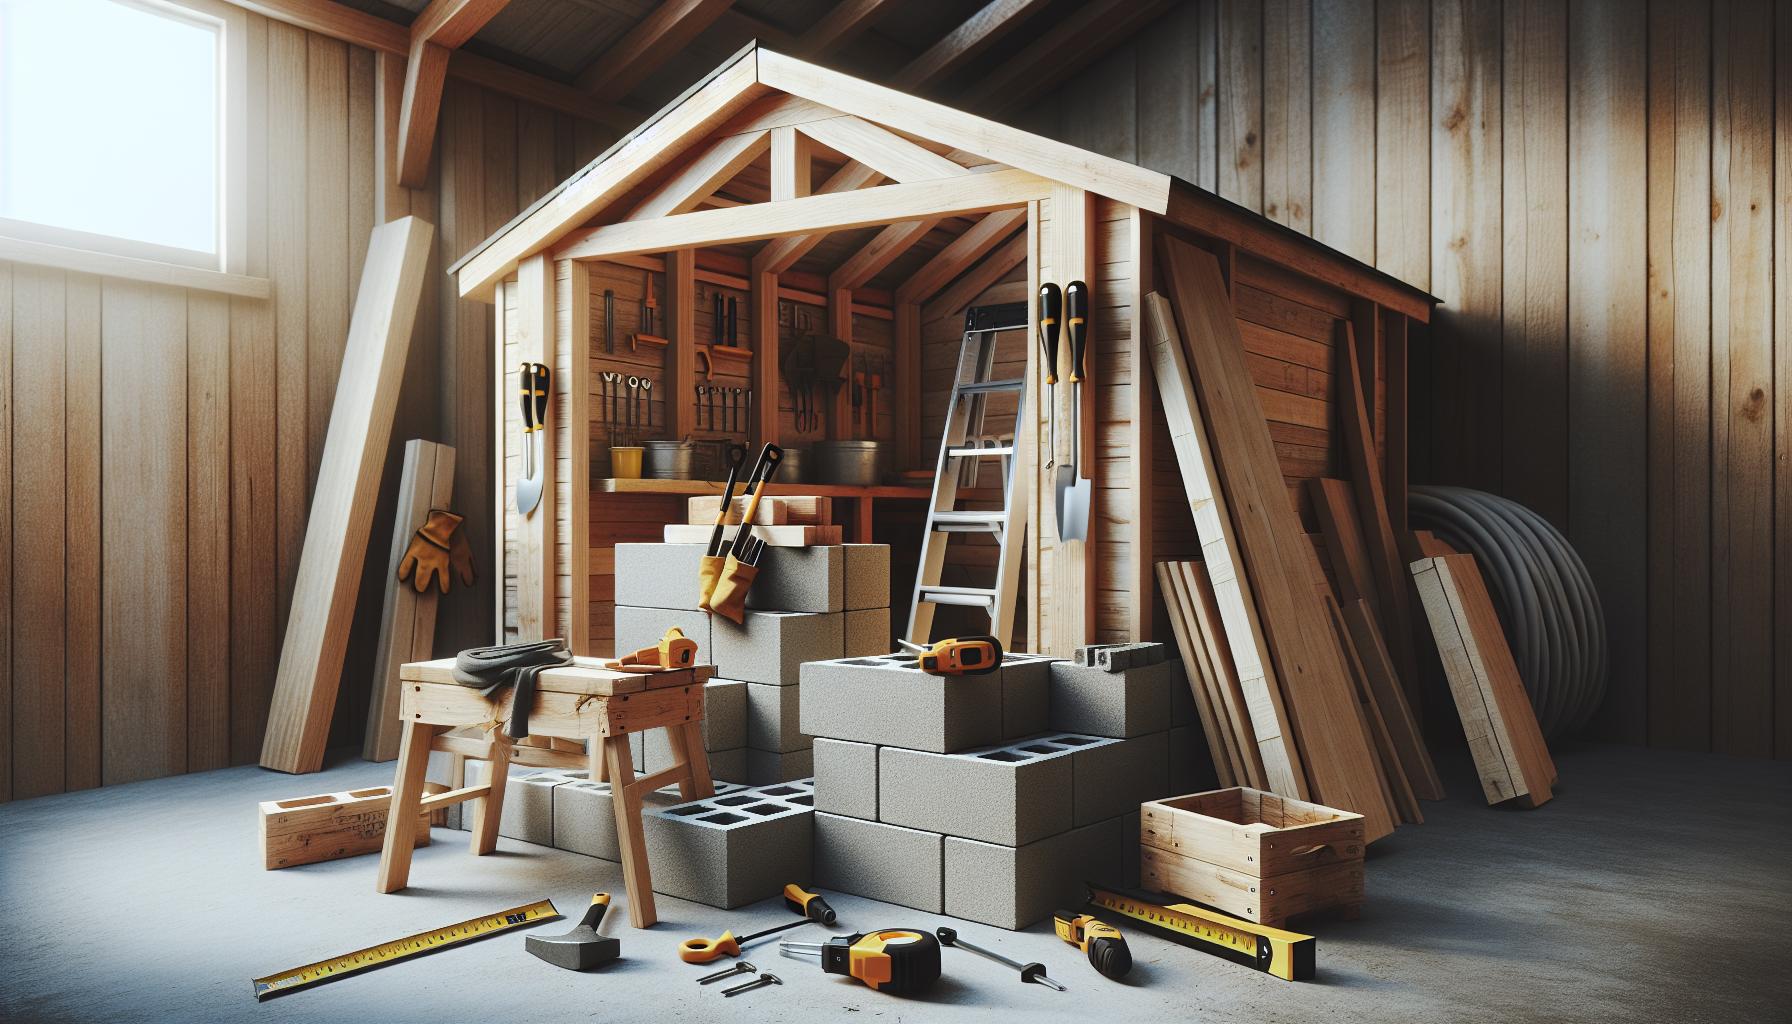
Drainage and Moisture Management: Protecting Your Shed Without a Floor
One of the greatest challenges of building a shed without a floor is managing the moisture that naturally accumulates around the base. When considering ground options for heavy equipment, understanding drainage and moisture management is crucial to ensure the longevity and functionality of your shed. A well-planned drainage system not only protects your investment but also ensures that your equipment and tools remain safe from water damage and moisture-related issues.
Understanding Water Flow
Before you embark on your shed-building project, it’s essential to evaluate the landscape surrounding the intended site. Observing how water naturally flows in your yard after a rain can provide insights into potential drainage problems. If your shed is built in an area where water tends to pool, you may encounter issues such as mildew, mold, or even structural damage over time.
Consider the following strategies to manage moisture effectively:
- Grading: Ensure the ground is sloped away from your shed to promote proper water runoff.
- French Drains: Installing a French drain system can definitely help collect and redirect water away from the shed.
- Dry Wells: These can be dug to provide a place for excess water to seep into the ground, further reducing moisture accumulation.
- Landscaping: Use plants and mulch to absorb excess moisture around the shed’s perimeter.
Choosing the Right Ground Surface
the type of ground surface you choose can significantly affect moisture levels under your shed. For example,gravel or crushed stone can facilitate drainage while providing a stable base for heavy equipment. Additionally, these materials allow water to flow quickly through, preventing puddles from forming.
Consider the following options when selecting a ground surface:
| ground Surface | Benefits | Considerations |
|---|---|---|
| Gravel | Excellent drainage, stable for heavy equipment | May need replenishing over time |
| Concrete | Durable and easy to maintain | Higher initial cost; limited drainage |
| Wooden Skids | Can be raised off the ground; added moisture control | May rot over time if in contact with soil |
| Dirt | Natural option; frequently enough readily available | Poor drainage; can lead to mud accumulation |
incorporating these strategies will significantly reduce moisture problems, ensuring your shed remains accessible and your heavy equipment is sheltered from the elements. By thoughtfully addressing drainage and choosing the right ground solutions,you can confidently ask,”Can I build a shed without a floor?” knowing that you are well-prepared to protect your investment for years to come.
DIY Tips for Leveling and Preparing Your Ground for Shed Construction
Building a shed without a floor may seem unconventional, but it can offer several advantages, especially when considering ground options for heavy equipment. Whether you’re working on a sloped lot or have challenging soil conditions, getting your ground ready is a critical step that can make or break your shed’s longevity and stability. Here are some DIY tips to help you efficiently level and prepare your ground.
Assessing your Site
Before you start constructing, take a close look at your site to identify potential challenges. consider the following factors:
- Drainage: Ensure water drains away from the shed area. Standing water can undermine the structure.
- Soil Type: Inspect the soil for compaction; sandy soils require different preparation than clay-based soils.
- Vegetation: Remove any plants, grass, or debris that could cause instability.
Leveling the Ground
Achieving a level surface is imperative for stability. Use the following steps to level your ground effectively:
- Tools Needed: A shovel, rake, a level, and possibly a laser level for larger sizes.
- mark the Area: Define the shed’s footprint, marking the perimeter with stakes and string.
- Excavate: Remove the top layer of soil to achieve your desired depth, keeping it consistent across the area.
- Check for Level: Use a level to ensure your ground is even. Adjust as necessary by removing or adding soil.
- Compact the Soil: Once level, compact the soil manually or with a plate compactor to prevent future settling.
Ground Options for additional Stability
Depending on the weight of heavy equipment and weather conditions in your area, you may want to consider various ground options. Here are some alternatives you might find useful:
| ground Option | Pros | Cons |
|---|---|---|
| Gravel Base | Excellent drainage, helps prevent rot | May require periodic replenishment |
| Concrete Pad | Ultimate stability and durability | Costly and labor-intensive |
| Paver Stones | Attractive and customizable options | Can settle or shift if not installed properly |
| wood Blocking | Accessible and easy to replace | Susceptible to rot if in contact with soil |
Choosing the right ground option not only supports the aesthetics of your shed but ensures it stands the test of time, especially when heavy equipment comes into play. By thoughtfully preparing your ground and selecting a stable base, you can confidently move forward with constructing a lasting shed.
Q&A
Can I Build a Shed Without a Floor? Ground Options for Heavy Equipment?
Yes, you can build a shed without a floor by using various ground options that support heavy equipment. Popular methods include using gravel pads, concrete piers, or laying a stone foundation for stability.
Each option has its own benefits. For instance, gravel pads allow for drainage, while concrete piers elevate the shed, preventing moisture damage. These materials should be carefully chosen based on your local climate and soil conditions.
What are the best ground options for a shed without a floor?
The best ground options for a shed without a floor include gravel bases, concrete pads, and treated wood skids.each provides solid support for heavy equipment and aids in drainage.
Choosing the right ground option involves considering factors like weight distribution and water drainage. Such as, a concrete pad might be ideal for very heavy equipment, while treated wood skids can work well for lighter structures.
Why does building a shed without a floor make sense?
Building a shed without a floor can save costs and improve moisture control. This approach is particularly beneficial for heavy equipment storage, as it reduces the risk of rot and pest infestations.
Additionally,without a floor,you create more space for tools and machinery. The enhanced airflow under the shed helps to prevent dampness and decay over time. it simplifies your maintenance tasks.
Can I use a wood base for a shed without a floor?
Yes,you can use a wood base for a shed without a floor,as long as it’s treated to resist rot and moisture. Using treated wood skids can provide solid support for the structure.
This method elevates the shed off the ground, promoting ventilation and keeping it drier. Just ensure the skids are level and connected securely to the shed’s frame for stability.
What should I consider when building a shed without a floor?
When building a shed without a floor, consider ground stability, drainage, and the weight of stored items.soil type is crucial, as some may require additional support.
Also, think about local weather patterns. Areas prone to heavy rains might need more robust drainage solutions.Planning ahead can make a big difference in the longevity and usability of your shed.
How do I prepare the ground for a shed without a floor?
To prepare the ground for a shed without a floor, clear the area of debris, level the ground, and create a foundation using either gravel, concrete, or treated wood.
Typically, a leveled area promotes even weight distribution and water drainage. Installing a weed barrier can also help prevent vegetation from encroaching on your shed space.
Can I add a floor later to my shed?
Yes, you can add a floor to your shed later if you change your mind.It’s often as simple as constructing a framed floor and securing it to the existing structure.
However, consider factors like existing weight and stability, ensuring that the shed can safely support the additional weight of the floor and contents.
Where can I find more information on building a shed?
For more information on building a shed, including design options and materials, check out our comprehensive guide on shed construction basics.
Key Takeaways
Building a shed without a traditional floor can be an excellent solution, particularly for those looking to accommodate heavy equipment or work in a rugged environment. By exploring various ground options, such as gravel or concrete slabs, you can create a sturdy and level foundation that enhances drainage and prevents moisture damage.
consider the benefits of a gravel base, which offers excellent drainage and a solid surface for heavy tools. Alternatively, a concrete pad provides unmatched stability and can handle the weight of larger equipment without warping or shifting over time. If you’re facing challenges like an uneven landscape, remember that leveling the ground or using retaining walls can significantly improve the site for your shed.
No matter your approach, each option comes with its unique advantages. Embrace the challenges of DIY projects with confidence, knowing that thorough planning and careful execution are your keys to success. Dive deeper into your shed-building journey by exploring different designs, materials, and construction techniques that suit your needs. Don’t hesitate to share your experiences or questions as you embark on creating a functional space tailored to your requirements—your passion for craftsmanship is what turns plans into reality!

